DataFlex in 5 minutes
There are seven basic steps to create a simple application using DataFlex.
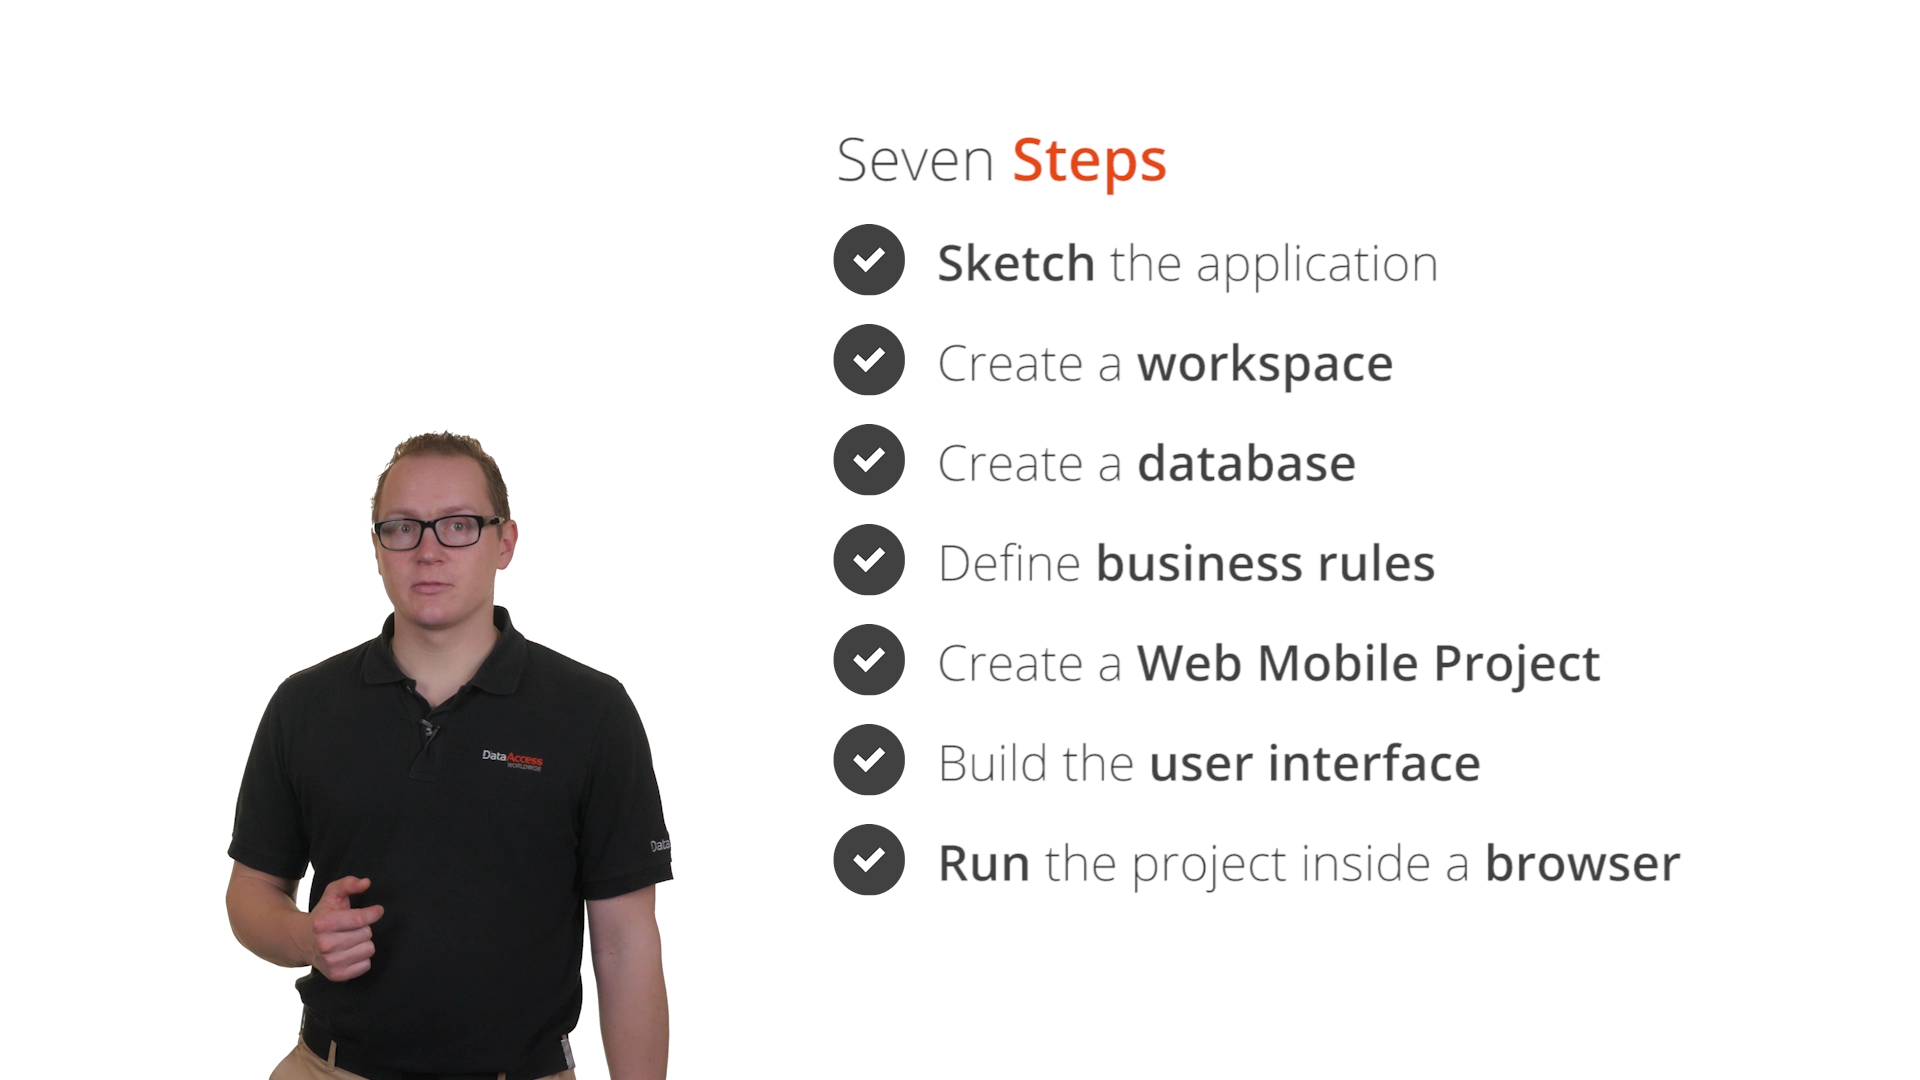
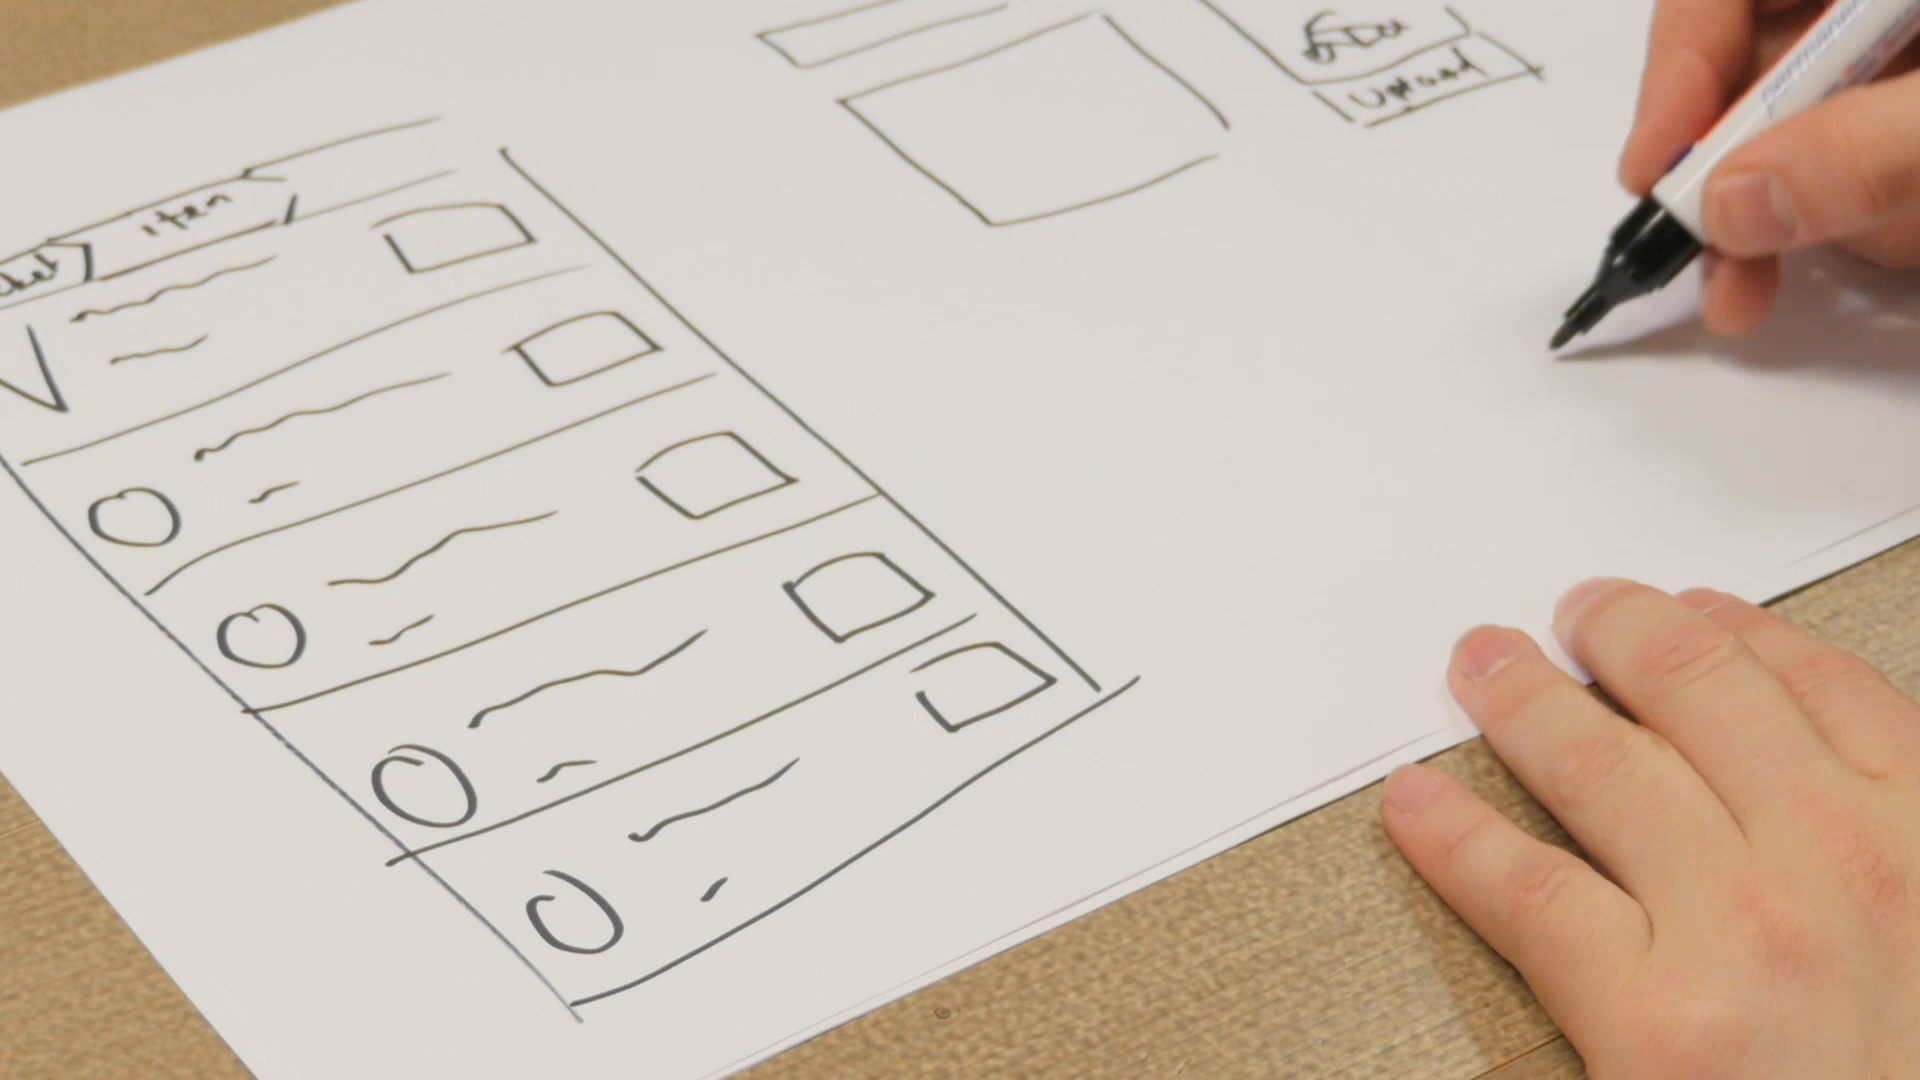
- Sketch the application
- Points to consider: what should it look like, what is the most user-friendly environment, and what kind of database structure do you need to accomplish this.
- Create a workspace
- Create a new project environment using the DataFlex Studio. In DataFlex, this is referred to as a ‘workspace.’ It consists of a set of folders in which the database and source-code are stored.
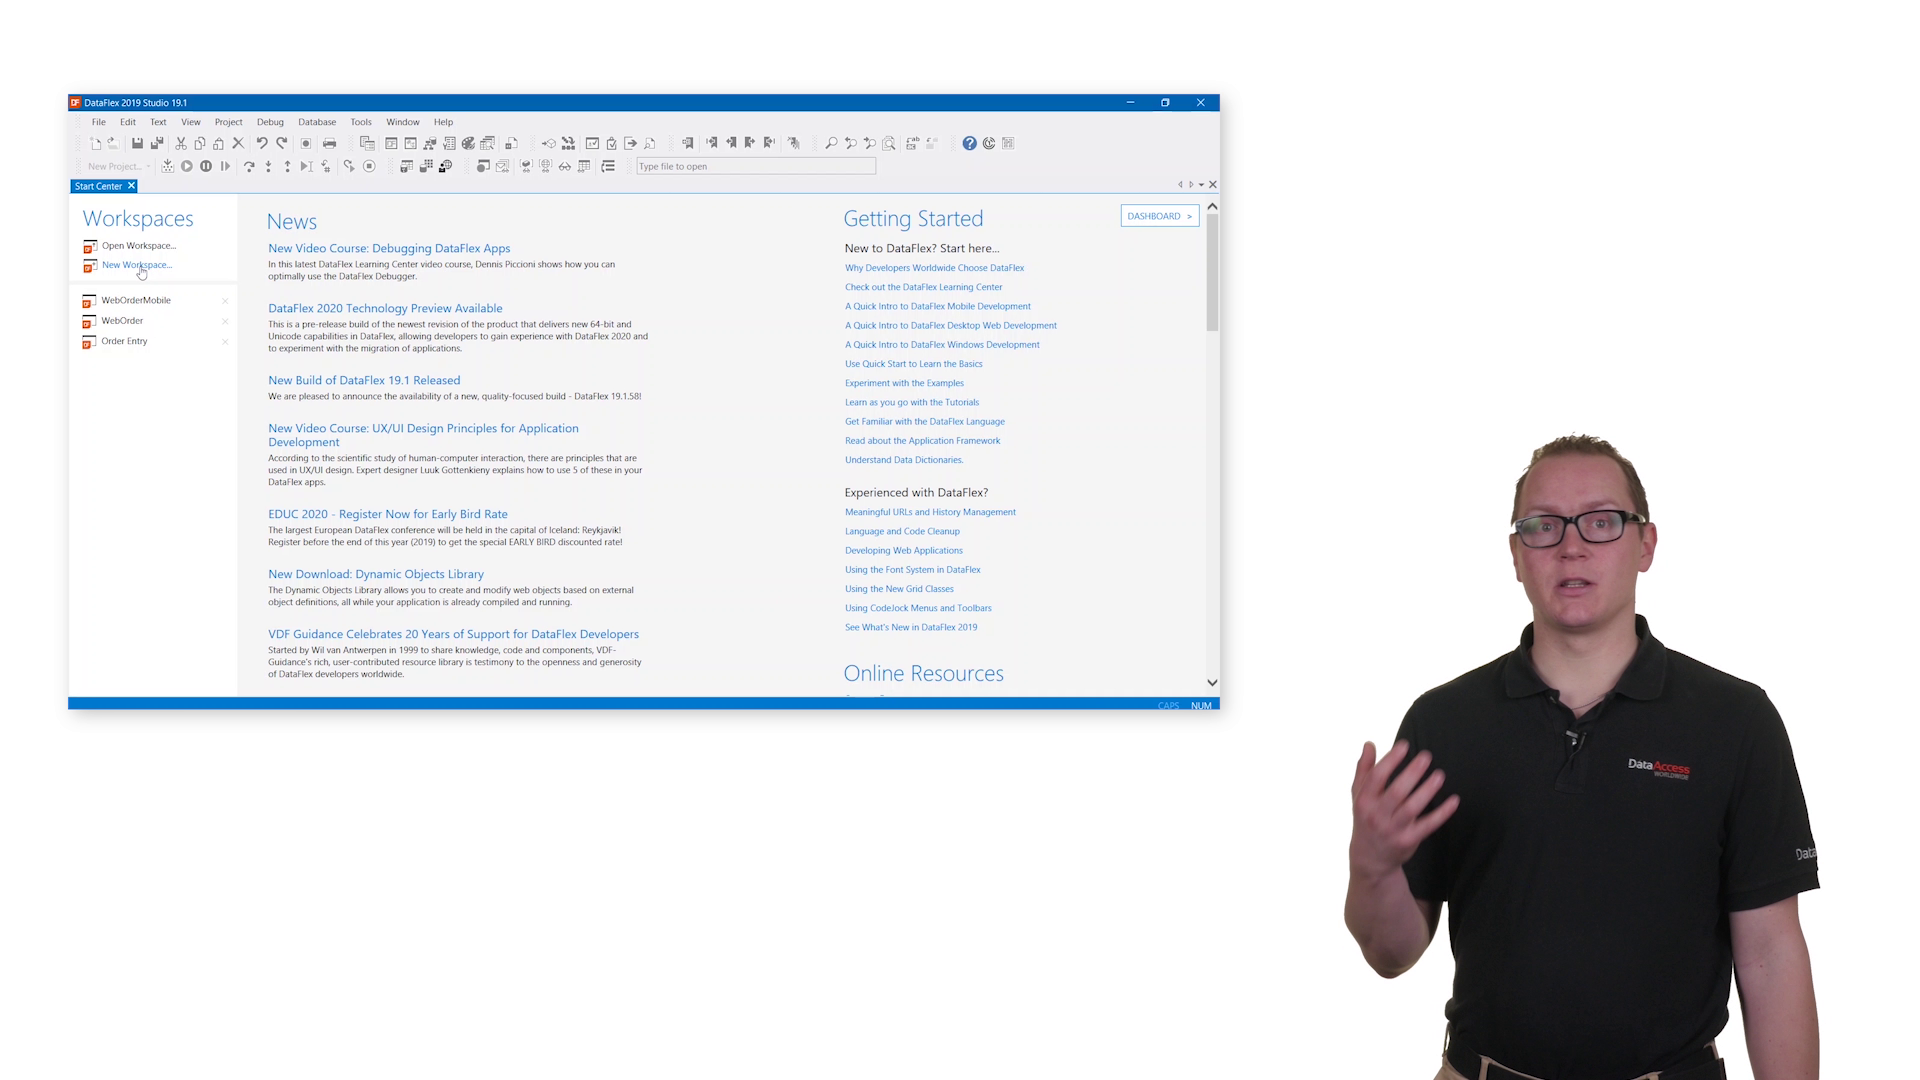
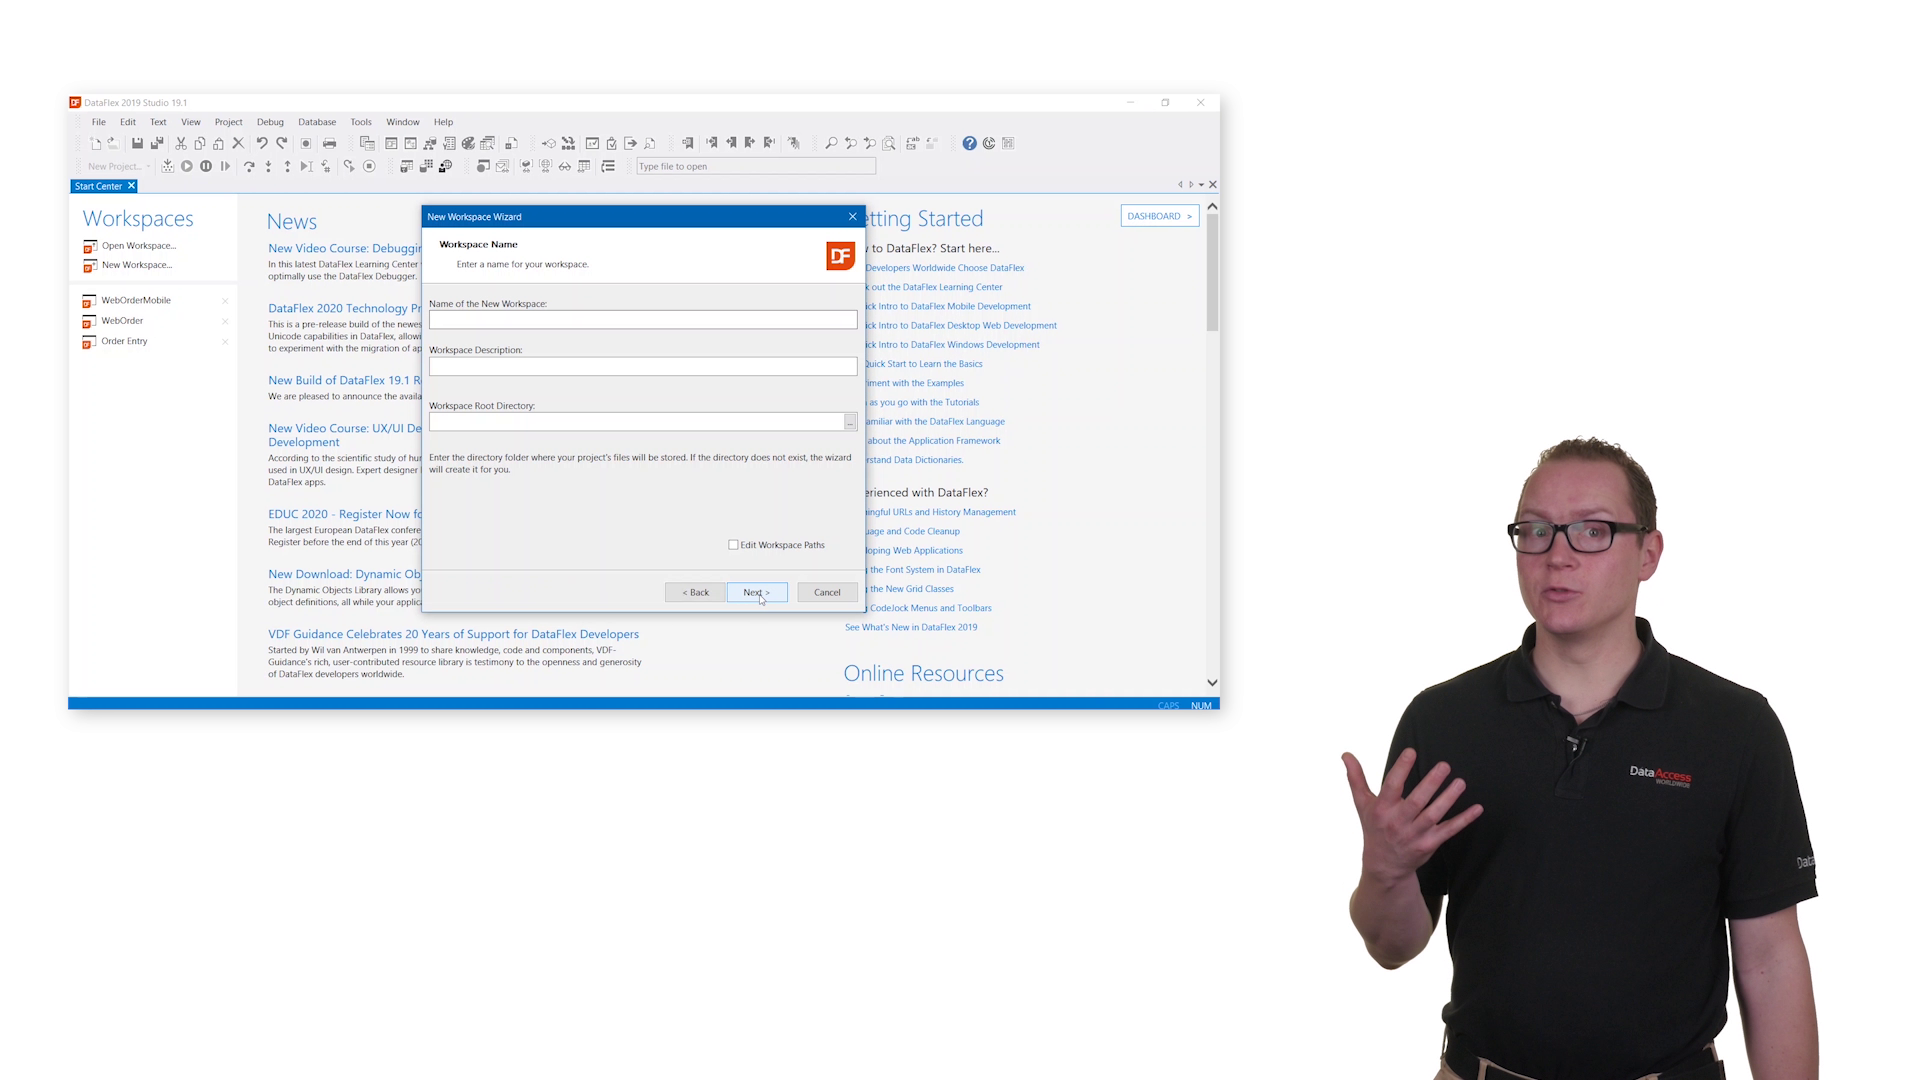
- The simplest way to do this is by starting the wizard by clicking on ‘new workspace’ link from the Start Center. This opens a wizard that will guide you through creating the perfect workspace.
- Create a database
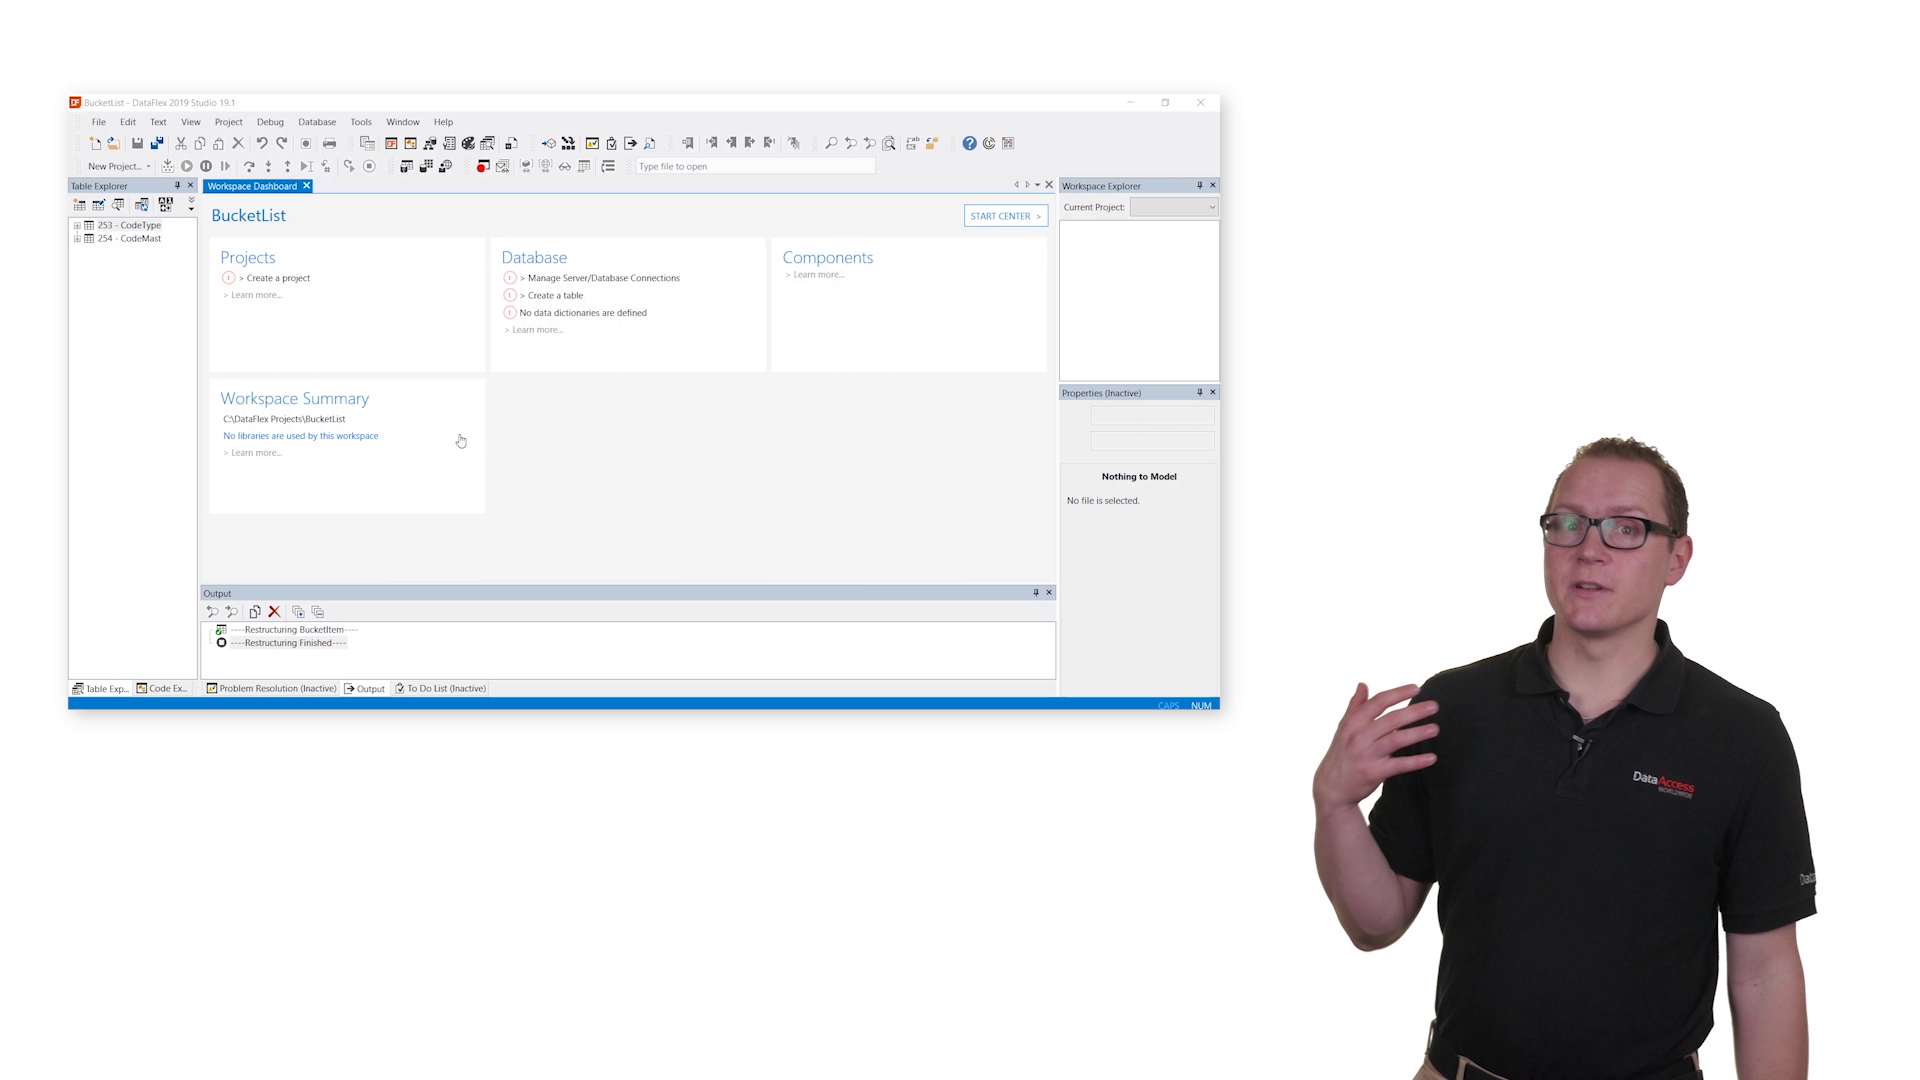
- Once the workspace is created, the DataFlex Studio automatically opens the workspace dashboard. The dashboard is your guide through the whole development process.
- Red colored markers indicate that action is required for that item. The first action is to define the database by creating multiple tables.
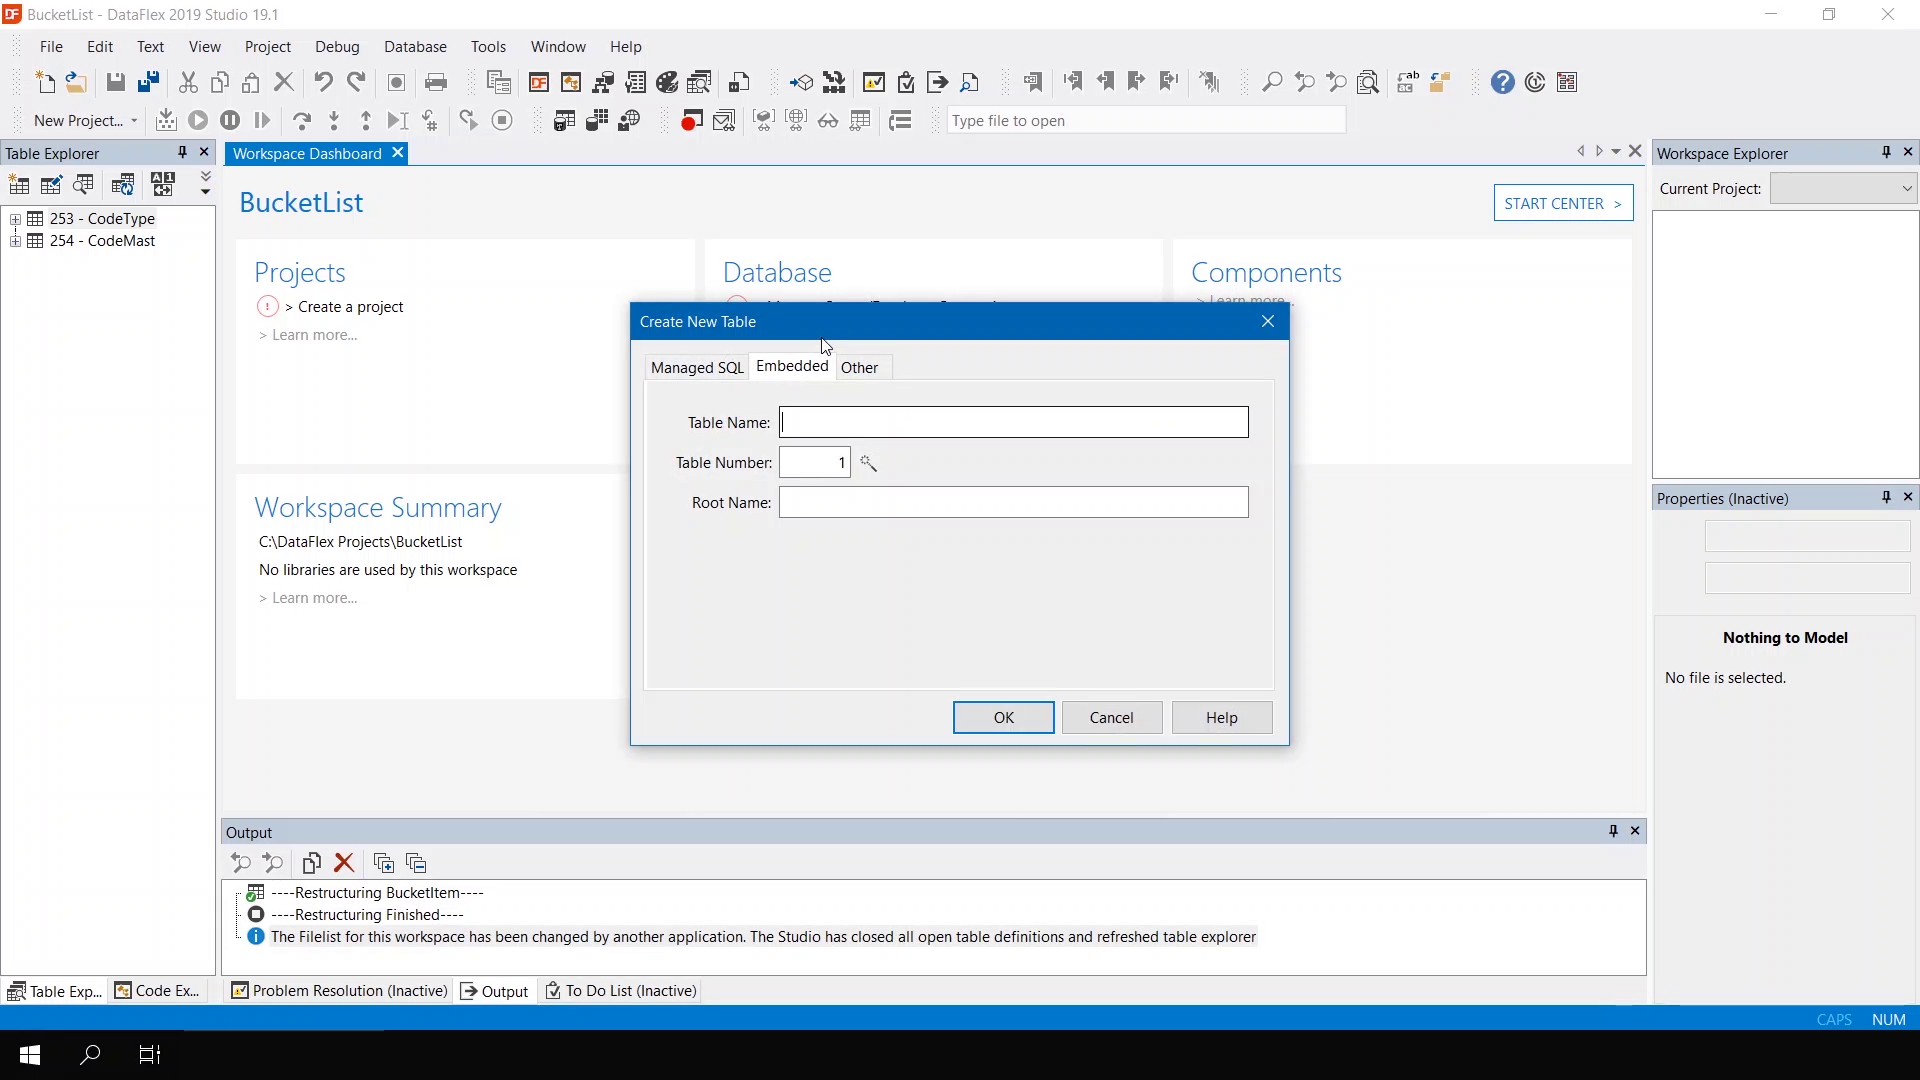
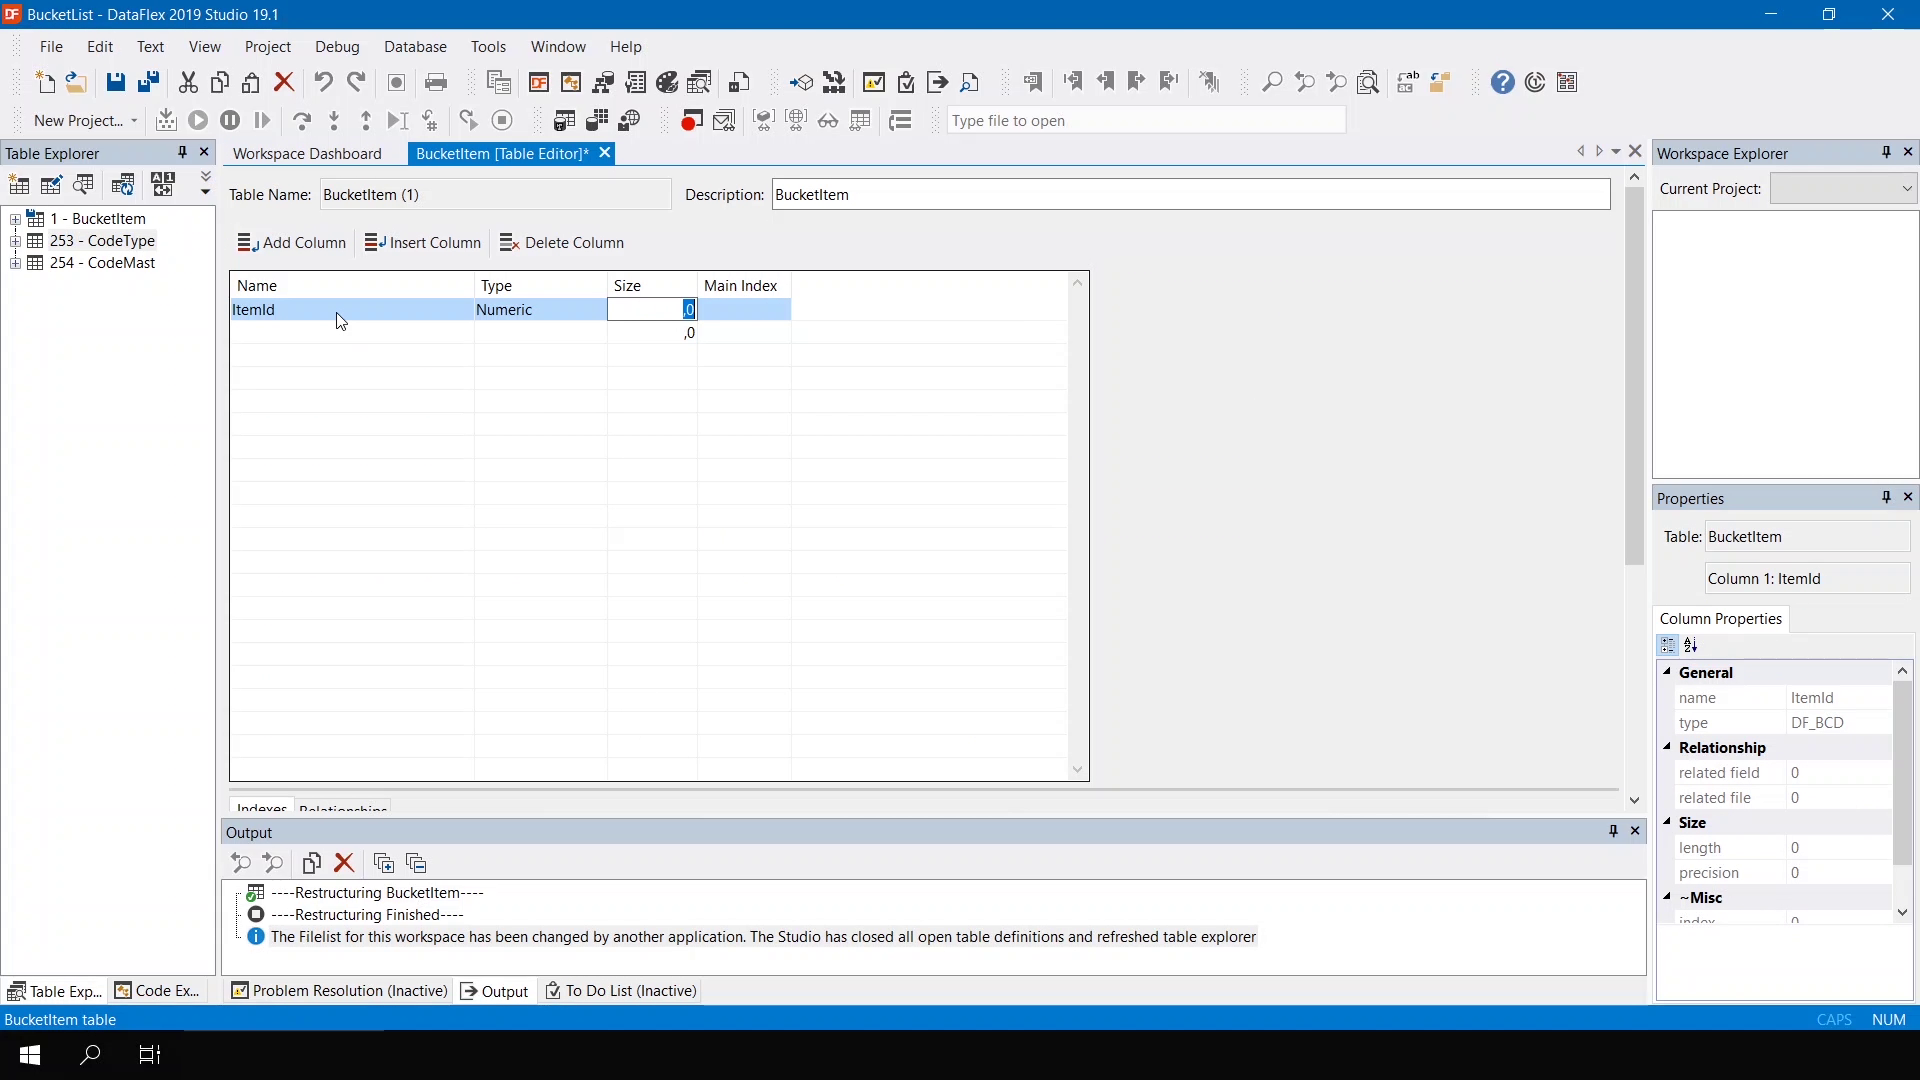
- A table is created by entering its name, a list of fields with their data types and by defining the indexes. When working with multiple tables, relations between the tables are defined.
- Define business rules – the heart of every DataFlex application
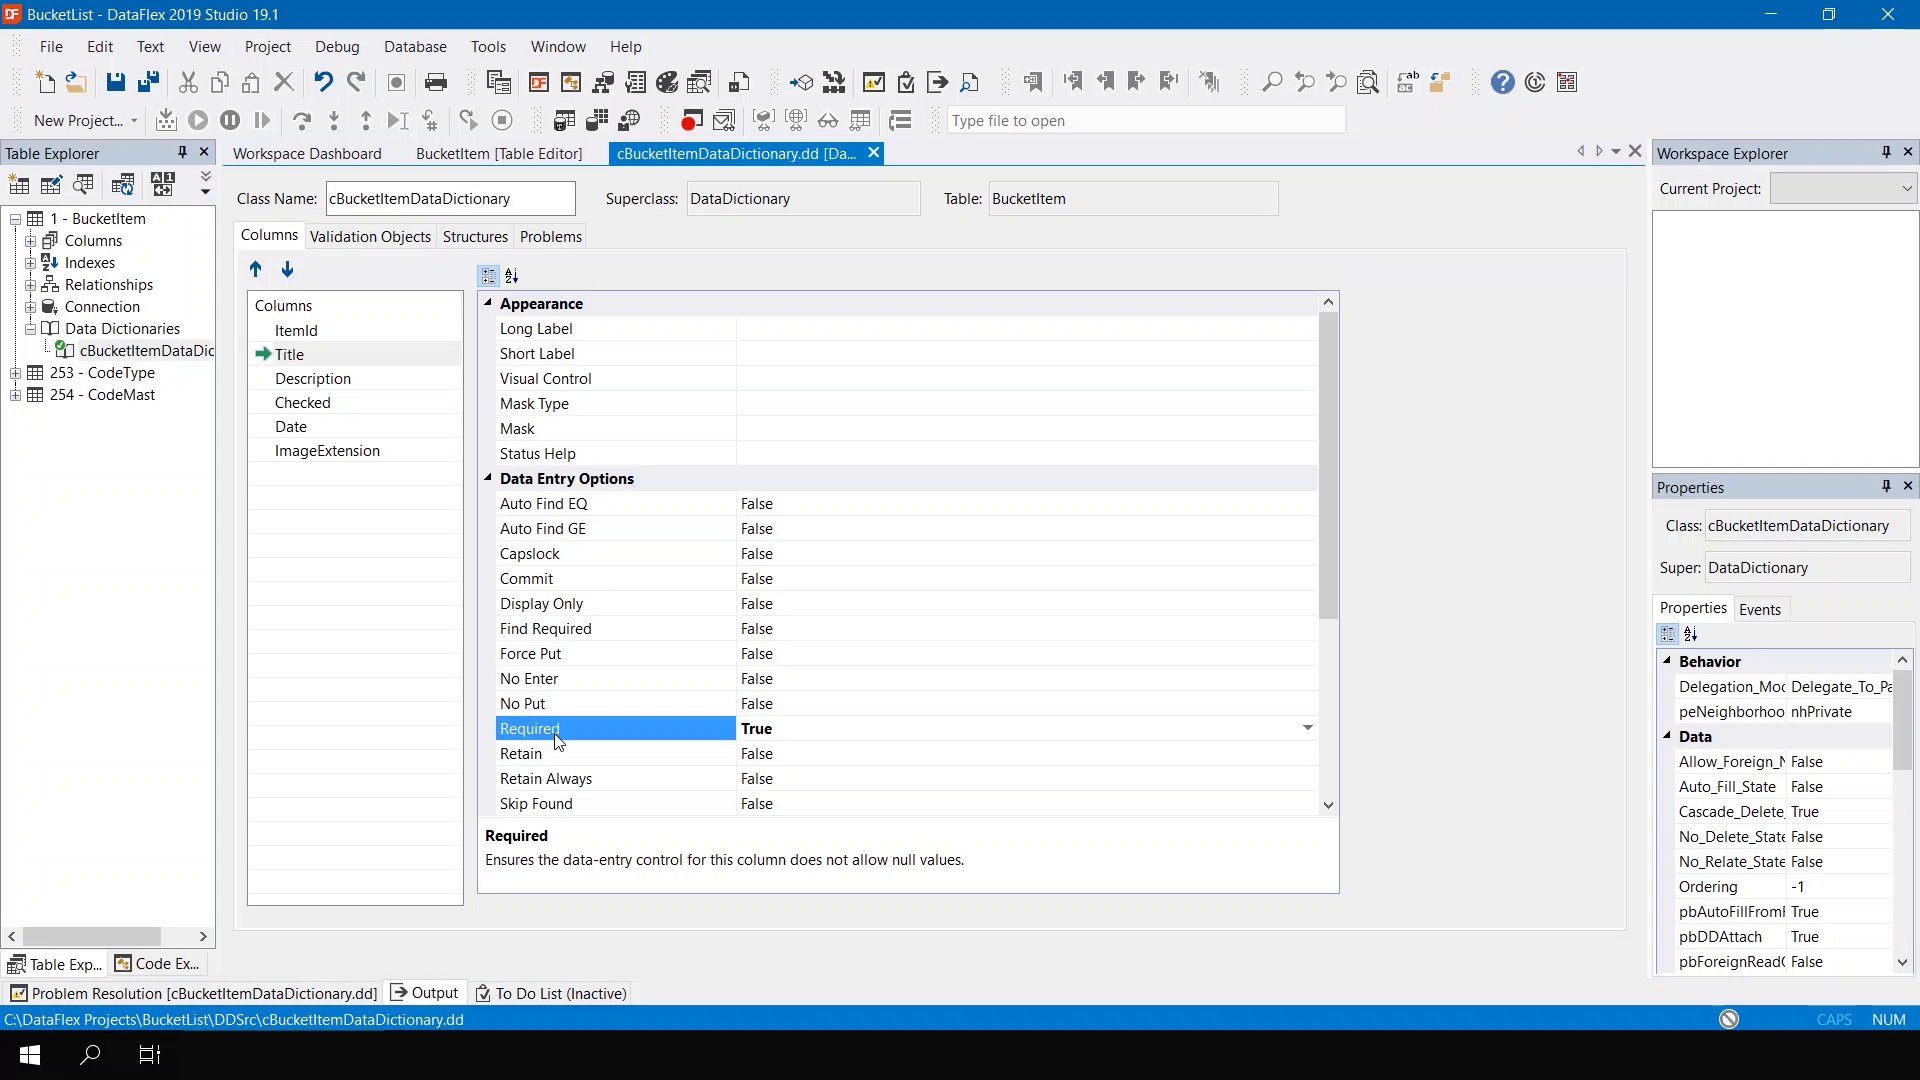
- The rules you set will propagate throughout the whole application. For example, when making ‘Title’ a required field the user must enter a title to each bucket list item.
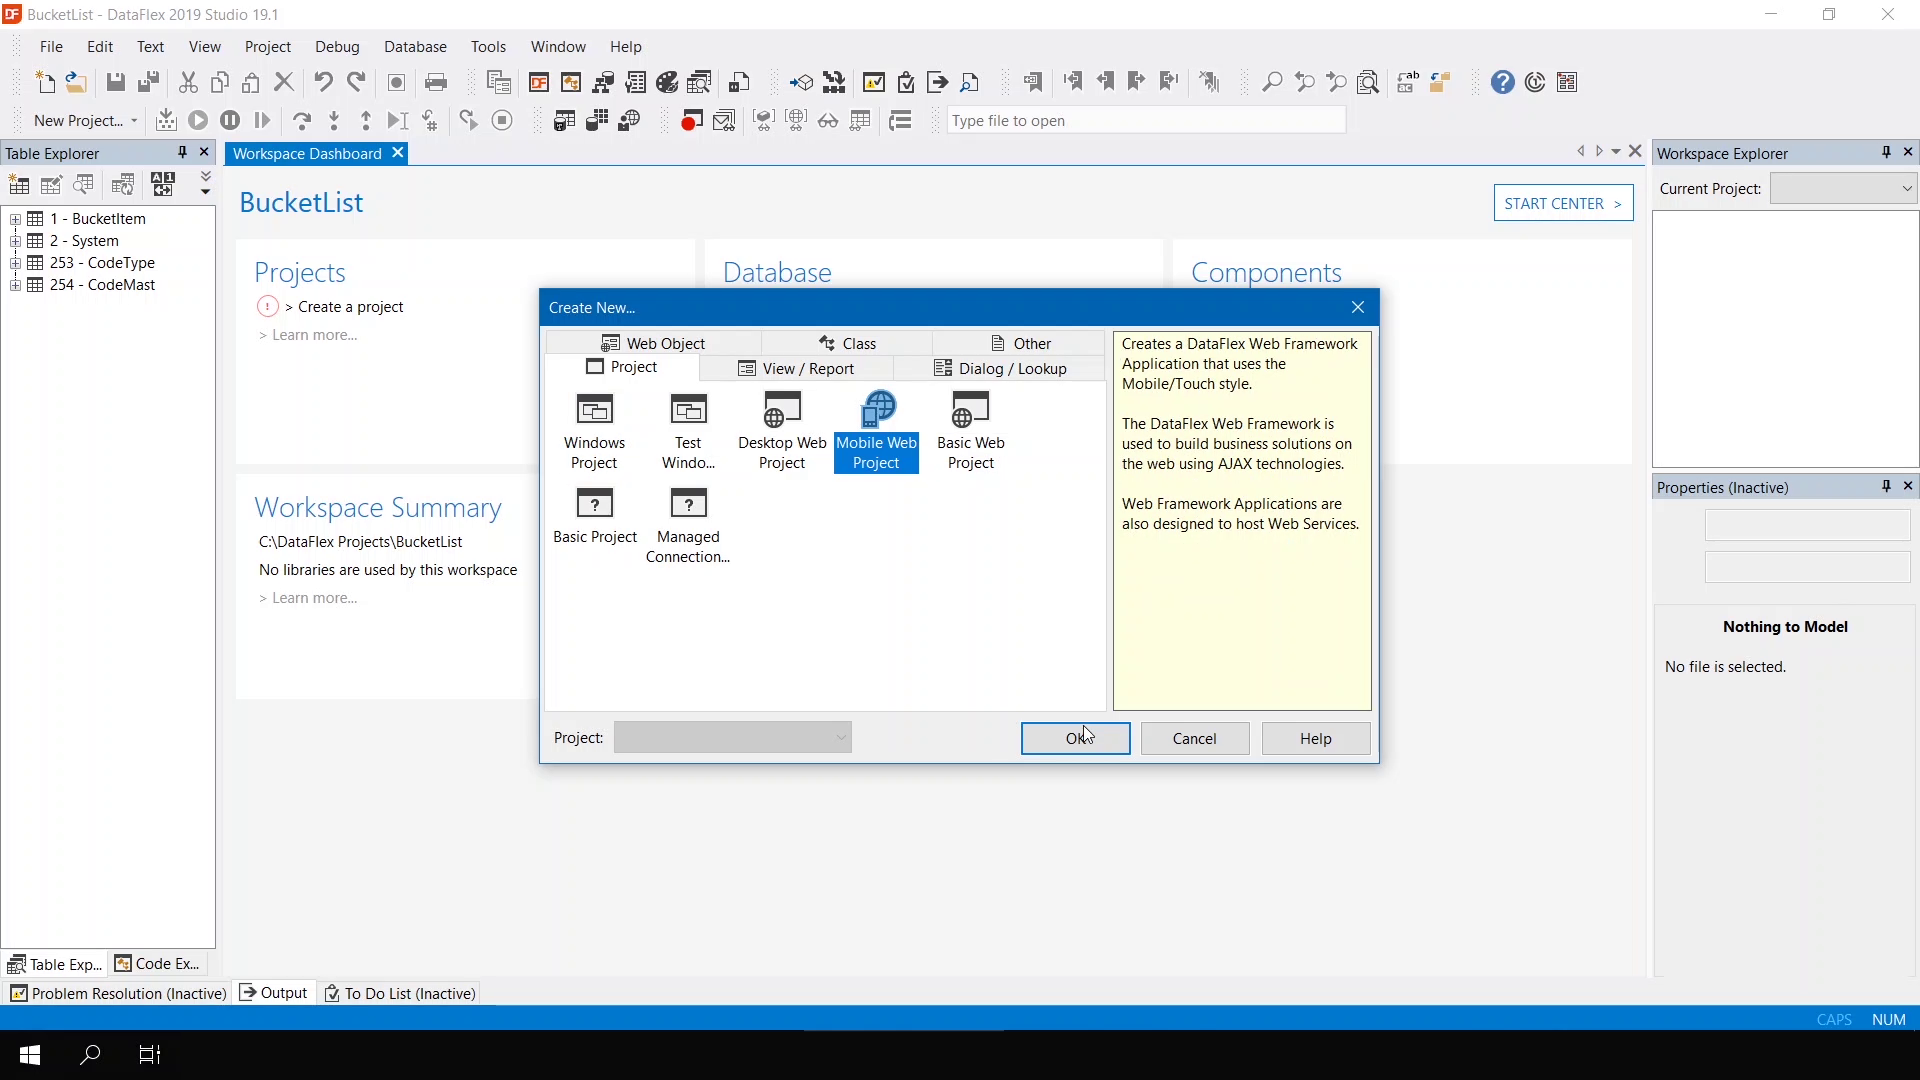
- Create a Web Mobile Project
- Notice the dashboard is now only showing a red marker for one remaining item: create a project.
- To be able to use the application everywhere, select to create a Mobile Web Project. This launches a wizard that guides the user through the necessary steps. Once completed, the basic elements of the application are in place.
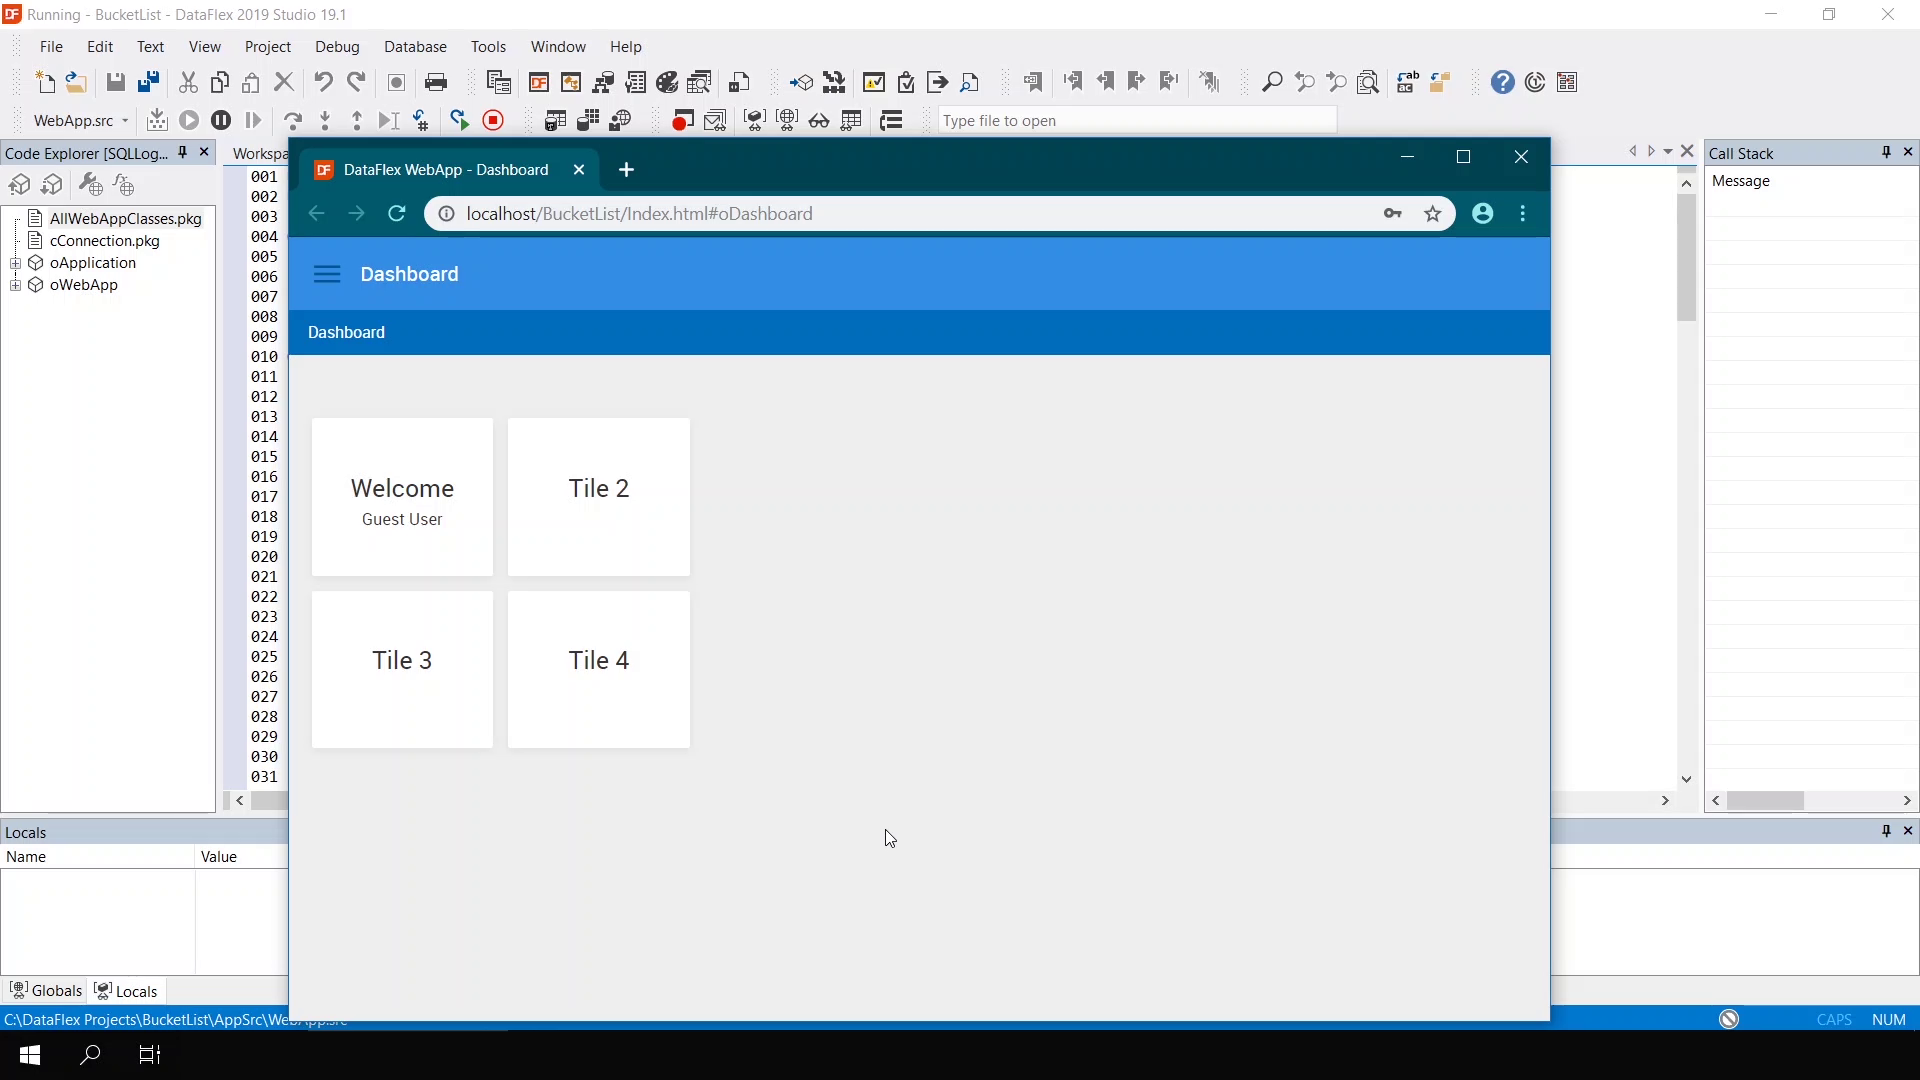
- Opening a preview of the application shows what it will look like.
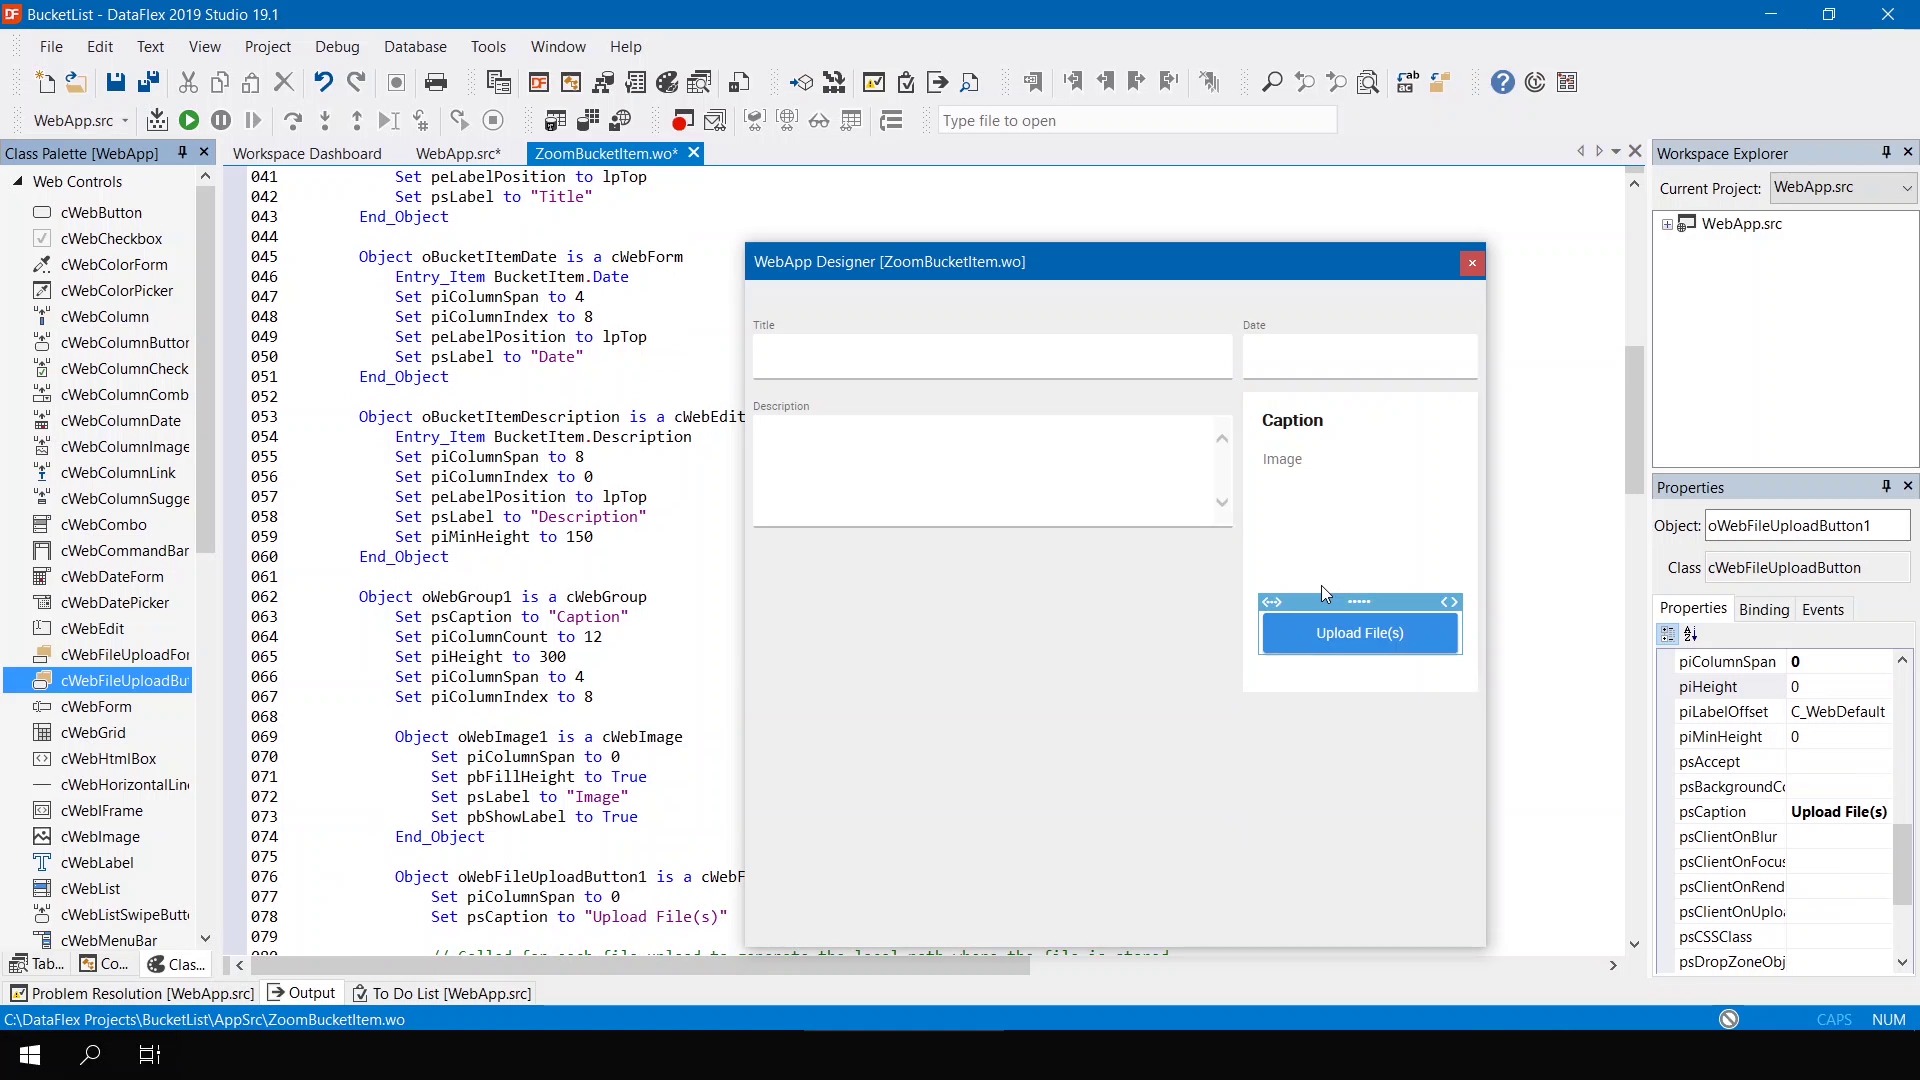
- Build the user interface
- Using a wizard, a zoom view can be created by choosing the items that are to be shown. After generation, drag & drop items into the application. For example, a file upload button can be added that is handy for uploading an image to the bucket list item. Controls, such as a calendar, can also be manually programed by the developer.
- To make the Zoom View work, a select view must be generated with a wizard. The desired fields can be selected and connected to the zoom view.
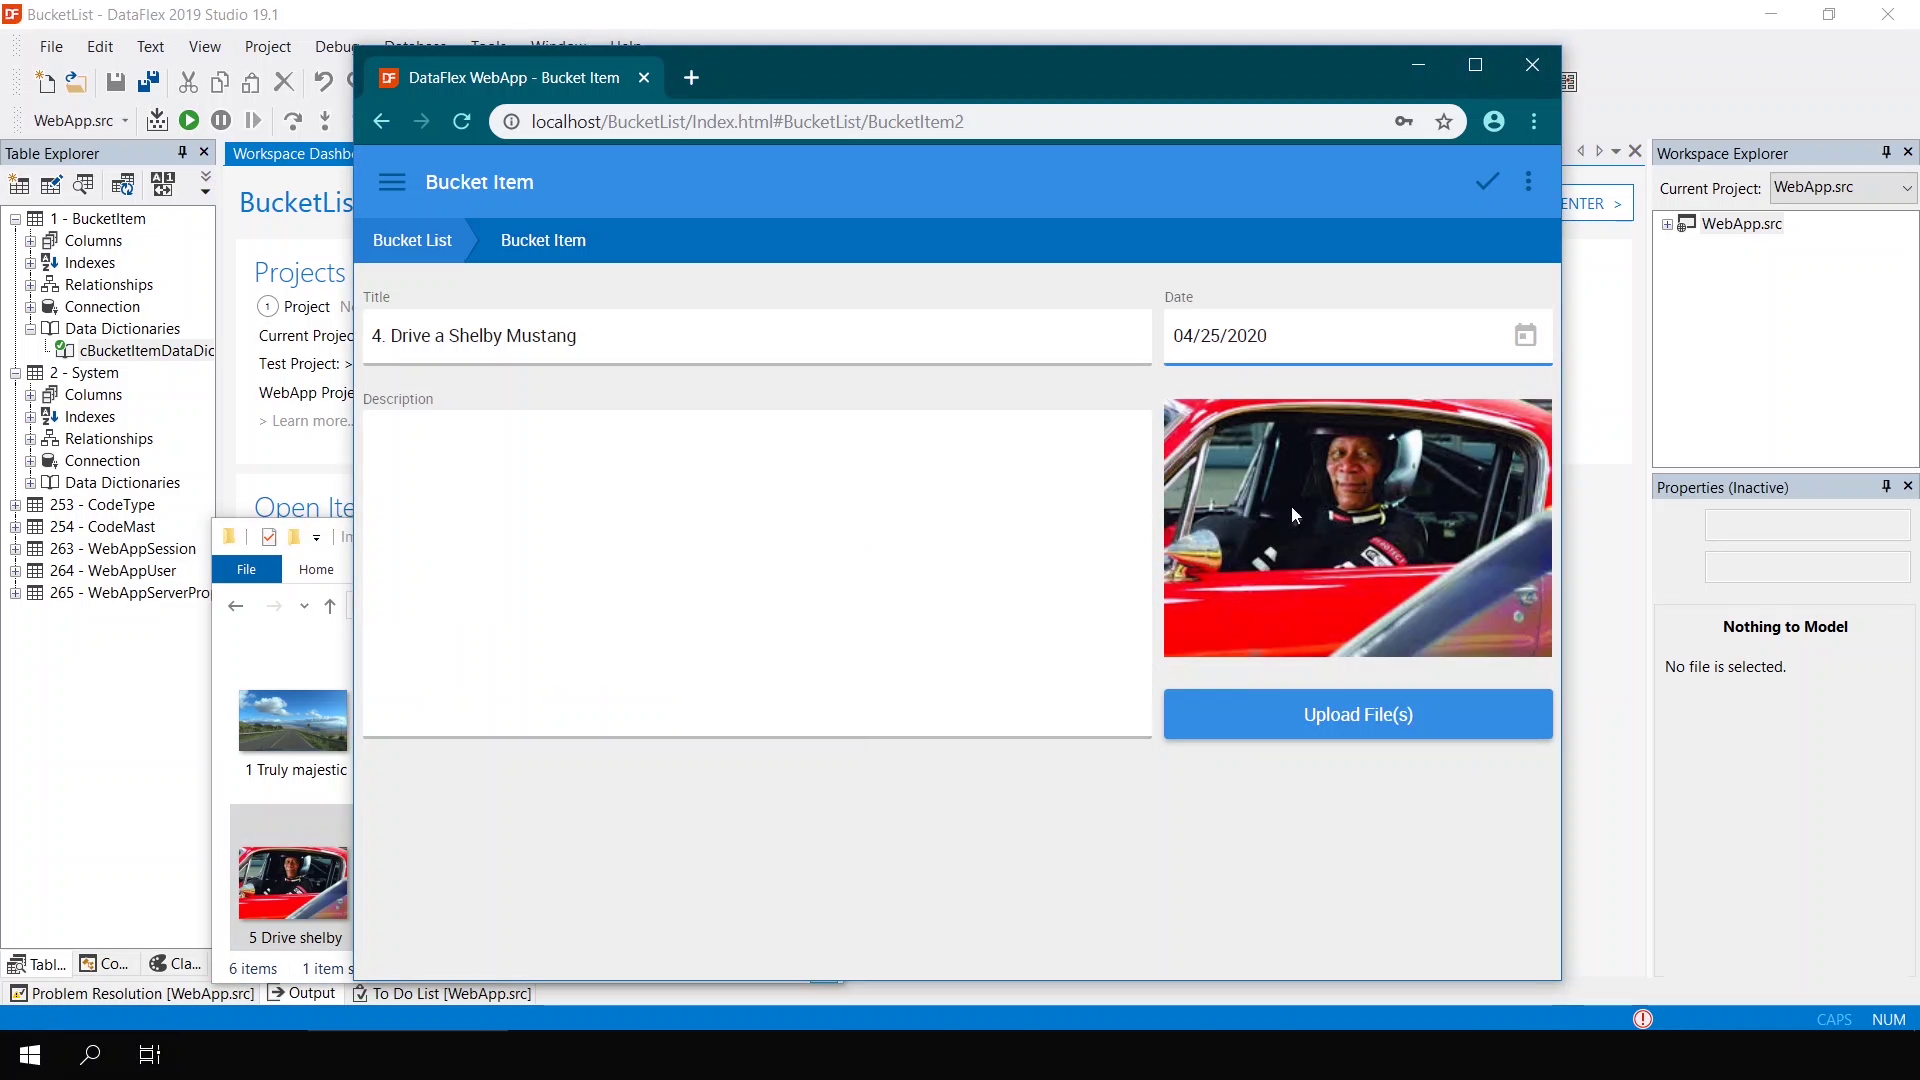
- Run the project inside a browser
- The final step is to check if the application works in a browser… Items can be added to the bucket list with specific dates, descriptions, and an image - it works!
Recommended follow-up courses:


