Working with the WebContextMenu in DataFlex
Lesson 3 - Tips and Tricks & Conclusion
In this lesson we will show some small tricks that will make the ContextMenu even more useful. To start that off I would first like to point out that the pre-defined context doesn’t end with simply WebList rows. We have a context for WebTagsForm tags, for the WebTreeView Directories and entries, and I am sure it will keep growing.
As I showed in the last lesson you can always fiddle around with it yourself using the Custom Context and to go even further; in your own controls using the defined interface in the doc. Should you wish to see a course on that last one? Then do let us know in the forums!
In the last lesson I showed how the ContextMenu can be used for a specific context, but sometimes you might want to use the Menu in a more global sense. There are two options to achieve this.
DEMONSTRATION
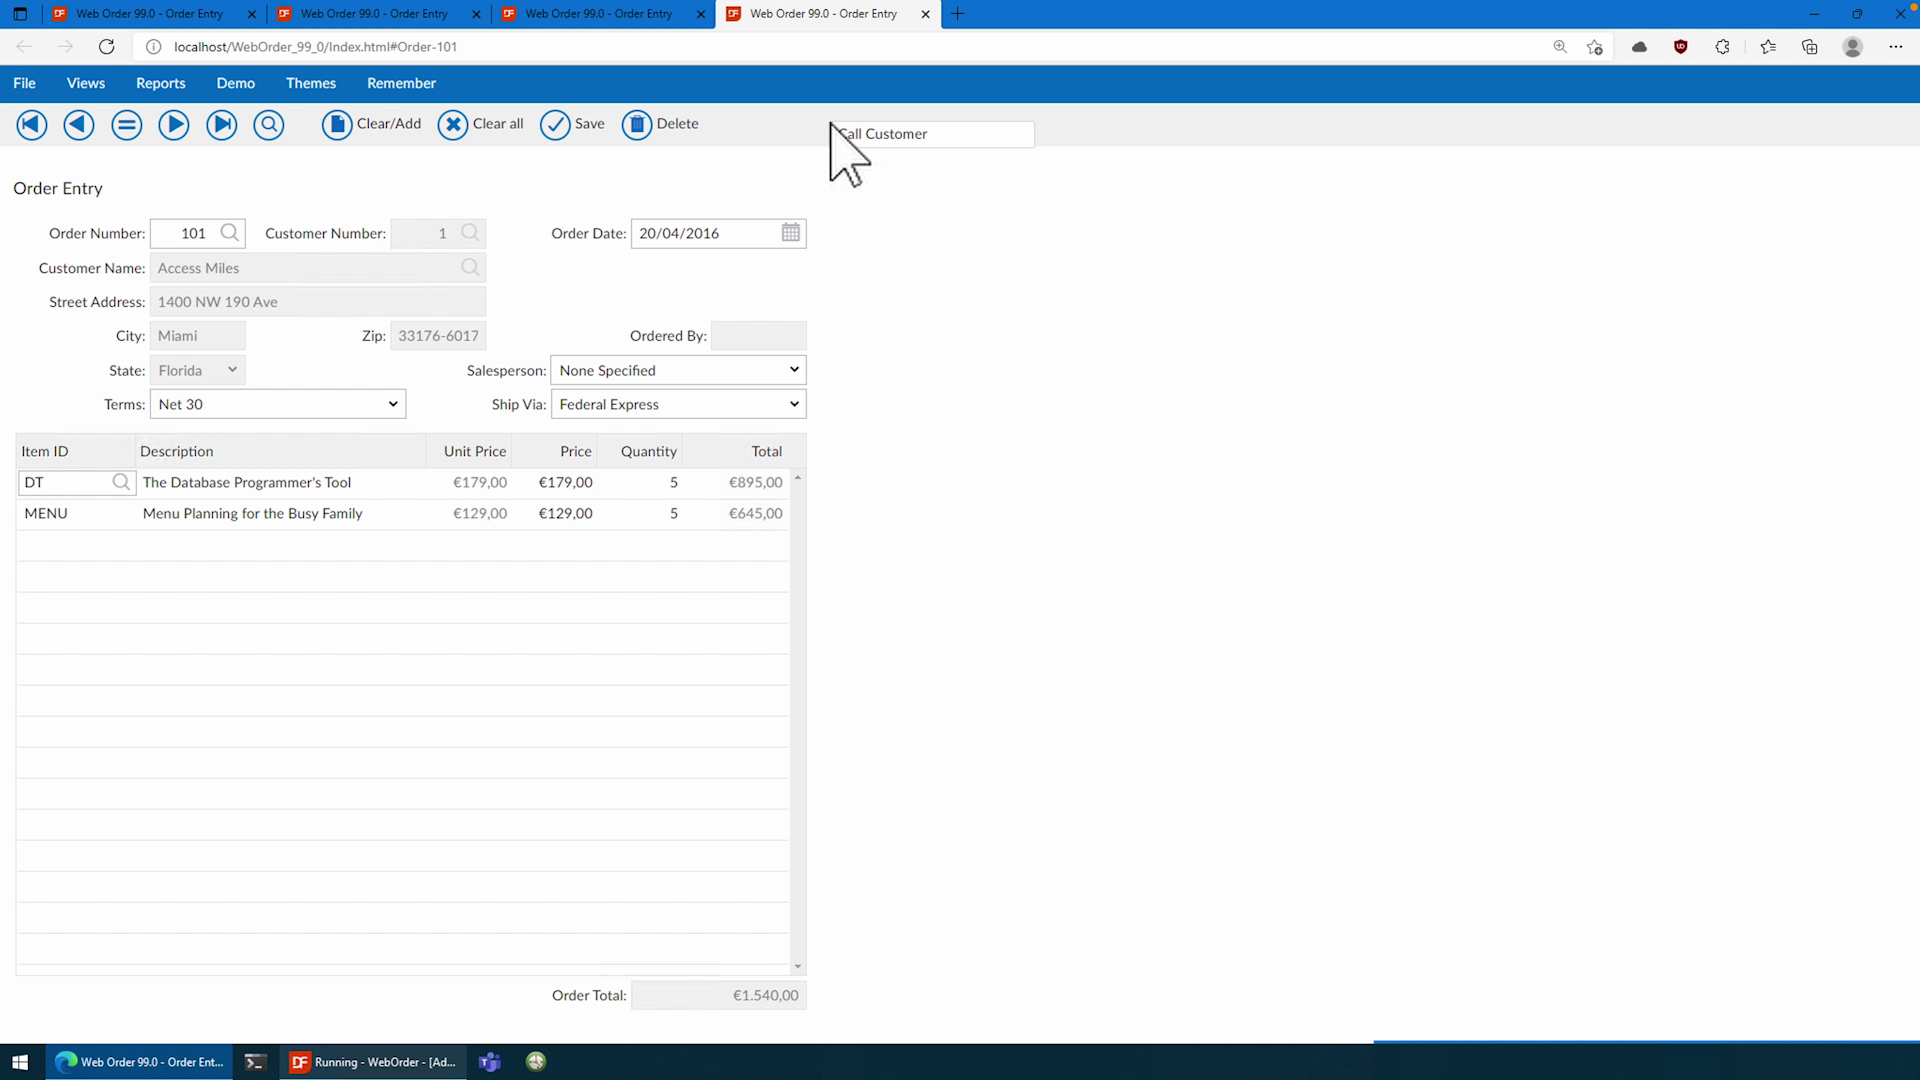
- One is to set the psControlName to “window” and the other is to set it on the whole WebApp, so let’s start with the first one. By setting for example our last menu to “window” we achieve that this sole menu will appear on this whole view. Normally you already can achieve this by creating the menu in the scope of the view object. But now I also want it to encompass the Menubar for example. This can be accomplished by setting it to “window”.

- As you can now see, we can at any point call the customer over the whole view and if we test our other menu’s they will still work. Do remember to put the more global Menu’s on top of the view since they might otherwise interfere with each other.
- Should you wish to go even further you can also set it to the whole WebApp which I do not advocate for, but might be required in some cases.
- If we look over here, we have these WebApp based buttons here that control the data for that view. I think it would come in handy if we also had those in a Menu for example.

- First, we have to remove the window focus of the previous one, so we’ll set that back to the CustomerName…

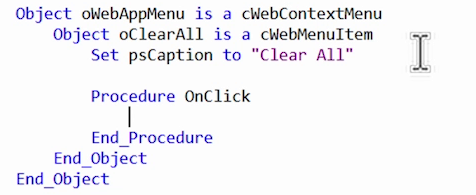
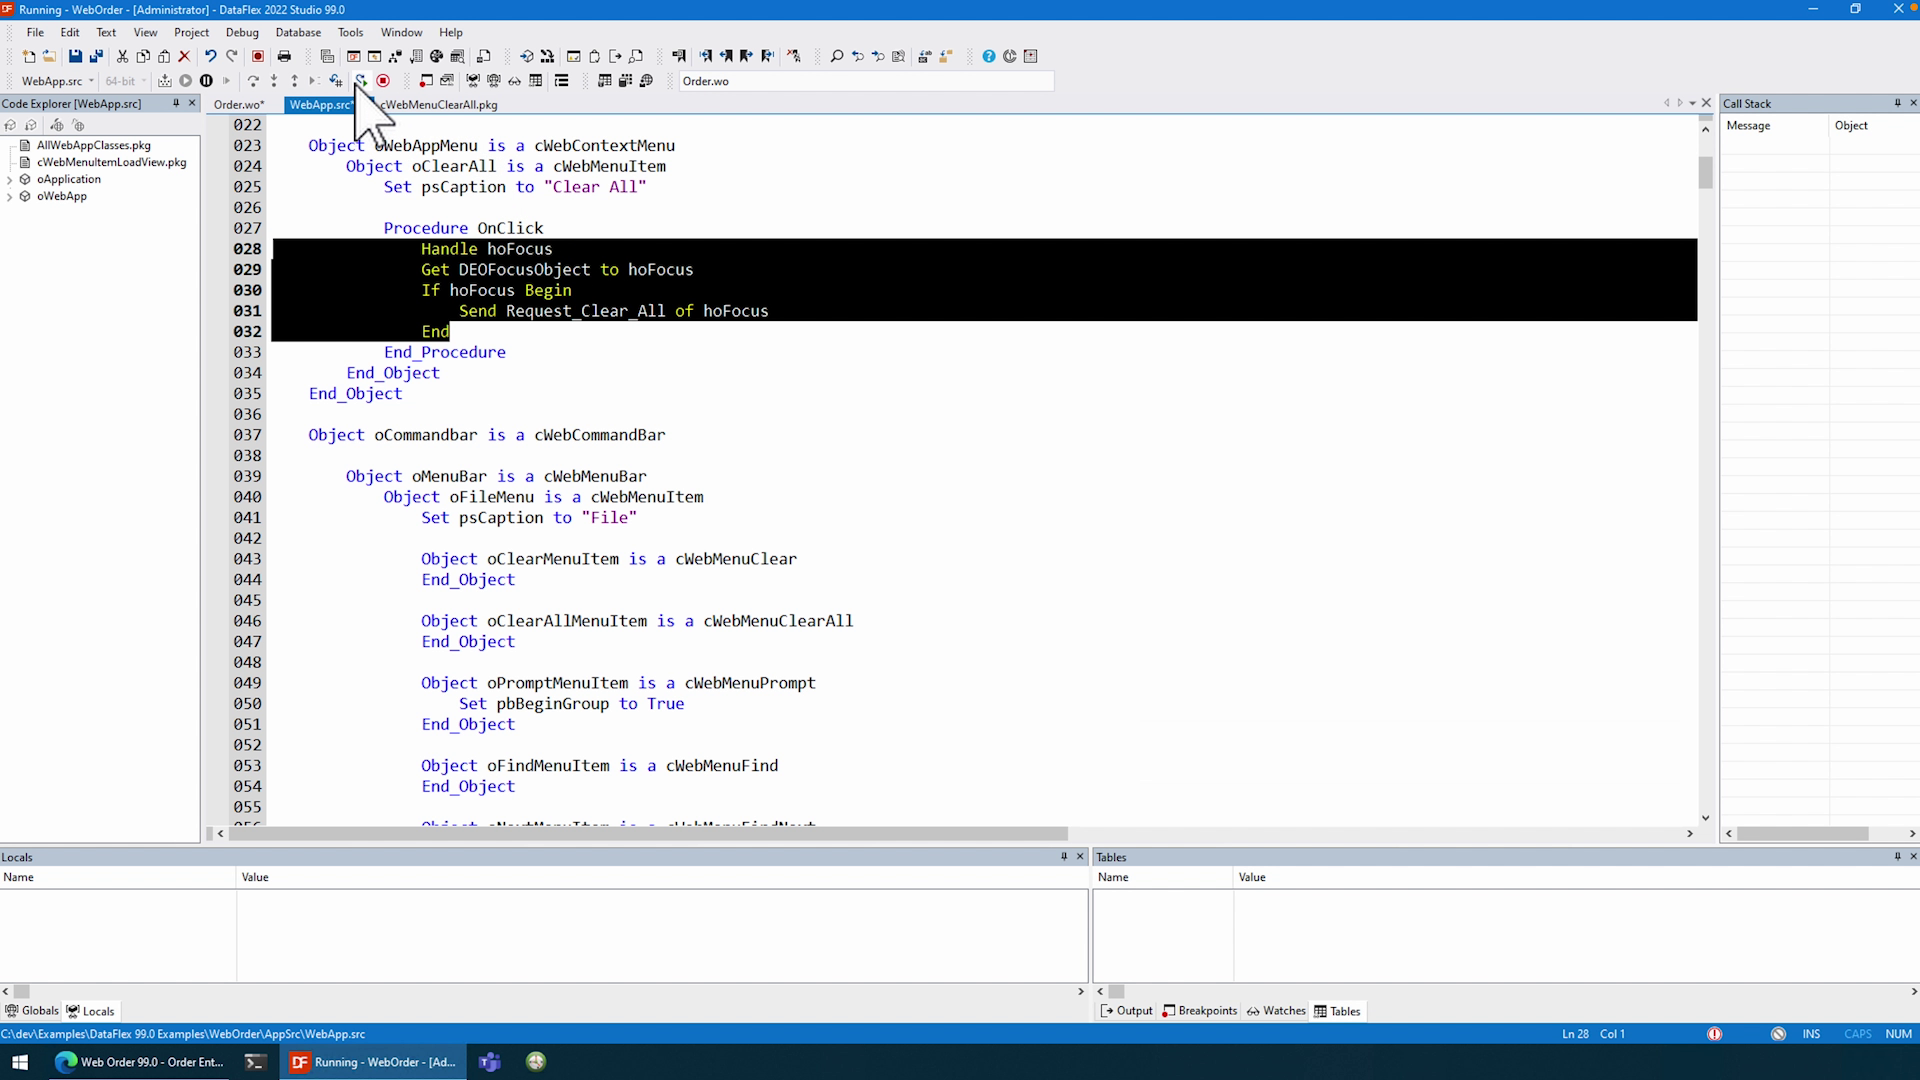
- And then we will go to our main source and add a ContextMenu to the oWebApp object.
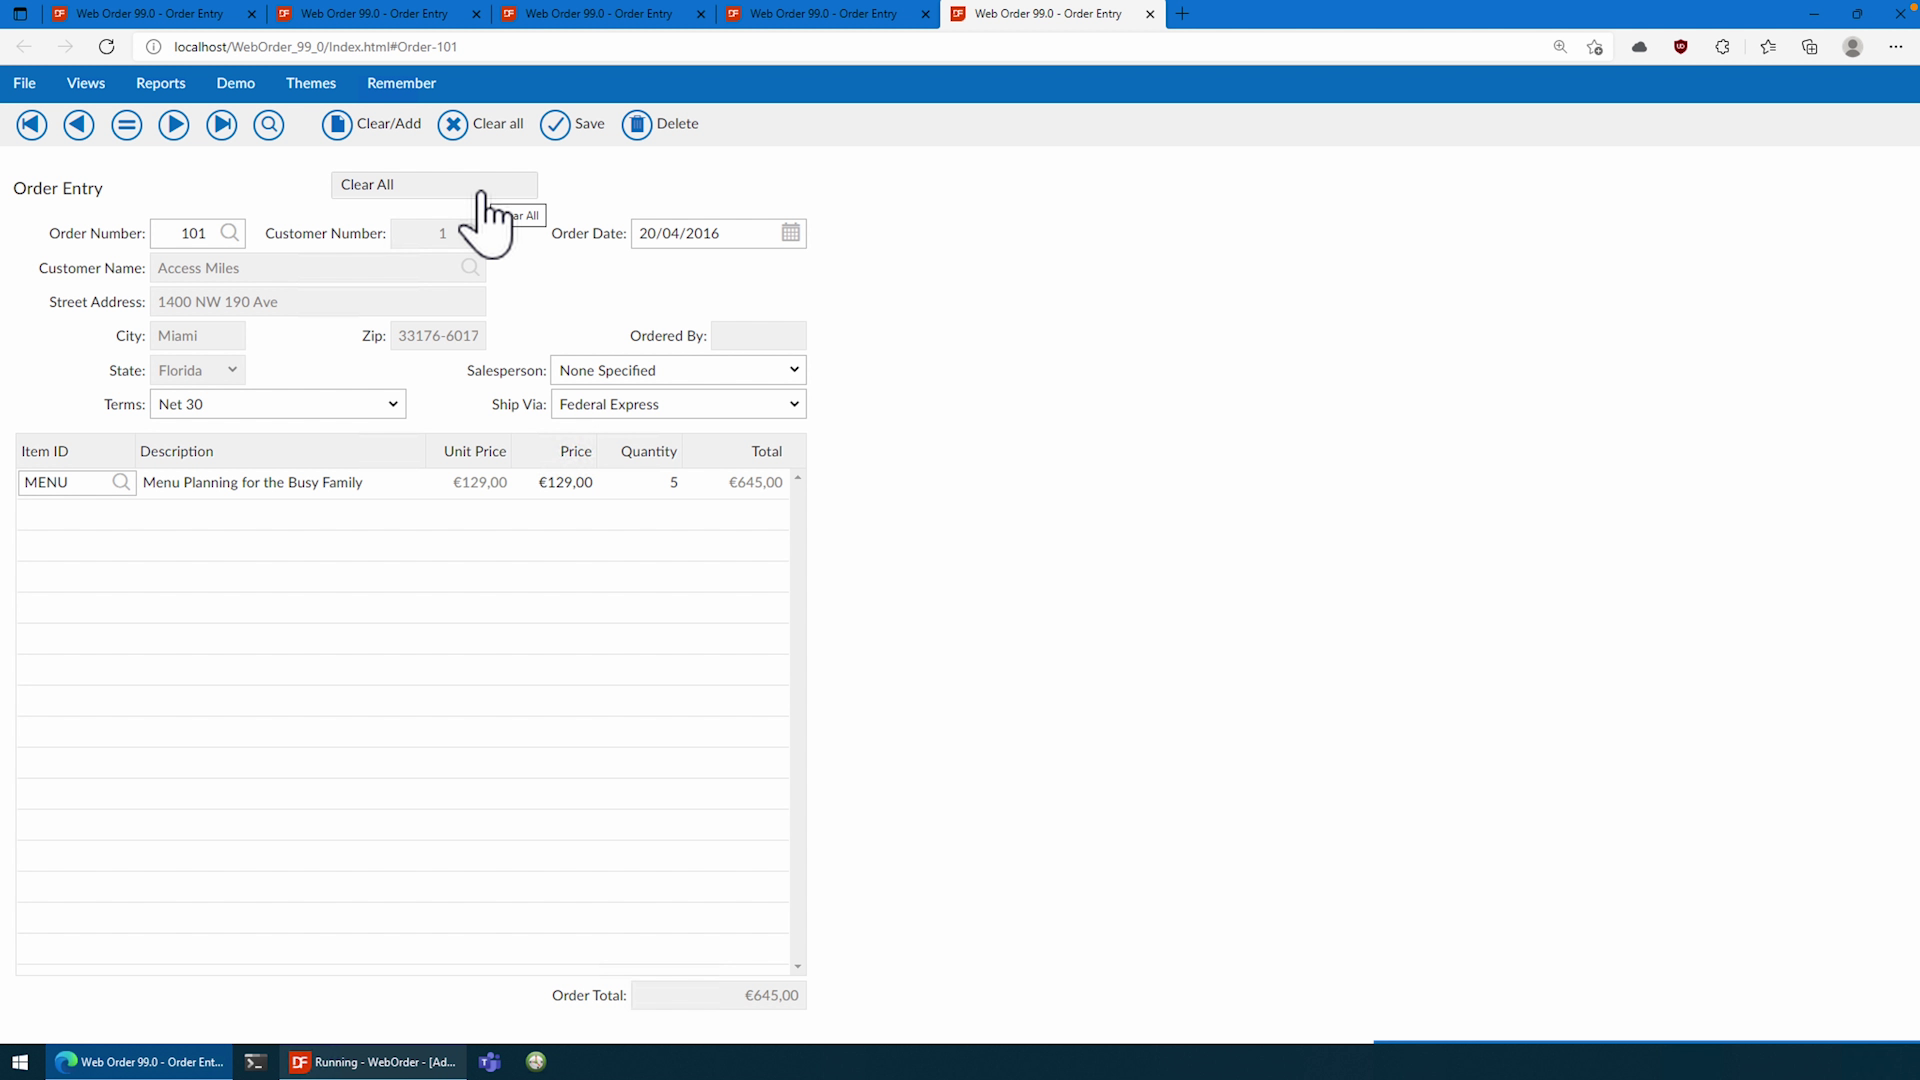
- If we wish to know how to clear the whole view, we can look at the buttons themselves and just copy those over.
- For now, I will do this just for the ClearAll button.
- Should we now compile this we can see that it is available anywhere.
Conclusion
Now that we have gone over all features of this new 2022 WebContextMenu, I hope that with this new control us developers are able to create even better experiences for our customers. We discussed how to use it in very simple cases like WebLists, how it is possible in other controls using the other predefined contexts and of course… our own custom implementations. Using the simple object-oriented structure, it is easier than ever to implement one in a short amount of time, resulting in a much richer and easier experience for the end-user. I hope you will like to use it just as much as I do!
Thank you for watching, and see you next time!


