


In this lesson we’ll be looking at the basic mechanics of the WebContextMenu. Let’s start off by looking through the available properties; I have separated these into 3 different categories: Visuals, Events, and Context Oriented.
Do notice that the WebContextMenu inherits a lot from the already existing Menu api to make it even more easy for the developer to work with, since we’re already so familiar with it.
First up, we have the Visuals; Just like a WebMenuList we are able to enable Icons in front of the MenuItems using pbShowIcons. piMaxHeight will help with specifying the maximum vertical size of the ContextMenu should you wish to change that.
Then we have an event called OnContextMenuOpen which can be used to determine whether the menu should appear for the user. In which you are able to cancel it.
Then we have the “Context”-oriented properties as I like to call them. The way we set the system up is that the WebContextMenu will scope down within the web page. What that means is that you set its main scope on a different control. And from that point on it focuses on a context as you can see:
This scope of the ContextMenu can be set with phoControl or just simply by setting it via the parent as I will show later. The Context is as you might expect set by peContext and uses a predefined list to make it even easier to integrate it with other Framework controls. When a user has clicked on something and the Menu should open the psContextValue property is filled with whatever the attached control gives us. In most existing cases this is the RowId in String format.
Custom controls are currently able to go even further since they can also serialize whole JSON objects but that is for an advanced course later. Furthermore, about advanced properties we also have the psControlName which can be used to set the scope to a control by WebObjectName like with for example dynamic objects.
psContextCSSSelector is a property you will probably use more often however, since the focus can be specified using a CSS selector. It might come off as bit difficult but we will soon see it isn’t that hard, and comes in quite handy.
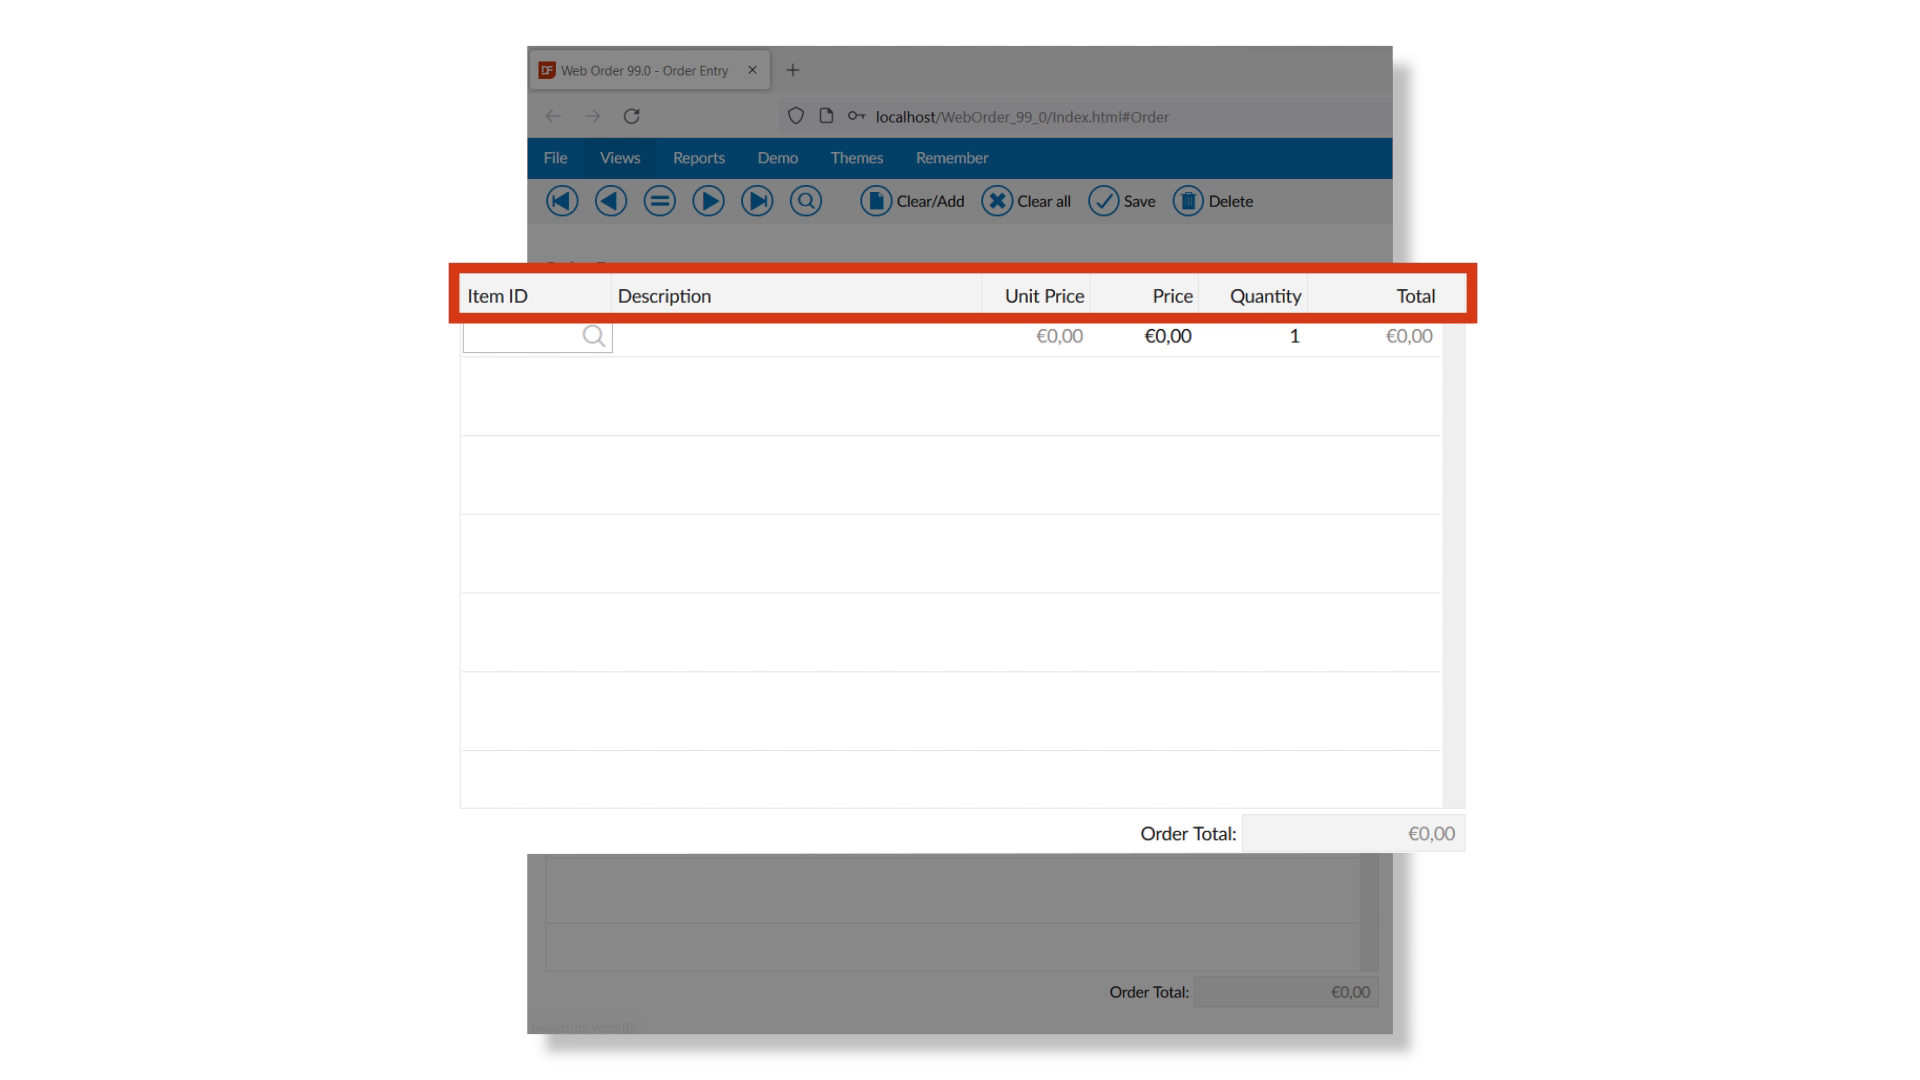
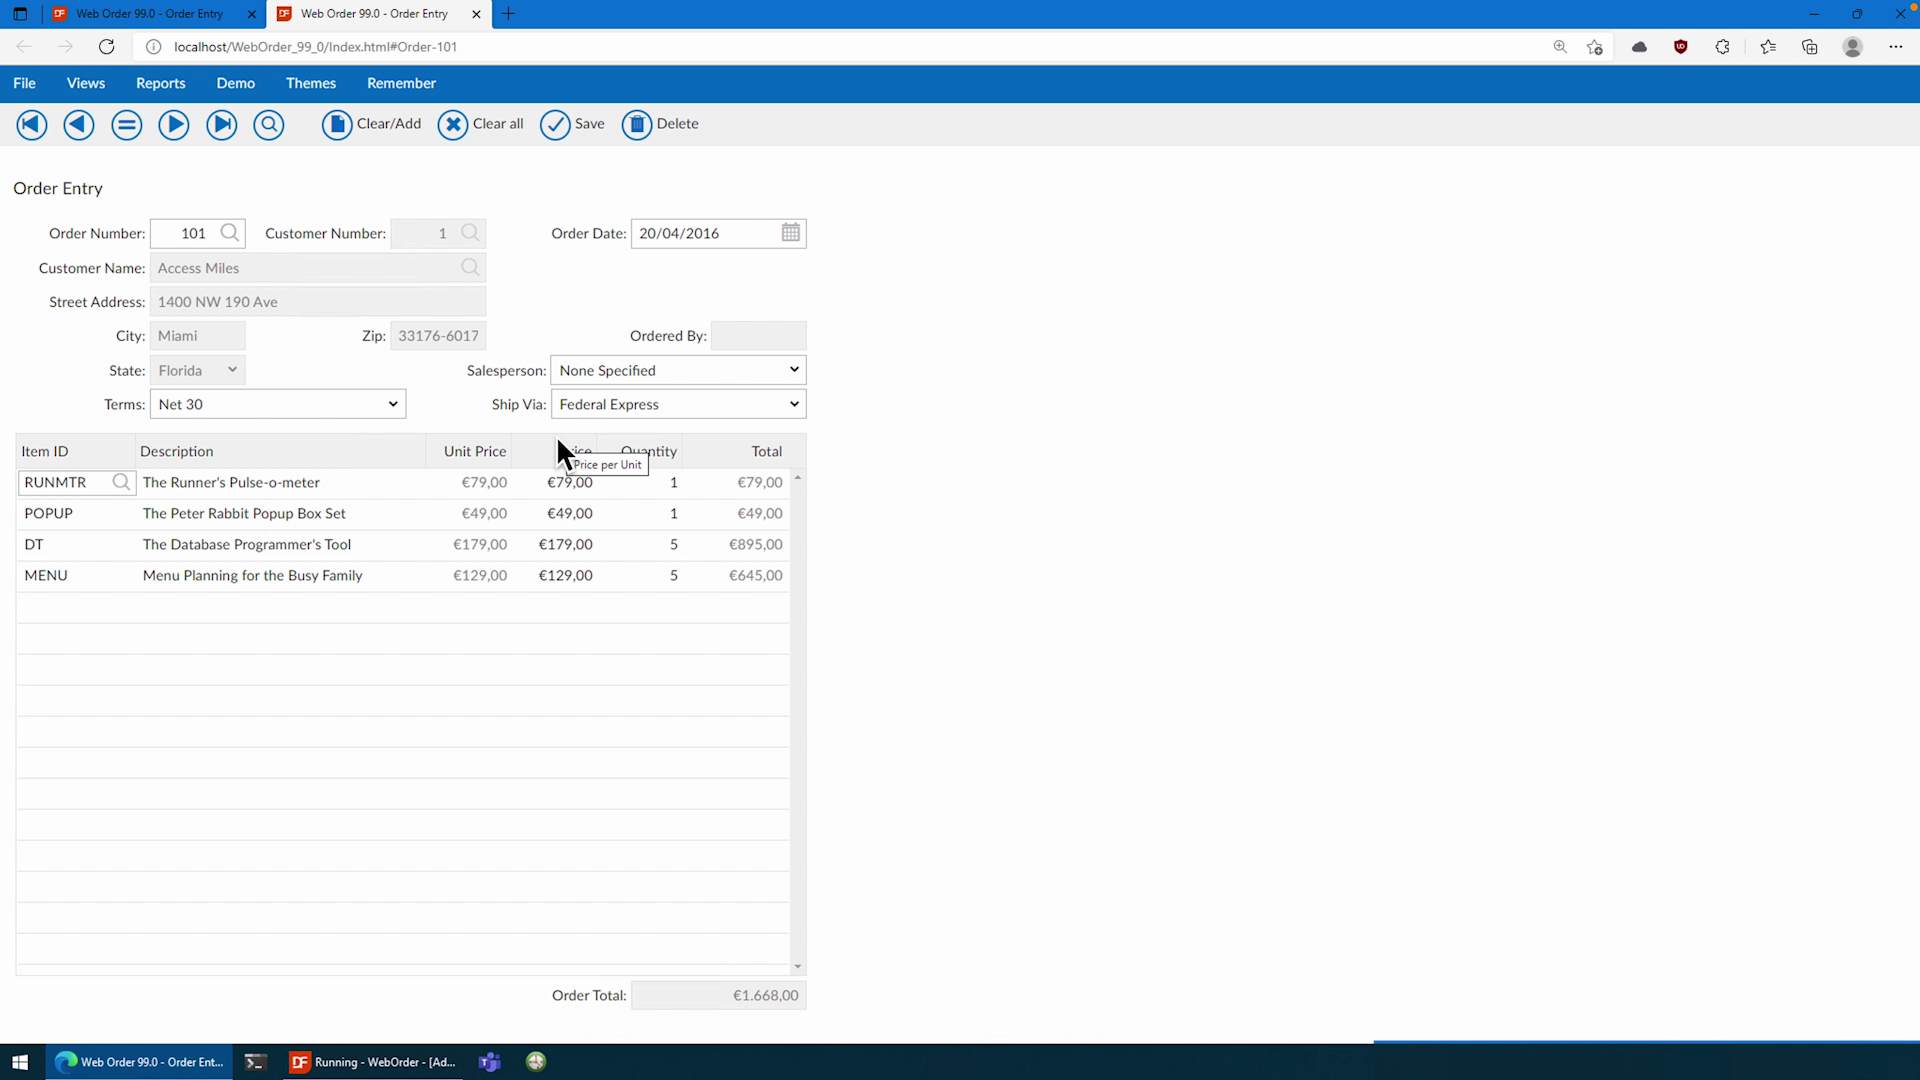
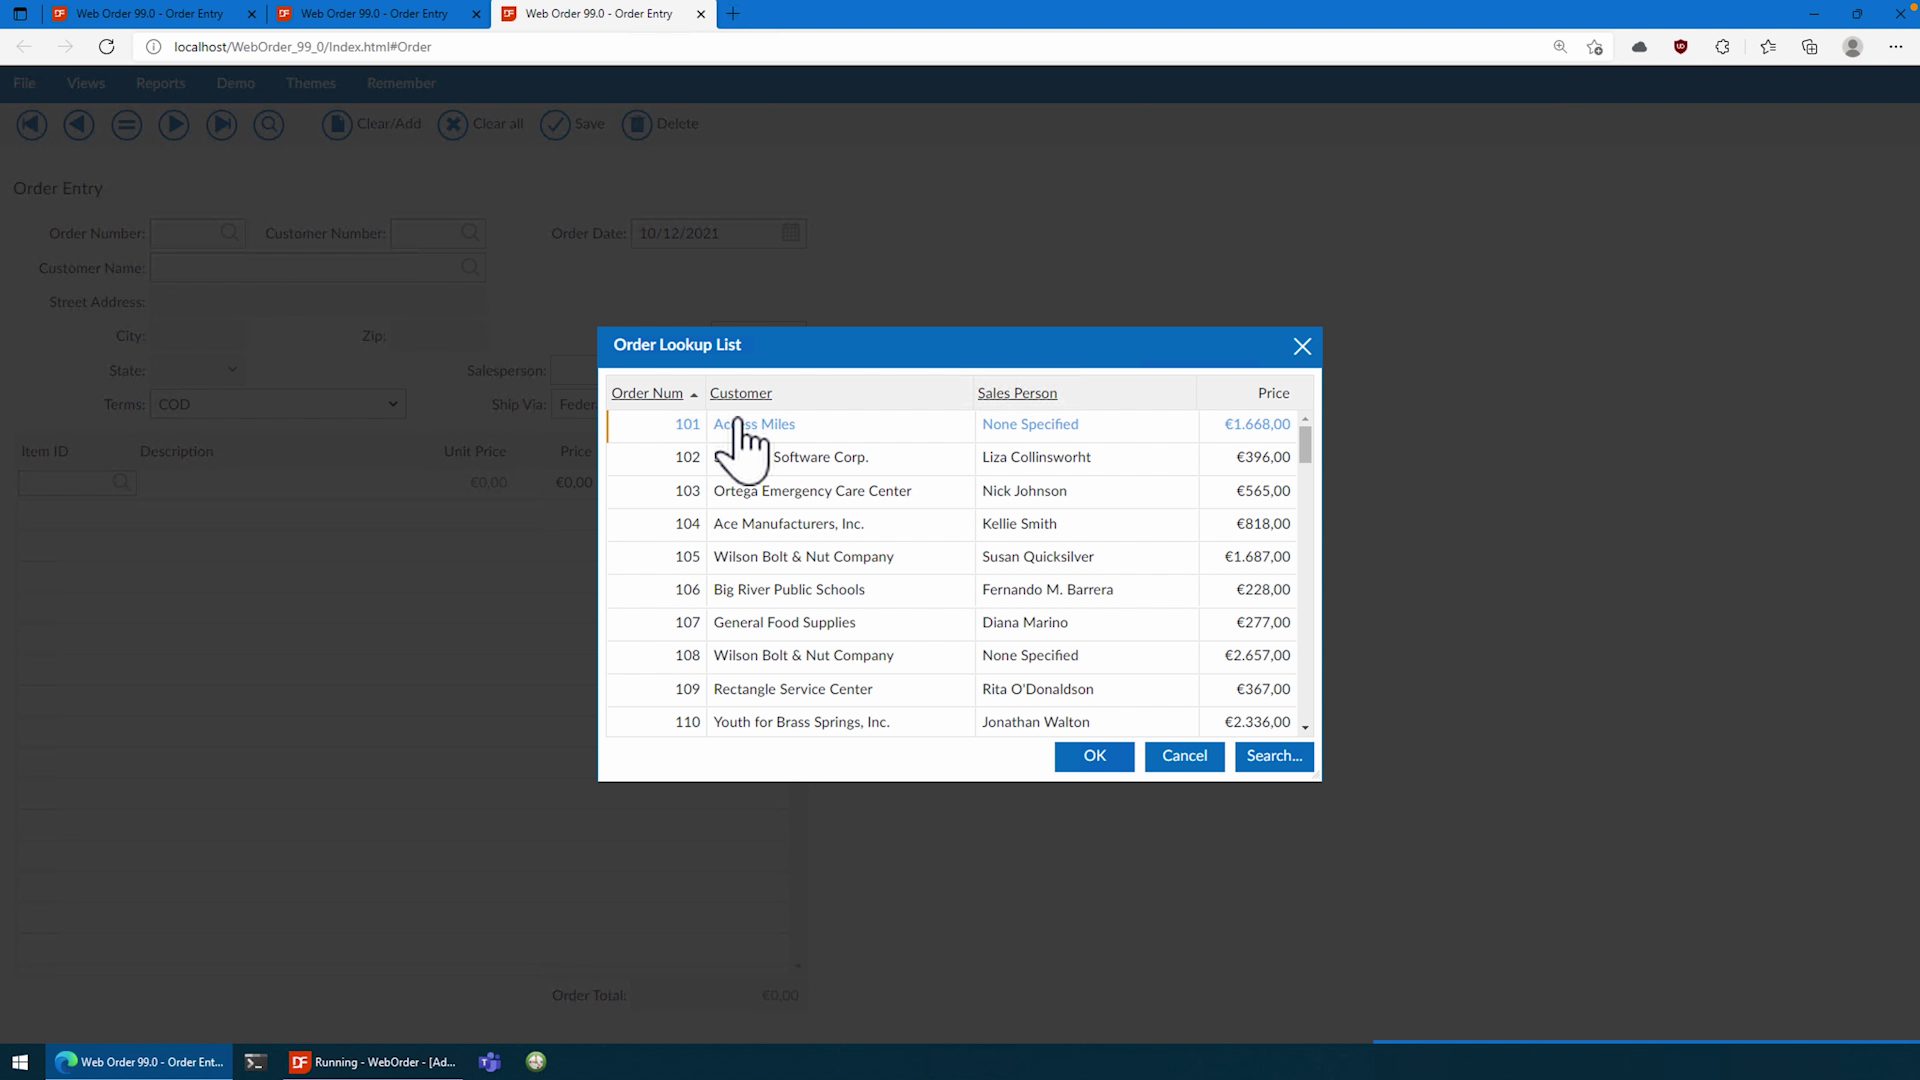
To get a bit of a feel for how easy it is to improve your applications with the WebContextMenu I have created a copy of the WebOrder sample and as such we will go on from there if you would like to copy me.
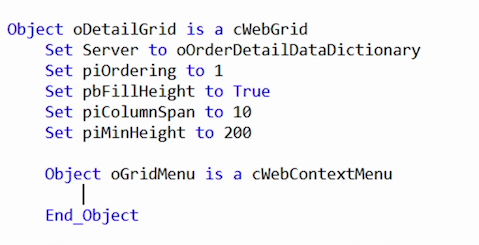
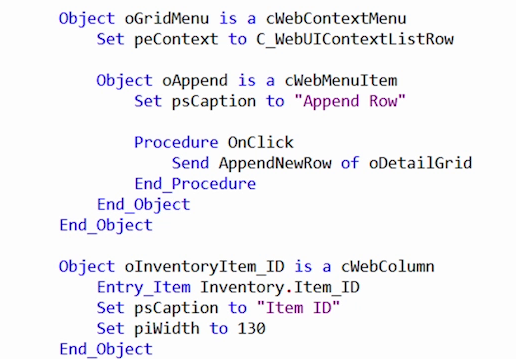
DEMONSTRATION
As you might have noticed this was very simple to implement, but it was just the tip of the iceberg. In the next lesson we’ll take a look at the context’s themselves and also do some more advanced things.
