Working with the WebContextMenu in DataFlex
Lesson 2 - Contexts
In the last lesson we have gone over the WebContextMenu and its attributes and created a minimal sample. In this lesson I am going to show you how to actually use the context.
DEMONSTRATION
- In the last lesson we didn’t actually use the context itself. This is because you might want to have for example global or control specific- but also context related-items.
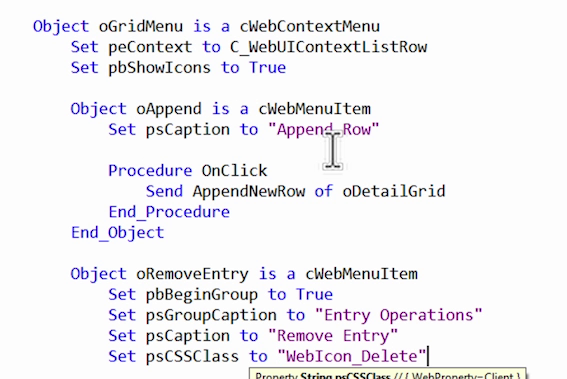
- To illustrate this, we will add an additional item and tell it to be in its independent group using the pbBeginGroup property. For this WebGrid I would like to make it just that little easier to remove an item from an order. So, let’s name this item “Remove Entry” and check it out.
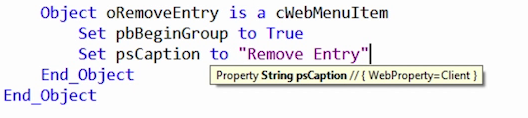
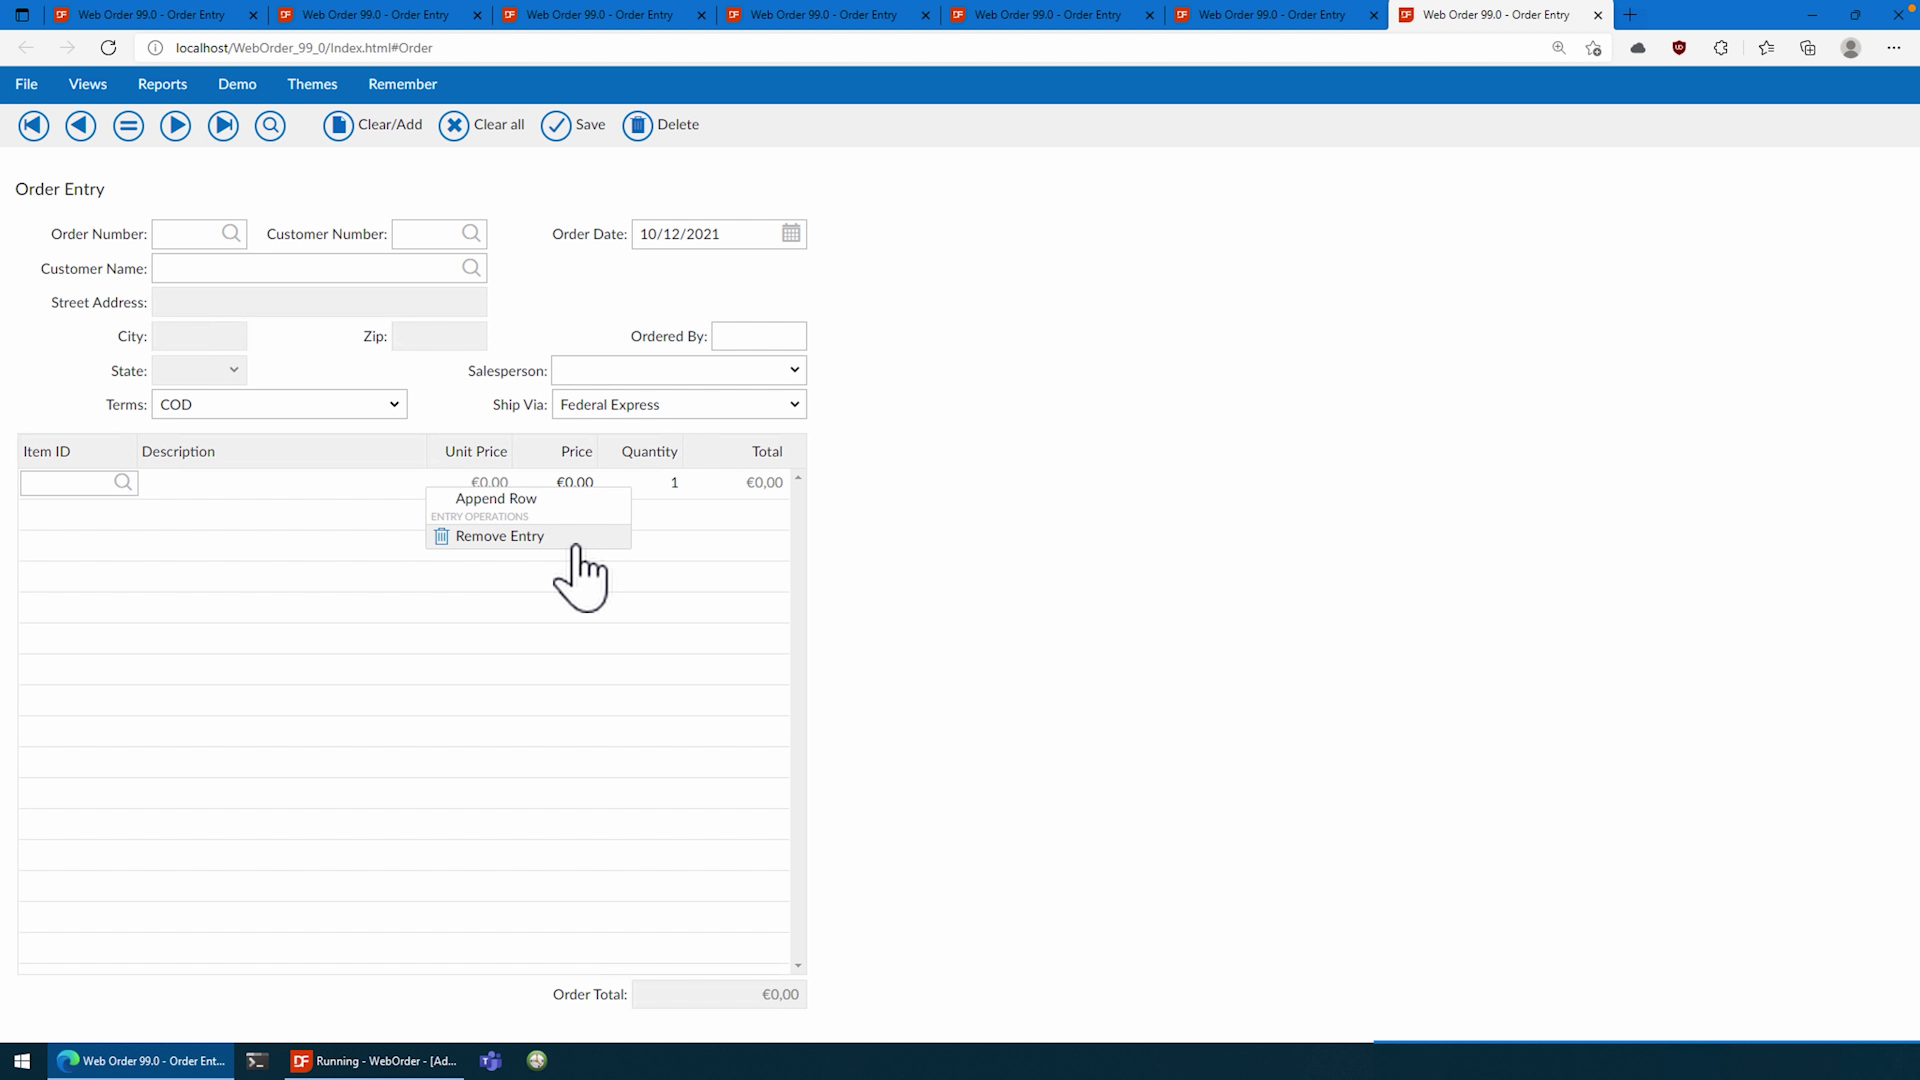
- As you can see, we now have an additional item called “Remove Entry” with a line above it.
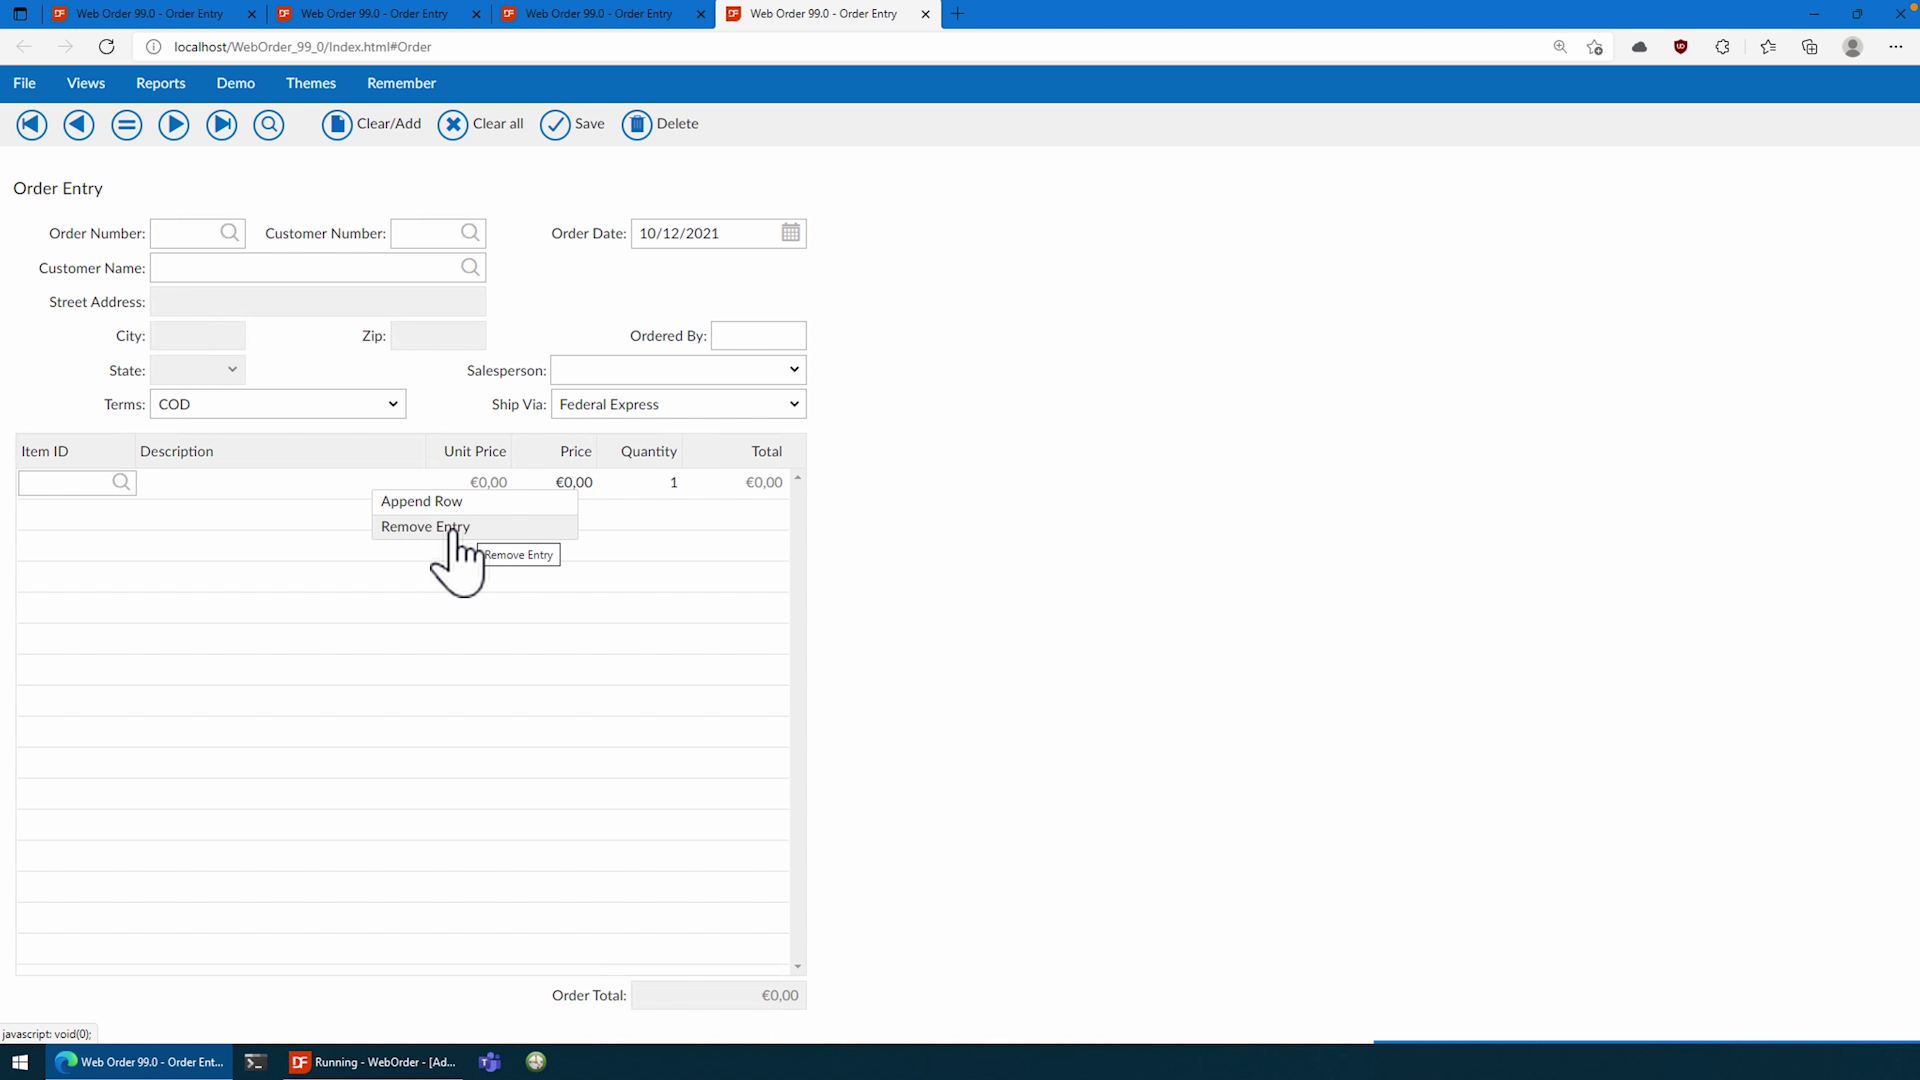
- But what if it is not yet clear enough what group does what? Well, we’ll add a psGroupCaption and call it “Entry Operations”….

- If we compile that again you can see that we now also have a text above the separator line which tells me what that group might do.
While we as developers might understand what everything means, it does not always go for the users as well, and as such these little additions of a label of sorts might make it just that bit easier to understand.
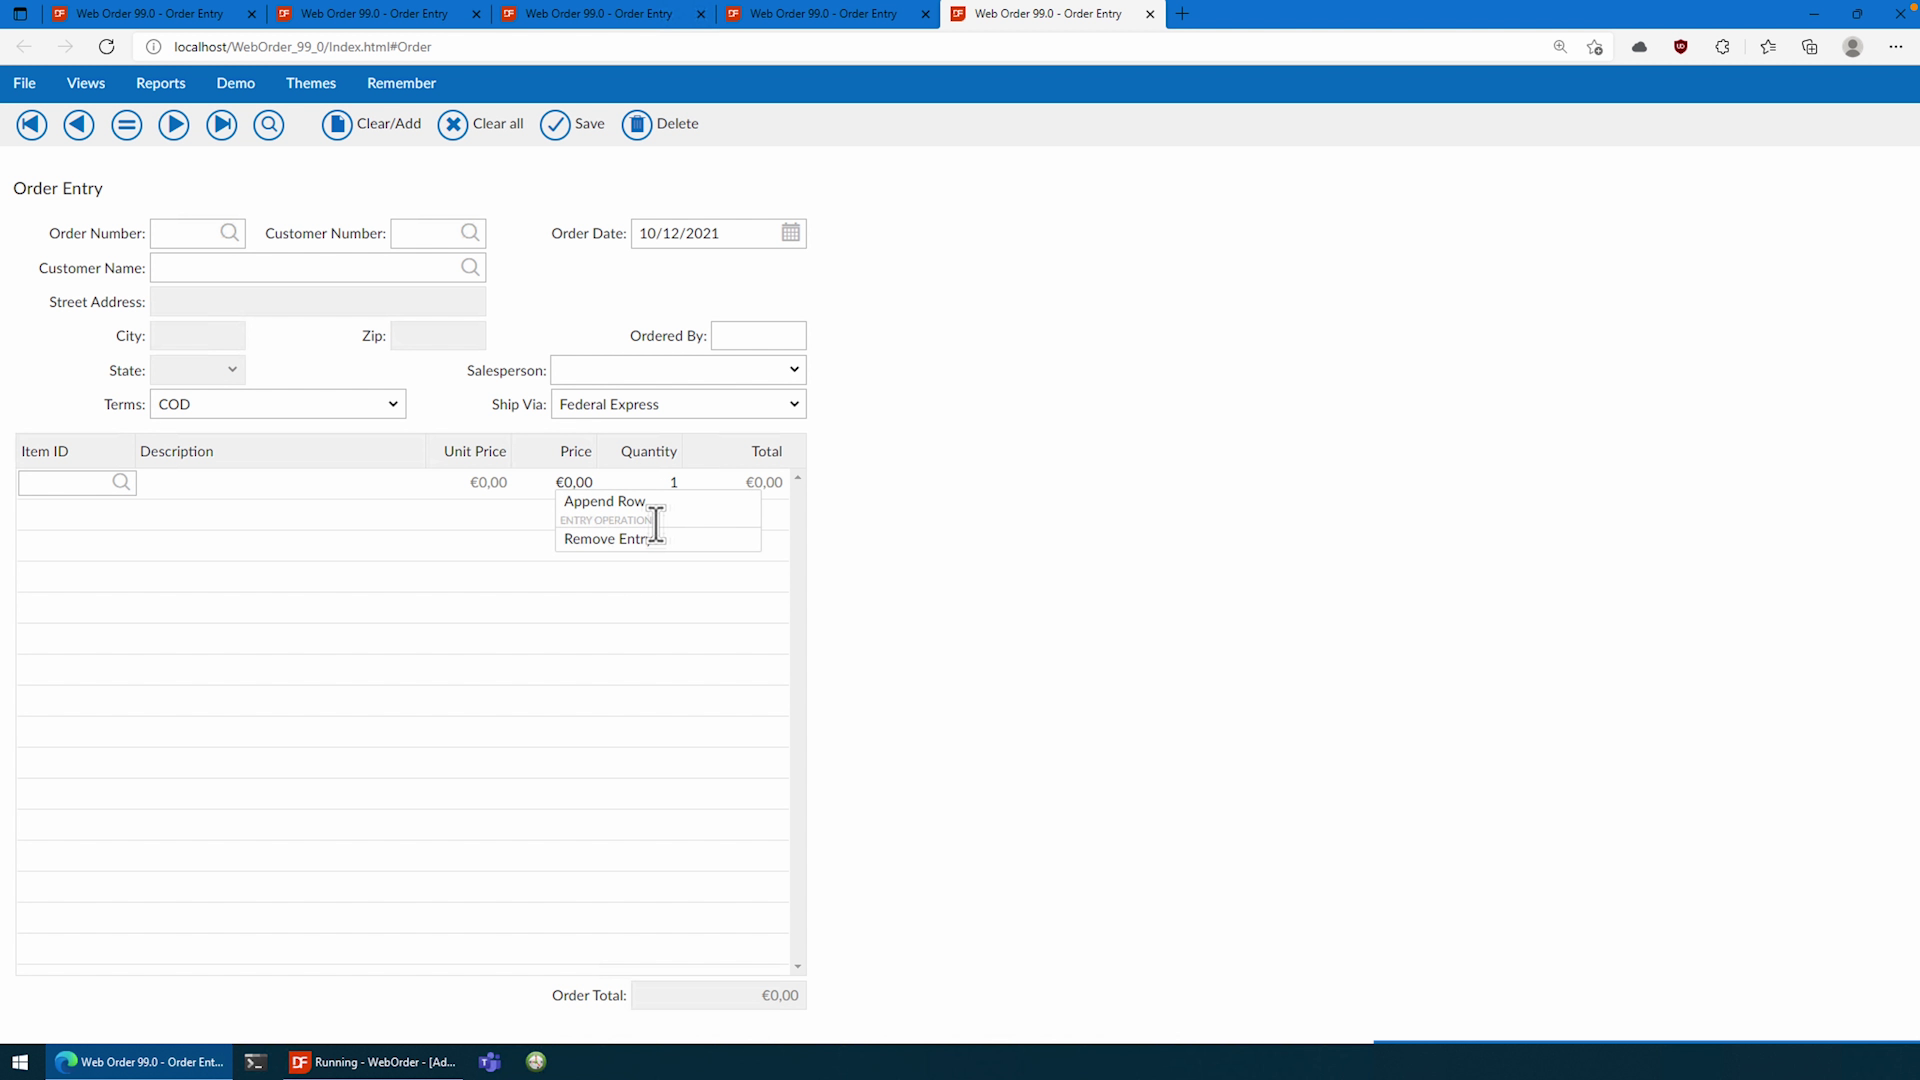
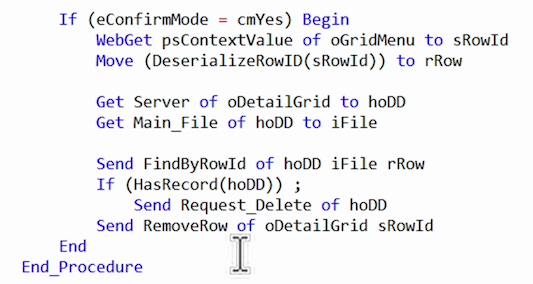
- Now we will add the functionality, which we’ll do using a confirmation box before we delete it from the database as well. So, let’s write that procedure first.
- We’ll add a Handle for the data dictionary. And File reference to be that bit more independent from the code above it. Additionally, we will also need a String for the Row and a RowId variable for the deserialized row.
- Then we’ll check whether the confirmation result was yes, and in here we can do whatever we should do if we wanted to delete anything.
- First, we will have to get the context itself by WebGetting the psContextValue to the sRowId we created earlier.
- After that we will call a deserialize on it. Whether it succeeded does not really matter here as we’ll look it up using the Data Dictionary which we will retrieve now. Additionally, we will need the table that it is attached to using the Main_File Property.
- Then we are going to do a lookup of that RowId and check whether it has a record. If it does, we should do a request_delete since it can be found in the database too.
- We do this check since we might have inserted or appended a row which does not yet have a database representation. Afterwards we will then remove that row from the WebGrid using RemoveRow since it’s that much more efficient than calling RefreshListFromDD or GridRefresh.
- Now that we have that function out of the way we need to register it as a callback using the WebRegisterProcedure….
- Then let’s actually implement the OnClick. We call the Send ShowYesNo with a reference to the current object and the confirmation procedure.
- I’ll use the @-operator of DataFlex 20.1 since in that way I can use the exclamation character without remorse.

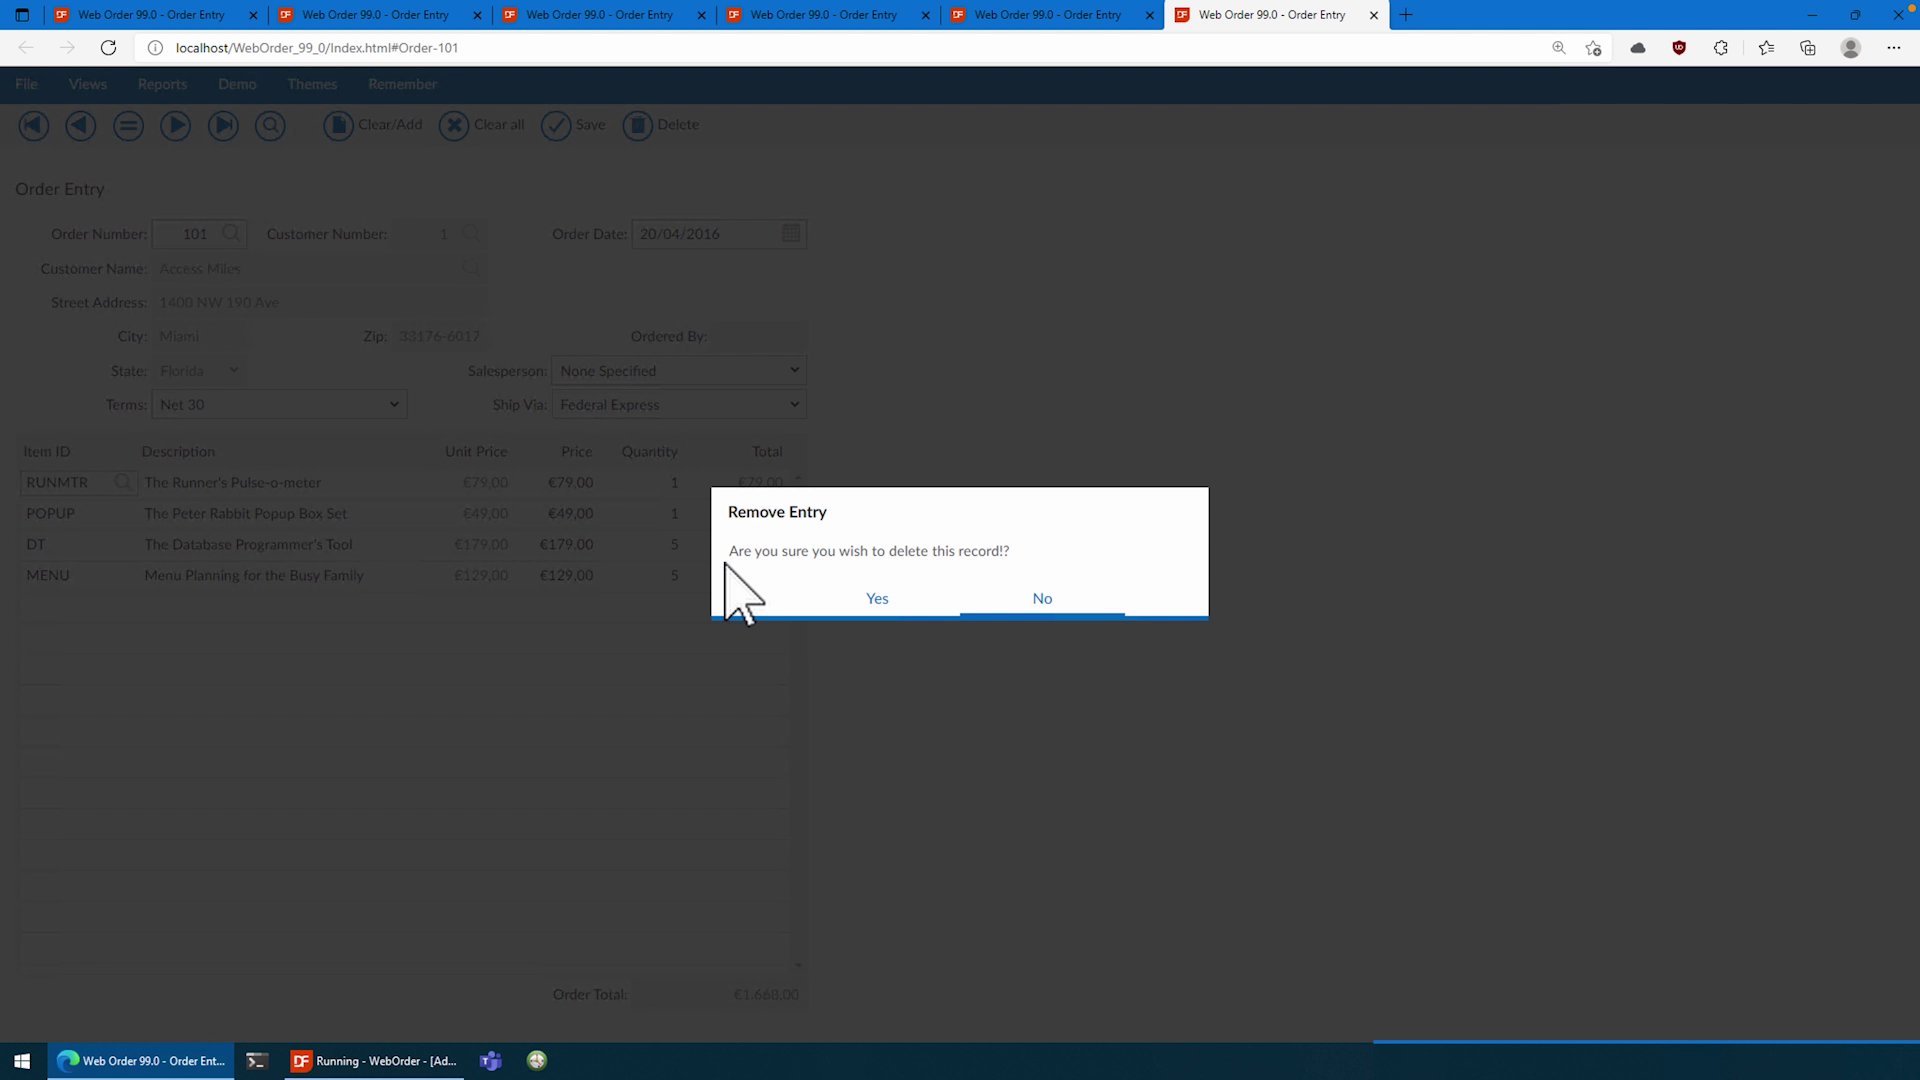
- Ok, and then we’ll test that… as you can see, we now have our very nice remove button. If we click on it, we get our nice confirmation check and should we click yes it also deletes the entry like we wanted to.
- Just to make it a bit more indicative I am also going to use some basic icons that are available within the Flat_Desktop theme. We’ll set pbShowIcons to True and then set the psCSSClass to “WebIcon_Delete” this will add the icon for me.
- If we now recompile, we’ll see a beautiful icon which clearly indicates that we are looking at a remove or rather delete button.
This already could change the user experience by a lot, but I want to add one more which could smooth things out even more. You see this CustomerName field here. What if I wanted to call the customer since the order is incorrect or otherwise…? I would probably have to go to a different page or something like that which is really annoying. But I also don’t want to add an unnecessary field for the phone number.
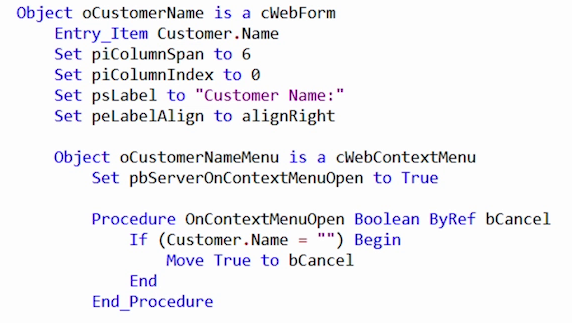
 Using a quick ContextMenu we are able to add a little call button which will show us the phone number. Let’s create a new ContextMenu… do notice that a WebForm does not yet have a context but we can use it either way. By default, the context is set to custom and we can still use the scope of the control to use with our Menu.
 - First, we will have to use the OnContextMenuOpen event so we’ll set the server event to true. Then we have to check whether the Data Dictionary has such a value since it might be empty. If that’s the case we should cancel the menu.
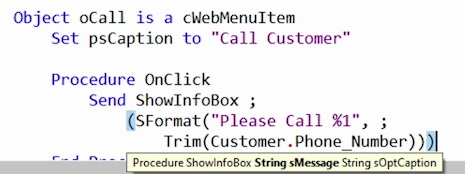
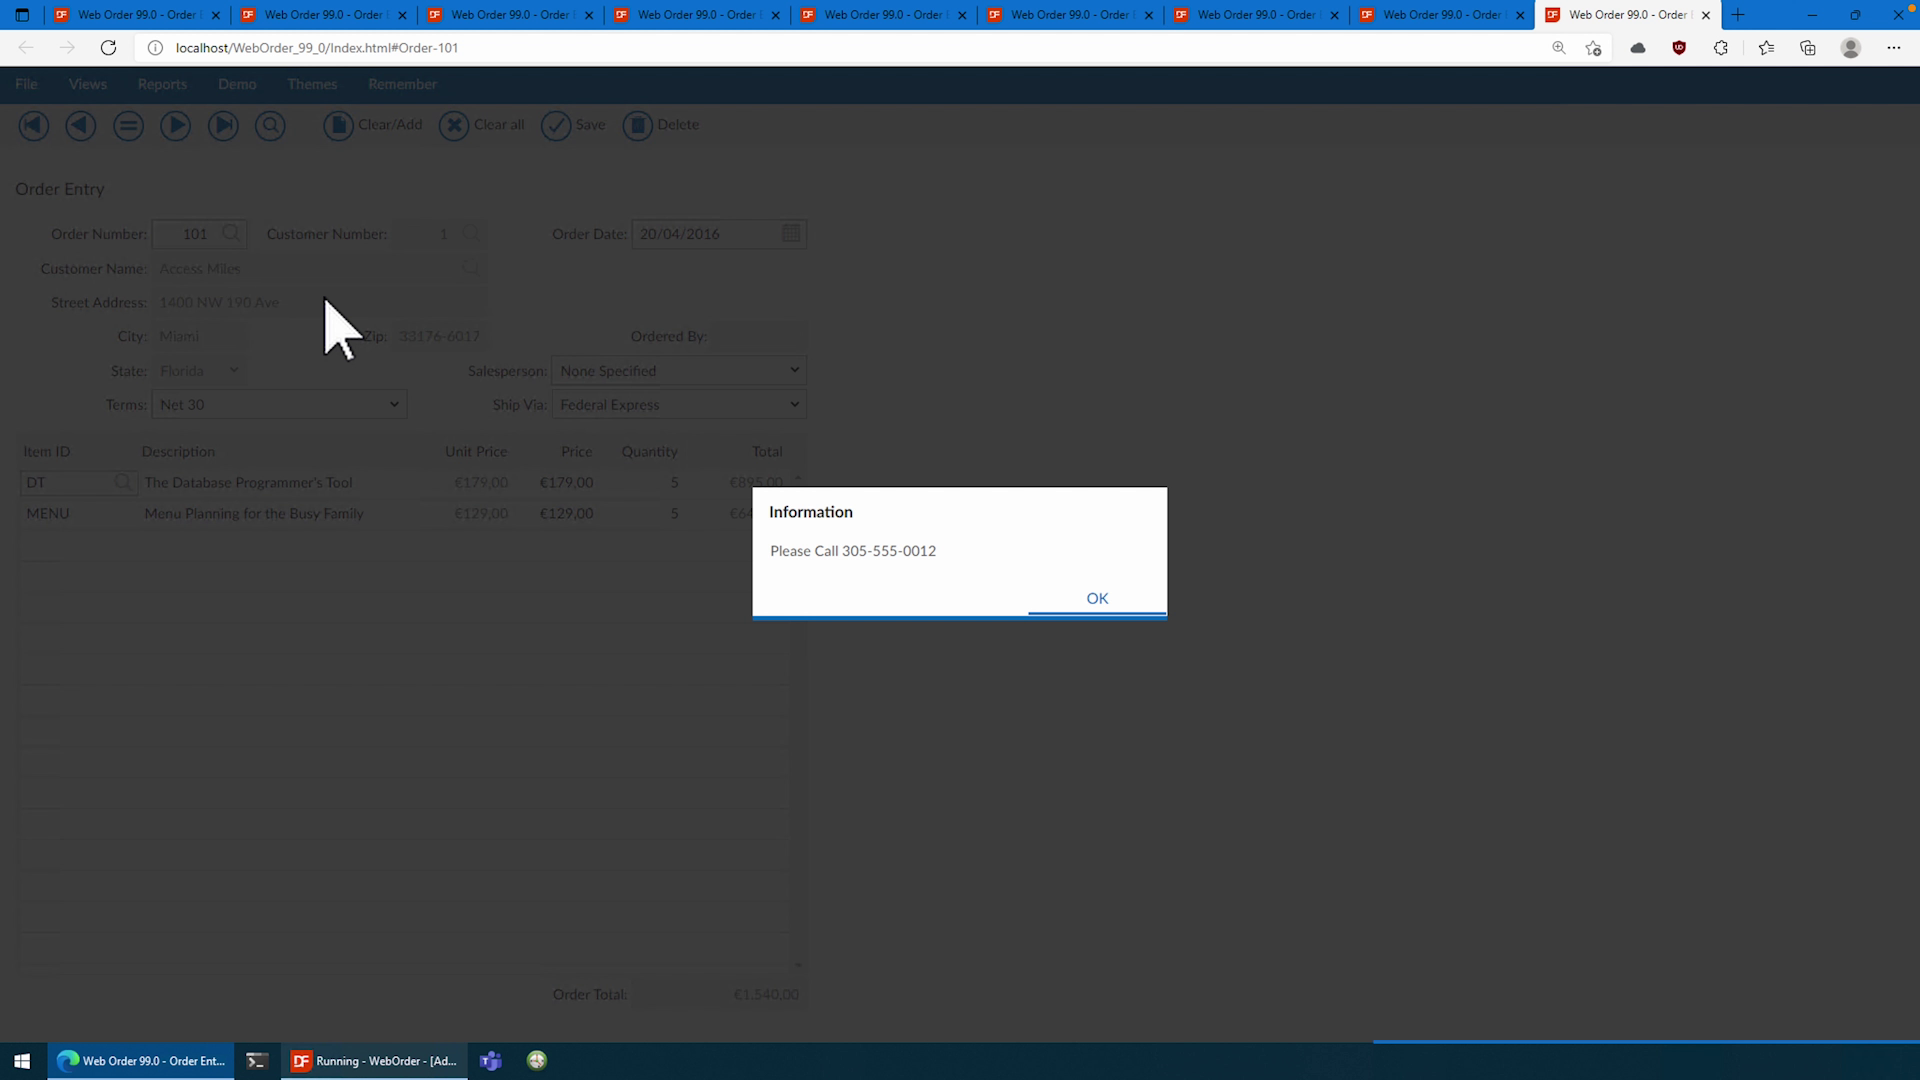
- Ok, then we create our call button… and then in the OnClick we add a ShowInfoBox with a trimmed version of the customers Phone….
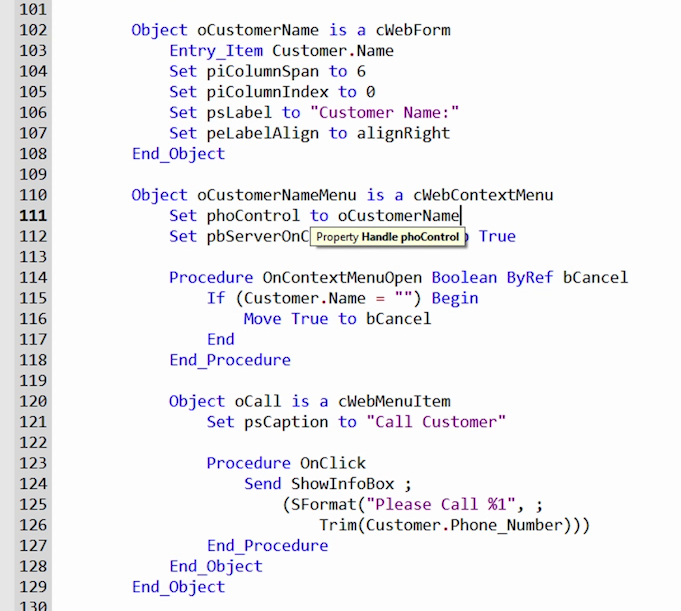
- However, you might notice that when I try to select an existing order it won’t open the menu. This is because WebObjects inherit the pbEnabled from their parent. To fix this we will move the menu out of the form and into the global view. Using phoControl we can still set it to the scope of the CustomerForm.
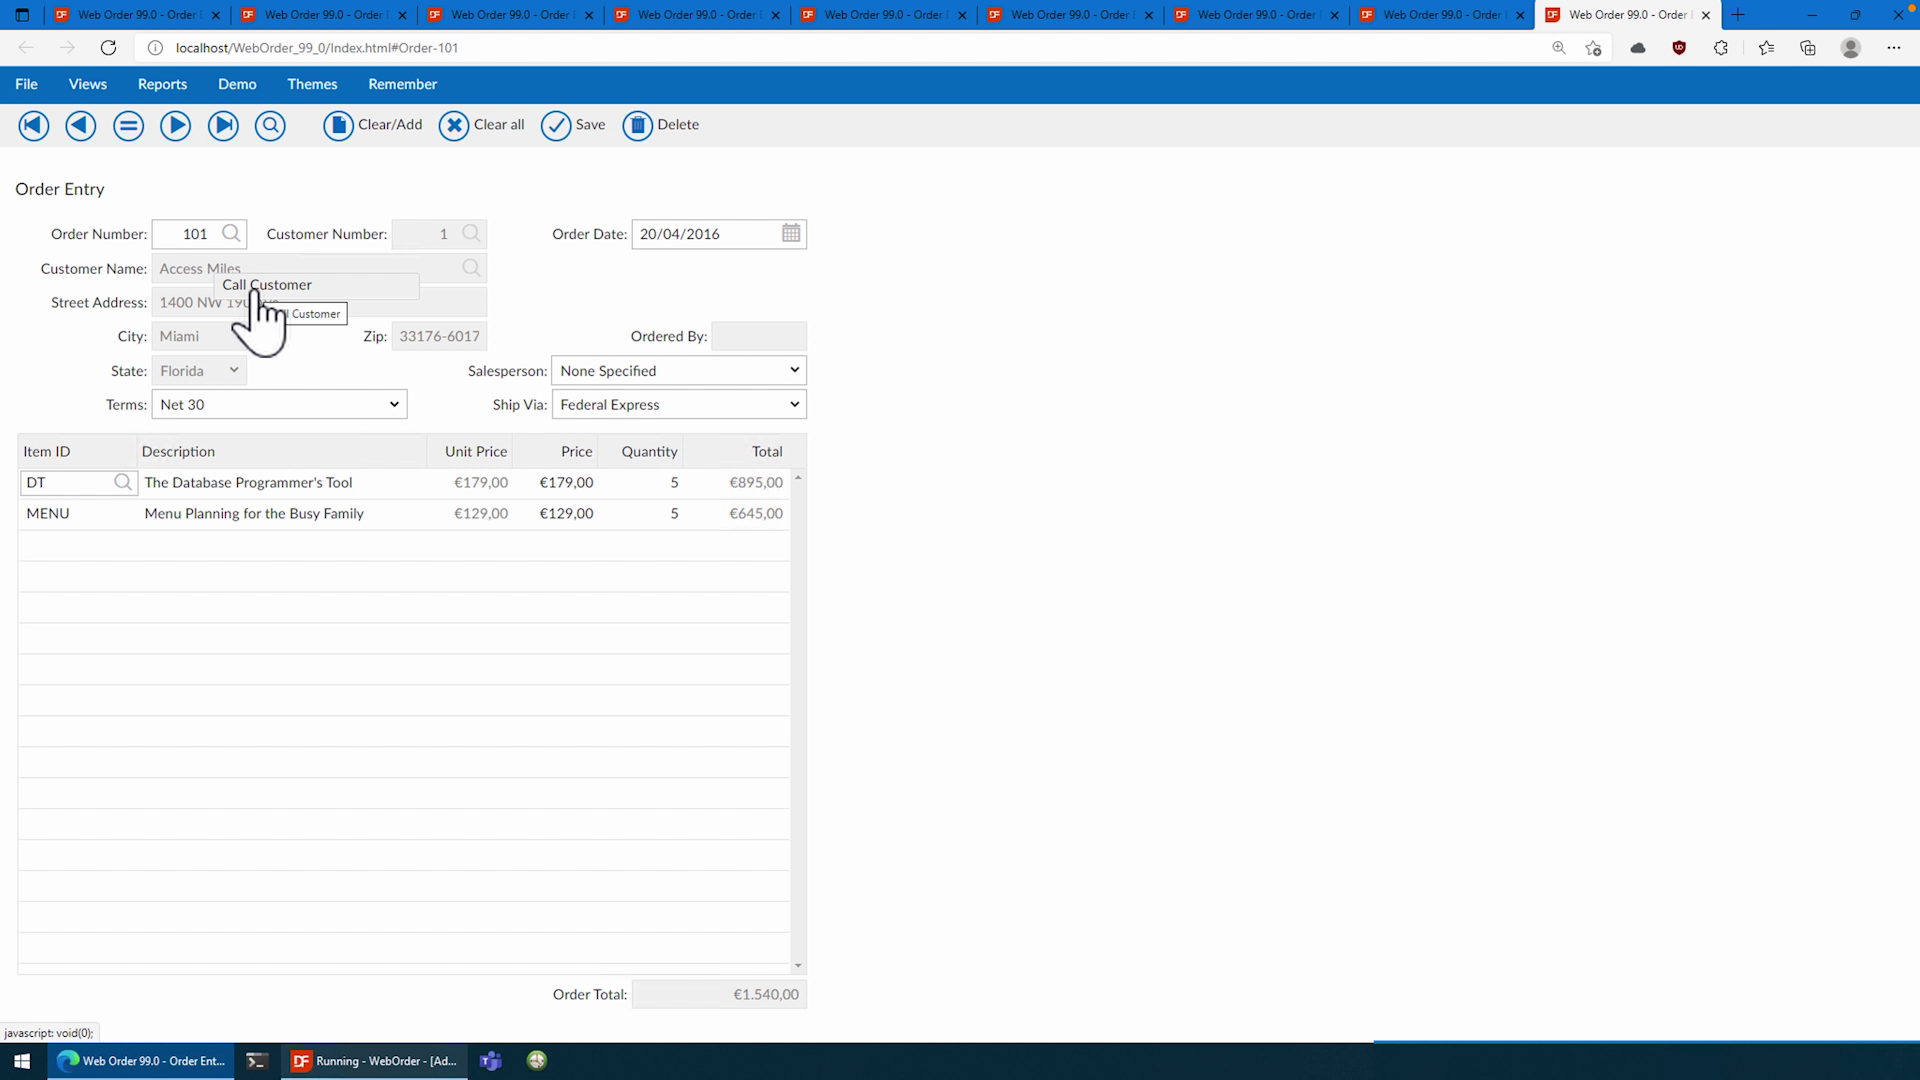
- As you can see, we got that working now.
- Now that we have done that, I also want to focus the click on the input form itself and not it’s label. To do this we will focus in on the form using psContextCSSSelector. As I said in a previous lesson it might seem difficult but it’s actually not that hard. If we open up our web page and press F12 we’ll open up the developer tools.
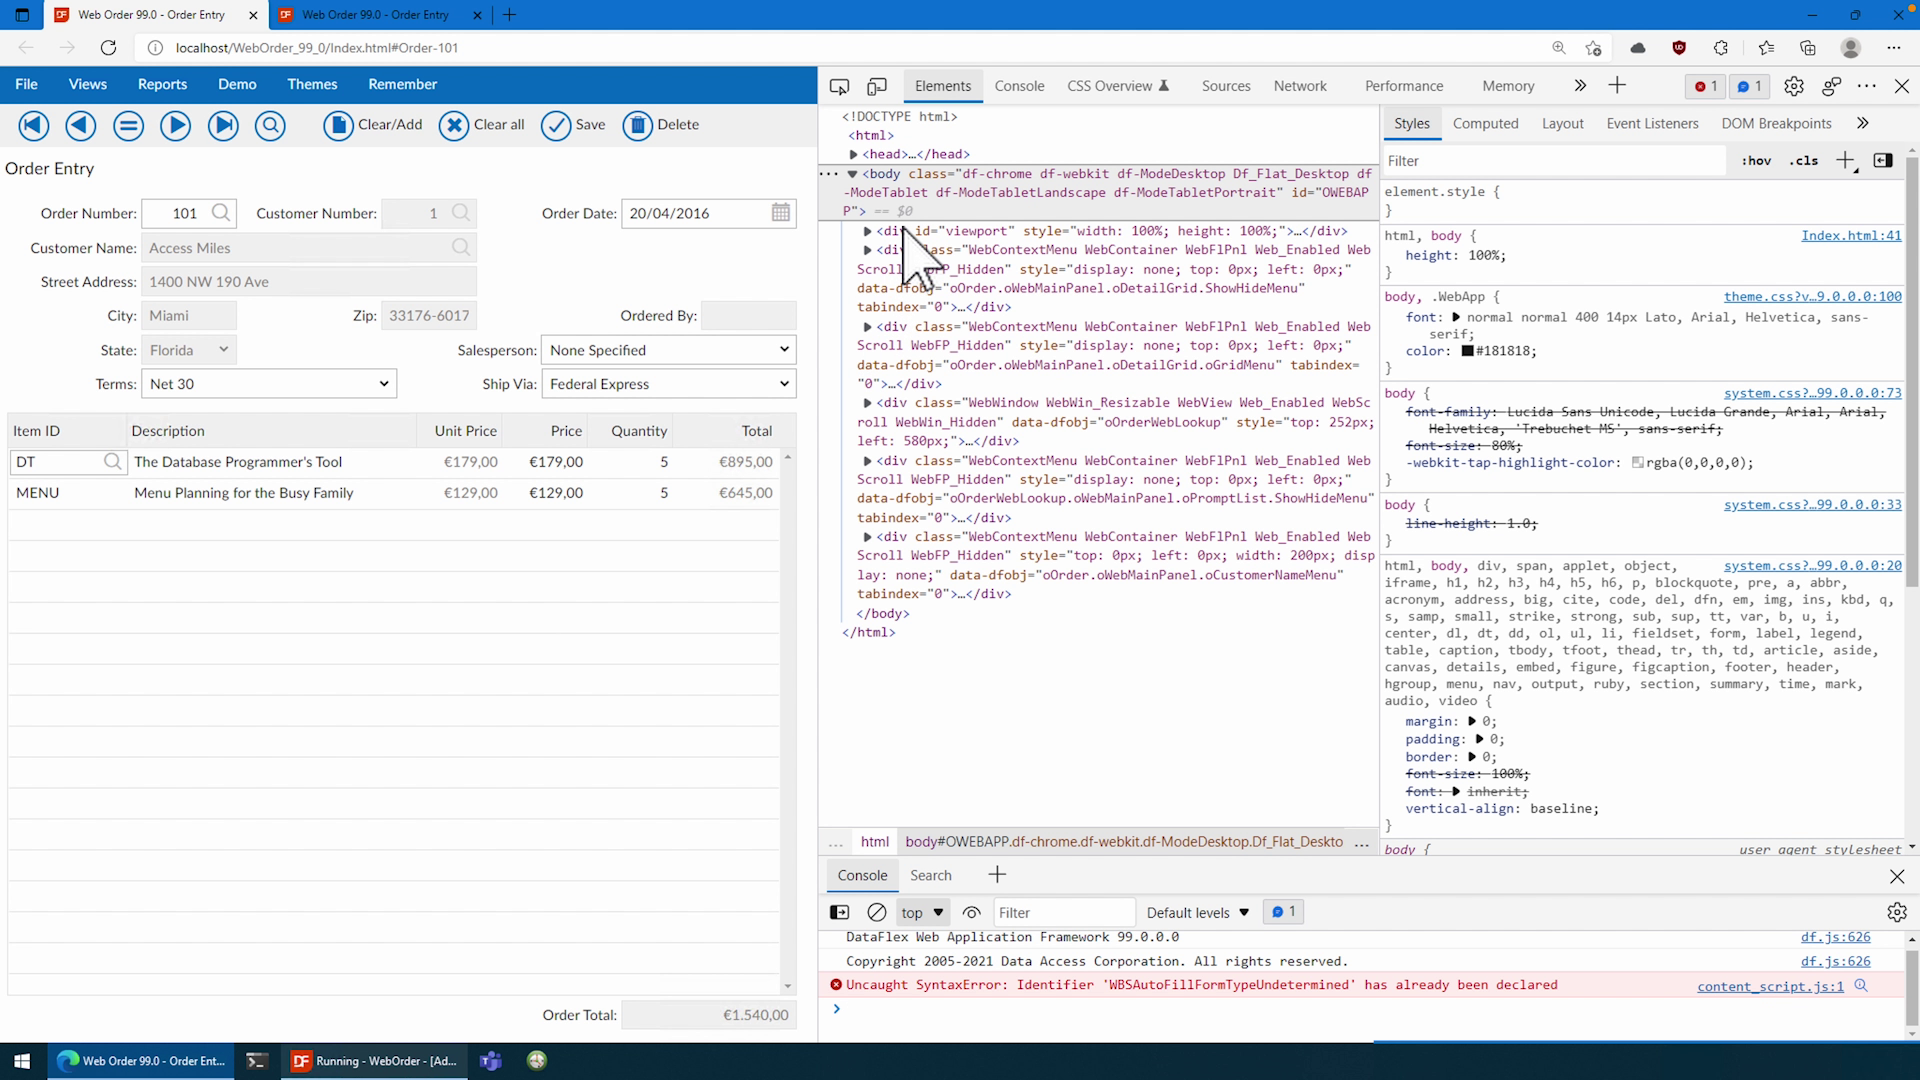
- We’ll use the cursor option to select the DOM object we would like the Menu to open up on. As you can see it is called an input… and since we have only one of them within the scope of our WebForm we can use that.
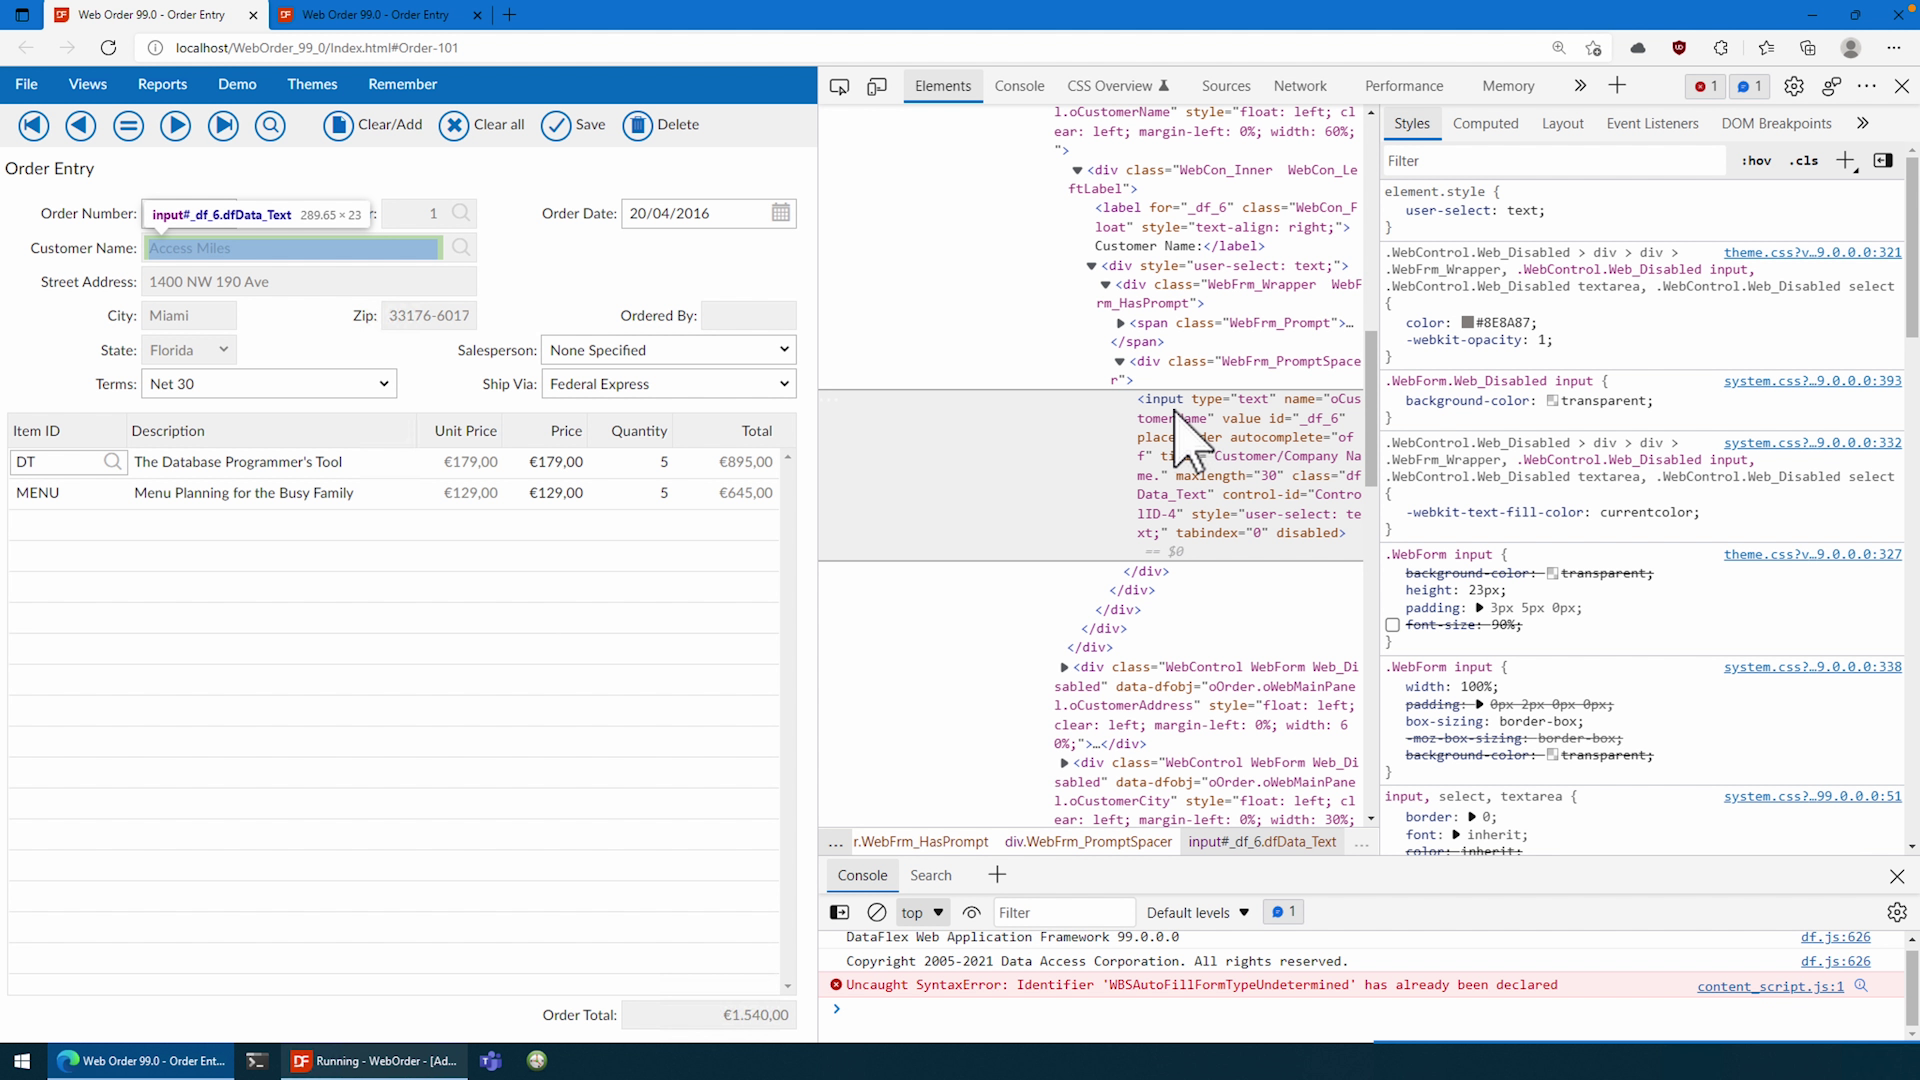
- If we go back and set the psContextCSSSelector to “input”, then that should already fix it…

- And as you can see it will now only show up when clicked on the input itself. It might require some playing around but for most things I don’t think you will have to struggle that much.
In the next lesson we will show some tips and tricks!


