Working with databases
Lesson 7: Data Entry Objects
After learning how to access data from within DataFlex code the next step is to create a data entry view.
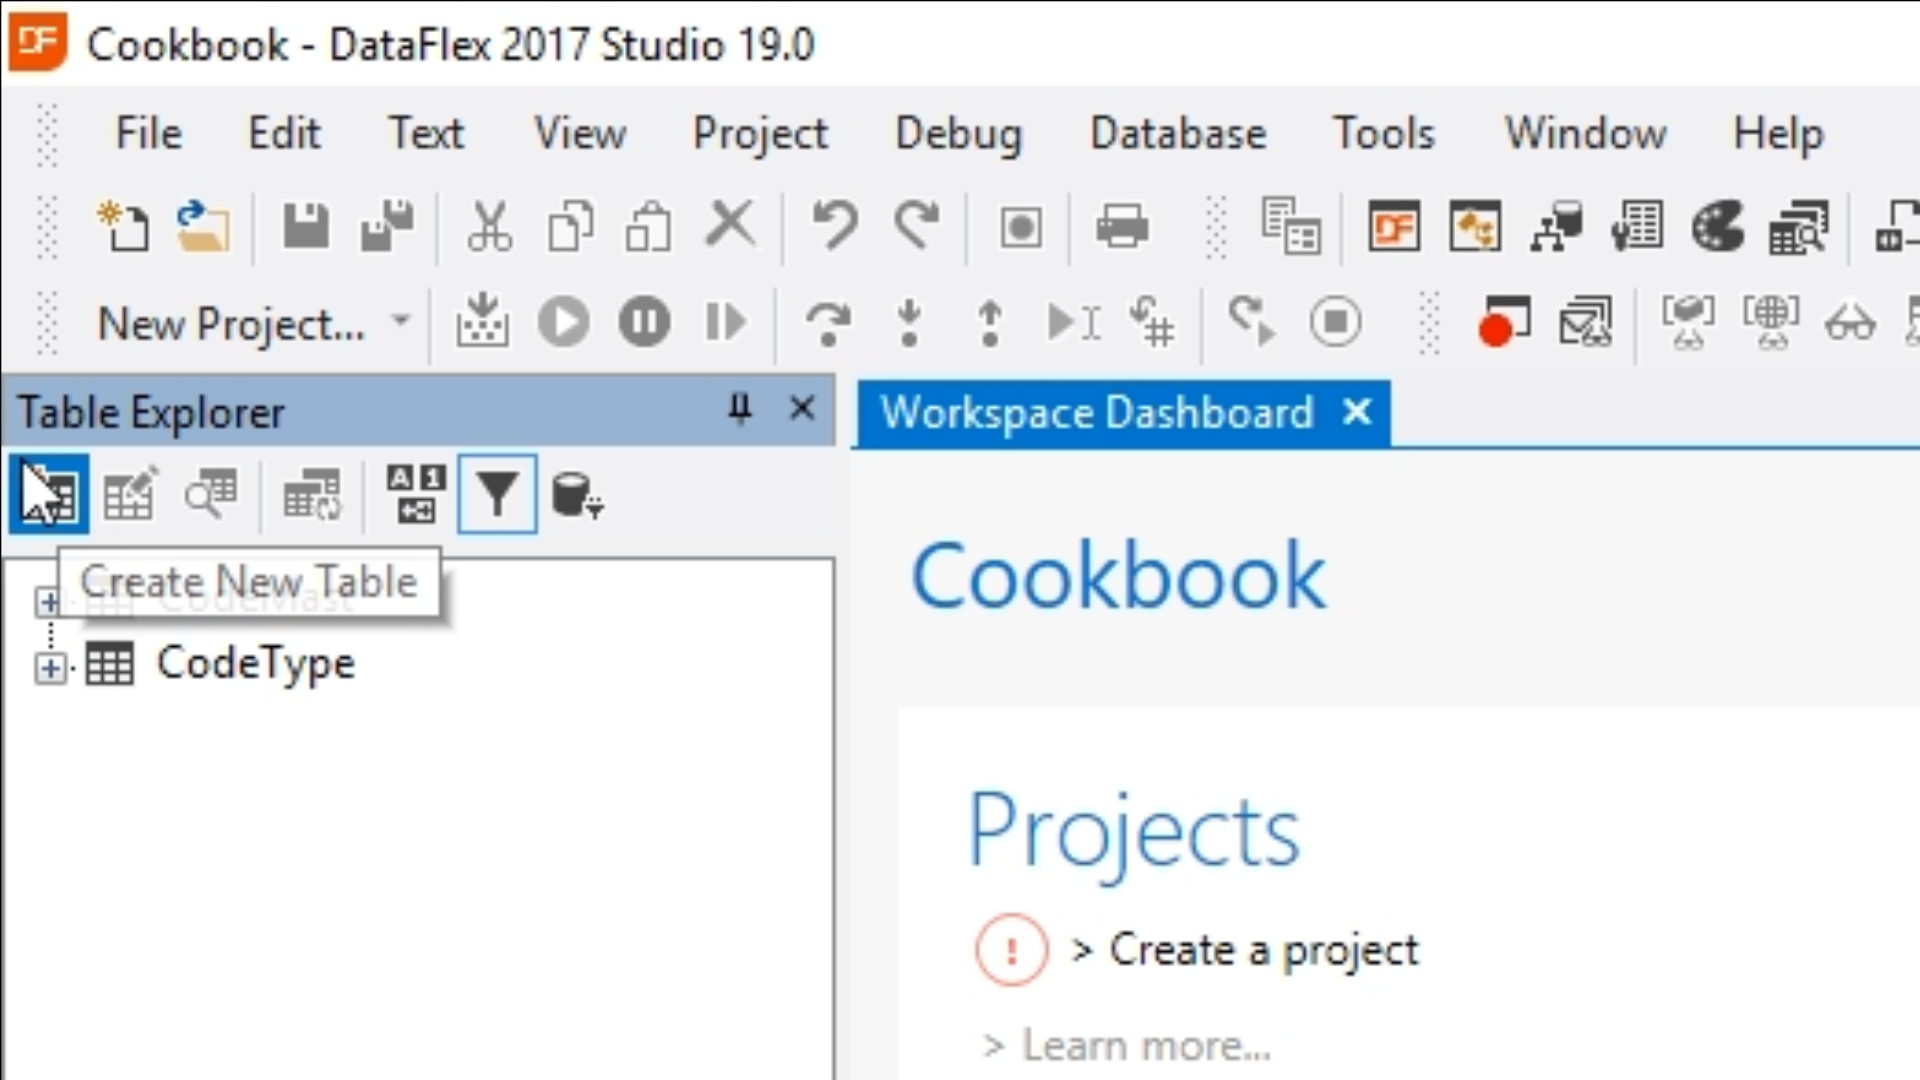
- Create a new project…
- From within the DataFlex Studio select the ‘Create New’ icon from the top toolbar.
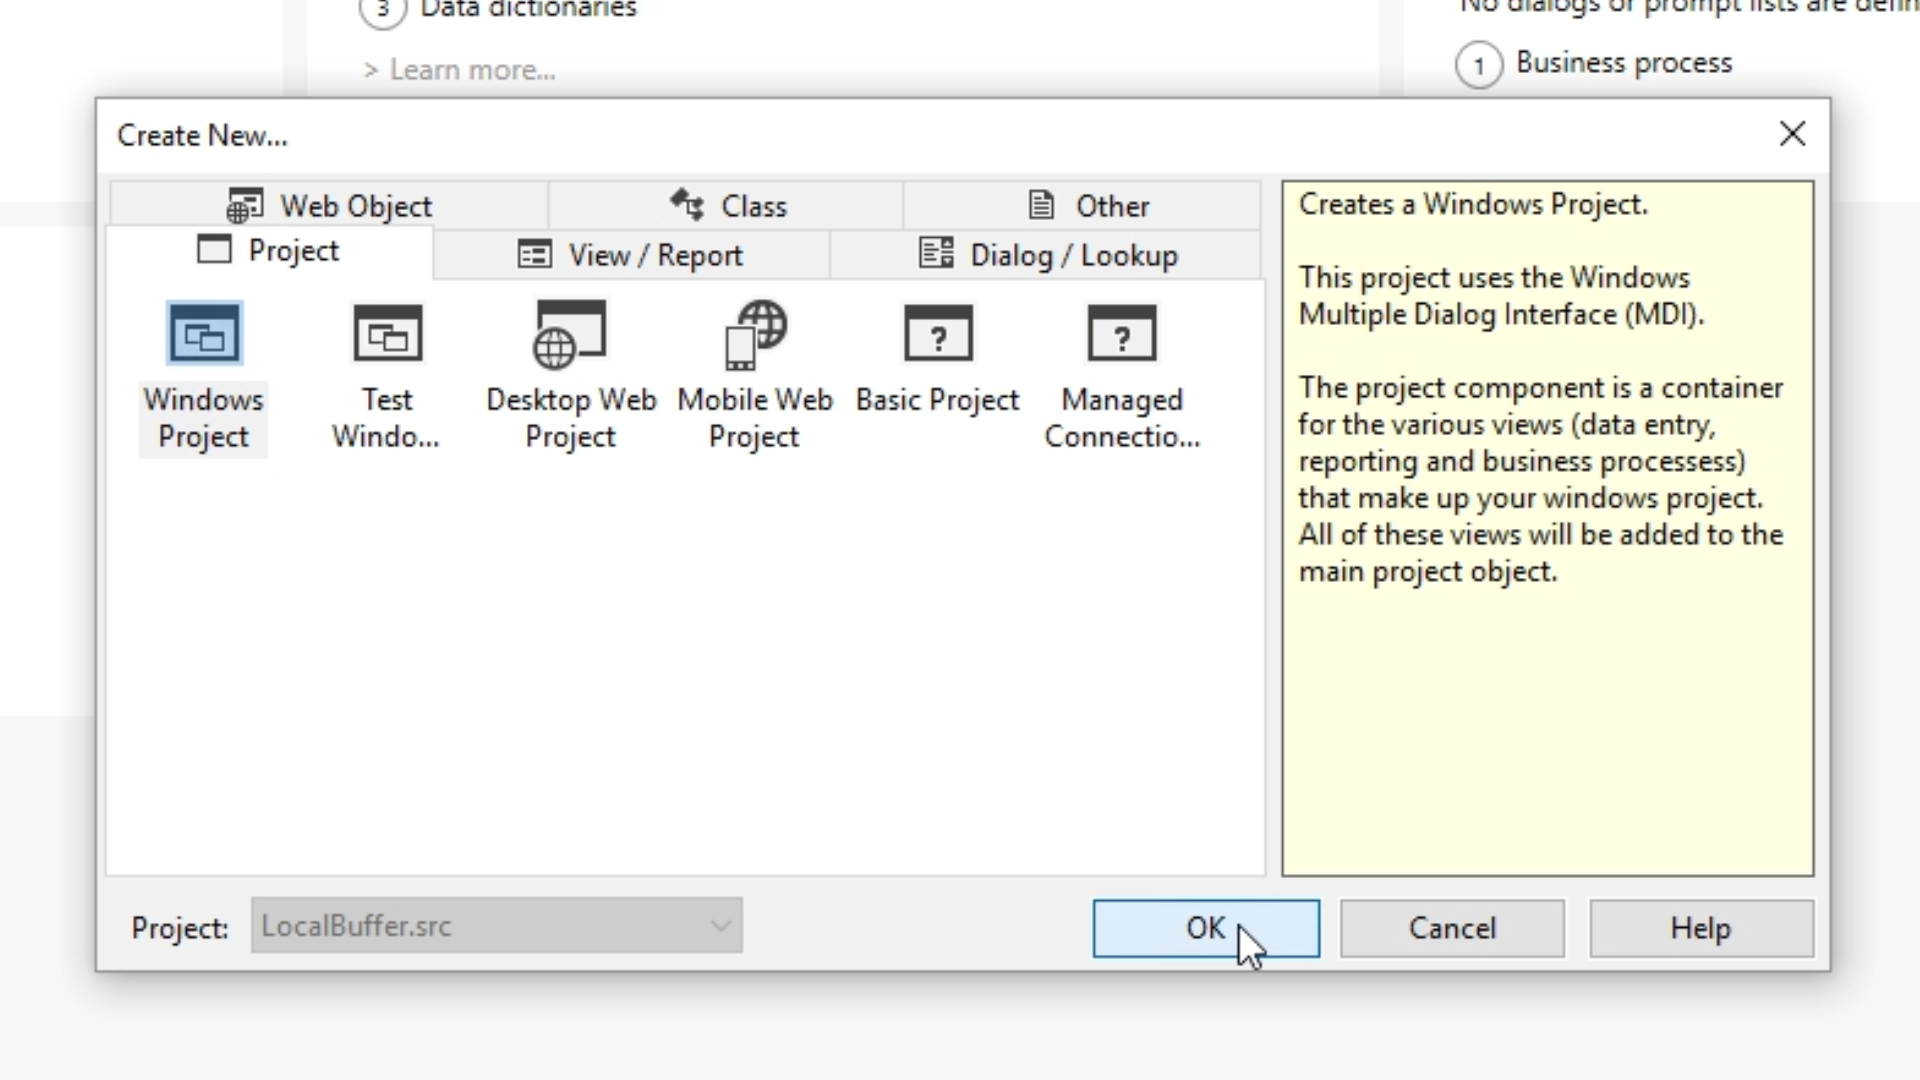
- Select the ‘Project’ tab.
- Select ‘Windows Project.’ Select OK.
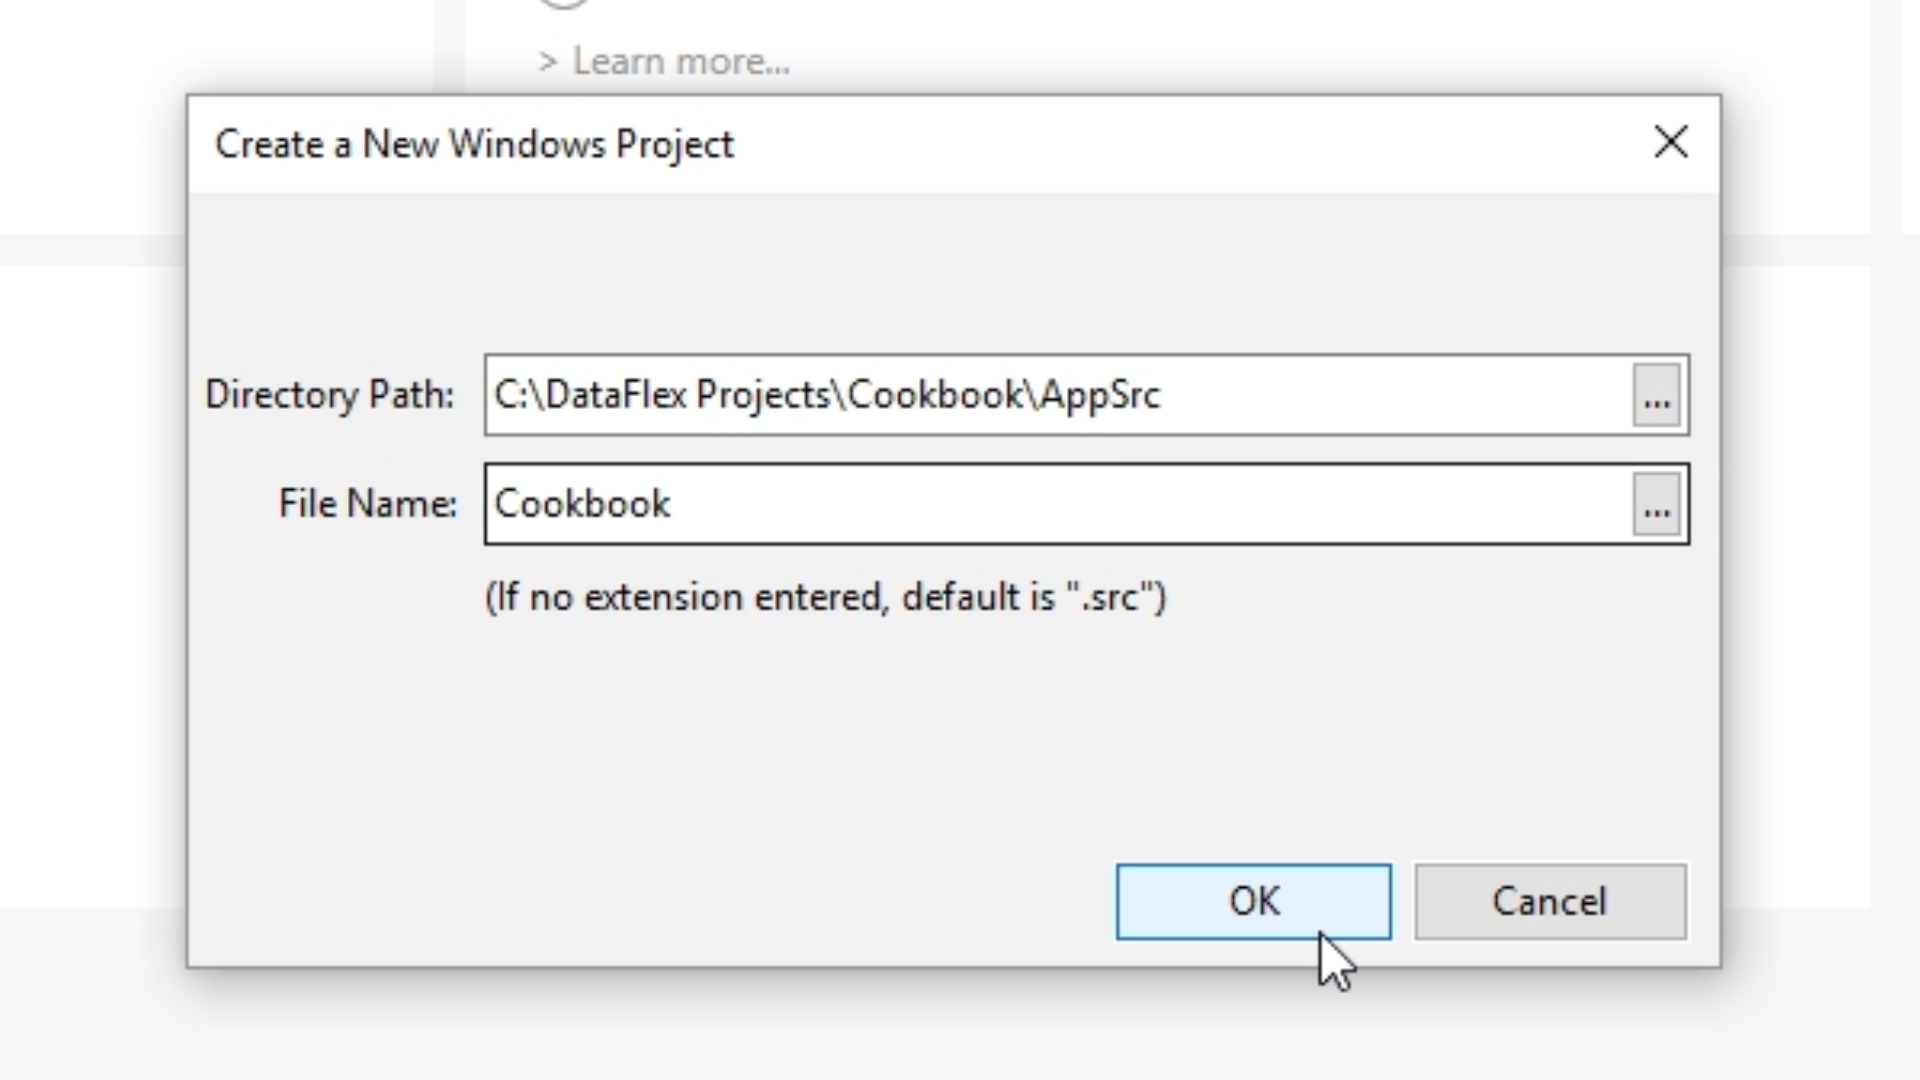
- Enter “Cookbook” as the ‘File Name.’ Select OK.
- Creating a standard Windows Project automatically creates a view with the standard toolbar.

- Create a view…
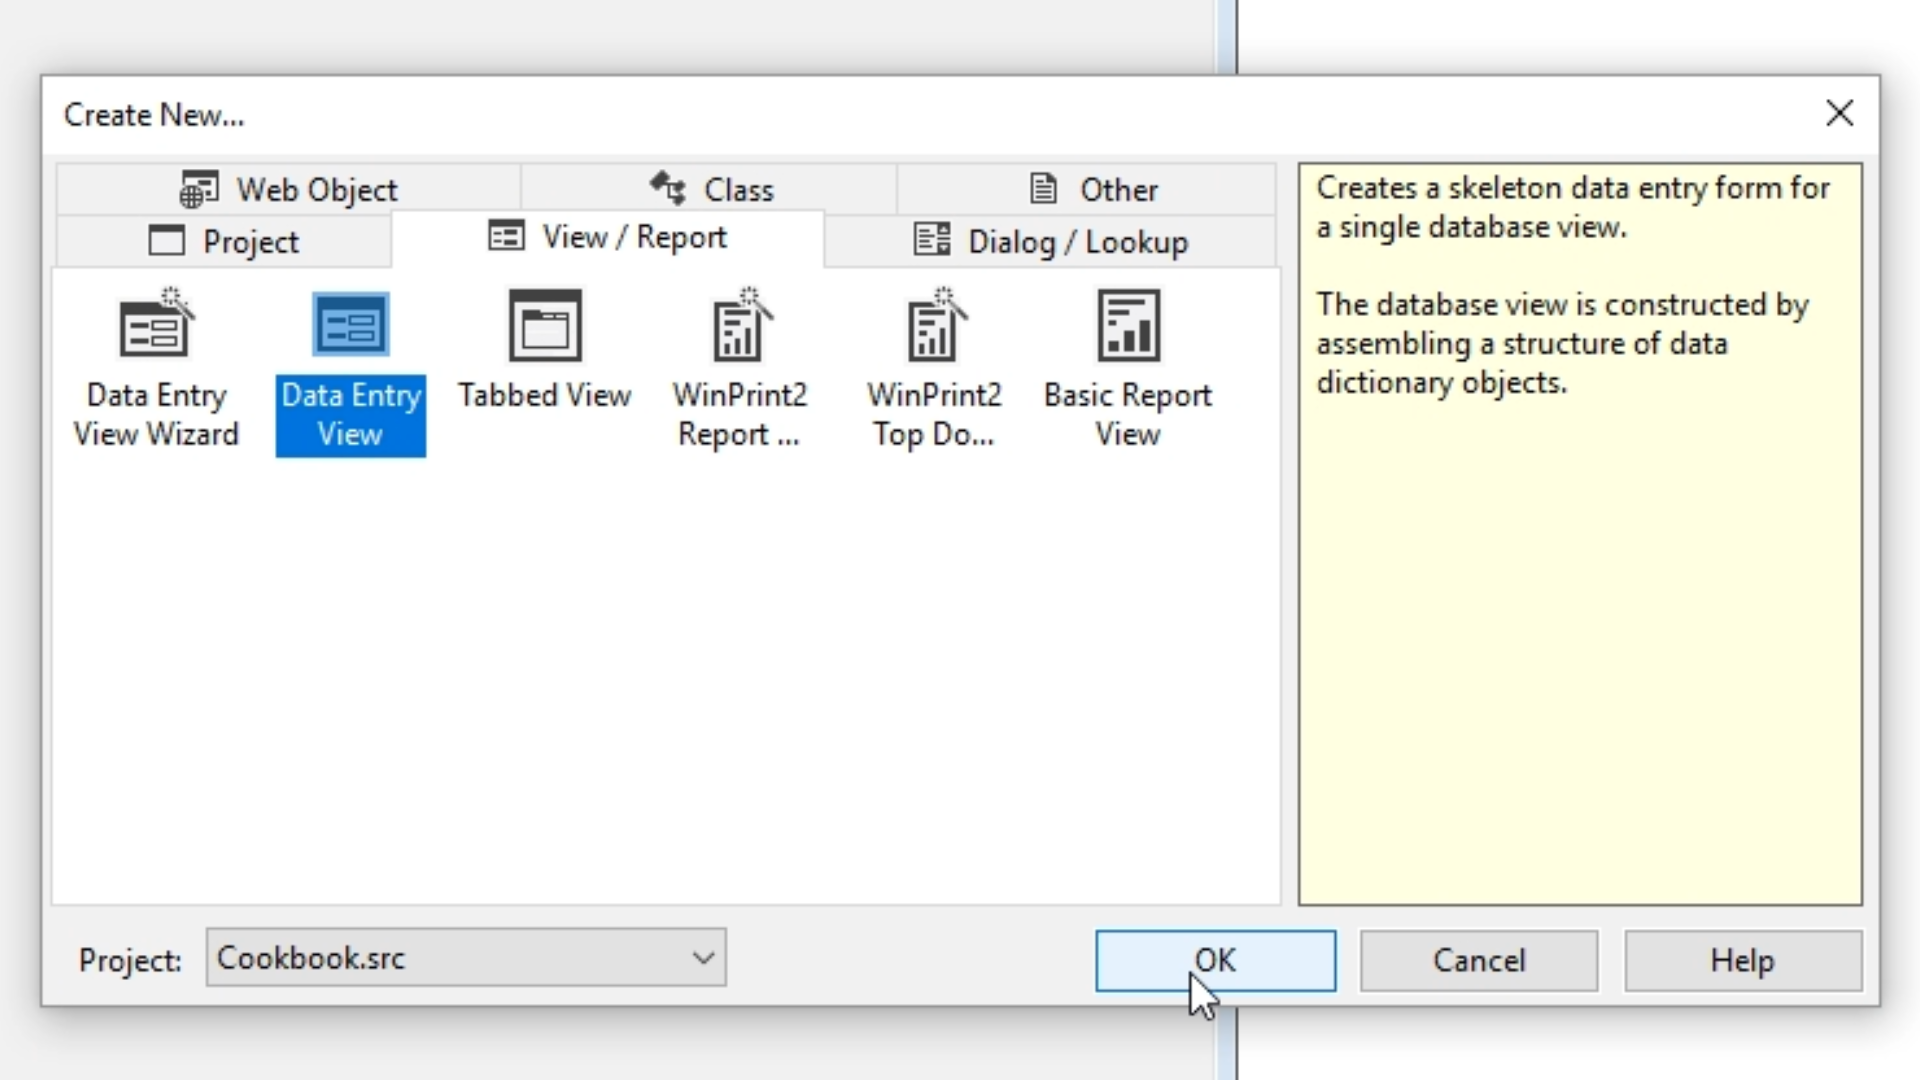
- Select the ‘Create New’ icon from the top toolbar.
- Select ‘Data Entry View.’ Select OK.
- Enter “oRecipe” as the ‘Object Name.’ Select OK.

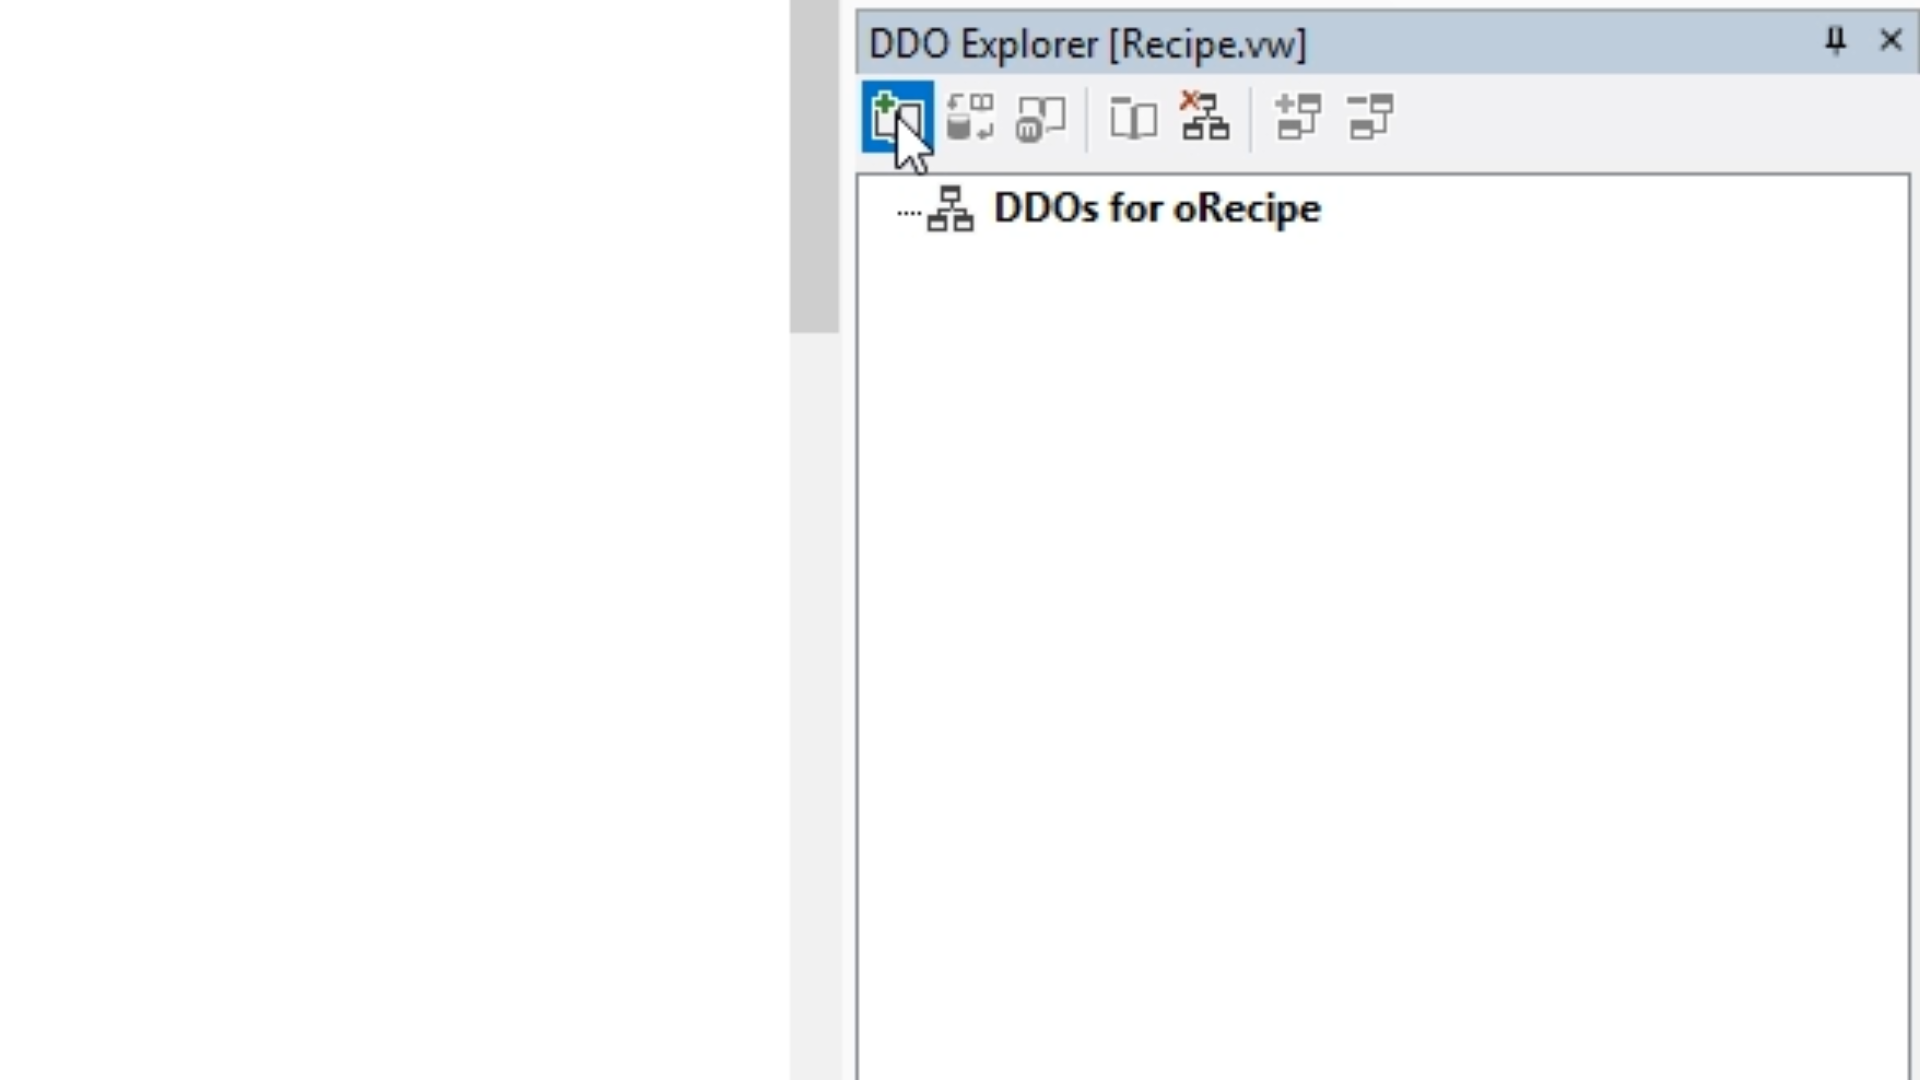
- Use the DDO Explorer on the right to add objects…
- Select the ‘Add DDO’ icon from the top of the panel.
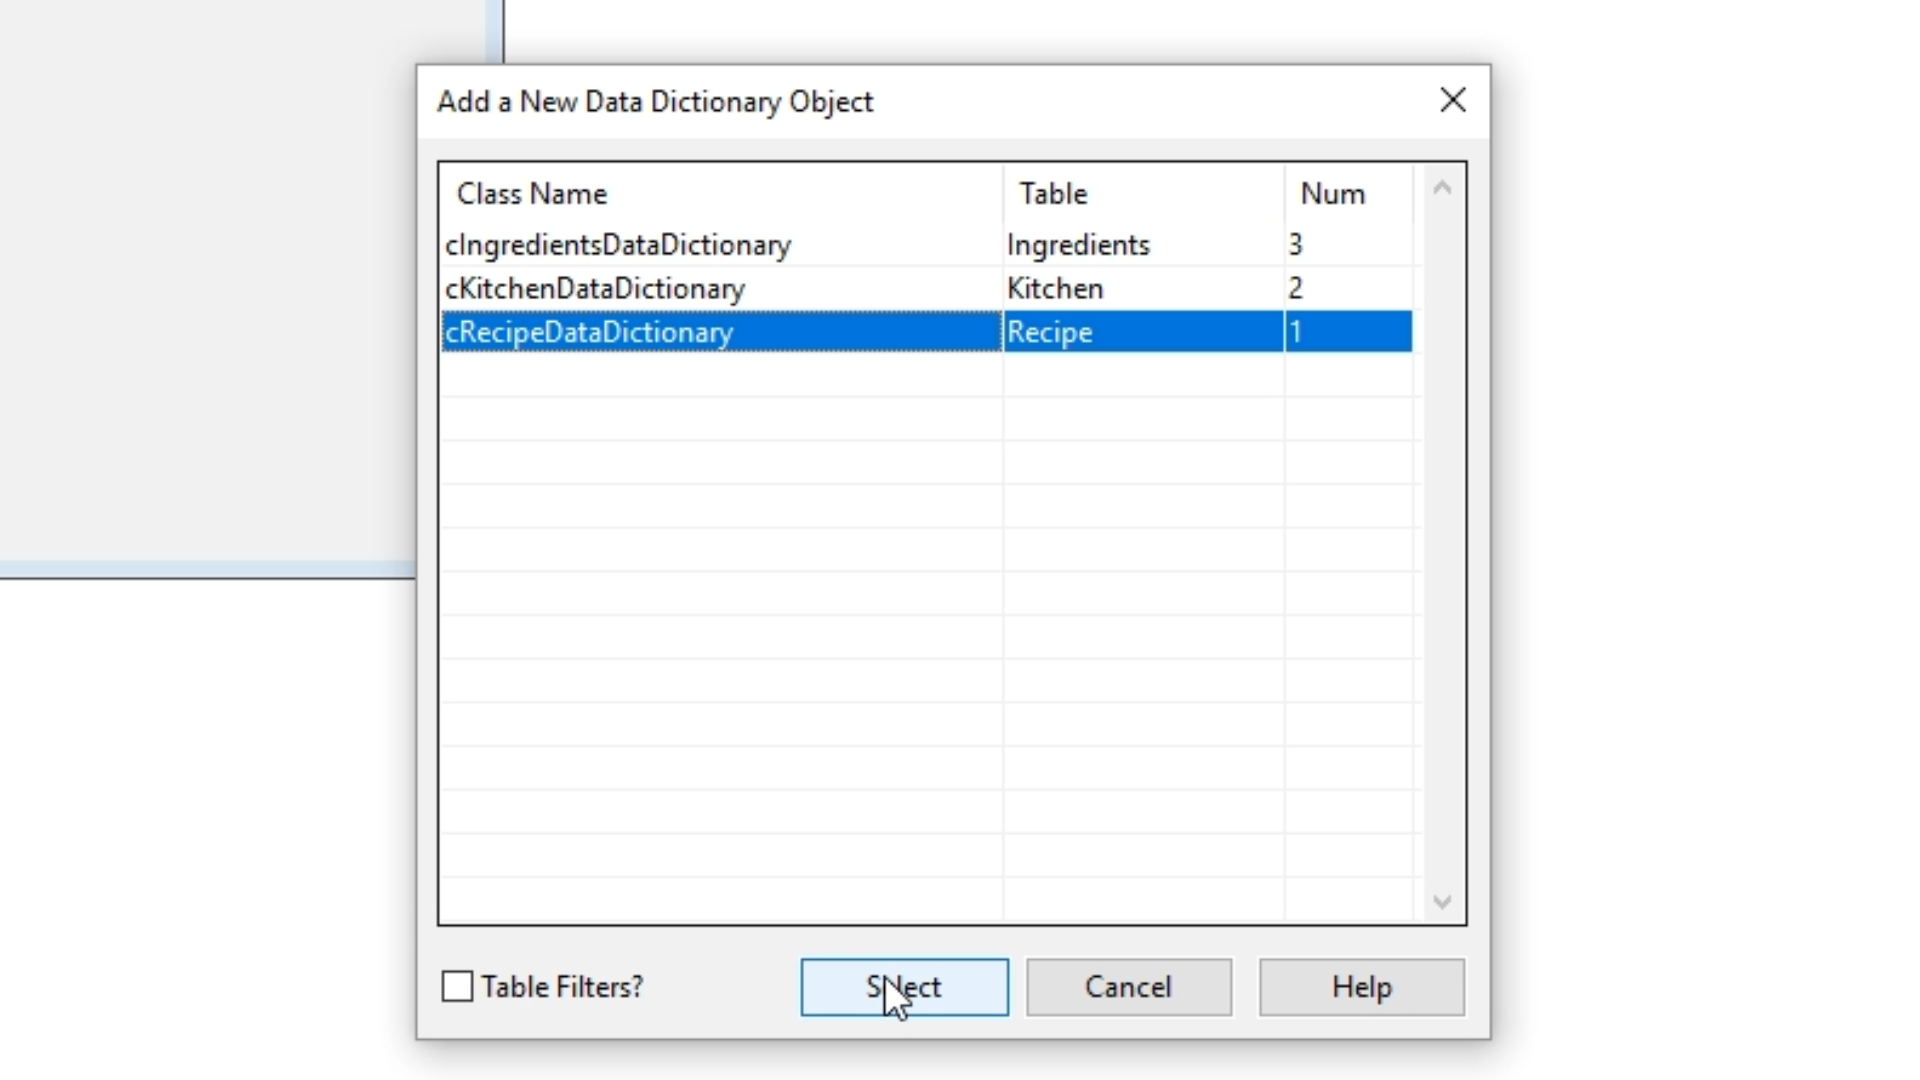
- Select ‘cRecipeDataDictionary’ form the list. Select ‘Select.’
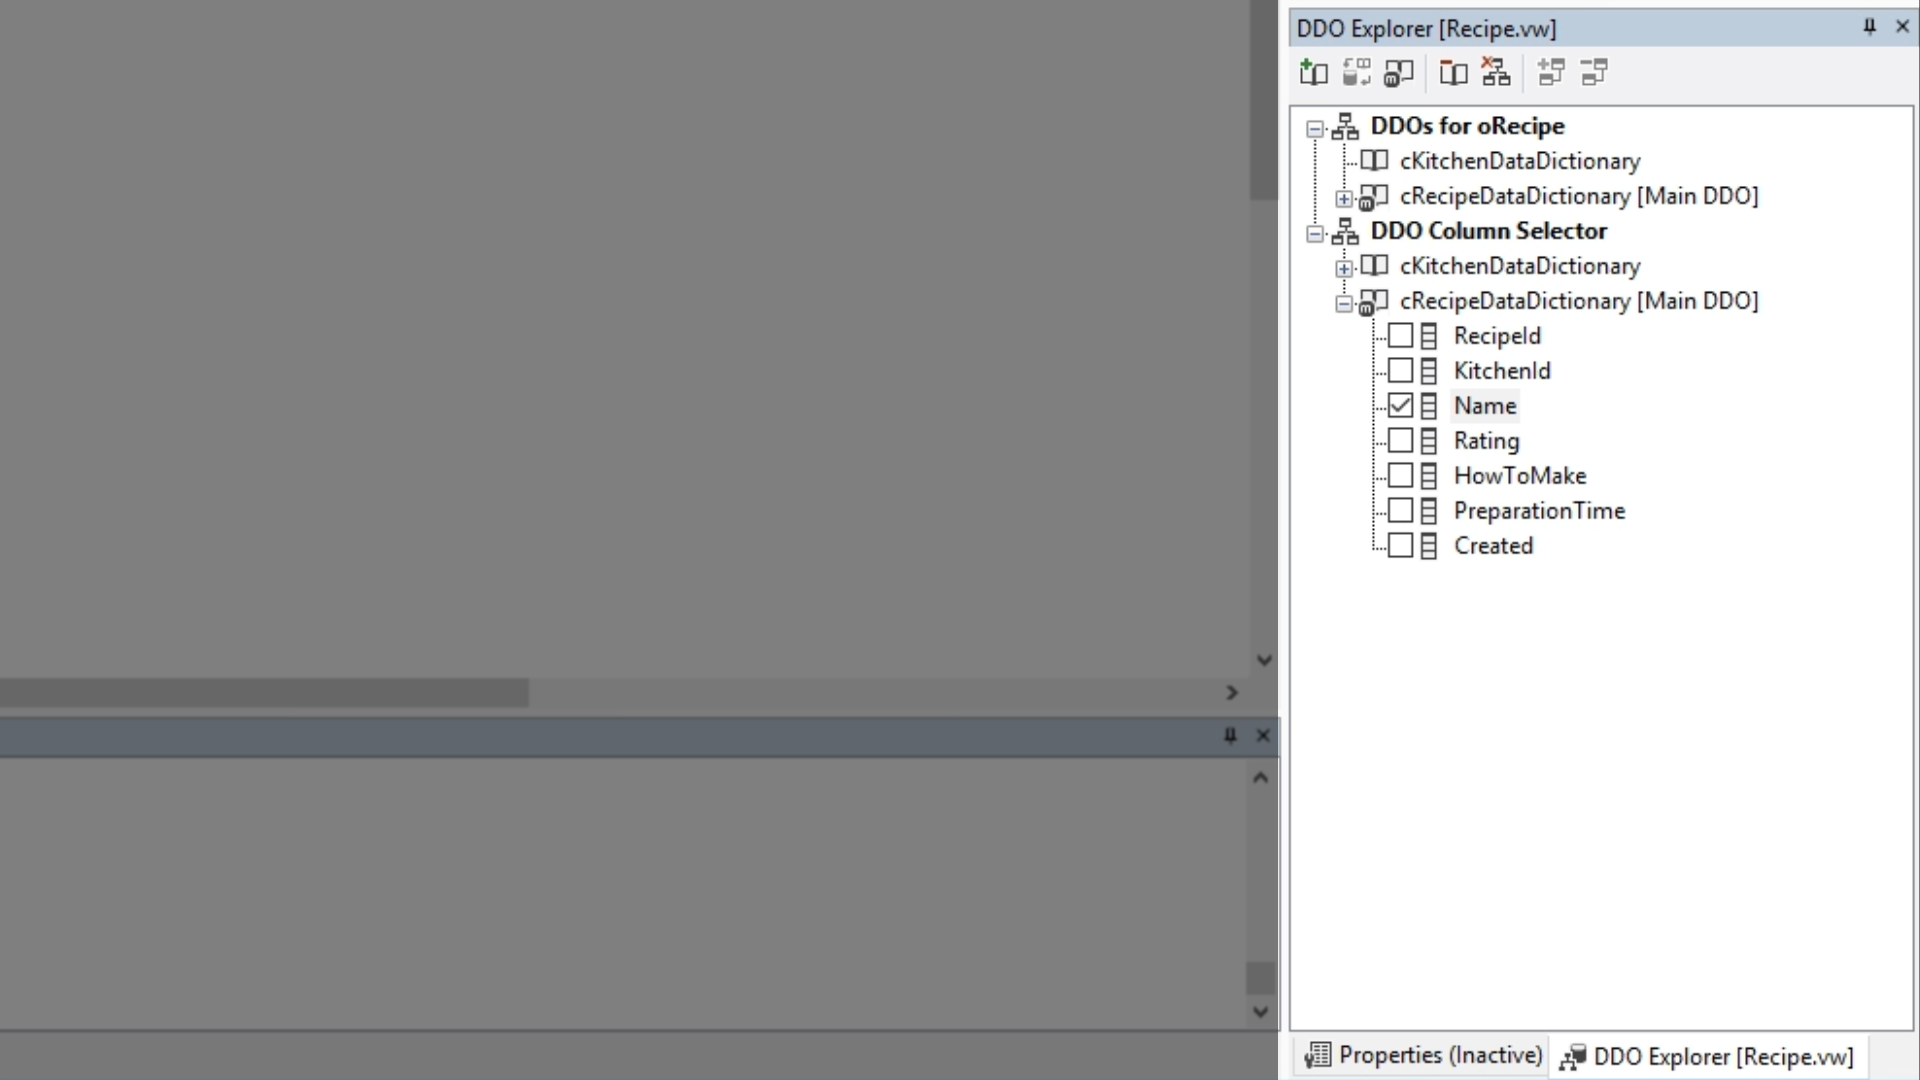
- Expand ‘DDO Column Selector’ in the DDO Explorer.
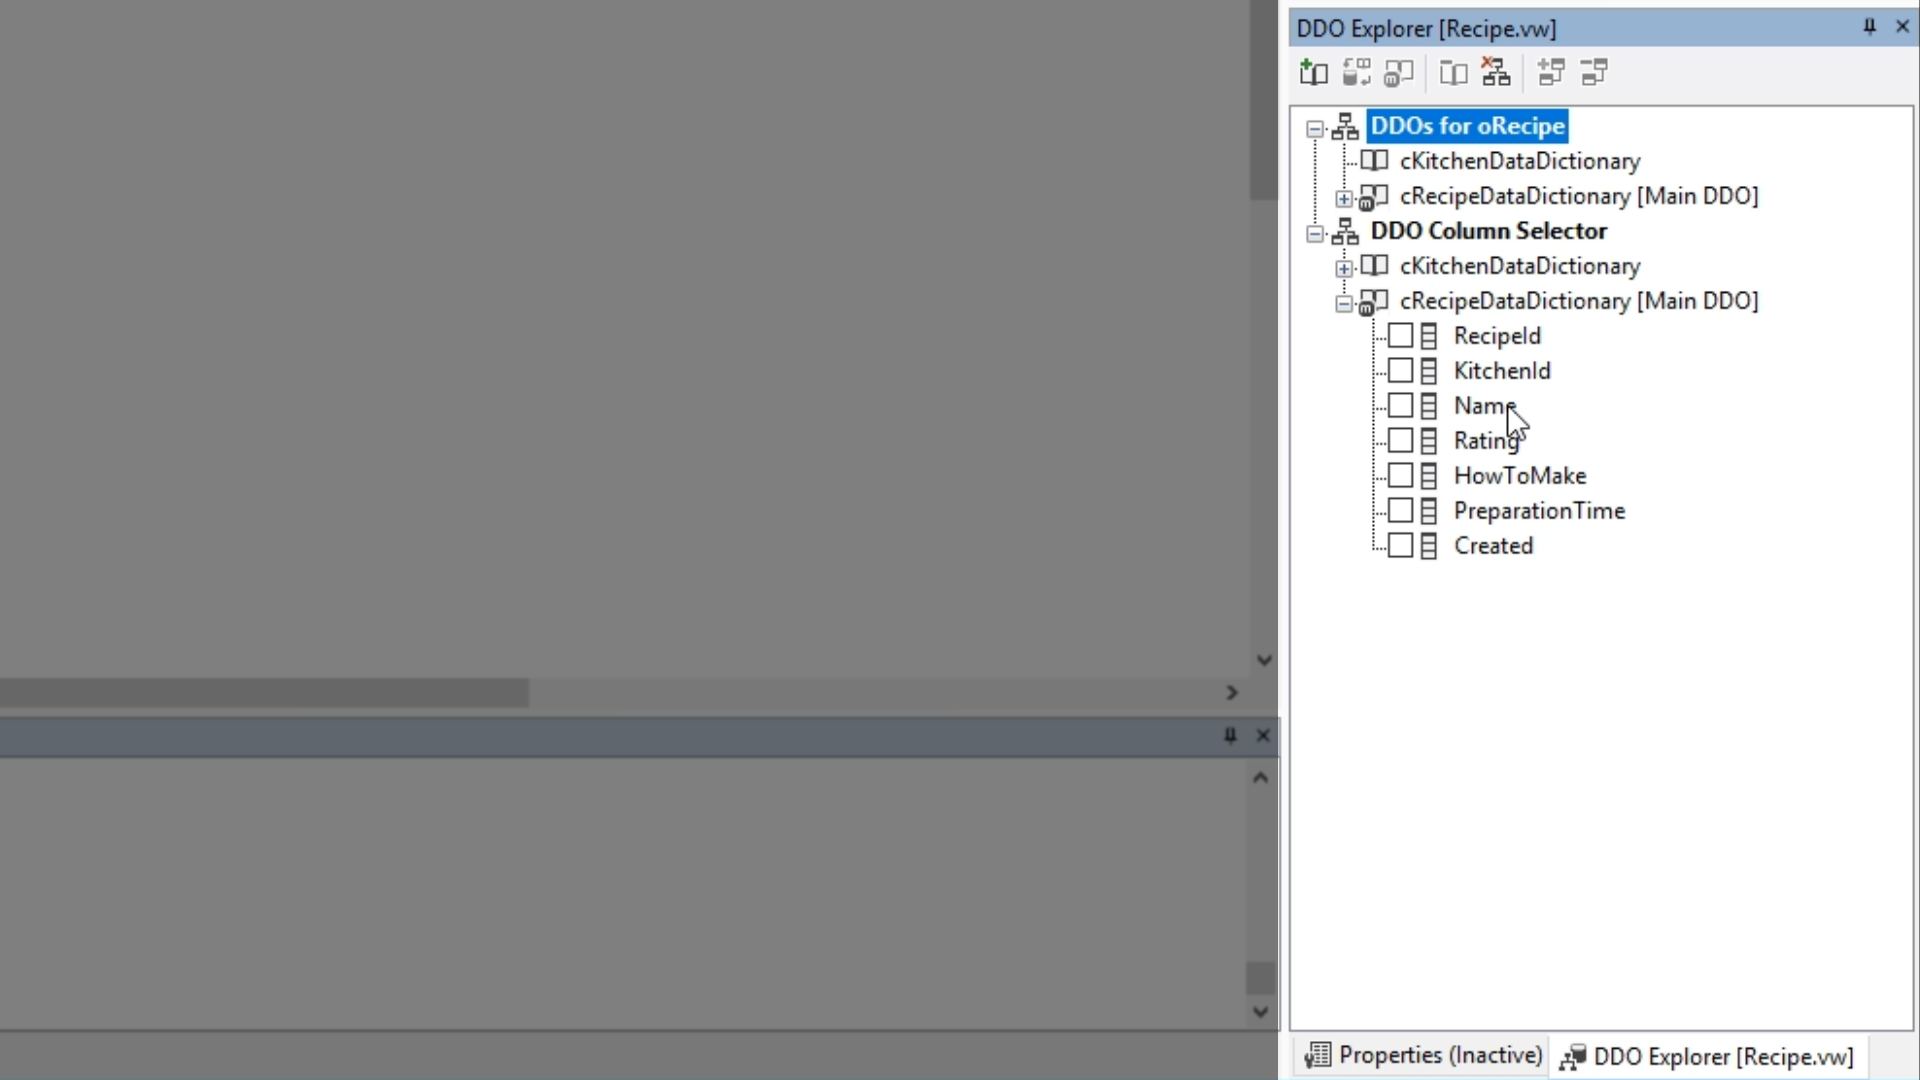
- Expand ‘cRecipeDataDictionary [Main DDO]’ in the DDO Explorer.
- Check ‘Name’
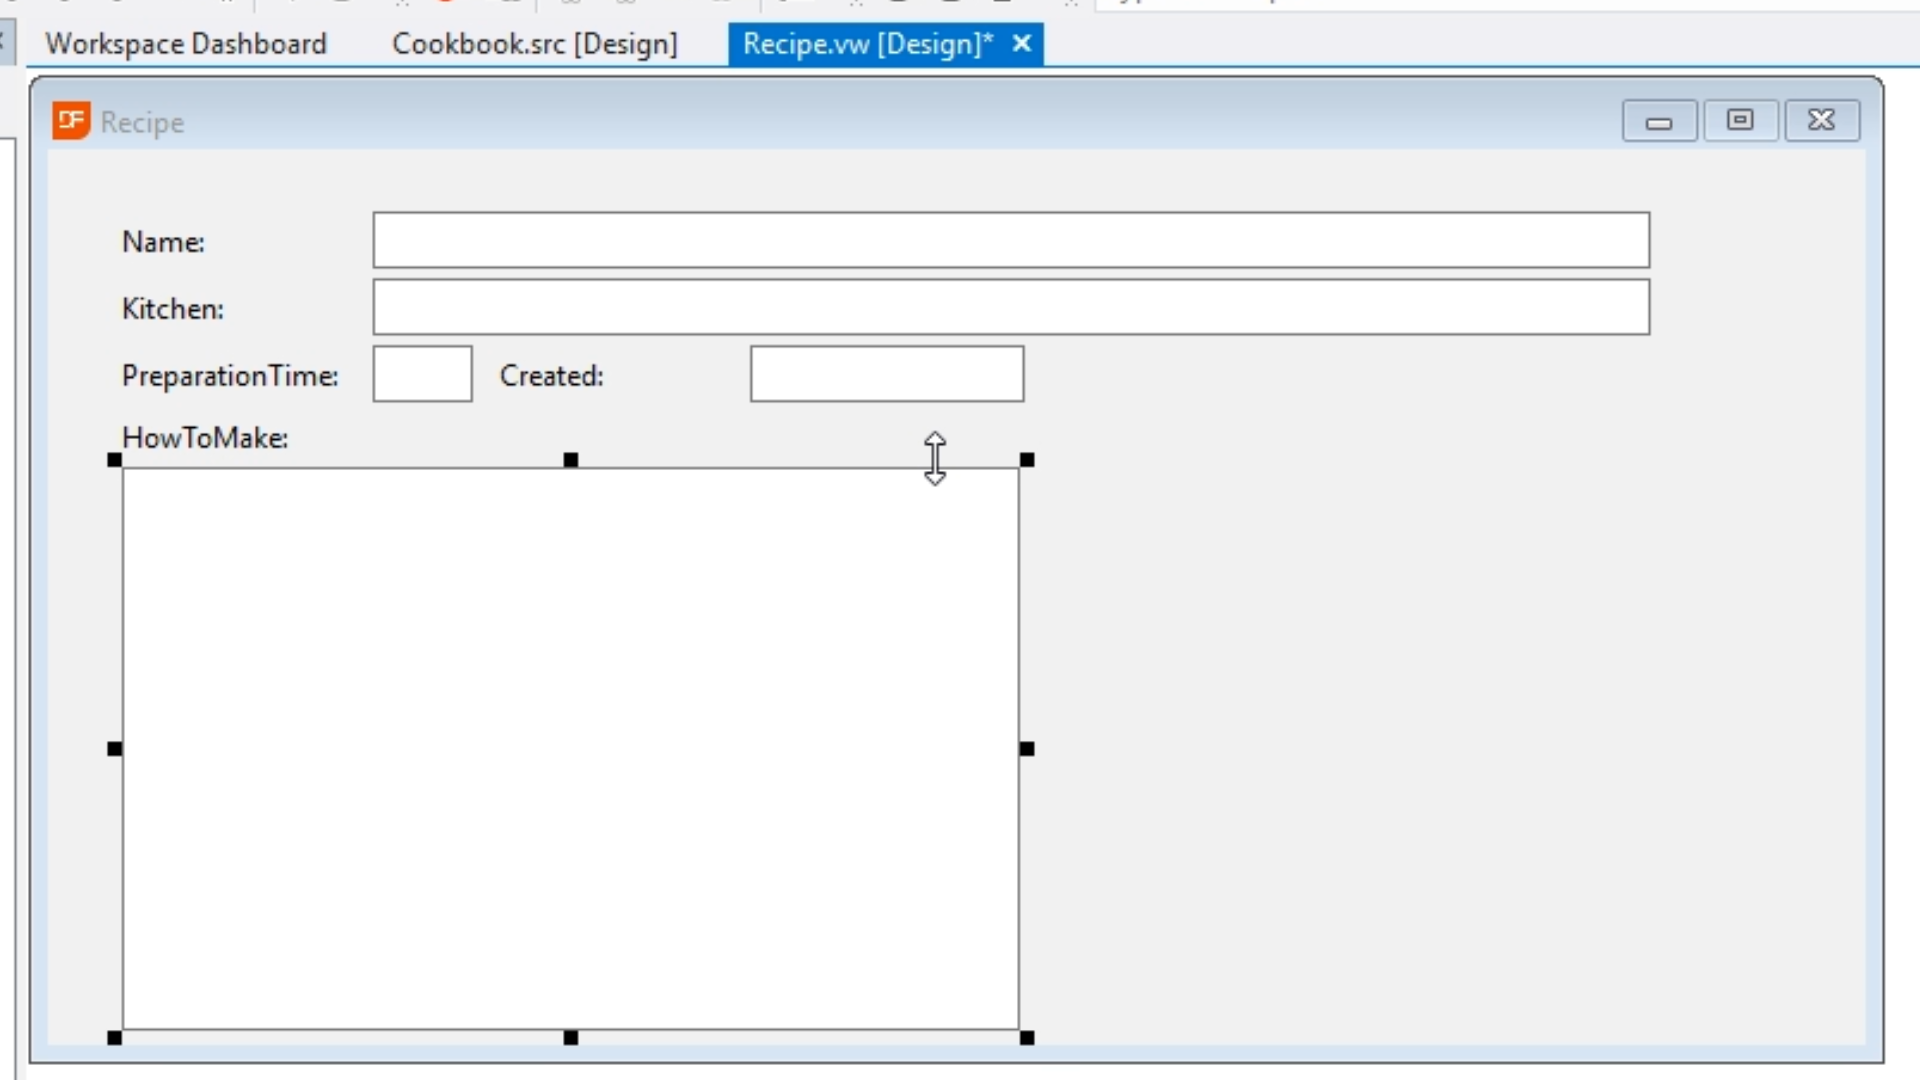
- Click on ‘Name,’ and drag it into the ‘Recipe’ view.
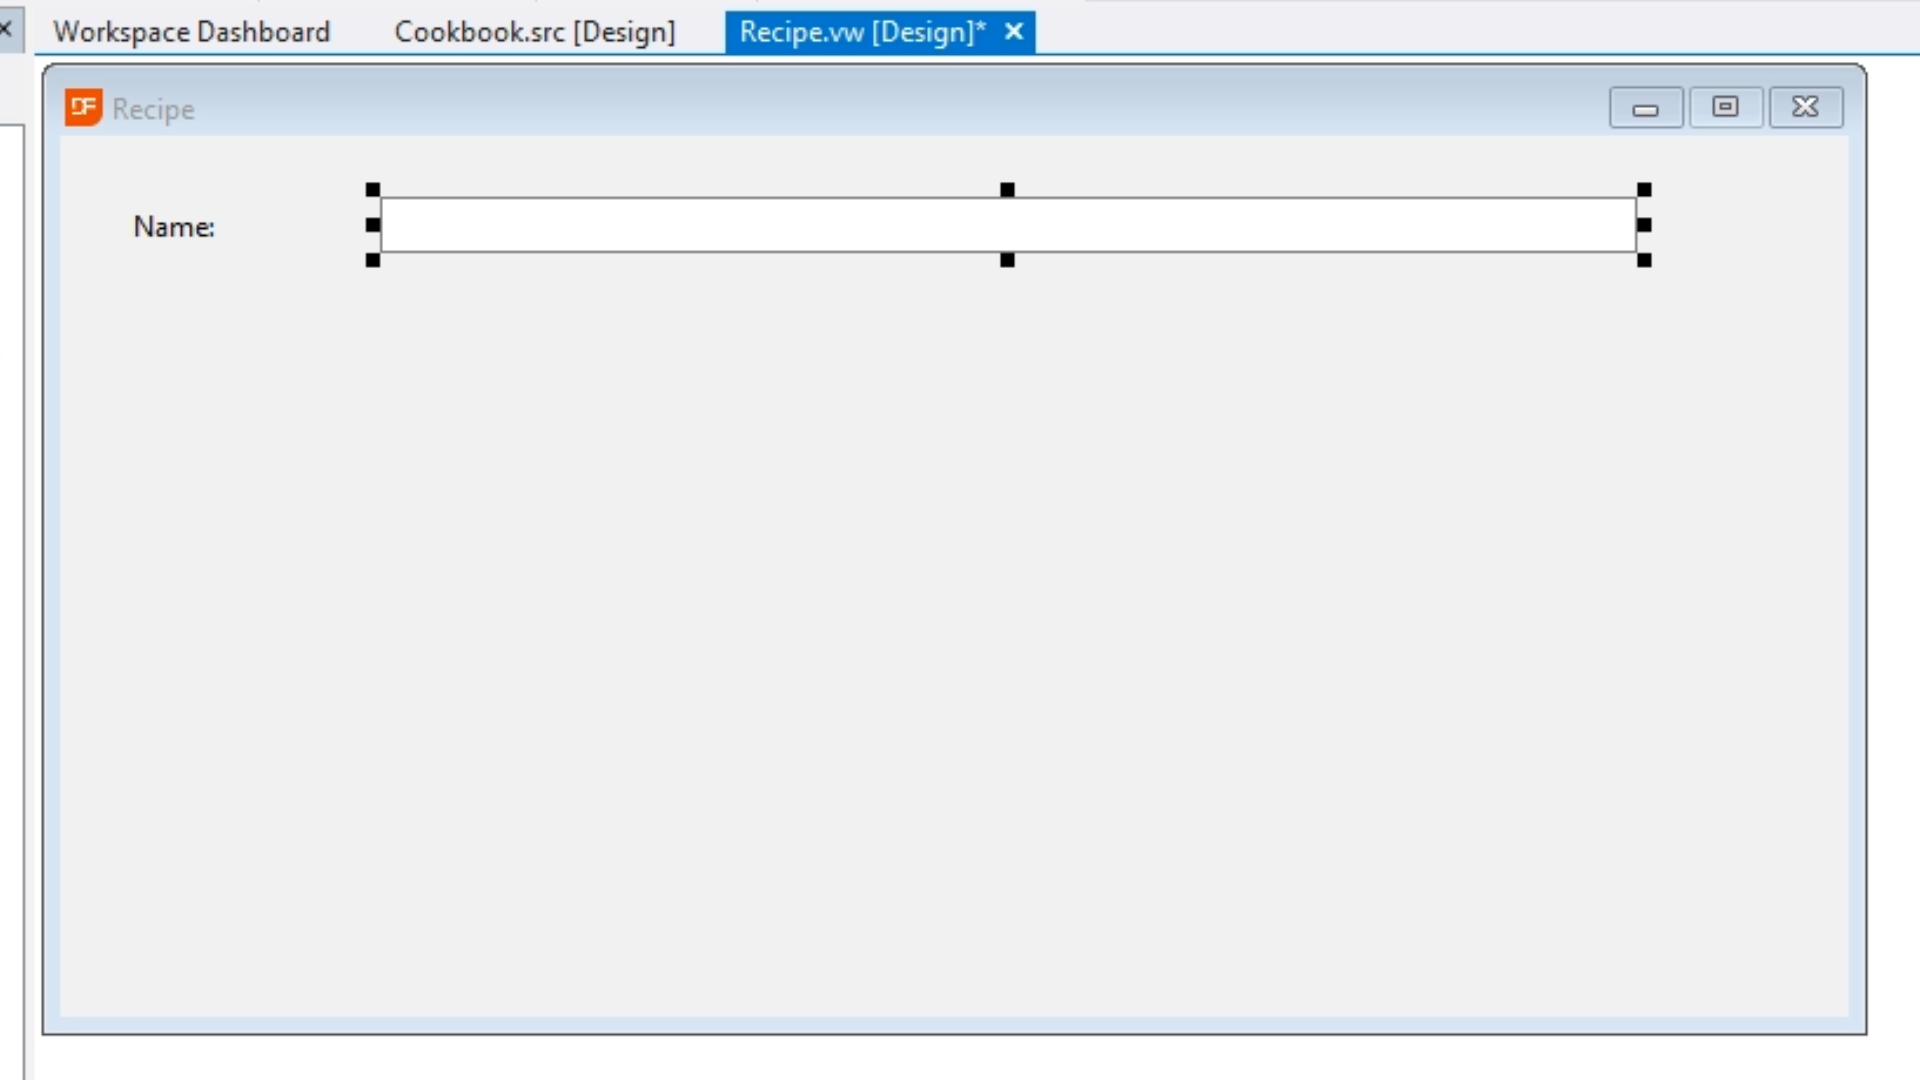
- Adjust the width of the view as needed.
- Check ‘HowToMake,’ ‘PreparationTime,’ and ‘Created.’
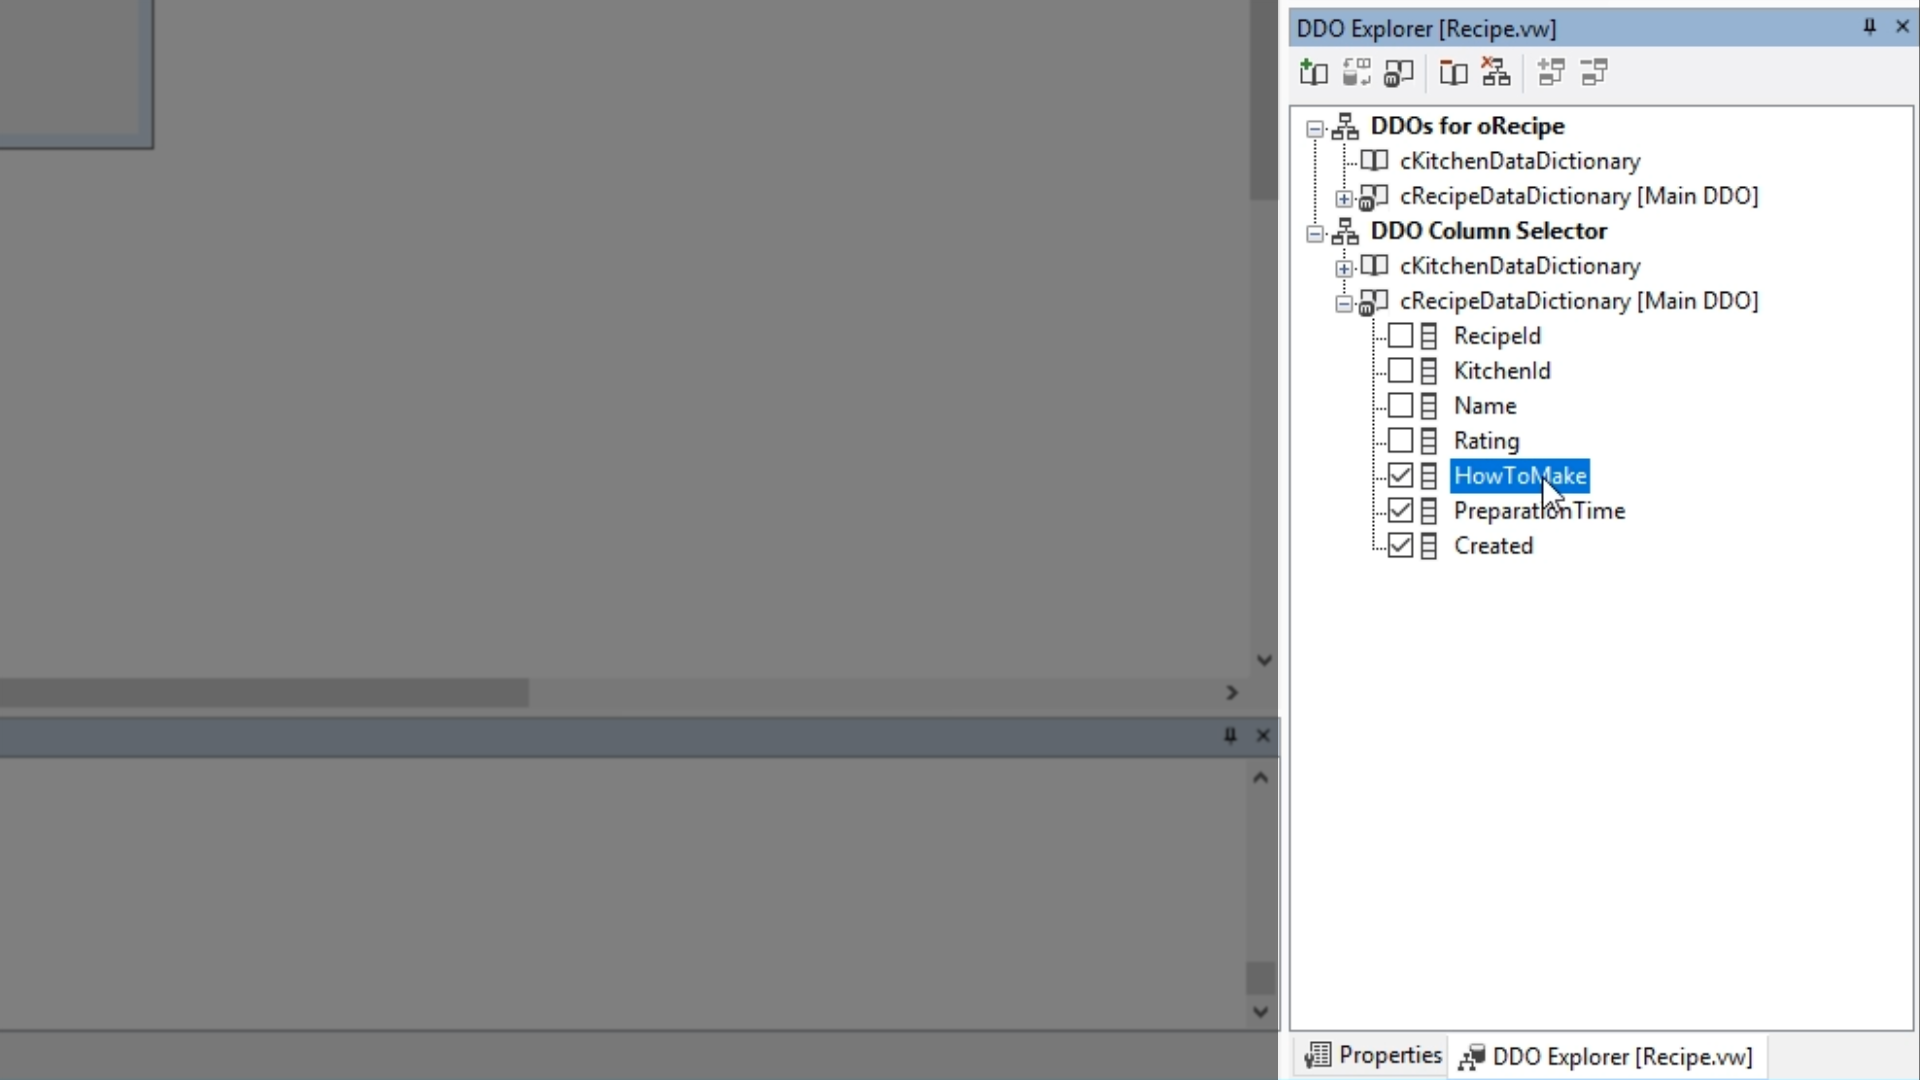
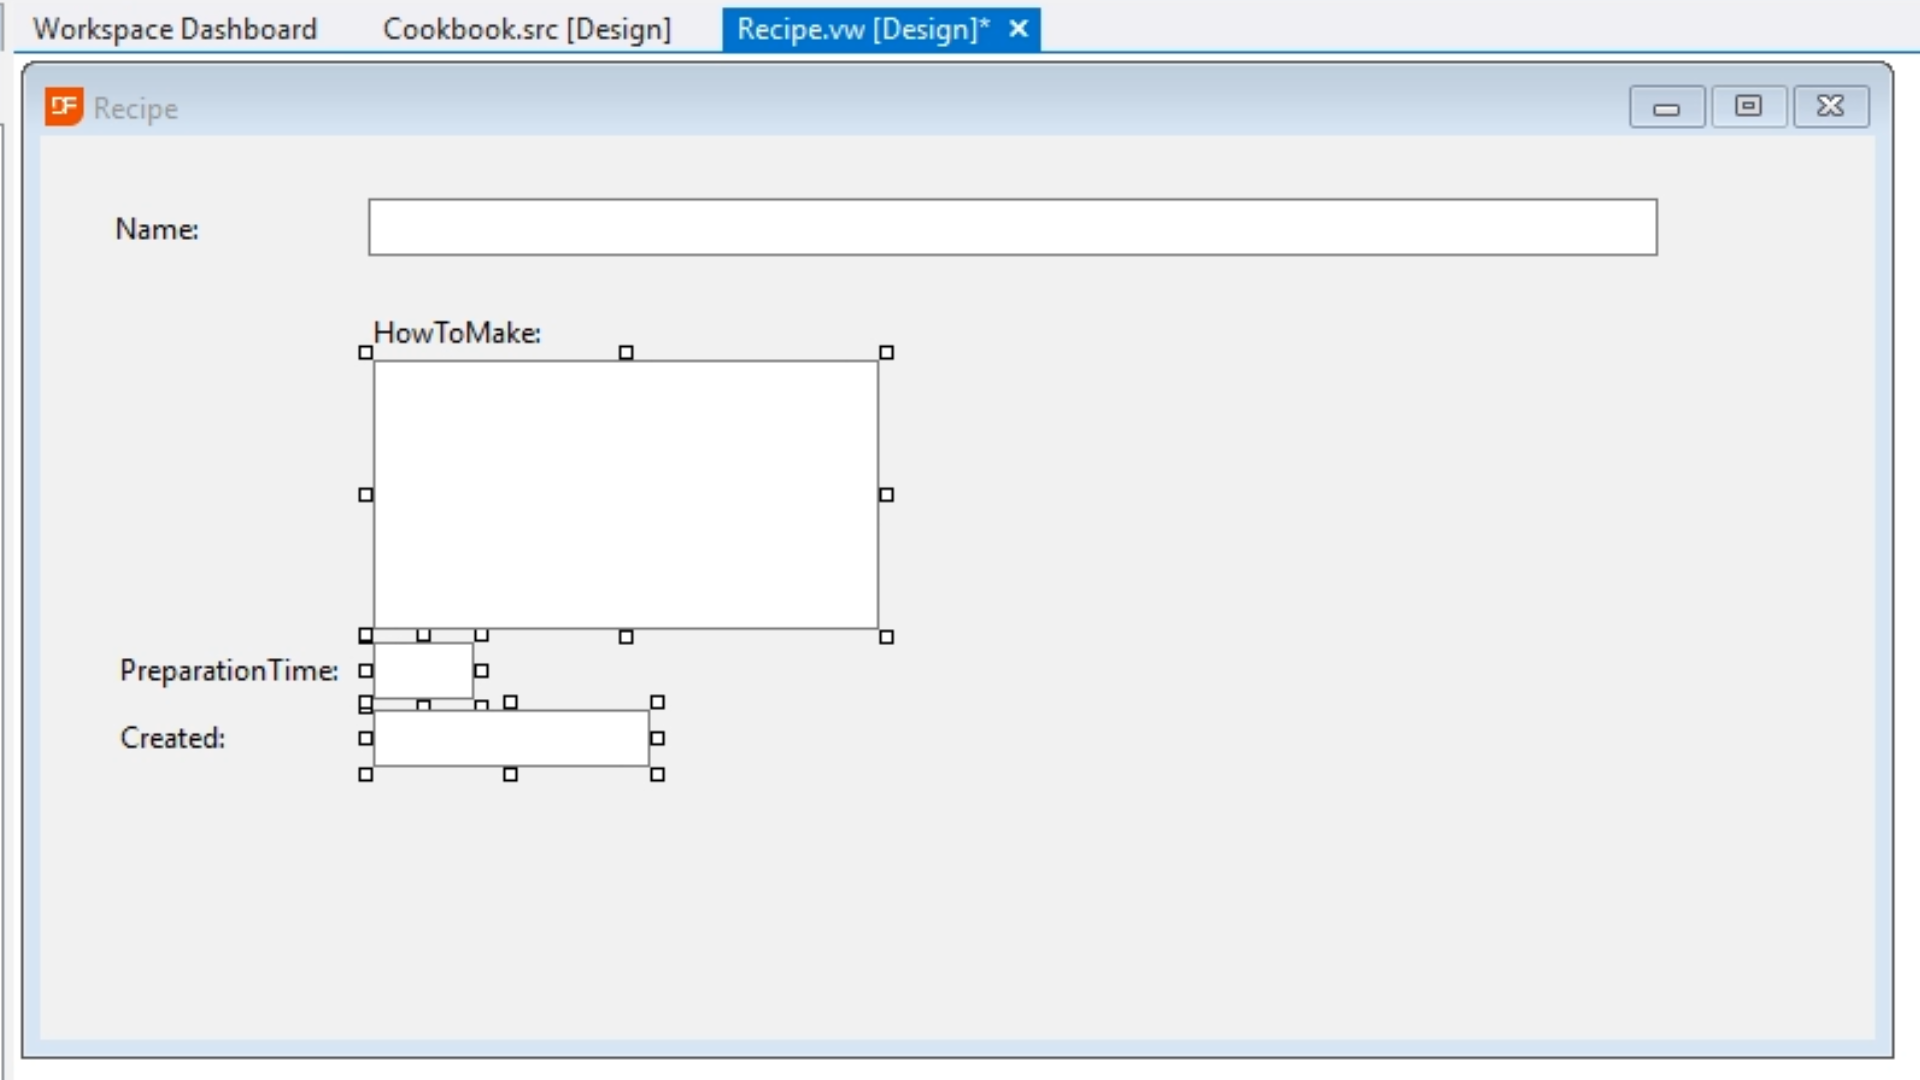
- Click on ‘HowToMake,’ and drag it into the view. This will result in all three checked items being added to the view.
- Expand ‘ cKitchenDataDictinoary’ in the DDO Explorer.
- Check ‘Name’

- Click on ‘Name’ and drag it into the view.

- Adjust the layout…
- For the kitchen name, select its field in the view.
- Select ‘Properties’ from the bottom of the panel on the right.
- From the ‘Label’ section, change ‘Label’ from “Name:” to “Kitchen:”

- Move the locations of the ‘Preparation Time,’ ‘Created’ and ‘HowToMake’ fields.
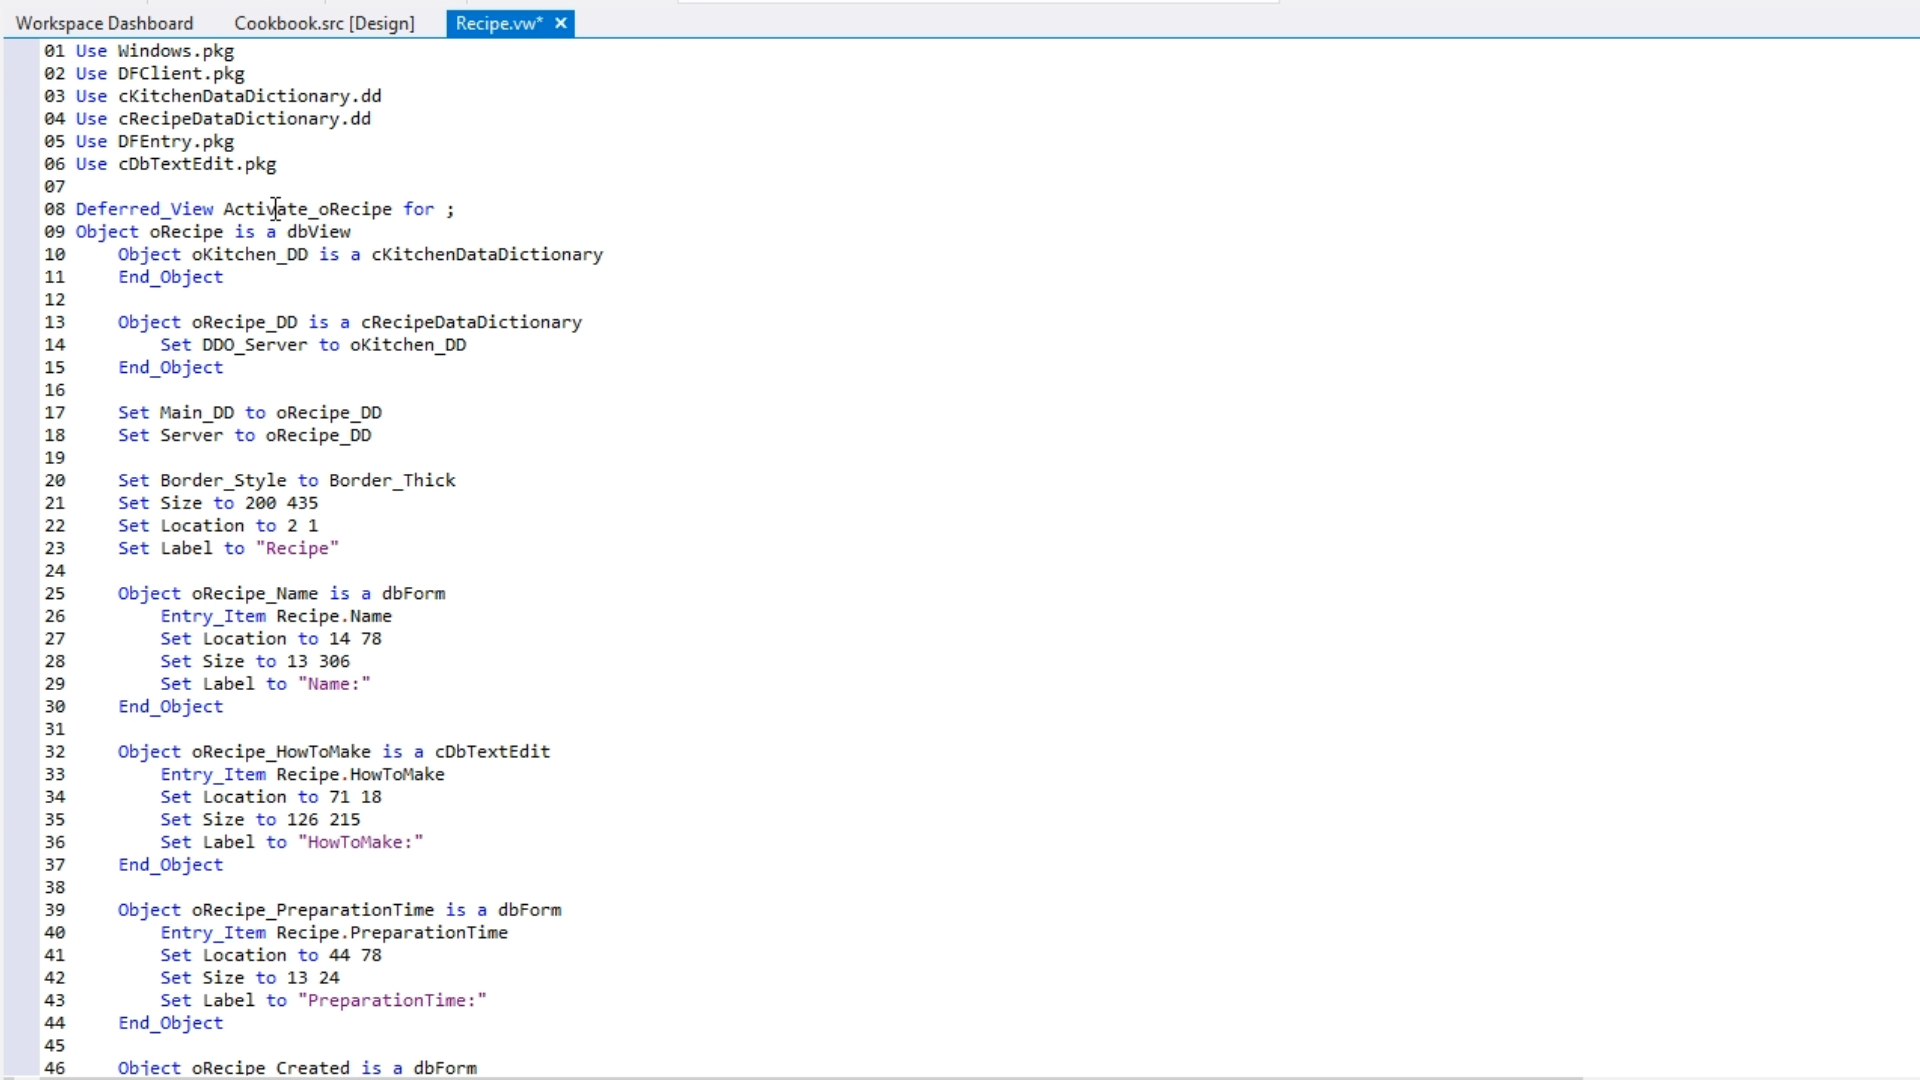
- To view what these changes made, press F7 to view the source view, ‘Recipe.vw.’
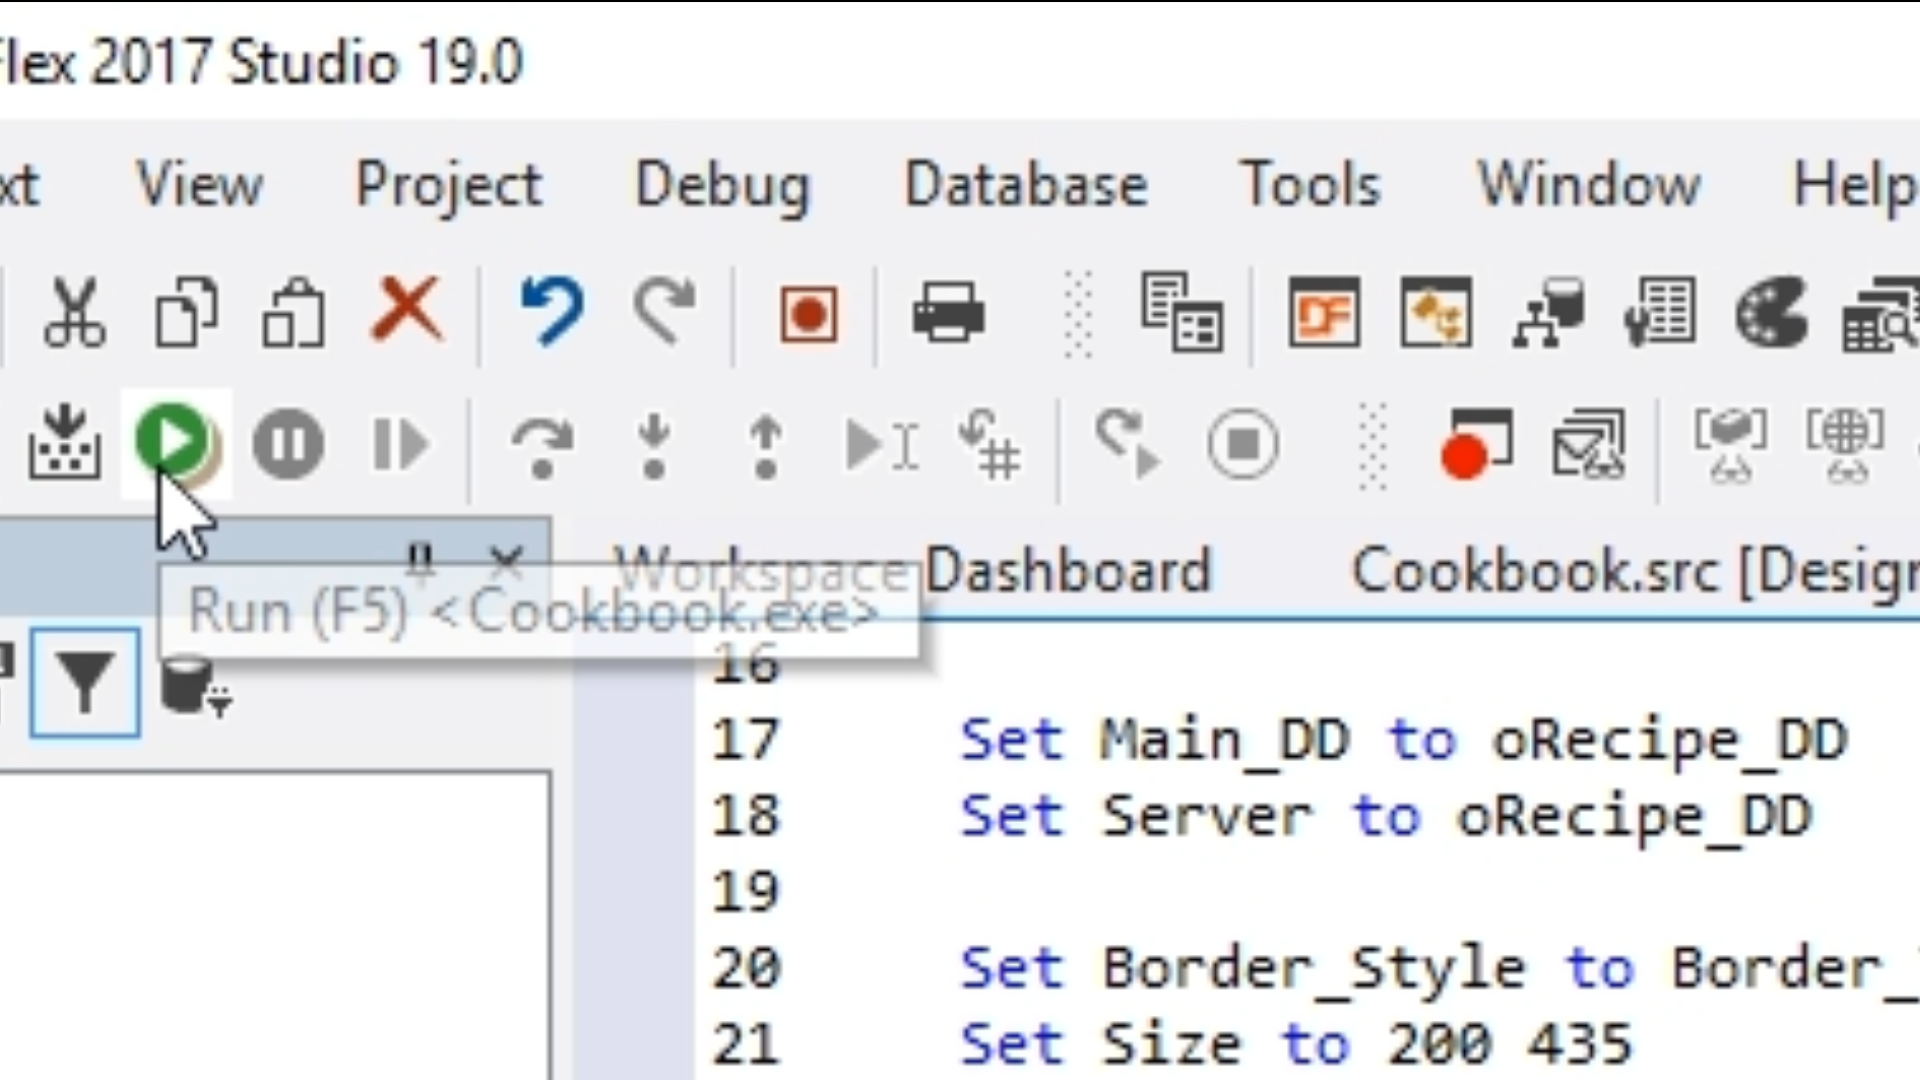
- Select the ‘Run’ icon from the top toolbar to launch the application.
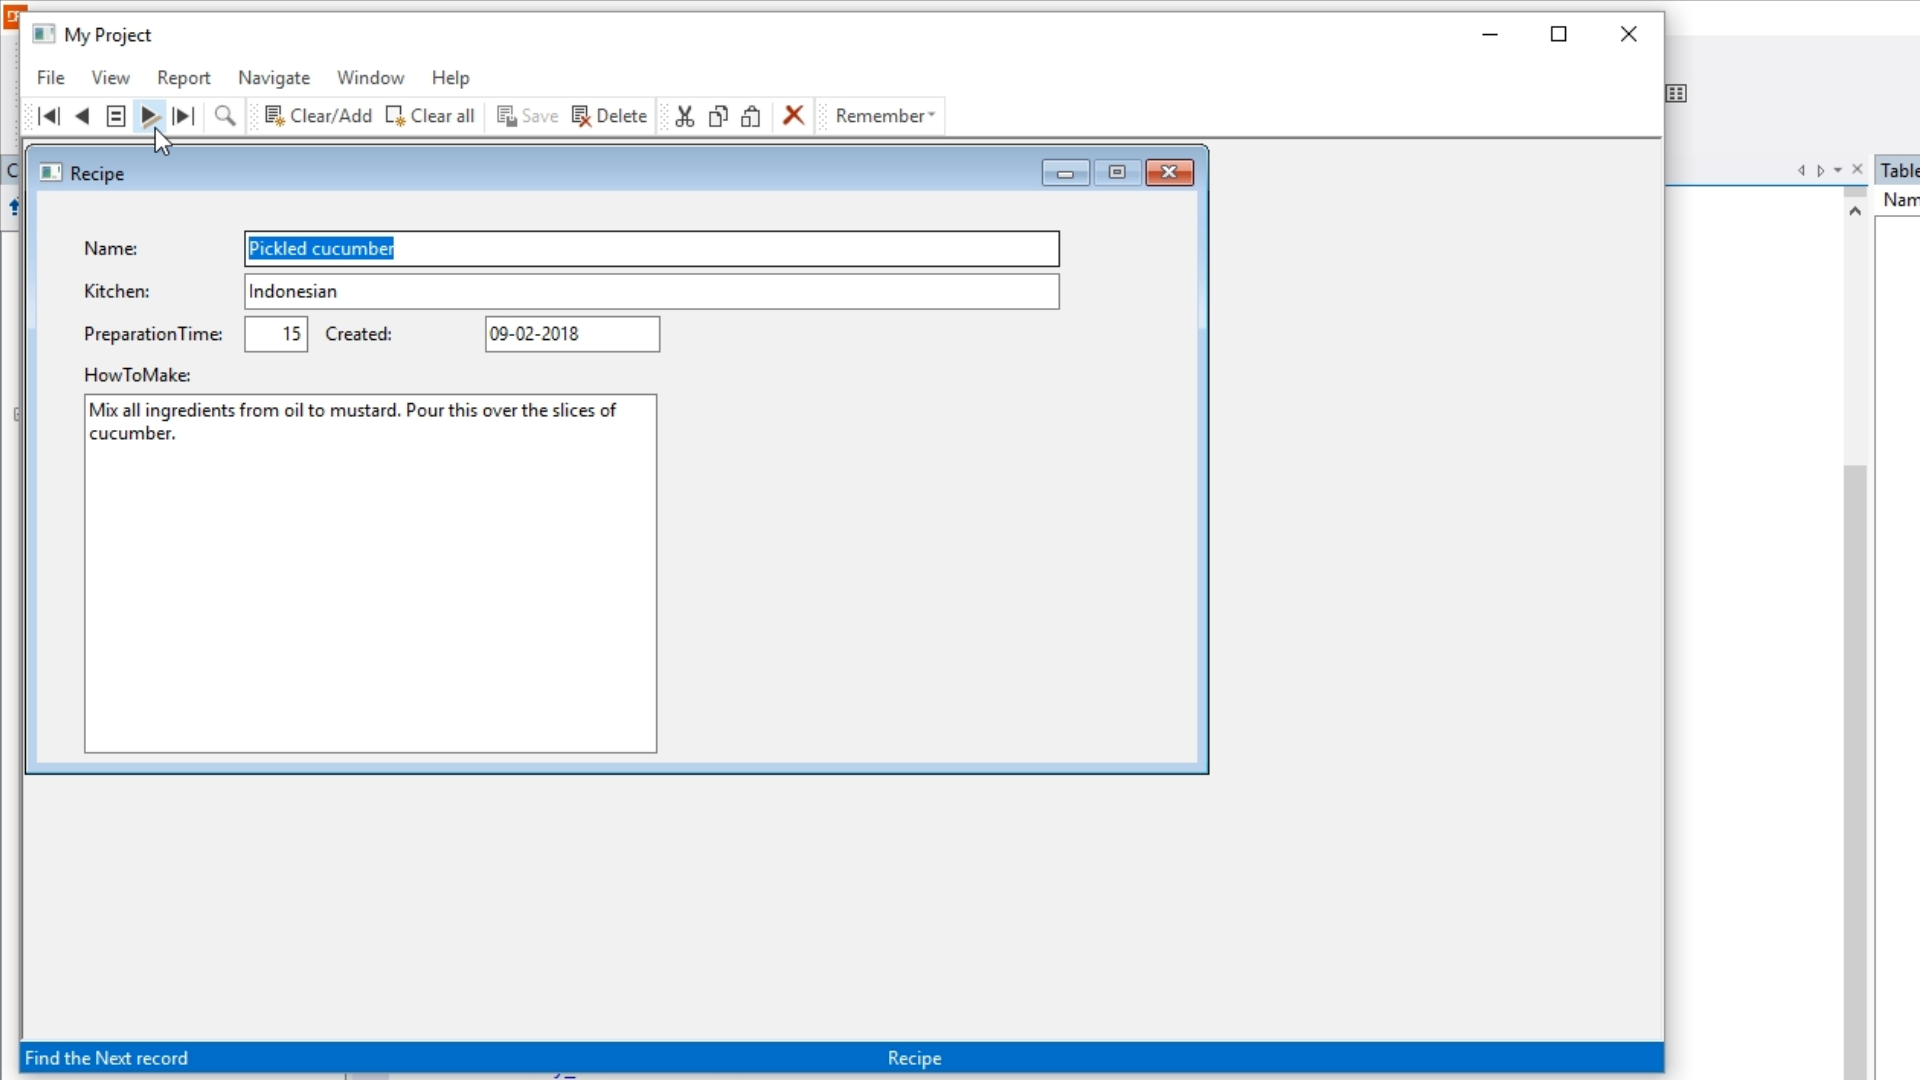
- Select ‘View’ from the application’s top toolbar and select ‘Recipe’ to display the view that was just created.

- Click on the ‘Find’ toolbar icons to move through the recipes.
- To add a lookup to the view…
- This will demonstrate how Data Dictionaries automatically bind lookups to fields.
- Select the ‘Create New’ icon from the top toolbar.
- Select the ‘Dialog/Lookup’ tab.
- Select ‘Lookup Wizard.’ Select OK.

- Select ‘Next.’ Click on ‘Kitchen – cKitchenDataDictionary.’ Select ‘Next’ twice more.

- Double click on ‘Name’ from the panel on the left to add it to the panel on the right. Select ‘Next’ three more times, and then ‘Finish.’

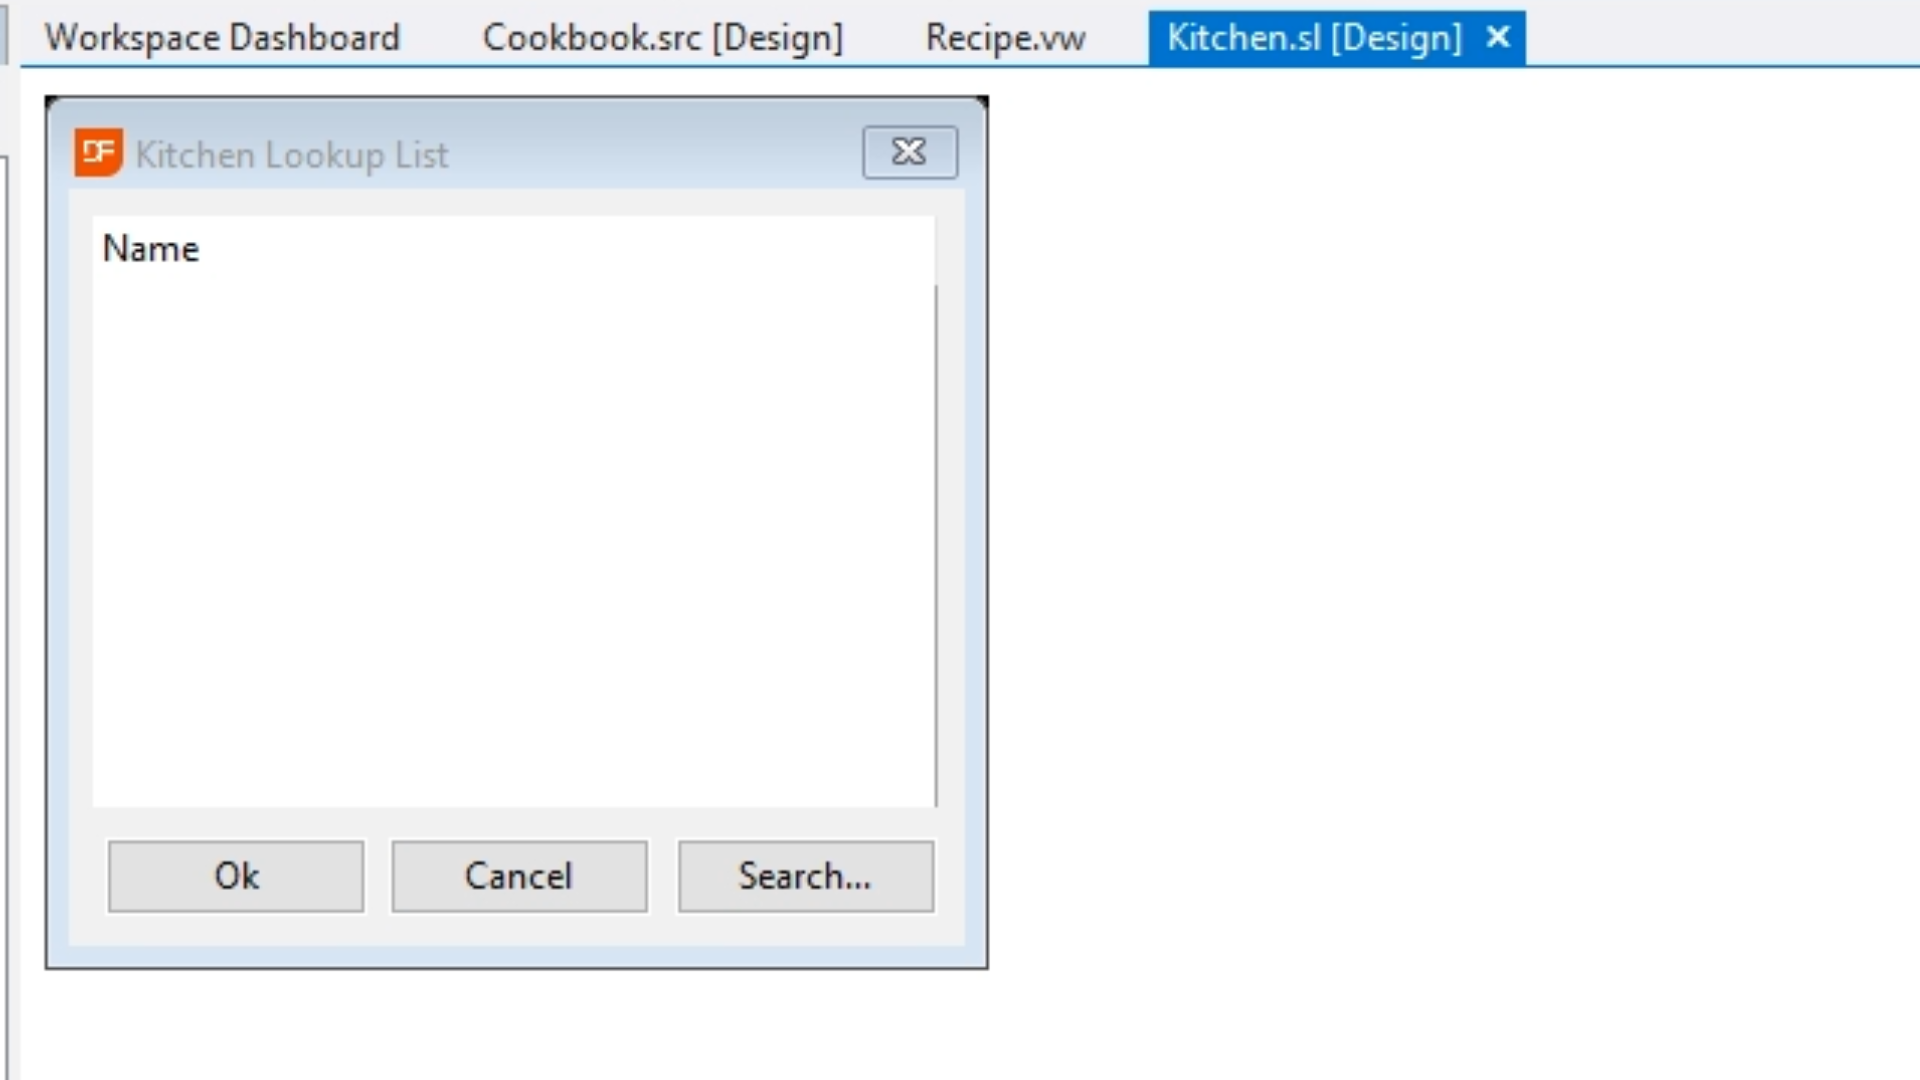
- Select the ‘Run’ icon from the top toolbar to launch the application.
- Select ‘View’ from the application’s top toolbar and select ‘Recipe.’
- The view now shows a prompt button in the ‘Kitchen’ field that will launch the lookup just created.

- Return to the DataFlex Studio and select the ‘Recipe.vw [Design] tab.
- To add a rating field to the application…
- Select ‘View’ from the top menu and select ’Class Palette’ to open the palette in the left panel.

- Expand ‘Data Controls.’
- Select, drag and drop ‘dbTrackbar’ onto the view.

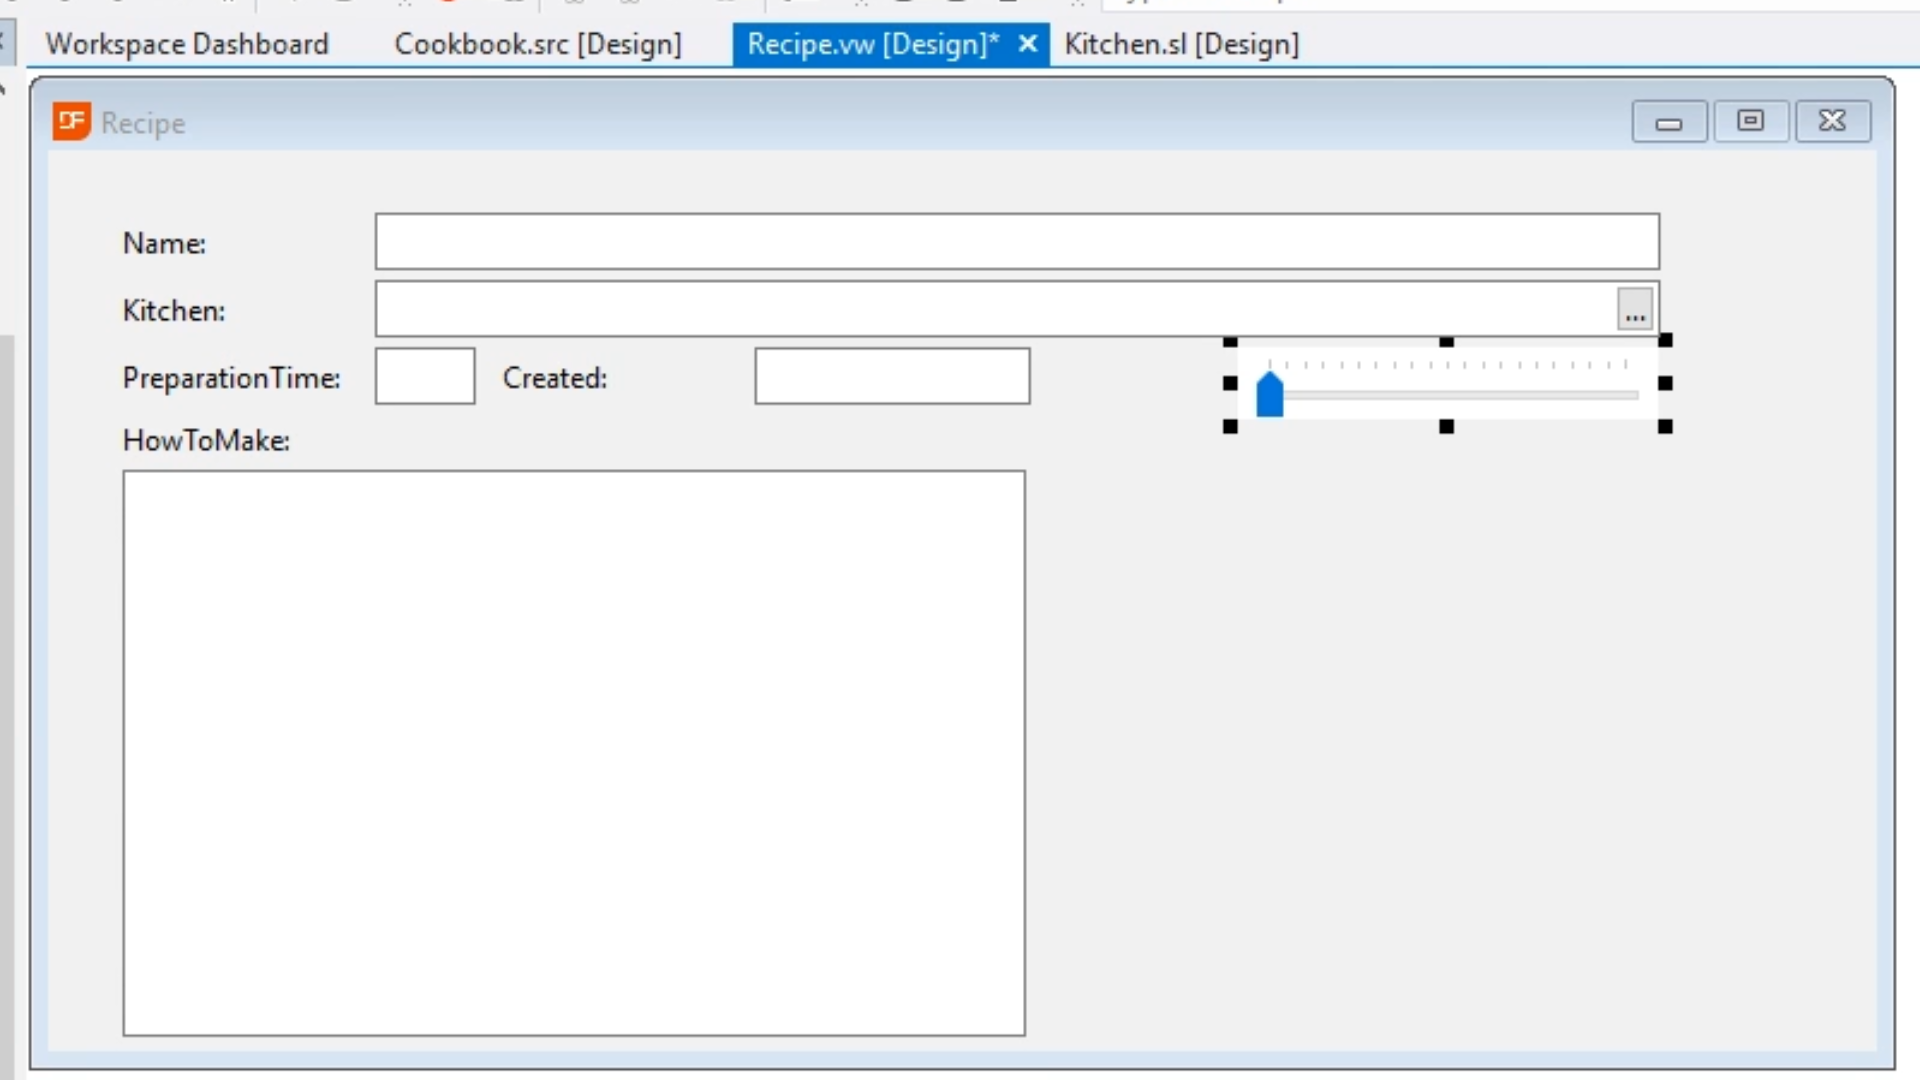
- In the ‘Properties’ panel’s ‘Properties’ tab on the right set the ‘Label’ to “Rating:”

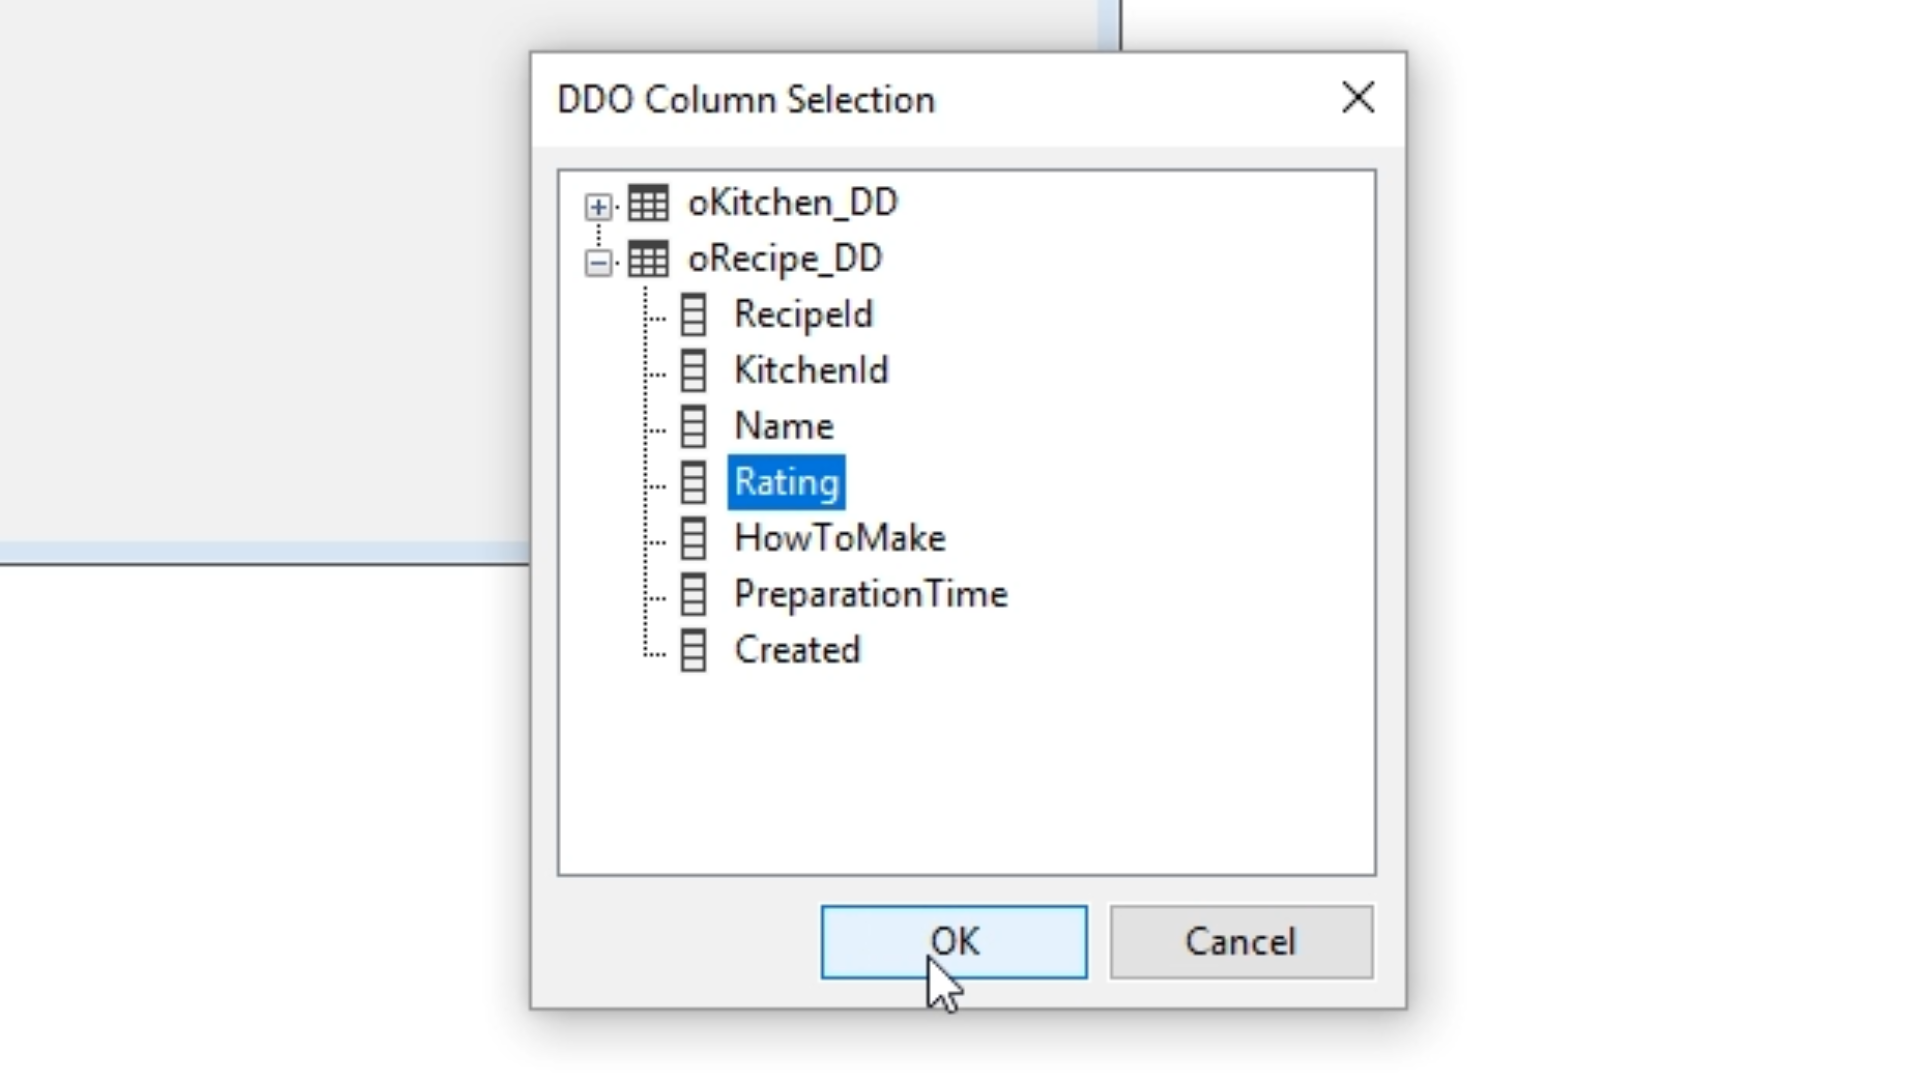
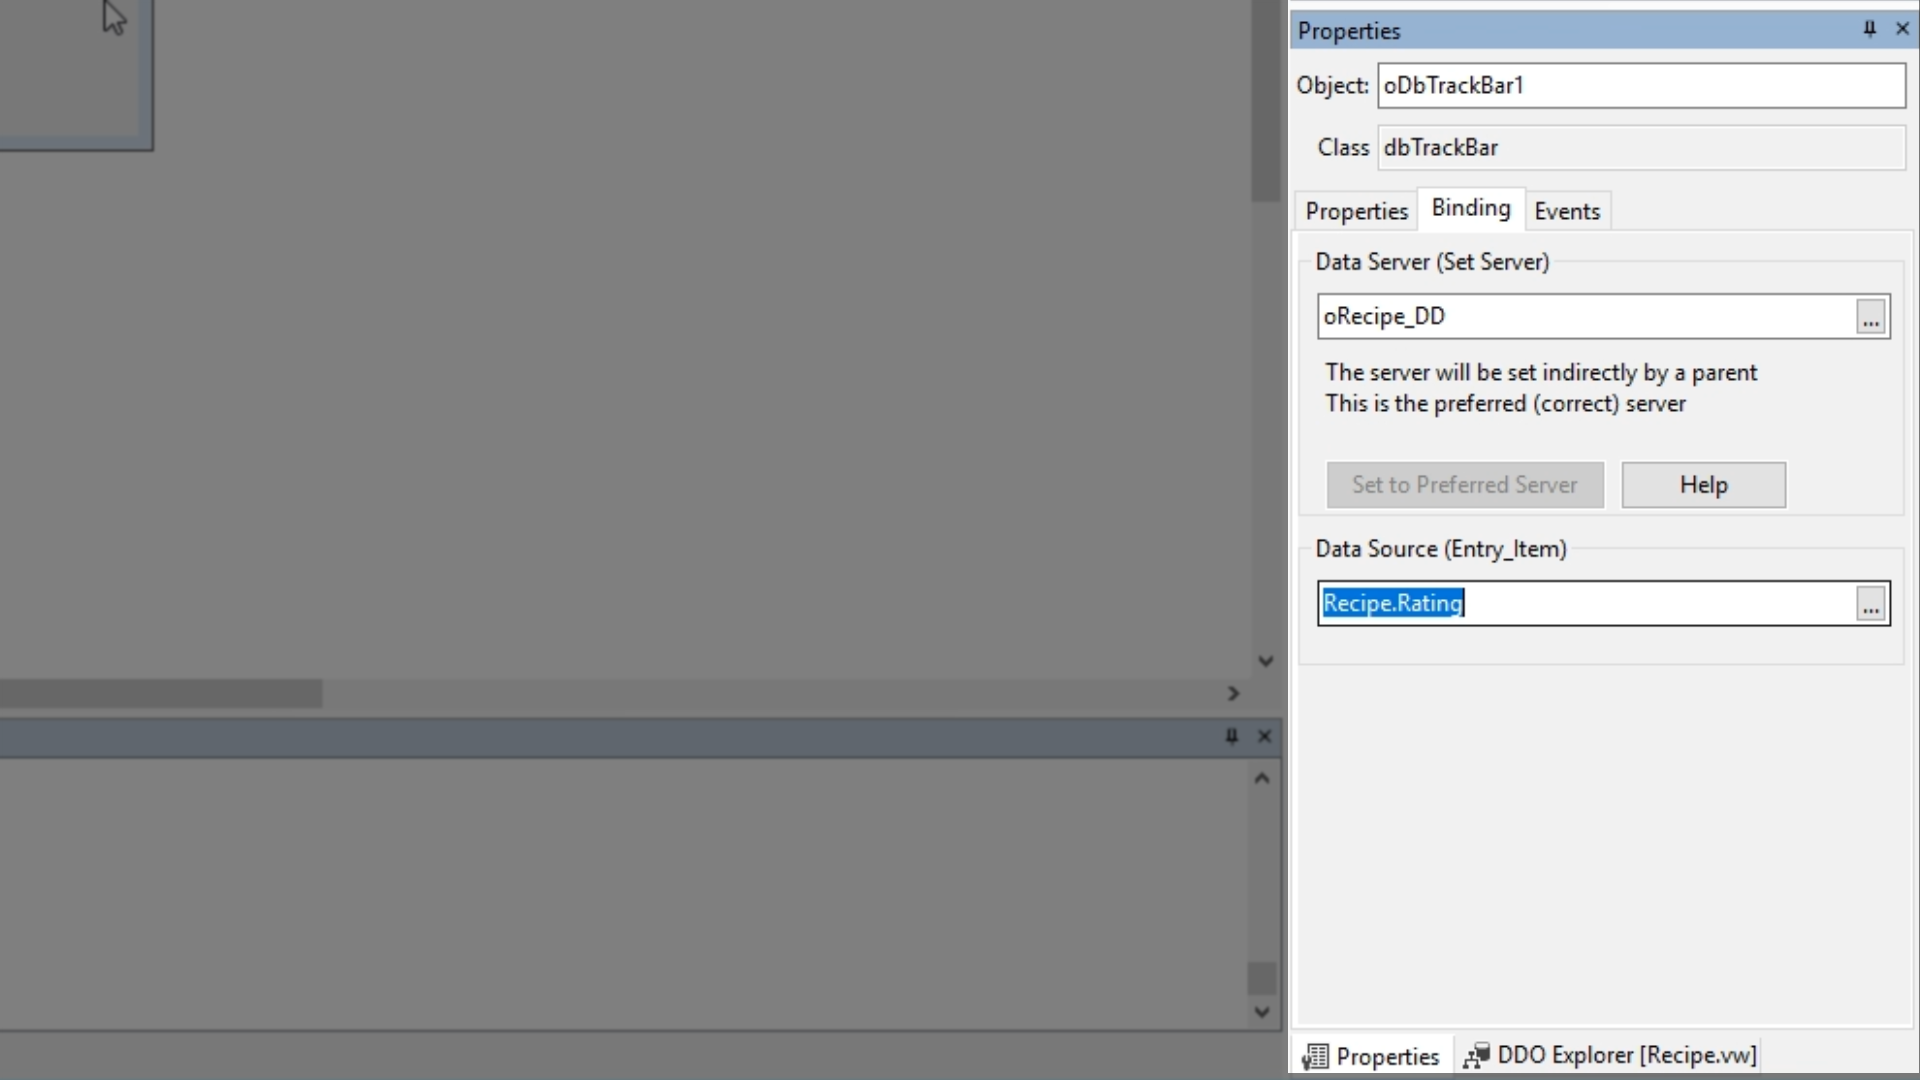
- In the ‘Properties’ panel’s ‘Binding’ tab on the right click on the prompt in the ‘Data Source (Entry_Item)’ field to open the ‘DDO Column Selection’ Window.
- Expand ‘oRecipe_DD,’ select ‘Rating,’ and click OK.
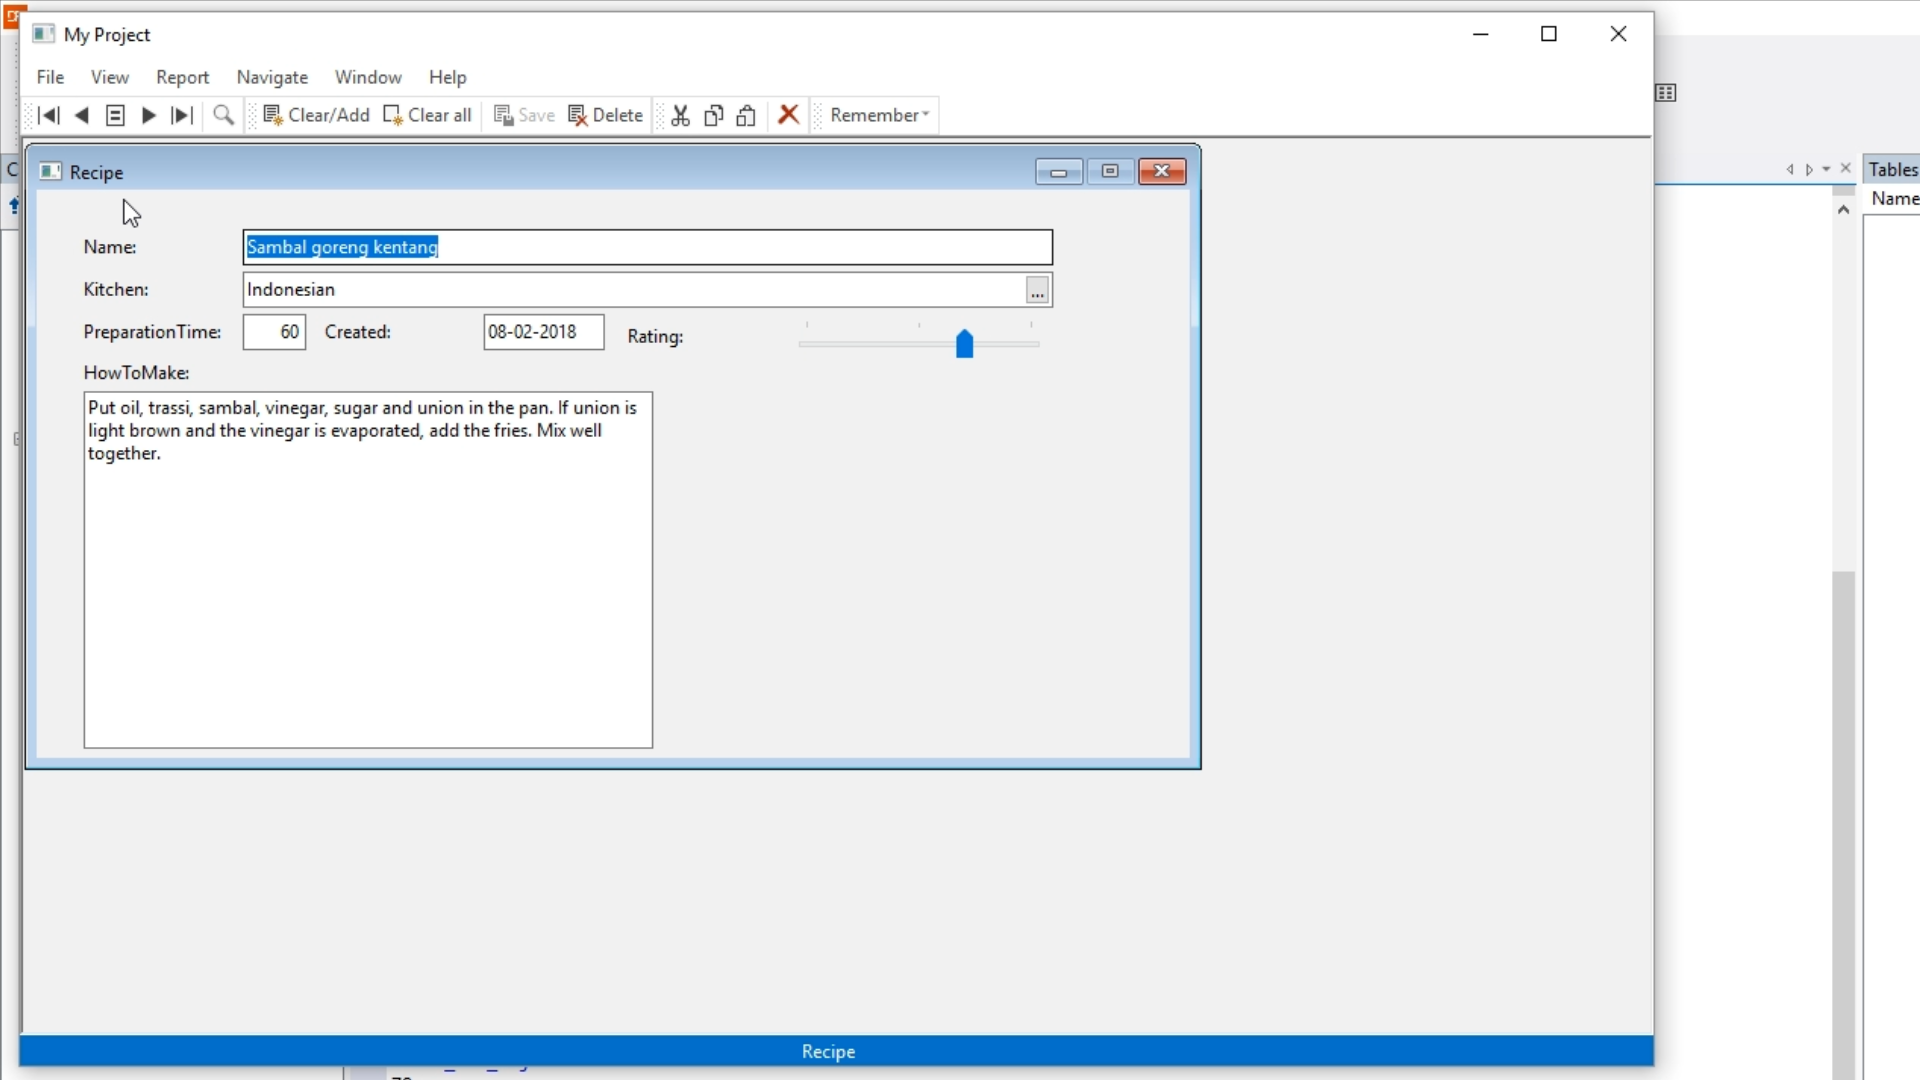
- Select the ‘Run’ icon from the top toolbar to launch the application.
- Select ‘View’ from the application’s top toolbar and select ‘Recipe.’
- Clicking on the ‘Find’ toolbar icons to move through the recipes will show movement on the newly created ‘Rating’ bar.

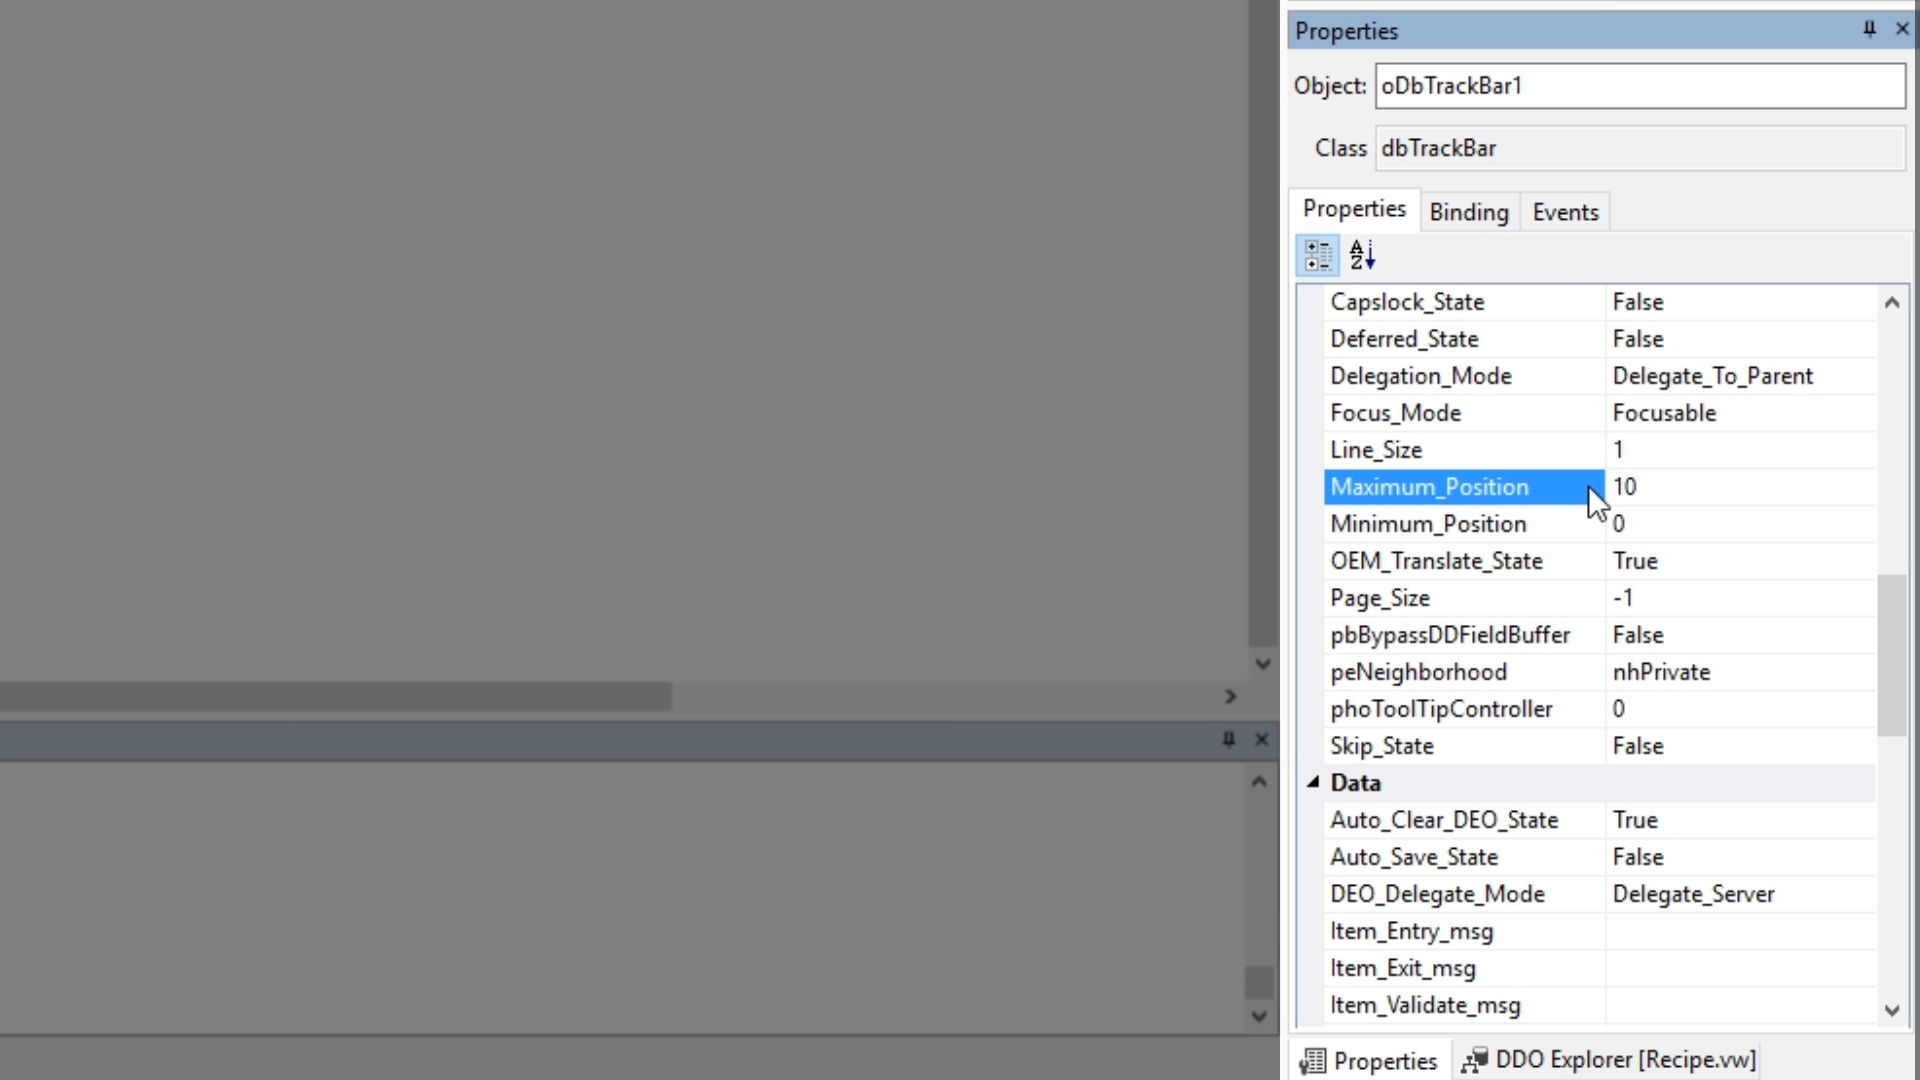
- To set the max value for the rating bar…
- Return to the DataFlex studio.
- Click on the ‘Properties’ tab in the ‘Properties’ panel on the right.
- Change the ‘Maximum_Position’ from “100” to “10.”
- Select the ‘Run’ icon from the top toolbar to launch the application.
- Select ‘View’ from the application’s top toolbar and select ‘Recipe.’
- Clicking on the ‘Find’ toolbar icons to move through the recipes will show movement on the ‘Rating’ bar that has been adjusted with a lower maximum of 10.
- Note: F7 and F8 are the shortcut keys for finding, or moving through, the records of the field that is highlighted.
- To show how the Data Dictionary objects are related to fields on the screen, and how finds can be performed to influence the current records being displayed…
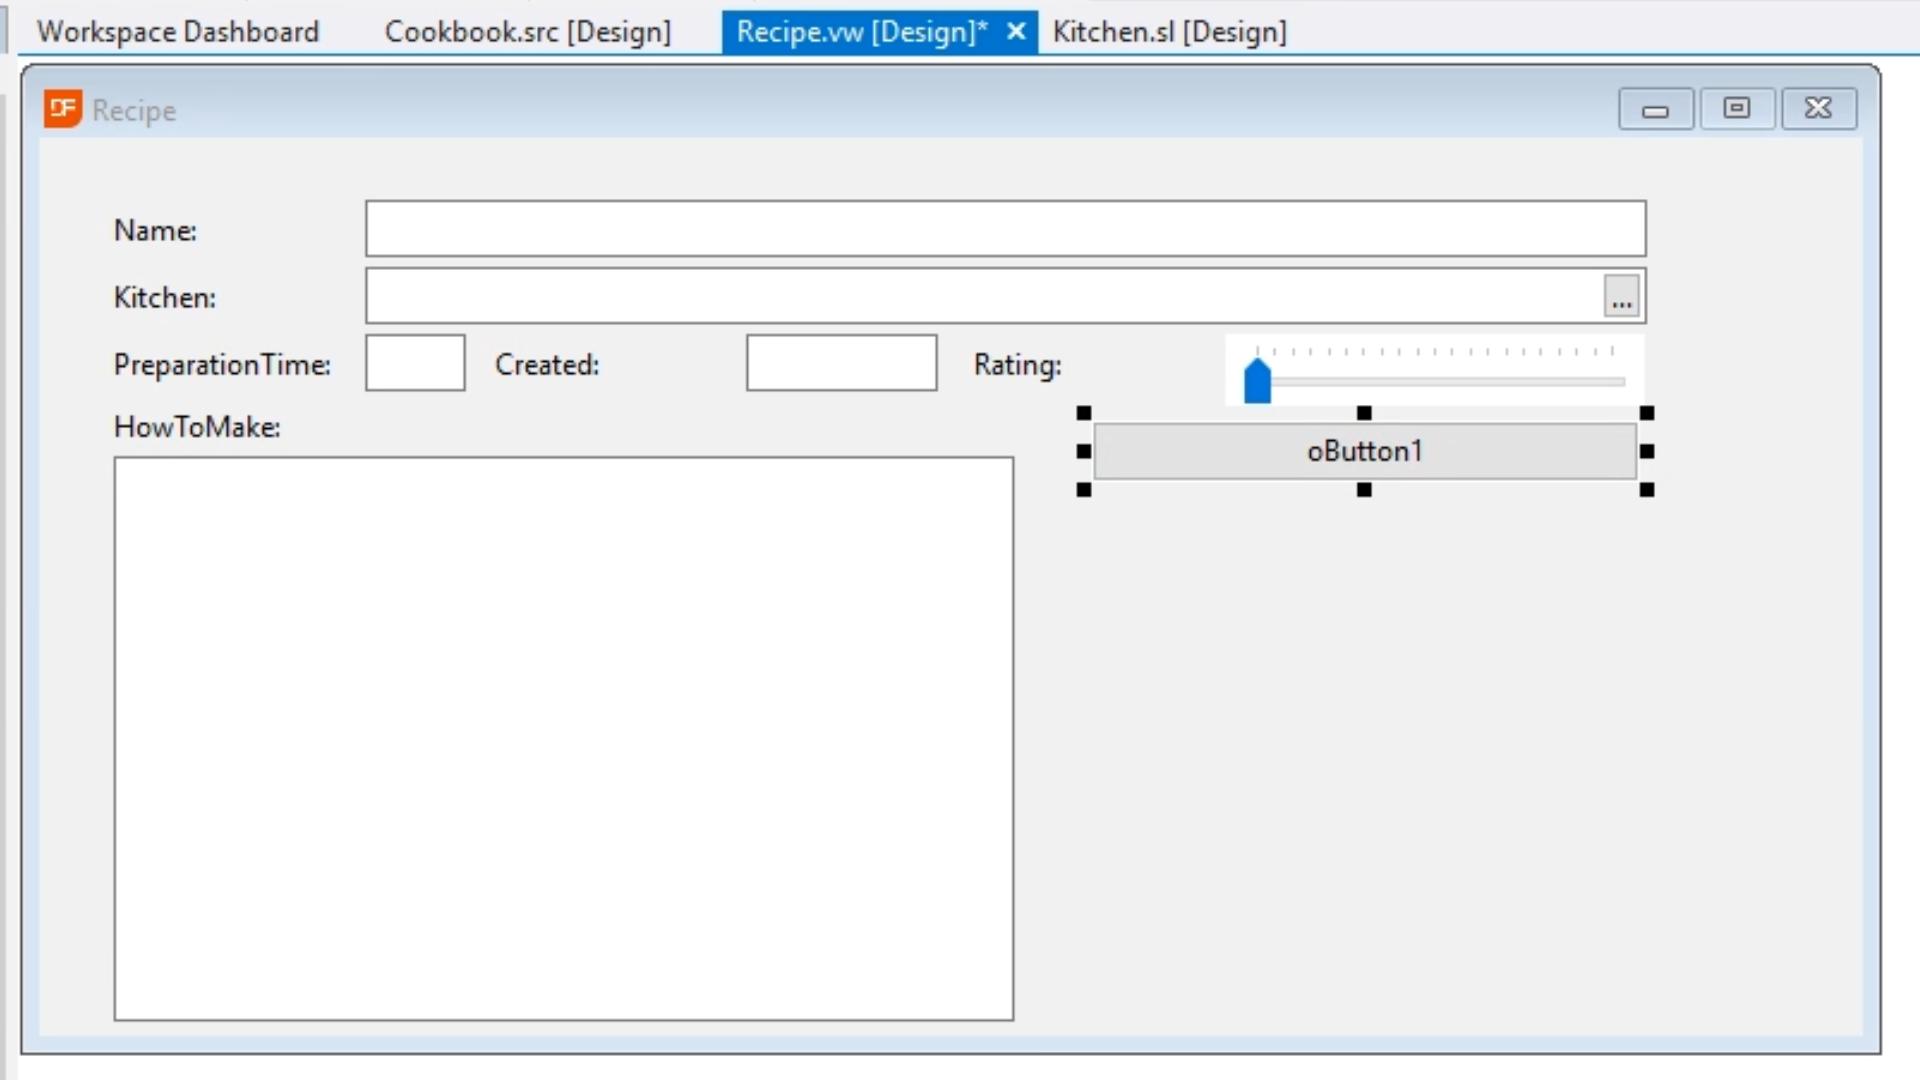
- Return to the DataFlex studio, and ‘Recipe.vw [Design]’
- Select, drag and drop ‘Button’ from the ‘Class Palette’ on the left onto the view.
- Double click on the view to return to the code for the view.
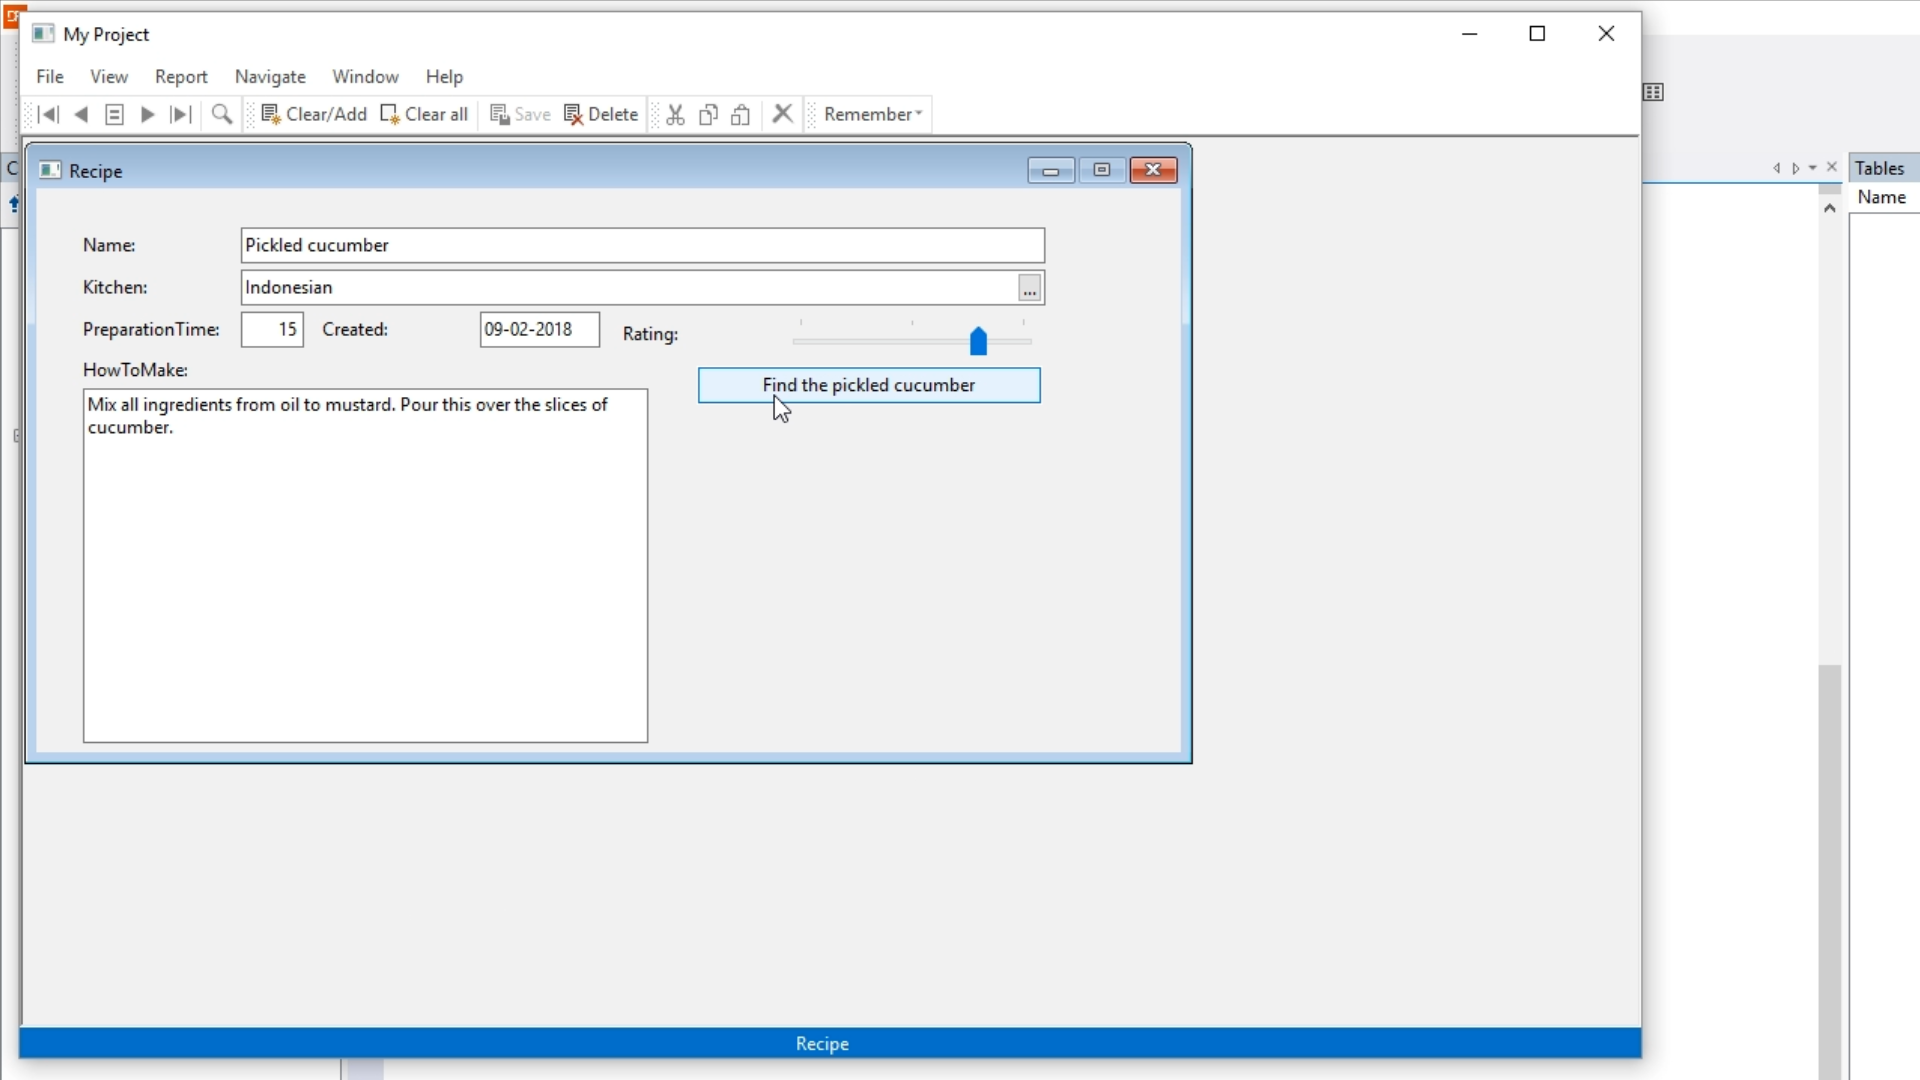
- Add code for the button that will show how the data bound fields work together with the Data Dictionary…
Set Label to ‘Find the pickled cucumber’
//fires when the button is clicked
Procedure OnClick
Move “Pickled cucumber” to Recipe.Name
Send Find of oRecipe_DD GE 2
End_Procedure

- Select the ‘Run’ icon from the top toolbar to launch the application.
- Select ‘View’ from the application’s top toolbar and select ‘Recipe.’
- Click the new button to show the Pickled Cucumber recipe.