Working with databases
Lesson 2: Creating the database
To get started, a workspace needs to be setup, and a create a database.
- From the DataFlex studio select ‘New Workspace’ from the panel on the left.

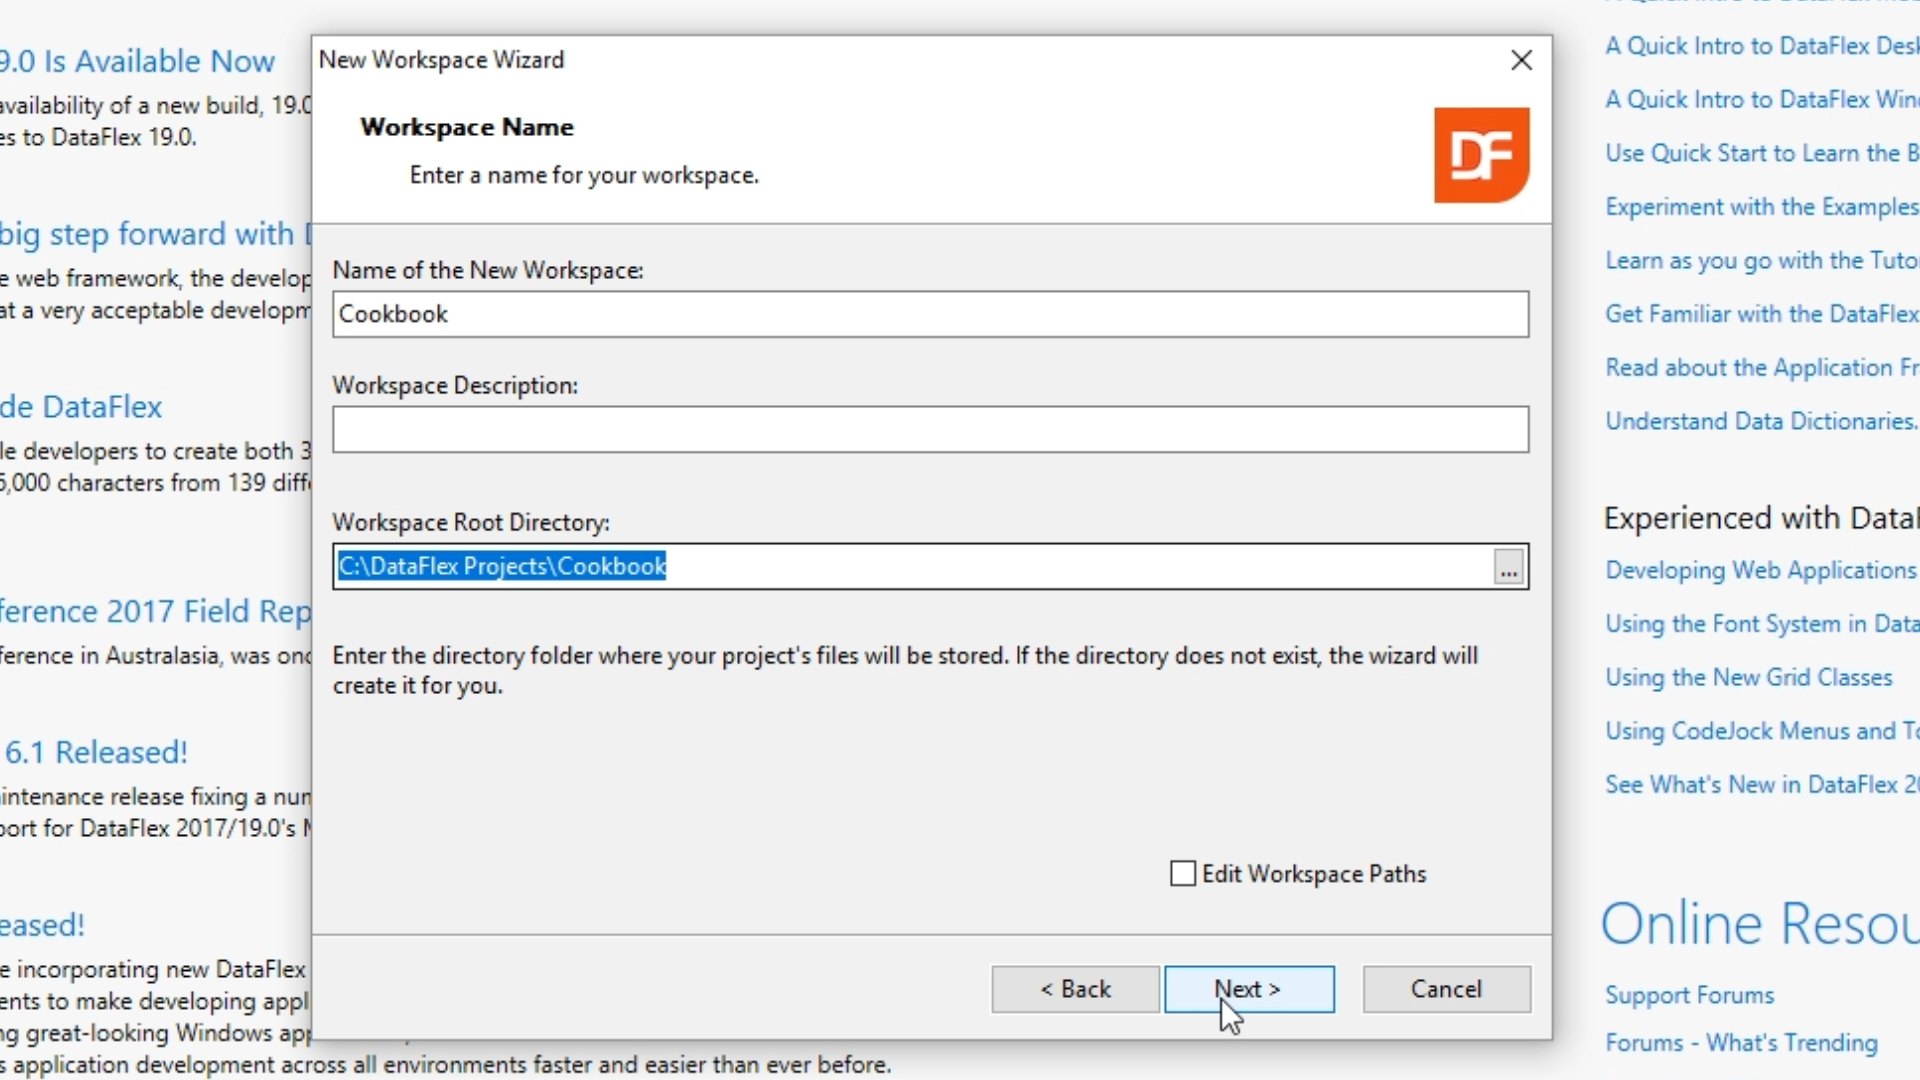
- Select ‘Next,’ and enter “Cookbook” as the ‘Name of the New Workspace’ on the following screen. Select ‘Next.’
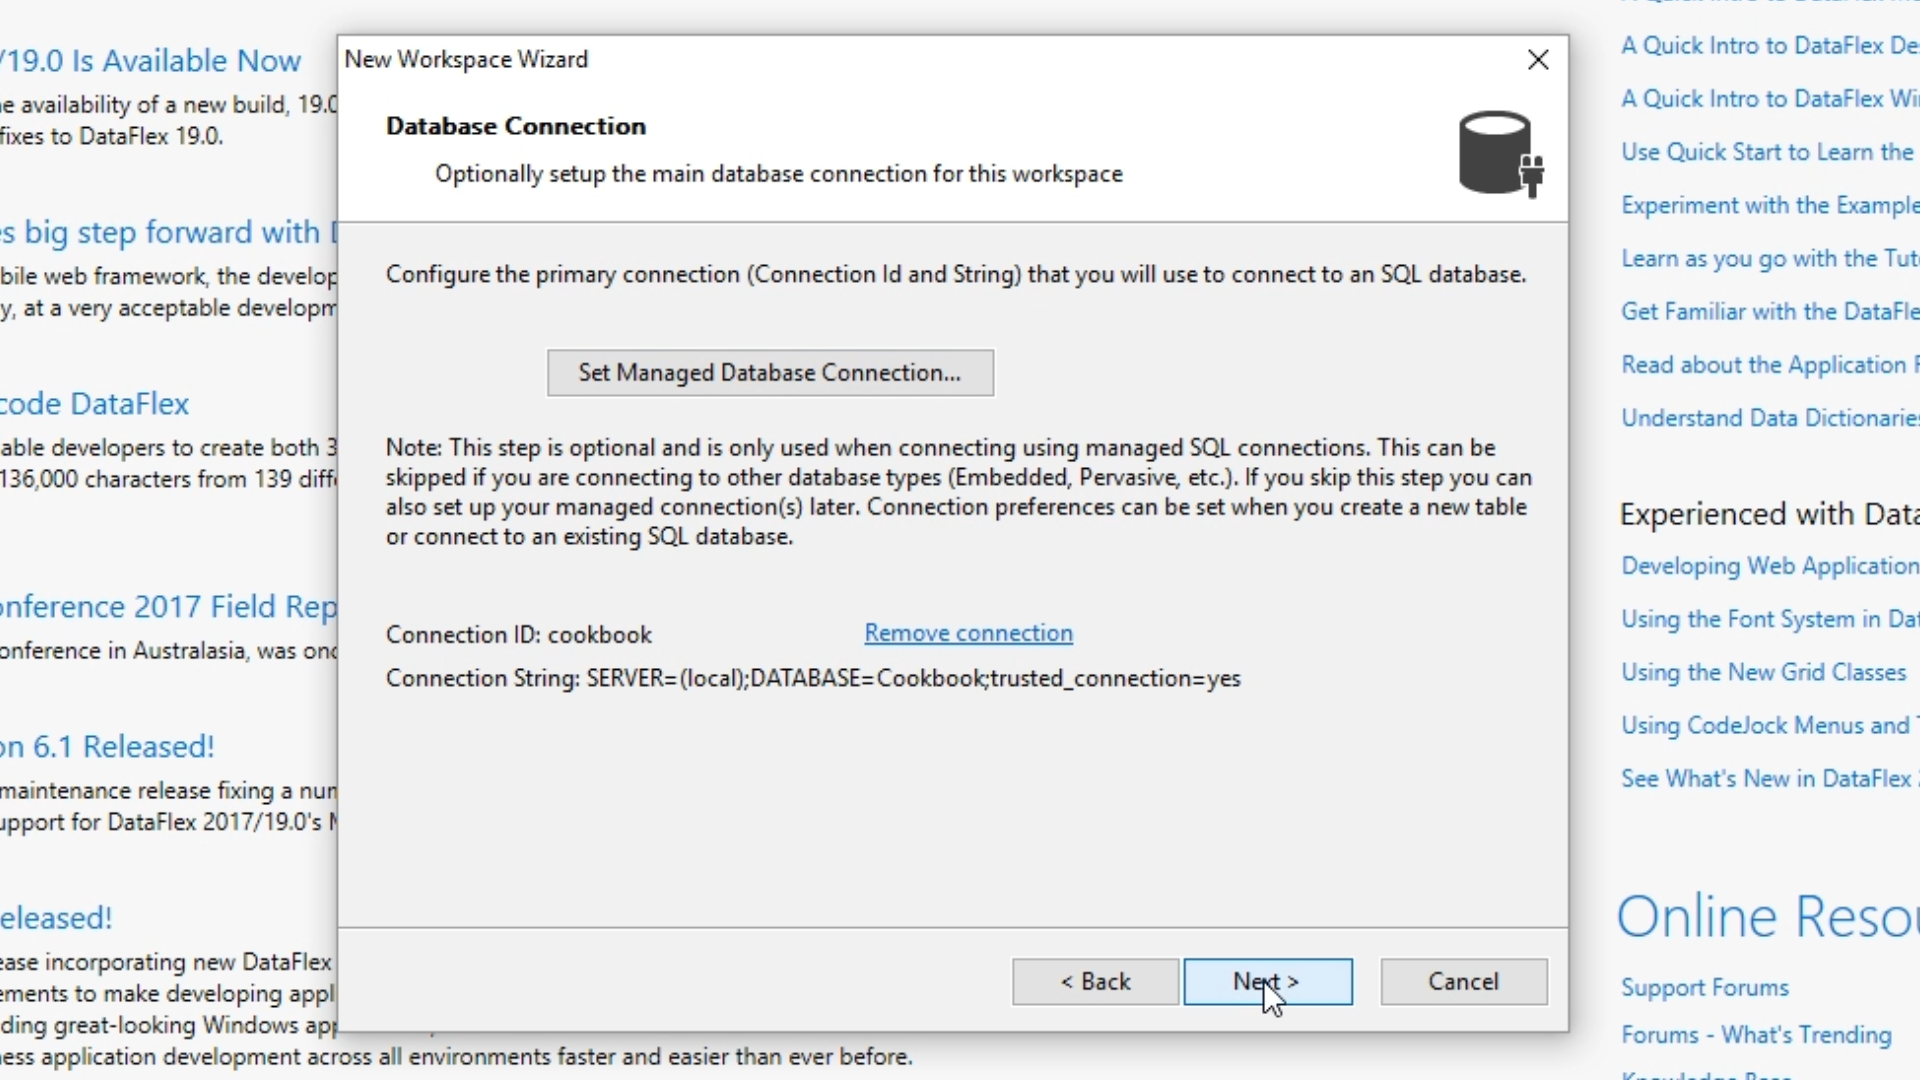
- The next screen is to setup the database connection. Select ‘Set Managed Database Connection.’
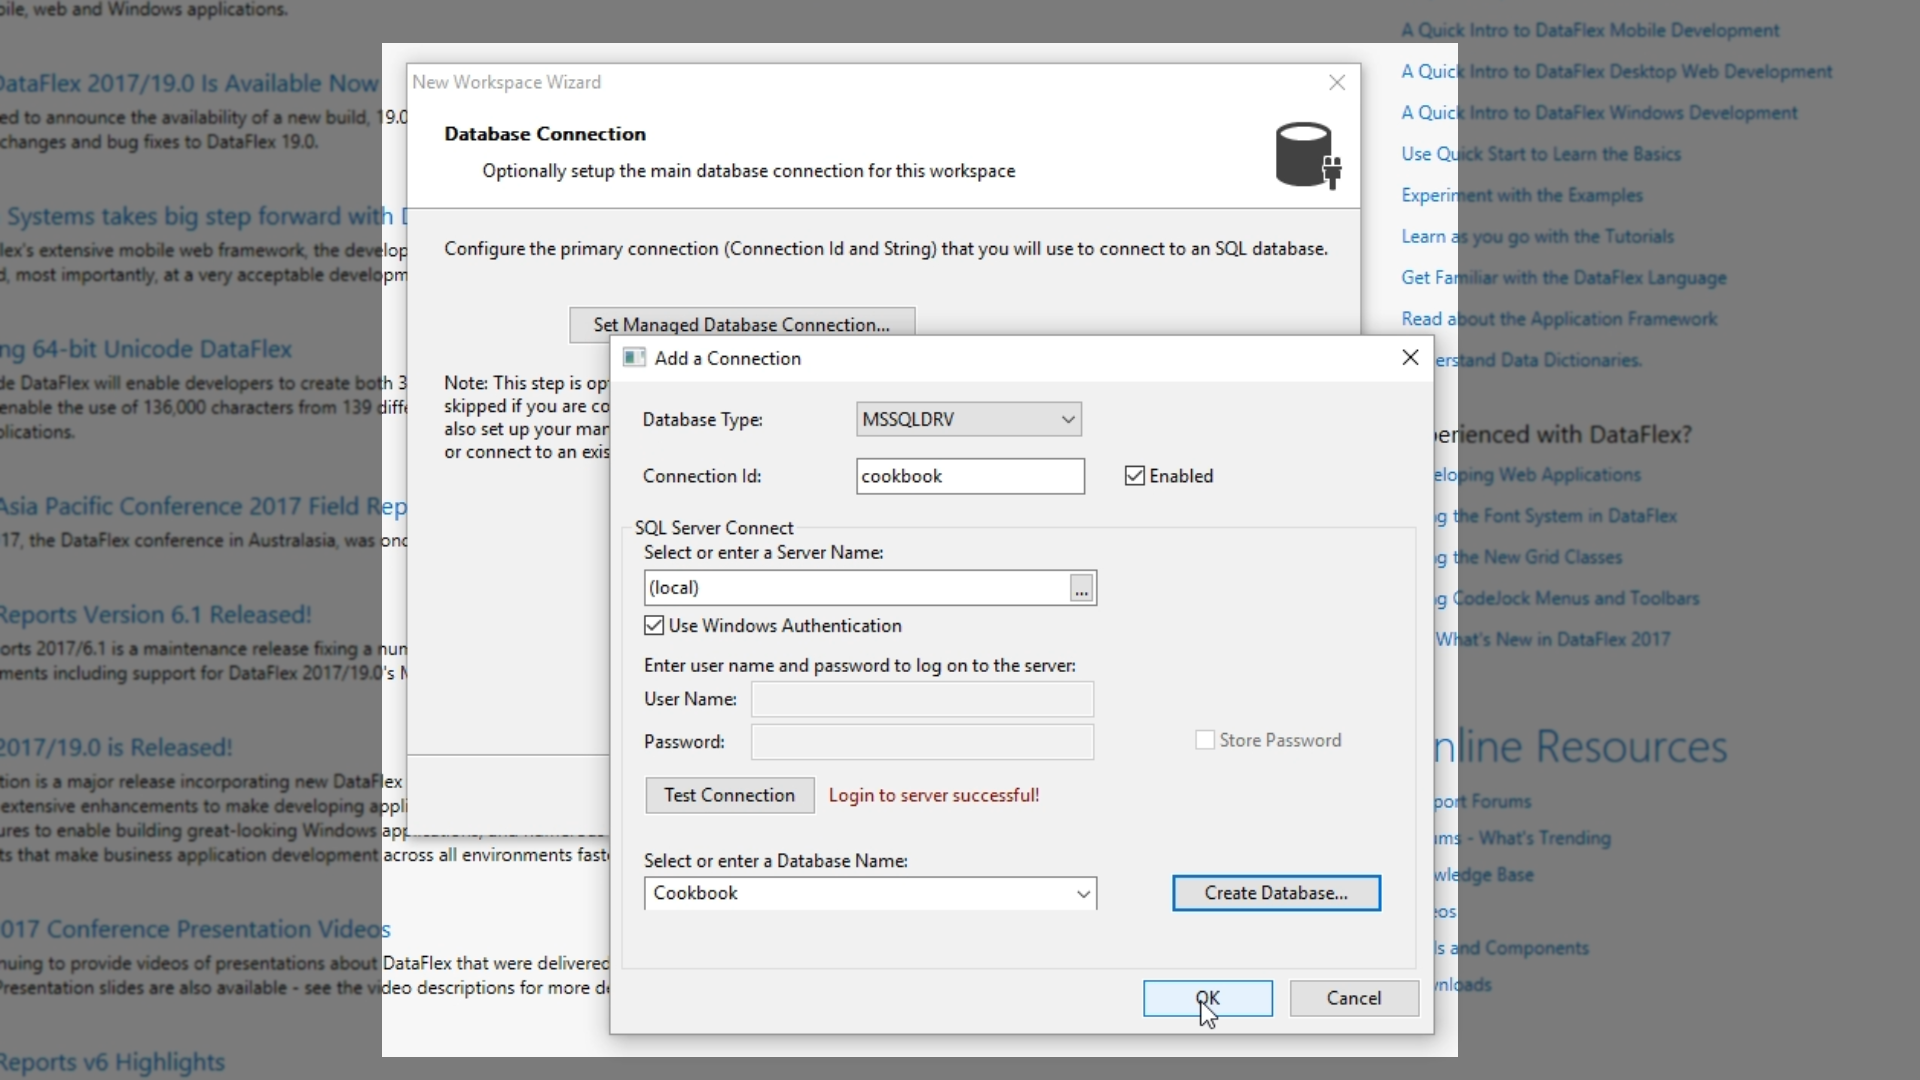
- Choose the ‘Database Type’ from the first dropdown. ‘MSSQLDRV’ will be used in this lesson.
- Enter “cookbook” in the ‘Connection Id’ field.
- Enter the address of the server in the ‘Select or enter a Server Name’ field. “(local)” is entered in the example because the server is on the same machine.
- The ‘Use Windows Authentication’ checkbox is marked, so that usernames and passwords to not need to be used at this time. In a deployment situation a username and password would be entered.
- Selecting ‘Test Connection’ should return a ‘Login to server successful!’ message.
- If an existing database does not exist, select ‘Create Database,’ and enter the desired name into the new window, and select ‘OK.’ “Cookbook” is entered for this lesson.
- Select ‘OK.’ The screen now shows the ‘Connection ID’ and the ‘Connection String,’ which is what the driver uses to connect to the database. Select ‘Next.” Select ‘Finish.”
- The new workspace has now been created.
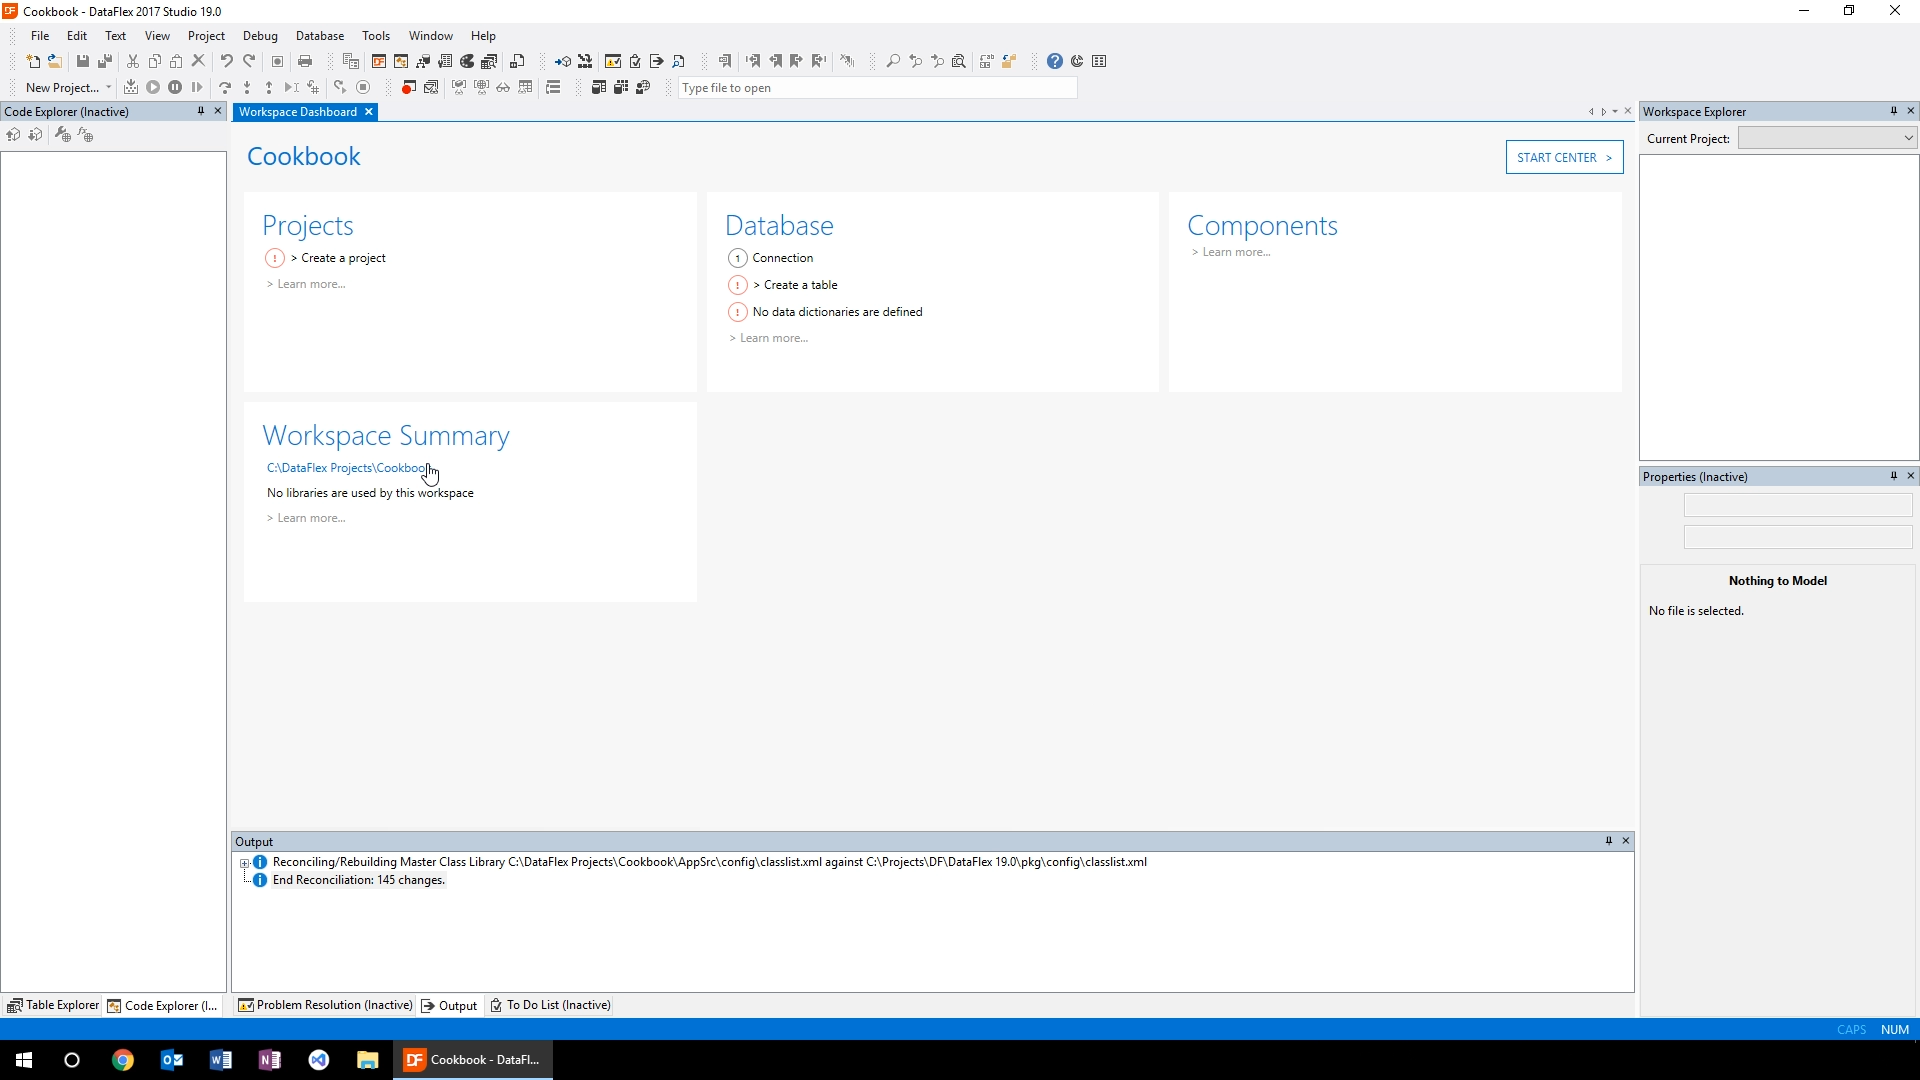
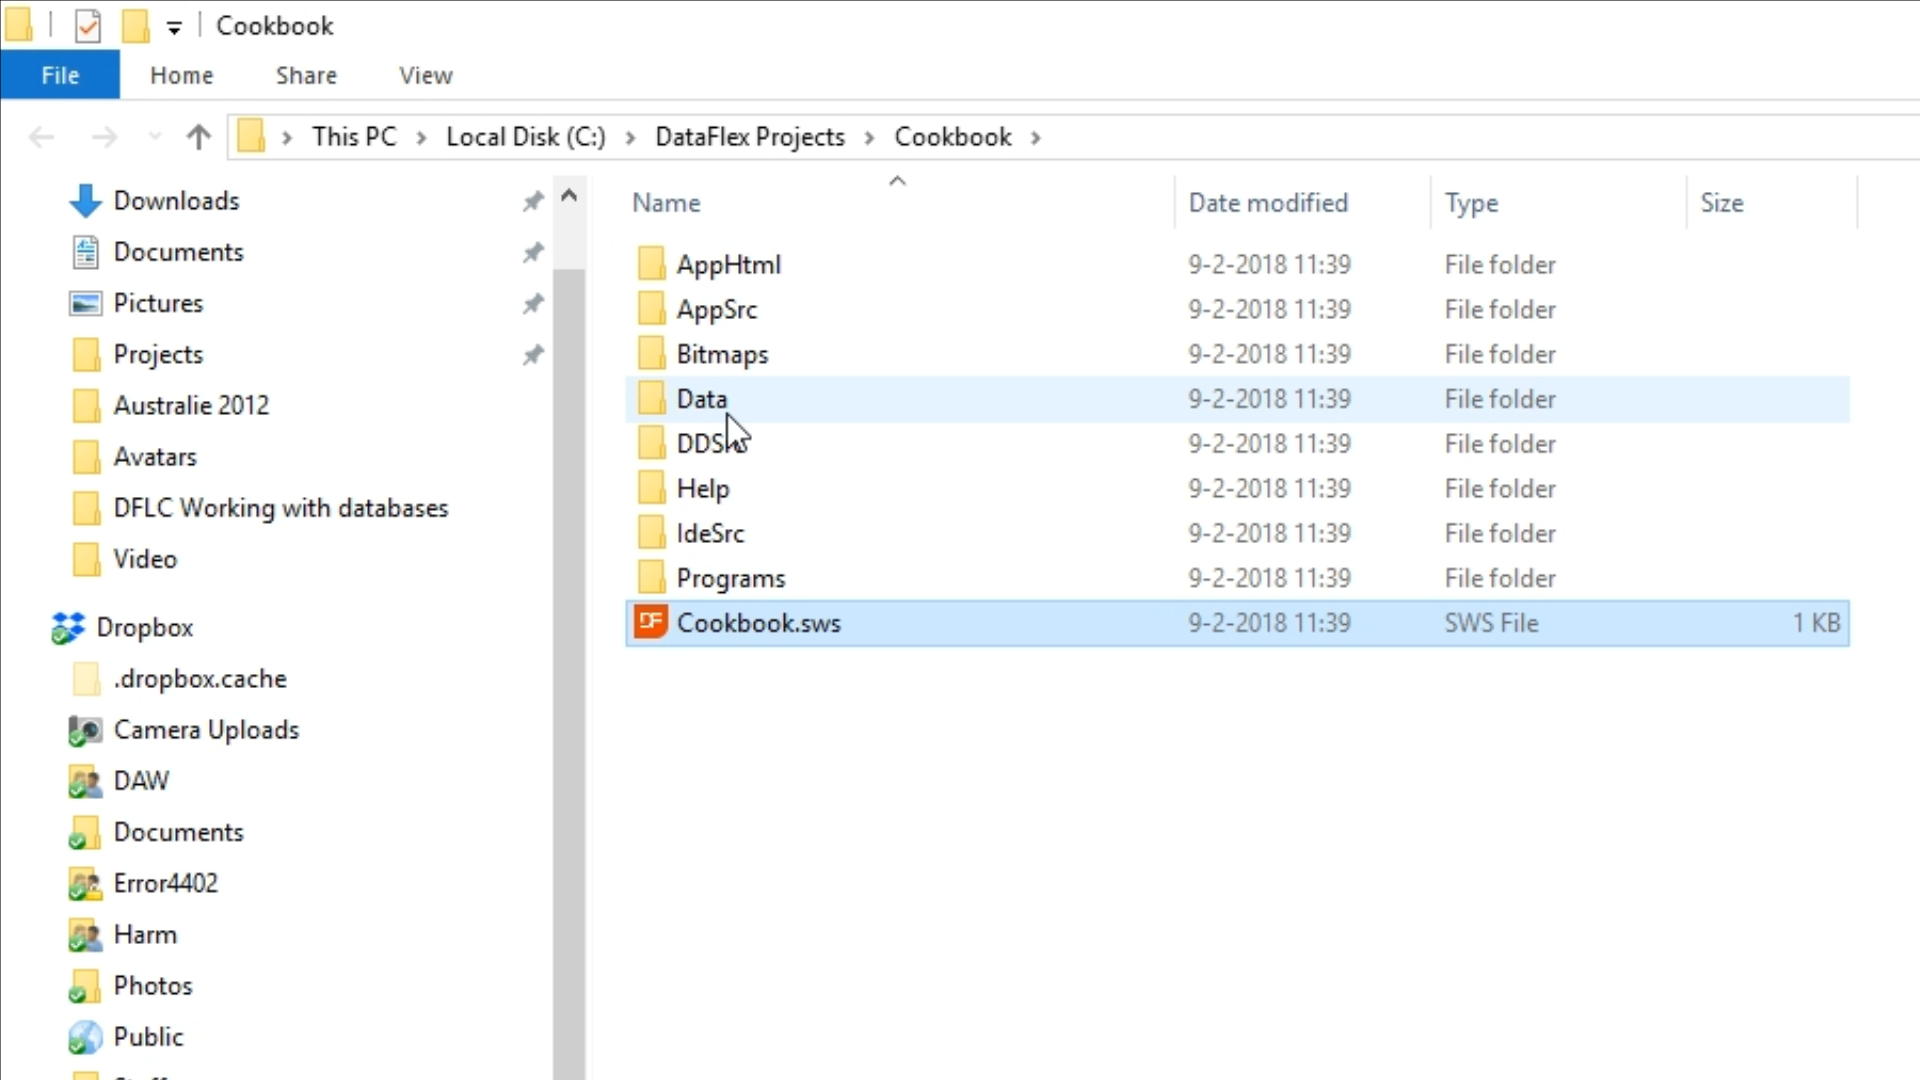
- Clicking on the ‘Workspace Summary’ shows the workspace folder that now contains all of the various folders for the workspace.
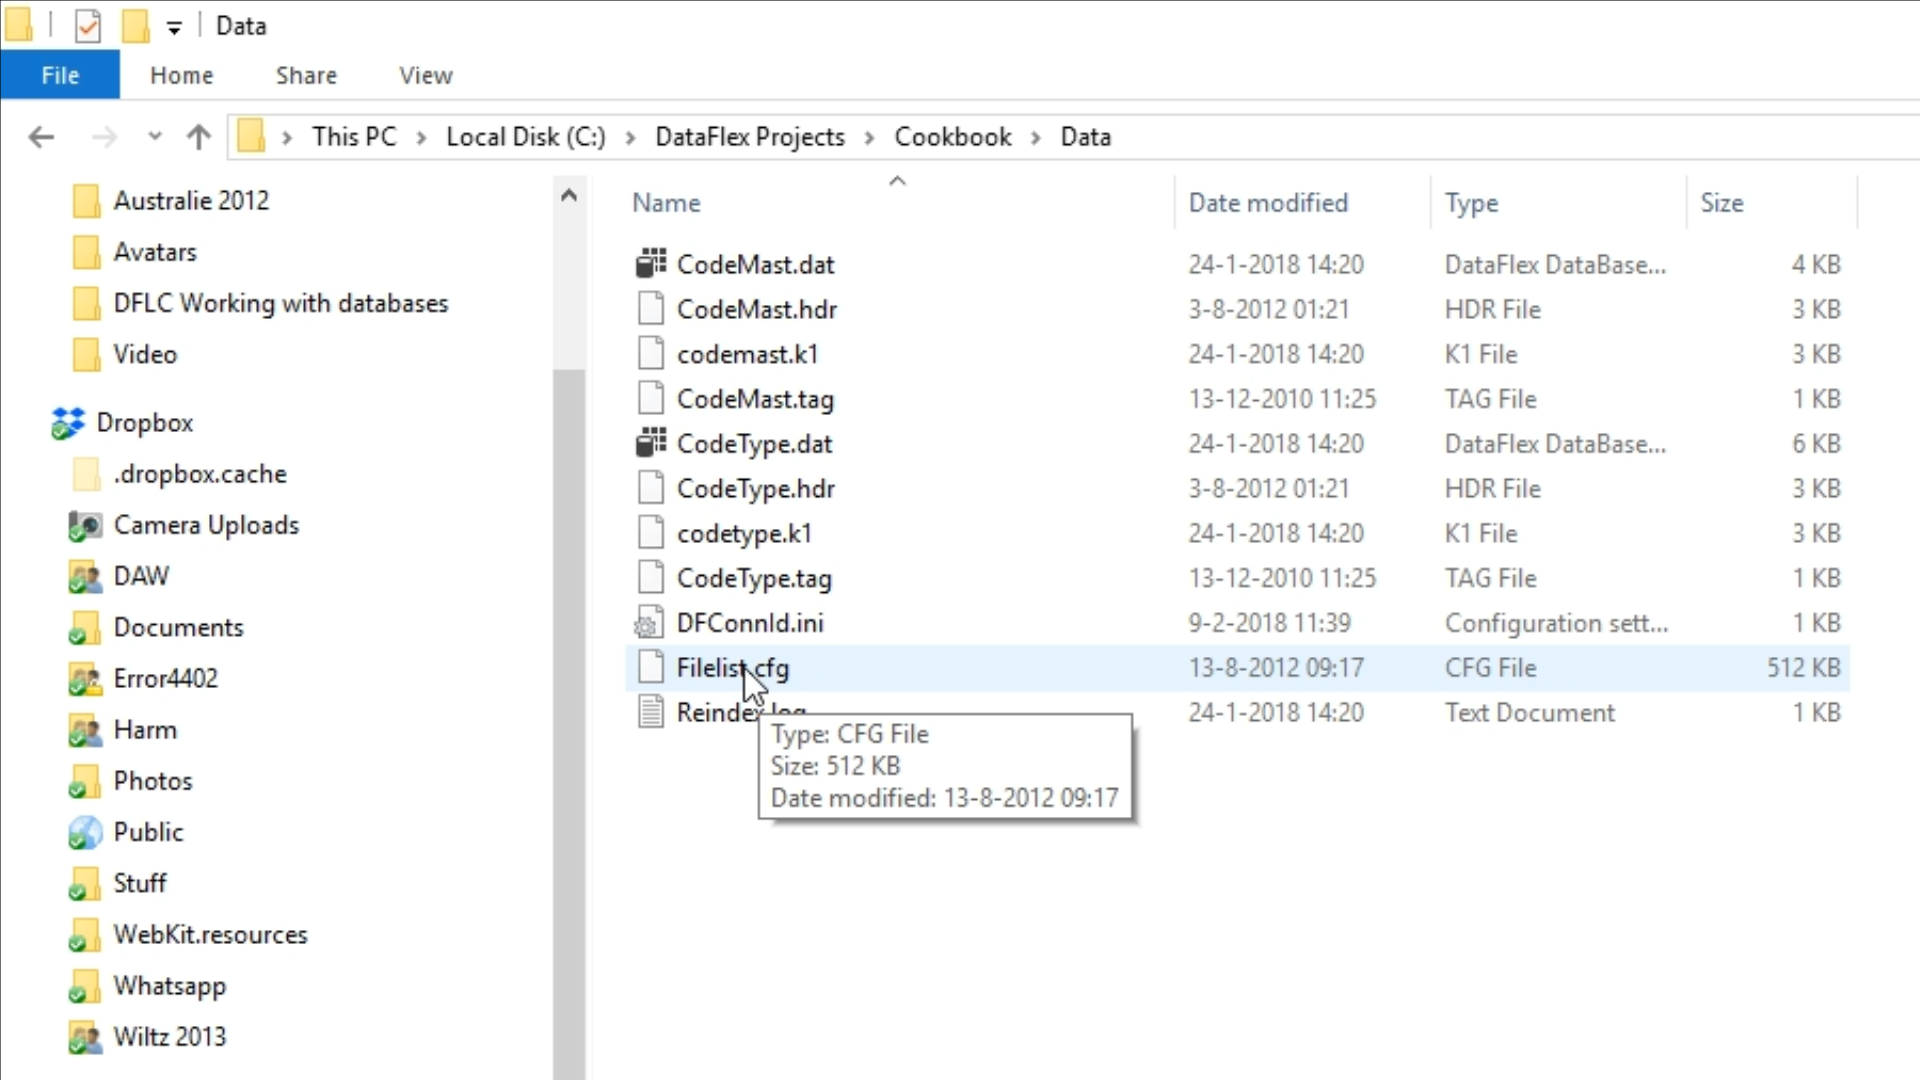
- Opening the ‘Data’ folder shows the file list, ‘Filelist.cfg,’ that contains the list of the tables. It also contains the connection file, ‘DFConnId.ini,’ which contains the connection information.
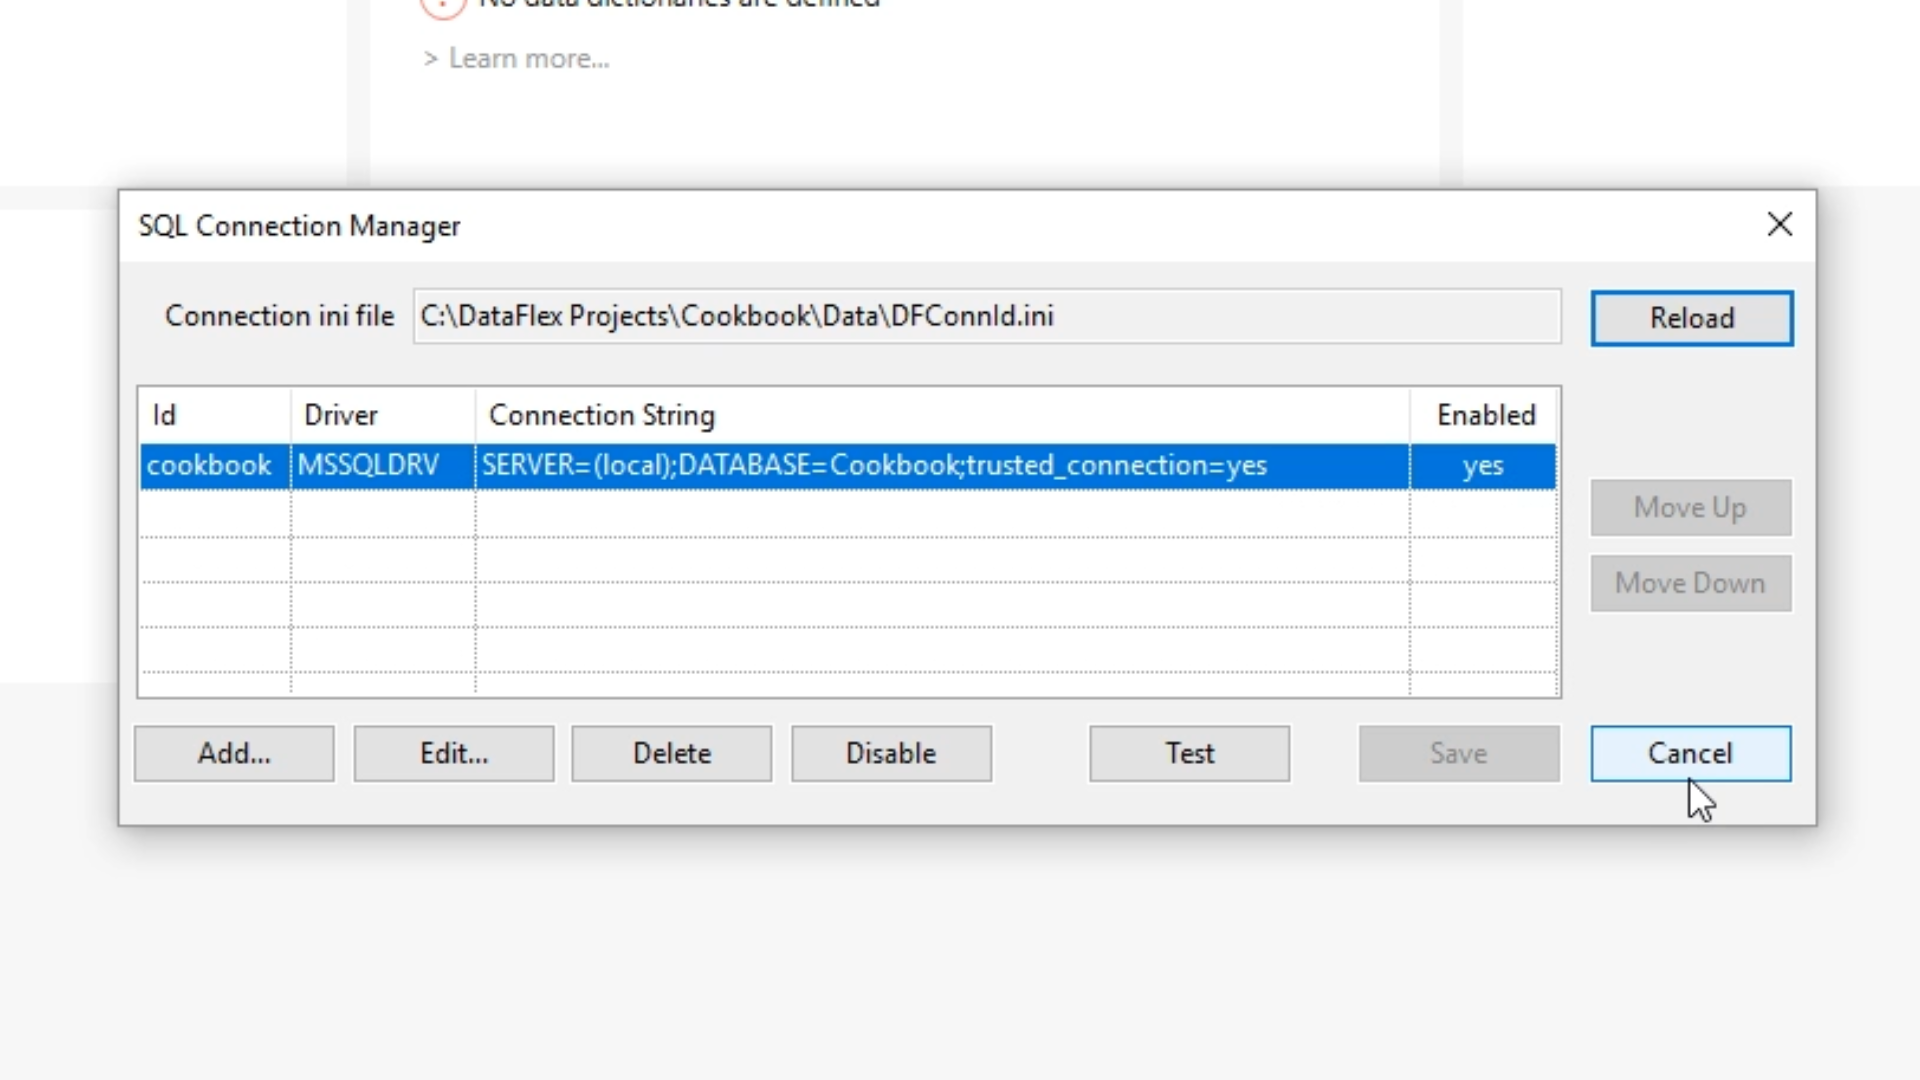
- In the Studio, select DATABASE > SQL CONNECTION MANAGER from the top menu to view the existing connections.
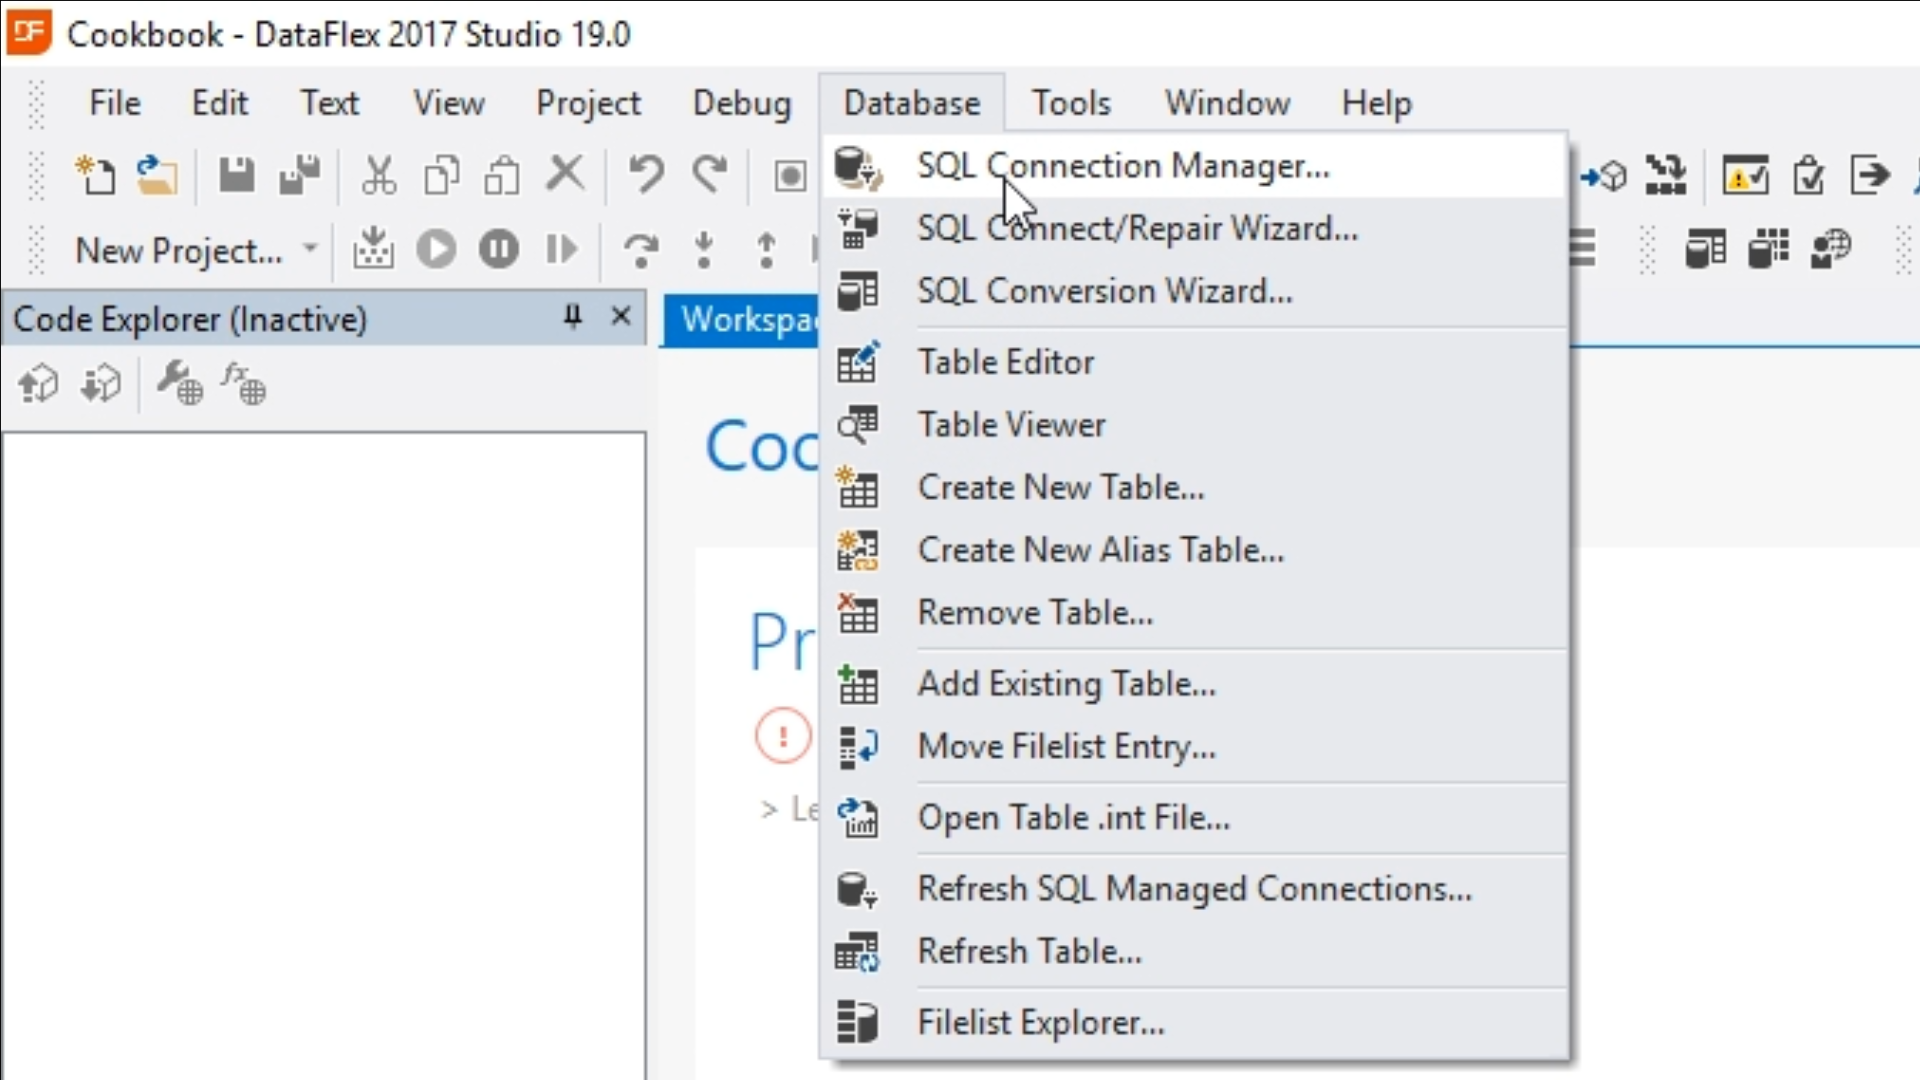
- Only one is currently shown. Others can be added from the manager.
- When making changes to a connection, all of the tables that are part of the connection change.