Working with databases
Lesson 5: Access data using global buffer
The next step in this series is to start using the prepared database.
- Create a basic Windows project (a project without a user interface)…
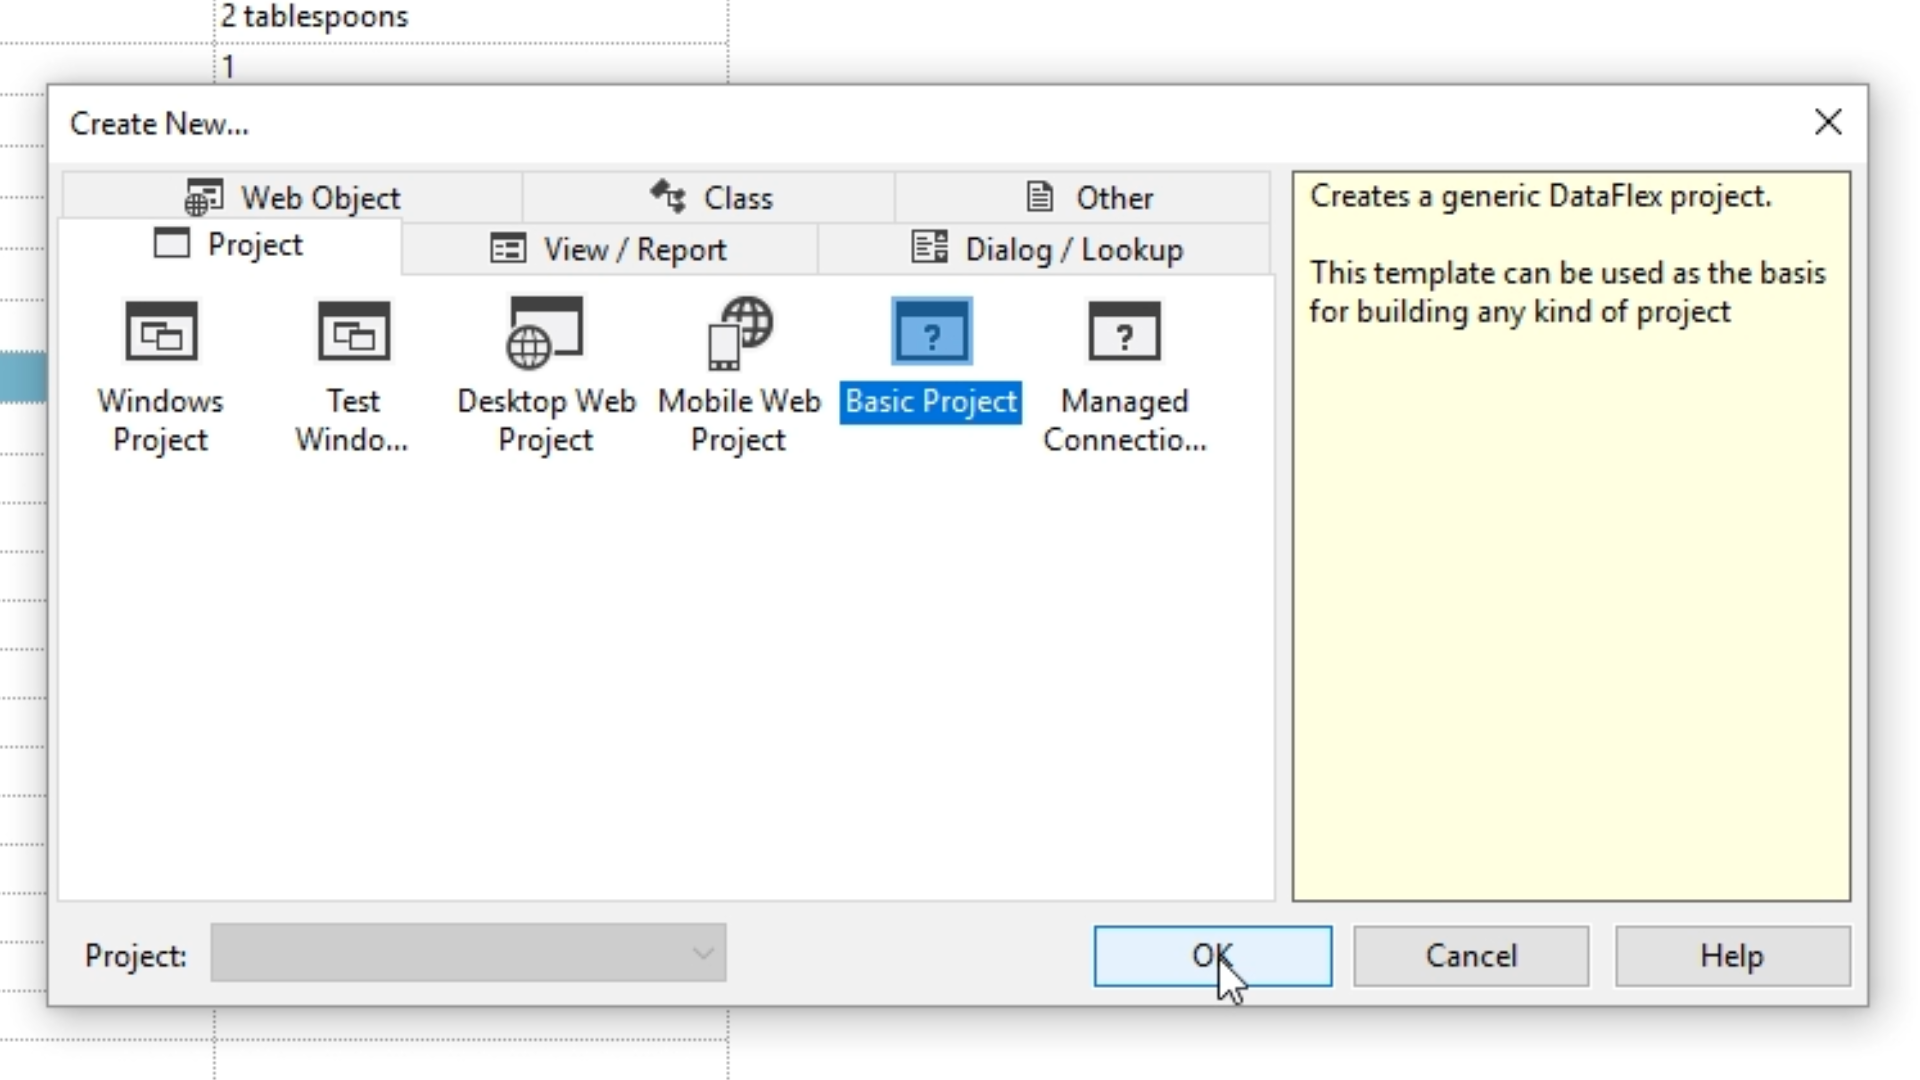
- From within the DataFlex Studio select the ‘Create New’ icon from the top toolbar.
- Select ‘Basic Project.’ Select OK.
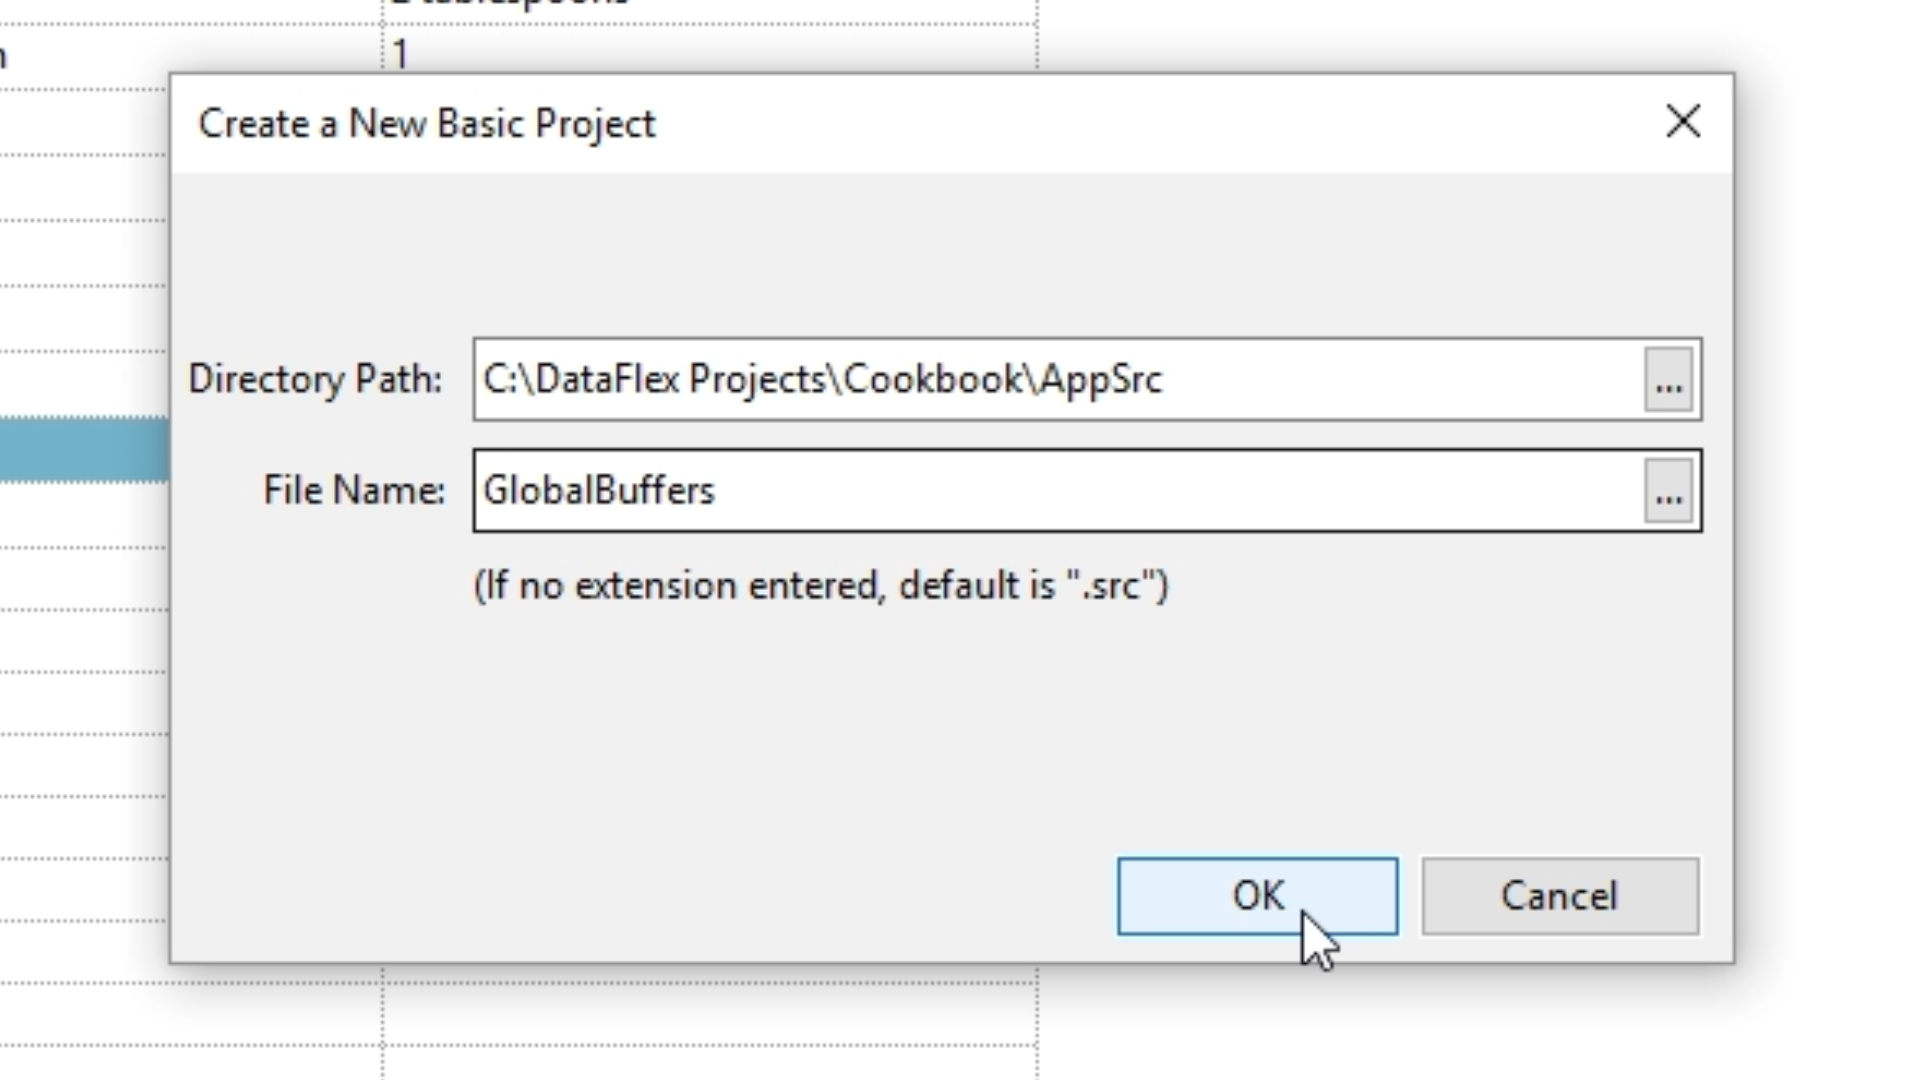
- Enter “GlobalBuffers” as the ‘File Name.’ Select OK.
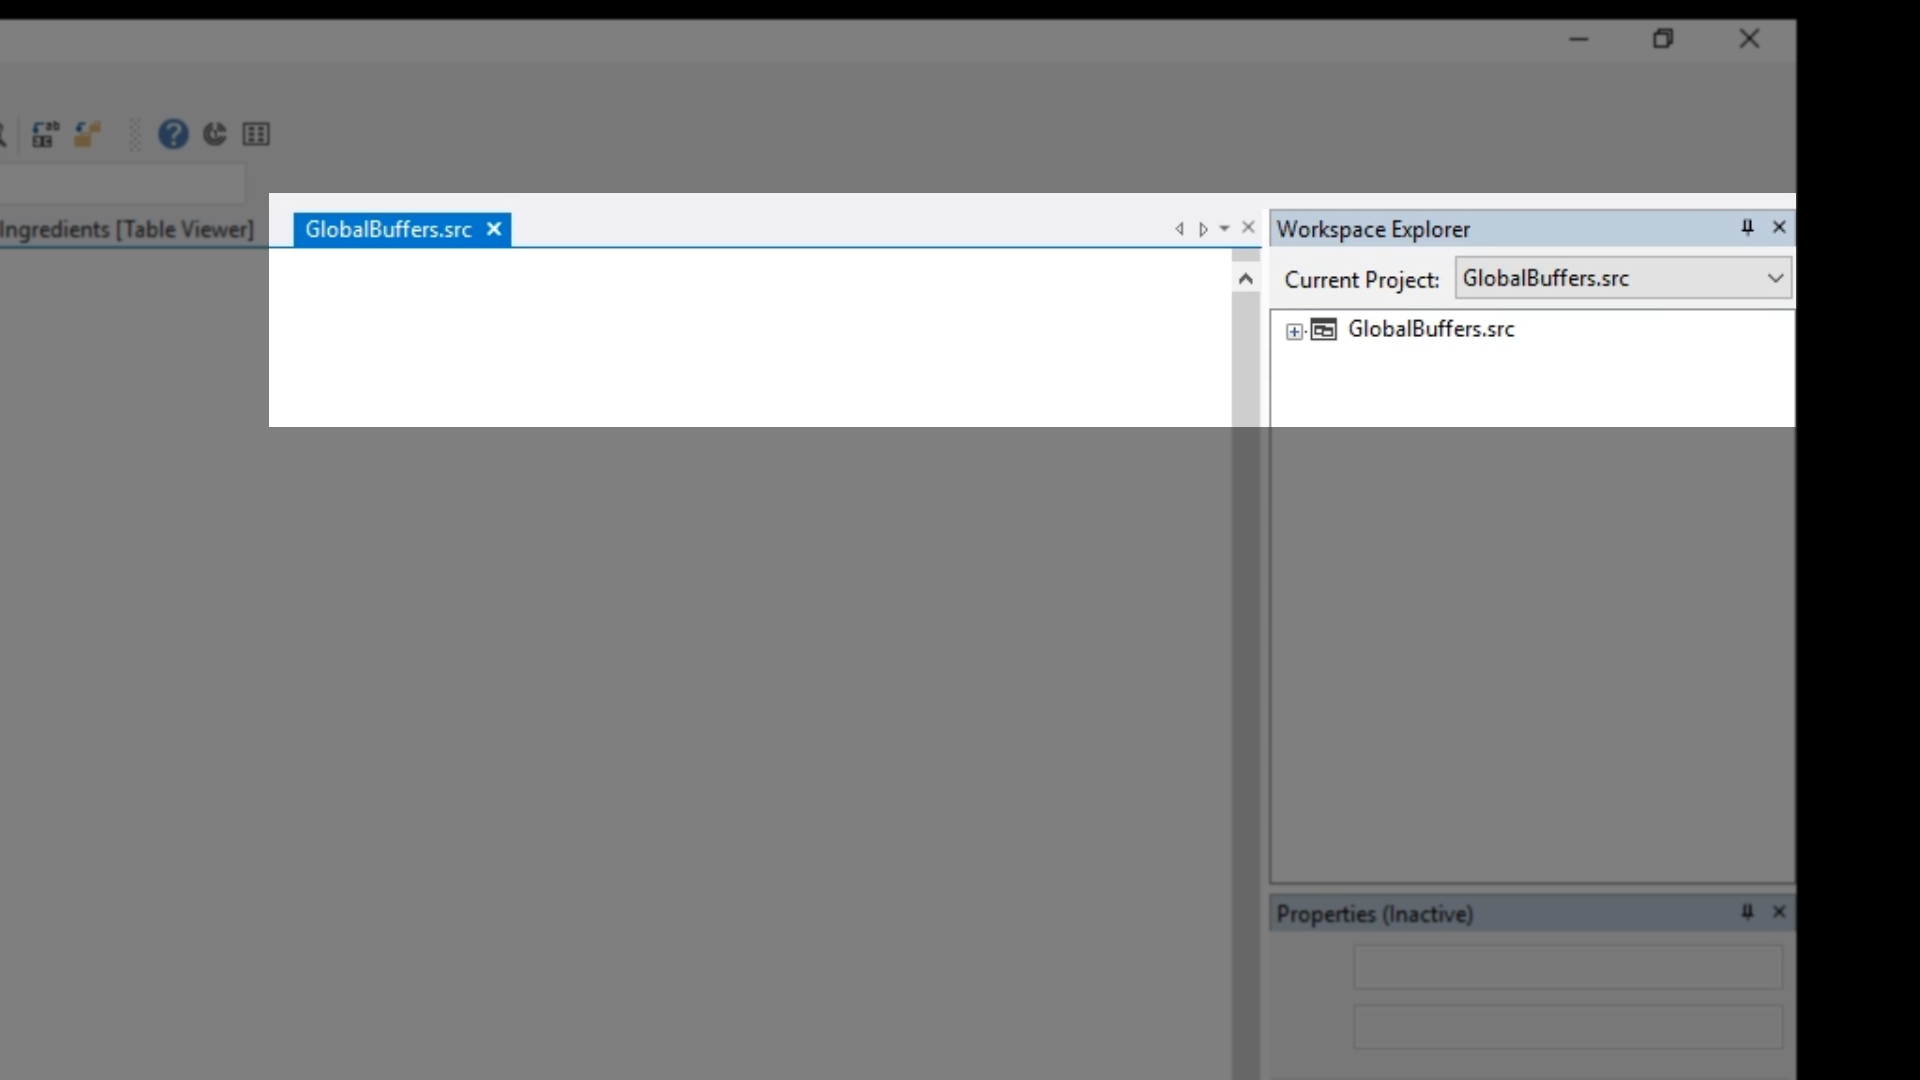
- GlobalBuffers.src has been created, and it shows in the ‘Workspace Explorer’ as the ‘Current Project.’
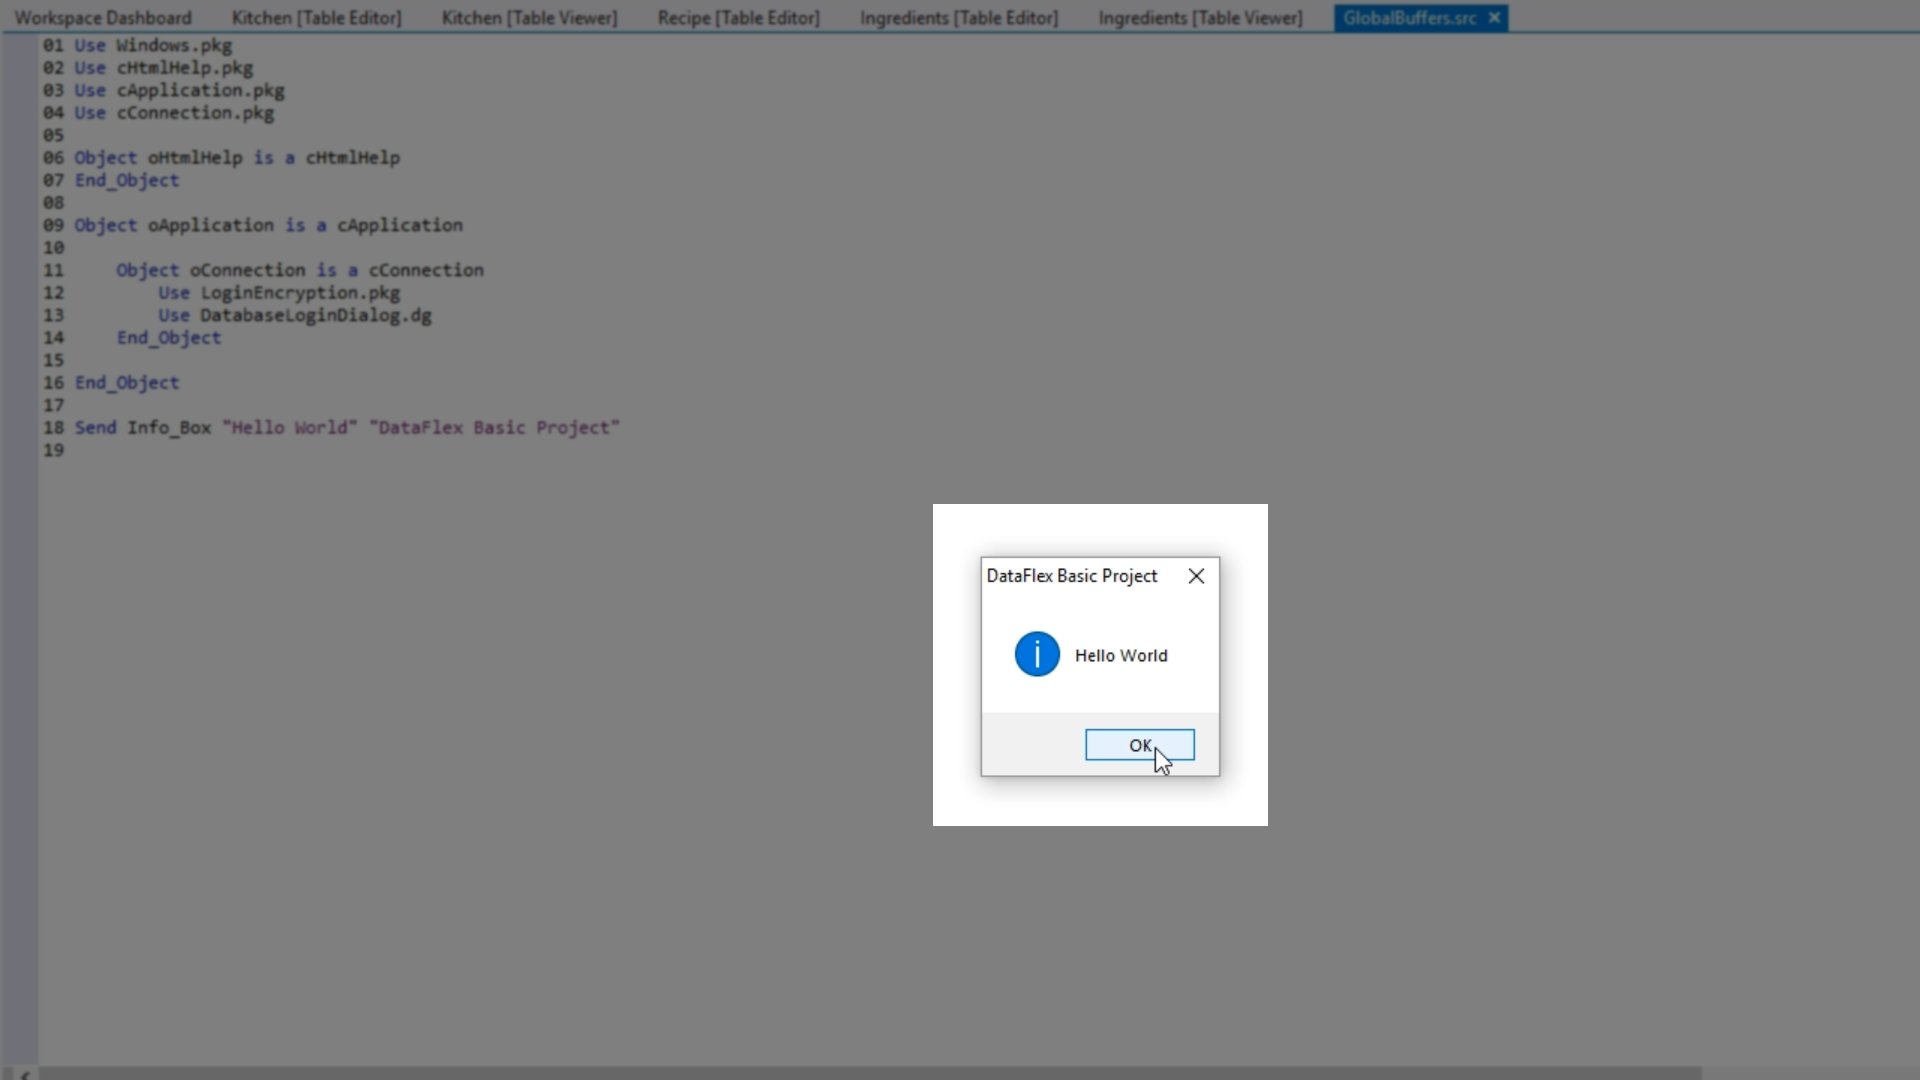
- A basic project has an application object to make sure everything can be opened from the database that shows a message box.
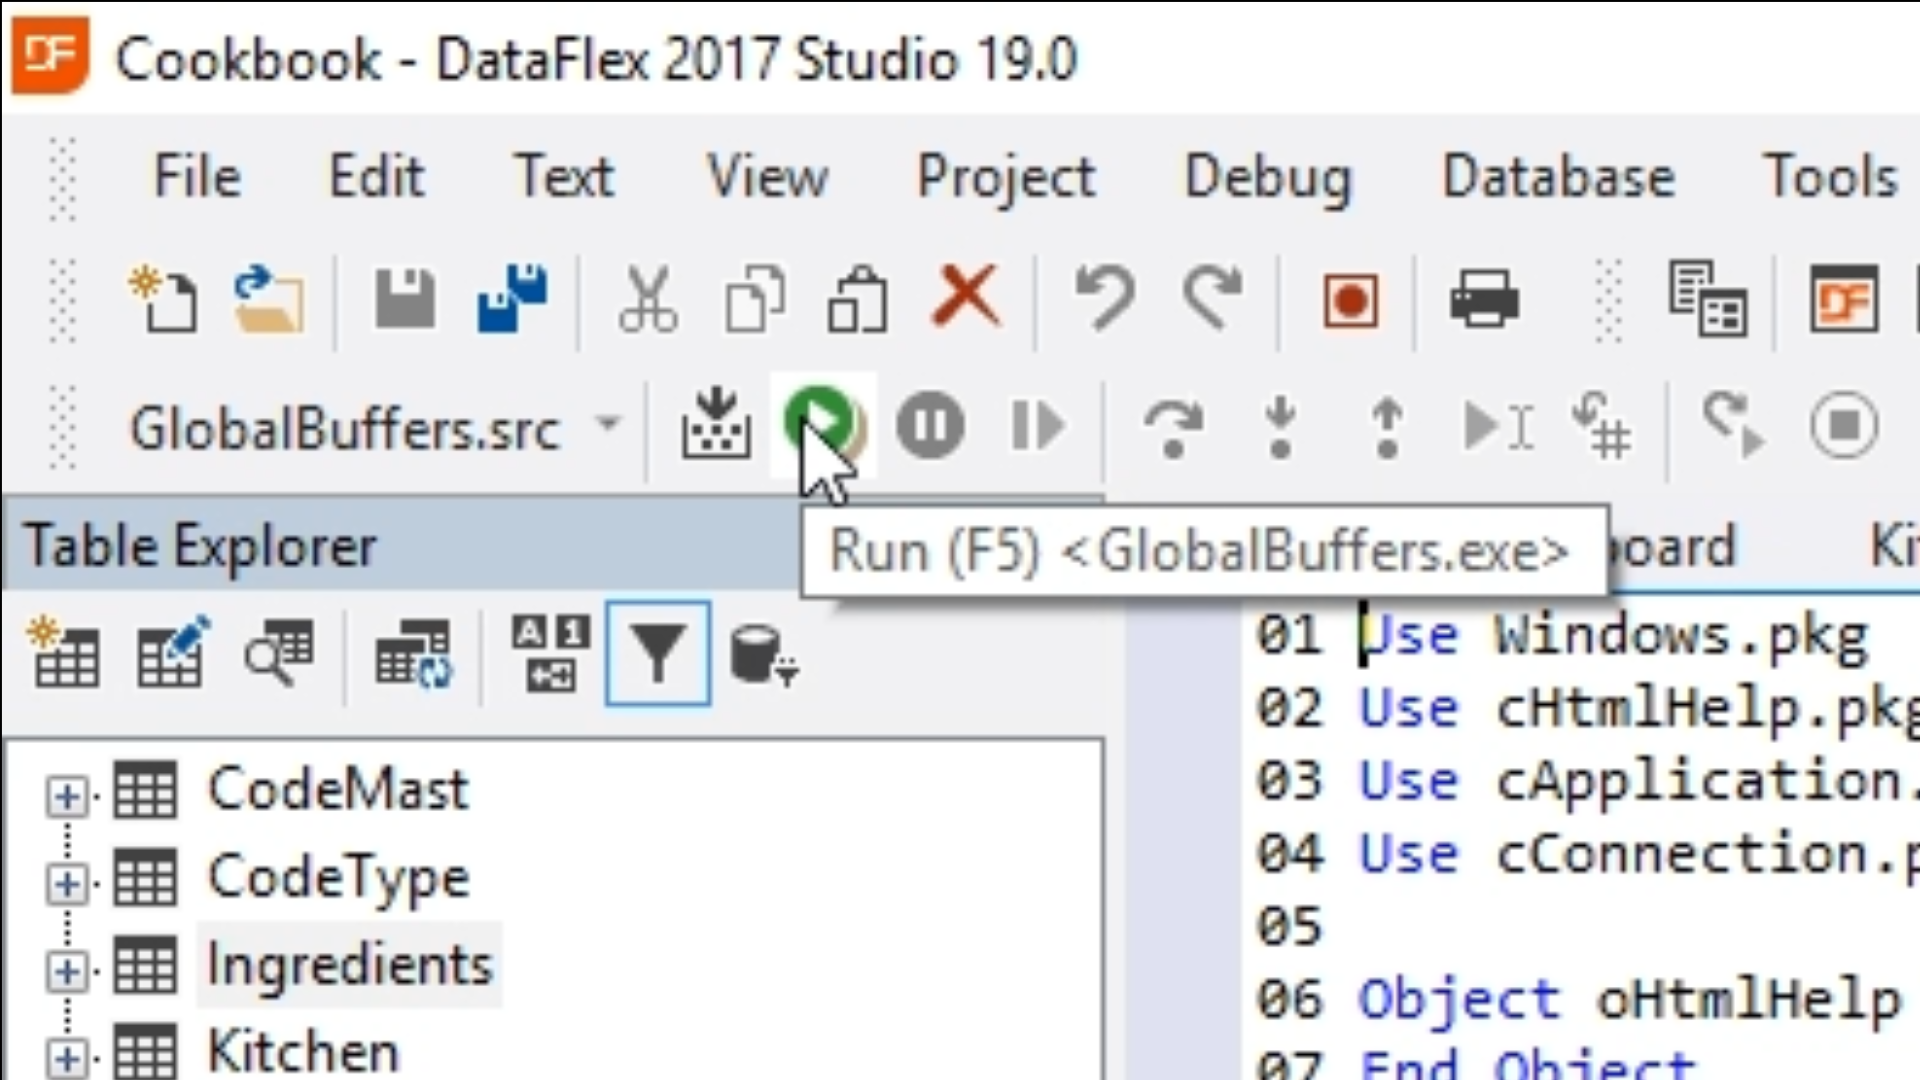
- Select the ‘Run’ icon from the top toolbar without making any changes to the project to see its output message box.
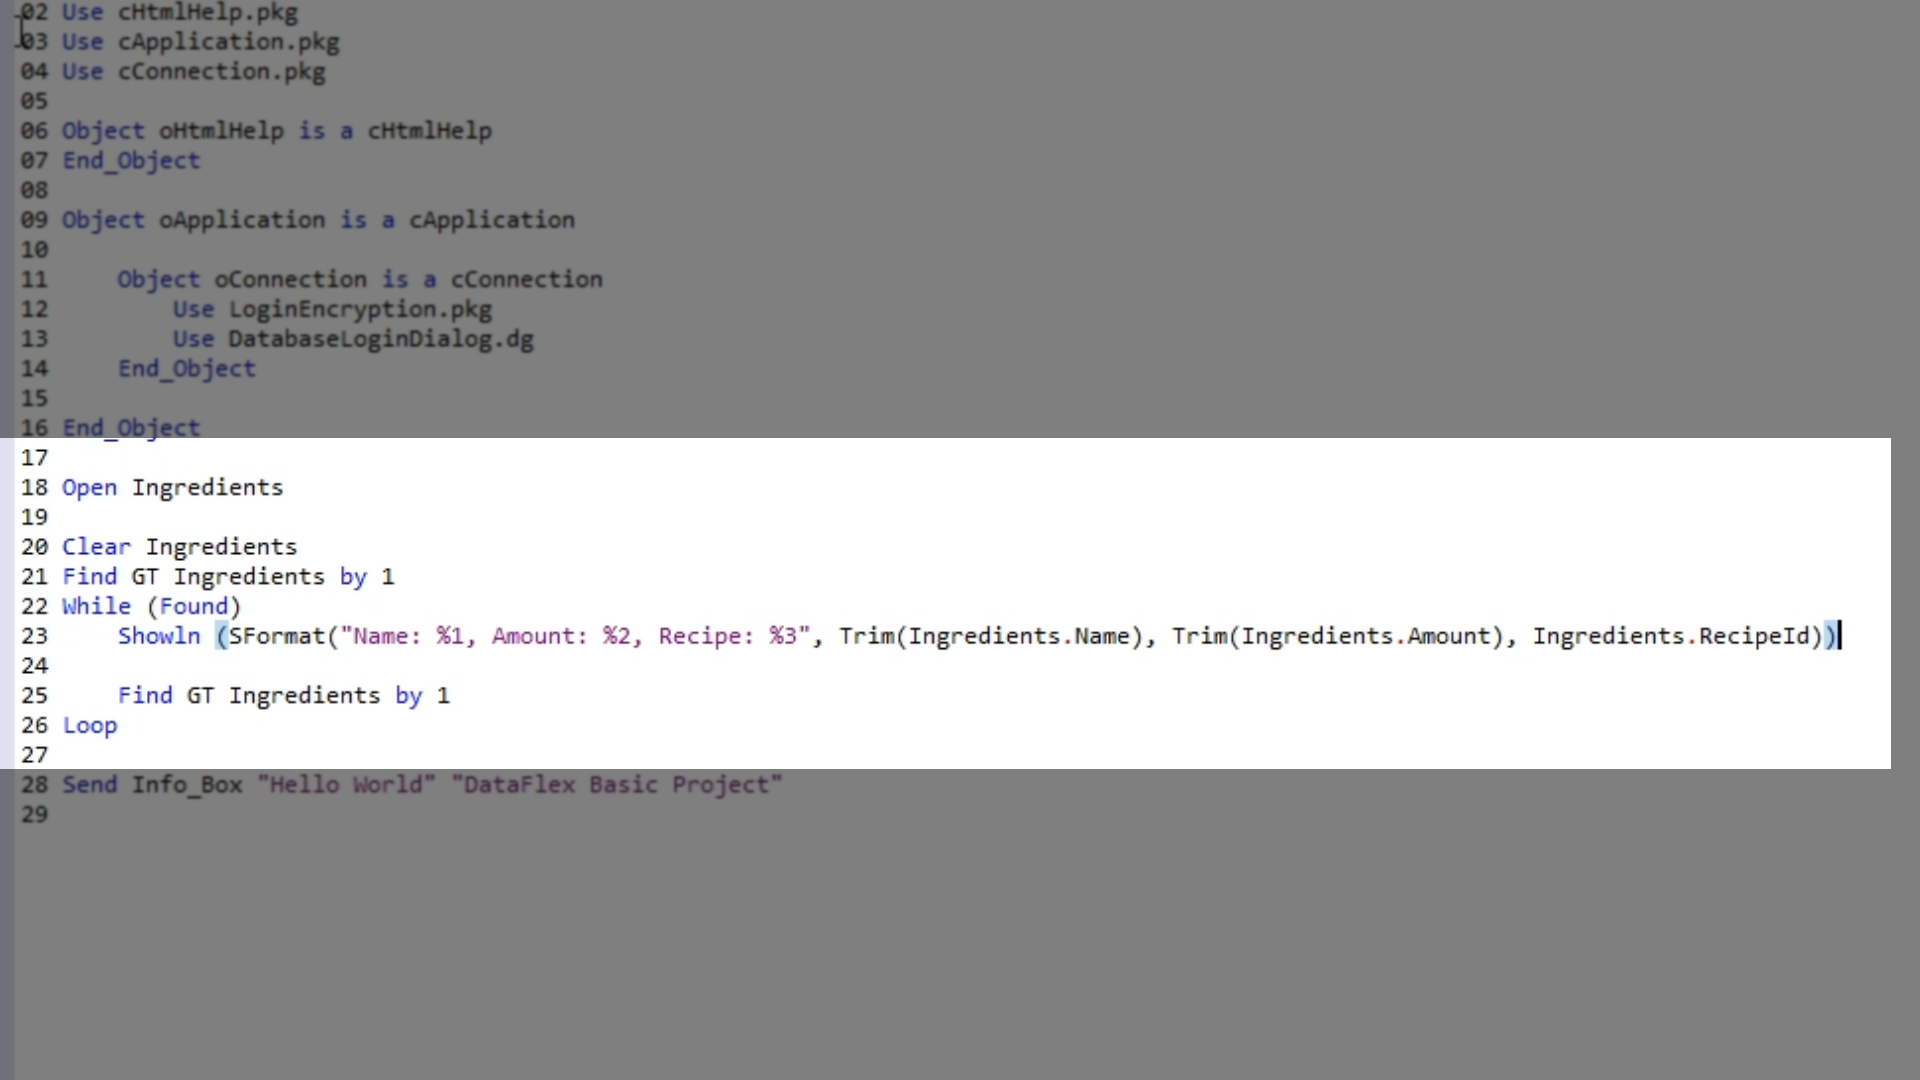
- After the message box add code to open the global file buffers. Within DataFlex the low-level part work with the global file buffers. Those global file buffers open a table and reserves a single buffer for it that find operations can be run to find data.
- Note: Typically, this isn’t done. Usually local file buffers are used. That will be covered in the following lesson. It is felt, however, that knowledge of the global buffers is beneficial, and that it demonstrates specific DataFlex characteristics.
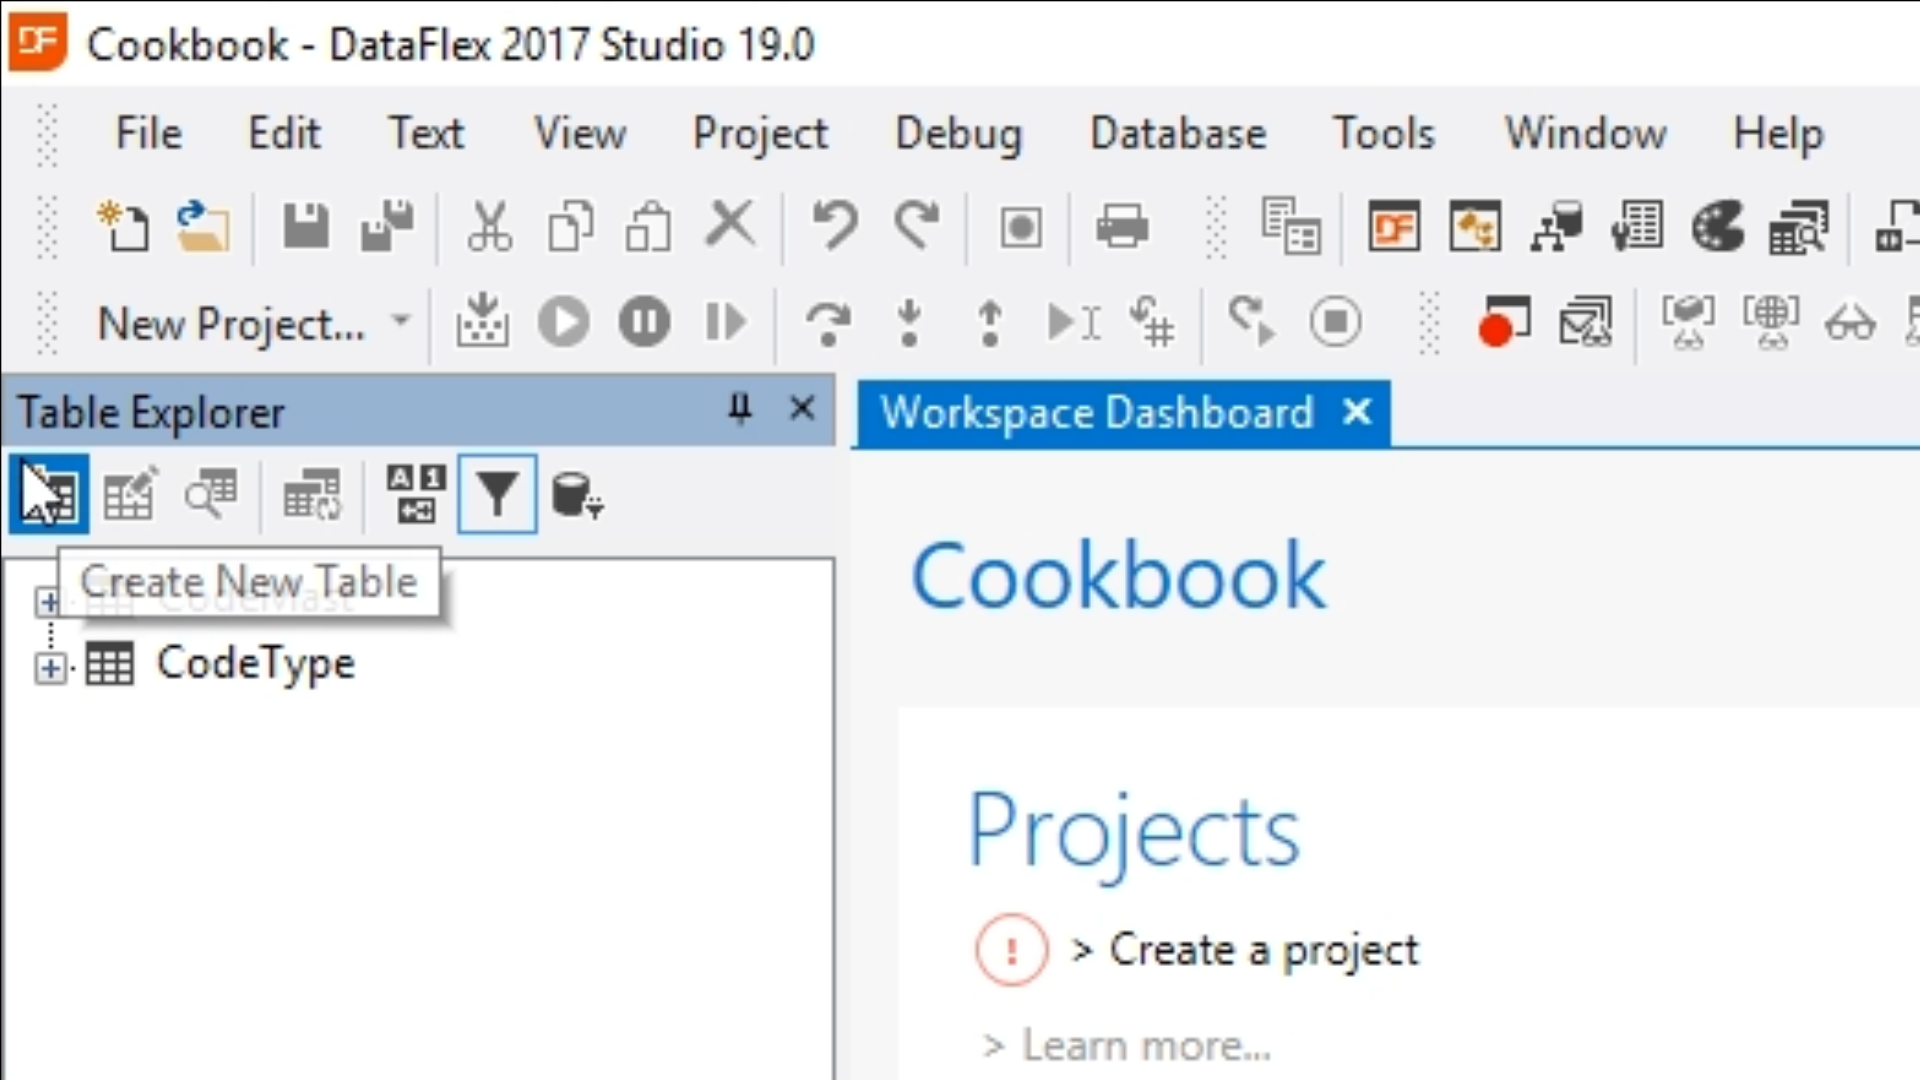
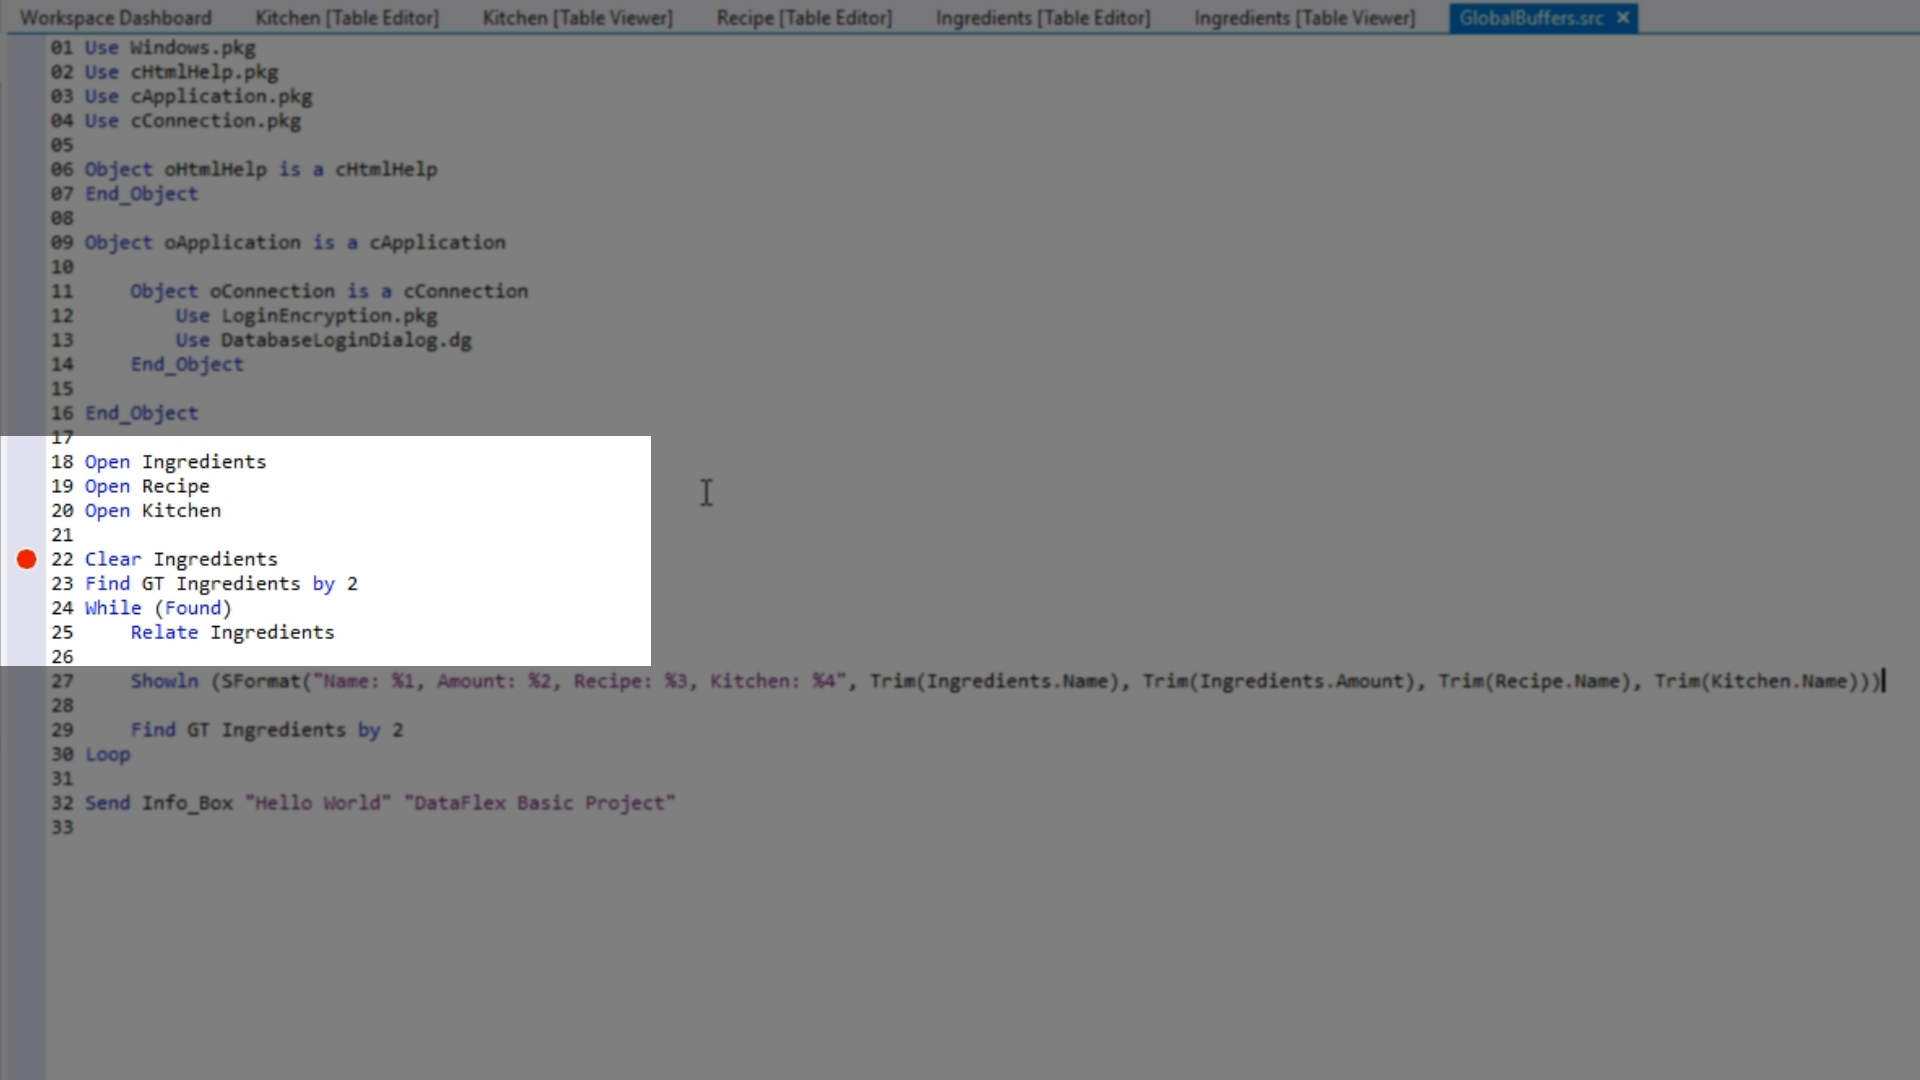
Open Ingredients
Clear Ingredients
Find GT Ingredients by 1
While (Found)
Showln (SFormat (“Name: %1, Amount: %2, Recipe: %3”, Trim(Ingredients.Name), Trim(Ingredients,Amount), Ingredients.RecipeId))
Find GT Ingredients by 1
Loop
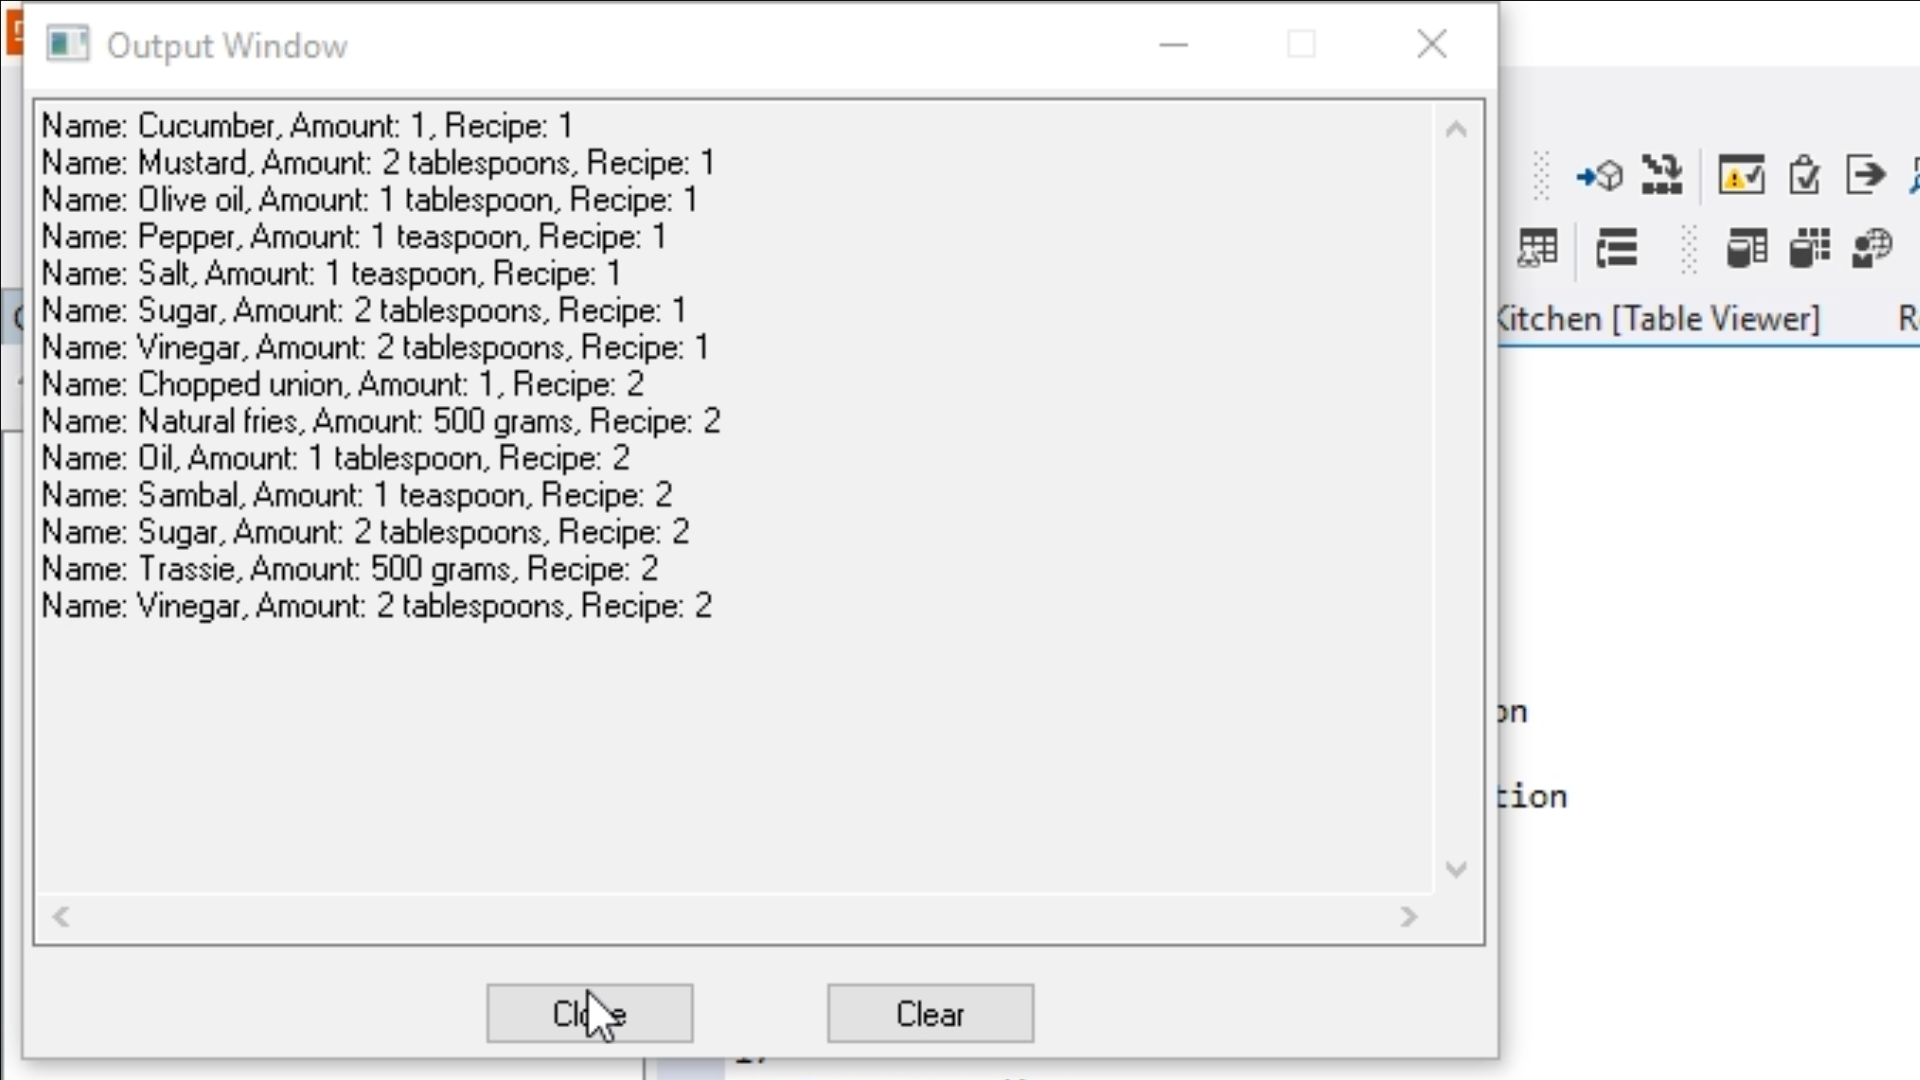
- Select the ‘Run’ icon from the top toolbar. An Output Window appears that shows all the different ingredients. The ingredients are listed in the order they were entered because index ‘1’ was used, which is sorted by ‘IngredientID.’
- To demonstrate how indexes work they will be switched…
- Close the message box.
- Edit the code to use index 2, which is ‘Name.’ There are two places in the code to do this.
Find GT Ingredients by 2
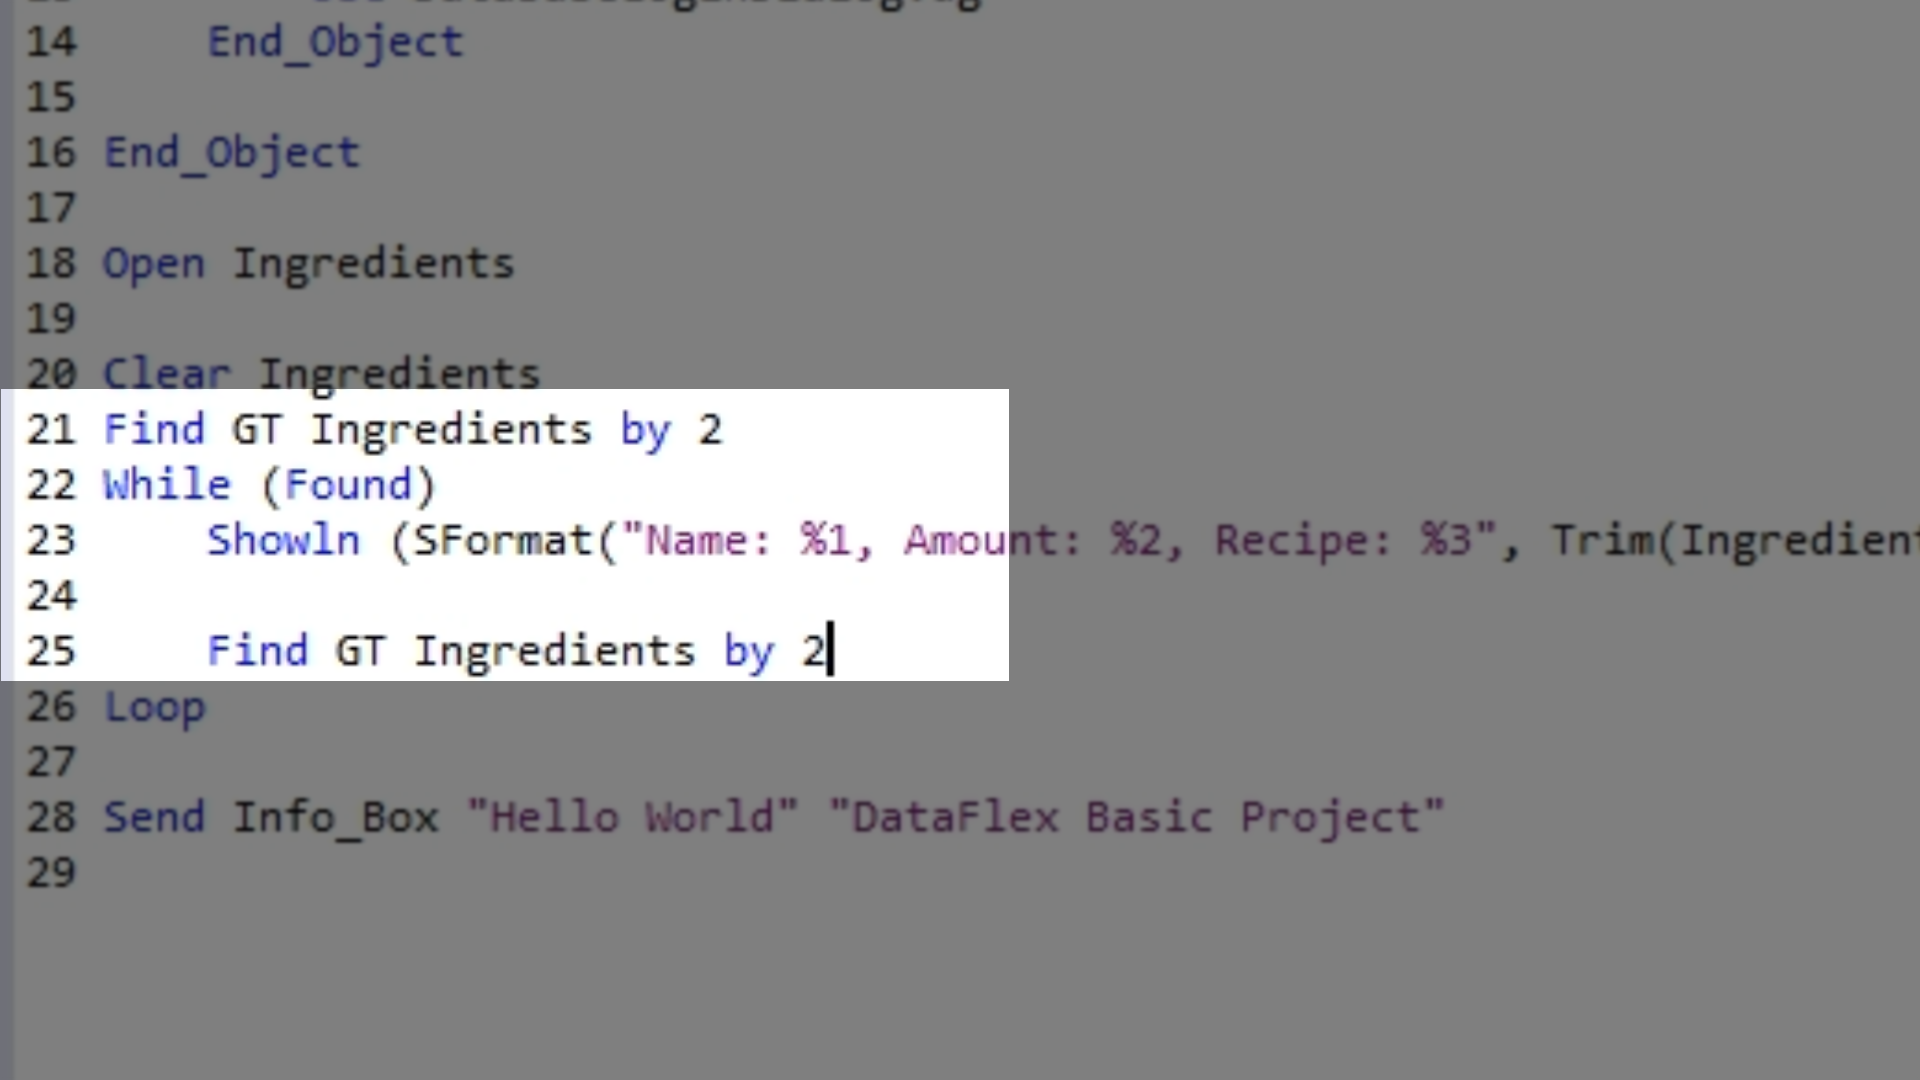
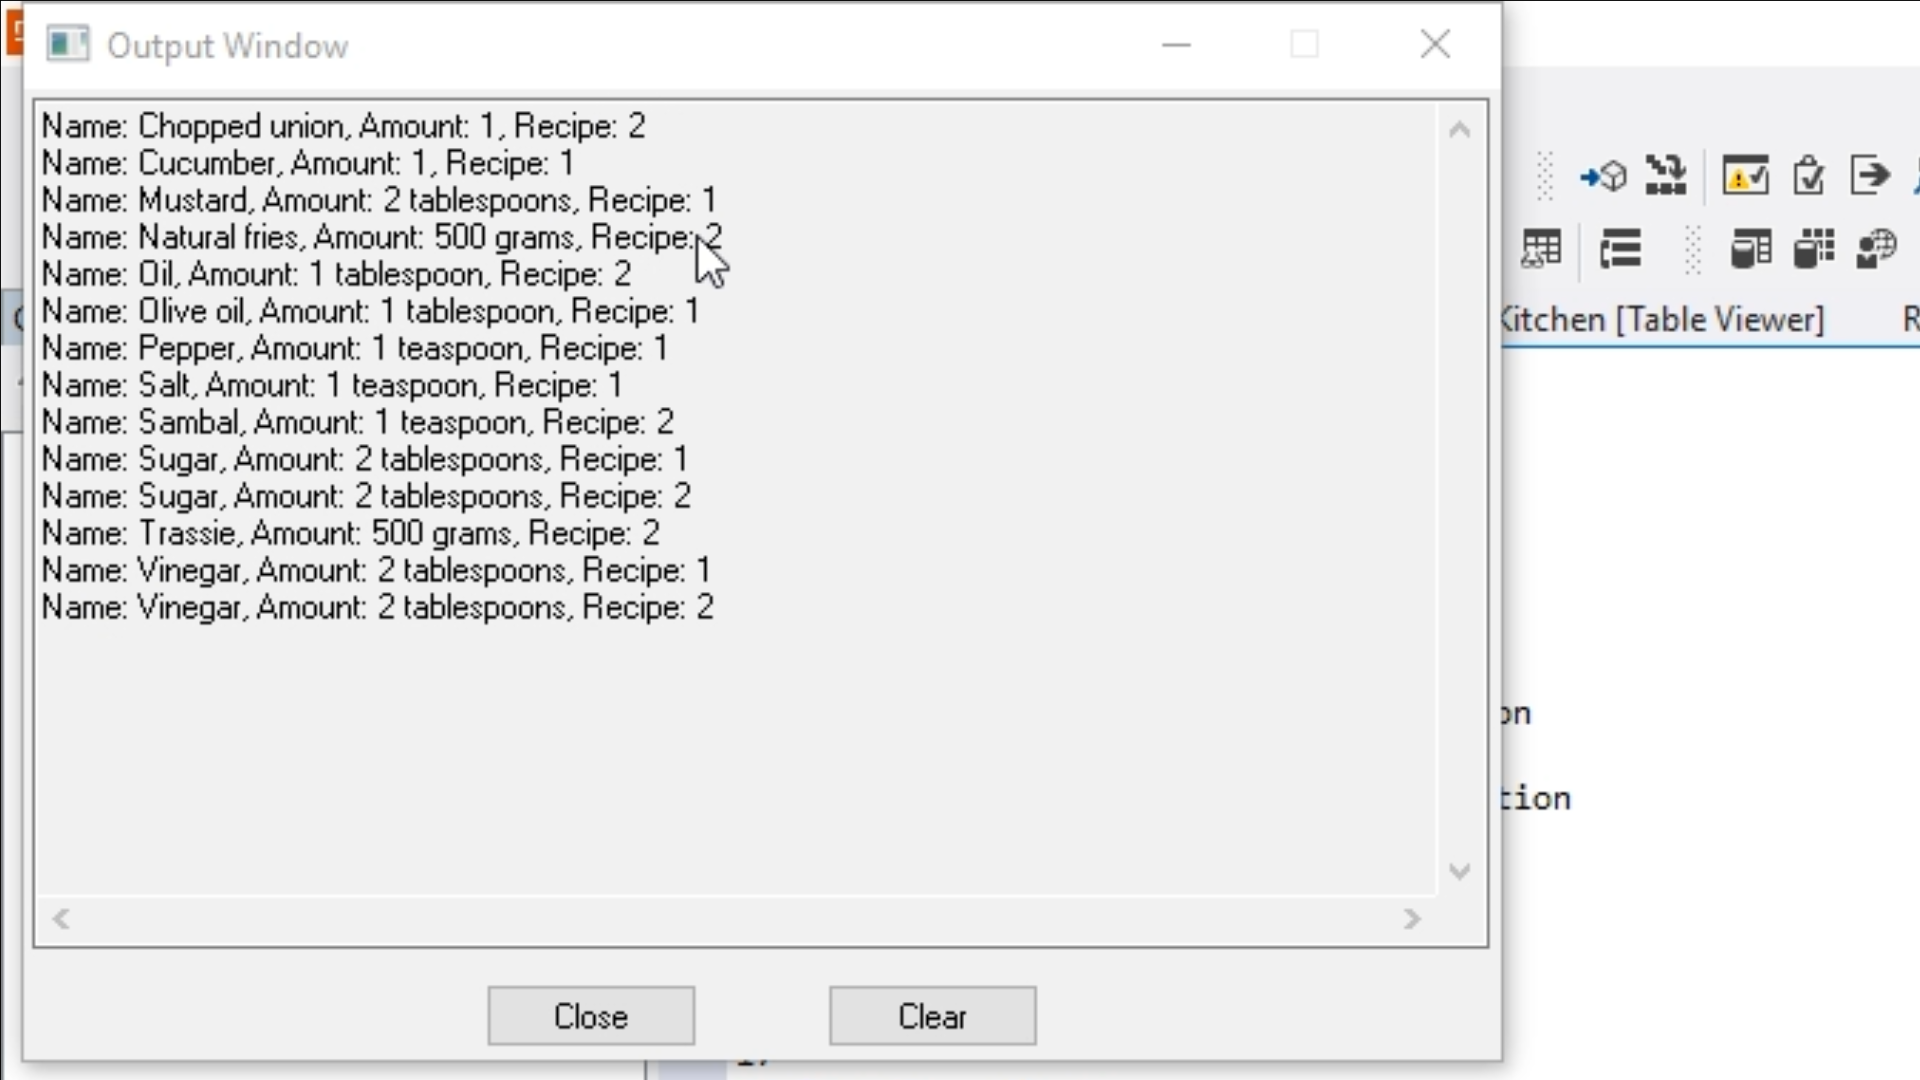
- Select the ‘Run’ icon from the top toolbar. An Output Window appears that now shows the ingredients in alphabetical order.
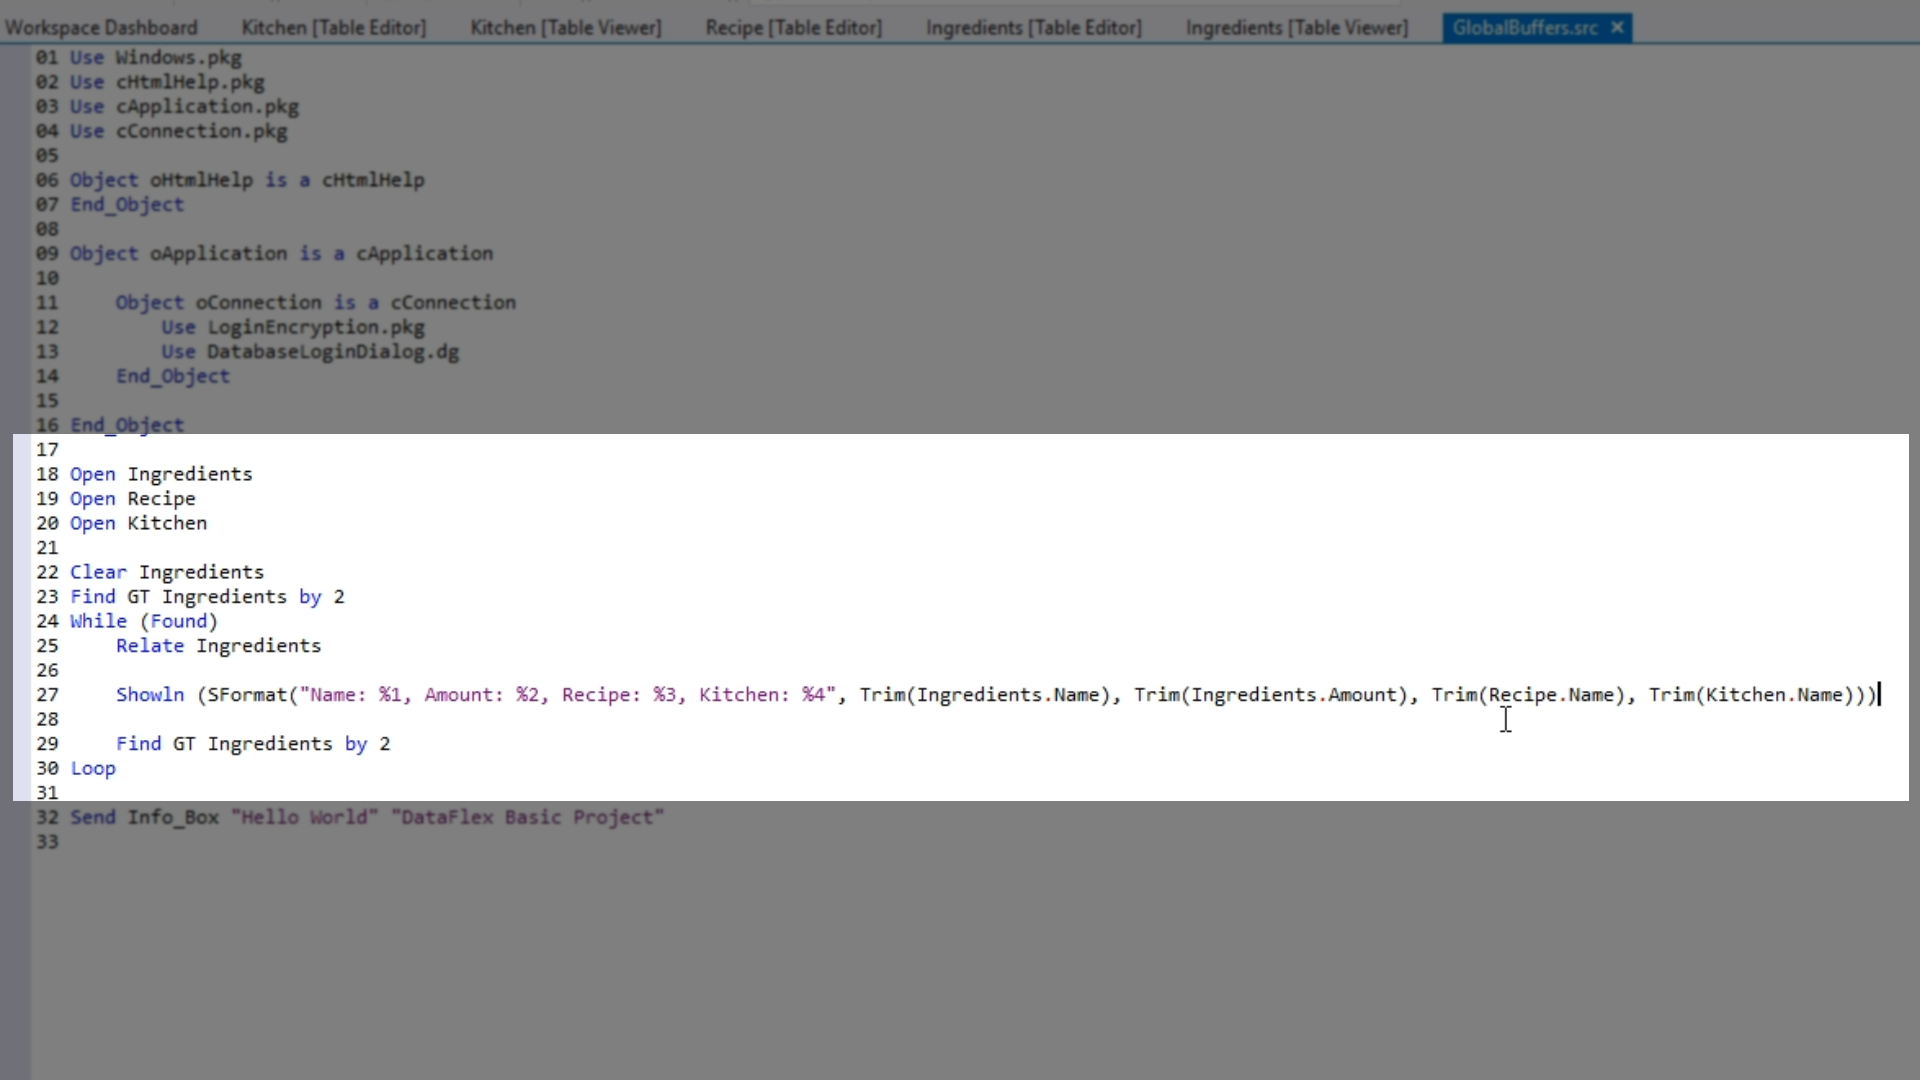
- To also show the name of the recipe and the corresponding kitchen…
Open IngredientsOpen Recipe
Open Kitchen
Clear Ingredients
Find GT Ingredients by 2
While (Found)
Relate Ingredients
Showln (SFormat (“Name: %1, Amount: %2, Recipe: %3, Kitchen: %4”, Trim(Ingredients.Name), Trim(Ingredients,Amount), Ingredients.Name), Trim(Kitchen.Name)))
Find GT Ingredients by 2
Loop
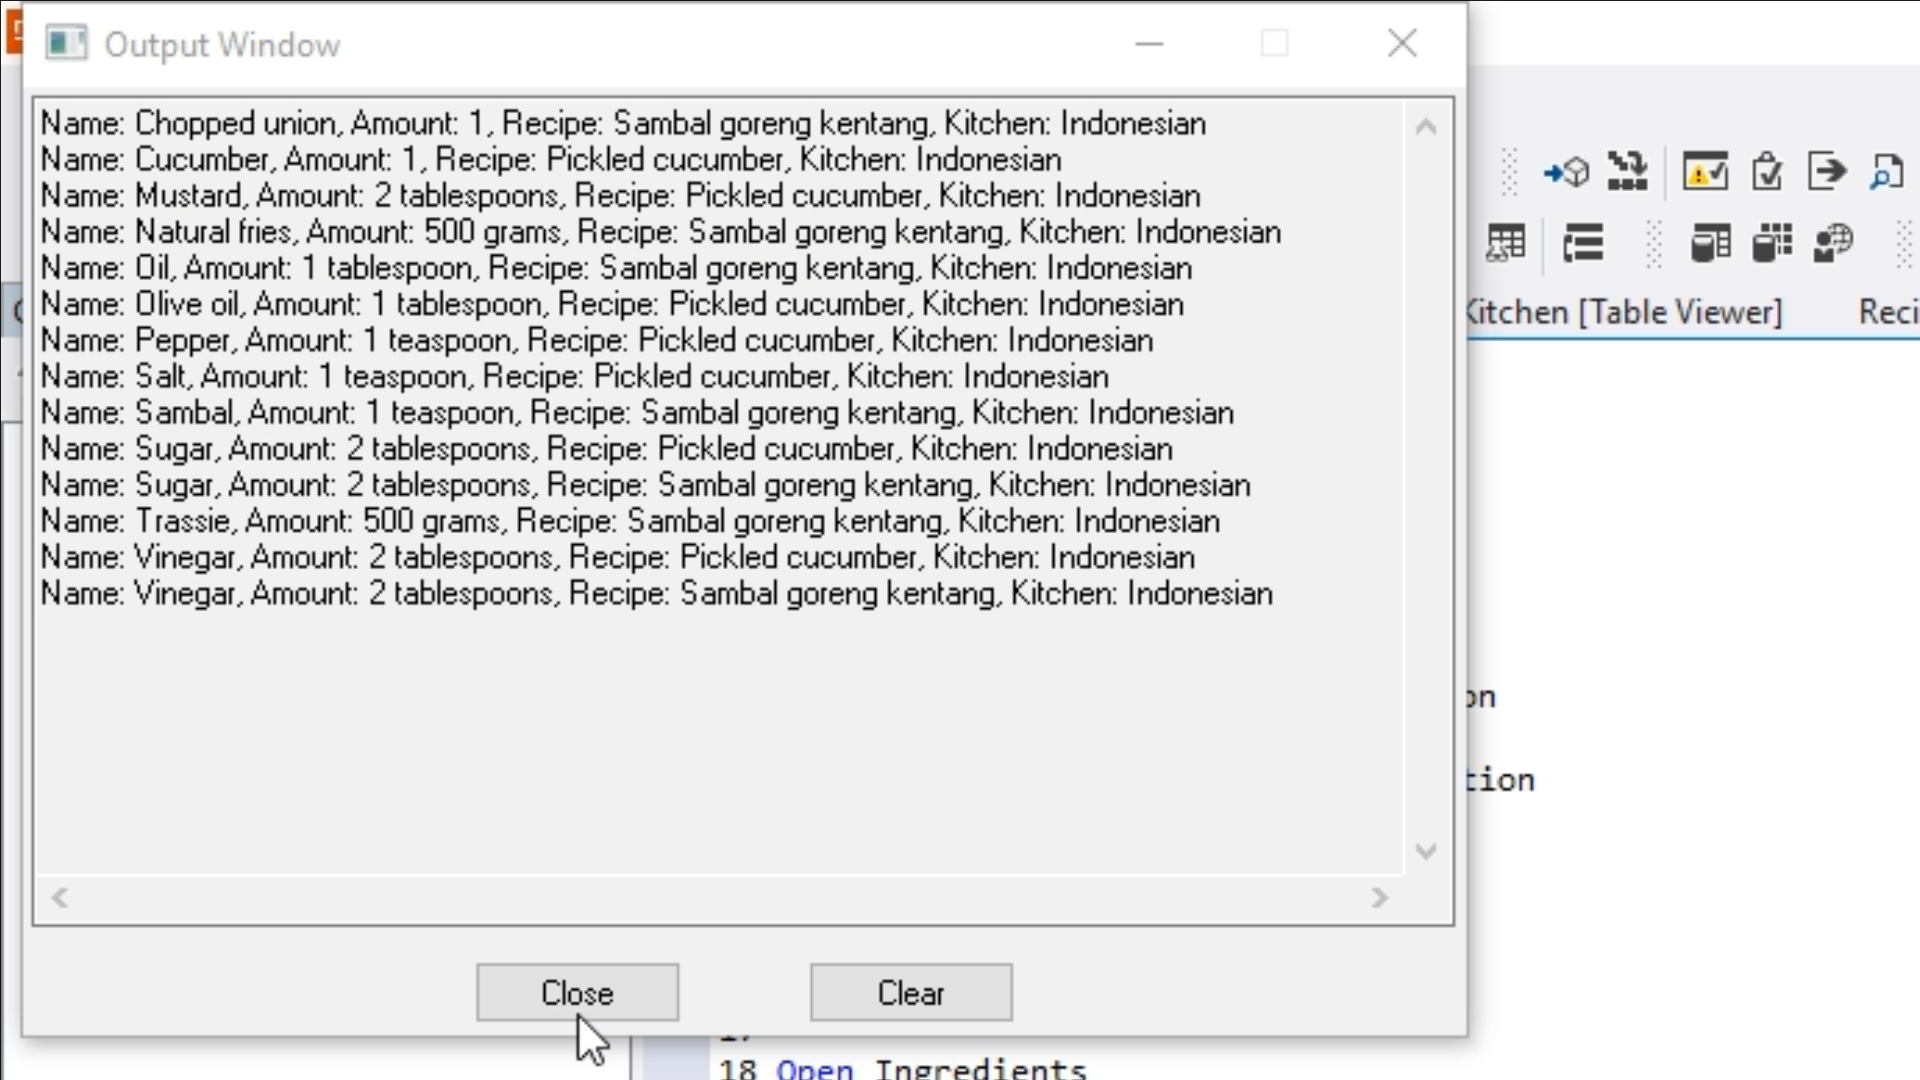
- Select the ‘Run’ icon from the top toolbar. An Output Window appears that now shows the recipe name instead of its ID, and the corresponding kitchen is also shown.
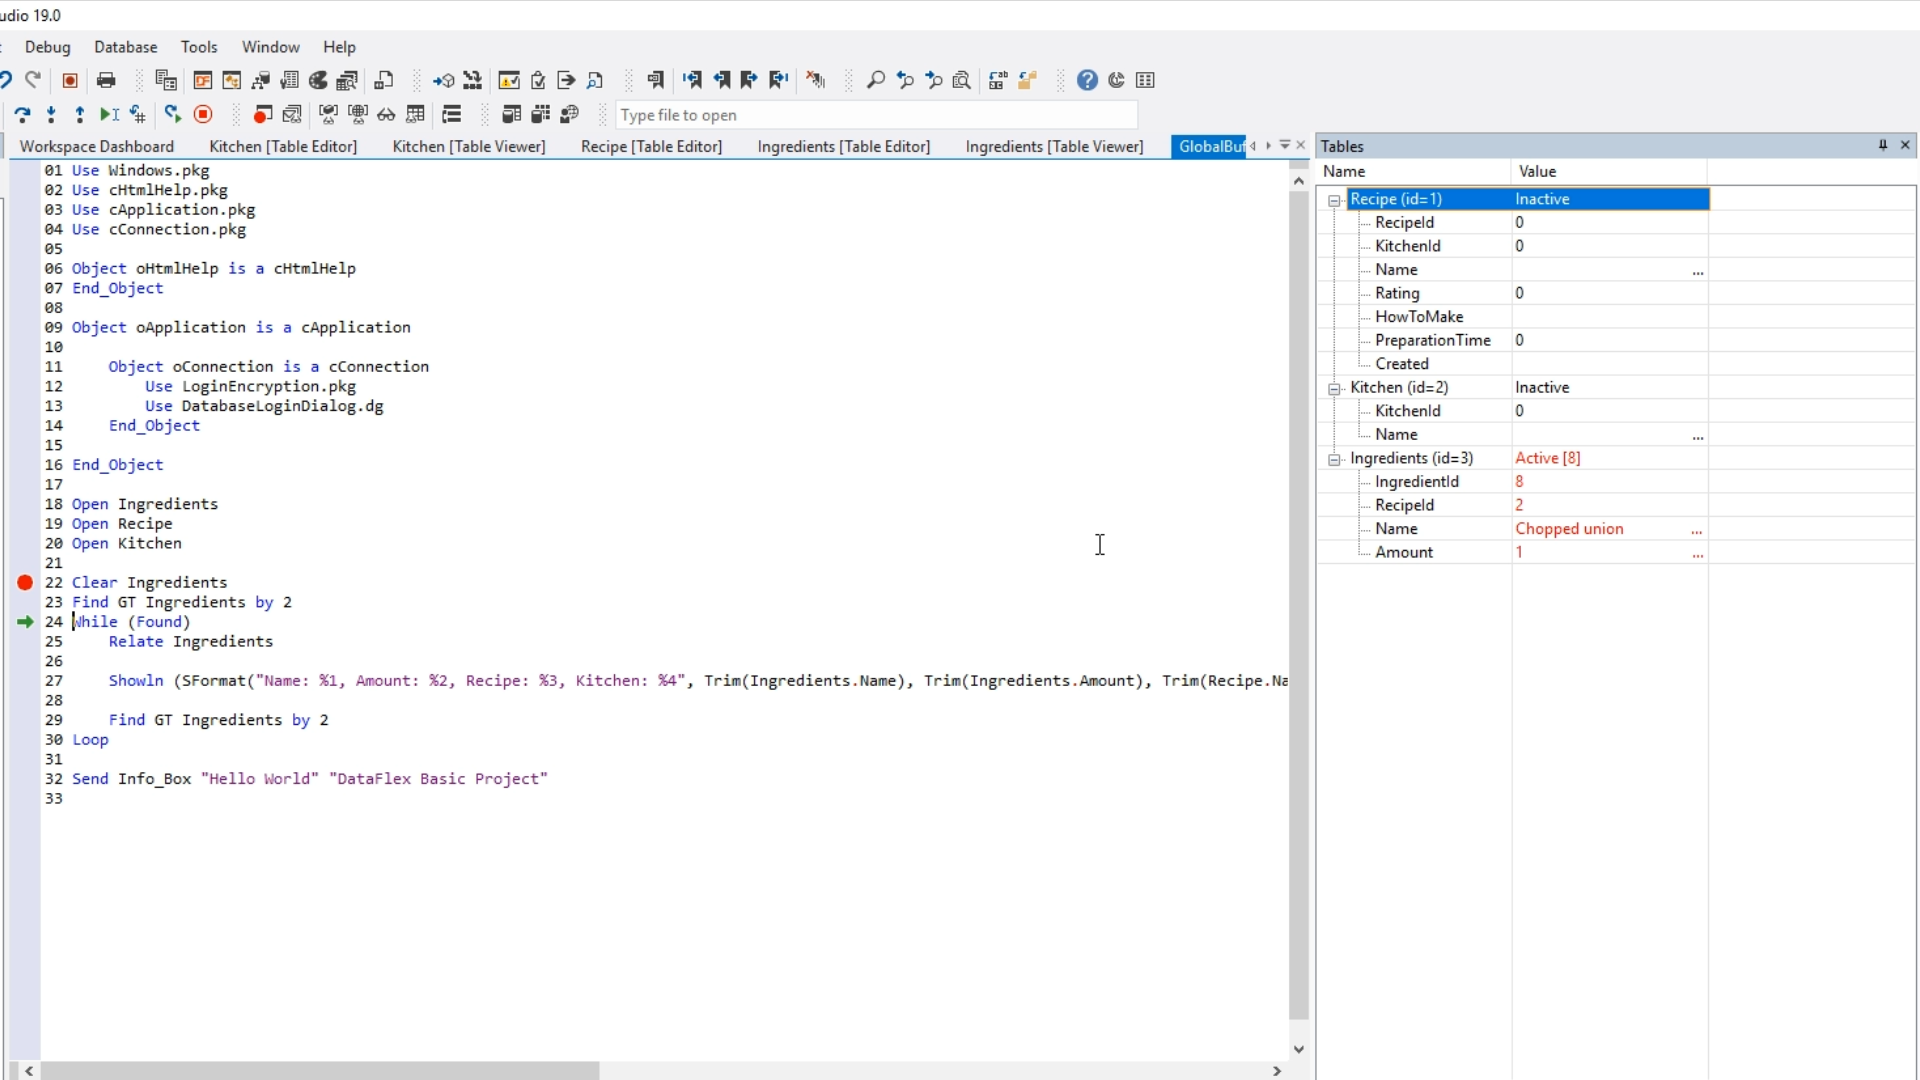
- To demonstrate this further place a break point alongside the code to debug the application and press F5.
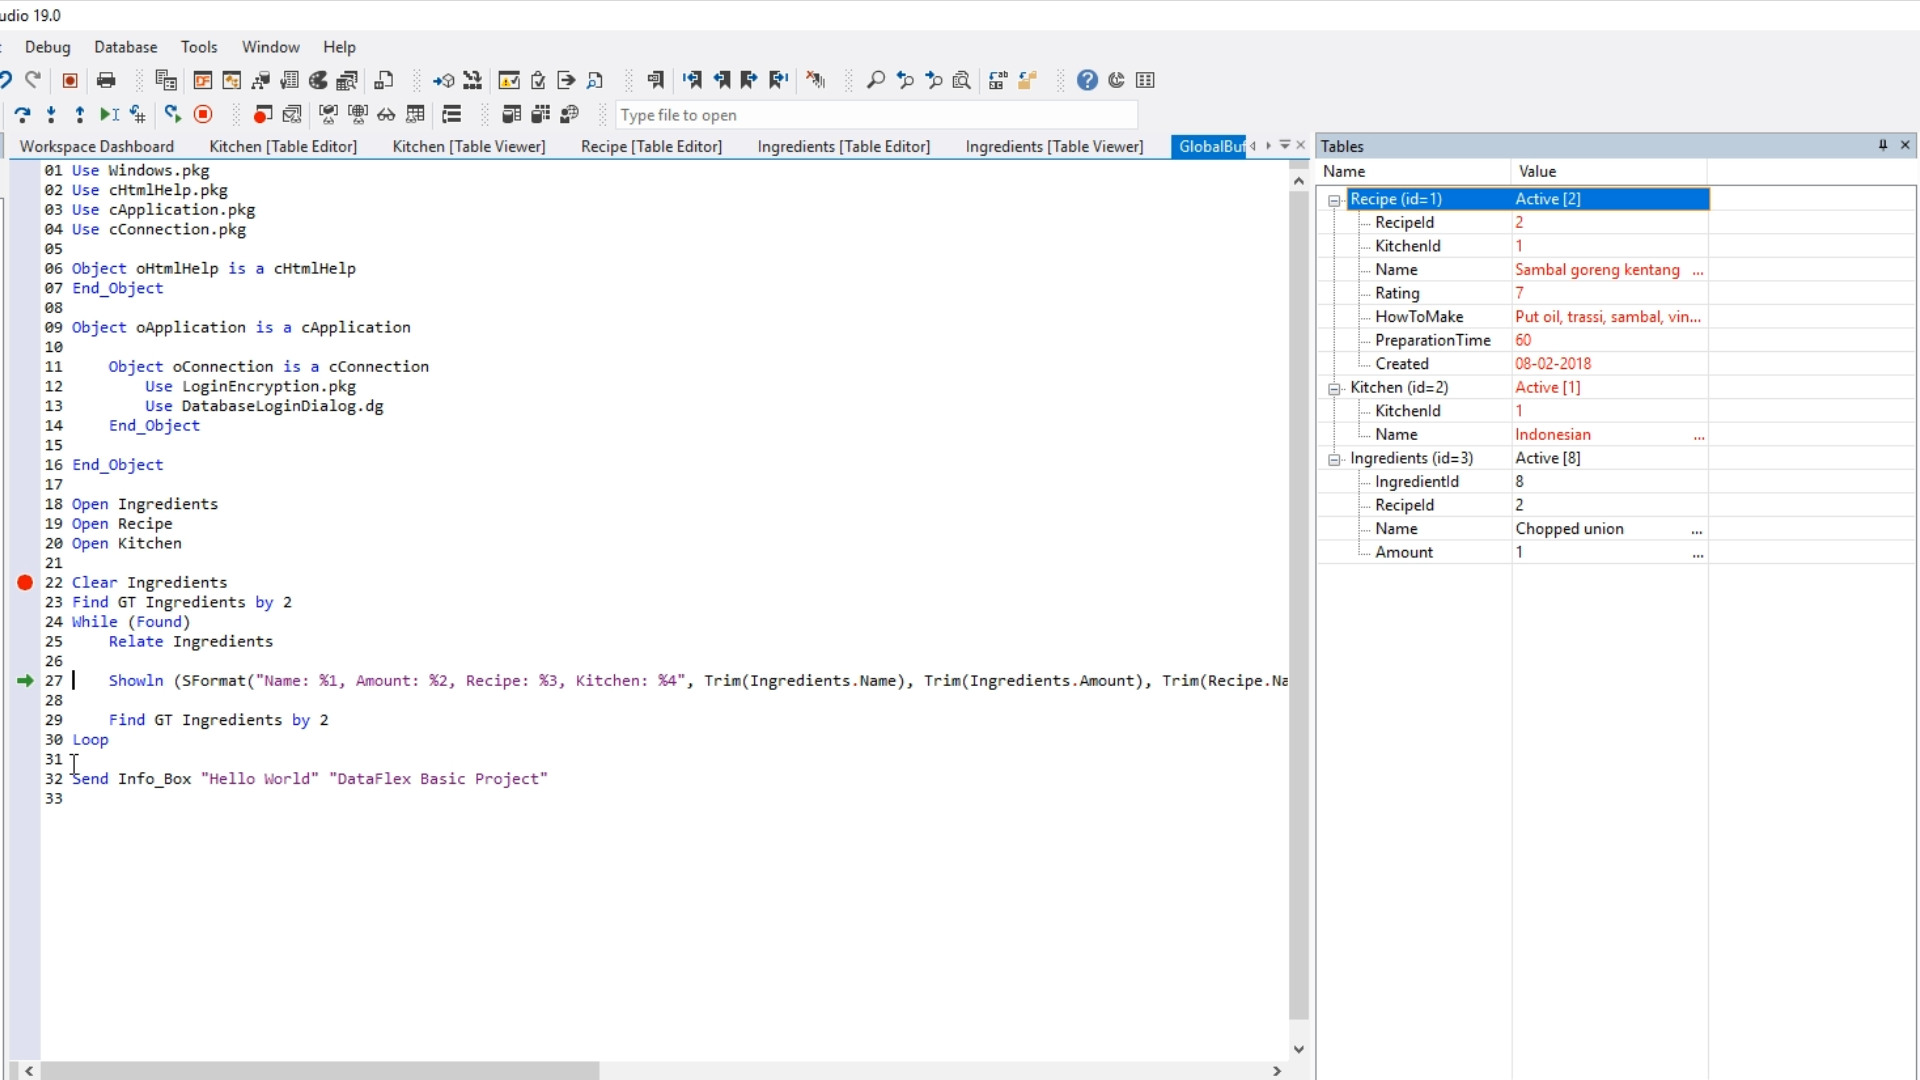
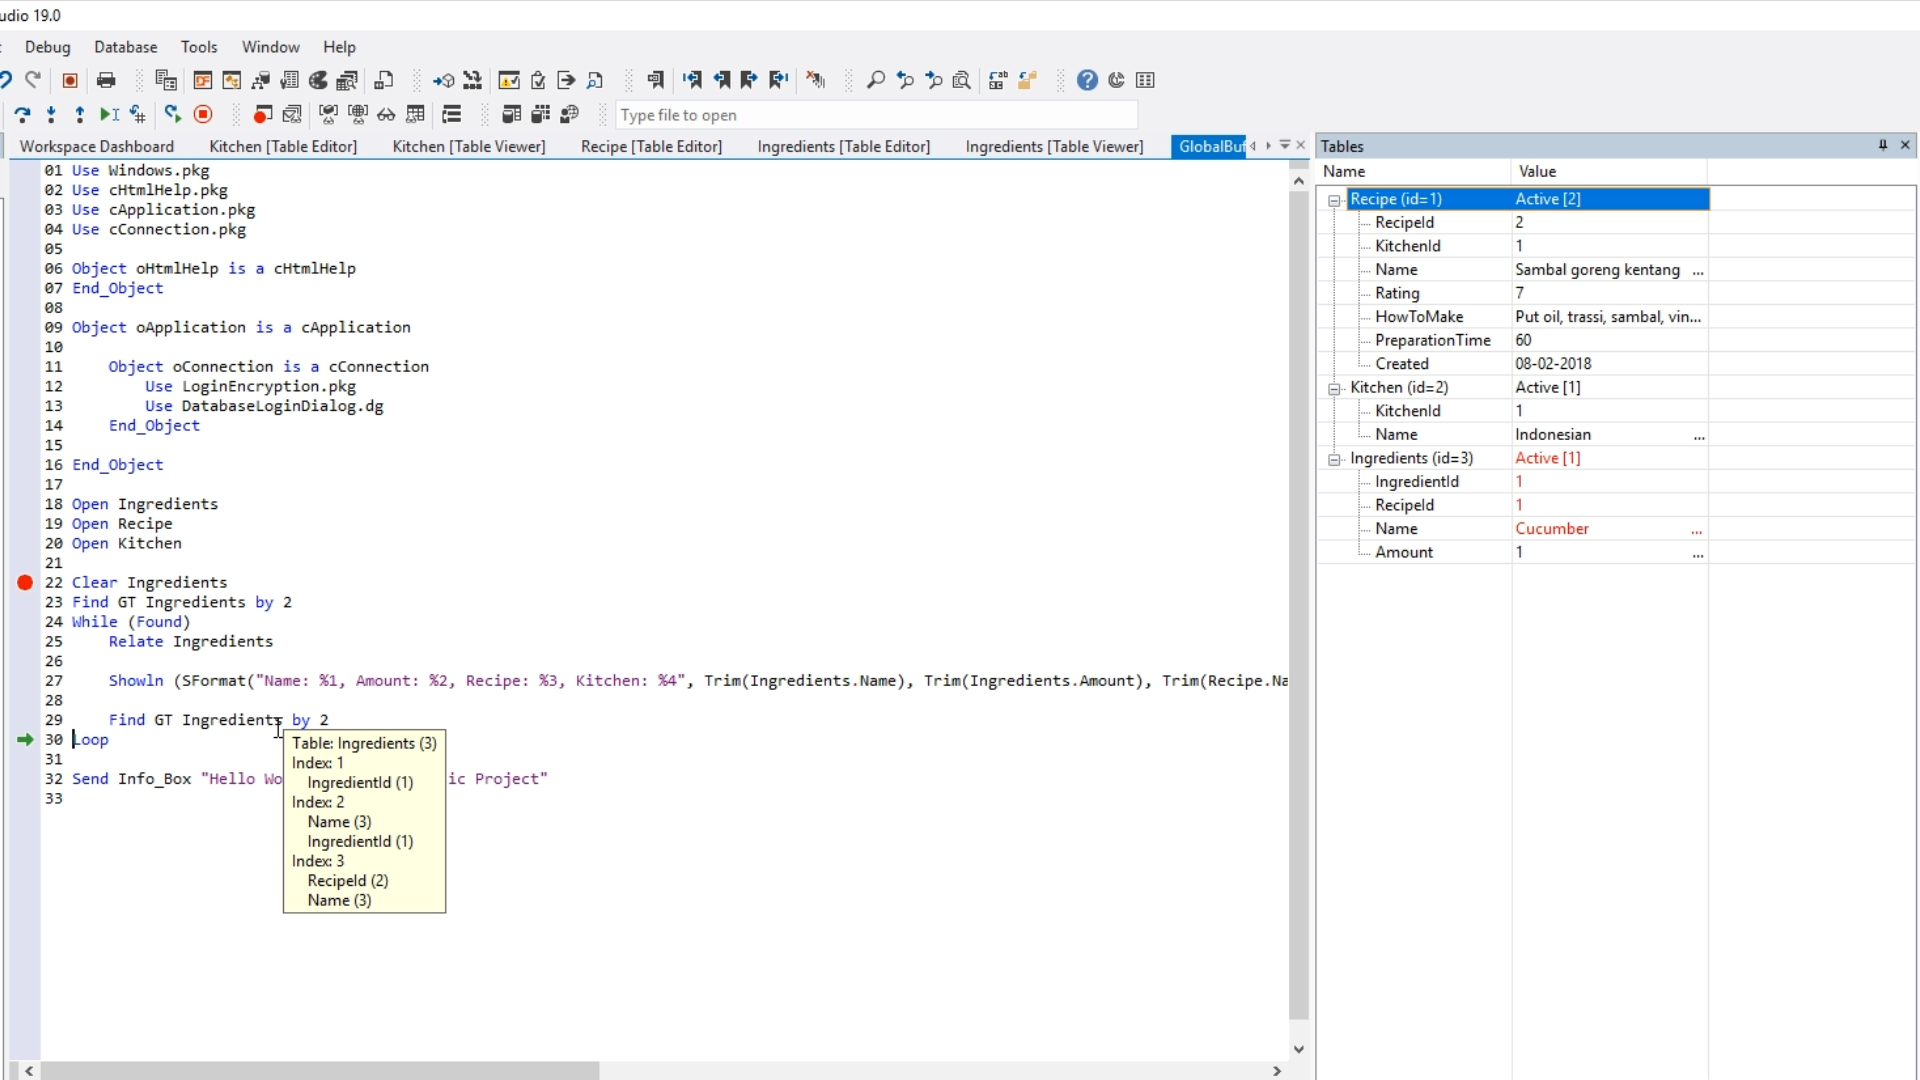
- To get a better look at the database’s tables, drag and drop the ‘Tables’ panel so that it is part of the right side of the screen.
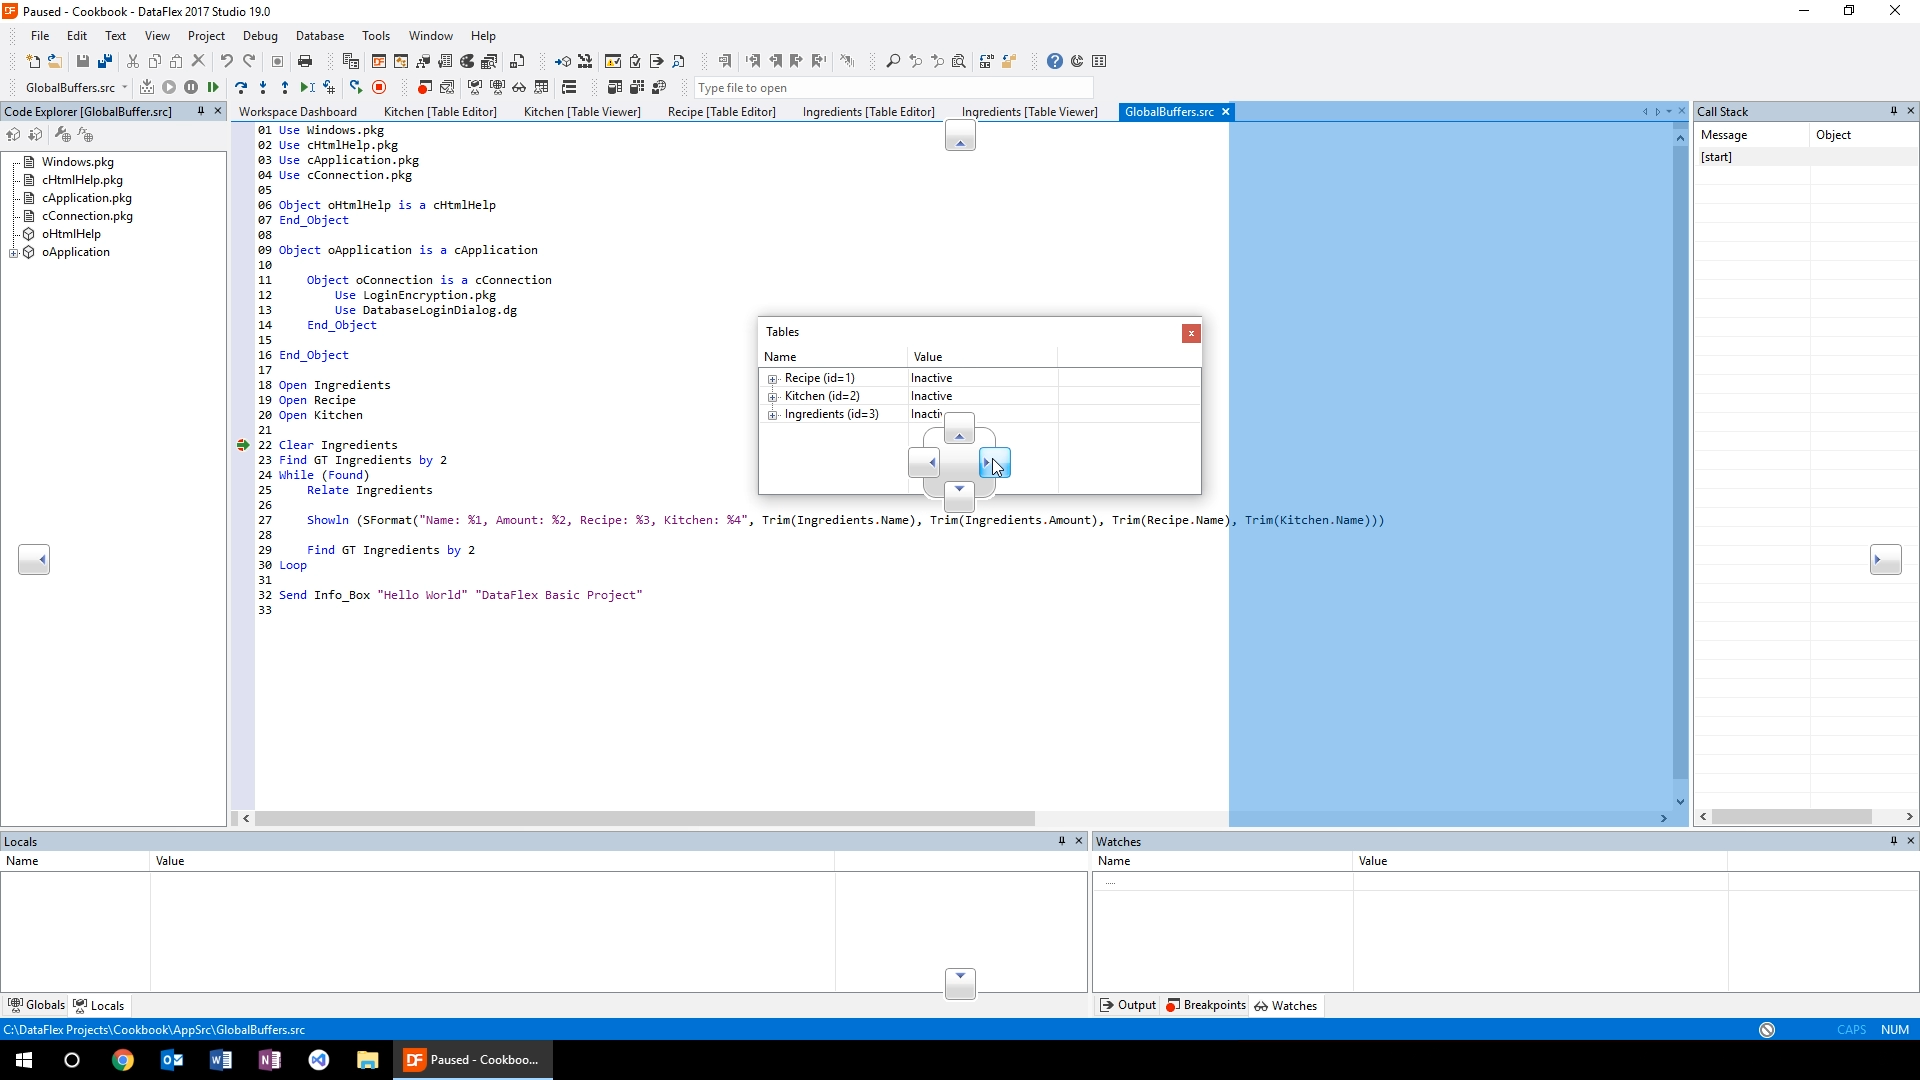
- Expand the ‘Recipe,’ ‘Kitchen,’ and ‘Ingredients’ sections.
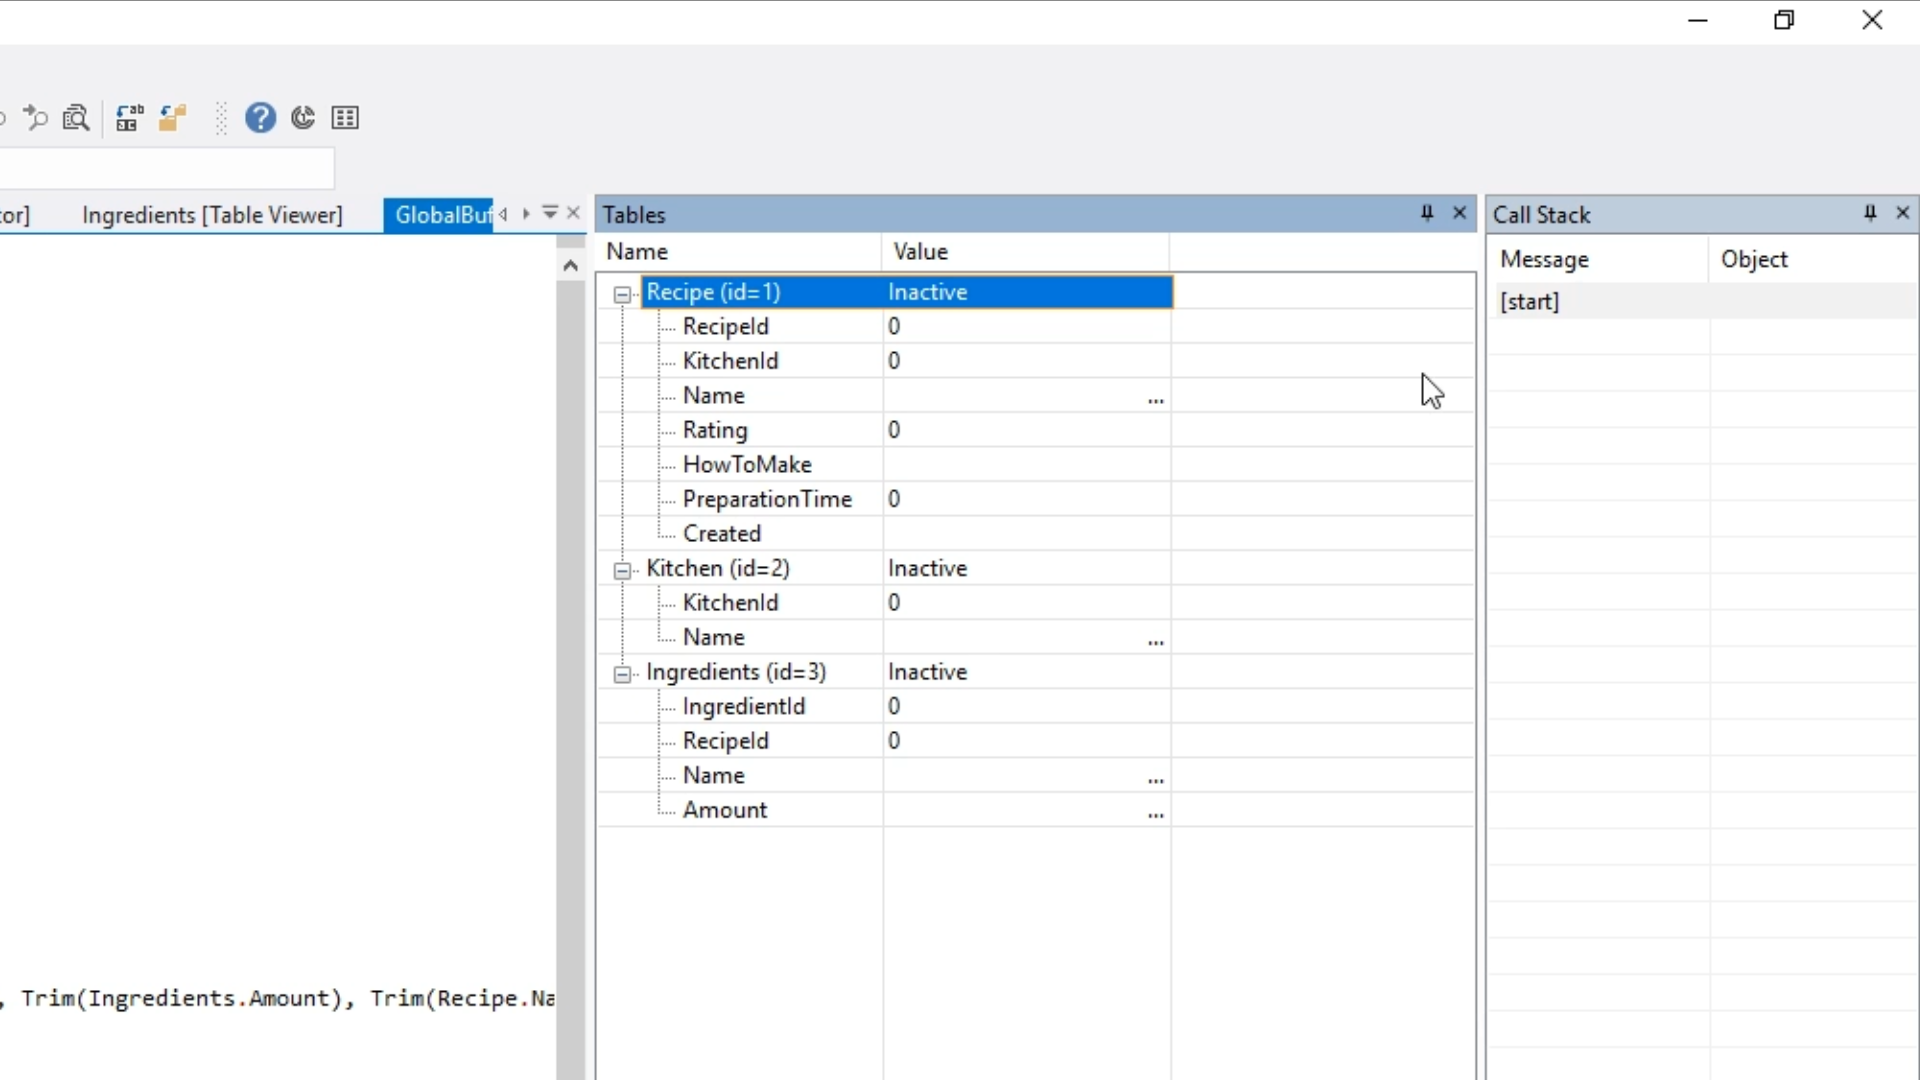
- This panel looks at the global file buffers for the application.
- Currently the panel shows all three tables with empty record buffers, which is why they show as ‘Inactive.’
- Stepping through the code brings up various data for the tables (note green arrow on the left of the images.


- Remove the break point.


