


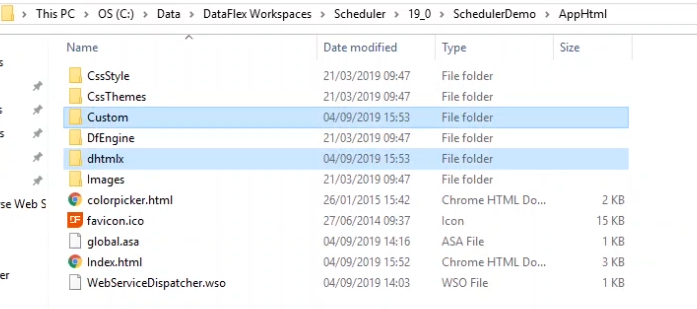
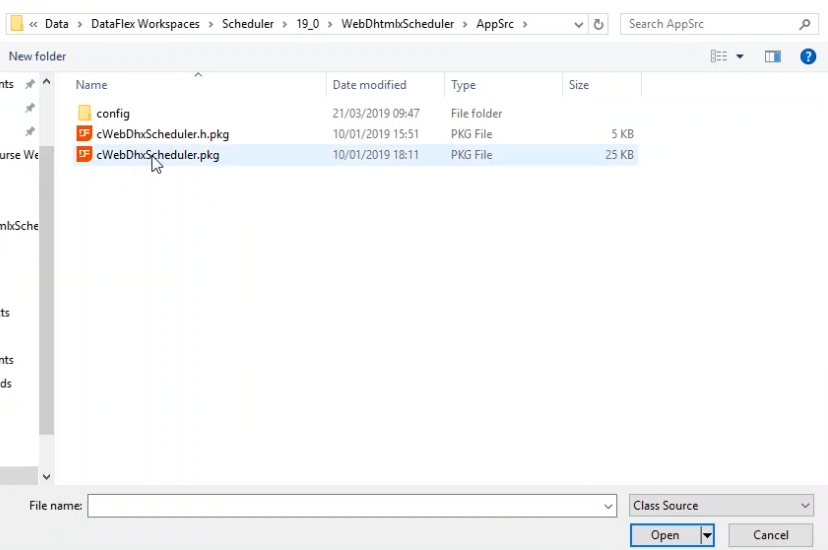
Integrating the Web Scheduler is fairly easy. Upon purchasing the library you’ll receive a .zip file with all the files you’ll need including the code used in this demonstration. Most notably are the DataFlex Library – which is a workspace file and the required JavaScript files.
Demonstration
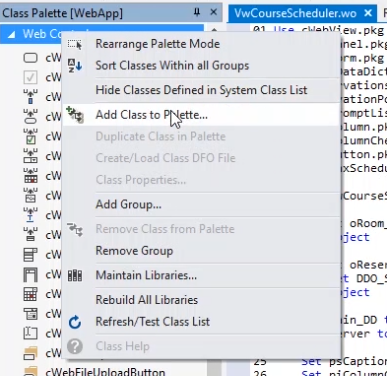
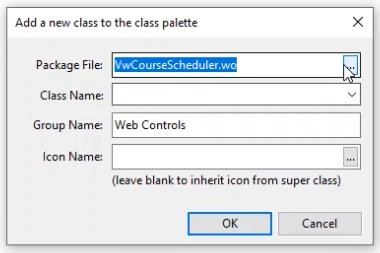
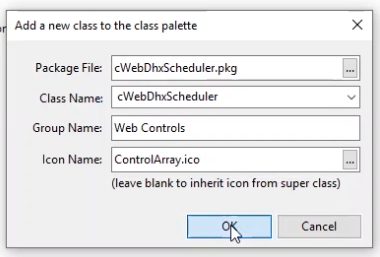
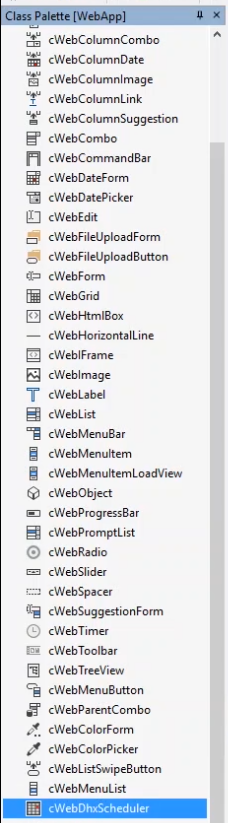
A useful thing to do is to add the Web Scheduler to the Class Palette. This will allow you to drag & drop it into your view.
The scheduler is very configurable, you can configure the view types to show, x- and y-axes, date range to display etc. For now we'll just copy and paste the configurations, all the properties are well documented, in the documentation you receive when purchasing the Web Scheduler Library.
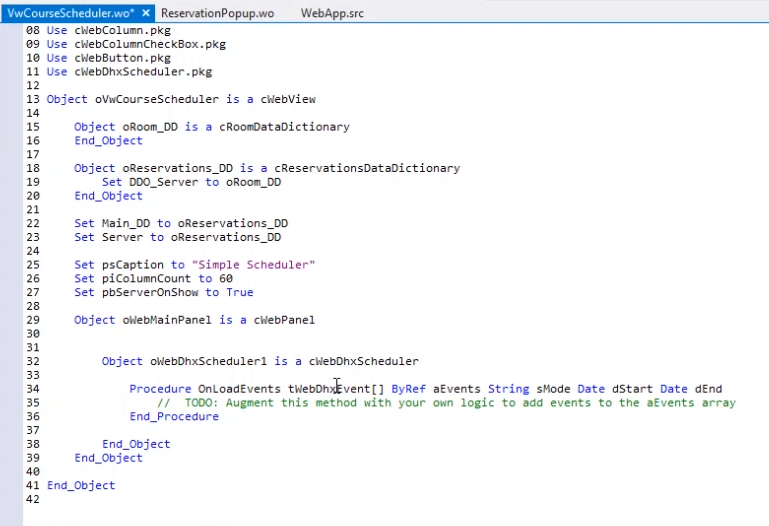
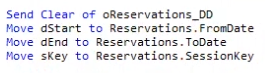
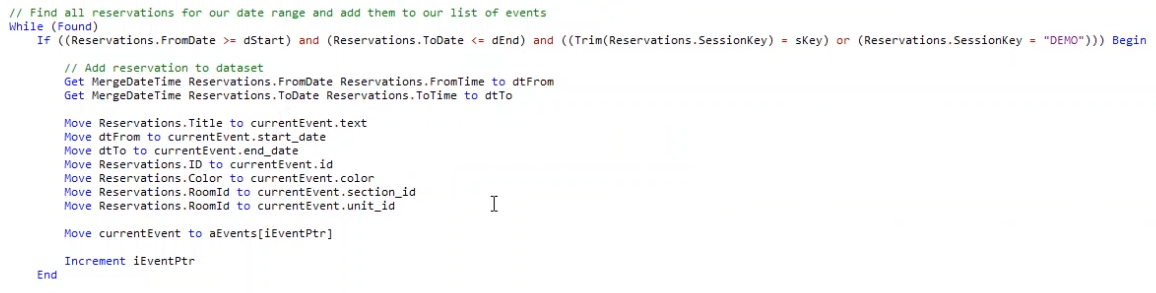
We'll copy and paste a component. The main routine to implement here is the OnLoadEvents. This is the method that will dictate what data is shown in your scheduler. Now for demo purposes, we’ve fitted this workspace with a database that includes some data about reservations for conference rooms. We’ll be reading data from this table and feeding that into our scheduler. We've prepared the OnLoad code in advance and copy and paste this.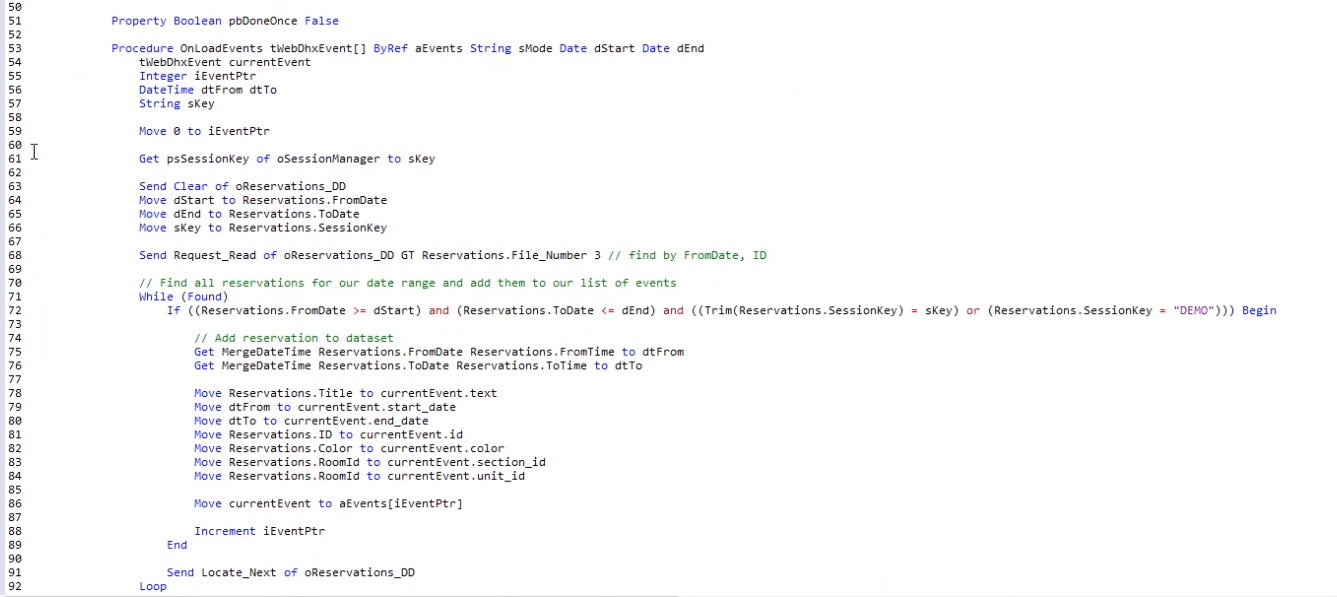
What you see in the code:

Now it looks like this: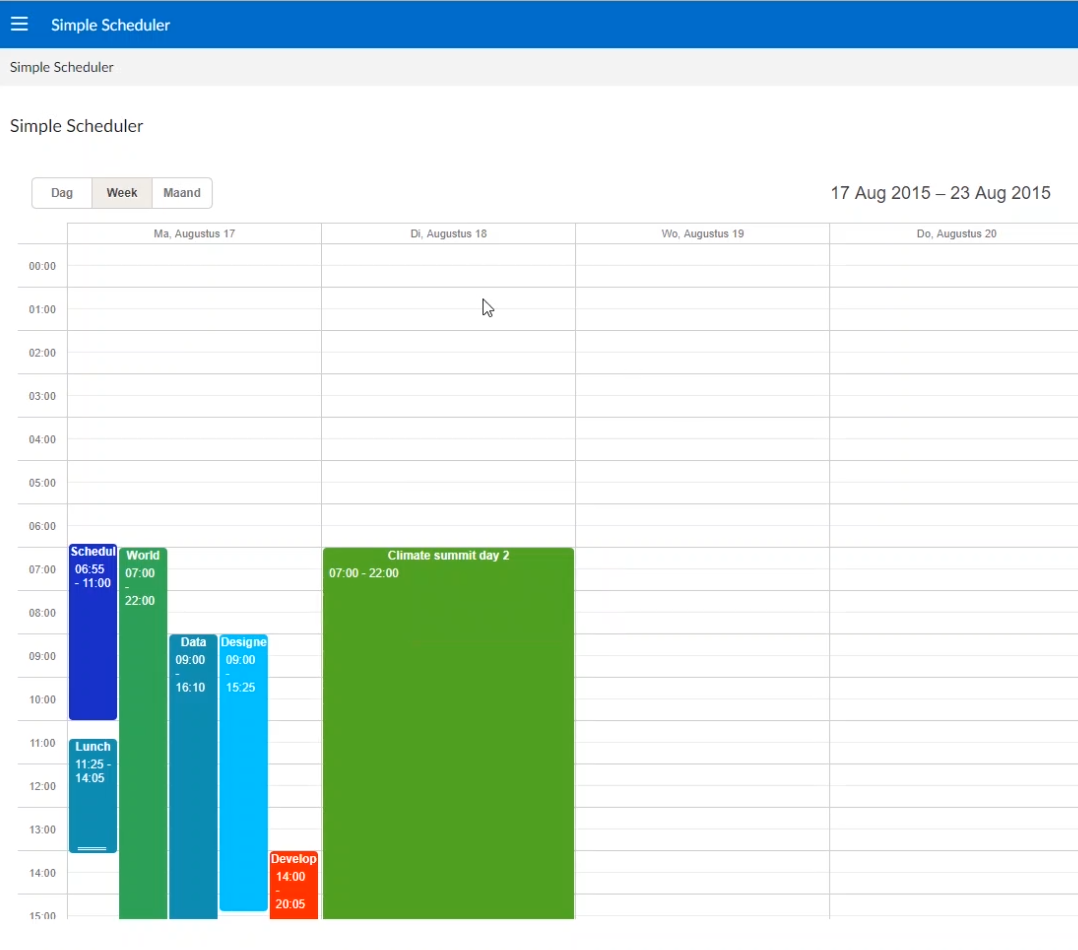
The data is there, but we can't interact with it yet. For this several events need dto be added inside the scheduler. To interact with the Scheduler and manipulate the data, there are several methods that can be implemented. The most important ones here are
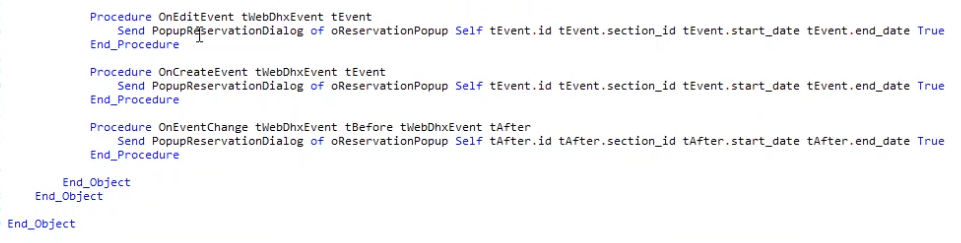
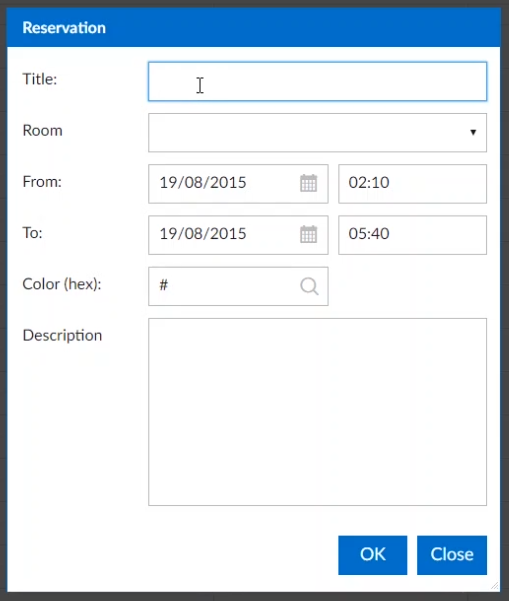
What this does: whenever we click inside the scheduler, based on what we’re trying to do, one of these methods is called on the server, with the data of our event. Here we’ll pop up a dialog where we can enter some info for our event and store it in the database. Afterwards, we're going to add an OnCloseModelDialog. In this Dialog we're going to reload the scheduler, which will update it with the new data.
After compiling and refreshing the application, we can use the calendar. For example:
This showed how to integrate the Web Scheduler Library into your application and some features of the Calendar. When purchasing the Library you will receive extensive documentation including the code used in this demonstration.
Try the free online demo to see the Web Scheduler in action. Log in with the credentions: demo, demo.
