Using WebView2 in DataFlex
Lesson 2 - Preparations
In the last series we looked at the properties that enable us to functionally style the WebVie2Browser control. During this course we will essentially be building a new Windows control based on a web technology… which requires some preparation. So, let’s start setting up our DataFlex workspace!
DEMONSTRATION
Create MDI Project
- First, I am going to open up the 20.1 studio
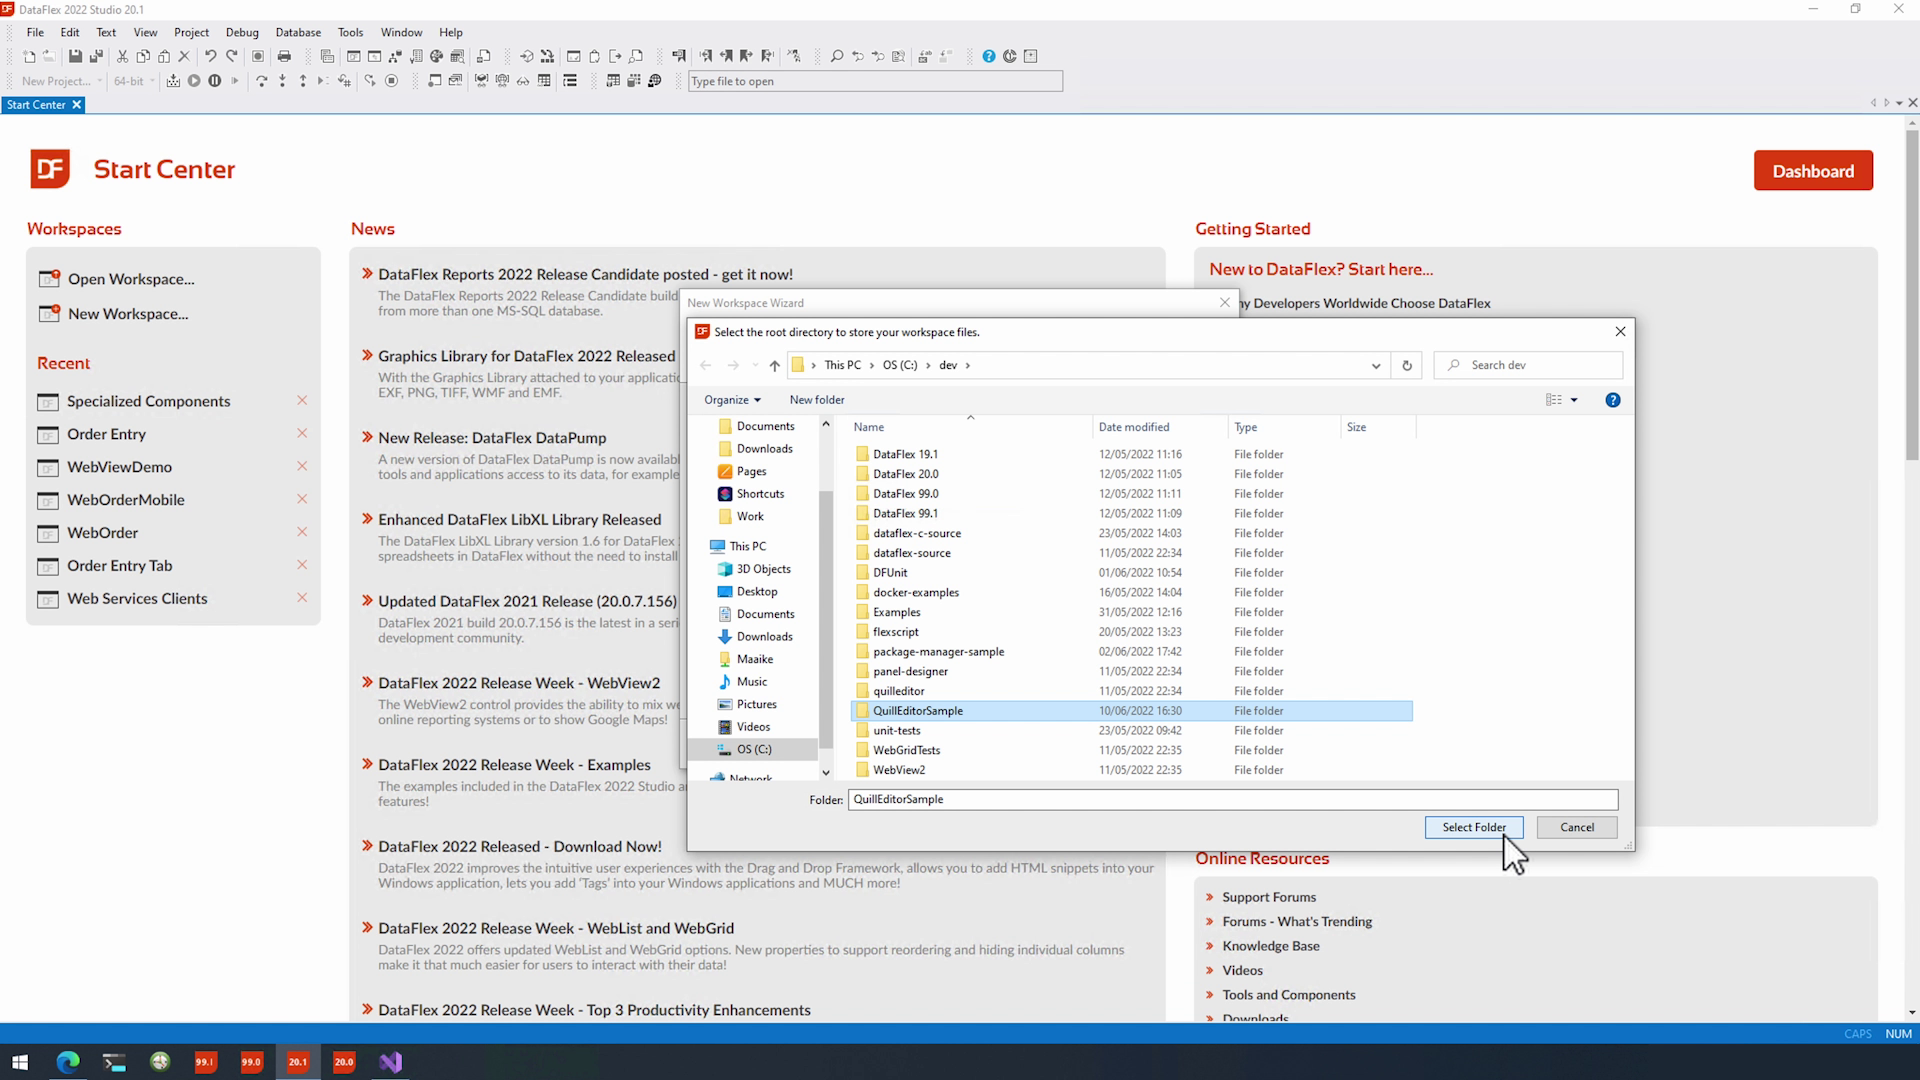
- Then I create a new workspace… We’ll name it “QuillEditorSample” and I am going to place it in my dev folder. Just let me create a new directory in here naming it the same
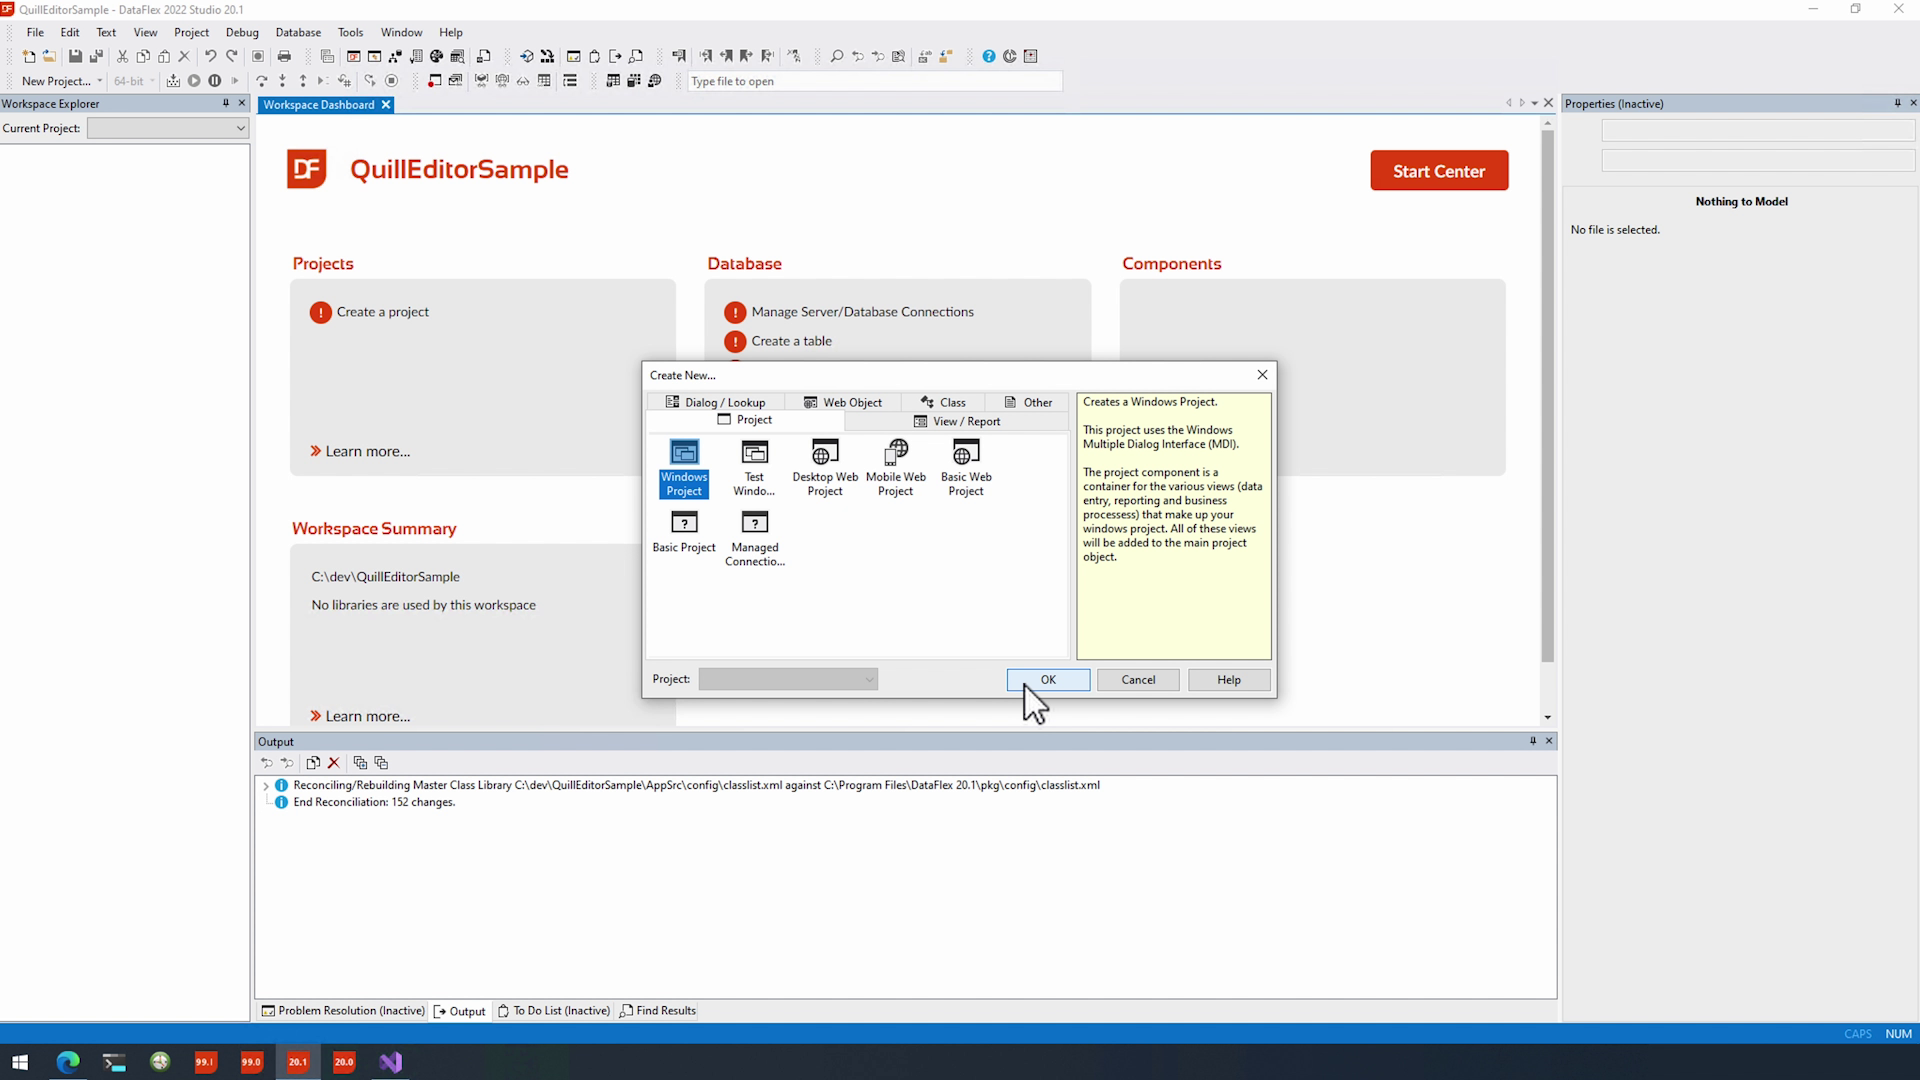
- Then create a new windows project naming it the same
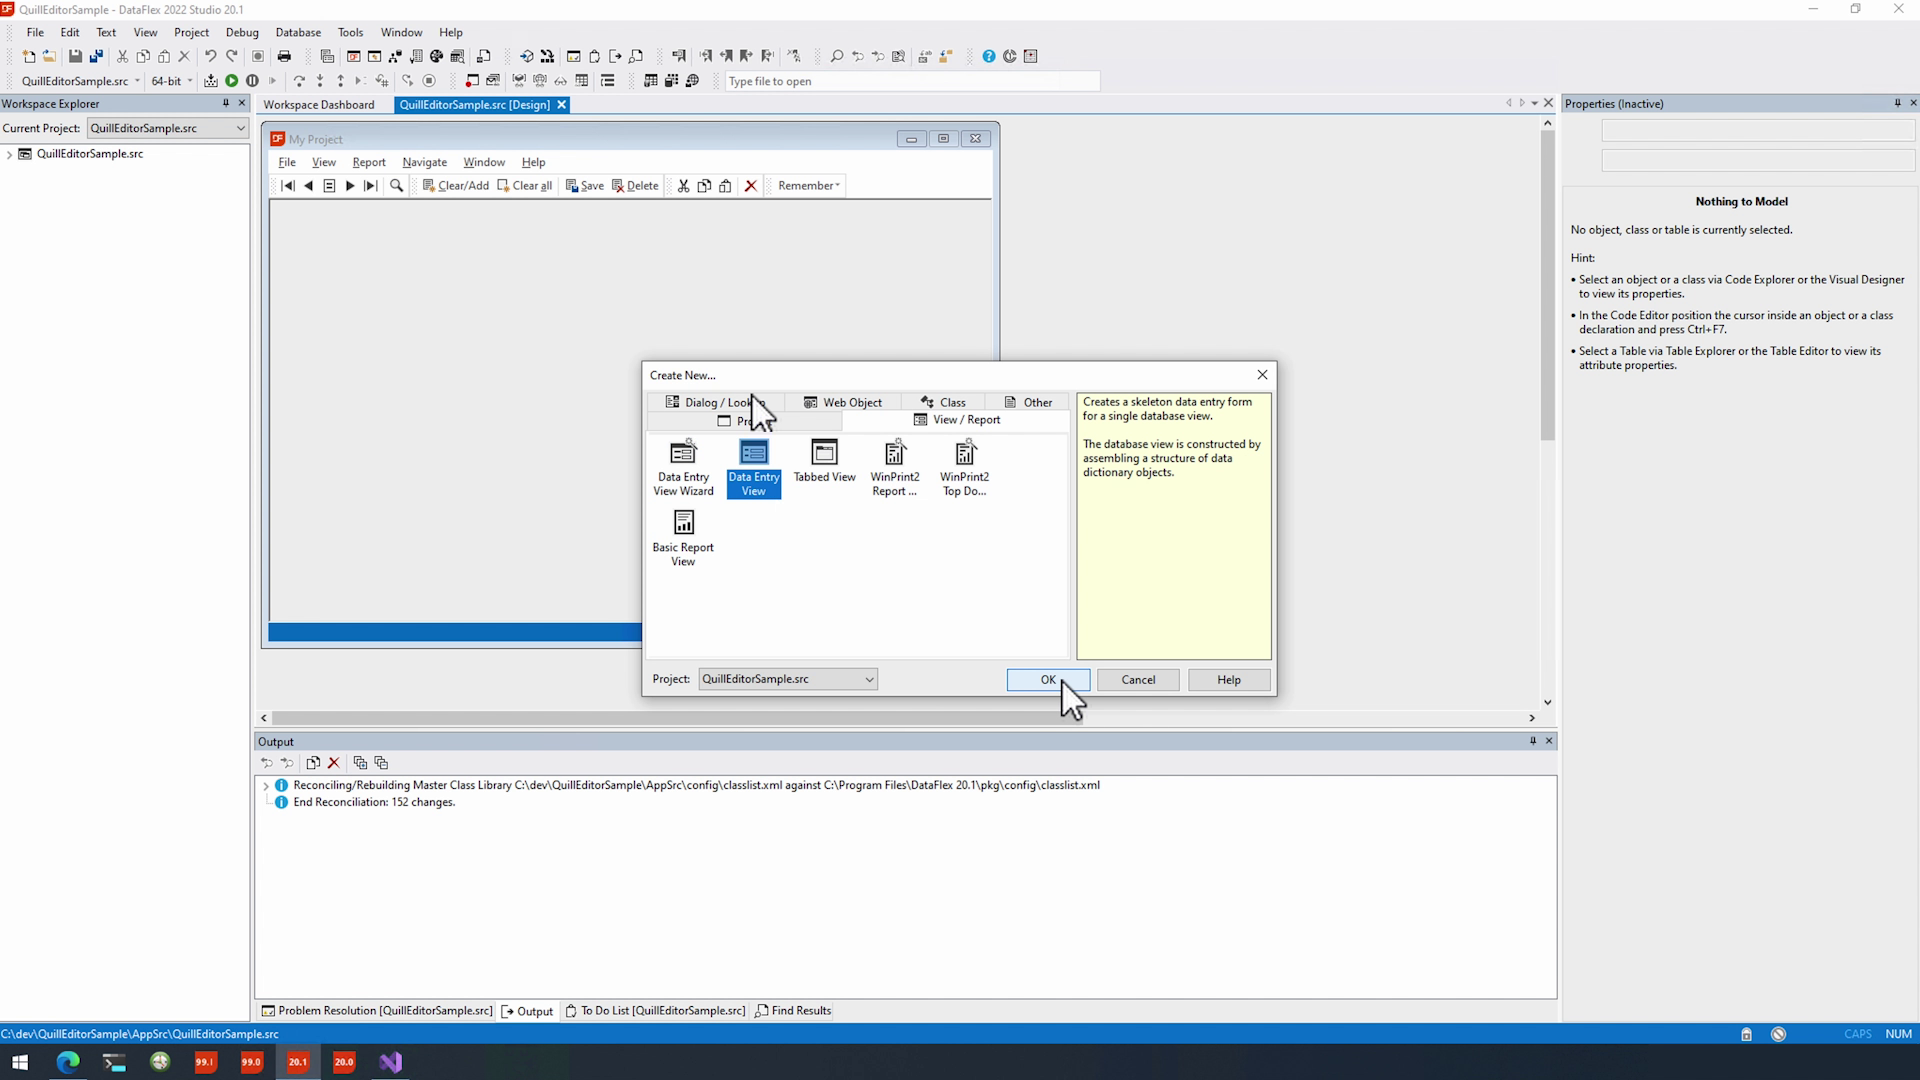
- Lastly a new view naming it exactly the same again
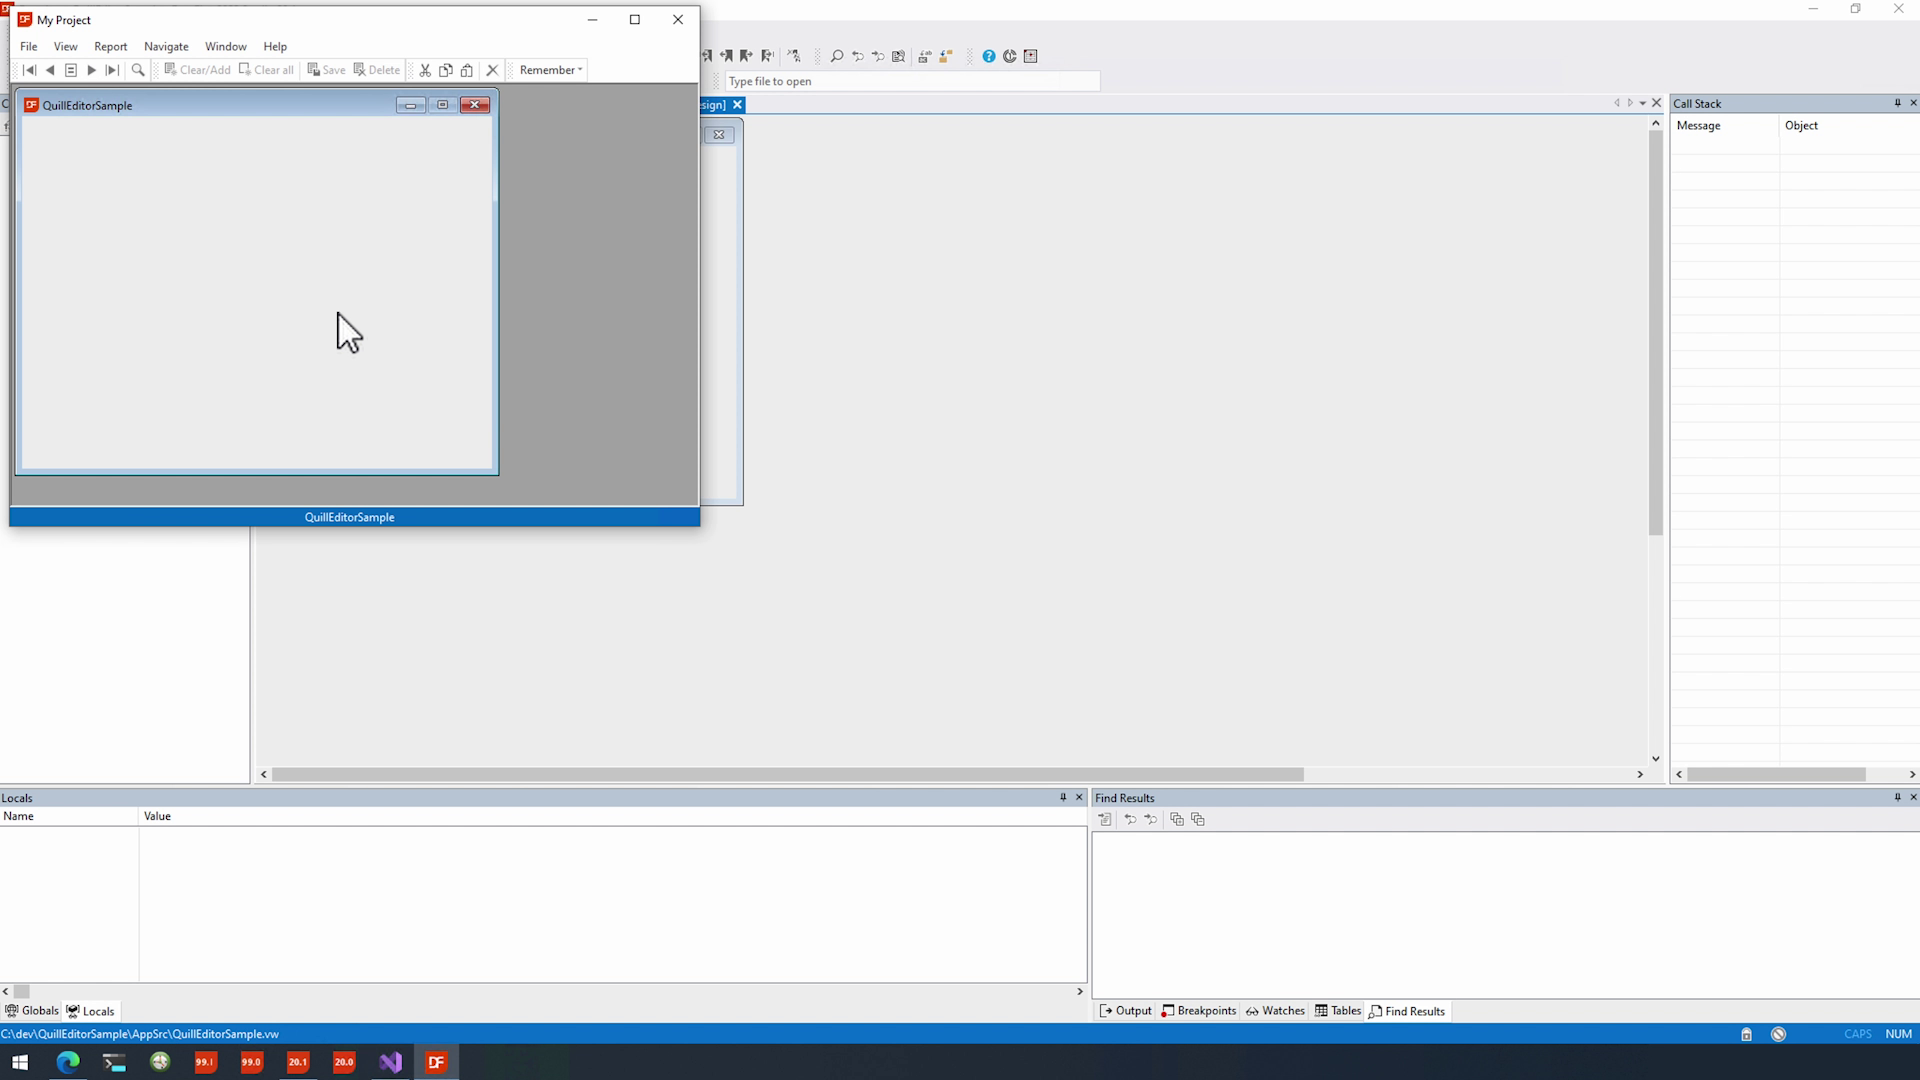
- And then if we press F5 we can see we got that up and running
Adding QuillJS
- Now we need to add QuillJS, as you can see, I have their Git page open here… we’ll go into releases…
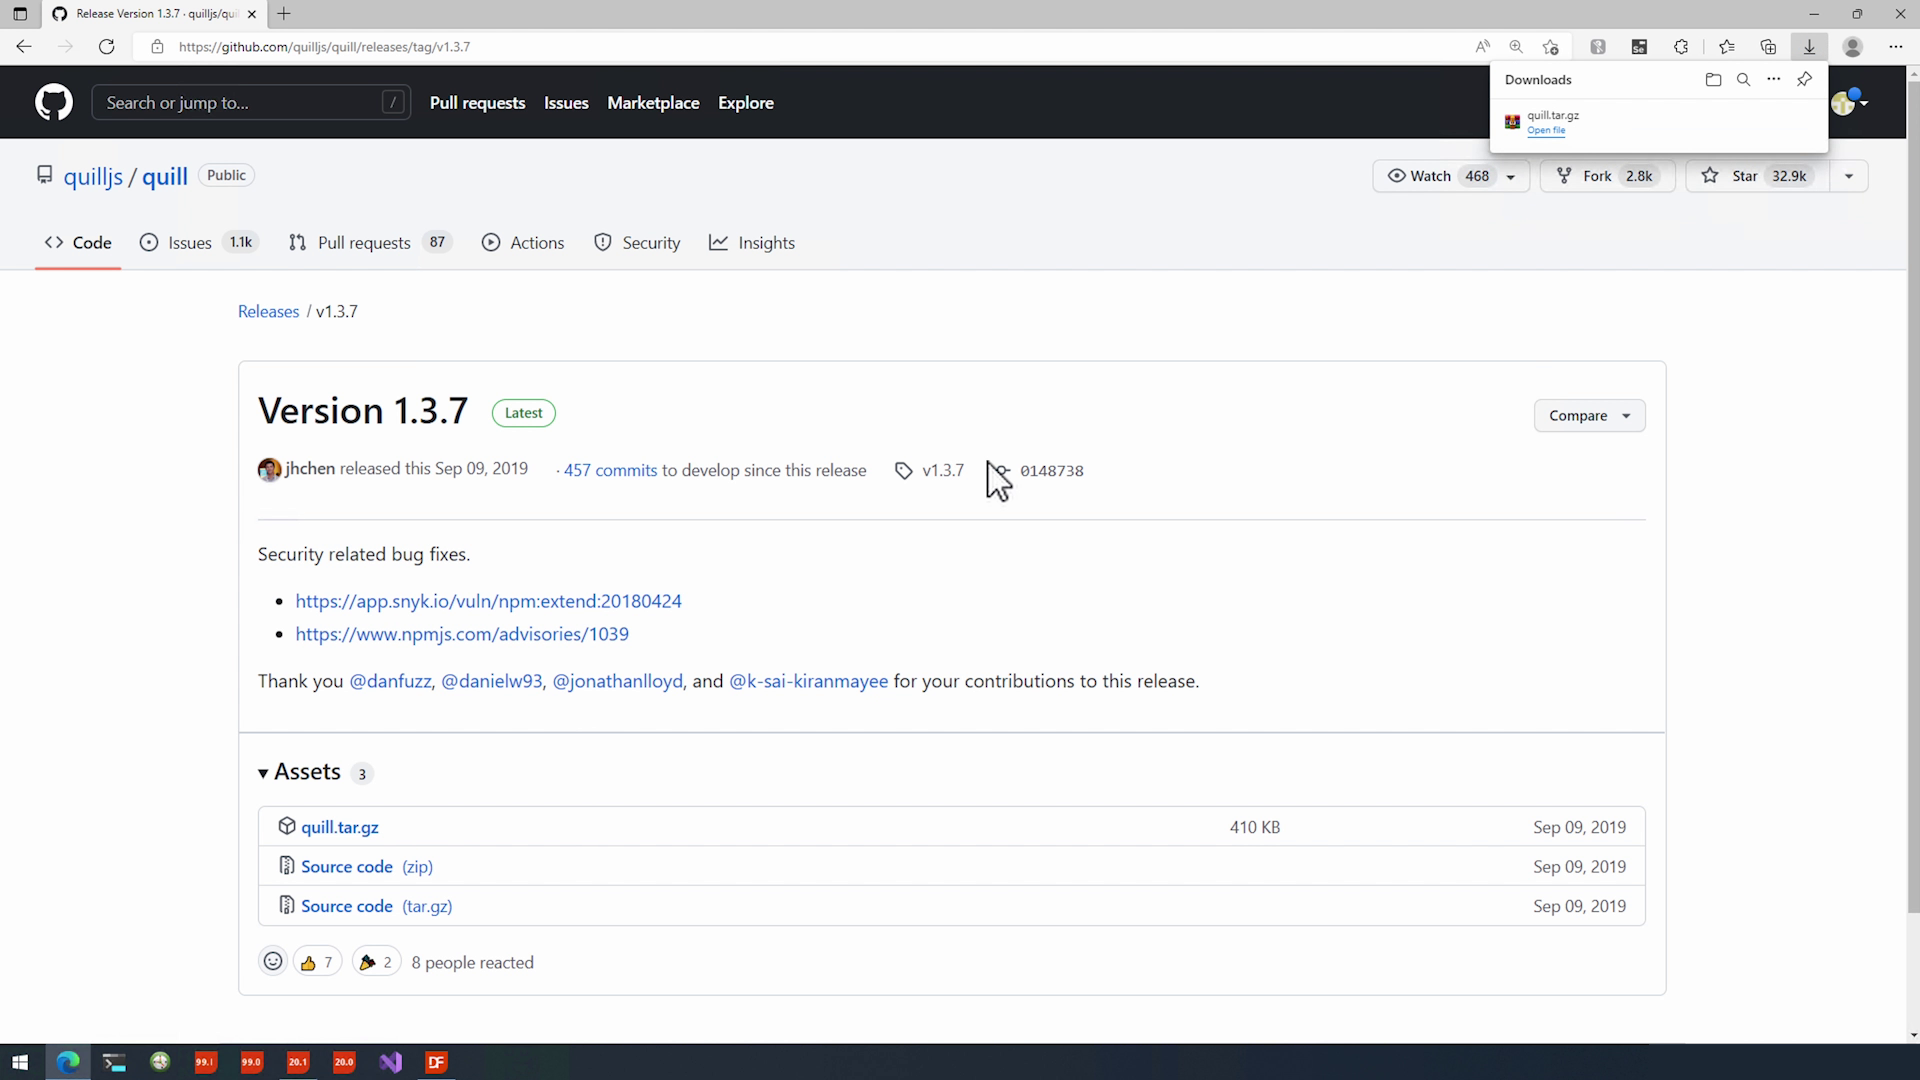
- And, download the latest release from there. I am going to open it… and then extract that to the local AppHtml directory in our workspace.

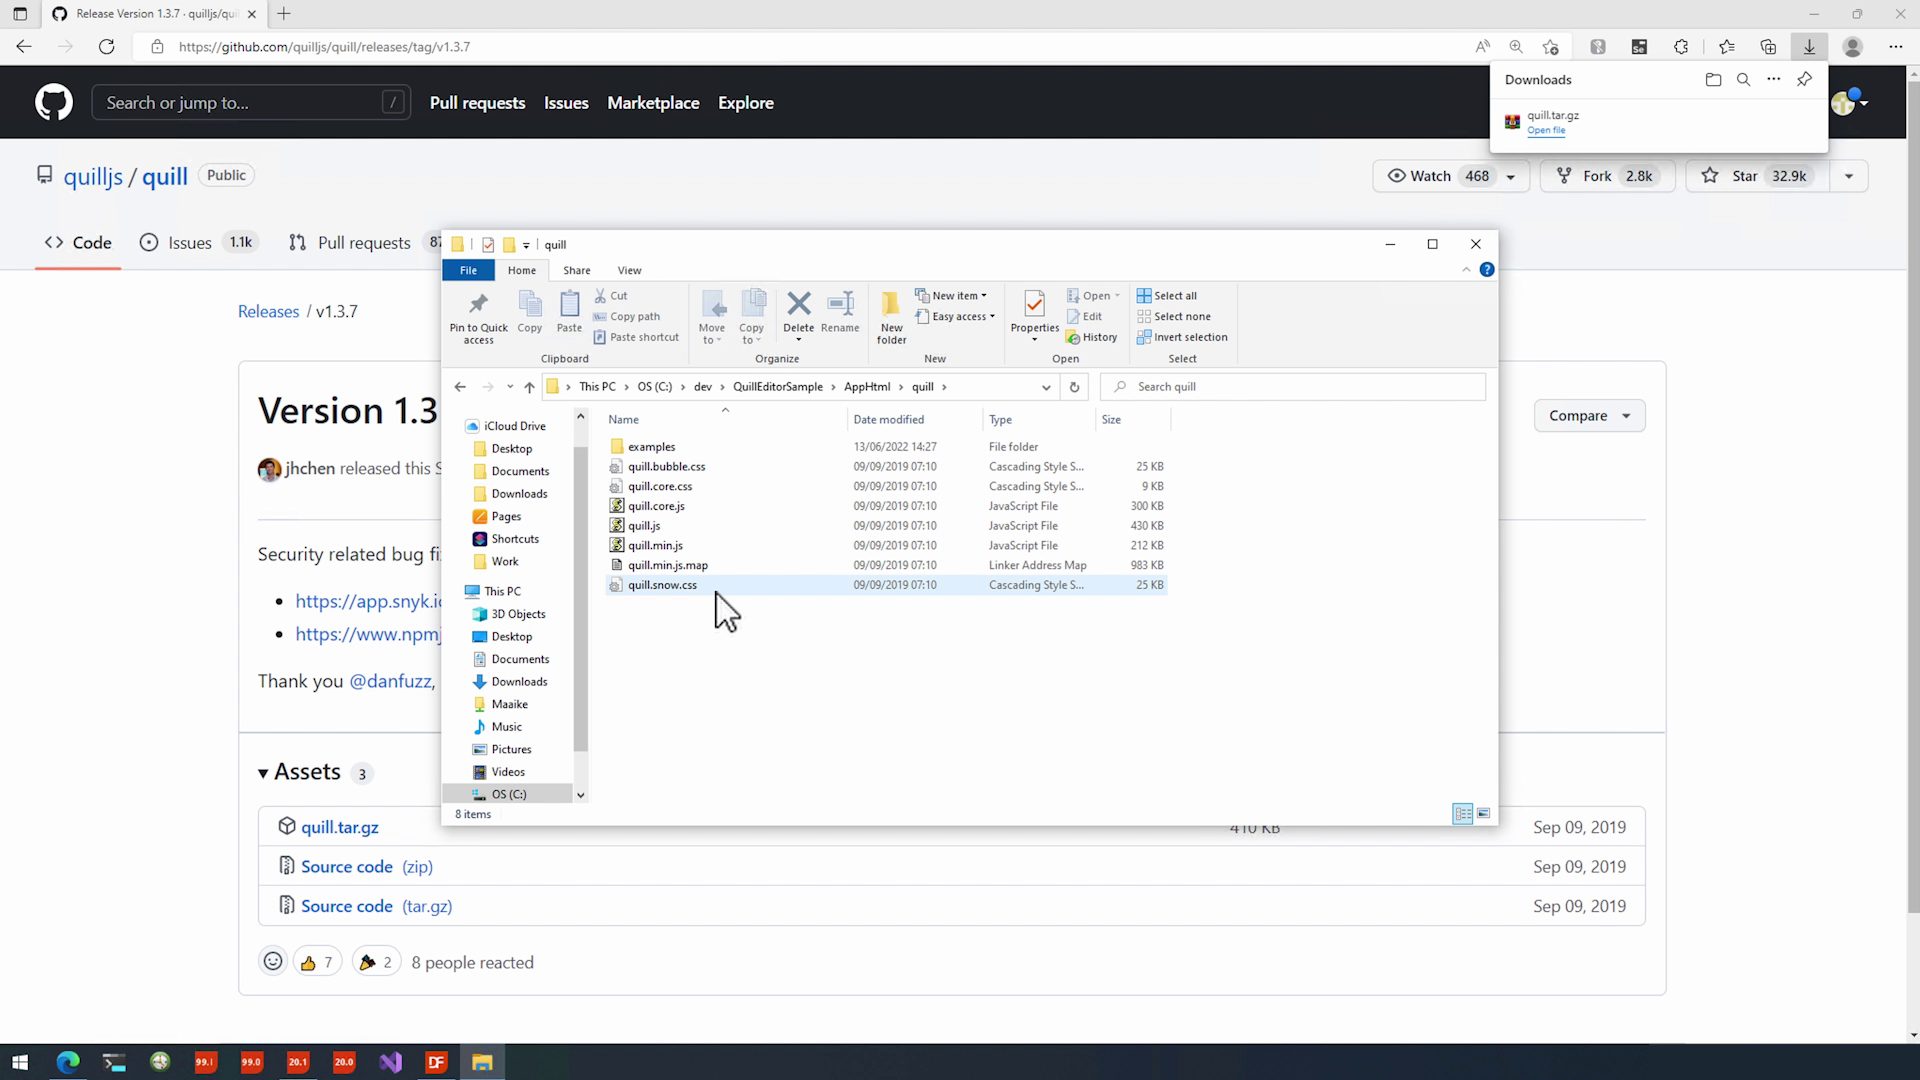
- Now… let me move to our AppHtml directory and as you can see, we have the quill directory with a snow themed css and the minified core which we will need in a second.
- We are going to create a new index.html file. And, open that with Visual Studio Code. Then start off with the HTML5 doctype. And create entities for the header and body.
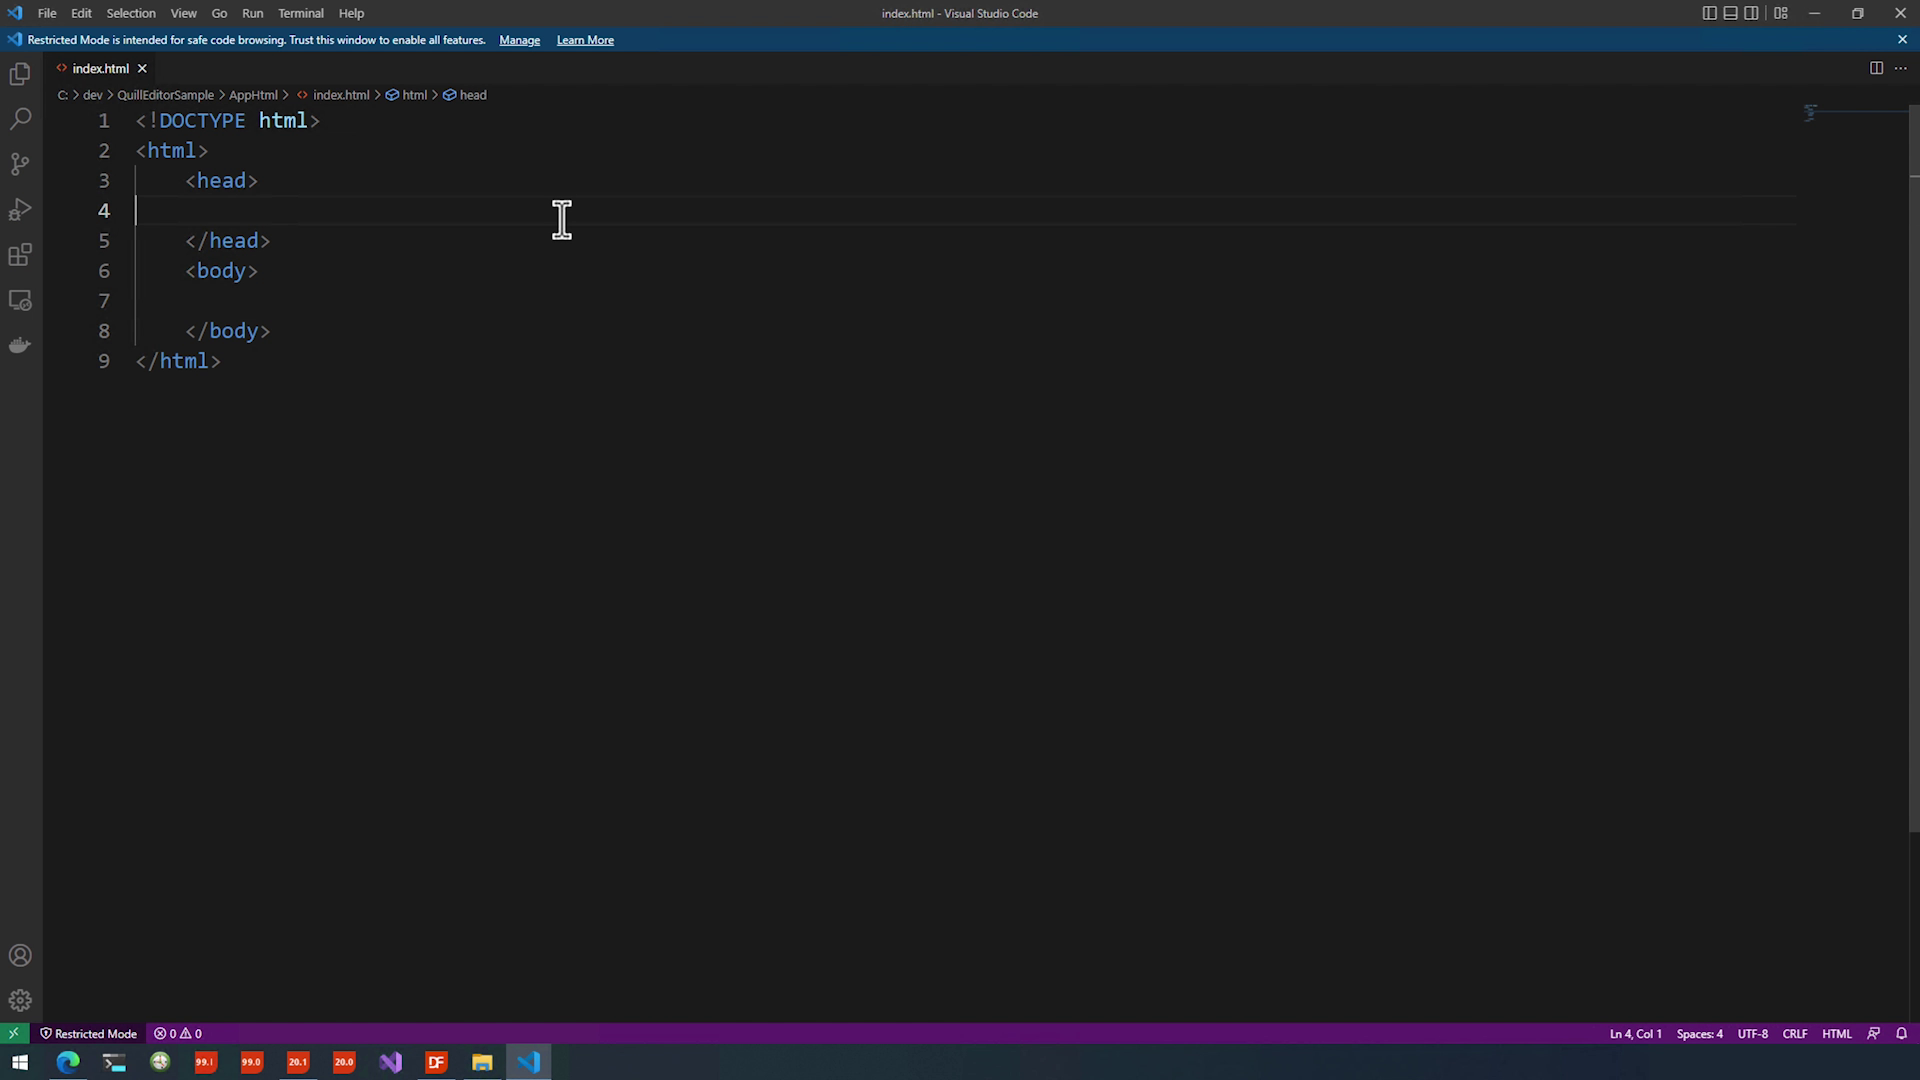
- Then we’ll add the snow themed css entry using a link stylesheet. And, we’ll need to add the minified-version of quill.js.

Adding Class
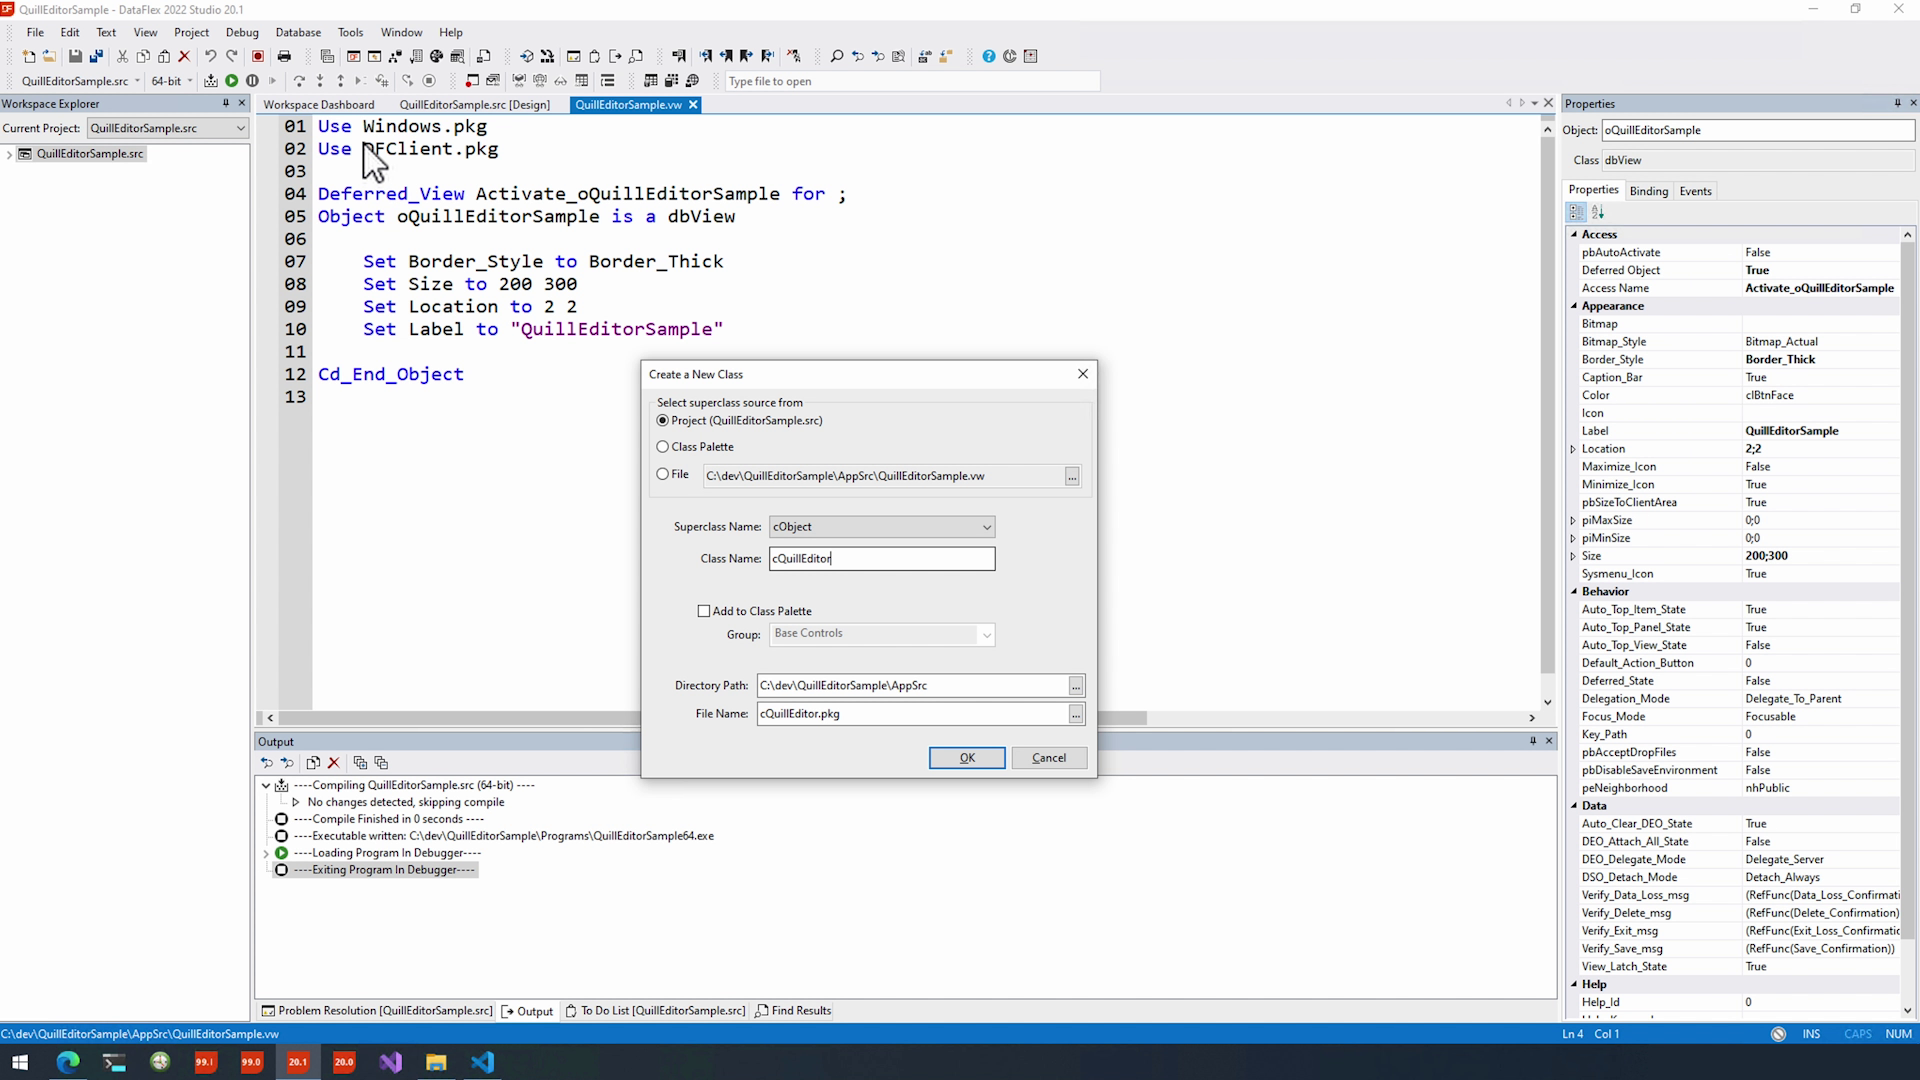
- Now we are going to create a new class for our QuillEditor control. So, first I’ll stop debugging our application…
- And… start of by creating our new class, for now based of the cObject superclass. And, we’ll name it ‘cQuillEditor’.
- Change that ‘Use UI’ to ‘Use cWebView2Browser’ and let’s copy and paste that to the base class too.
- Lastly, we won’t need that End_Construct_Object so let’s get rid of that.

- Then create a new object, but first include the new QuillEditor package….
- I’ll create a new object, and let’s steal the size for now…
- Going back to the designer, let me change the size… no… I guess we’ll just size it to the container for now.
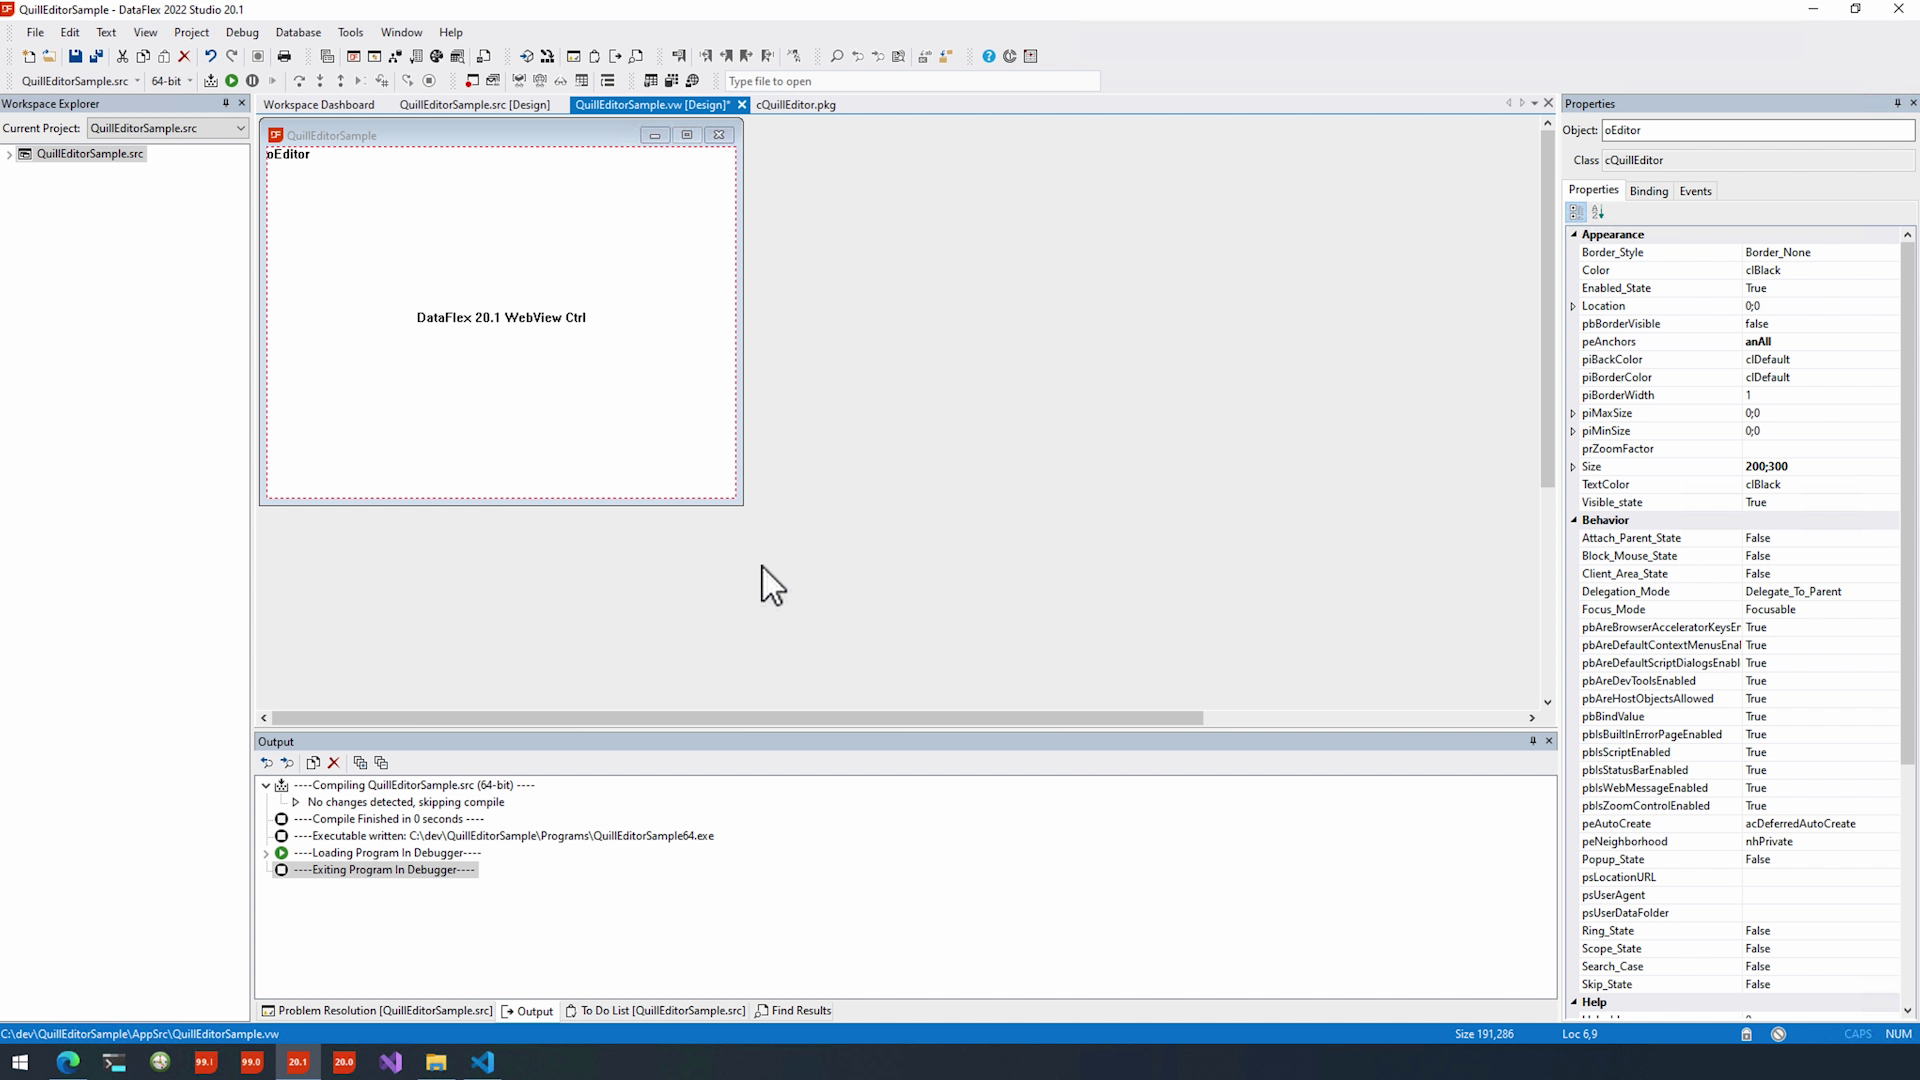
- And… saving that we can now see if I start debugging that literally nothing appeared
- We’ll get into that by the next part so I hope you’ll stay with me.


