Using WebView2 in DataFlex
Lesson 4 - Modifying QuillJS
In the last lesson we made QuillJS appear as it should within our application. Now we might want to add features to it like images and more advanced things like links and such. Let’s jump back to our cQuillEditor class.
DEMONSTRATION
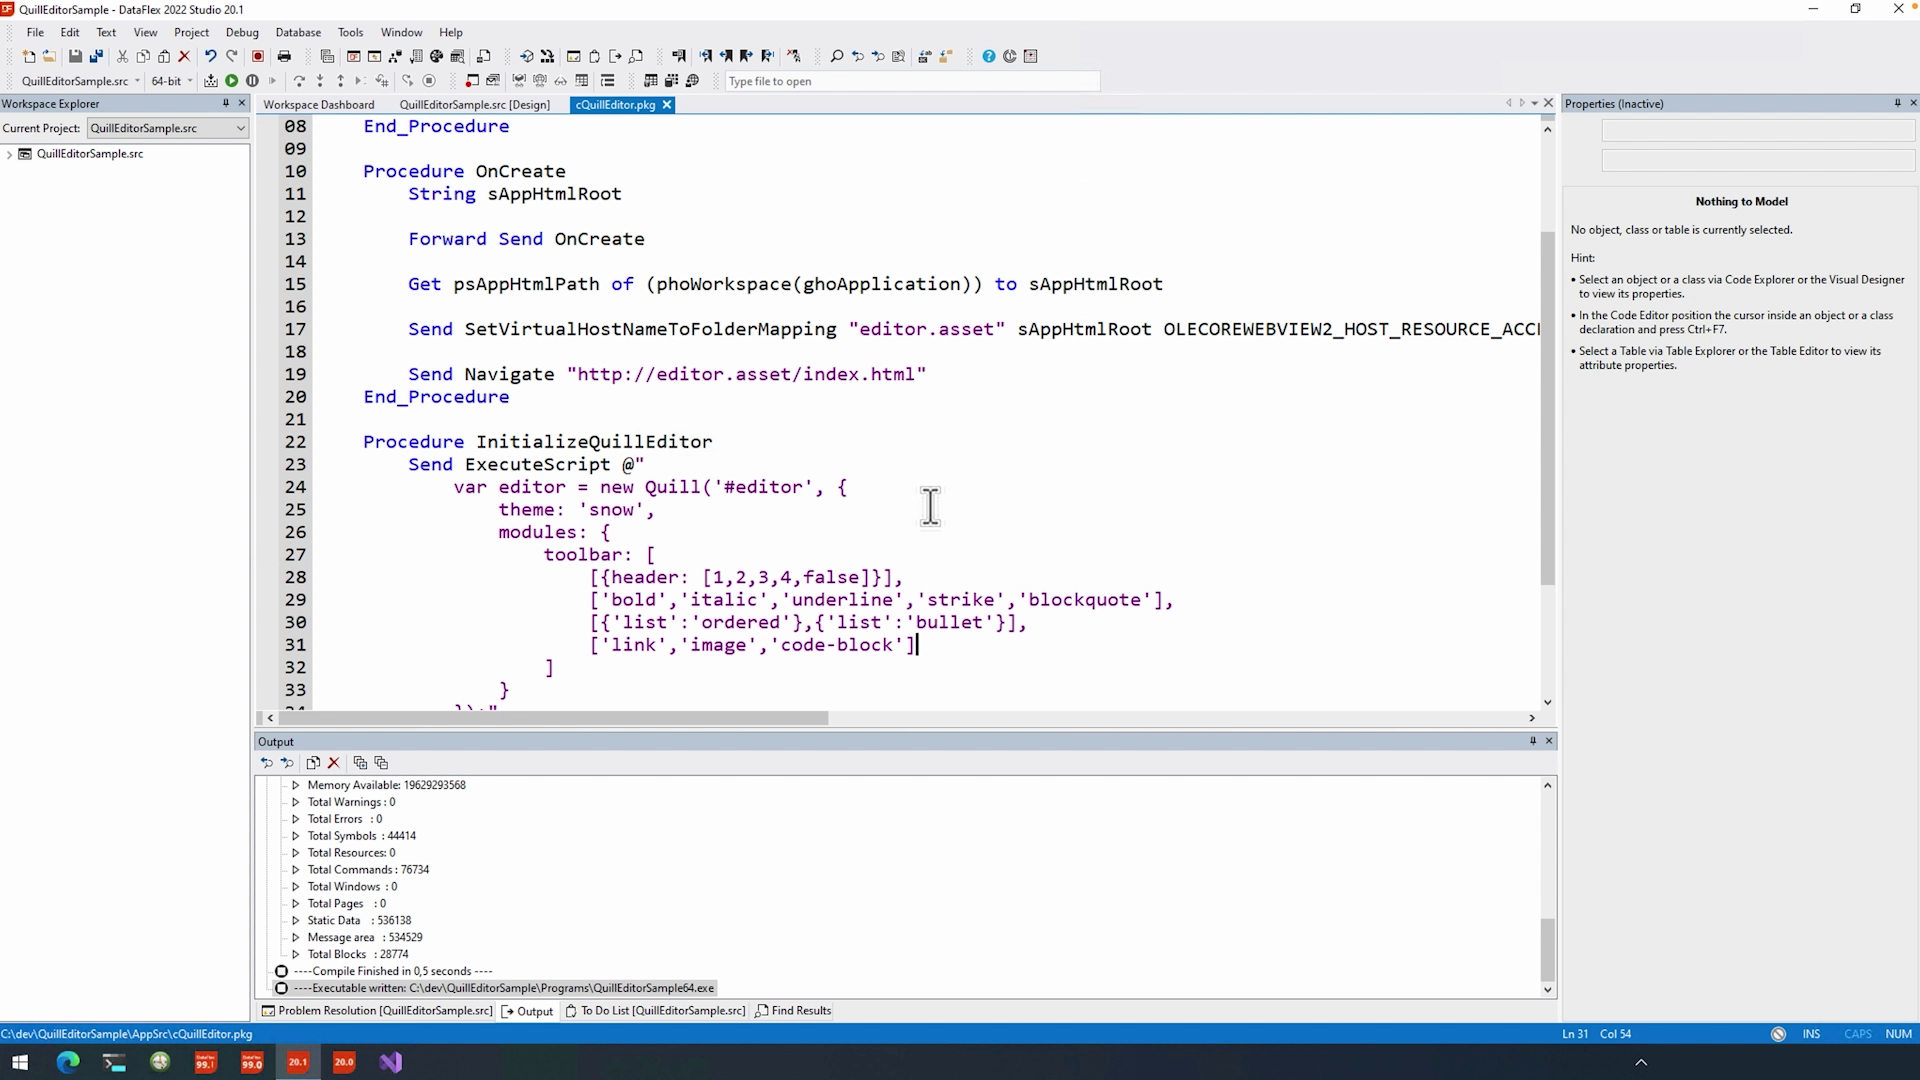
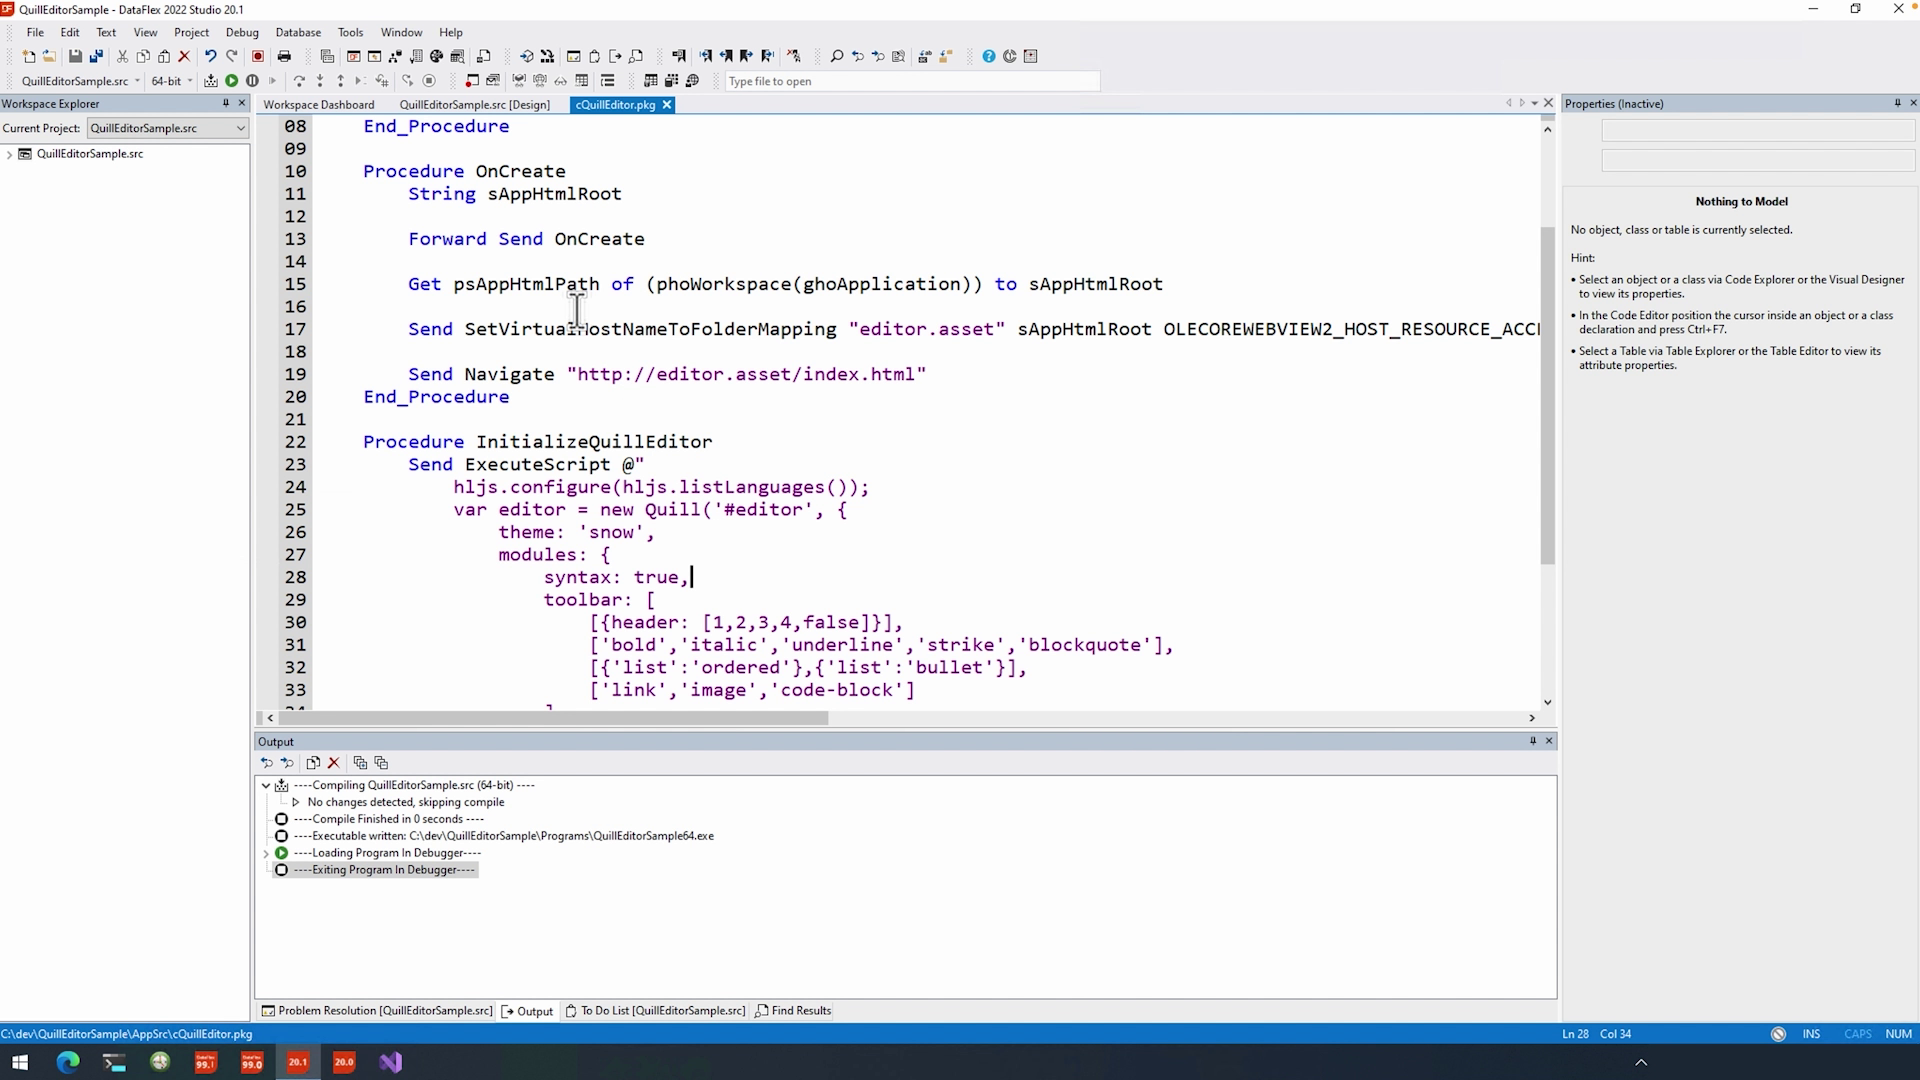
- If we look at the InitializeQuill Procedure you can imagine we can add more than just the theme. If we want to add features we have to use the modules object like this:
var editor = new Quill('#editor', {
modules: {
toolbar: [
]
},
theme: 'snow'
});"
- Then the thing that we want to change is our toolbar. So create a toolbar entry which is of the type array. You can look these things up in QuillJS’s documentation too.
- First we want Headers so add that:
[{ header: [1,2,3,4,false] }],
- False in this sense means no header size.
- Then some styling like bolding and italic:
['bold', 'italic', 'underline','strike', 'blockquote'],
- I’ll also add some more.
- We can also have lists; one being ordered and the other with bullets.
[{'list': 'ordered'}, {'list': 'bullet'}],
- Lastly the we can add links, and the most interesting features images, and code blocks.
['link', 'image', 'code-block']
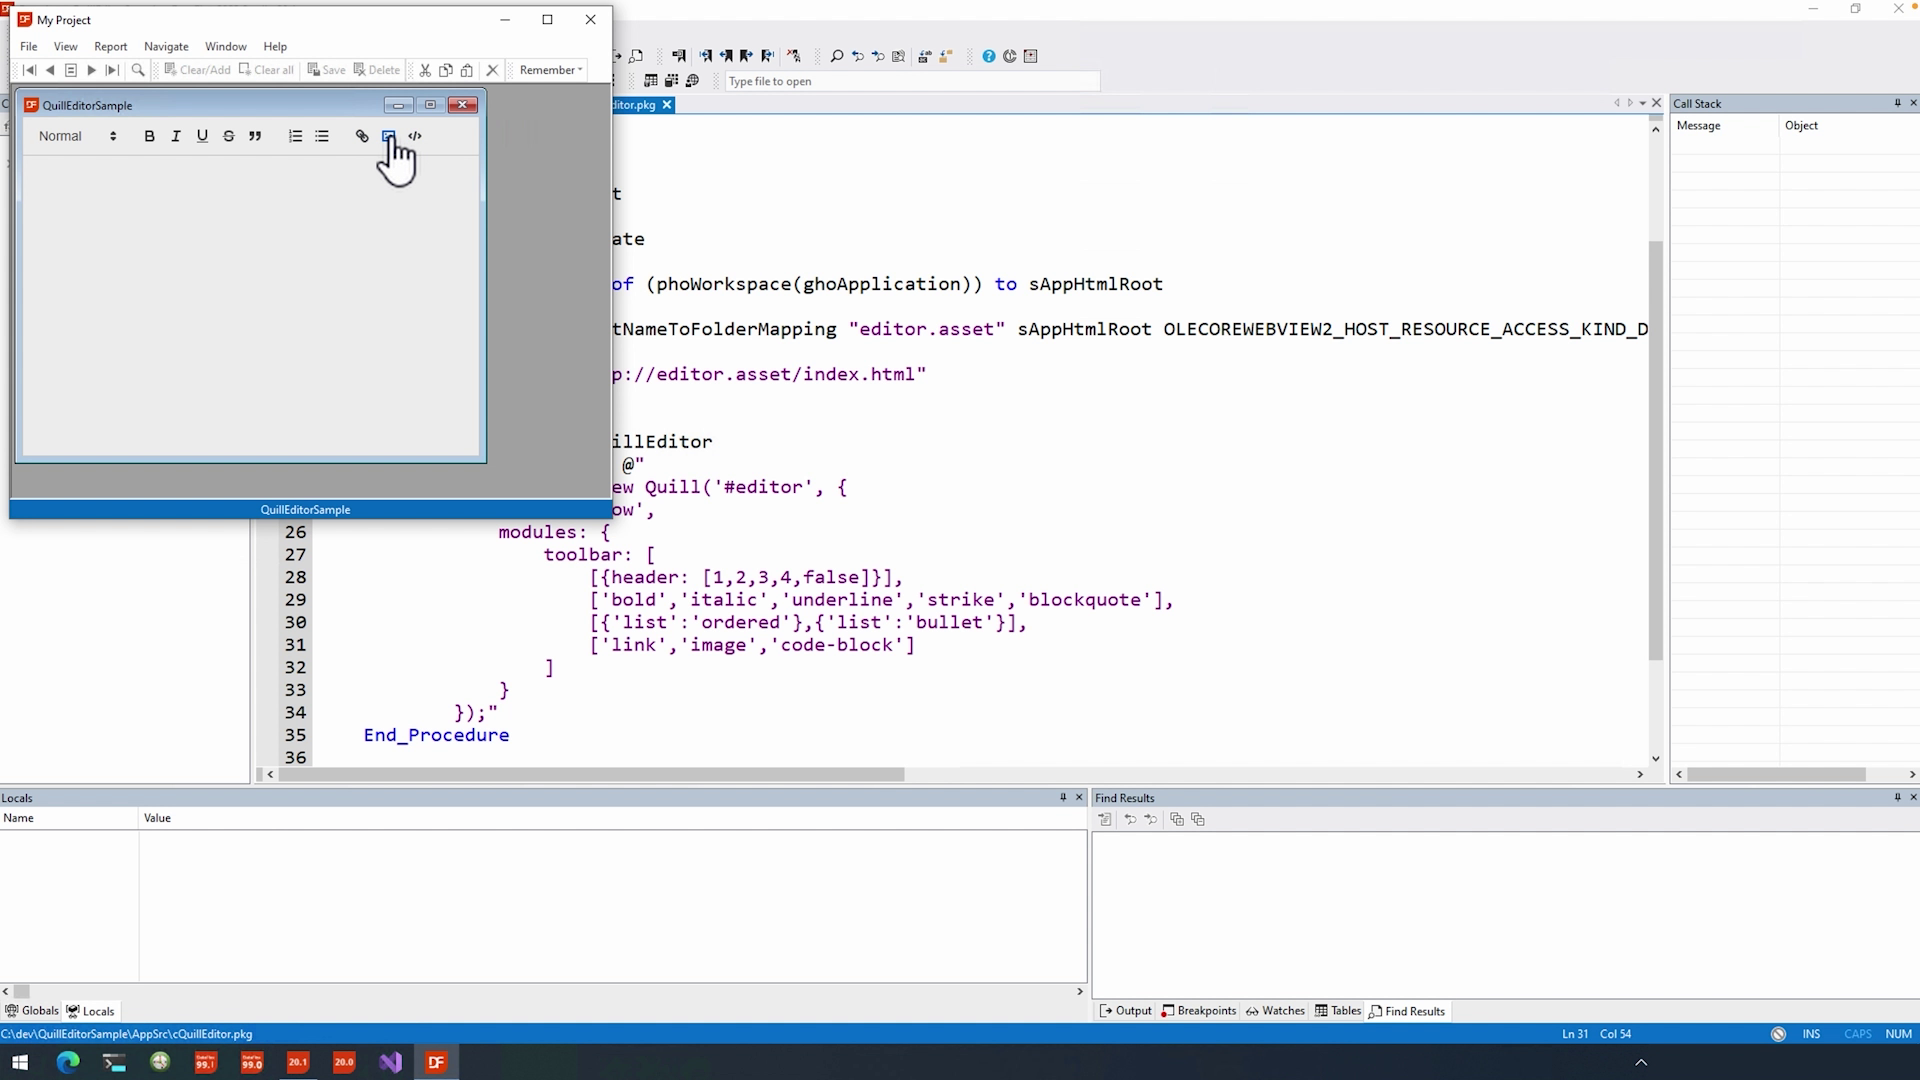
- You can also see that these arrays separately provide the logic for groupings, as you’ll see now when I press the debug button.
- You can see that the groupings appear as they should… If I now add an image, you can see that it appears nicely.
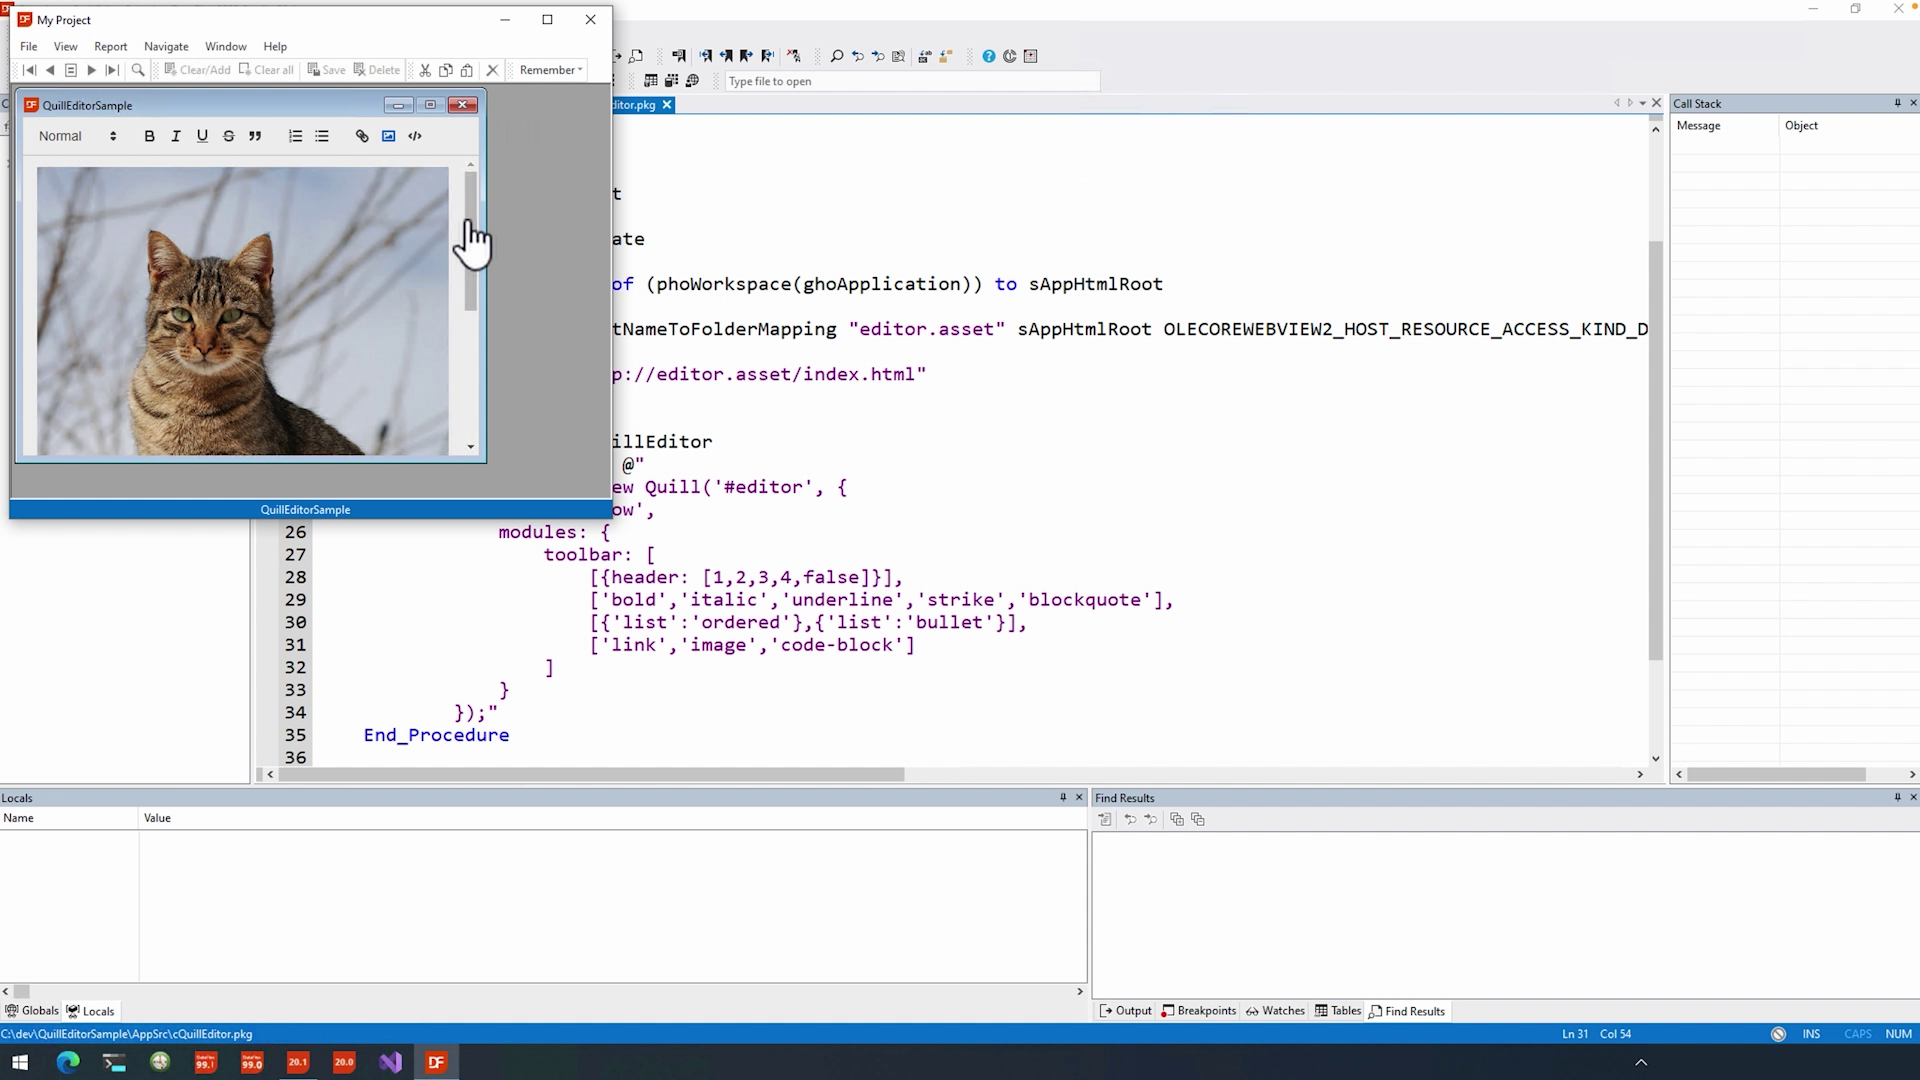
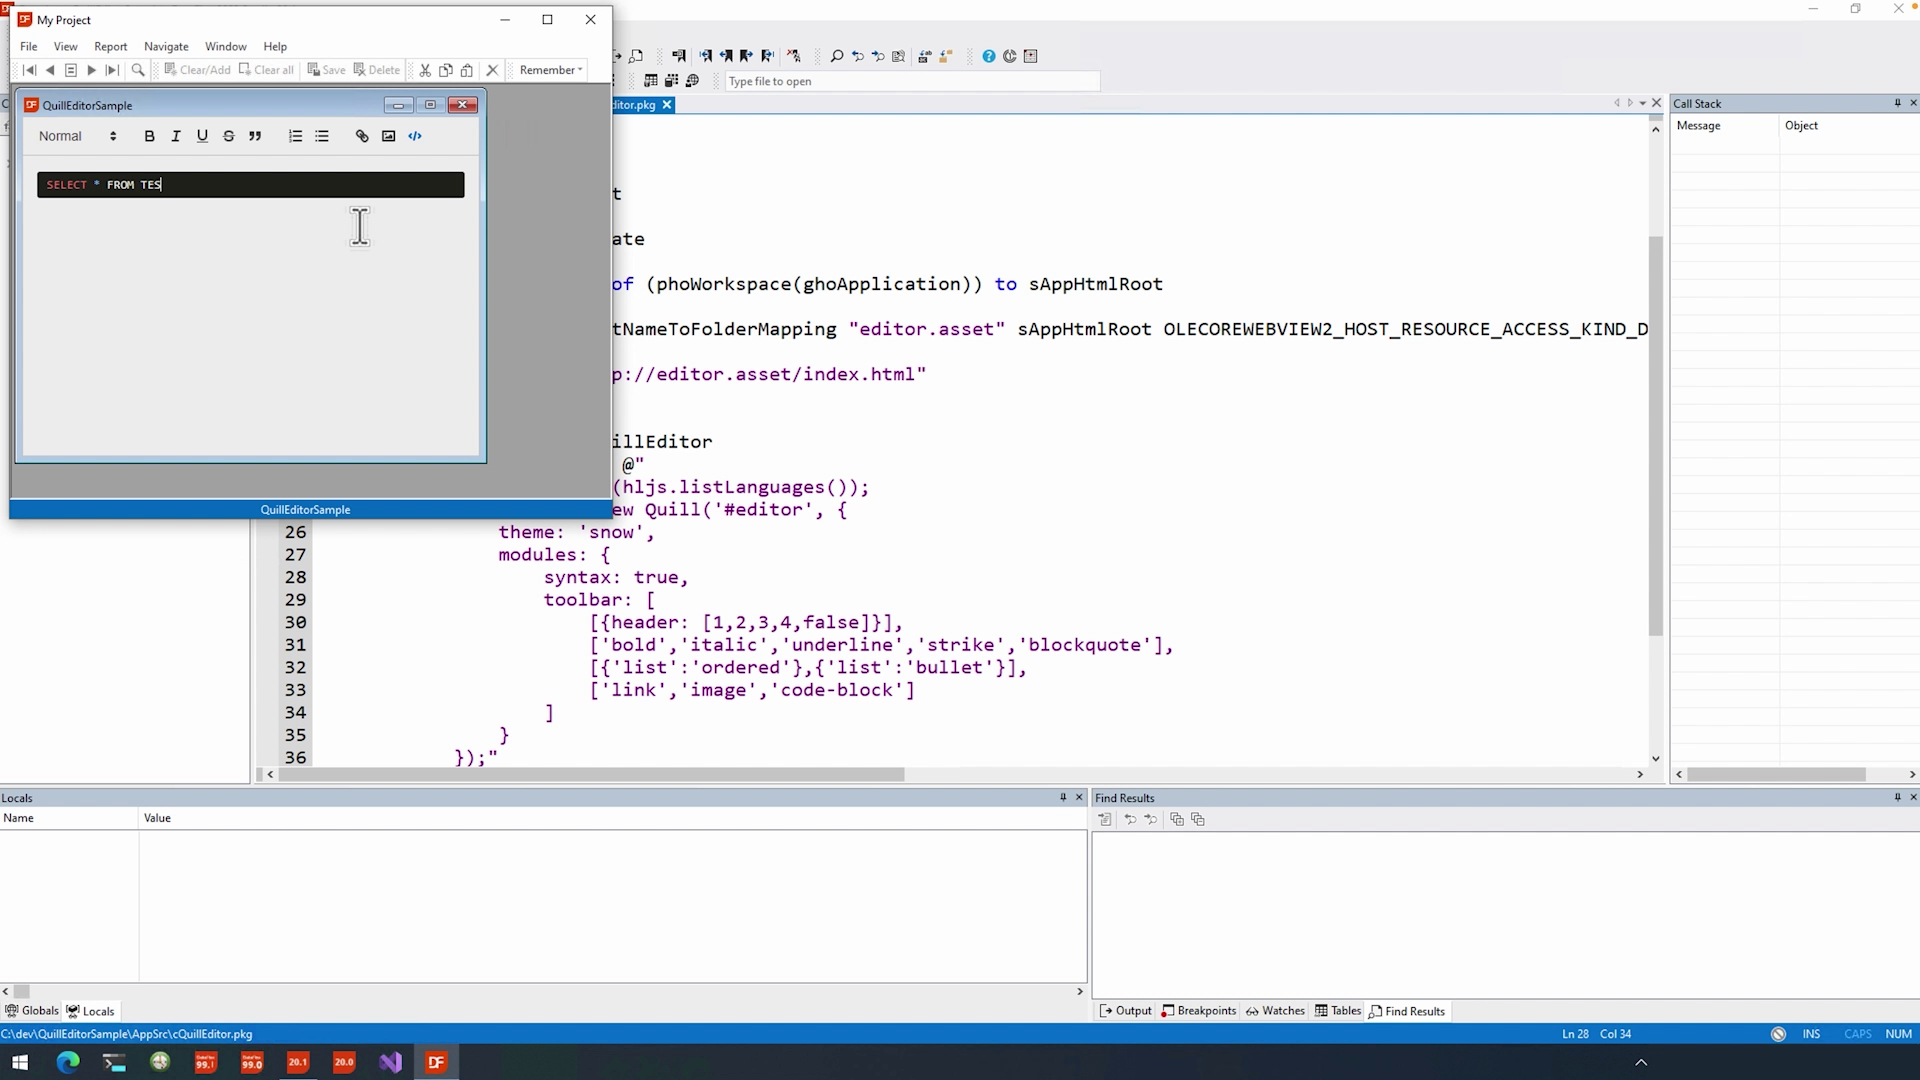
- If I press the code-block button you can see that I create a new field. If I were to type some SQL in here you can see that it is just formatted as text. We are now going to change that.
Code Highlighting
- Let’s open up a web browser and go to highlightjs.org. Press on get version 11.5.1.
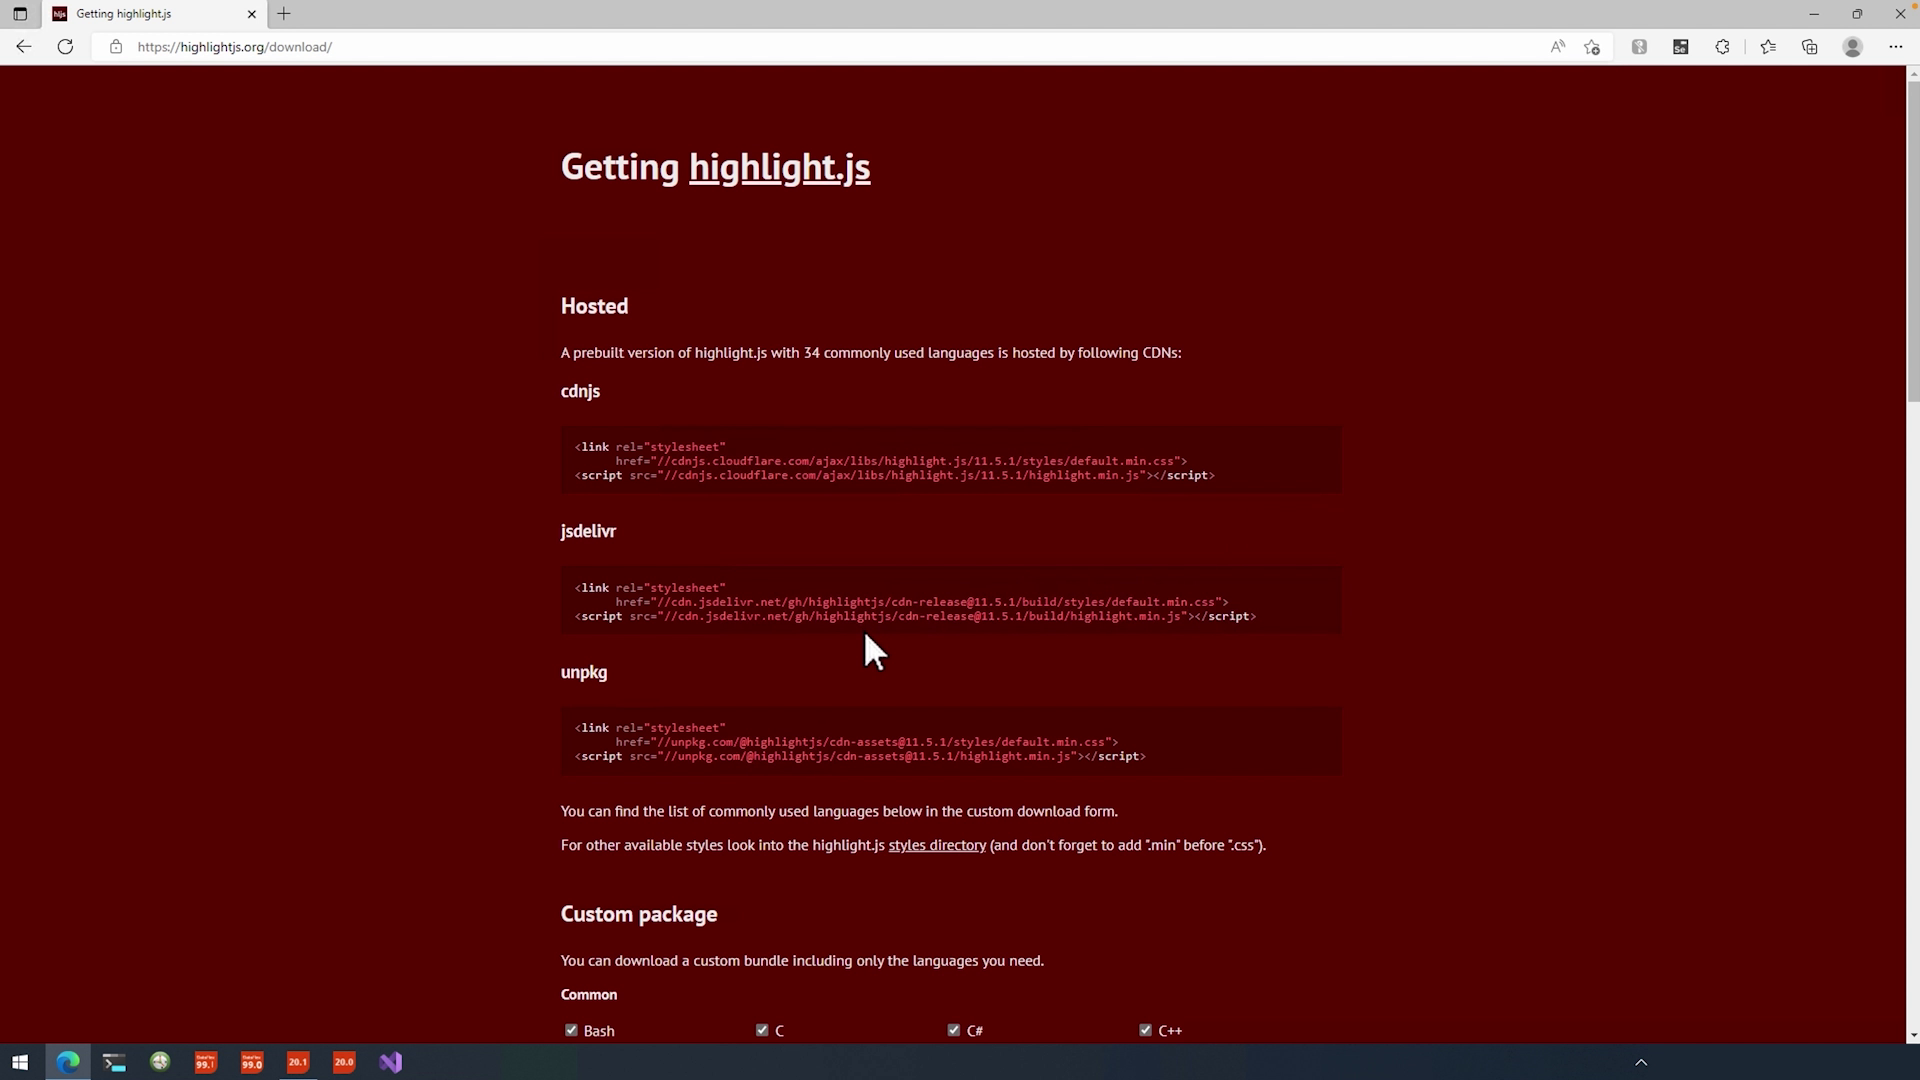
- If we scroll down, you can see that we can select all kinds of languages and then download the package we want.
- Open up an explorer window next to the opened zip window. Going to the AppHtml folder we’ll create a new directory called “highlightjs” and drag&drop the highlight.js and minified versions in there also add the languages directory to that list.
- Then we have to choose a style we want. Go into the style’s directory. I’ll just go for the GitHub dark minified version. So, let’s copy that one in too.
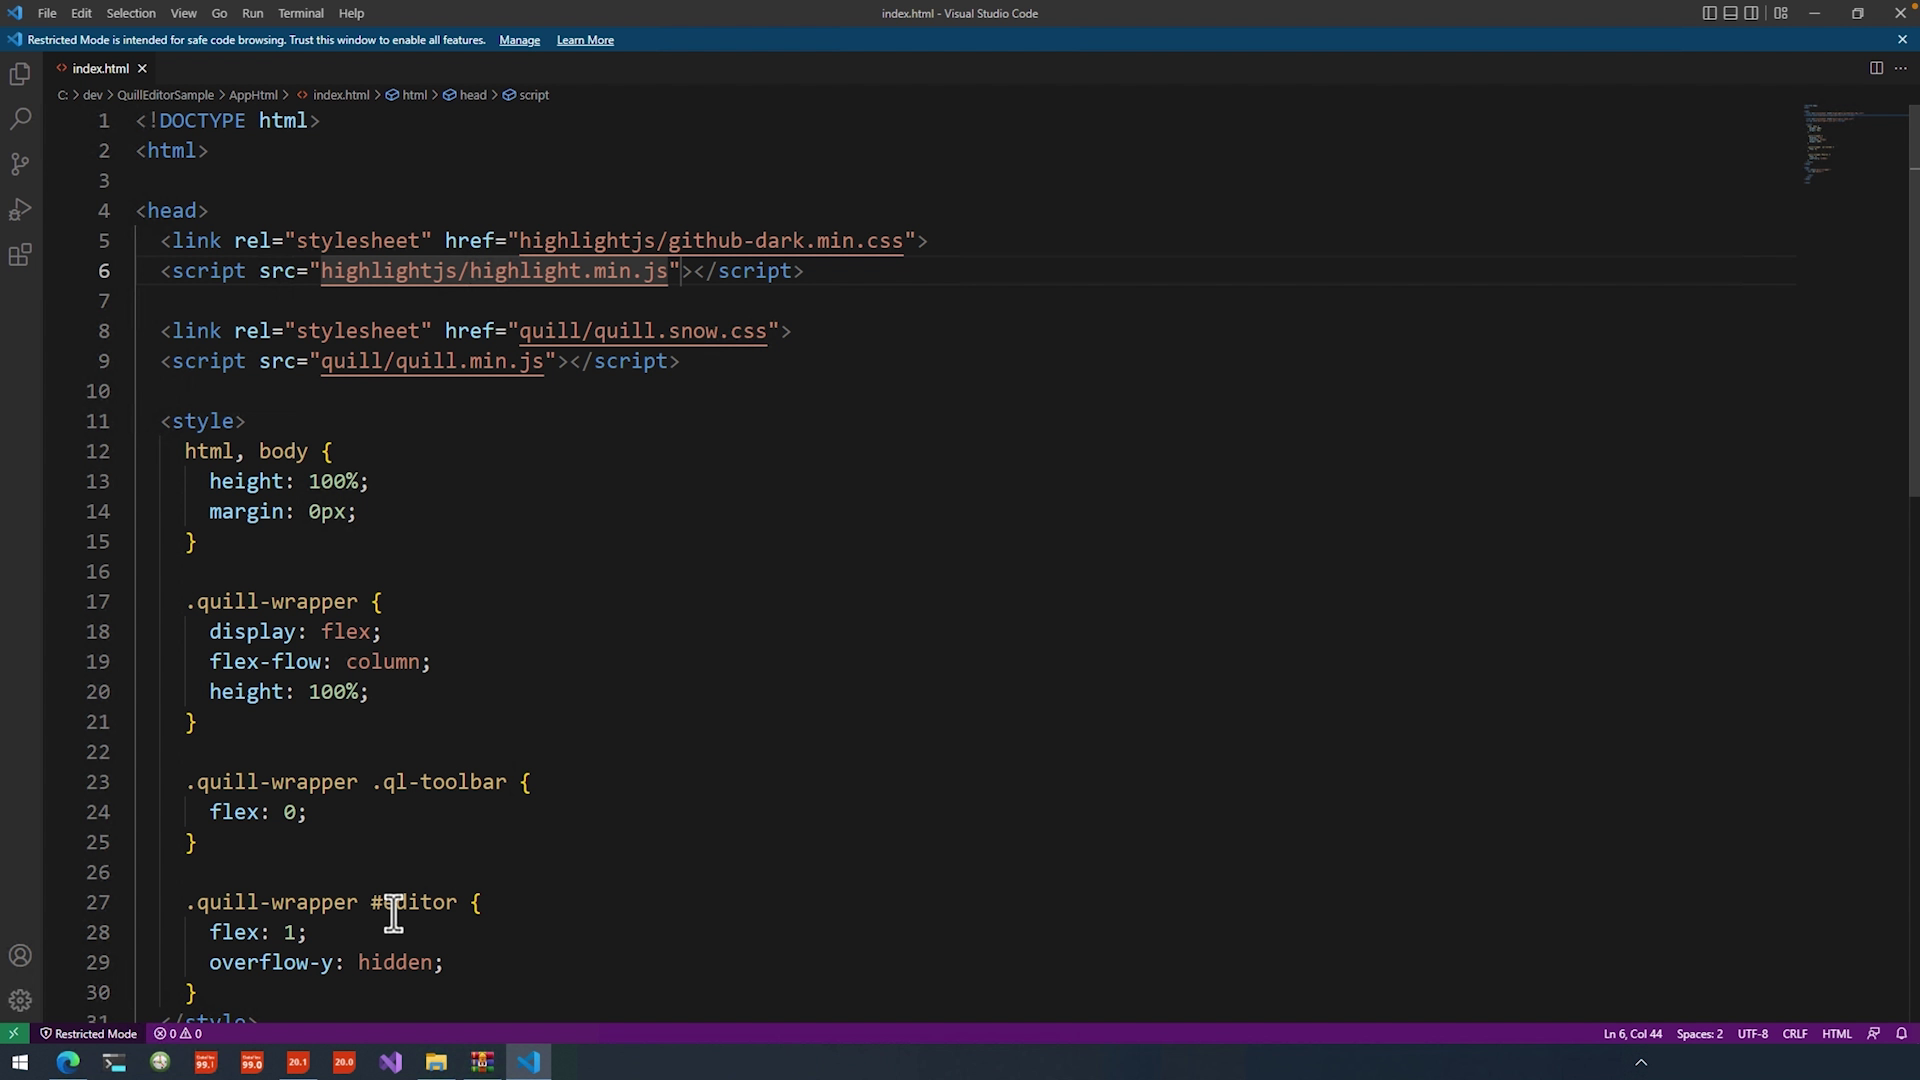
- Now we go up one directory and open up the index.html file again. At the top of the header, we’ll first add the styling sheet just like with QuillJS:
<link rel="stylesheet" href="highlightjs/github-dark.min.css">
- And, then finally the minfied js version:
- <script src="highlightjs/highlight.min.js"></script>
- Now we have to initialize highlightjs with QuillJS so we’ll jump back to our InitializeQuill Procedure.
- First we’ll initialize hightlightjs using hljs.configure. Normally we would have to select all the languages we want but using hljs.listLanguages(); highlightjs will go through the languages directory and find them by itself.
hljs.configure(hljs.listLanguages());
- To then make the connection to QuillJS we will just have to set the syntax module to true:
modules: {
syntax: true,
- And that’s it. Press the debug button again and if I now create a code-block… and type a select statement… within seconds it will highlight my code.
- You can image extending the editor with many more features that you might find online in most cases just as simple as this one.
- In the next lesson we’ll finally start communicating with DataFlex, stay tuned!


