Using WebView2 in DataFlex
Lesson 3 - Making QuillJS show up
Welcome back to the learning center, last time I showed you how we prepared our workspace for the QuillJSEditor by downloading QuillJS and setting up an index.html file. The last thing we did was adding a new class named the cQuillEditor and we’ll go on from here.
In this lesson I am going to show you how to make QuillJS show up and do some styling to make it a bit more adaptable for our current Windows environment.
DEMONSTRATION
- First off, we are going to abstract the OnCreate of WebView2.
- We’ll need to create a new stack variable named sAppHtmlRoot as we are going to use that later.
Procedure OnCreate
String sAppHtmlRoot
- Then we are going to forward send the OnCreate to make WebView2 do what it needs under the hood.
Forward Send OnCreate
- And, then we are going to get the psAppHtmlPath to that variable we just created where we stored the QuillJS web files.
Get psAppHtmlPath of (phoWorkspace(ghoApplication)) to sAppHtmlRoot
- Then what we are going to need to do is set a virtual host mapping and I’ll explain what this means in a second. (read out the code).
Send SetVirtualHostNameToFolderMapping "editor.asset" sAppHtmlRoot OLECOREWEBVIEW2_HOST_RESOURCE_ACCESS_KIND_DENY_CORS
- (explain) next to some nodes.
- Now that we have this added mapping, we are going to navigate to that mapping using the Navigate Procedure like this:
Send Navigate "http://editor.asset/index.html"
End_Procedure
- If all is well you should still see nothing, funny enough.
- To fix that I am going to create a new procedure called ‘InitializeQuillEditor’.
Procedure InitializeQuillEditor
- Then I am going call ExecuteScript, and what this is going to do is it’s going to execute inline JavaScript that we type here within that WebView2 instance. Whilst it is not the best performing way, using this function your application has almost full JavaScript control except for the downloaded QuillJS files.
- Let’s map the editor-id’ed div to the editor and show it with the preinstalled ‘snow’ theme.
Send ExecuteScript @"
var editor = new Quill('#editor', {
theme: 'snow'
});"
End_Procedure
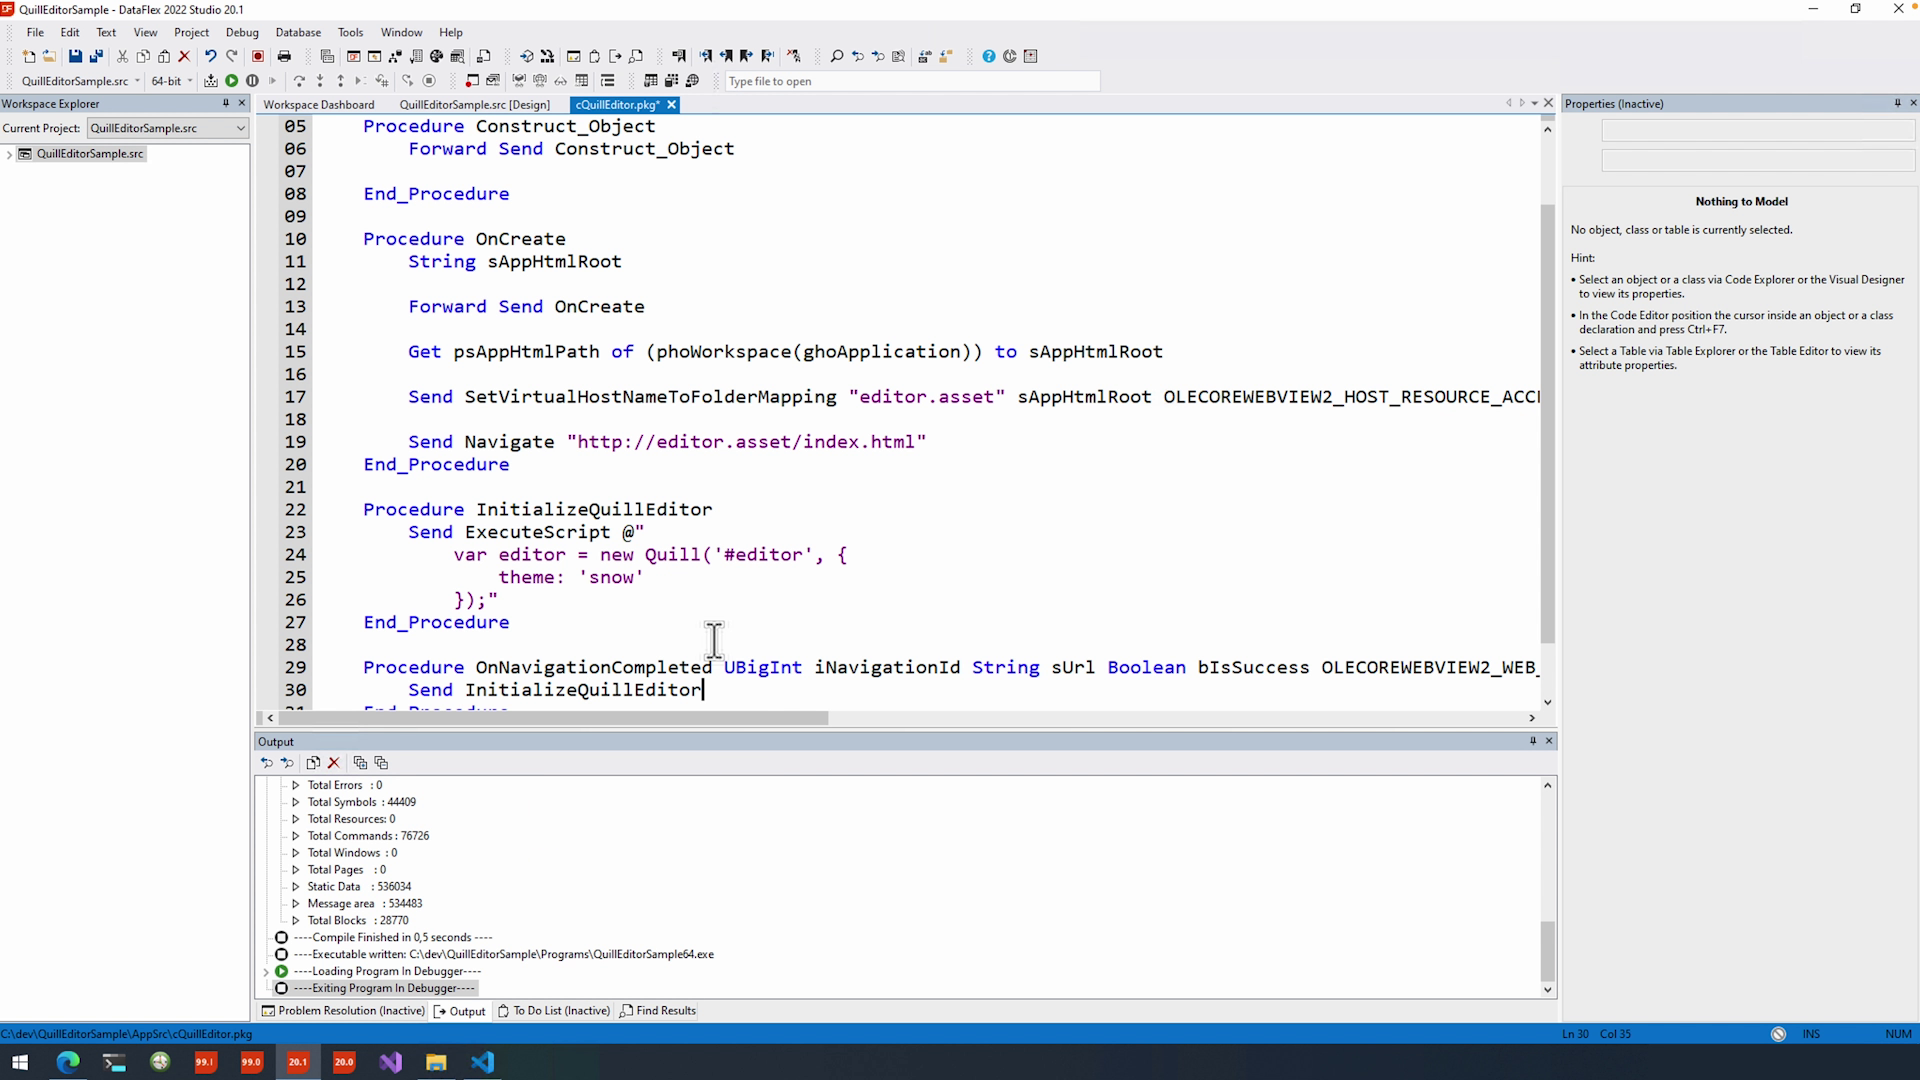
- Lastly to make it all work, I am going to abstract the ‘OnNavigationCompleted’, which is called after it loaded the index.html file and then initialize quill using a call to the ‘InitializeQuillInstance’-procedure.
- Procedure OnNavigationCompleted UBigInt iNavigationId String sUrl Boolean bIsSuccess OLECOREWEBVIEW2_WEB_ERROR_STATUS eWebErrorStatus
Send InitializeQuillInstance
End_Procedure
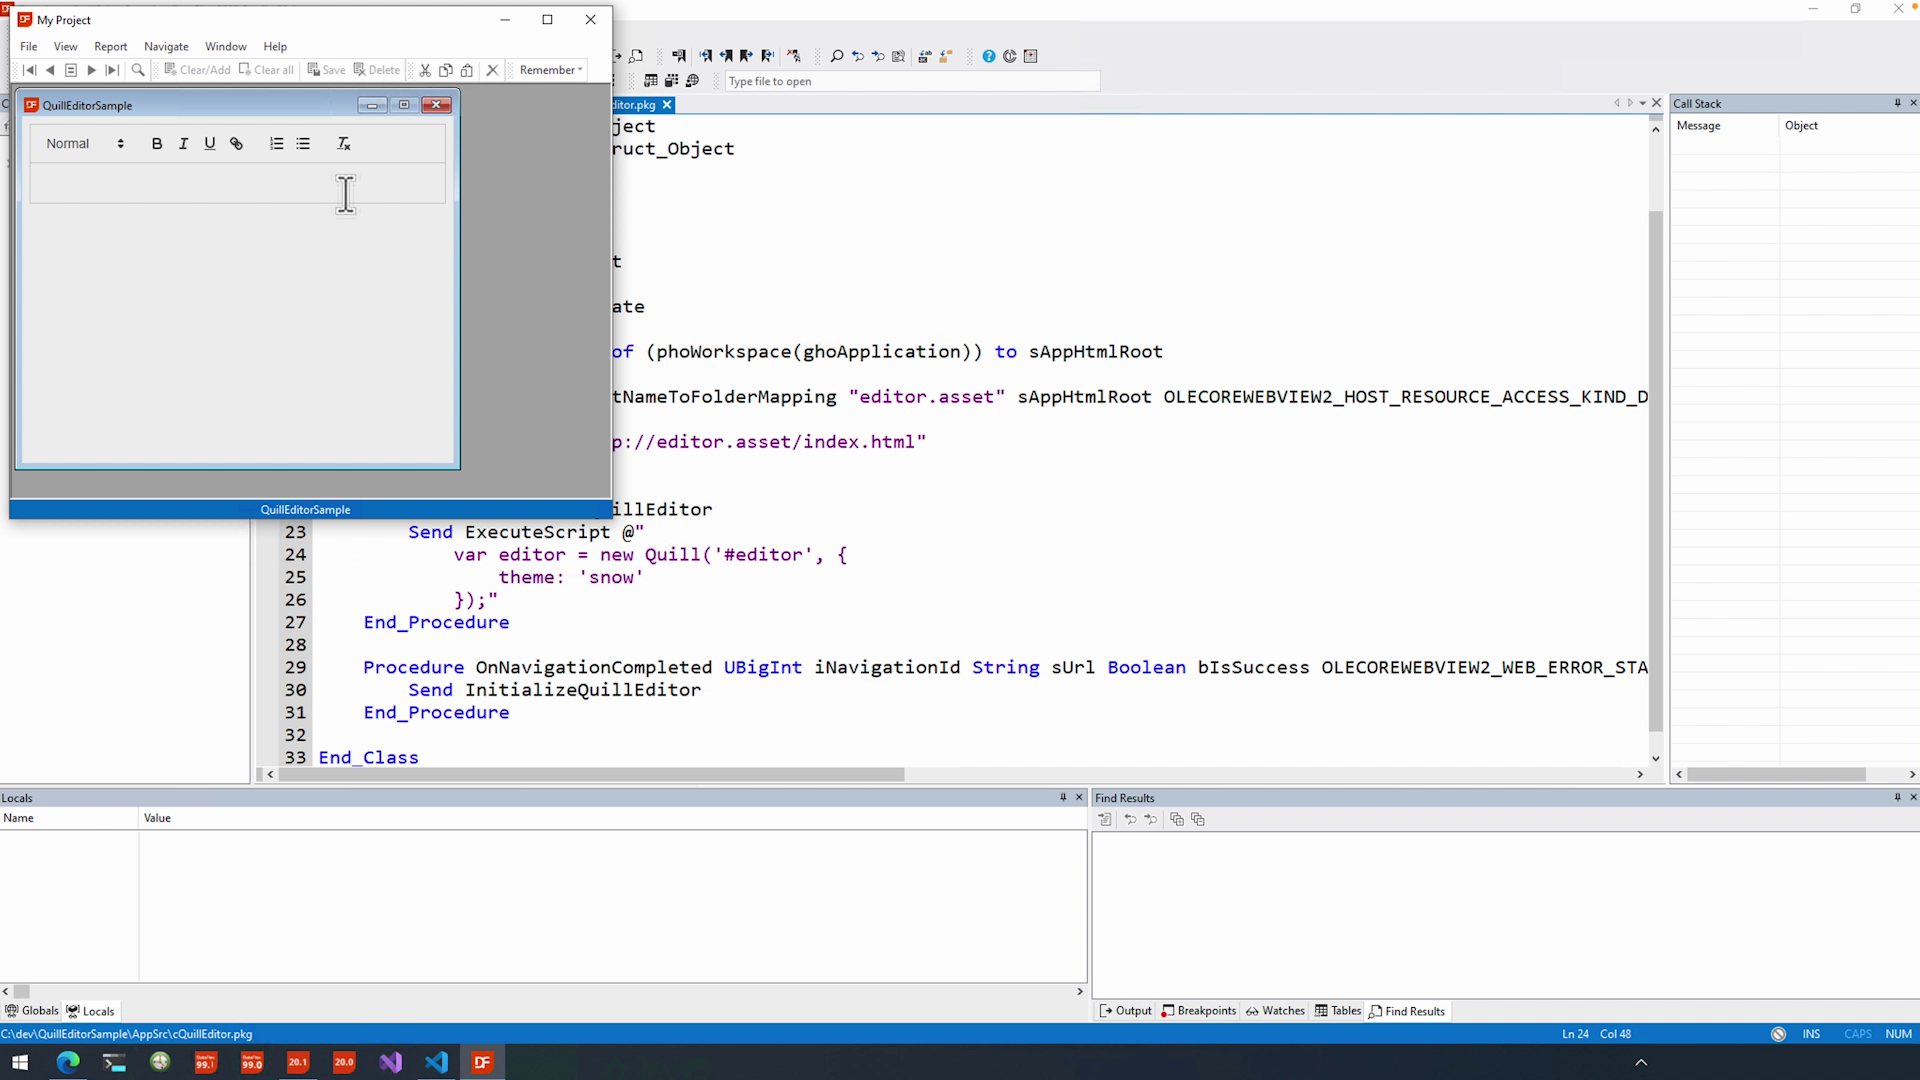
- And, that seems to work. We finally have Quill showing up in our application.
Styling
- Now that we have an editor, we are going to have to apply some styling. This will allow the editor to scale well with the Windows WebView2 control.
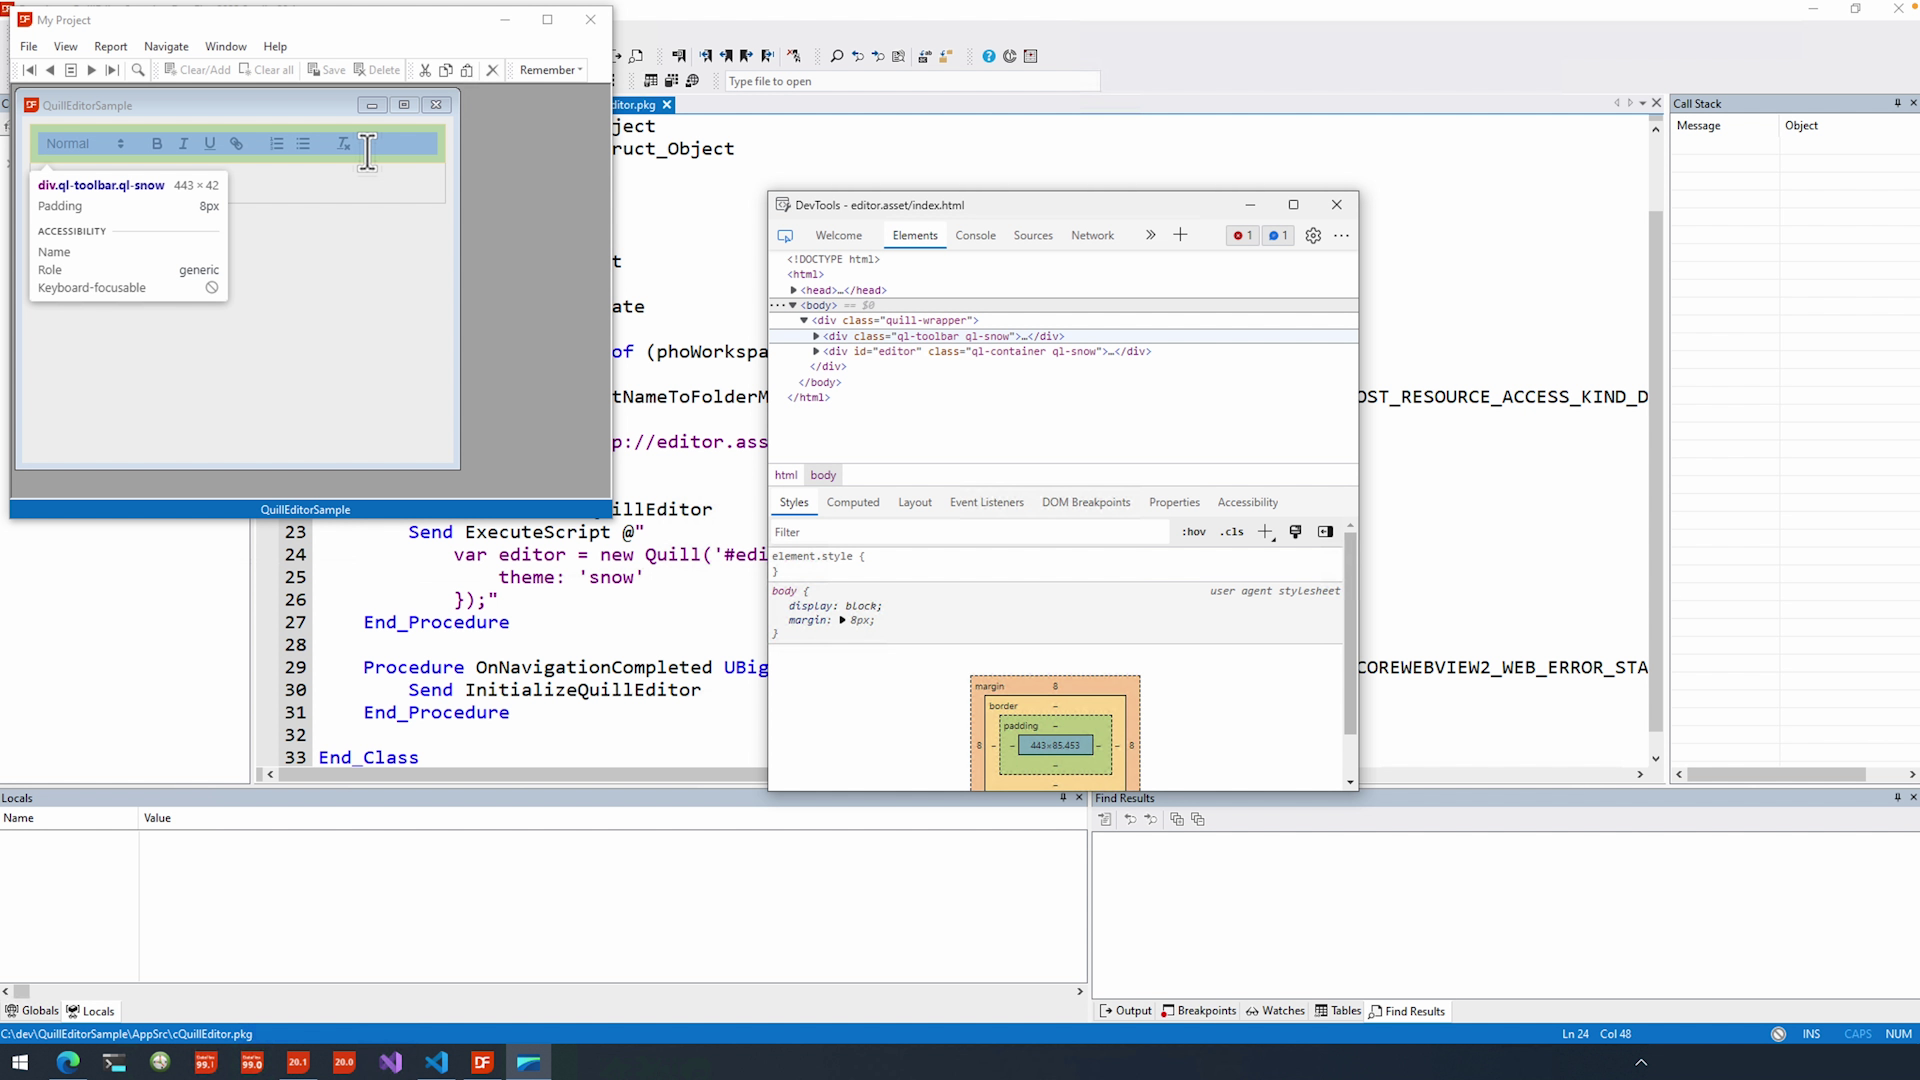
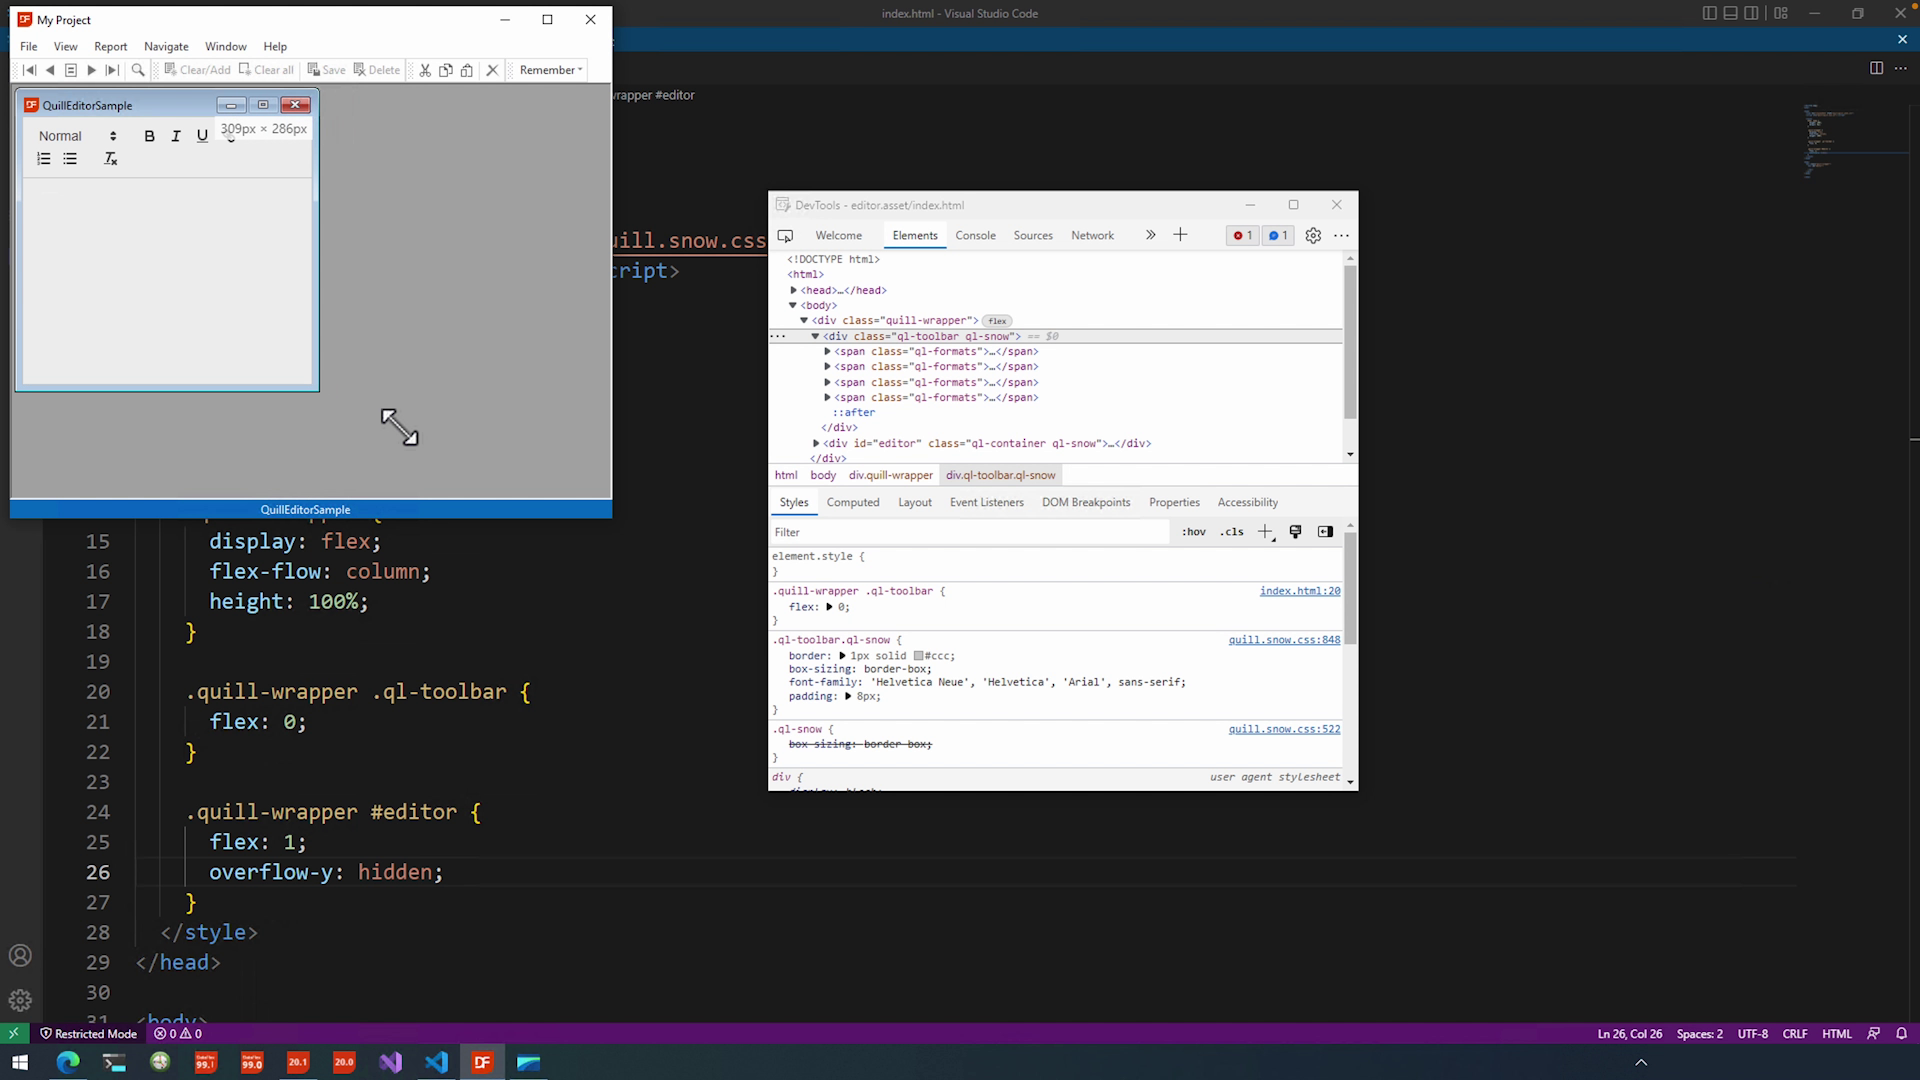
- If we right click on the editor, you can see we have our “Inspect” button like in a browser, which will open the developer tools for us. First, we have our toolbar which is located inside our quill-wrapper div. As you can see it has the “.ql-toolbar” class that we will need later.
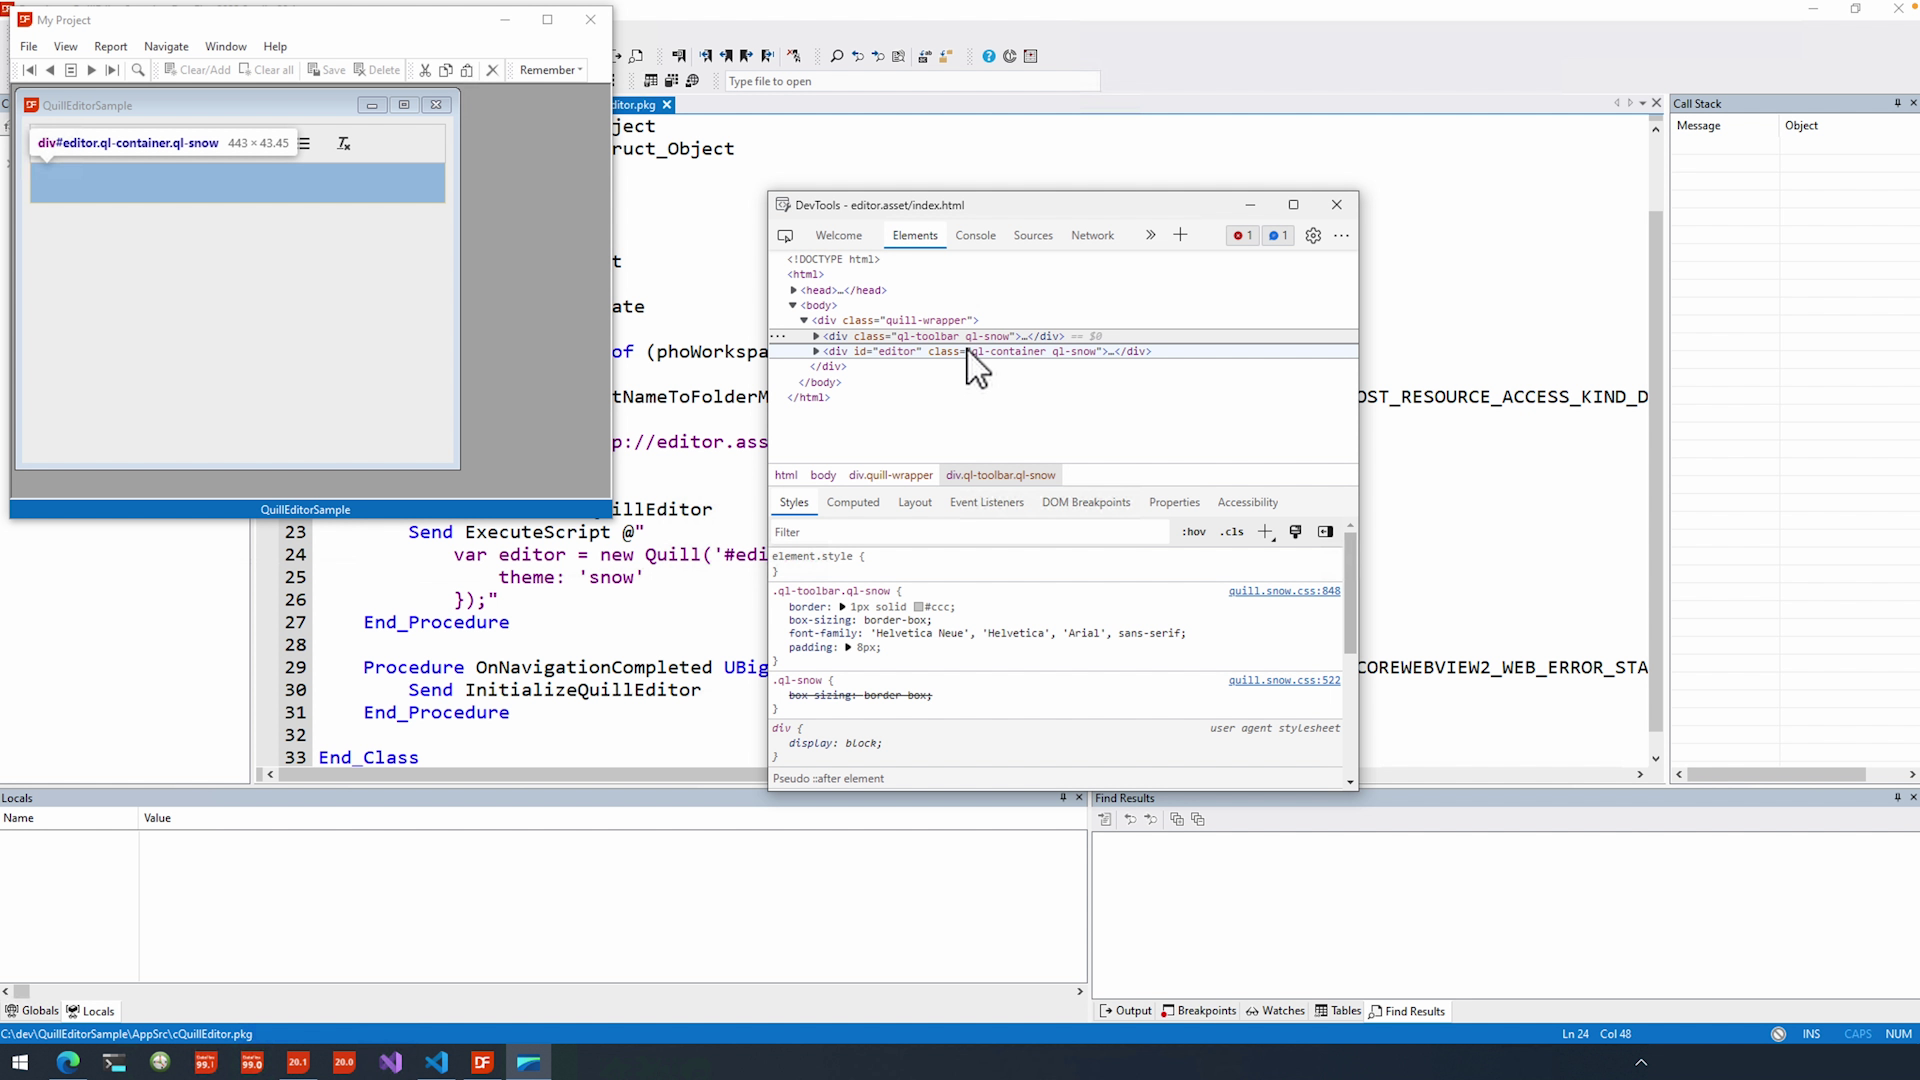
- Secondly we have our “#editor” div which will contain text and images.
- For this we will need to apply some CSS so let’s open the index.html again in our AppHtml directory.
- First, we’ll add a style-tag which will let us write CSS in the html file. We have to make Quill scale to the full size of the view. To do this we will make use of the CSS classes using the dot-notation.
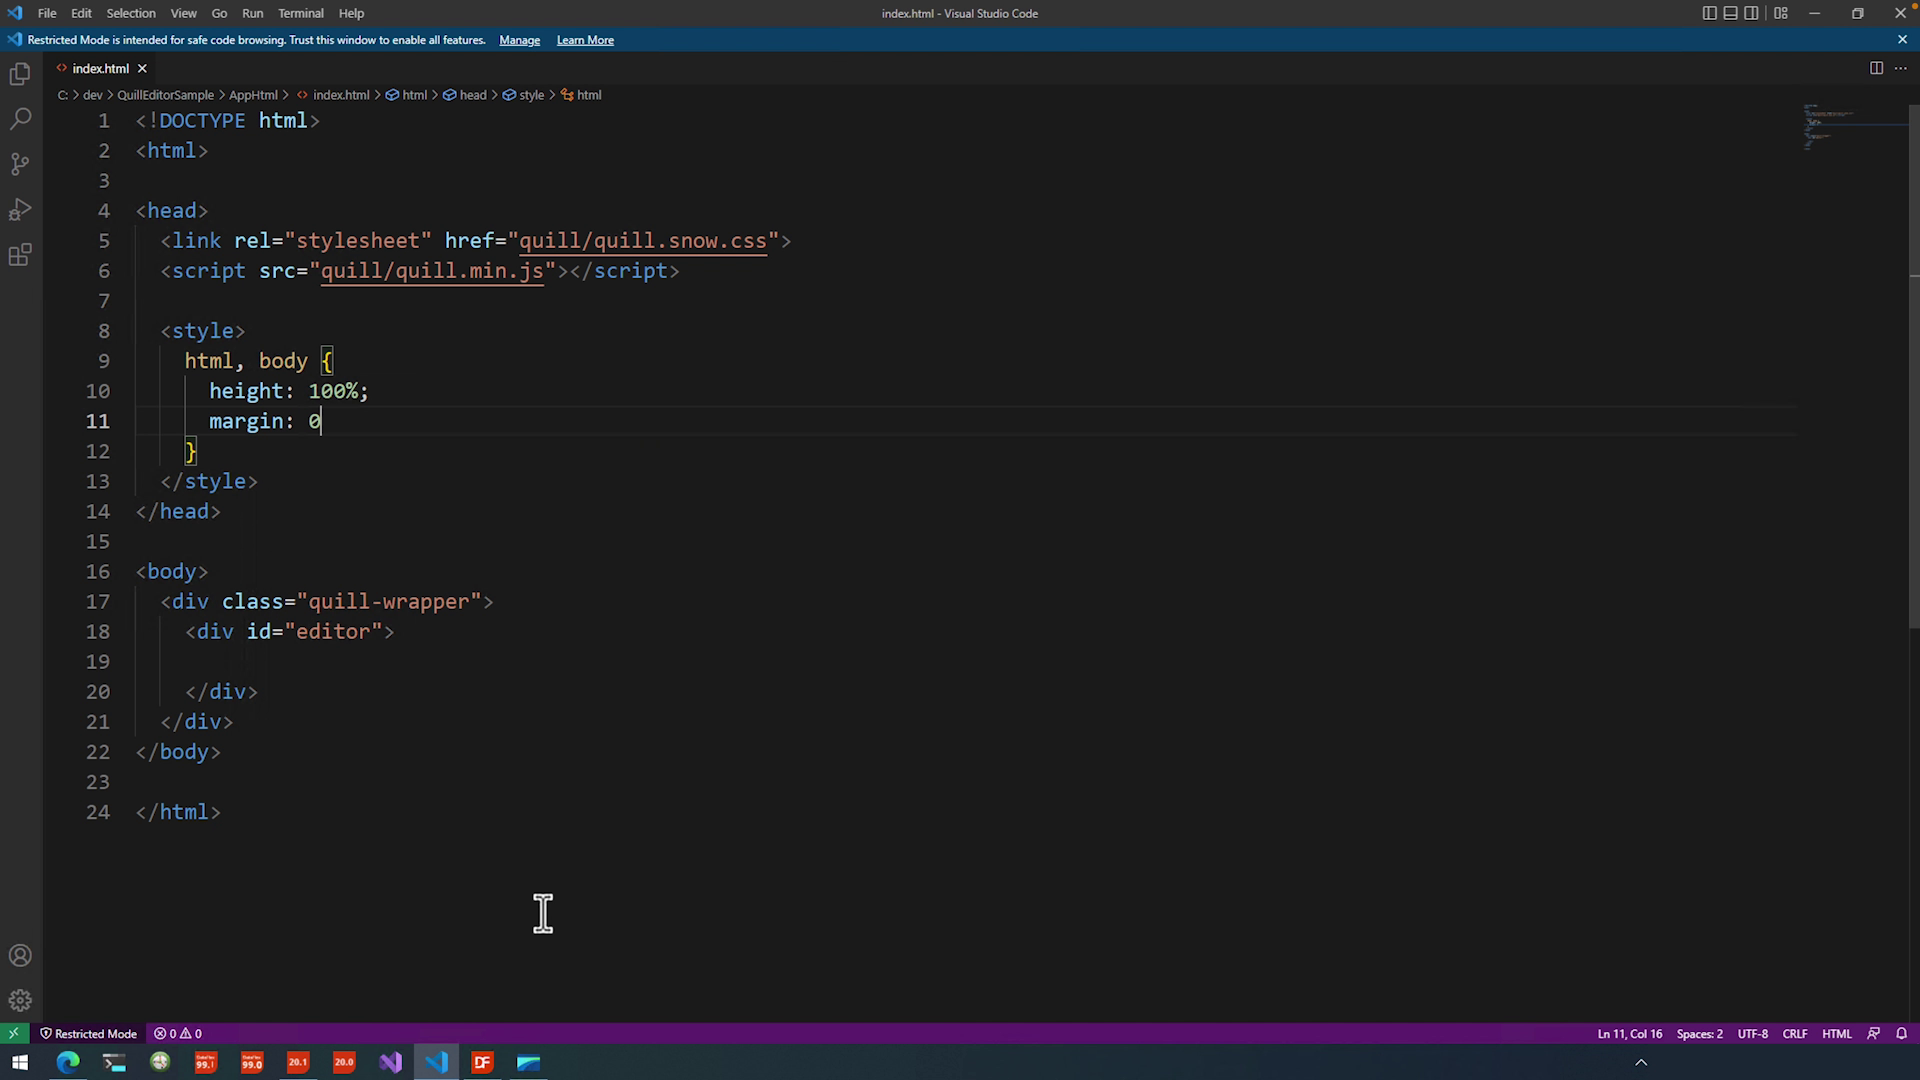
- Initially we will always stretch the whole html and body to the size of the screen or atleast the space WebView2 provides.
html,
body {
- Set the height to 100% and the margin to 0 pixels.
height: 100%;
margin: 0px;
}
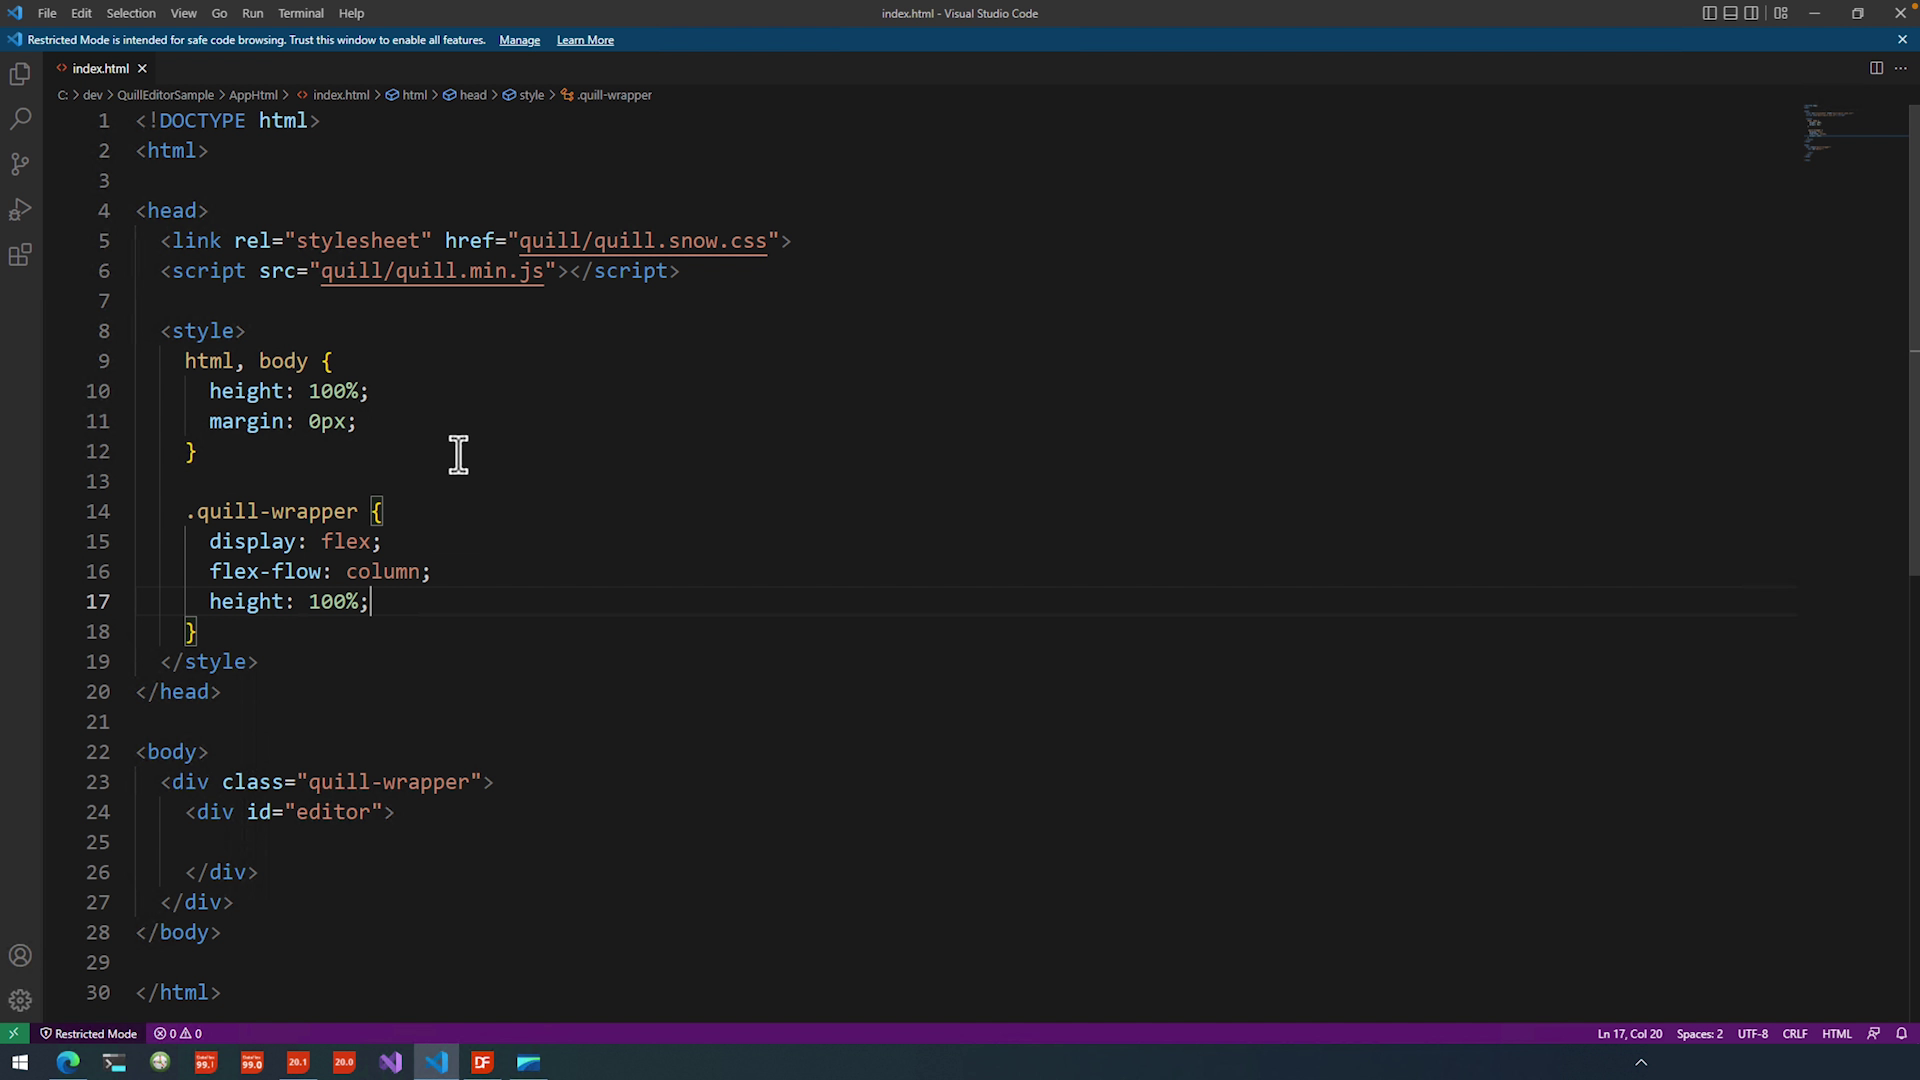
- Then we’ll take a look at the quill-wrapper itself:
.quill-wrapper {
- We set the display type to flex, what this will do is that it will allow us to make the toolbar static but still responsive when you are resizing.
display: flex;
flex-flow: column;
- Finally we have to make the wrapper fill the full height of the view like the body and as such we set it’s height to 100%.
height: 100%;
}
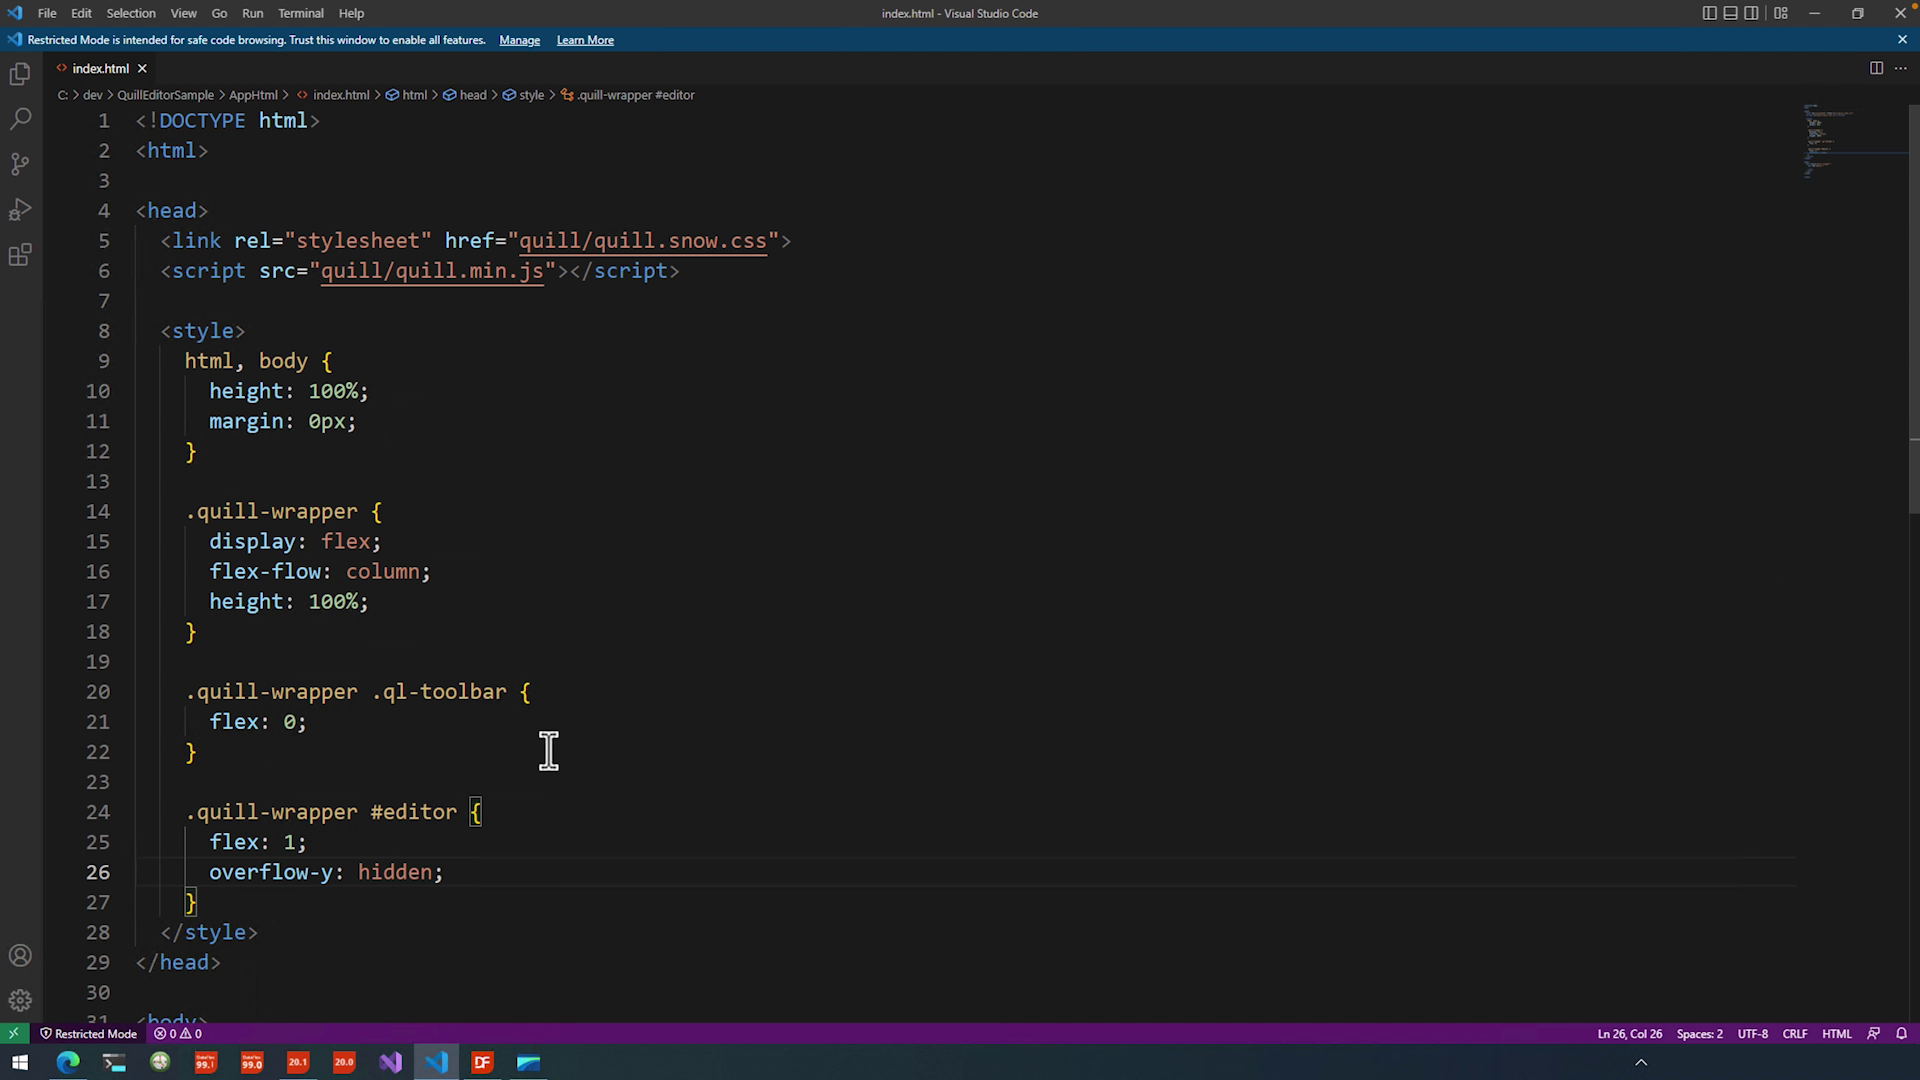
- Now the toolbar will have to be our first entity which we can leave at auto stretch. Set it to index 0 and that should do that one.
.quill-wrapper .ql-toolbar {
flex: 0;
}
- Then we have the editor itself which off course then will have flex 1 set.
.quill-wrapper #editor {
flex: 1;
- Lastly, we’ll need to set the scrolling of the editor itself to hidden. That way the scrolling will happen in the ql-container inside of the editor only.
overflow-y: hidden;
}
- If we now run our sample again.... you can see we got it running spanning the entire window.... also, if I start dragging the resizer you can see that it responds as we’d want.
- That was it for this lesson. Now onto modifying QuillJS to our needs with things like image support and code highlighting.


