Up until now, we’ve only used a single managed connection in our examples, but you can define multiple connections in the same configuration file. There are two reasons for doing so and we’ll refer to these as alternate connections and additional connections.
Alternate connections use the same connection ID, but may specify a different server, or database, or user credentials, or any combination of those parts of the connection string. By keeping the connection ID the same, the application never needs to be recompiled – Changing the information that makes up the full connection string paired with that connection ID will change the ultimate path to the data.
Additional connections are used when the application needs to access tables from different databases or servers simultaneously.
There is no practical limit to the number of additional or alternative connections supported in a single workspace.
Let’s take a look at how multiple connections are expressed in the configuration file and then work through some examples in our Cookbook workspace.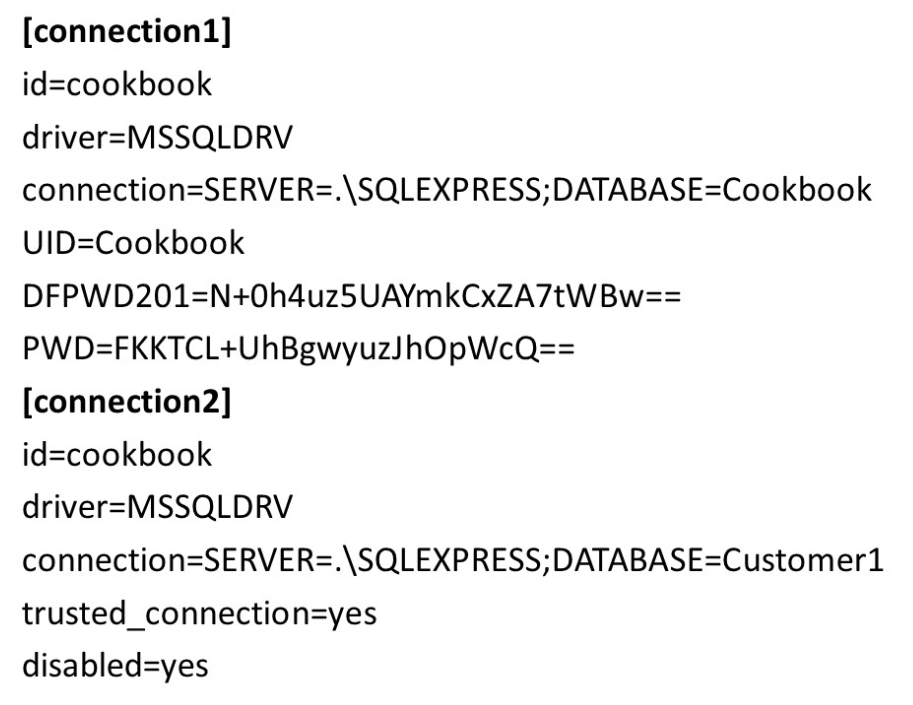
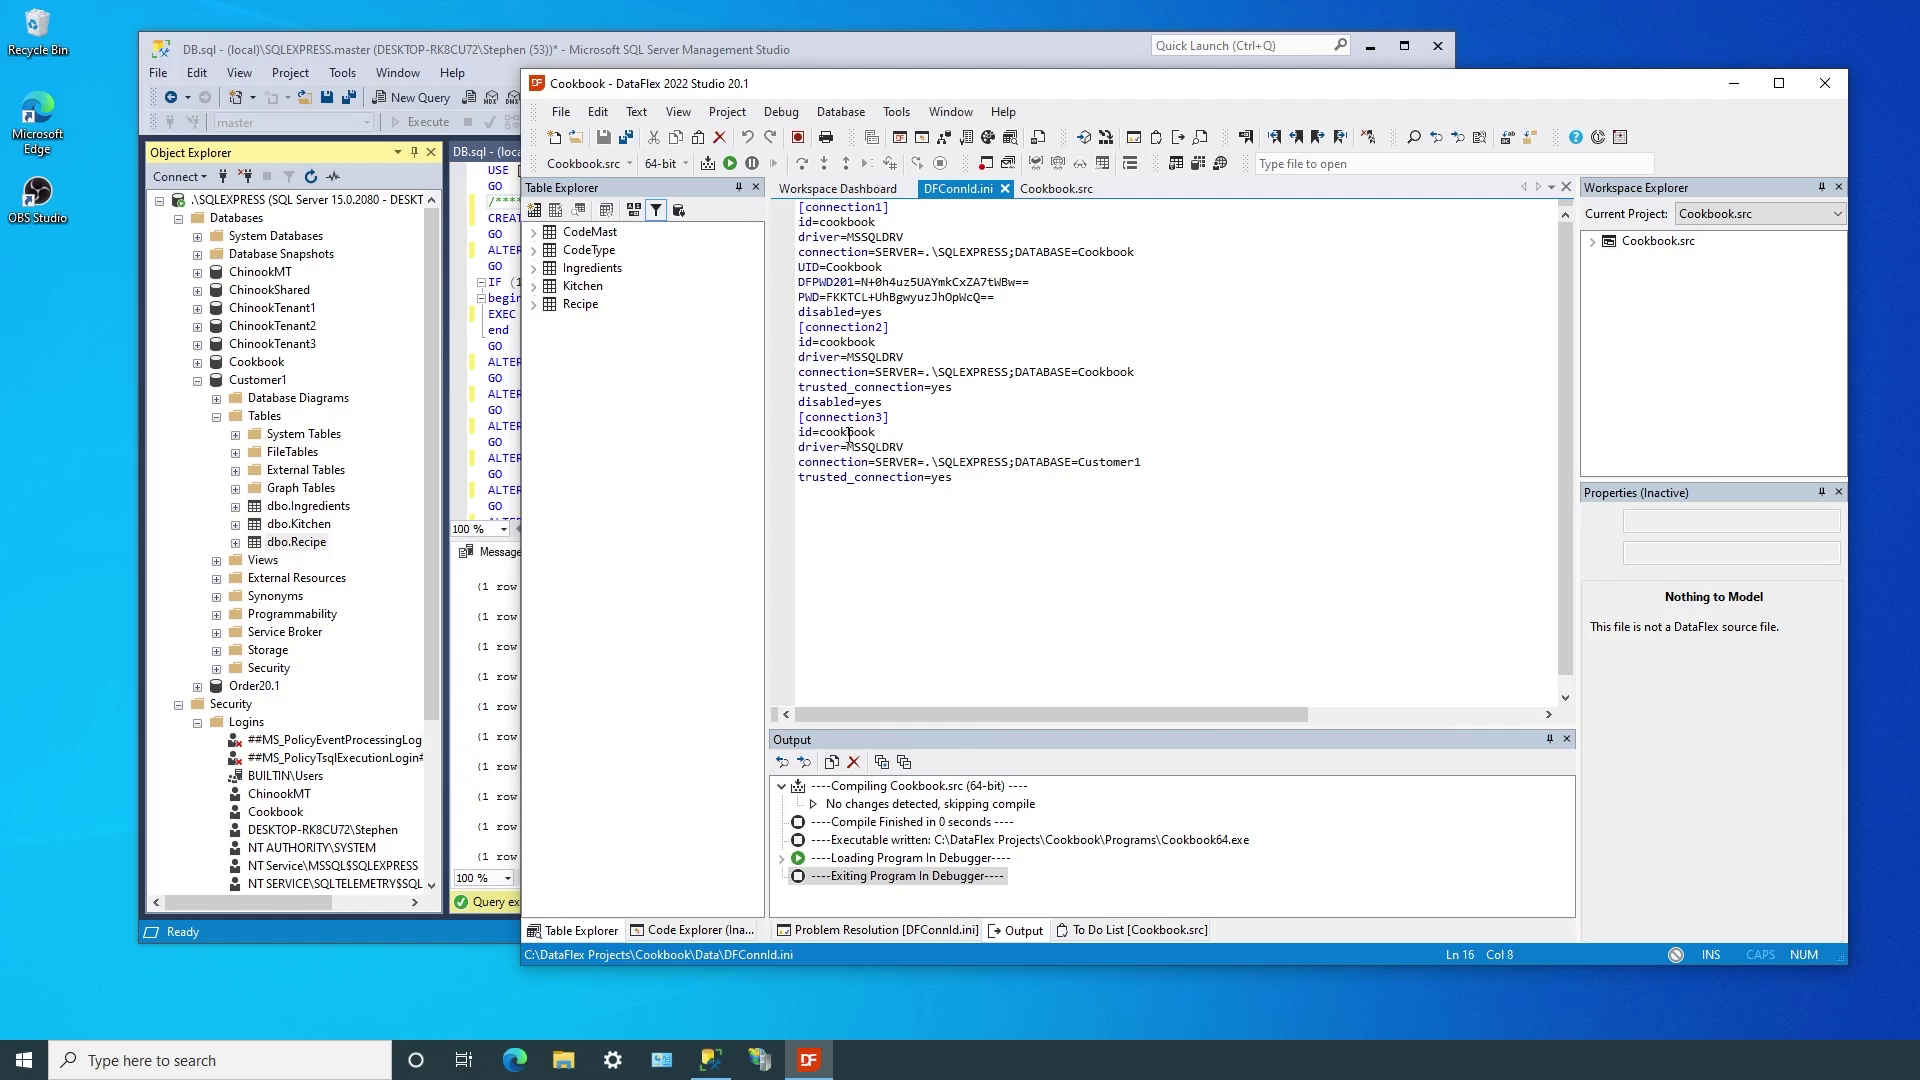
In this example we see there are two connections defined, but both use the same “cookbook” ID. Both use the same server, but different databases and credentials.
Notice that the second connection also contains disabled=yes. This is to allow the connection class to automatically pick the proper connection because only one connection can be enabled at once.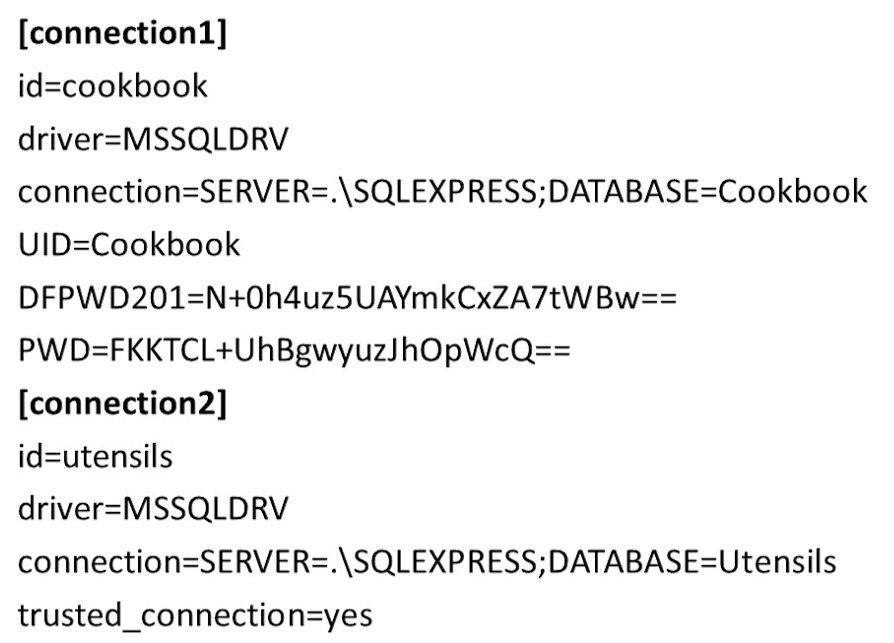
In this example we see there are two connections defined, this time with one using “cookbook” and the other using “utensils”. Both use the same server, but different databases and credentials.
Since the connections do not use the same ID, both can be active at the same time. There is no need to disable one of them.
Next, we’ll experiment with multiple connections…
DEMONSTRATION
We left our cookbook workspace with the single cookbook ID using the cookbook database and cookbook SQL login.
Remember that earlier in lesson 3 we changed this connection from windows authentication to SQL authentication. This allowed us to easily experiment with two different access methods to the same data. Now we’ll use alternate connections to have both methods defined at the same time. We’ll use the Connection Manager to create the second connection.
We use the same “cookbook” ID, server and database as the existing connection, but this time use Windows Authentication.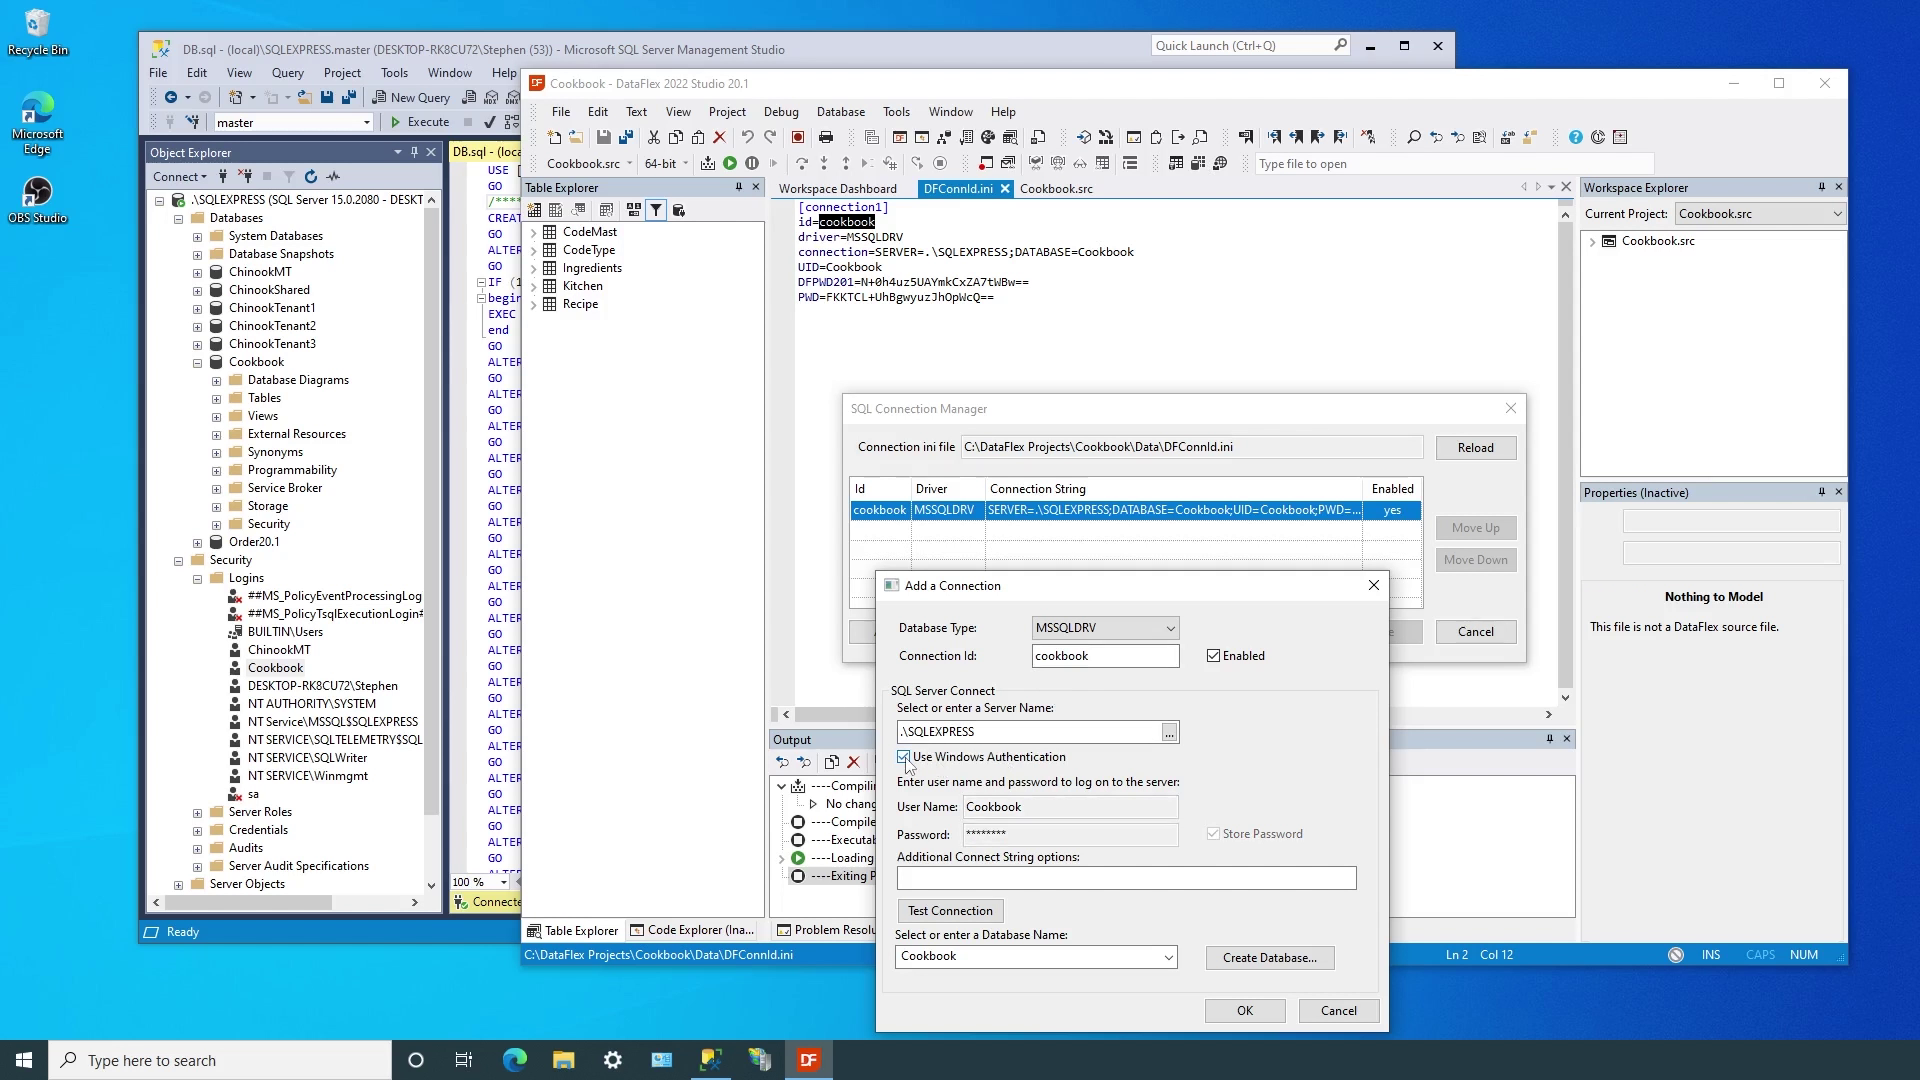
Remember that any time we use the Connection Manager to create or edit a connection, we can easily test the connection before saving.
If we press OK to save, the Connection Manager warns us that we cannot have two connections with the same ID active at the same time, so we’ll disable this one before exiting.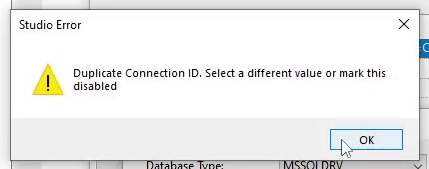
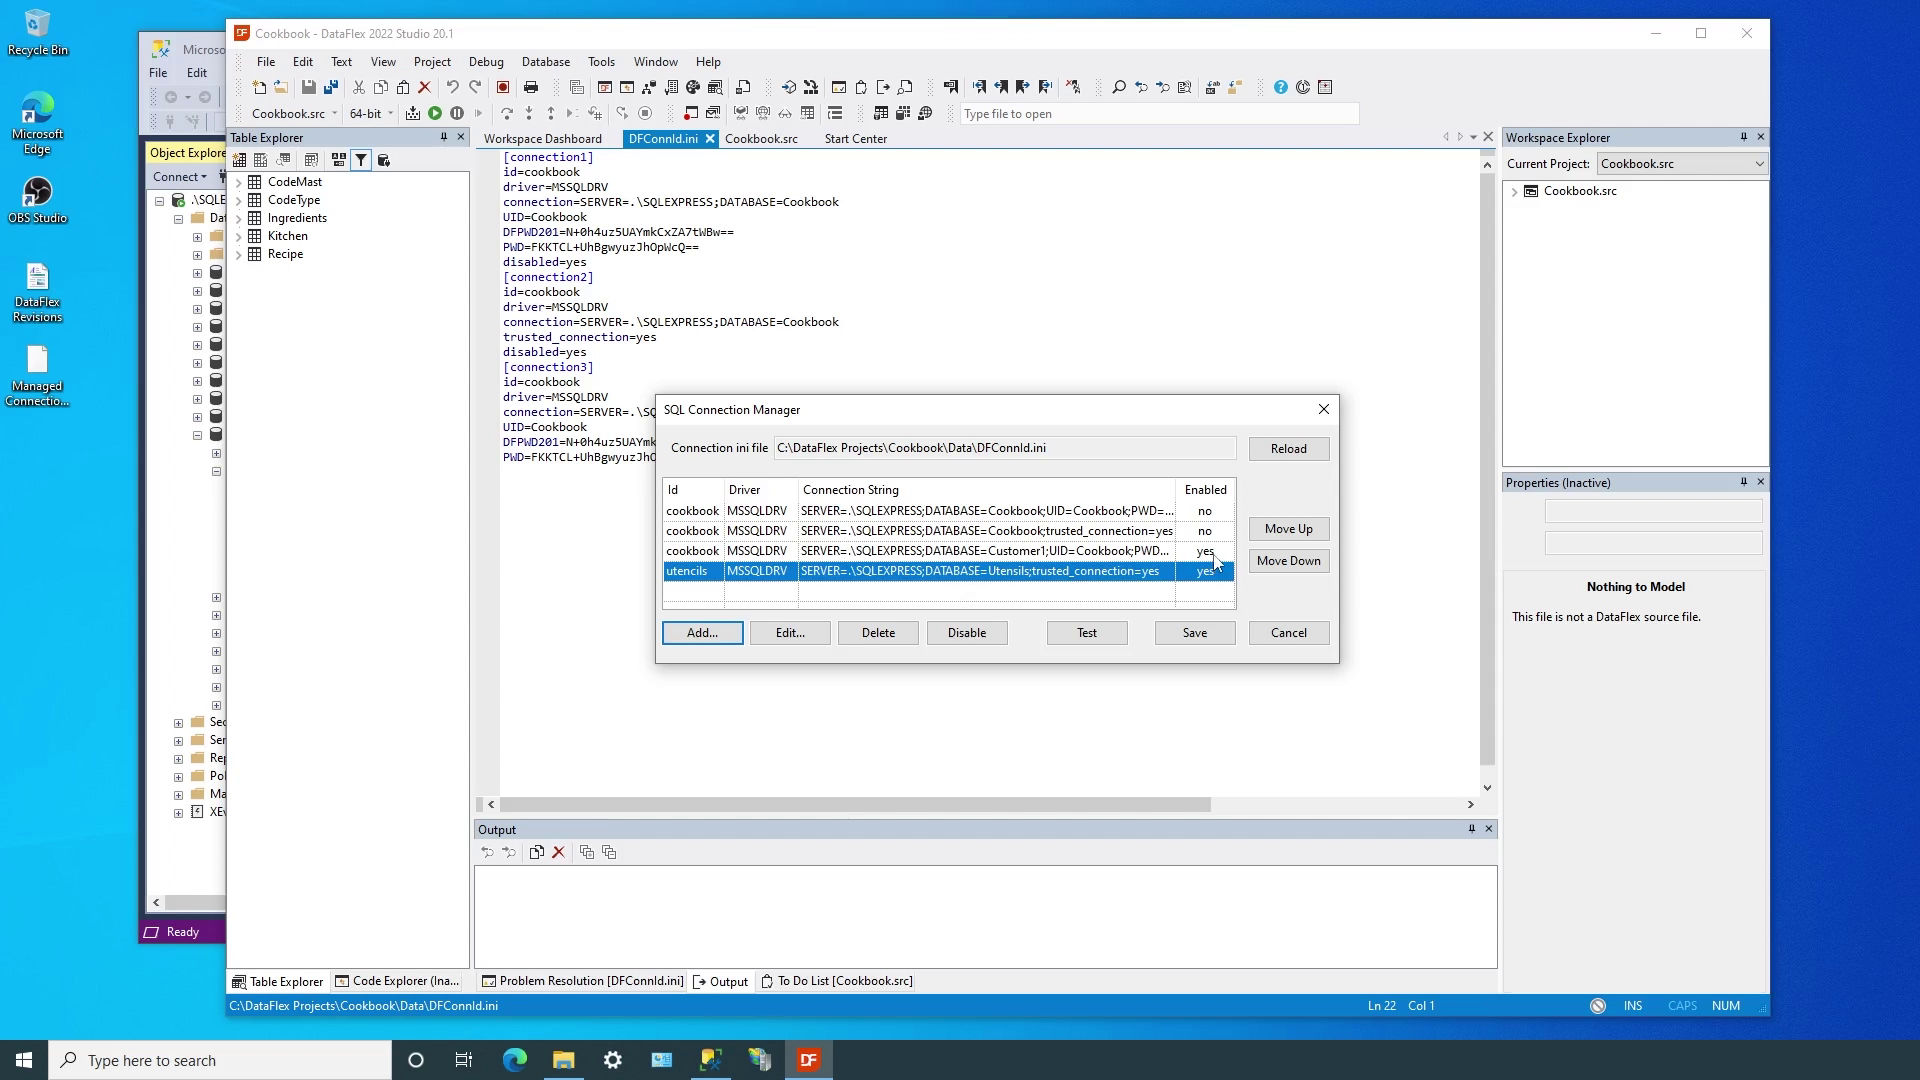
The configuration file now contains two connections; both using the same ID, and the same server and database, but different credentials. We can decide which access we want to use at any time.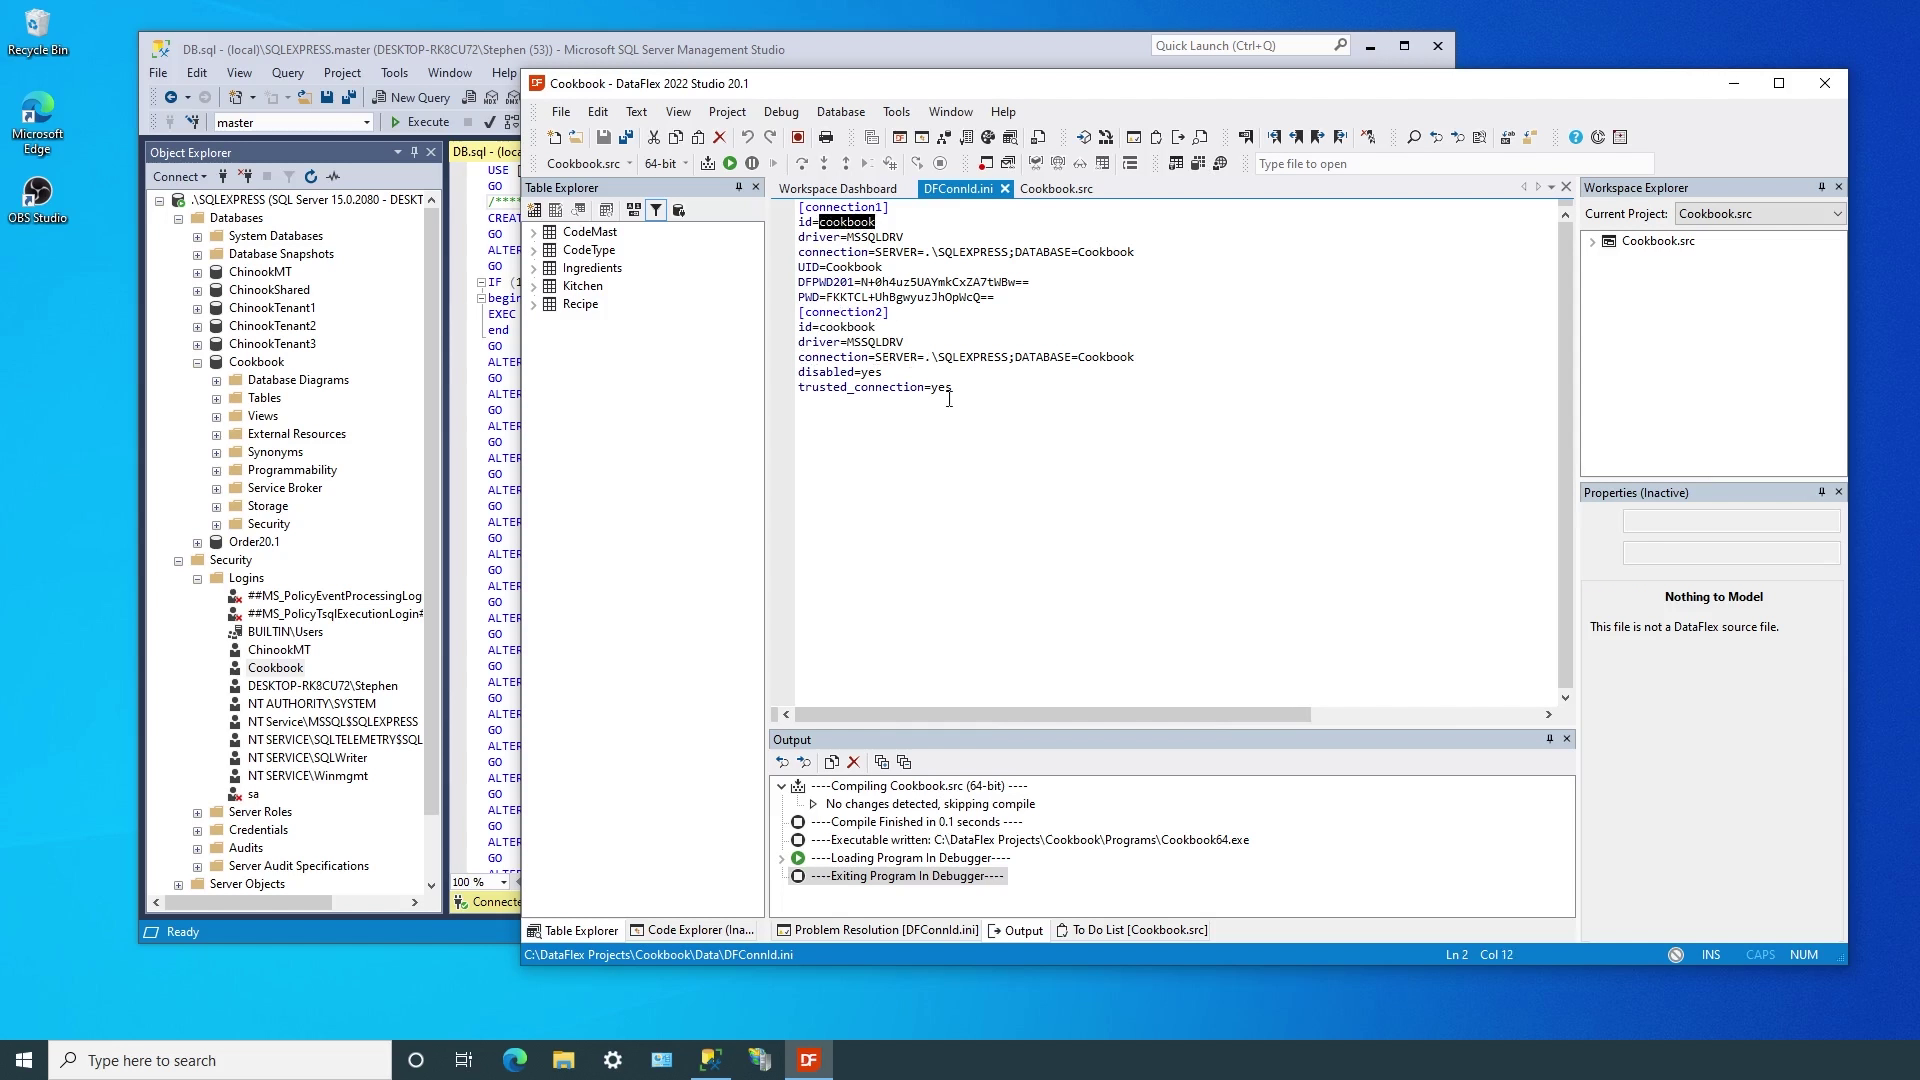
If we remove the trusted connection setting in connection 2 and run the application, the login dialog is automatically displayed.
If we then switch back to connection 1 and remove the PWD setting, the login dialog is also displayed, but this time with the cookbook UID displayed. Remember that it’s the use of the “Remember…” checkbox on the login dialog that determines if the appropriate user credentials are saved back to the configuration file.
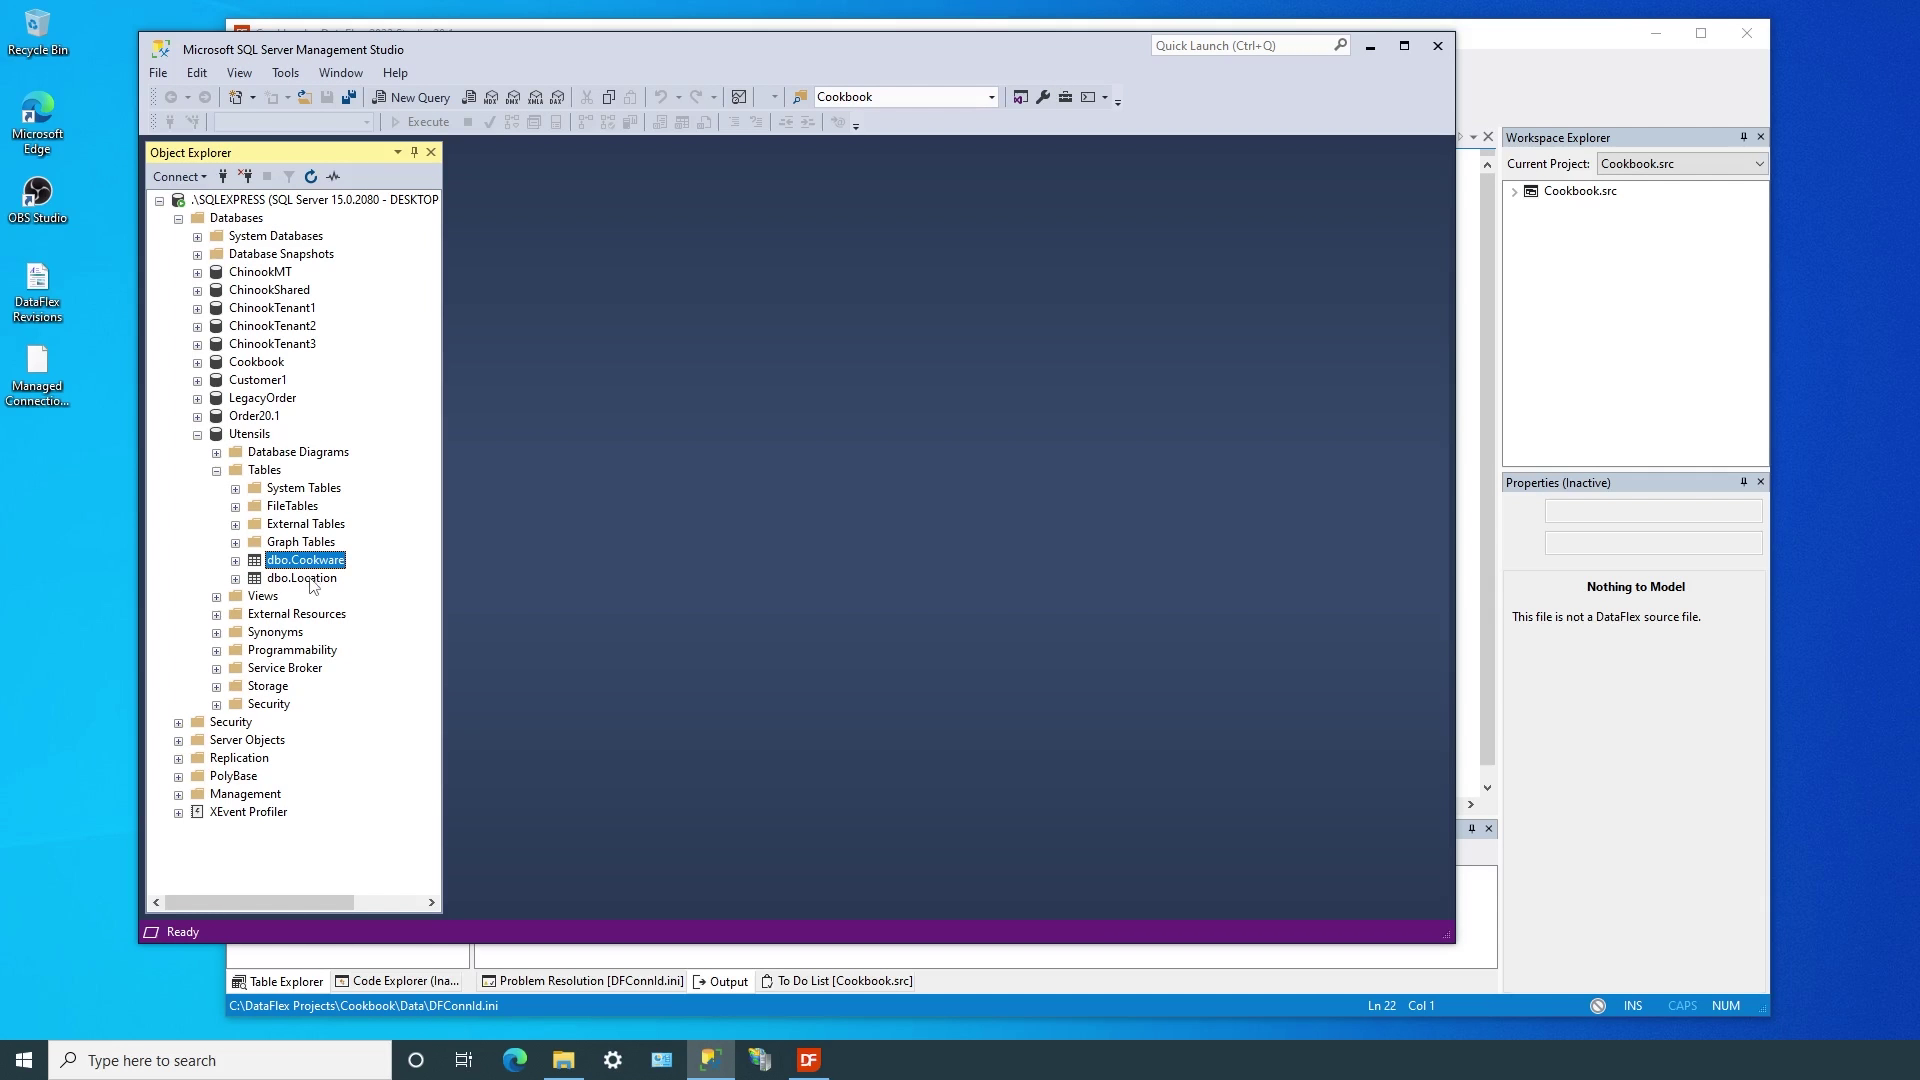
So far, both of our connections have used the same server and cookbook database. Next, we’ll look at how to set up another connection using a different, but matching database.
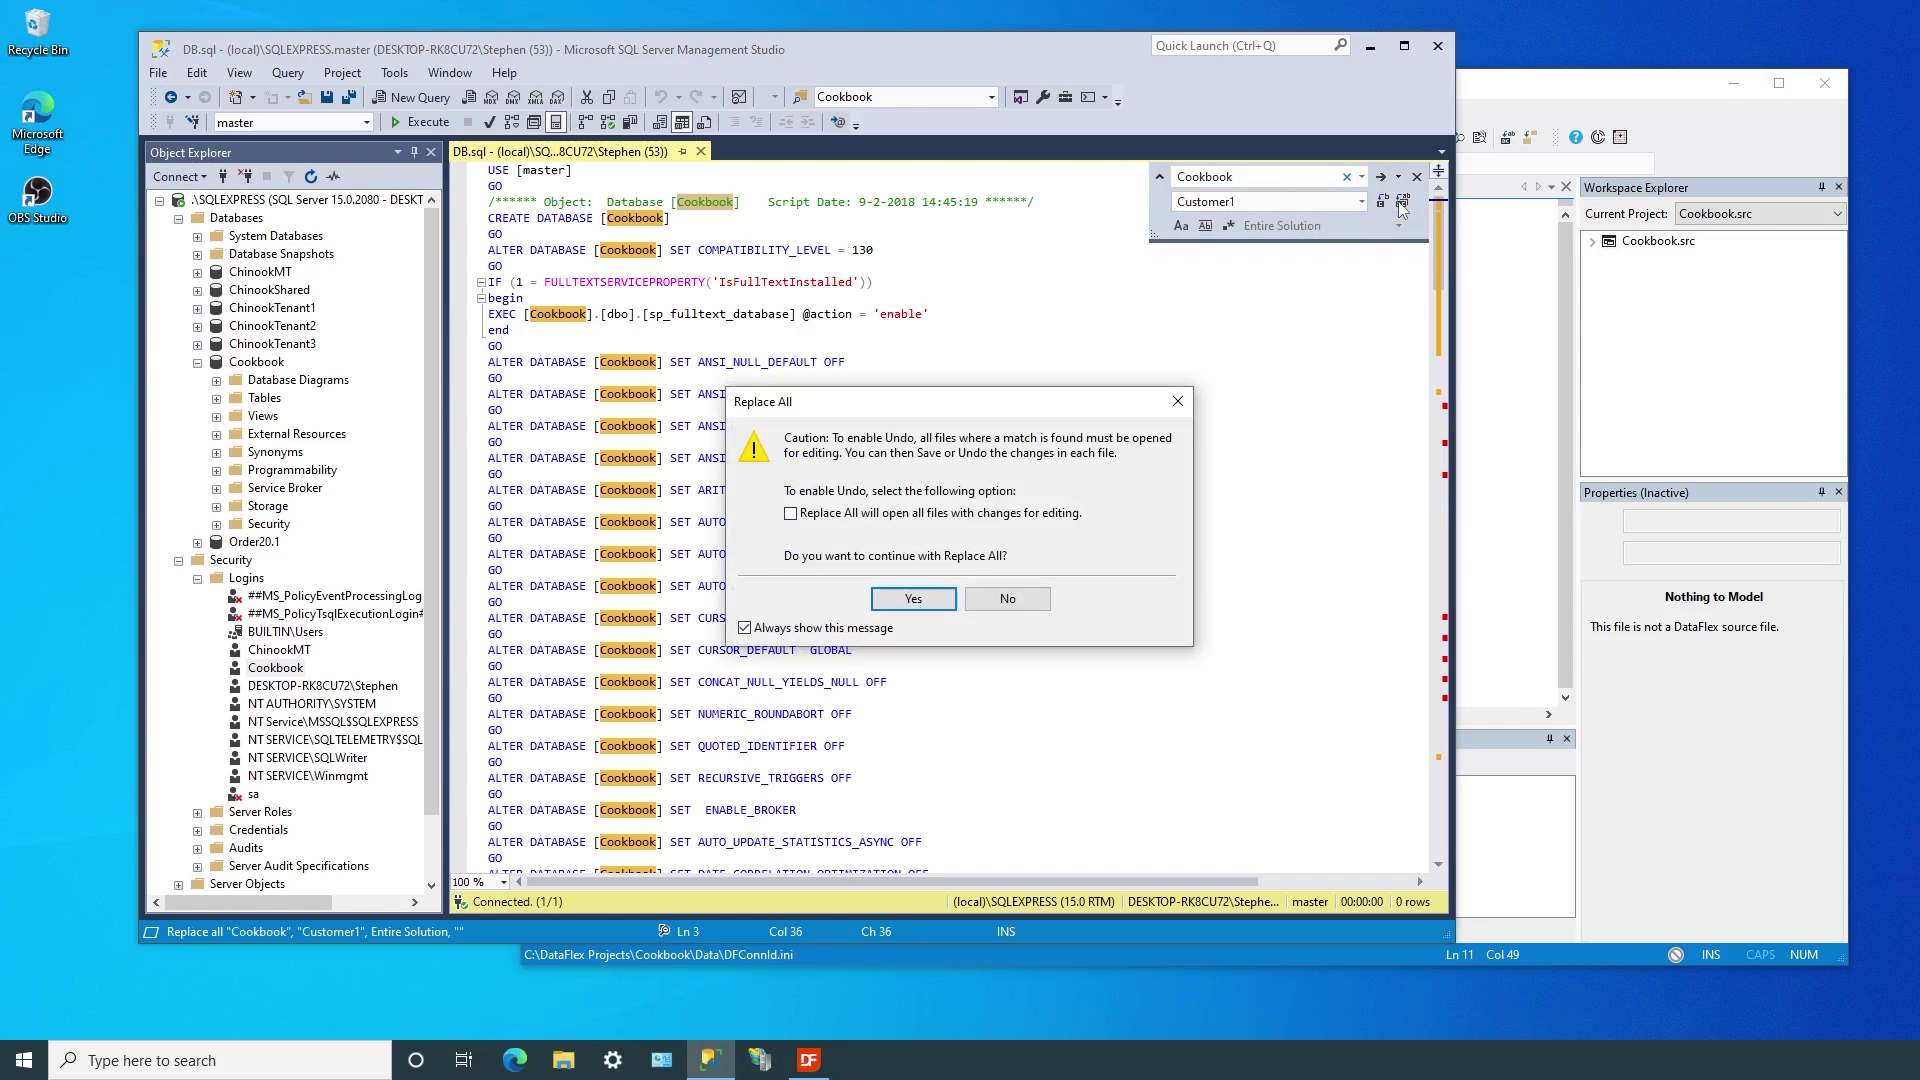
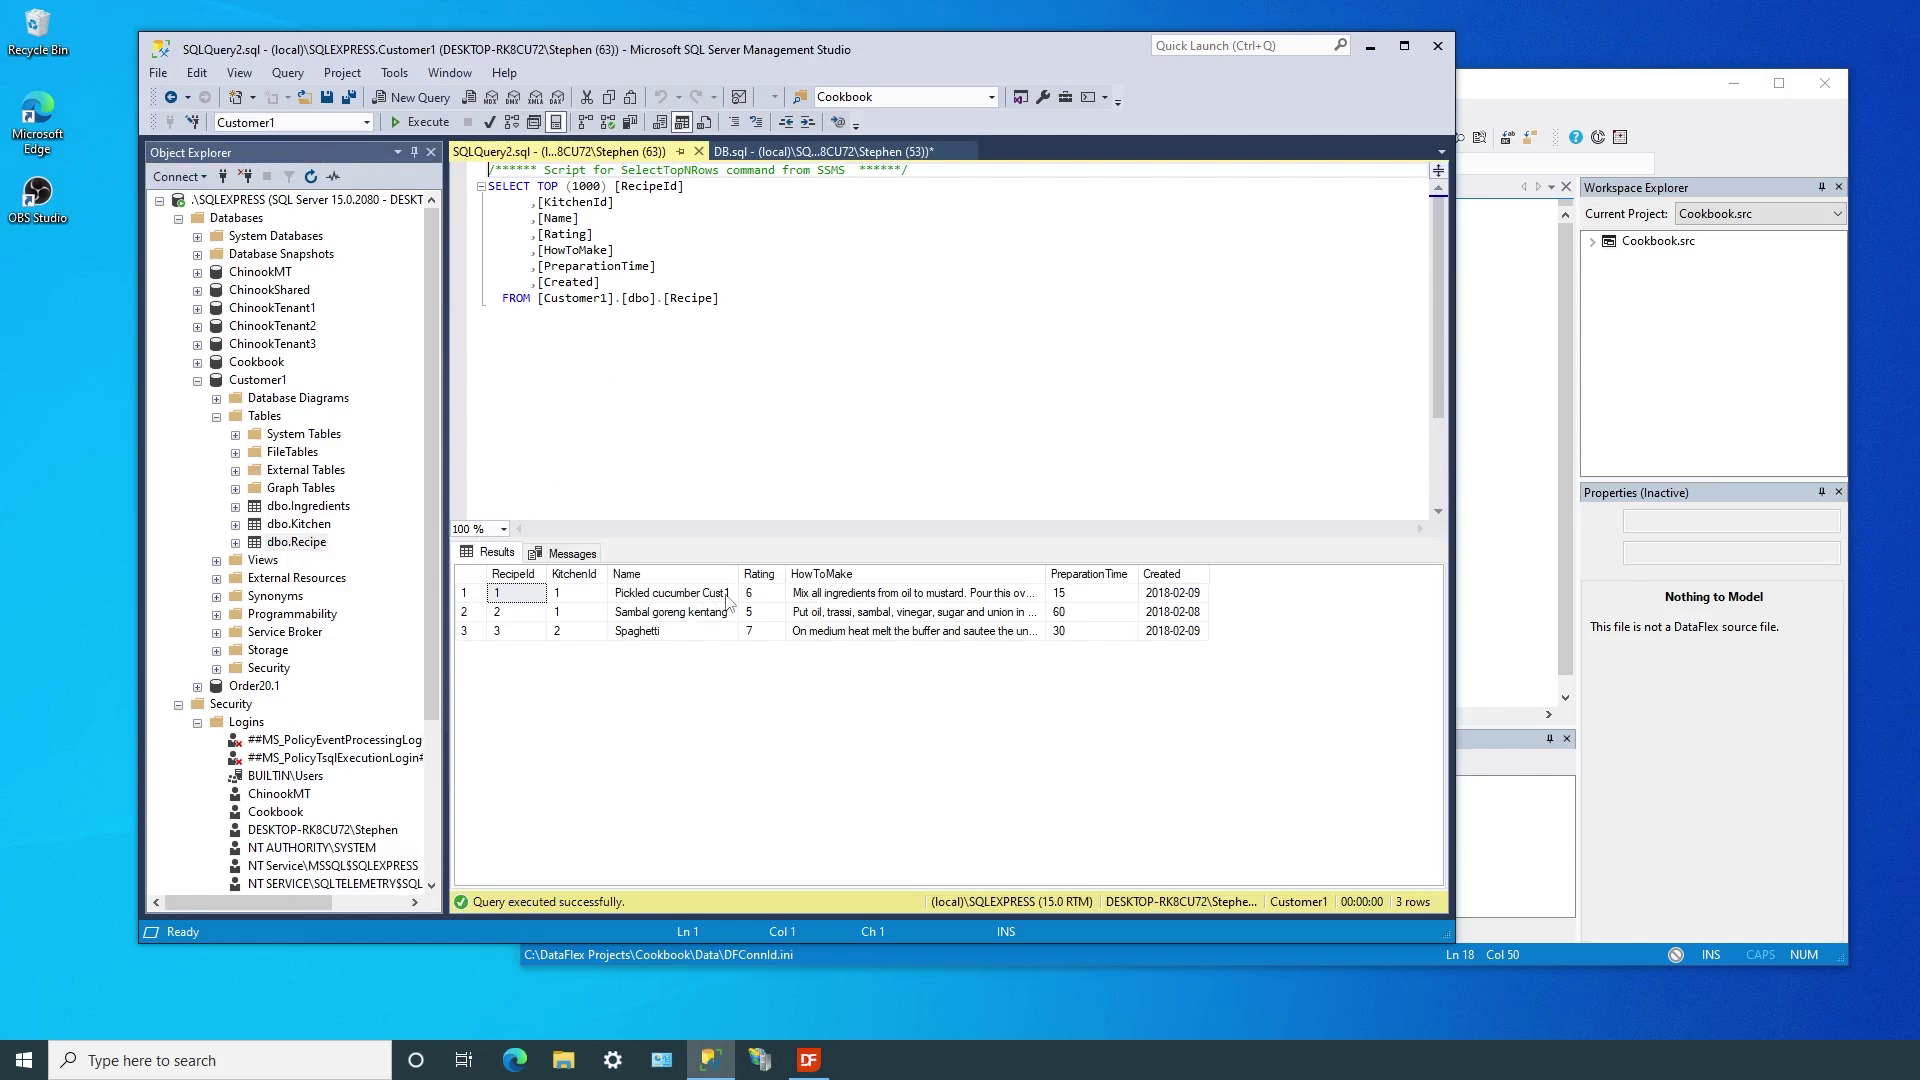
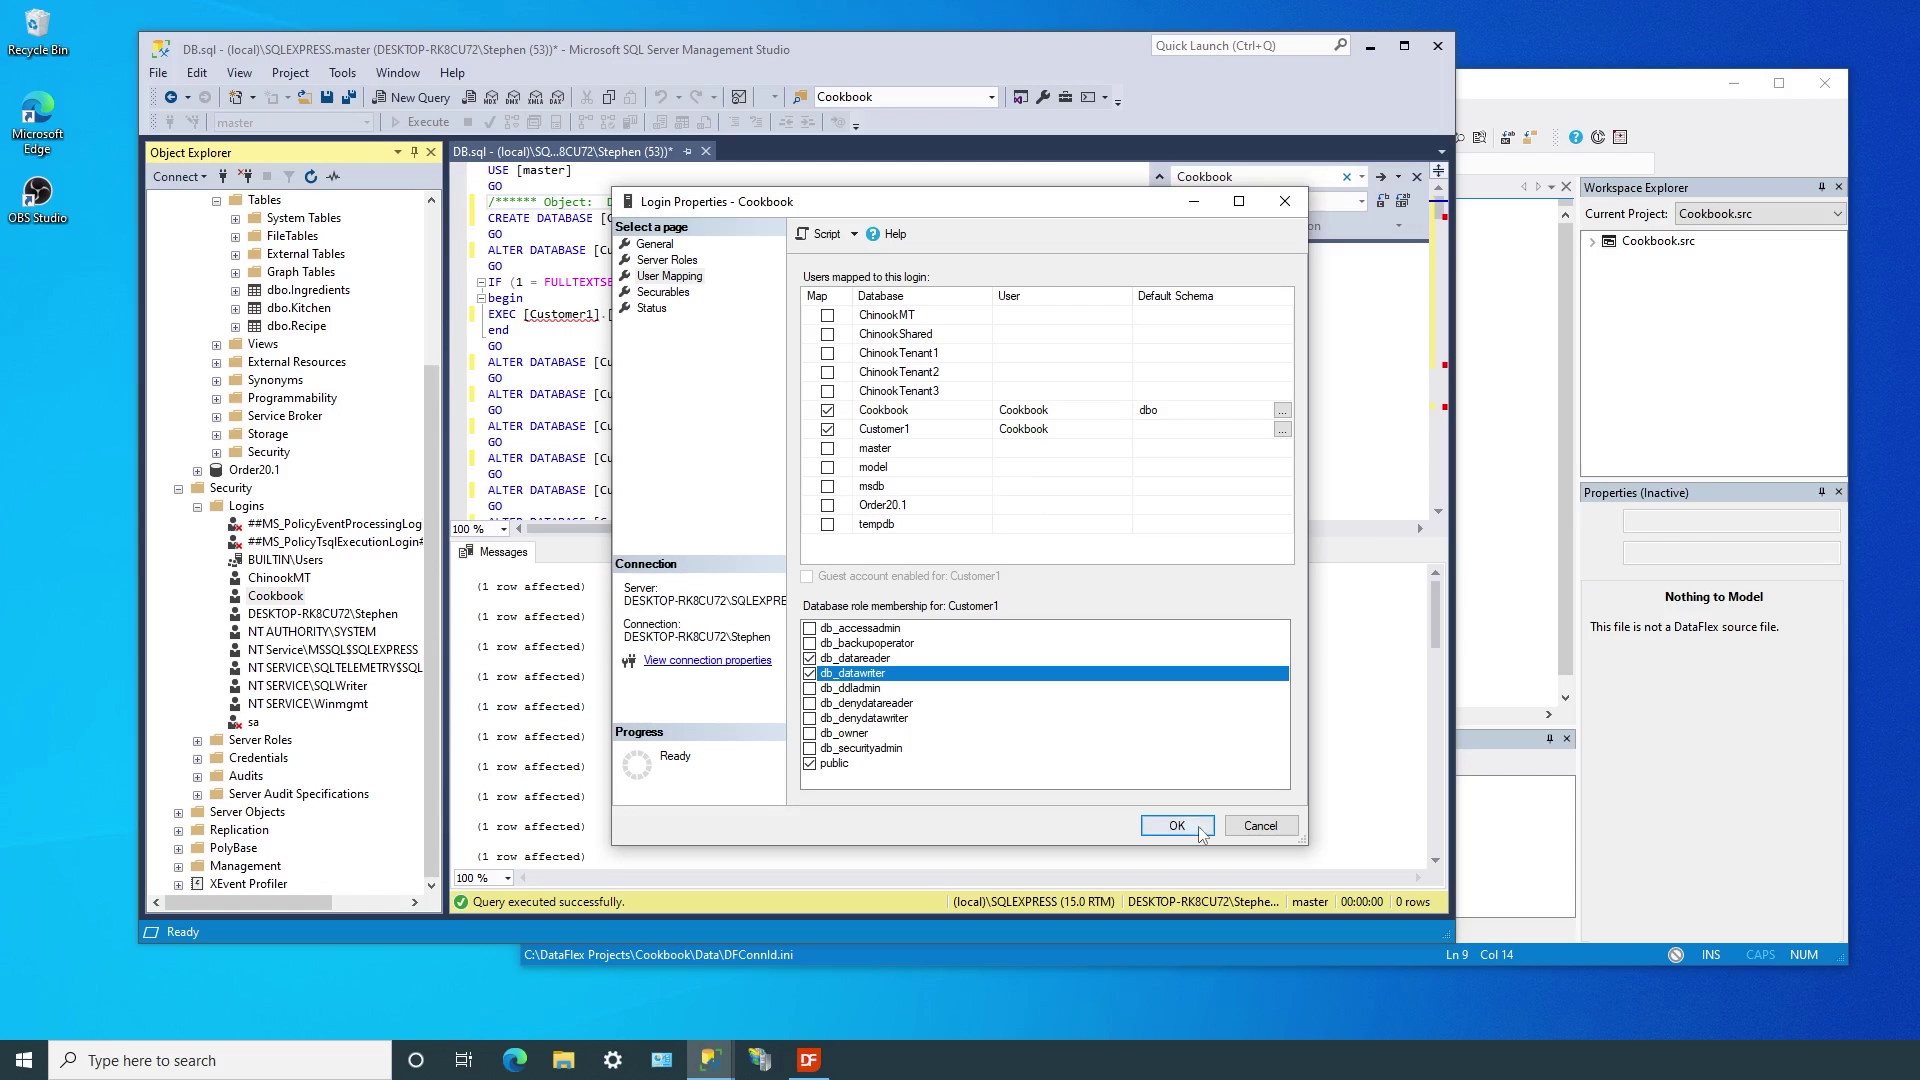
In Microsoft SQL Management Studio we’ll use the same script that created the original cookbook database to set up a duplicate version named customer1.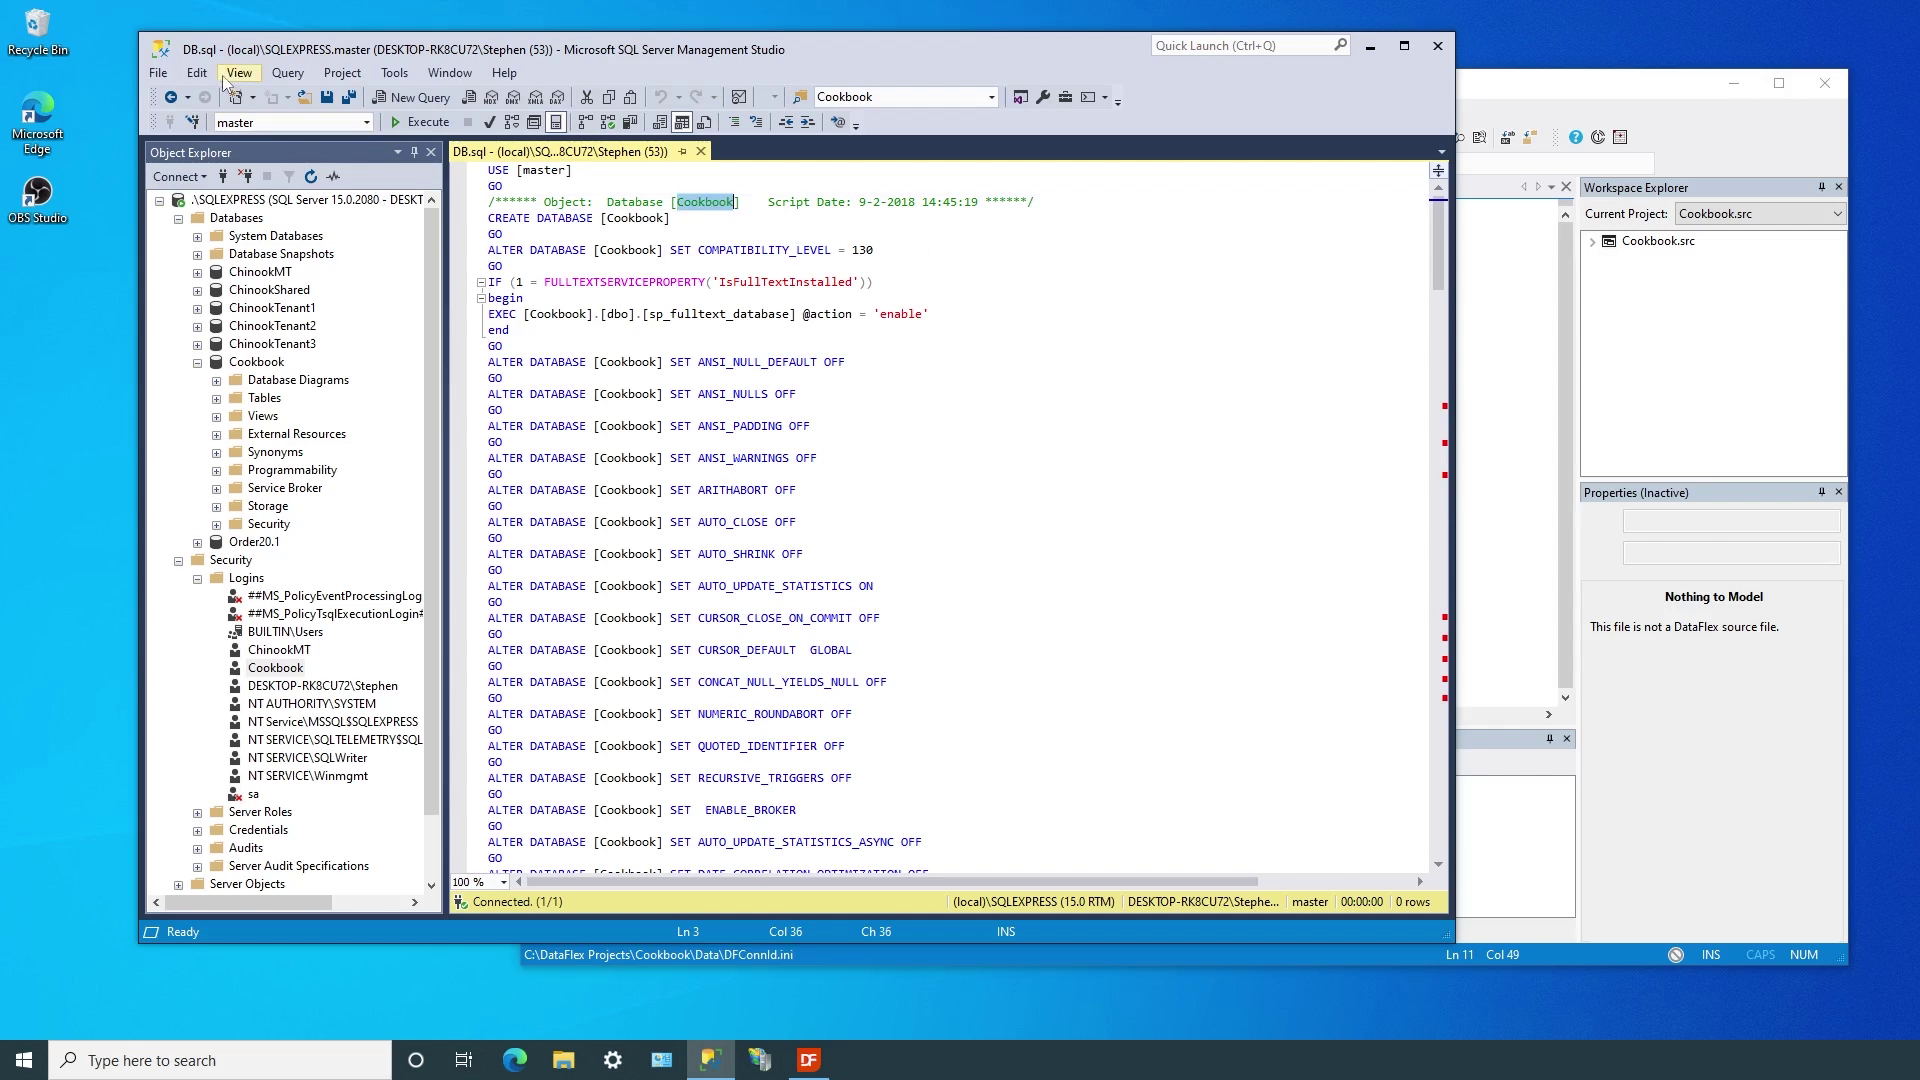
It is important that the databases contain the same table structures when using them with managed connections.
In many cases, perhaps even most, all the data for an application is in a single database. But there are times when your application needs to access tables in secondary databases. Databases published by different providers is one type of scenario. Another common scenario is when the transactional data for multiple customers needs isolation (separate databases) but there is data shared between customers that is inefficient or inconvenient to duplicate.
Managed connections fully support these types of use by simply creating one or more connection IDs that point to the additional data. Once the connection is made, the tables in the secondary databases are fully accessible to your application and simply need to be added to the workspace filelist.
Let’s take a look at how easy it is to set up additional connections…
DEMONSTRATION