


In this lesson, we'll take a closer look at how lists and grids are structured within the DataFlex Web Framework and how you can style them to fit your application's design.
Both WebLists and WebGrids share a common structure, with the WEbGrid inheriting from the WebList. This means that many styling and structuring principles apply to both.
Lists and Grids consist of multiple elements, with each row rendered as its own table. This structure allows for whitespace customization between rows, enabling more intricate design possibilities.
By default, DataFlex applies its scrolling logic to Lists and Grids. It only renders a small set of rows at a time, improving performance. You can control the number of visible rows above and below the currently displayed set.
Column sizes are defined using weight values in DataFlex, which are translated into percentages by the JavaScript engine. You can set fixed column widths by using "pbFixedWidth" instead of percentages.
DataFlex applies standard classes to different rows within Lists or Grids, such as ".WebList_Row," ".WebList_rowOdd," ".WebList_rowEven," and ".WebList_rowSelected." These classes help you target specific rows for styling.
DataFlex generates empty rows when there's whitespace in the view. These rows are assigned the ".WebList_RowEmpty" class, which you can use for styling, such as creating striping patterns.
You can set custom CSS classes on both the Web List itself and individual columns. These classes apply to both the header and cells within the column. Use this to style specific columns differently.
To apply custom styles to specific cells within a row, combine custom row classes and column classes. Implement the "OnDefineRowCssClass" method to dynamically set row-specific CSS classes based on data.
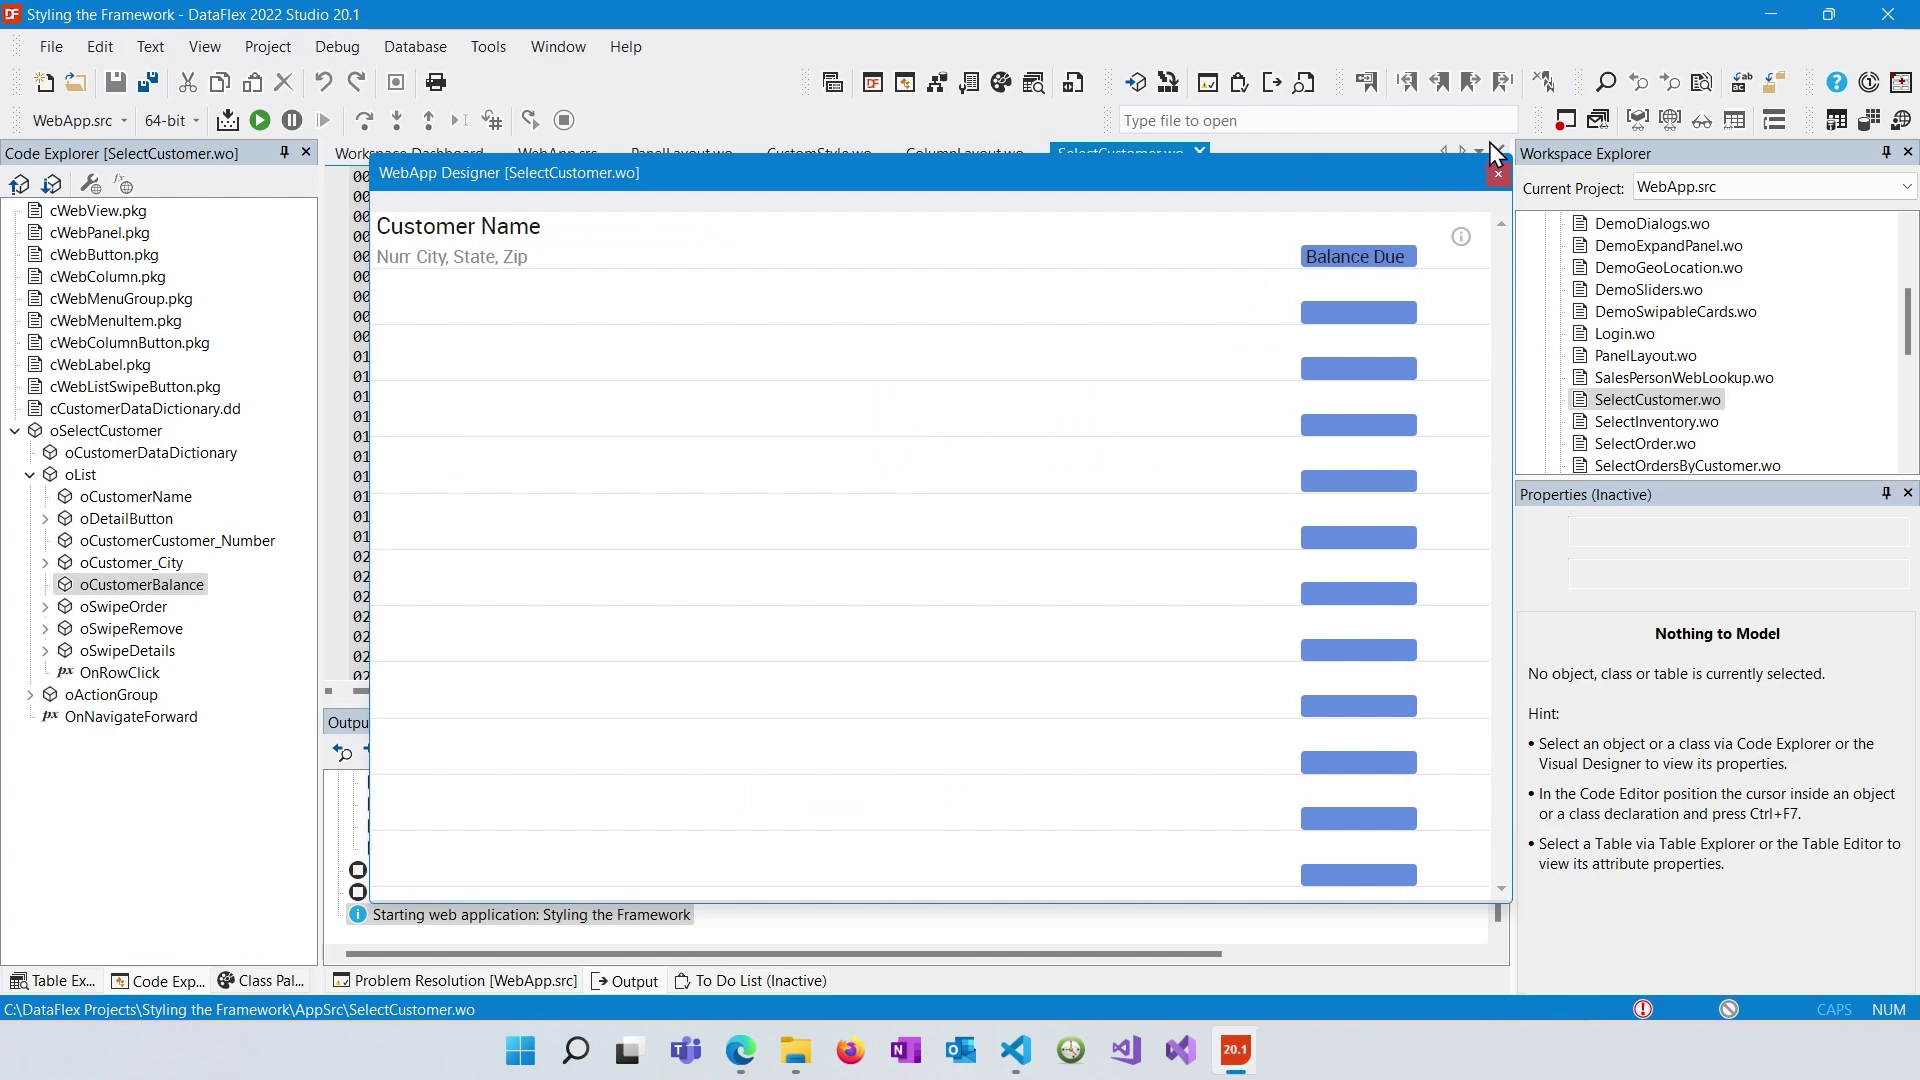
We select the SelectCustomer.wo. In this example, we want to style the "Balance" column based on the balance value of each customer.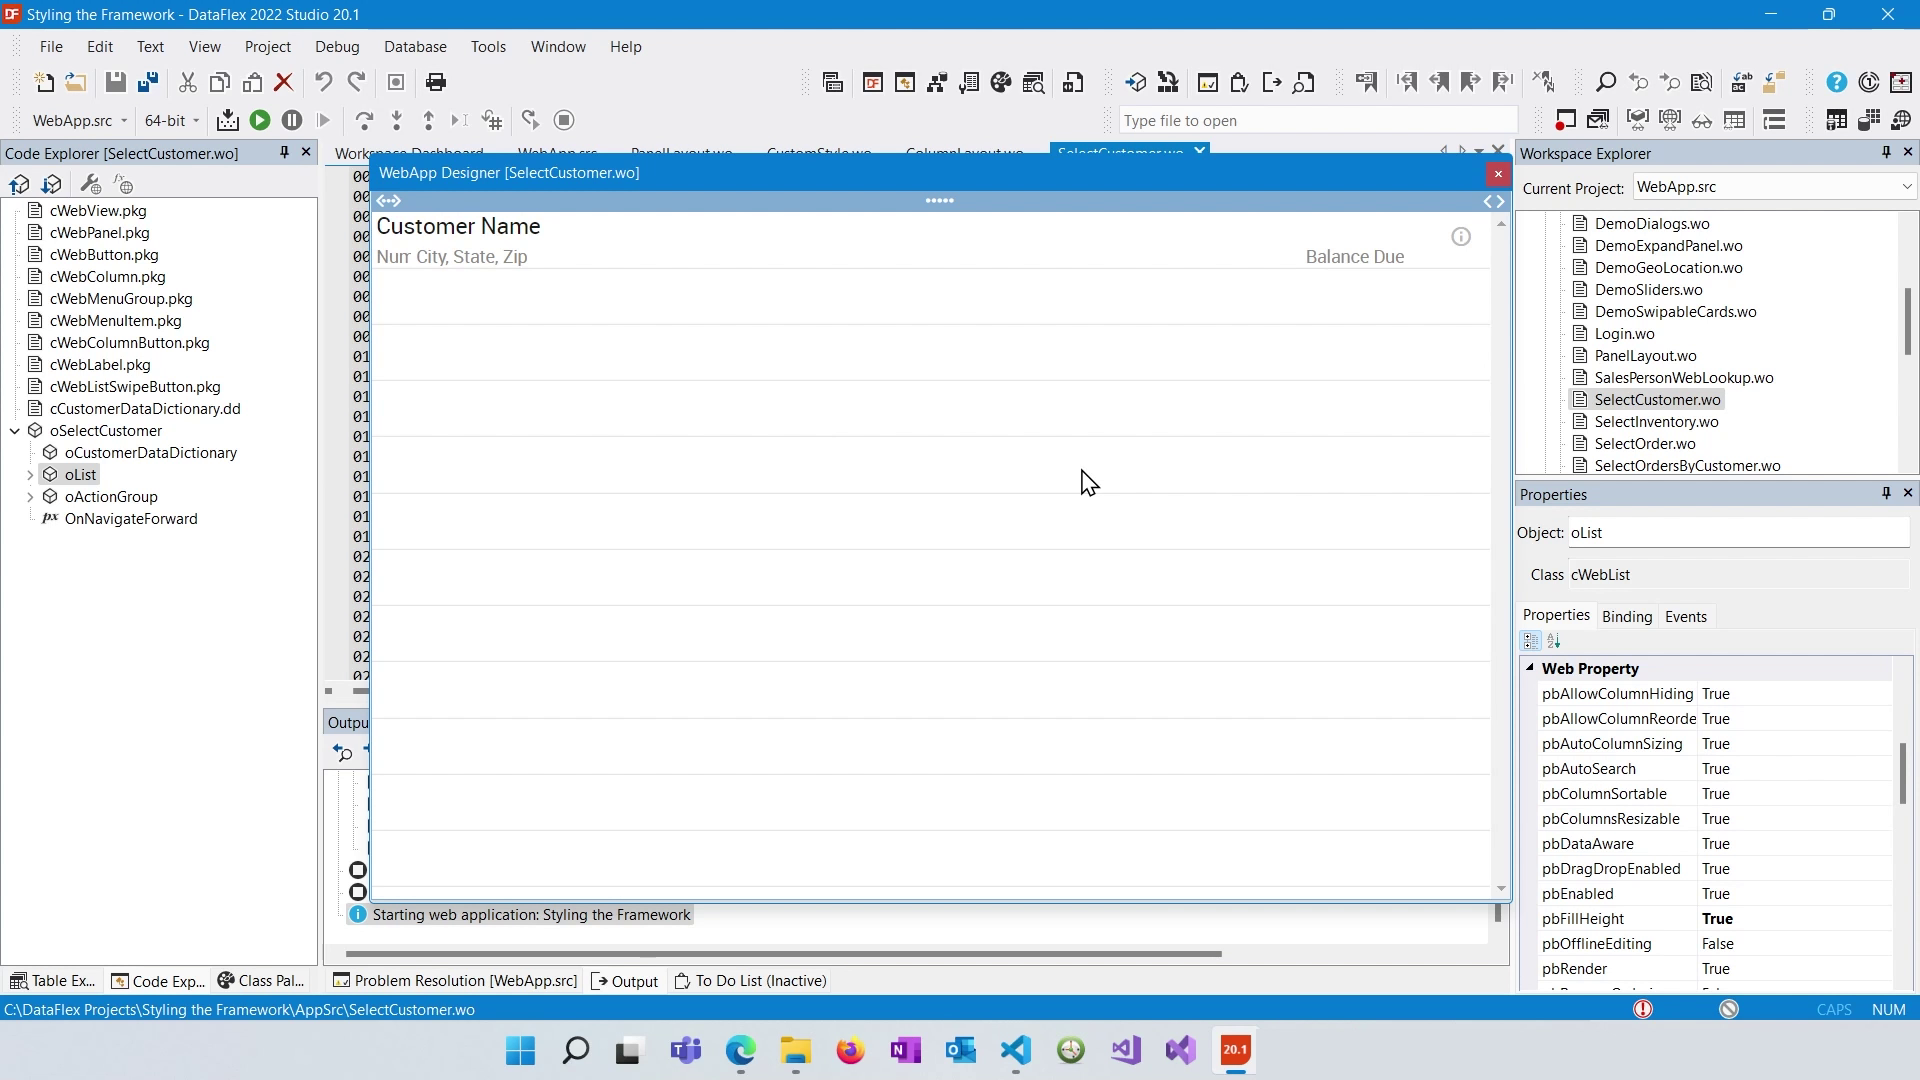
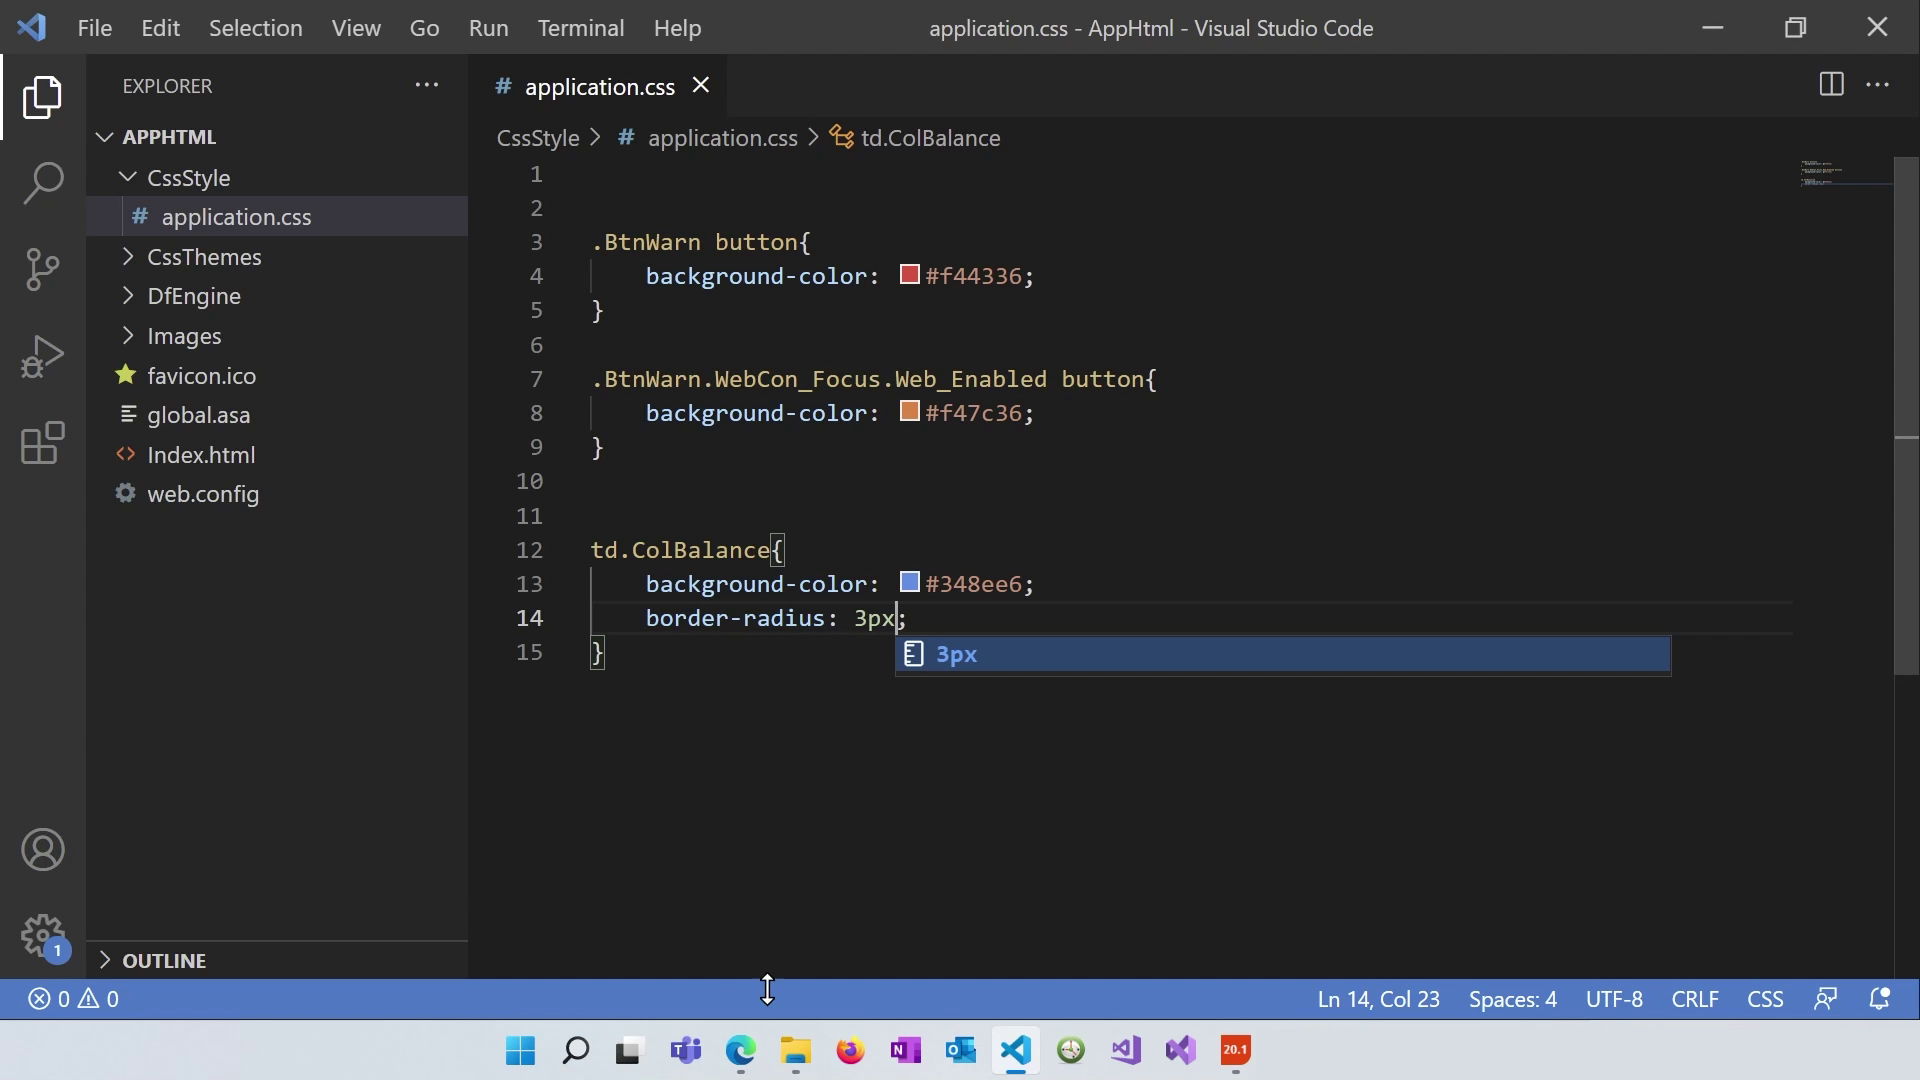
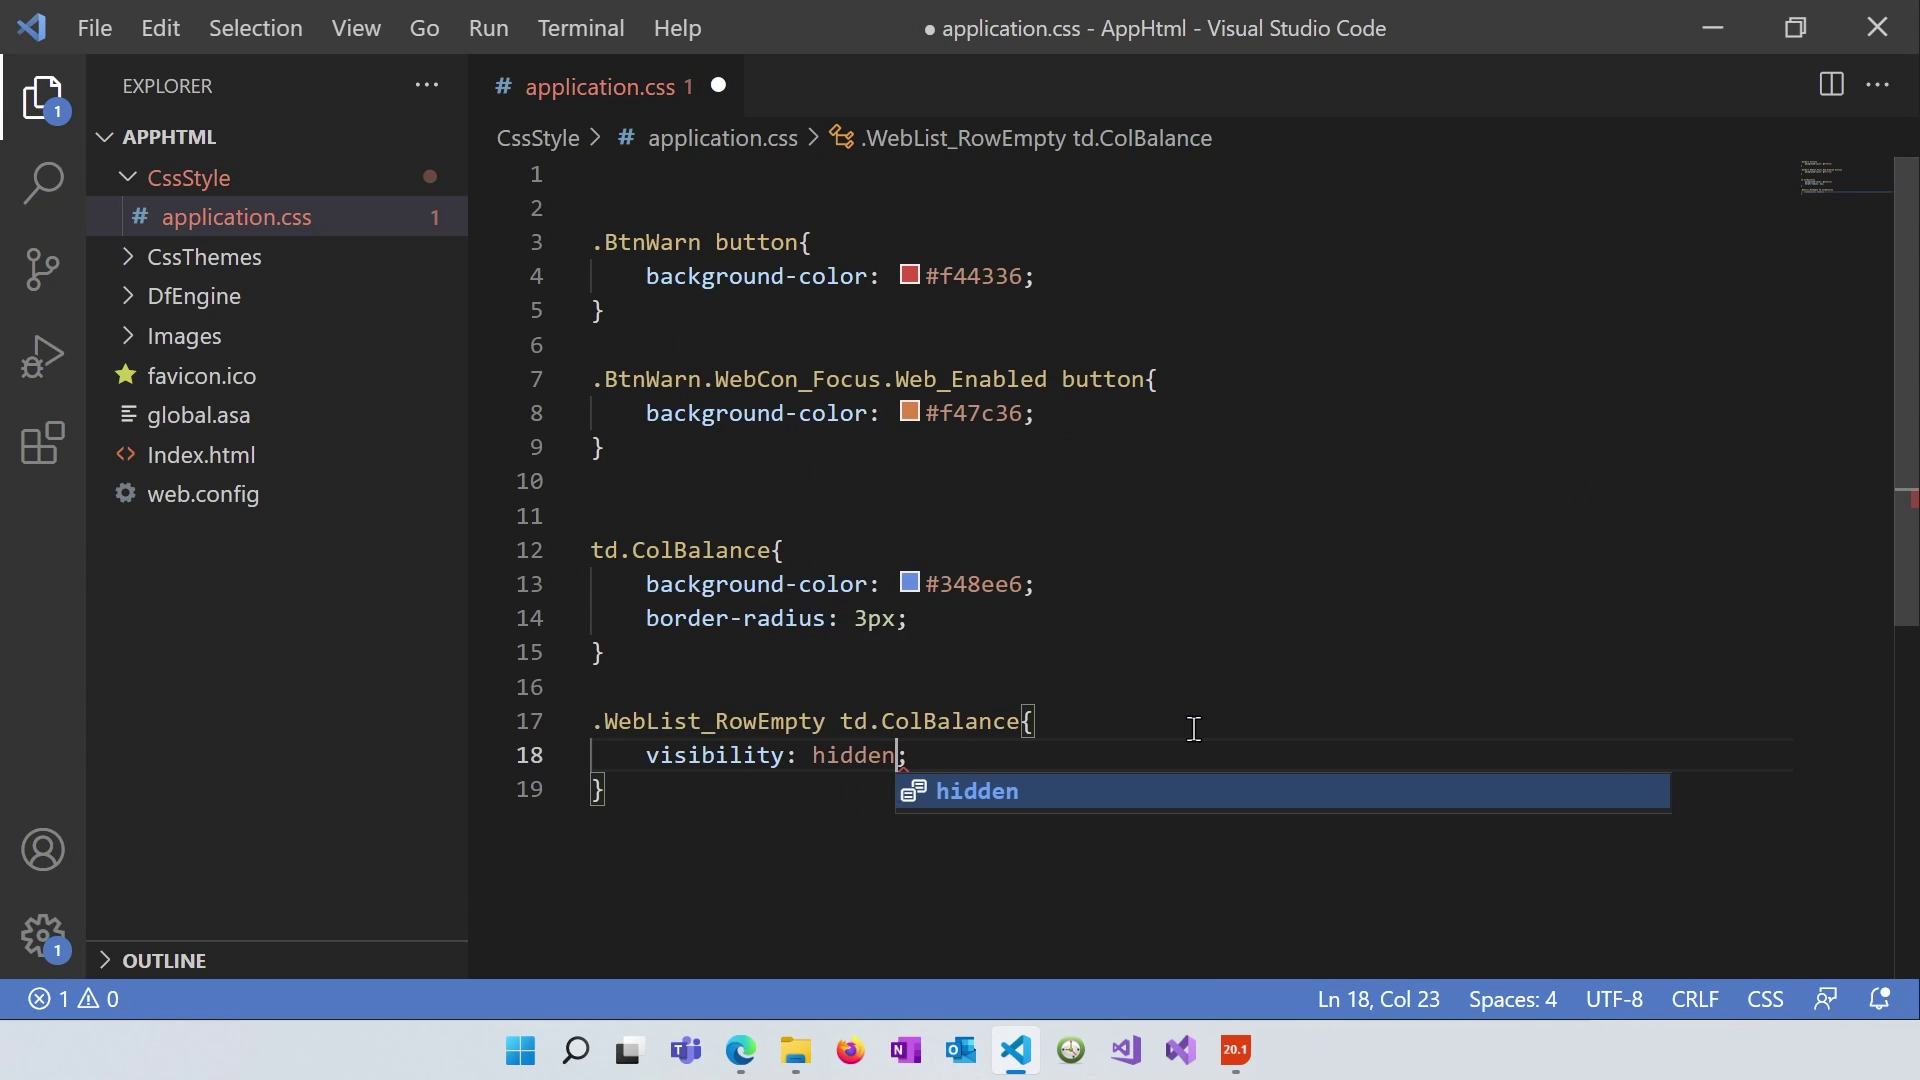
We set the psCSSClass ColBalance.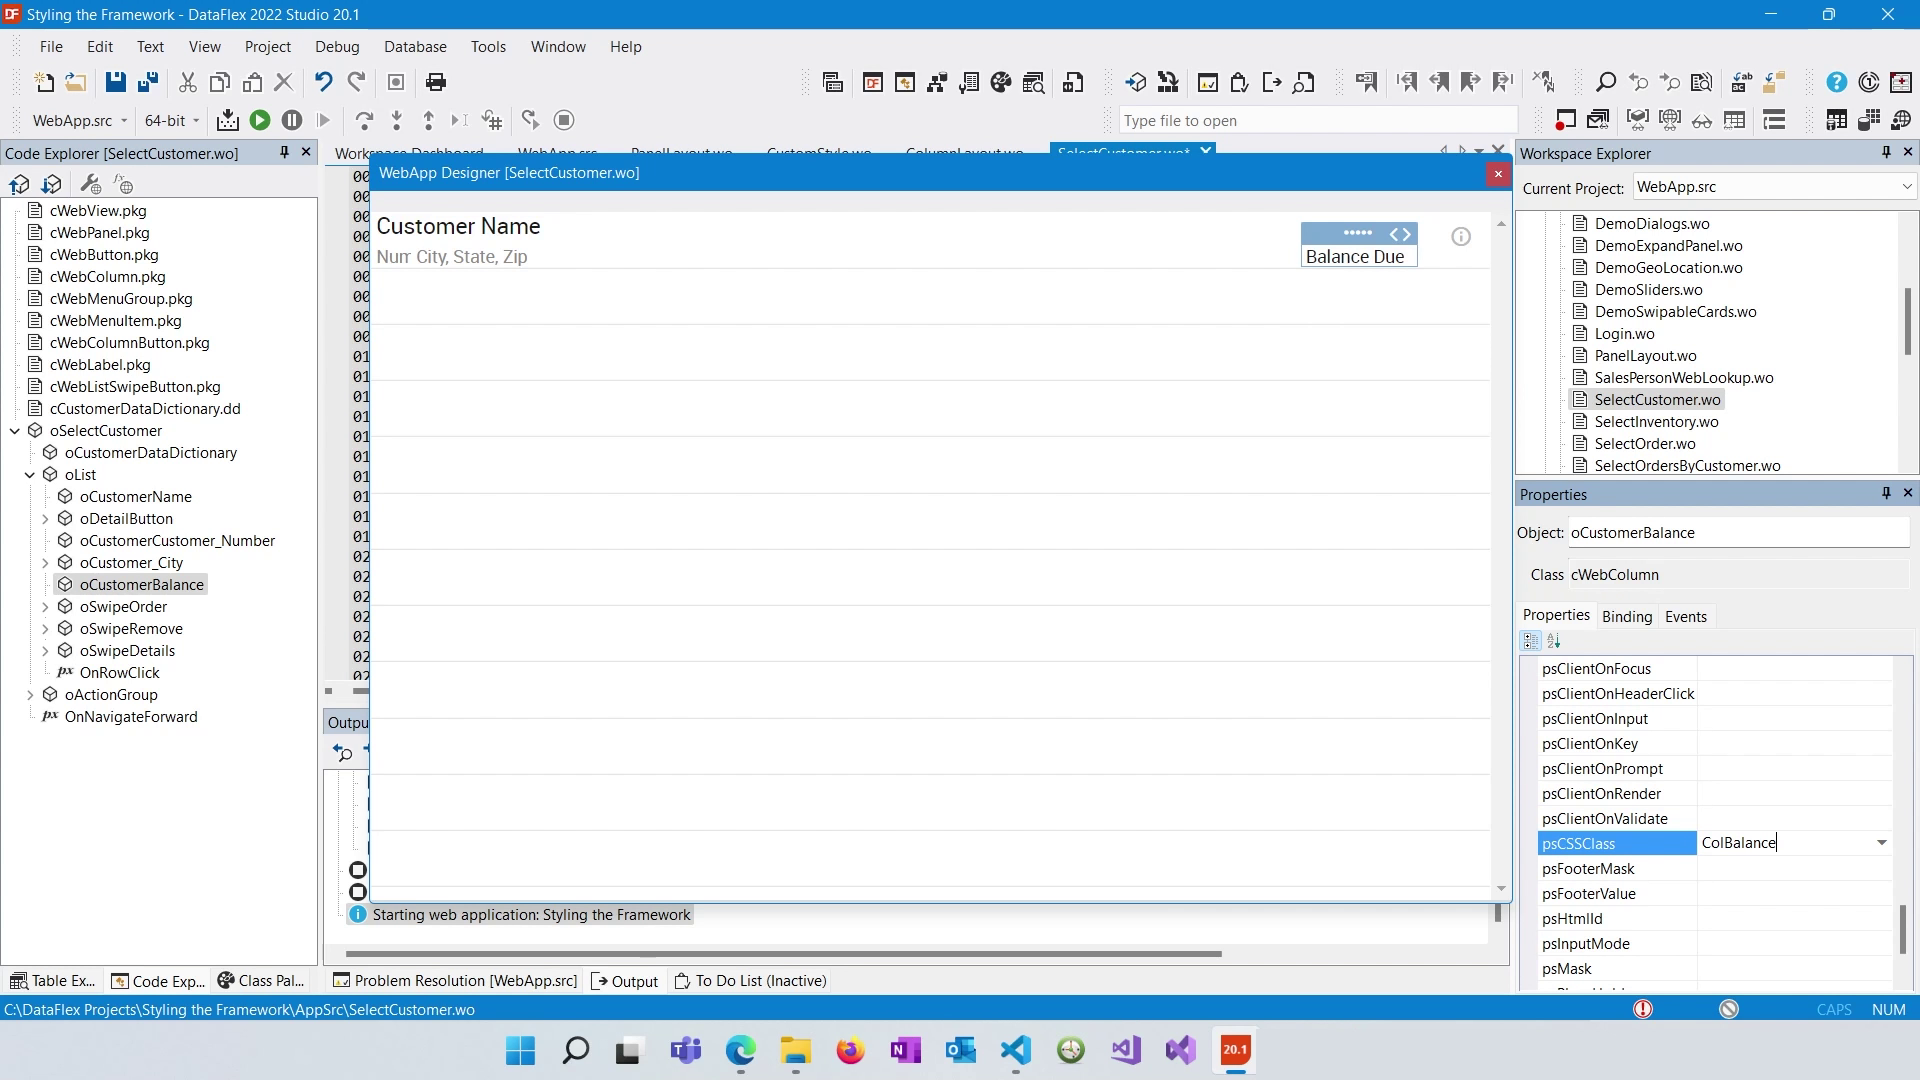 Compile to be sure and go to the application.css. and we apply corresponding CSS styles to those classes in the application's CSS file.
Refresh the application and go to Customers. It shows the changes: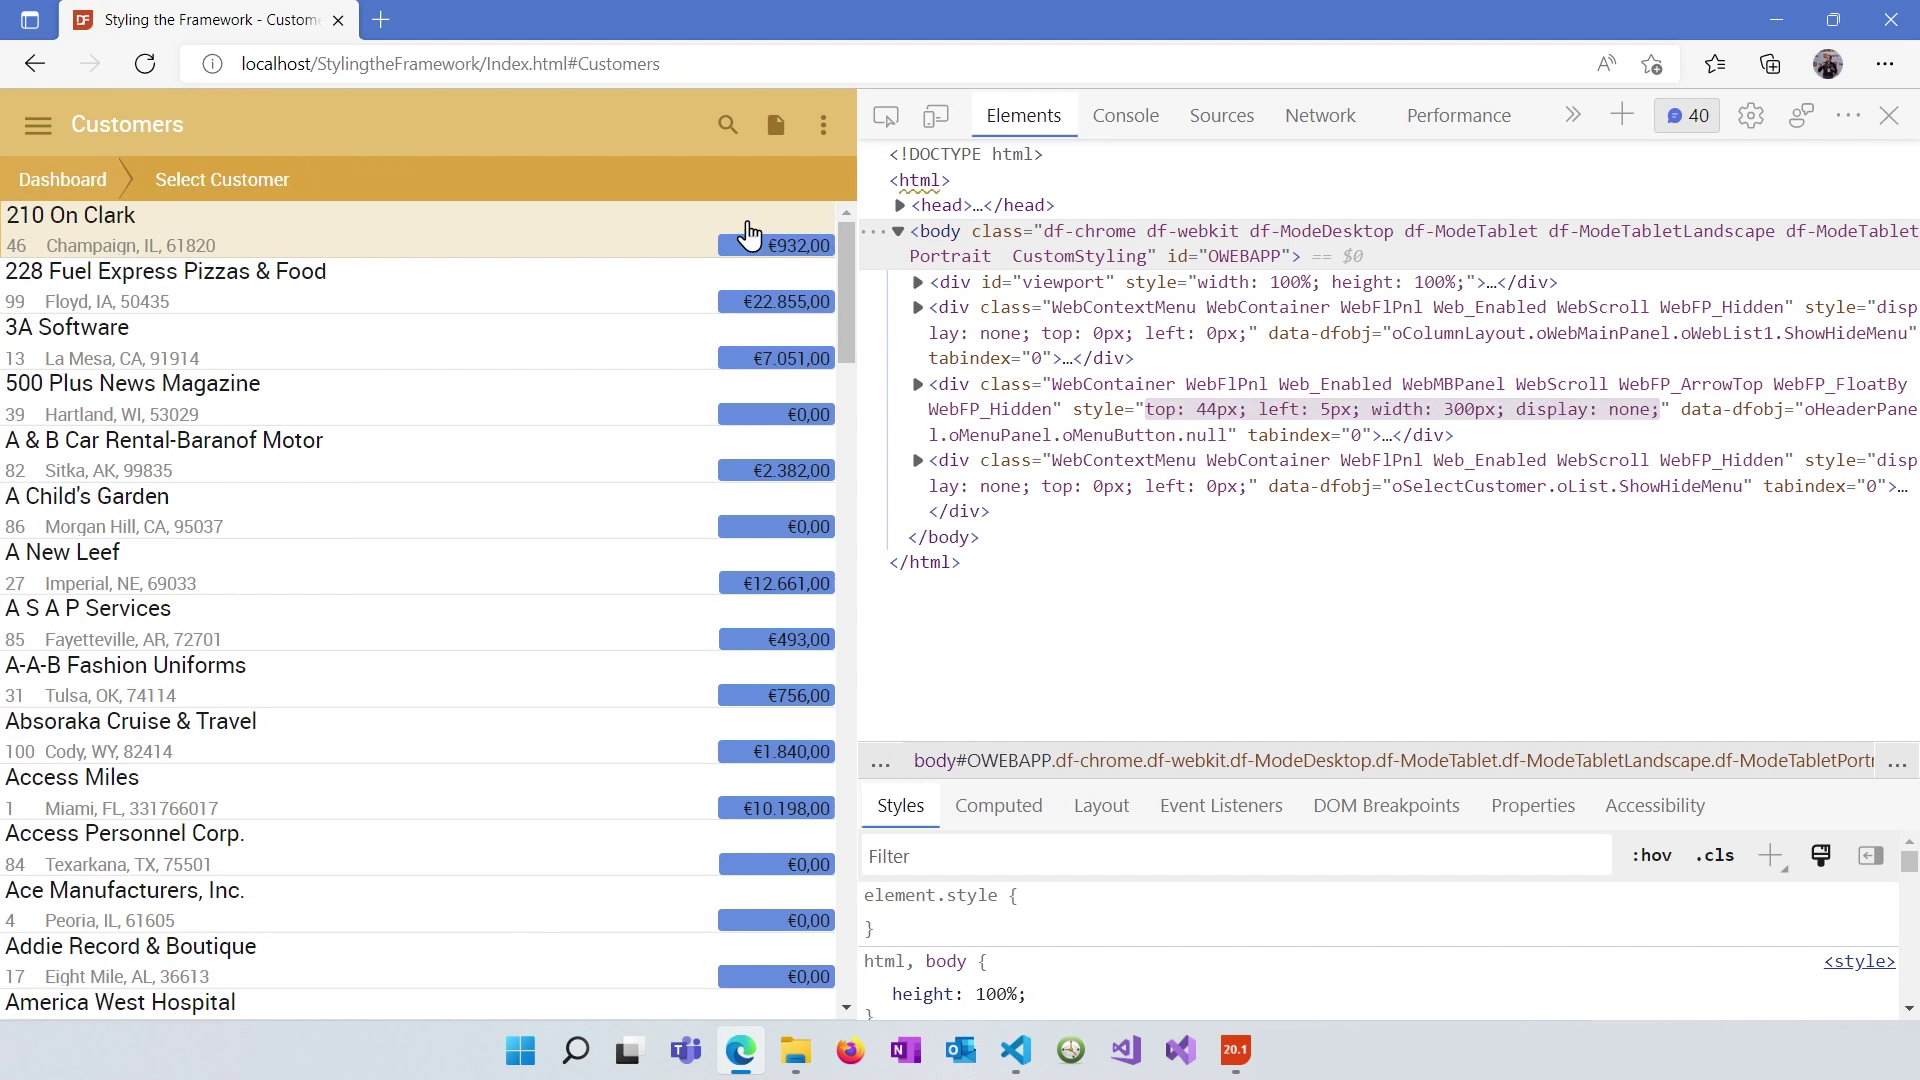
Refreshing the DataFlex Designer also shows the changes:
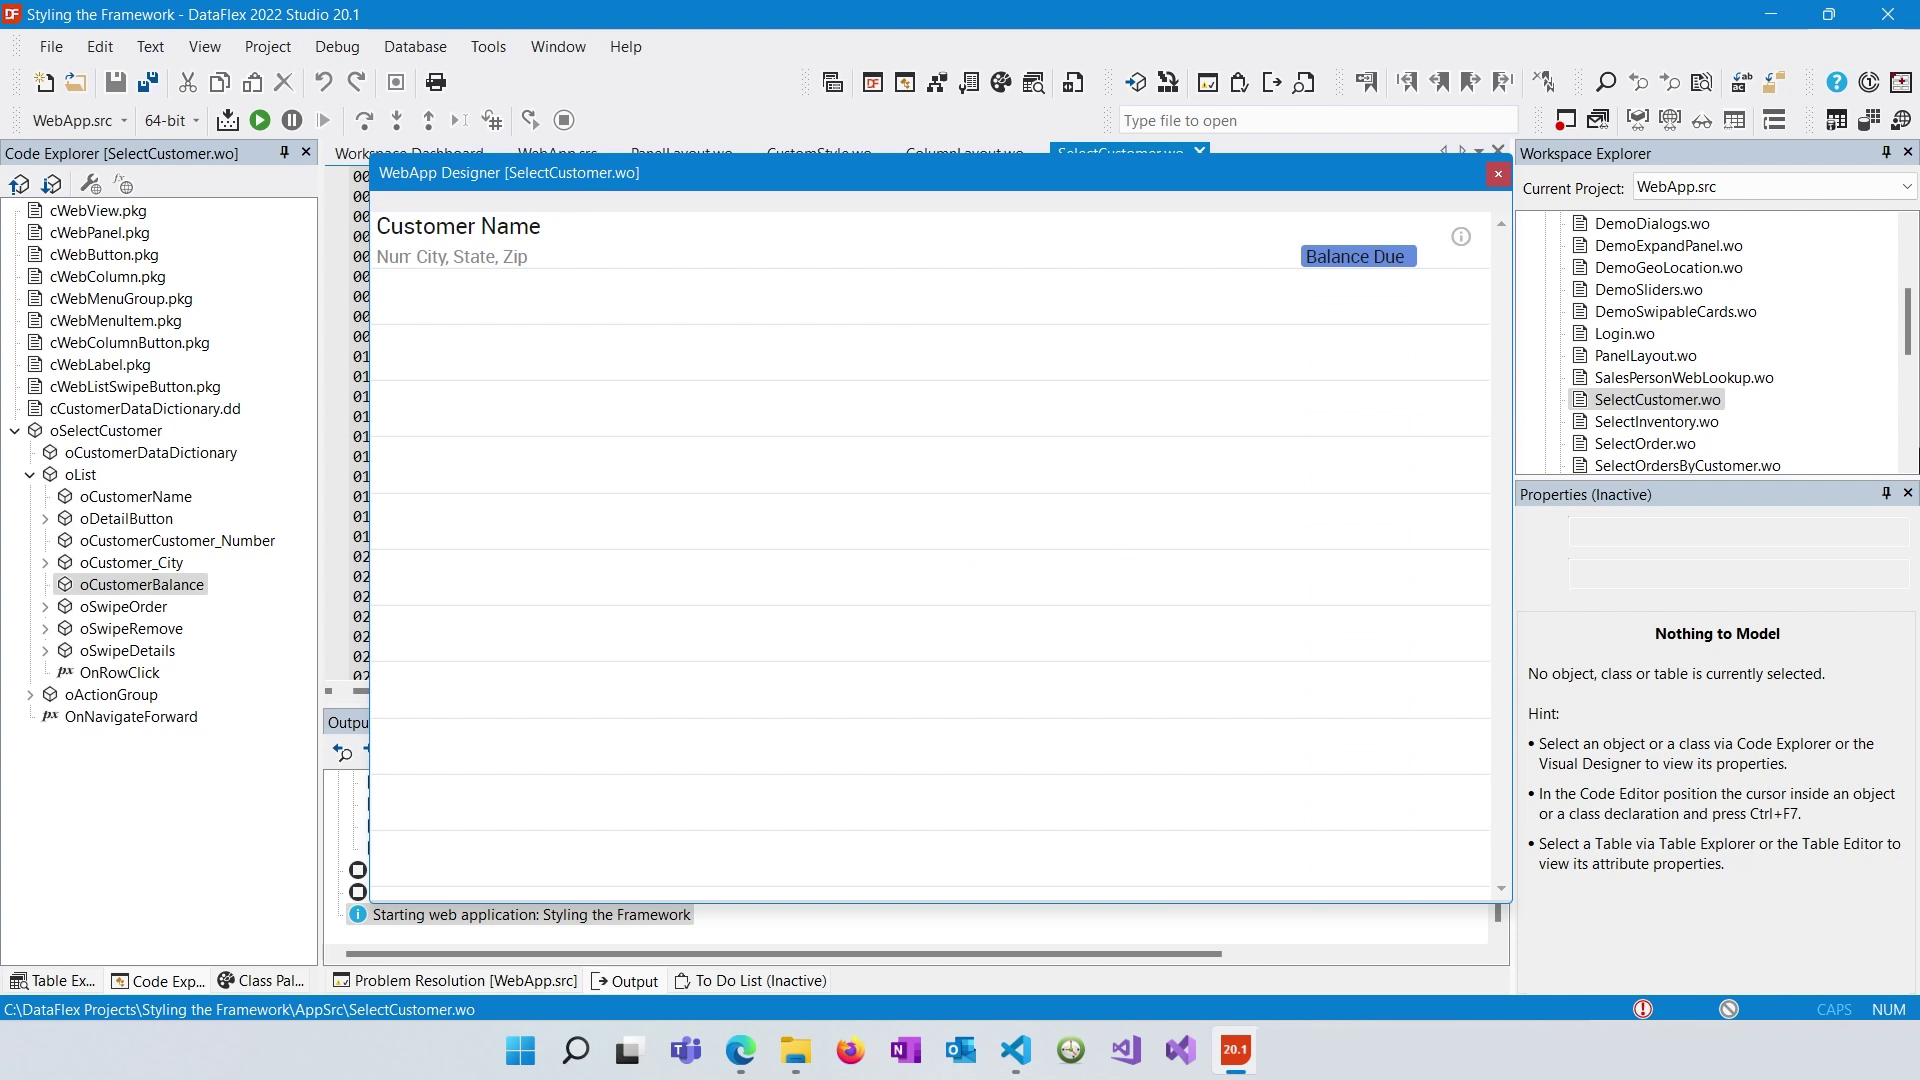
We add code to not show empty rows:
Refreshing the Designer shows the changes:
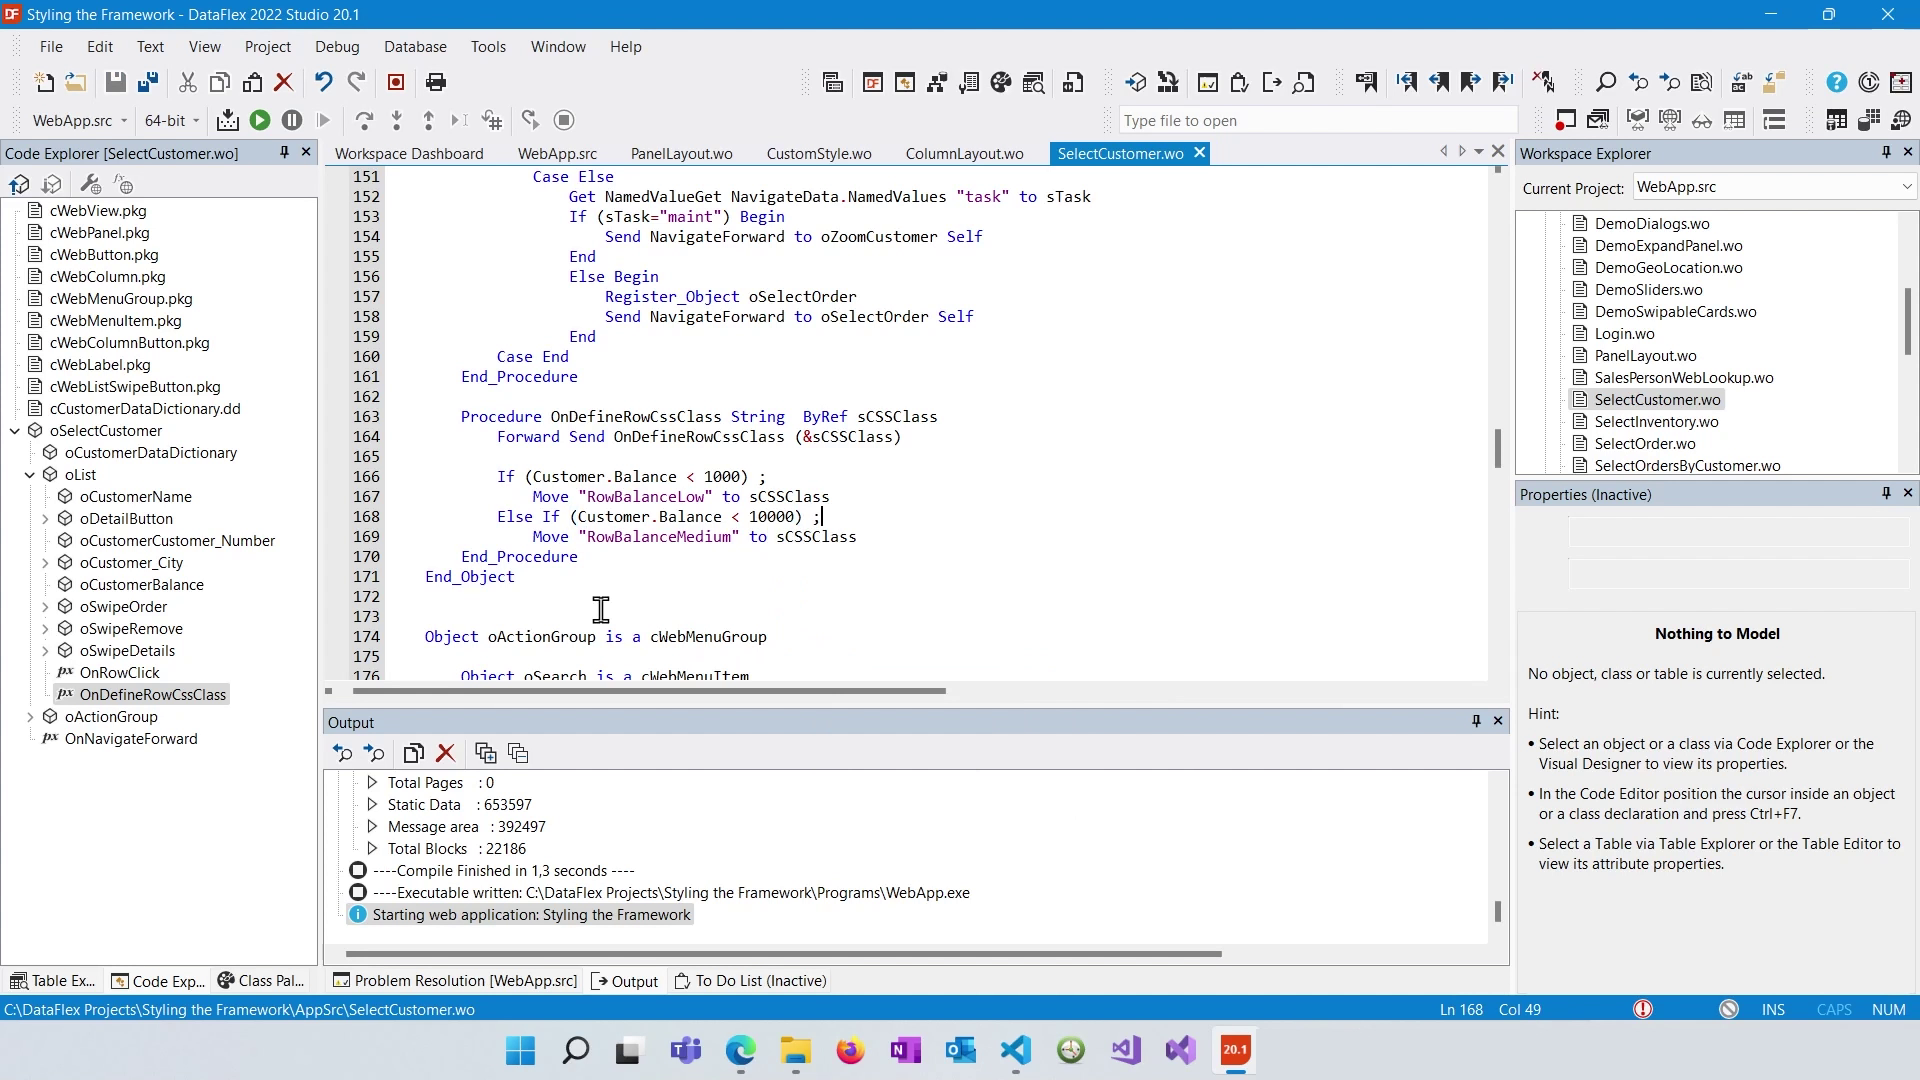
Inside oList we will implement OnDefineRowCssClass
We set different row classes ("RowBalanceLow" and "RowBalanceMedium") based on the balance amount.
Then, we apply corresponding CSS styles to those classes in the application's CSS file.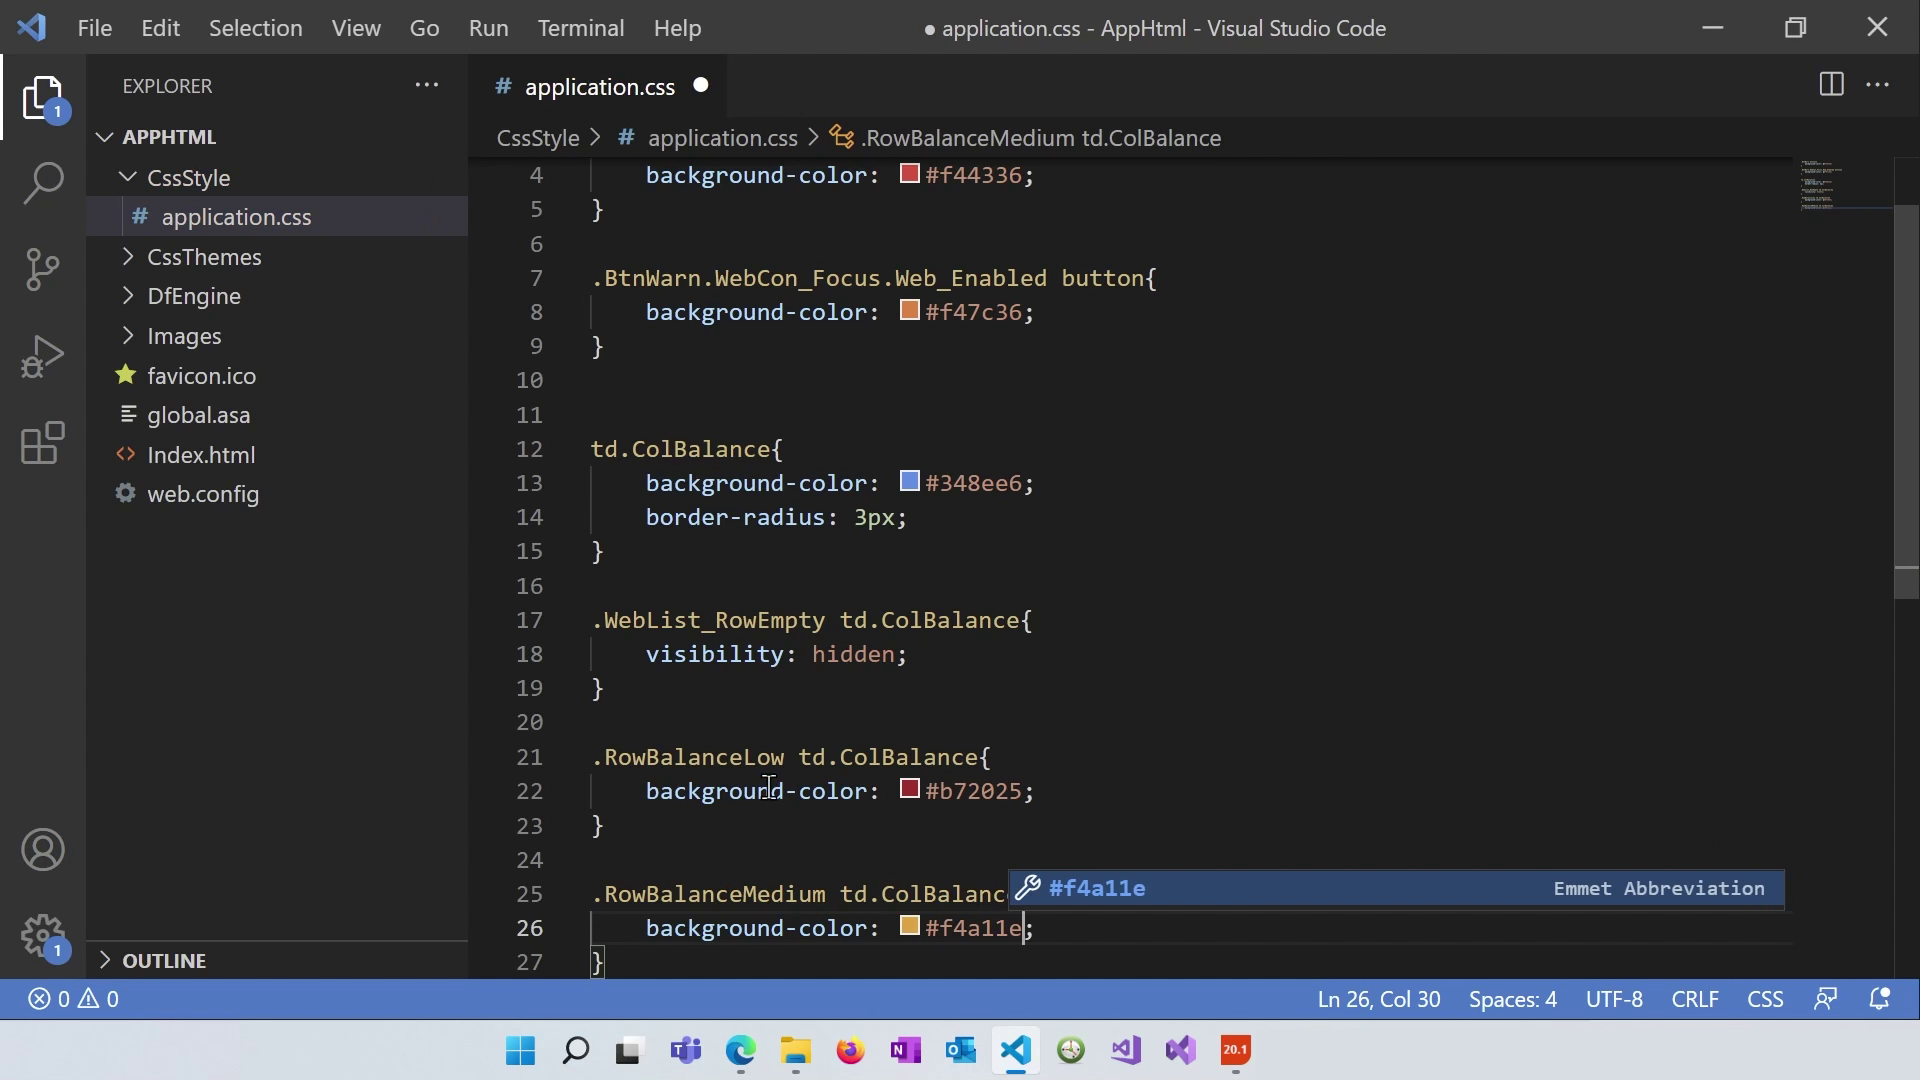
After implementing the custom styling, test the application in the browser to see how the "Balance" column changes its background color based on the balance values of customers.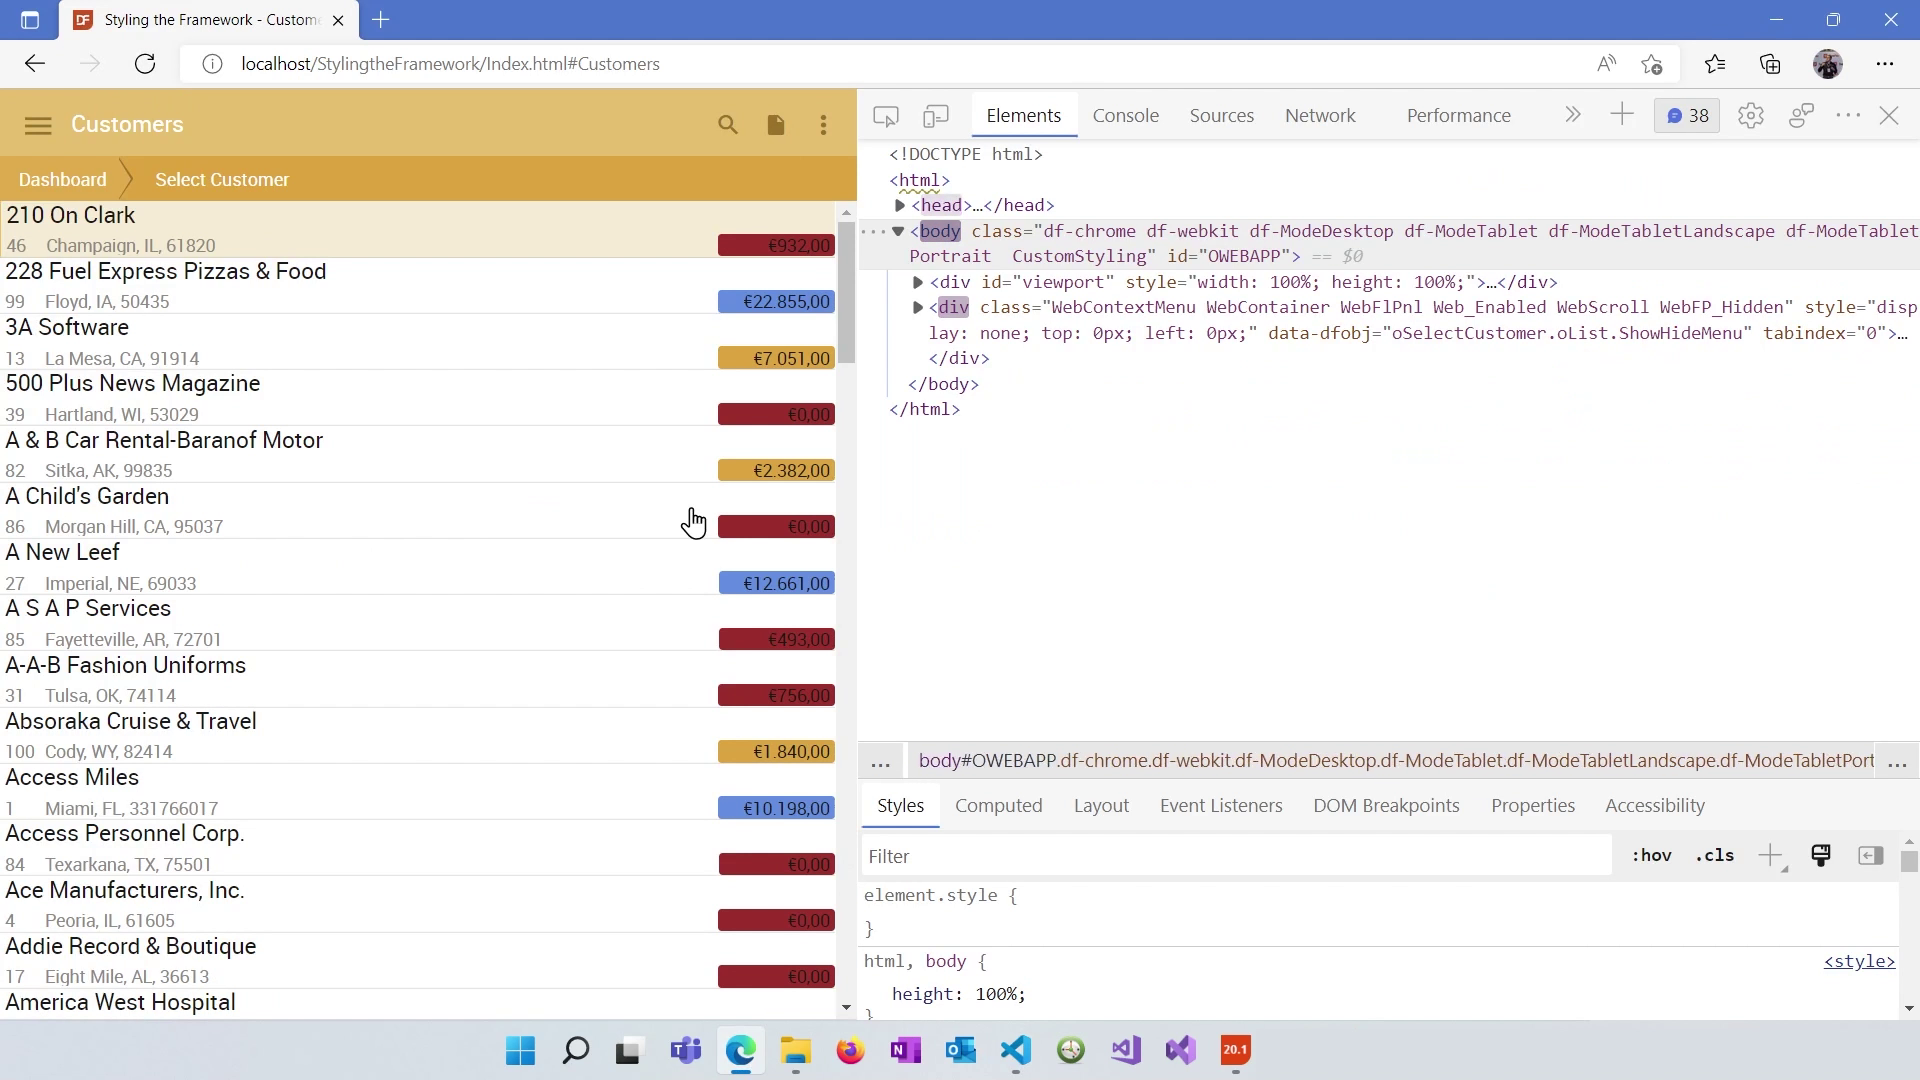
While this lesson covers basic customization of Lists and Grids, there are more advanced options, such as using custom HTML elements, building custom controls with JavaScript, and incorporating icon fonts for better styling (see blog about the topic).
Customizing the look and feel of your DataFlex web applications is possible with or without CSS knowledge. However, to achieve more advanced styling, a deeper understanding of CSS and Framework internals may be necessary. Always remember to work with the Framework, not against it, to create cohesive and efficient designs. Thank you for completing this course in our Learning Center, and we look forward to seeing you in future courses.
