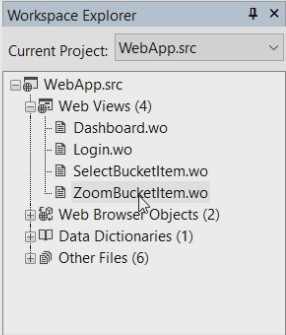
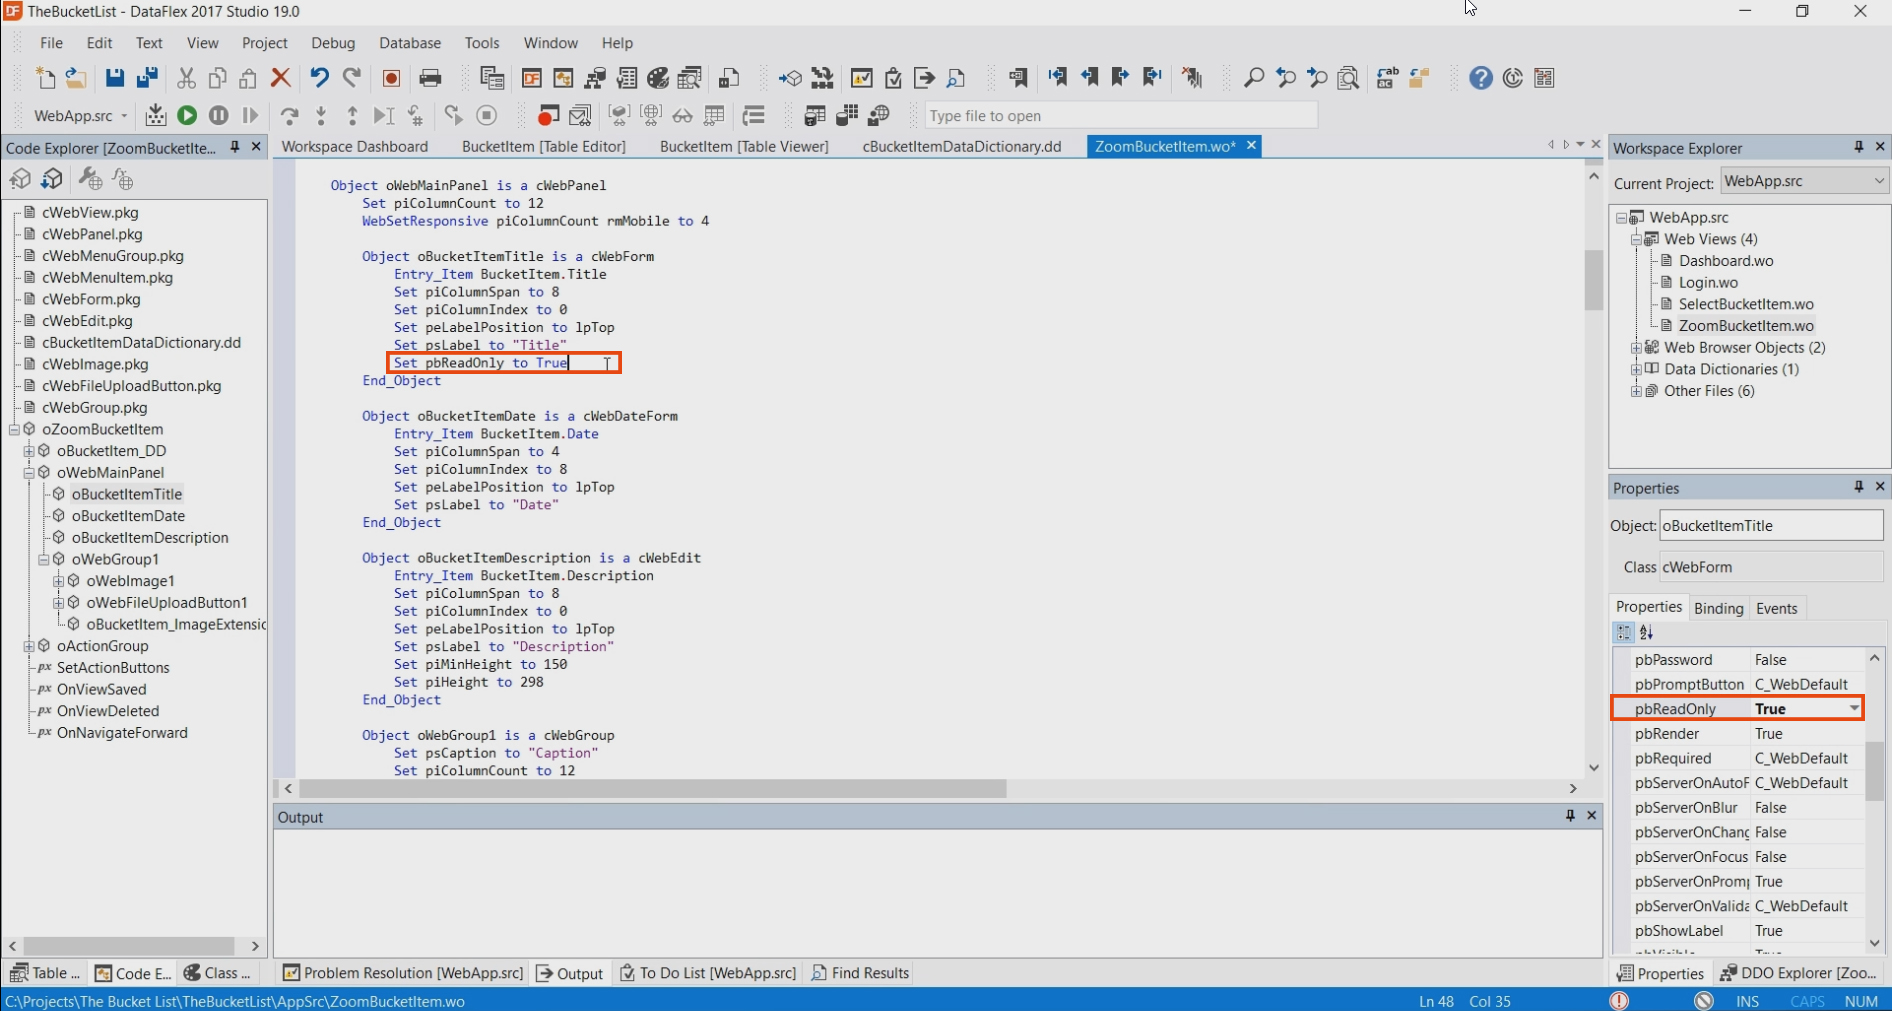
Open the file ‘ZoomBucketItem.wo’ to take a close look at the source editor.
This is a view within the application. Looking at the source code, you can see that an object is defined called ‘oZoomBucketItem’ view, which is a ‘cWebView’.
Several properties are set, like the caption to “Bucket Item”.
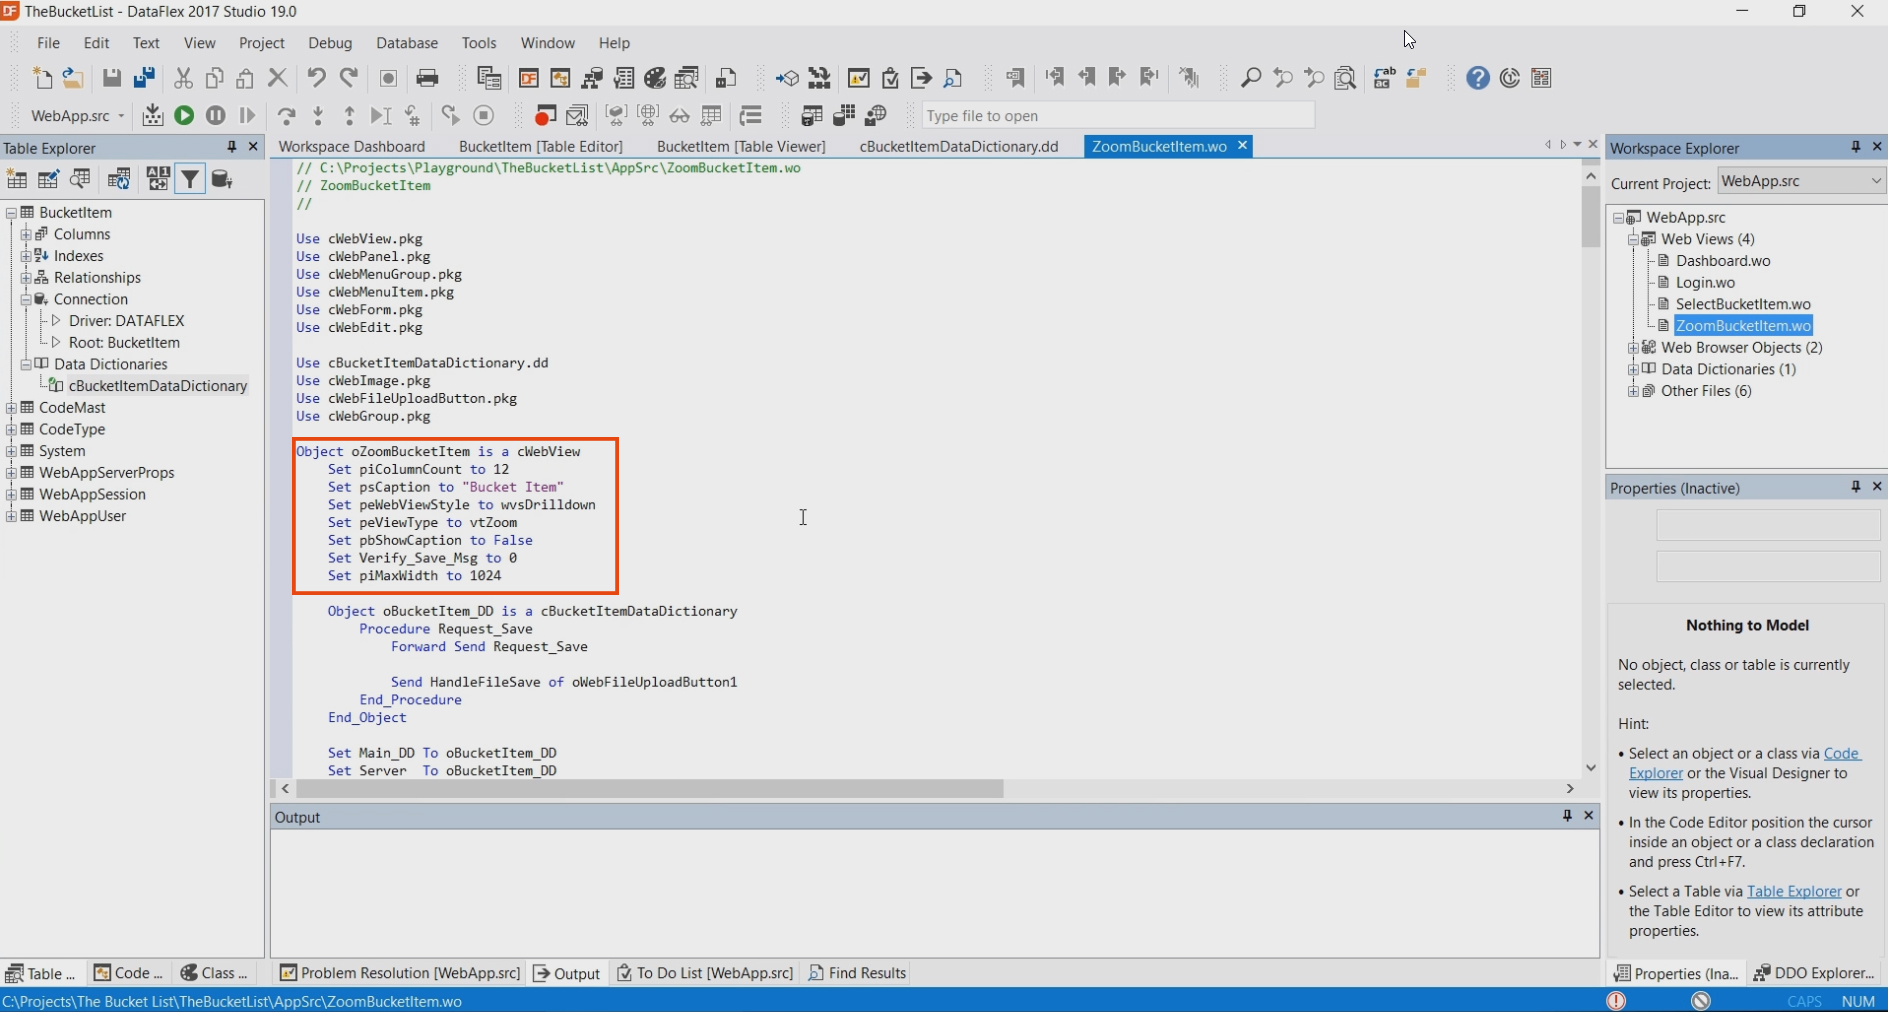
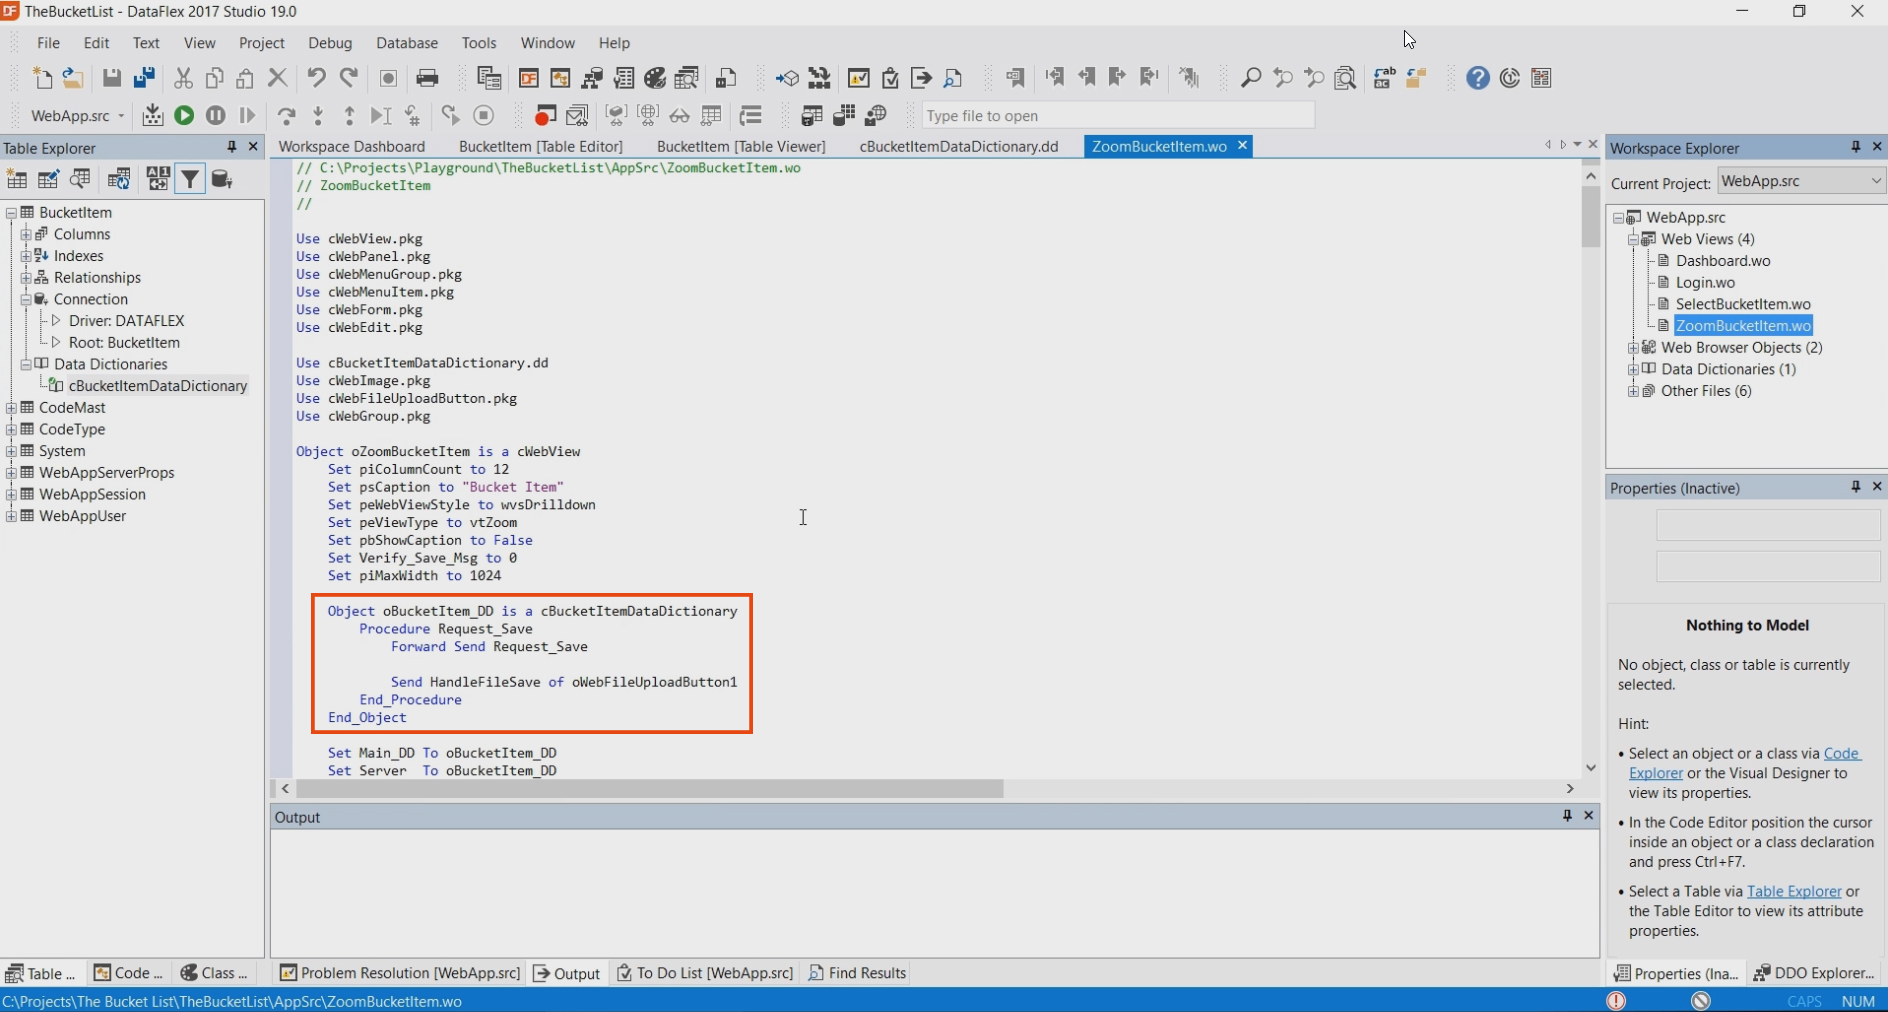
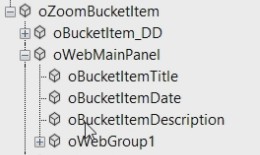
Scroll down to see the different data dictionaries being defined and user interface elements.
These objects are nested into each other and it has a panel with different forms and an edit control. The different components of the studio all work together.
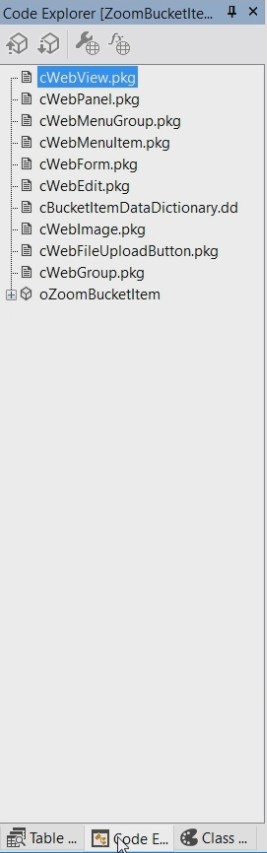
Click the code explorer to see the structure of a file you opened.
Expanding the tree will show the objects that are defined within the source code.
Double click a object to have the cursor jump to that specific object in the source code.
The properties panel will also select this object. Changing the property ‘pbReadOnly’ to true will result in an added line to our source code, setting this property to true.
With code sense Typing ‘setpbReadOnly’ will show a list of the available options to choose from.
This helps with correctly typing the available names. Open the code sense editor using Ctrl+Space or just by starting to type.