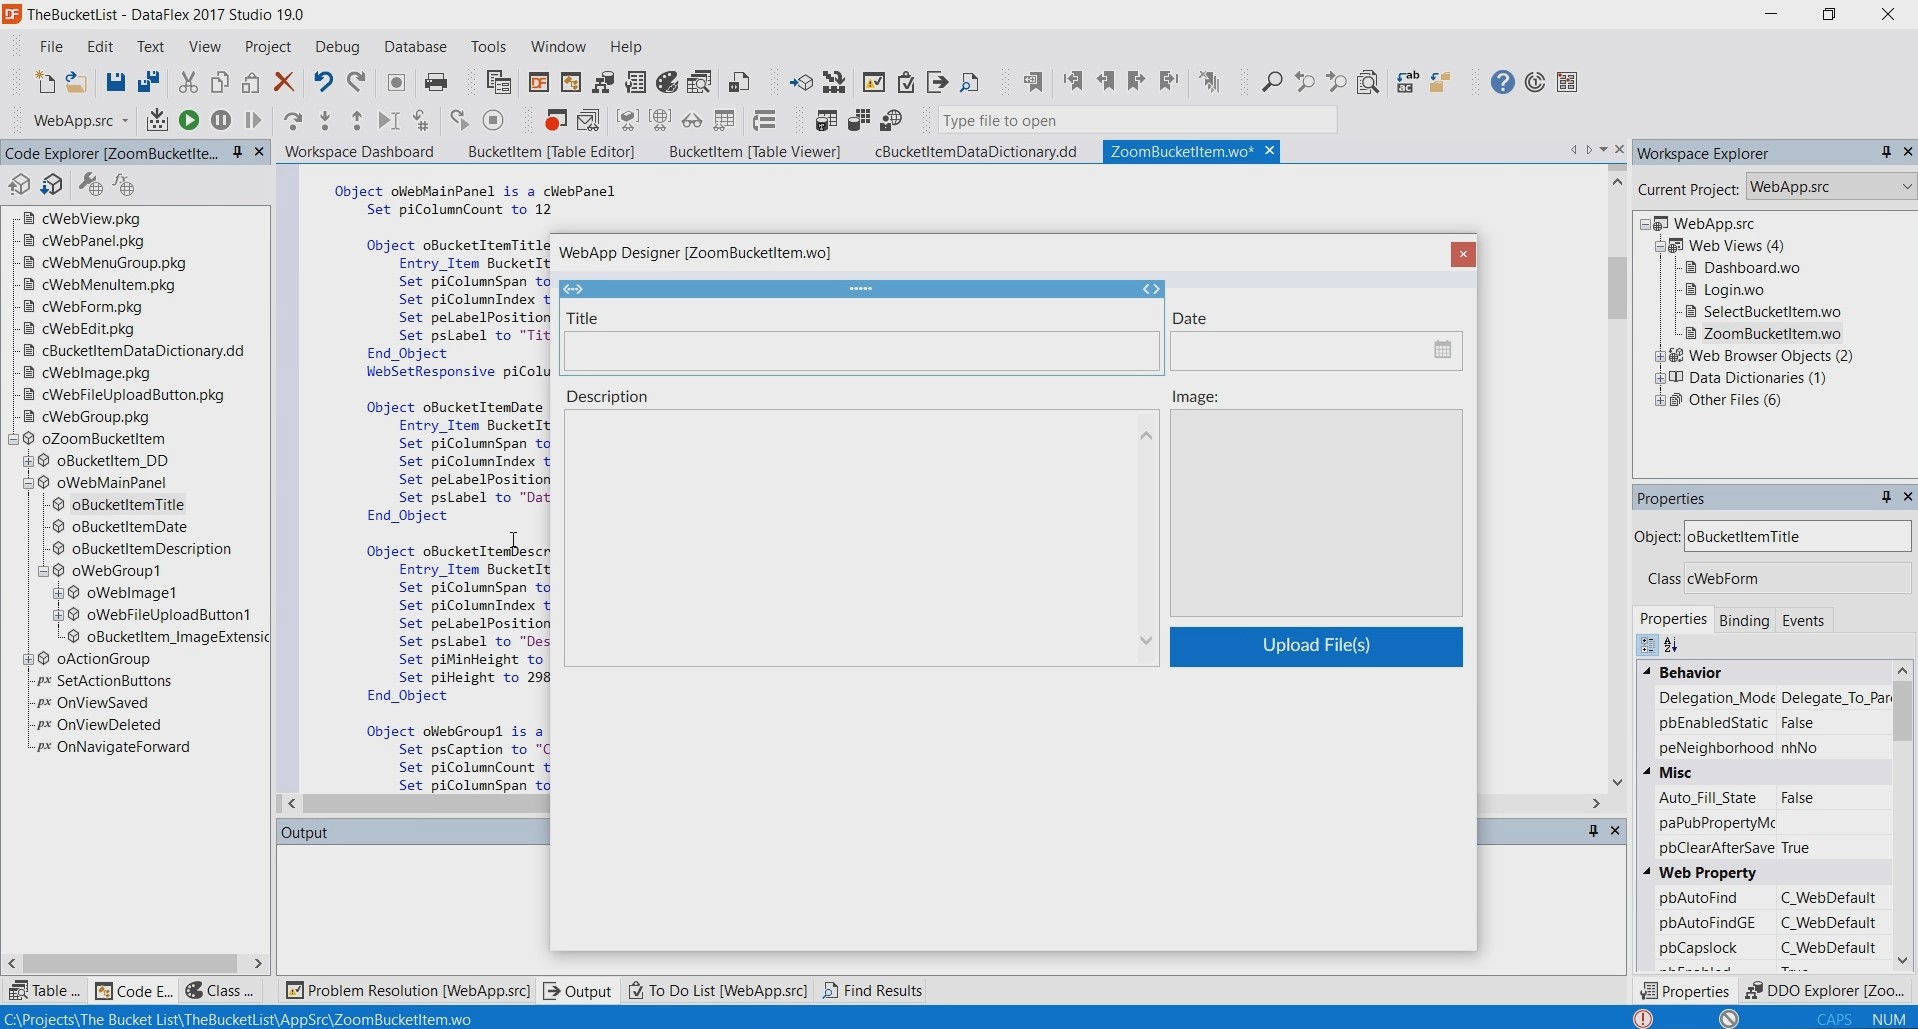
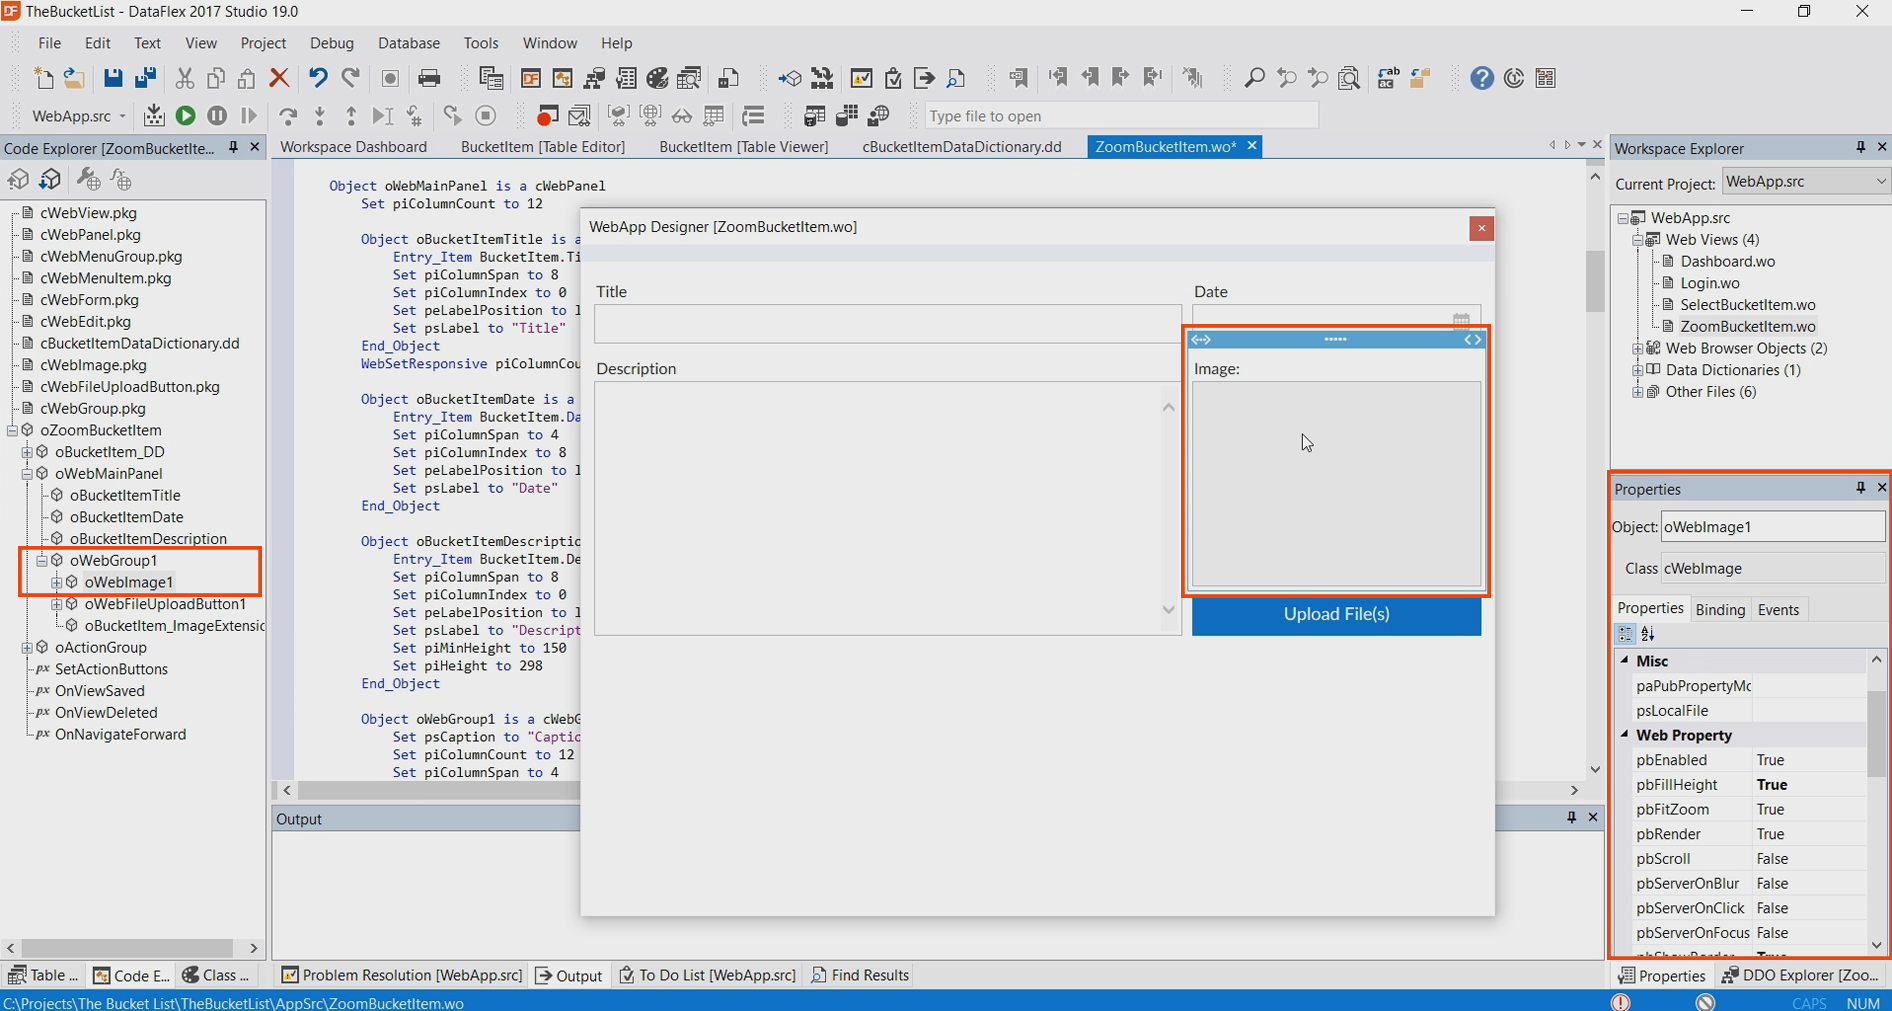
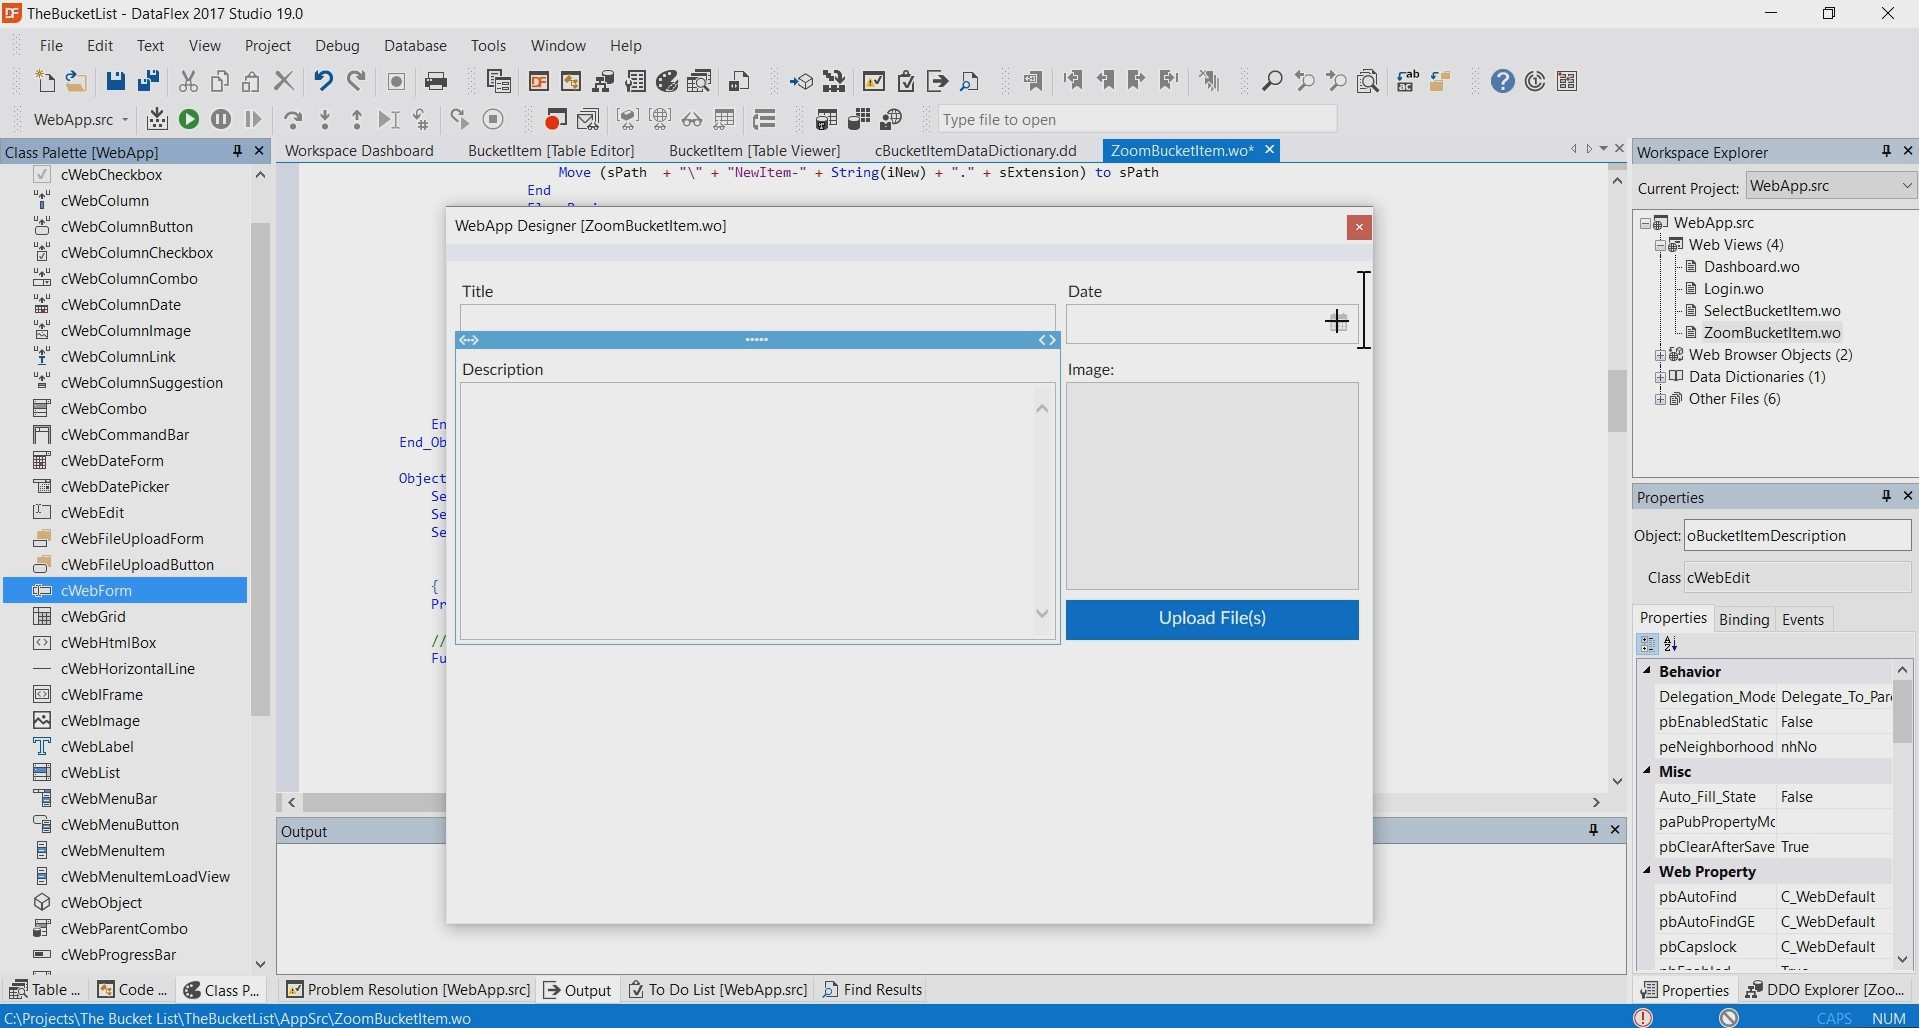
The designer is a panel that can be docked to the studio but it can also float on top of the studio. The designer works together with the rest of the studio, so if you click on one of the control within the designer you will see that the code explorer also high lights this control and the properties panel does this as well.
Double clicking on one of the controls will make the cursor jump to the corresponding object in the source code.
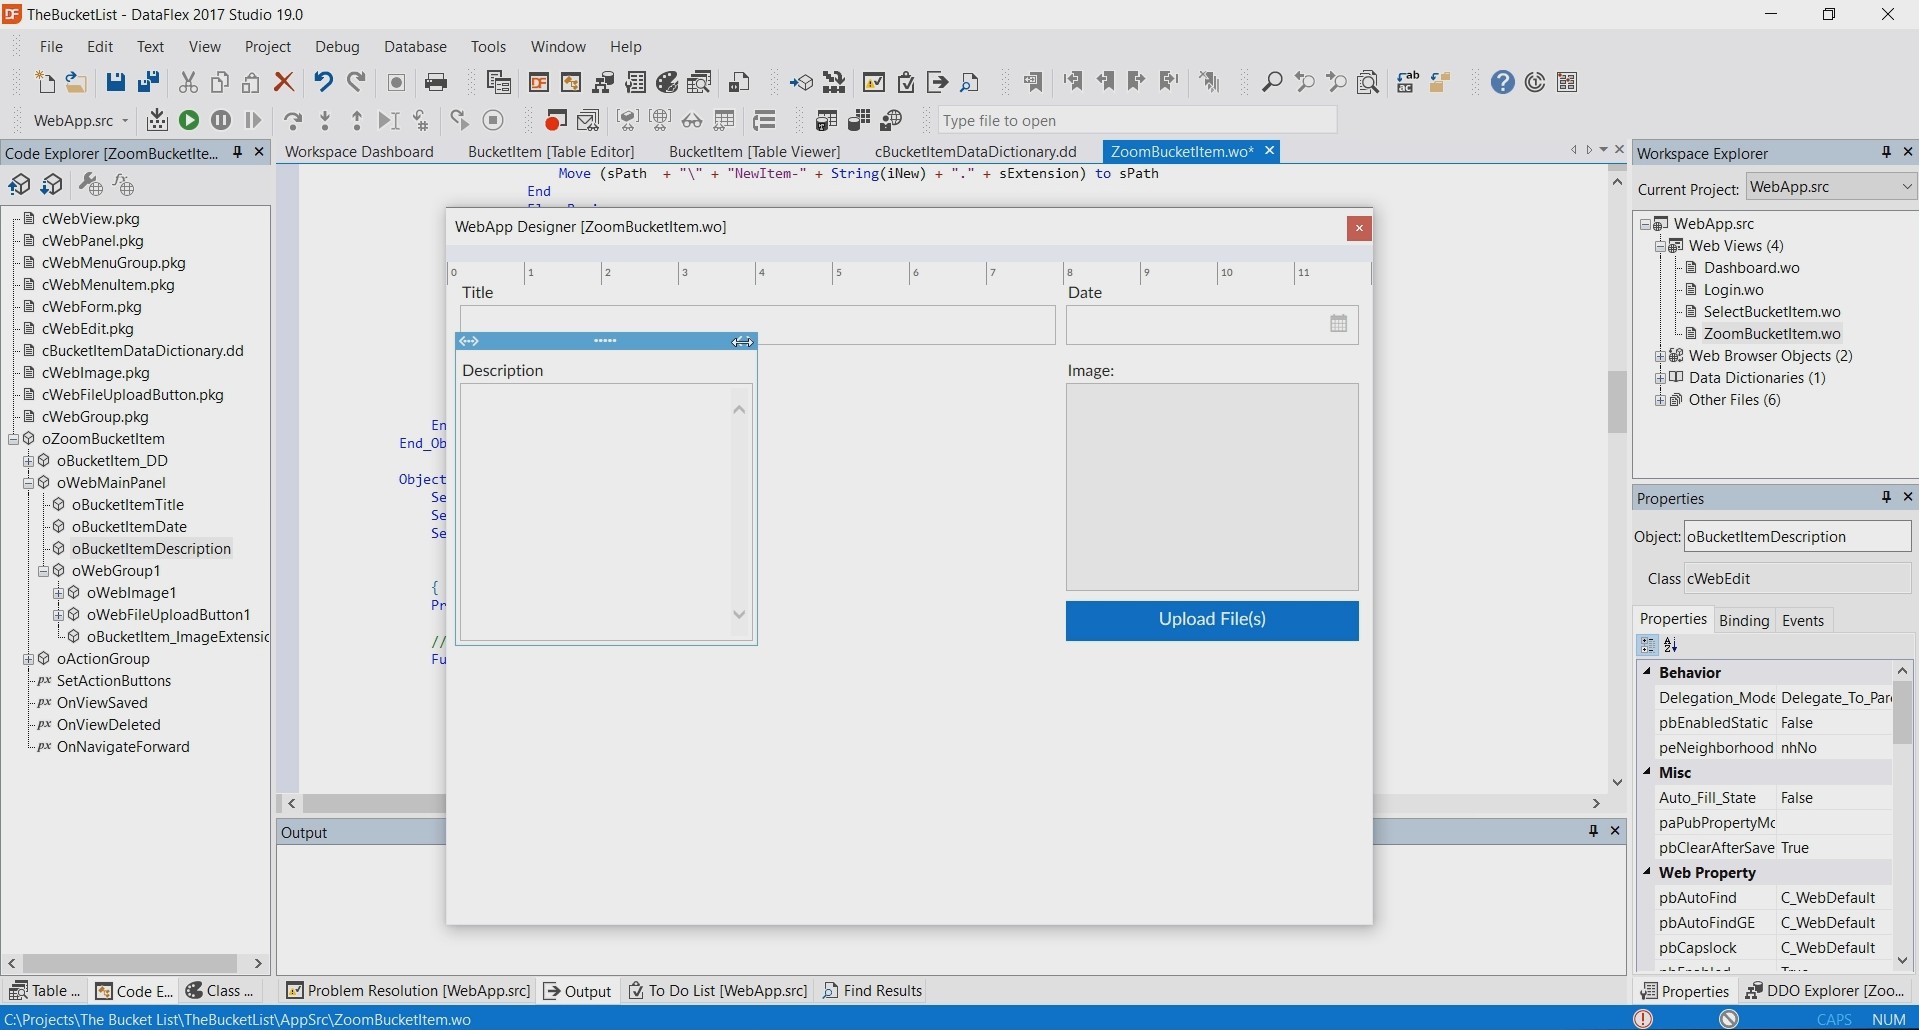
To change the user interface, simply move or resize the objects within the designer. The arrow indicates where the object will go.
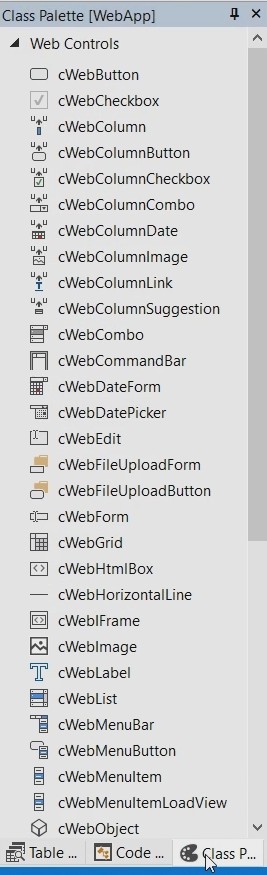
To create a new object select the ‘Class Palette’.
And drag the object into the designer. The arrow indicates where the object will appear after releasing the mouse button.
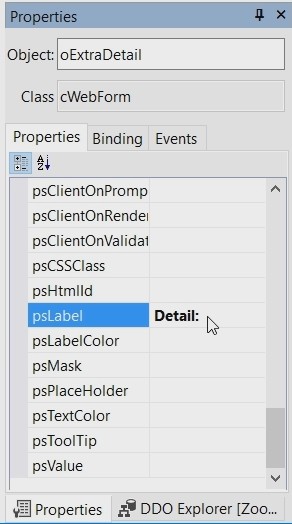
To customize the object, select it and use the properties panel. Here you can customize for example the name to ‘oExtraDetail’ and the label to Detail:.
The designer and source code will immediately reflect the changes made in the Properties panel.
Some items in the properties panel are highlighted. Highlighted items are set on the object, while non-highlighted items have a default value based on the class.
In this case this object is based on the ‘cWebForm’ class.
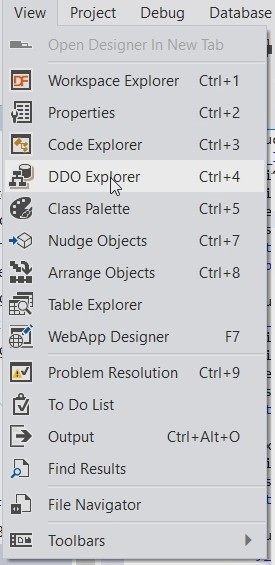
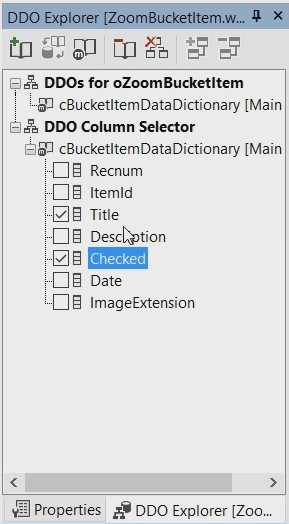
Another important panel is the DDO Explorer, which can be found under view > DDO Explorer.
It shows up as a panel, usually at the same place as the properties panel.
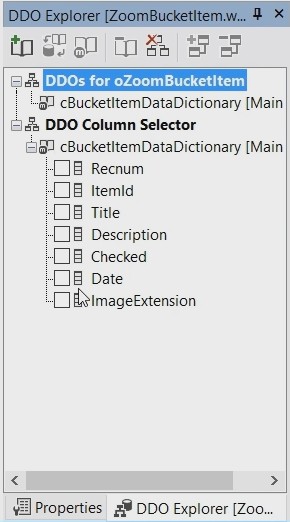
It shows the DDO structure, the structure of data dictionary objects within a view.
From here you can drag new fields onto the view.
For example, select the ‘Title’ and ‘Checked’ field, and drag them onto the view.
This will generate the data entry object that belongs to these table fields, it’s an easy and quick way to design a view.