Now that you have made some changes to the application, the next step is to compile and run it.
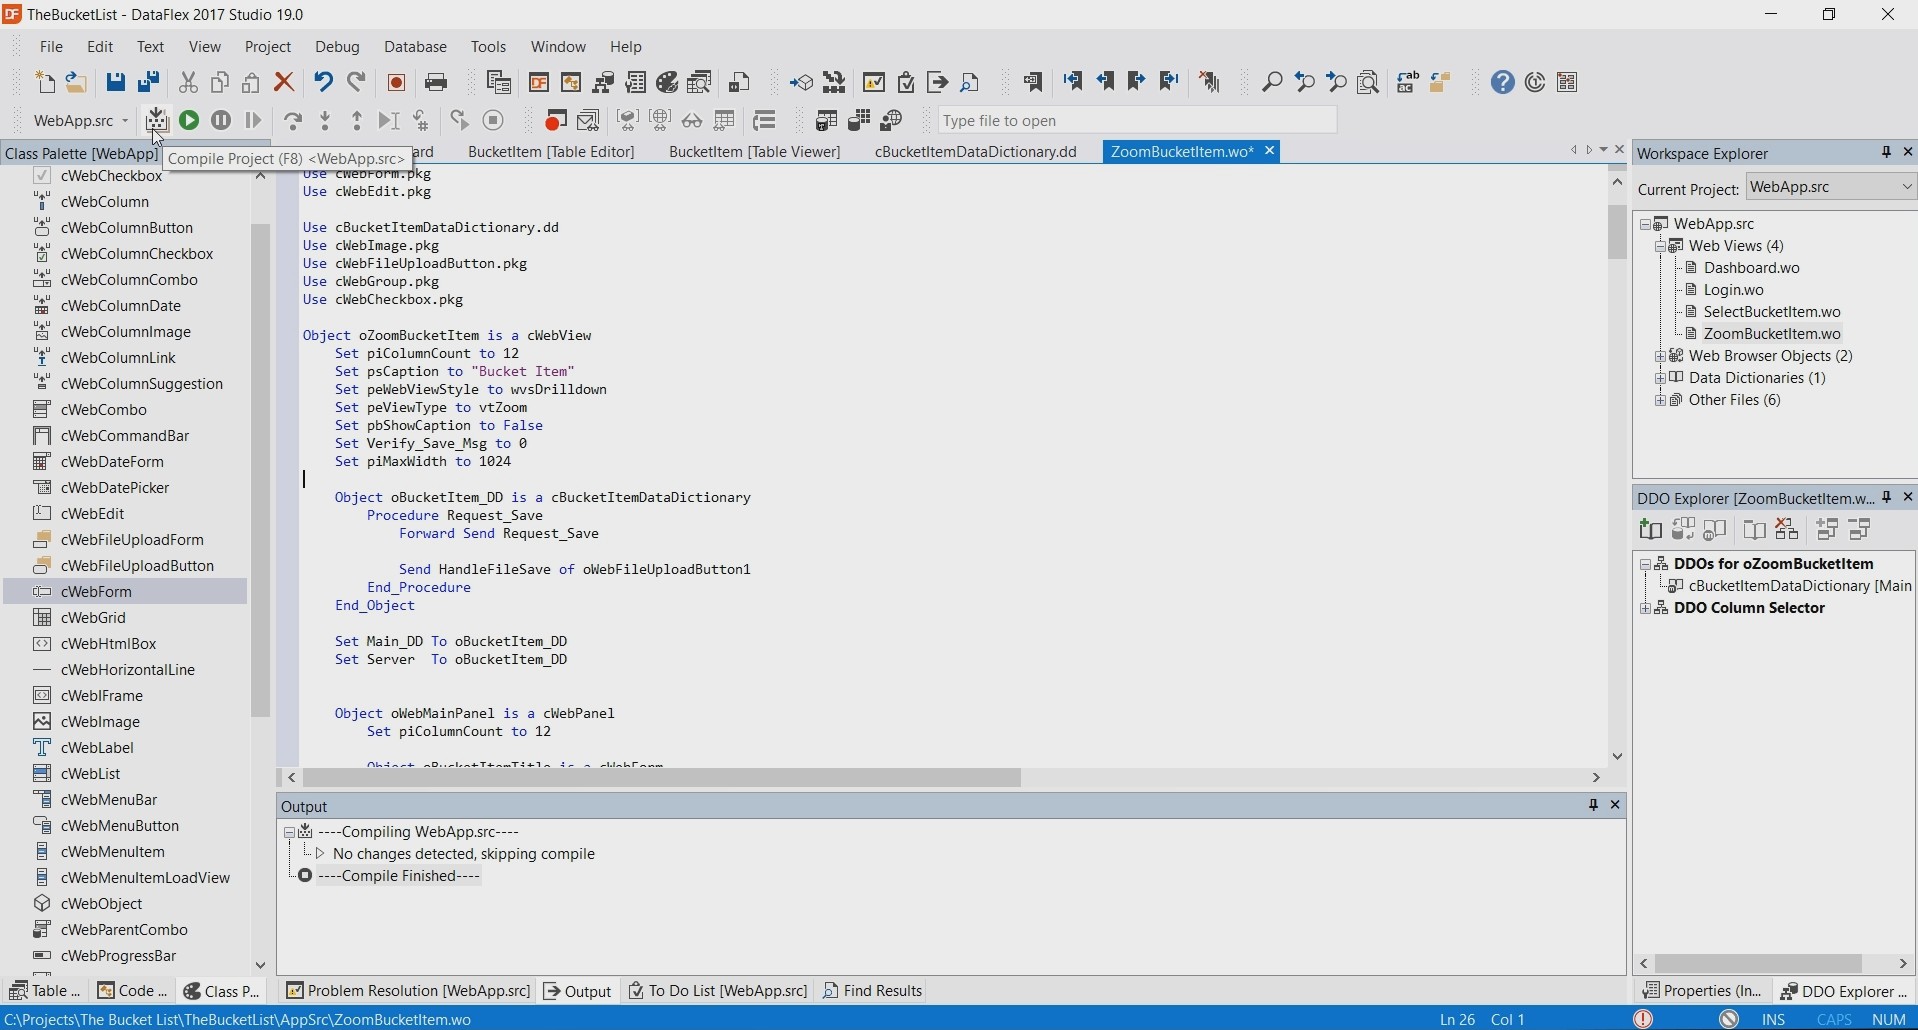
First close the designer and compile the application by pressing the ‘Compile Project’ Button.
On the output panel you see the progress of the compile and any errors will show here.
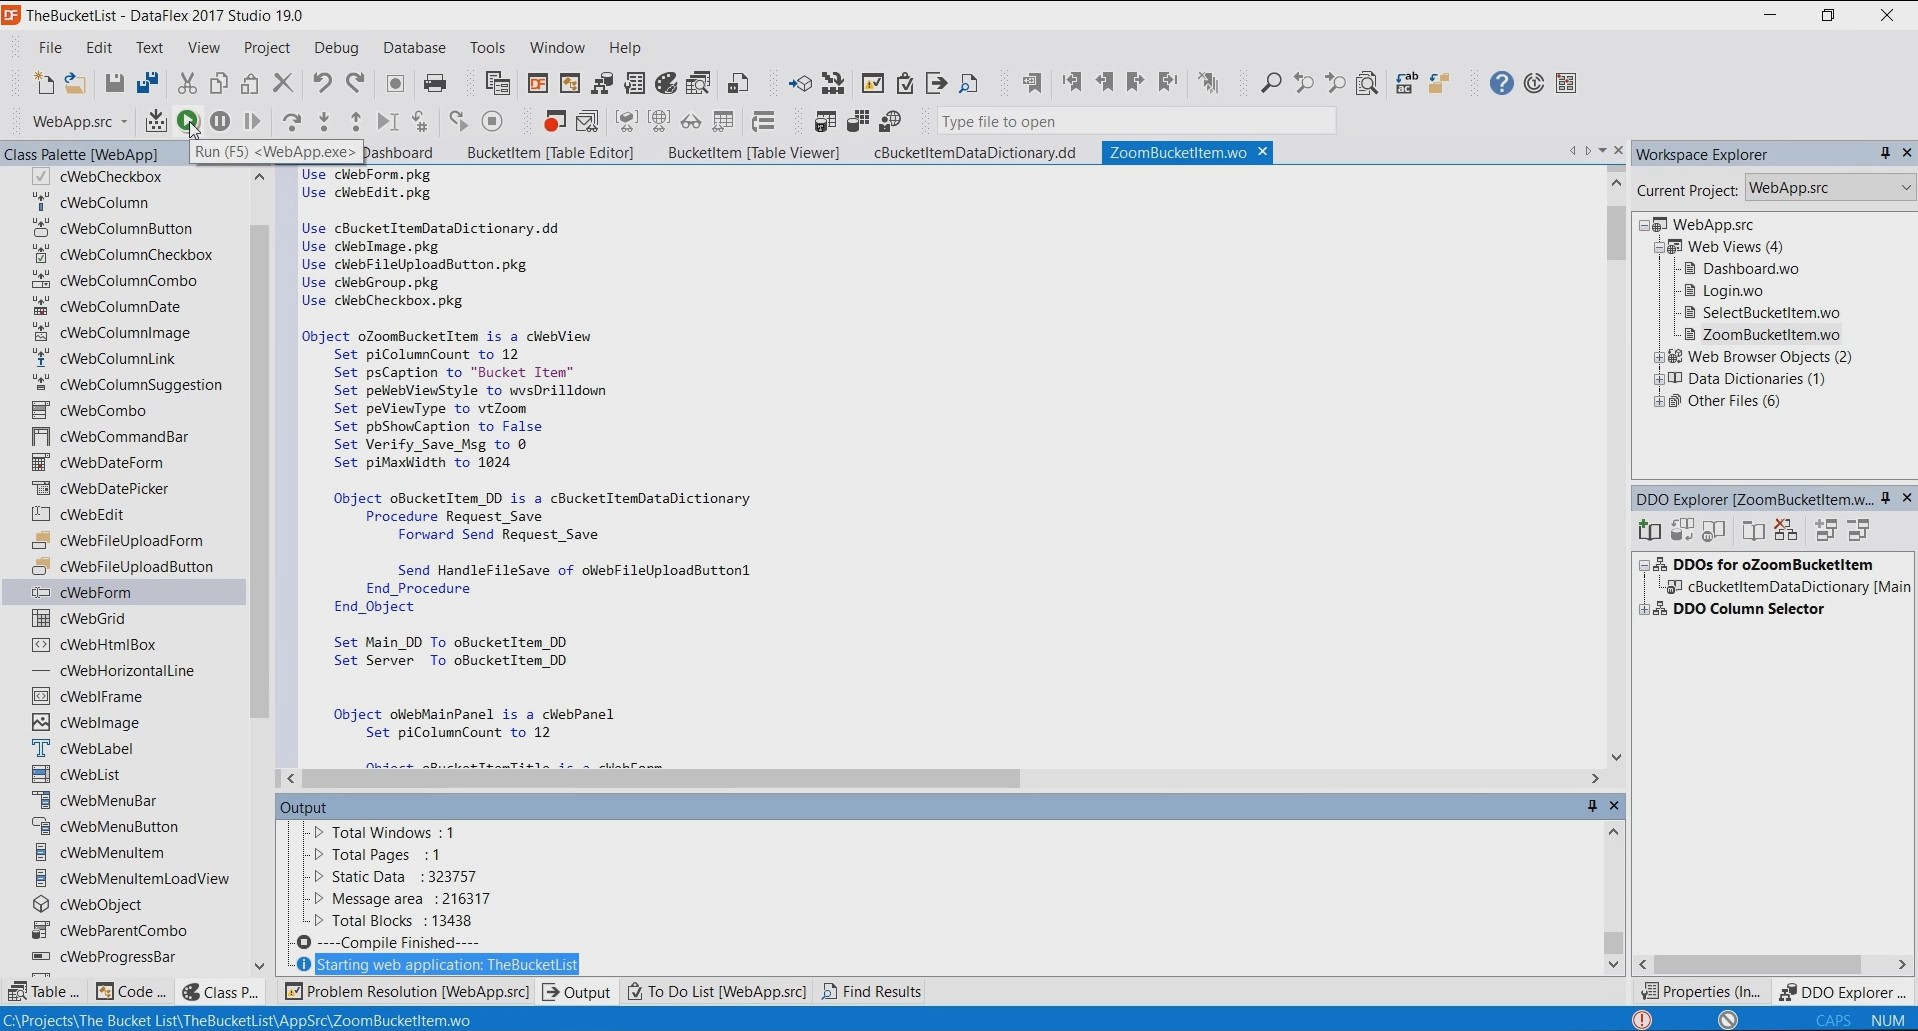
It will first stop the application, then compile it and start it again.
Test run the application by pressing the ‘Run”button.
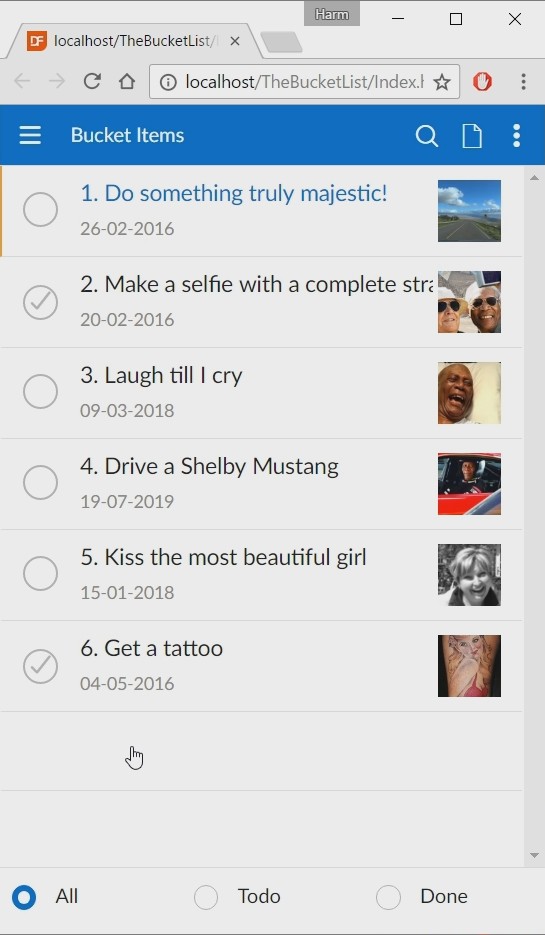
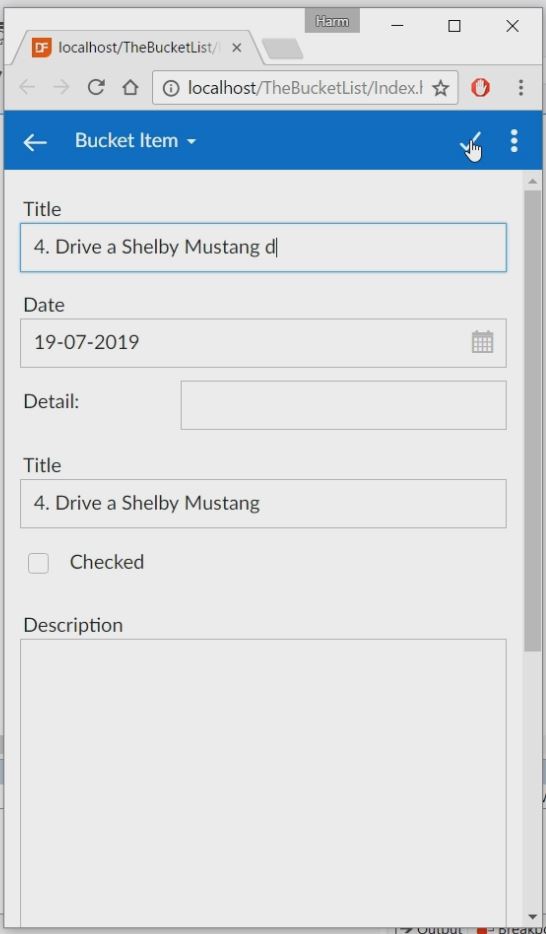
This will open the browser, showing the application.
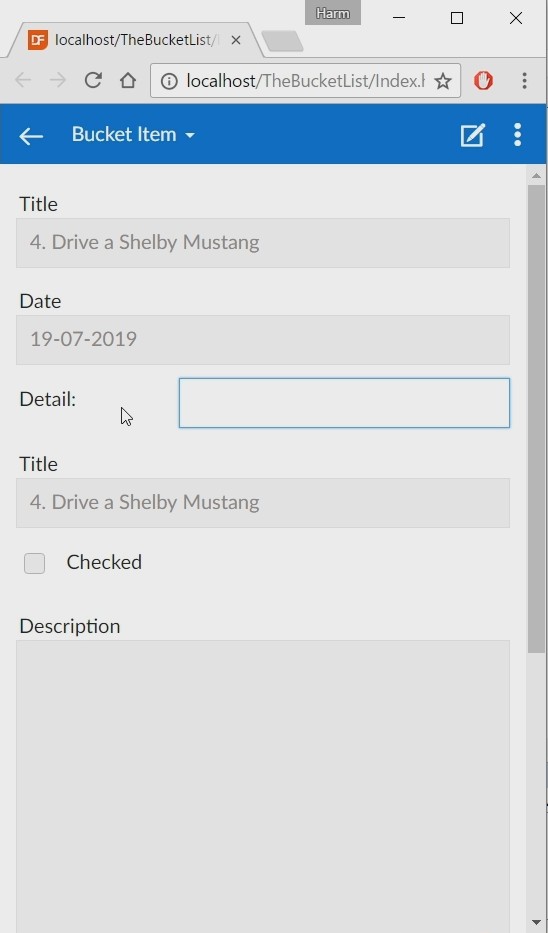
Click on one of the items to see the previously made changes in the zoom view.
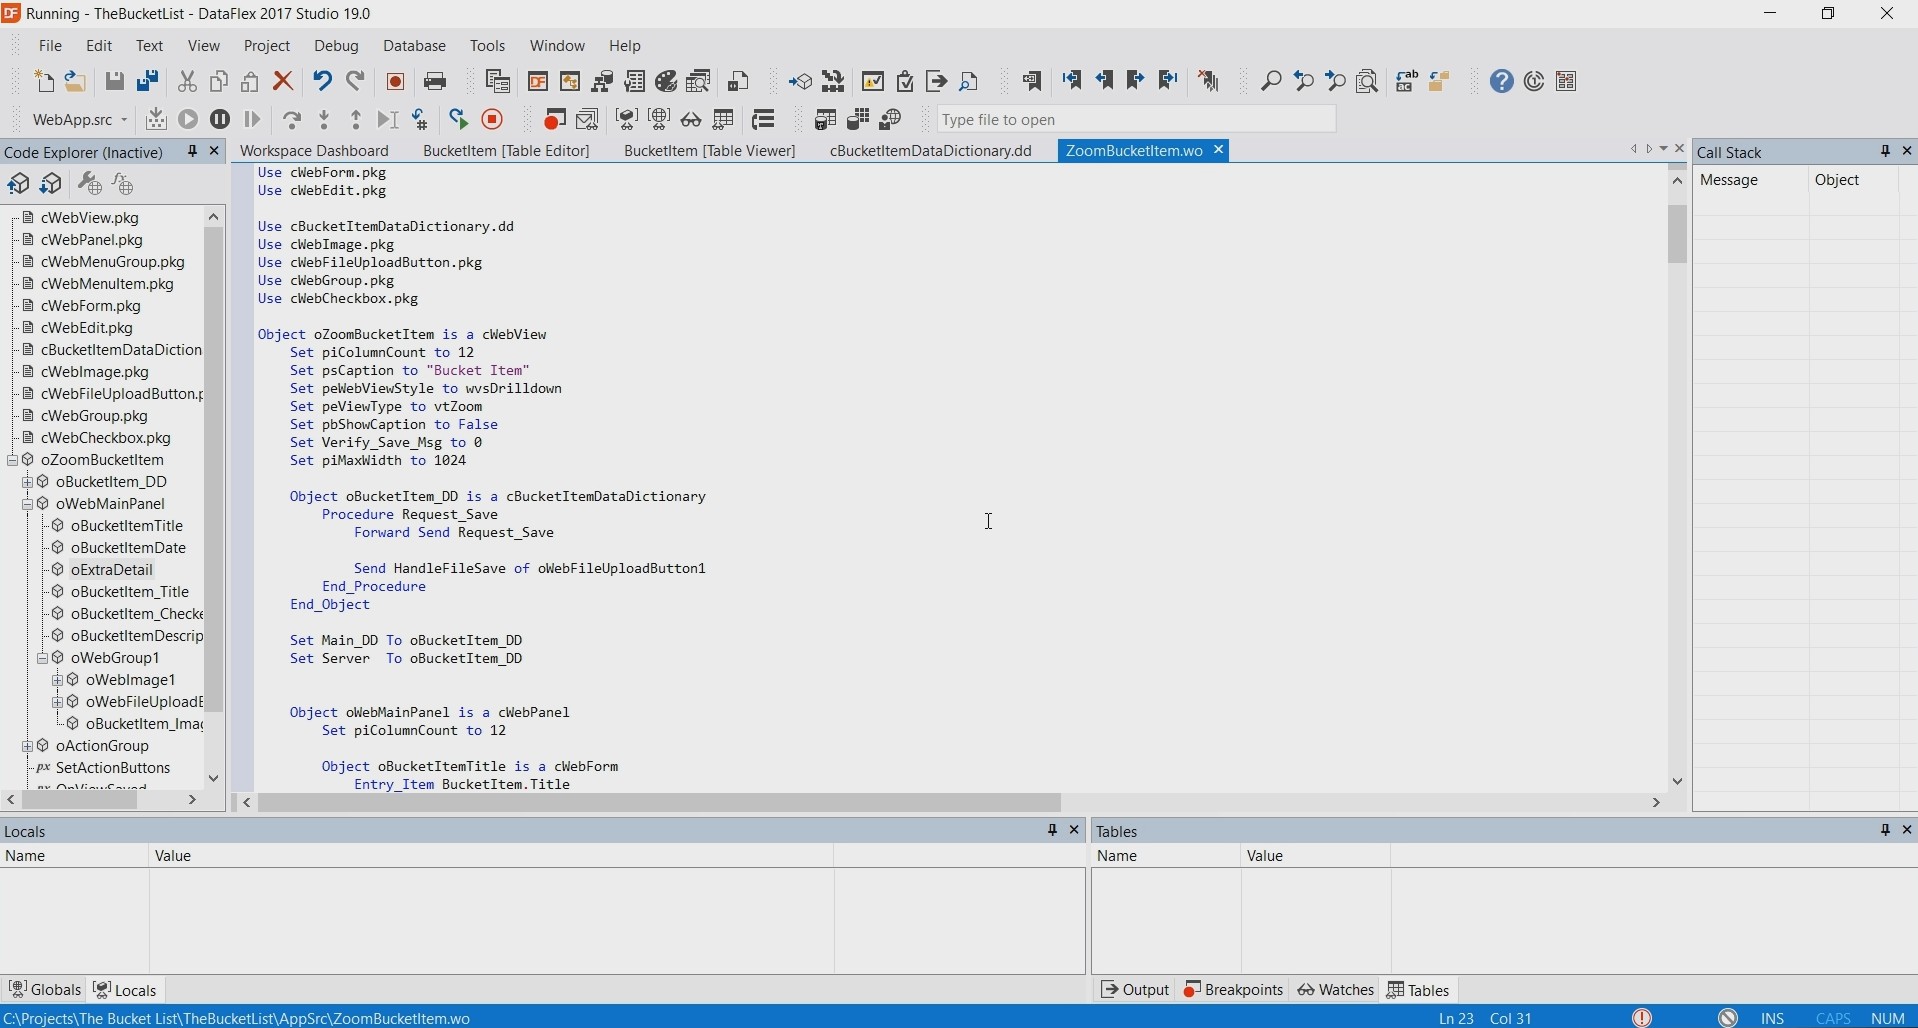
Going back into the studio, you will see it changed into debug mode. By default the debug layout looks like this.
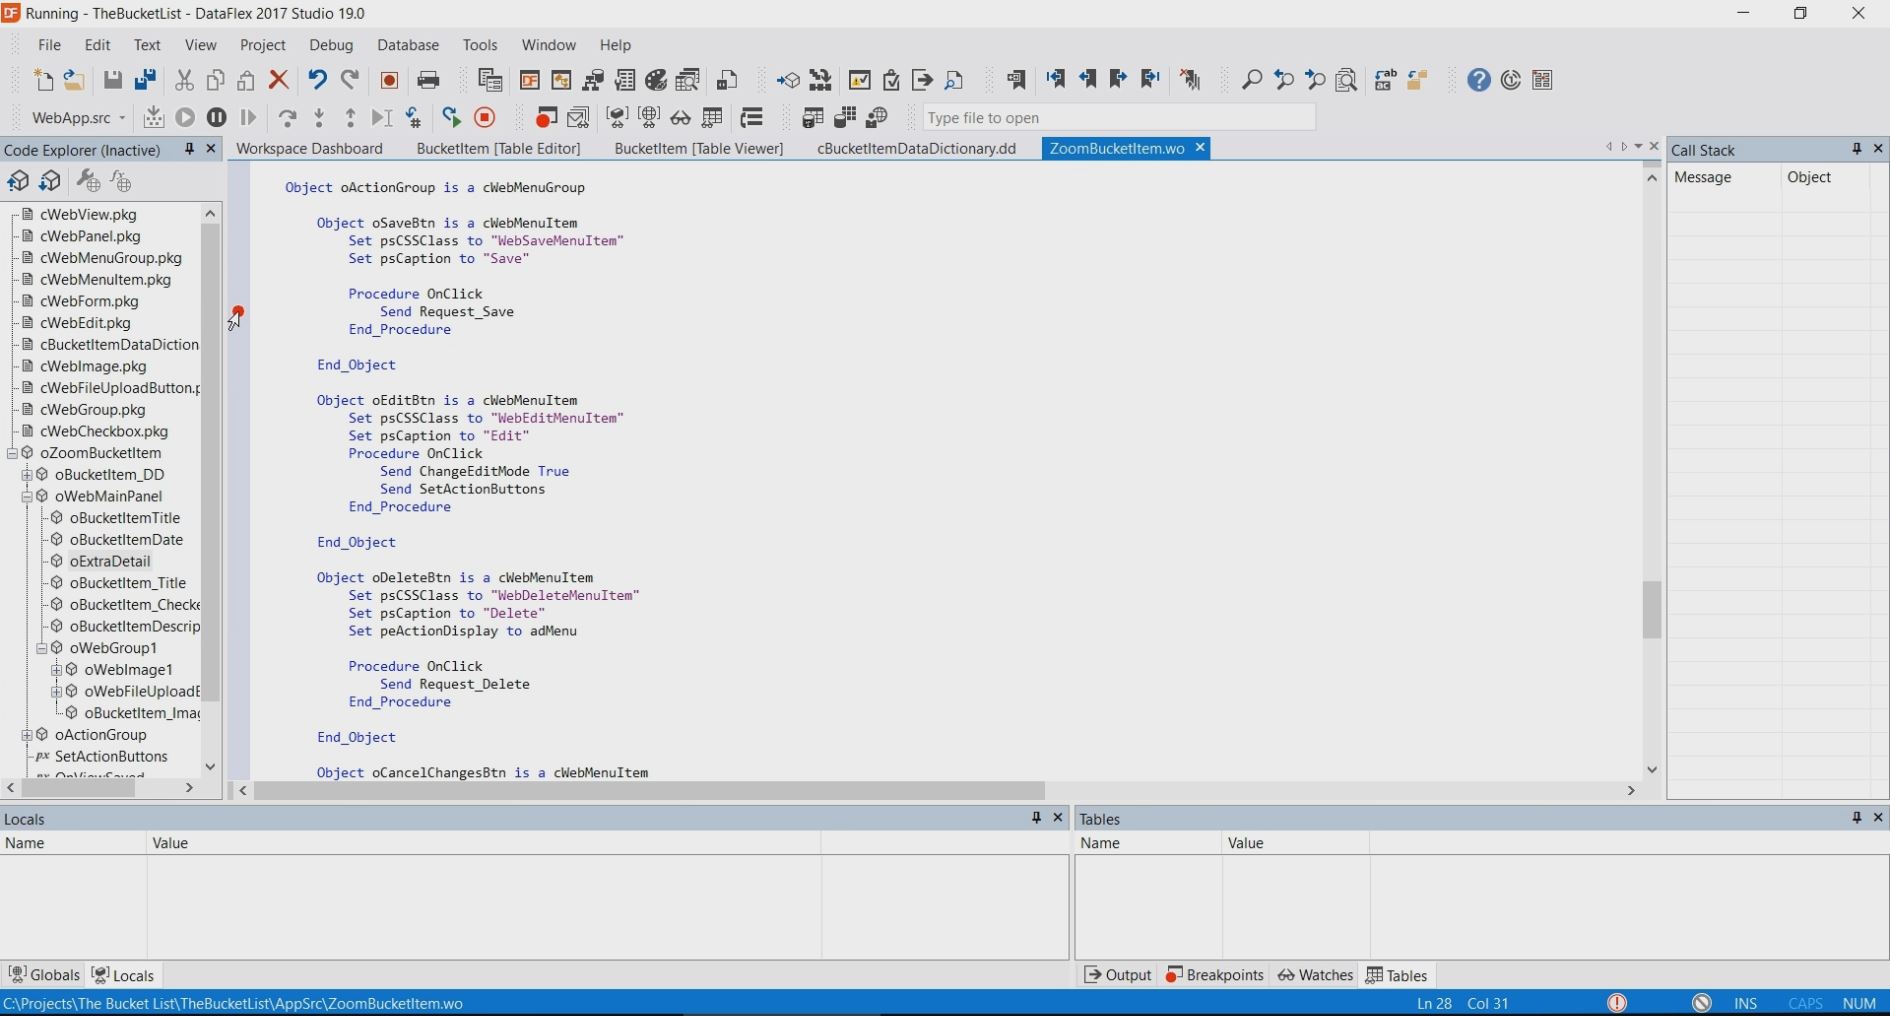
To see how these panels work, put a breakpoint at the save button.
Now in edit mode make some changes and press the save button.
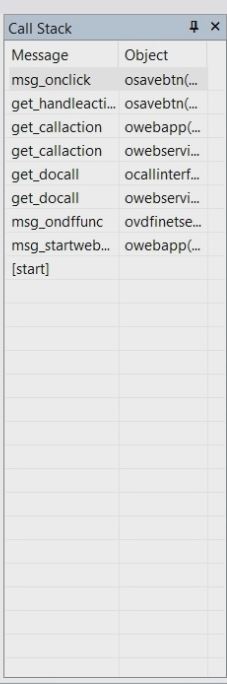
For example ‘Call Stack’ shows us where it came from, ‘Locals’ shows us the variables that are defined within the function and ‘Tables’ shows the different tables and current values.