Working with SOAP Web Services
Lesson 2: Creating a simple SOAP Web Service in DataFlex
In this lesson, creating a web service in DataFlex will be shown using a previously created workspace called “Cookbook.” This was created in the Data Dictionairies Course.
- Open DataFlex as an administrator
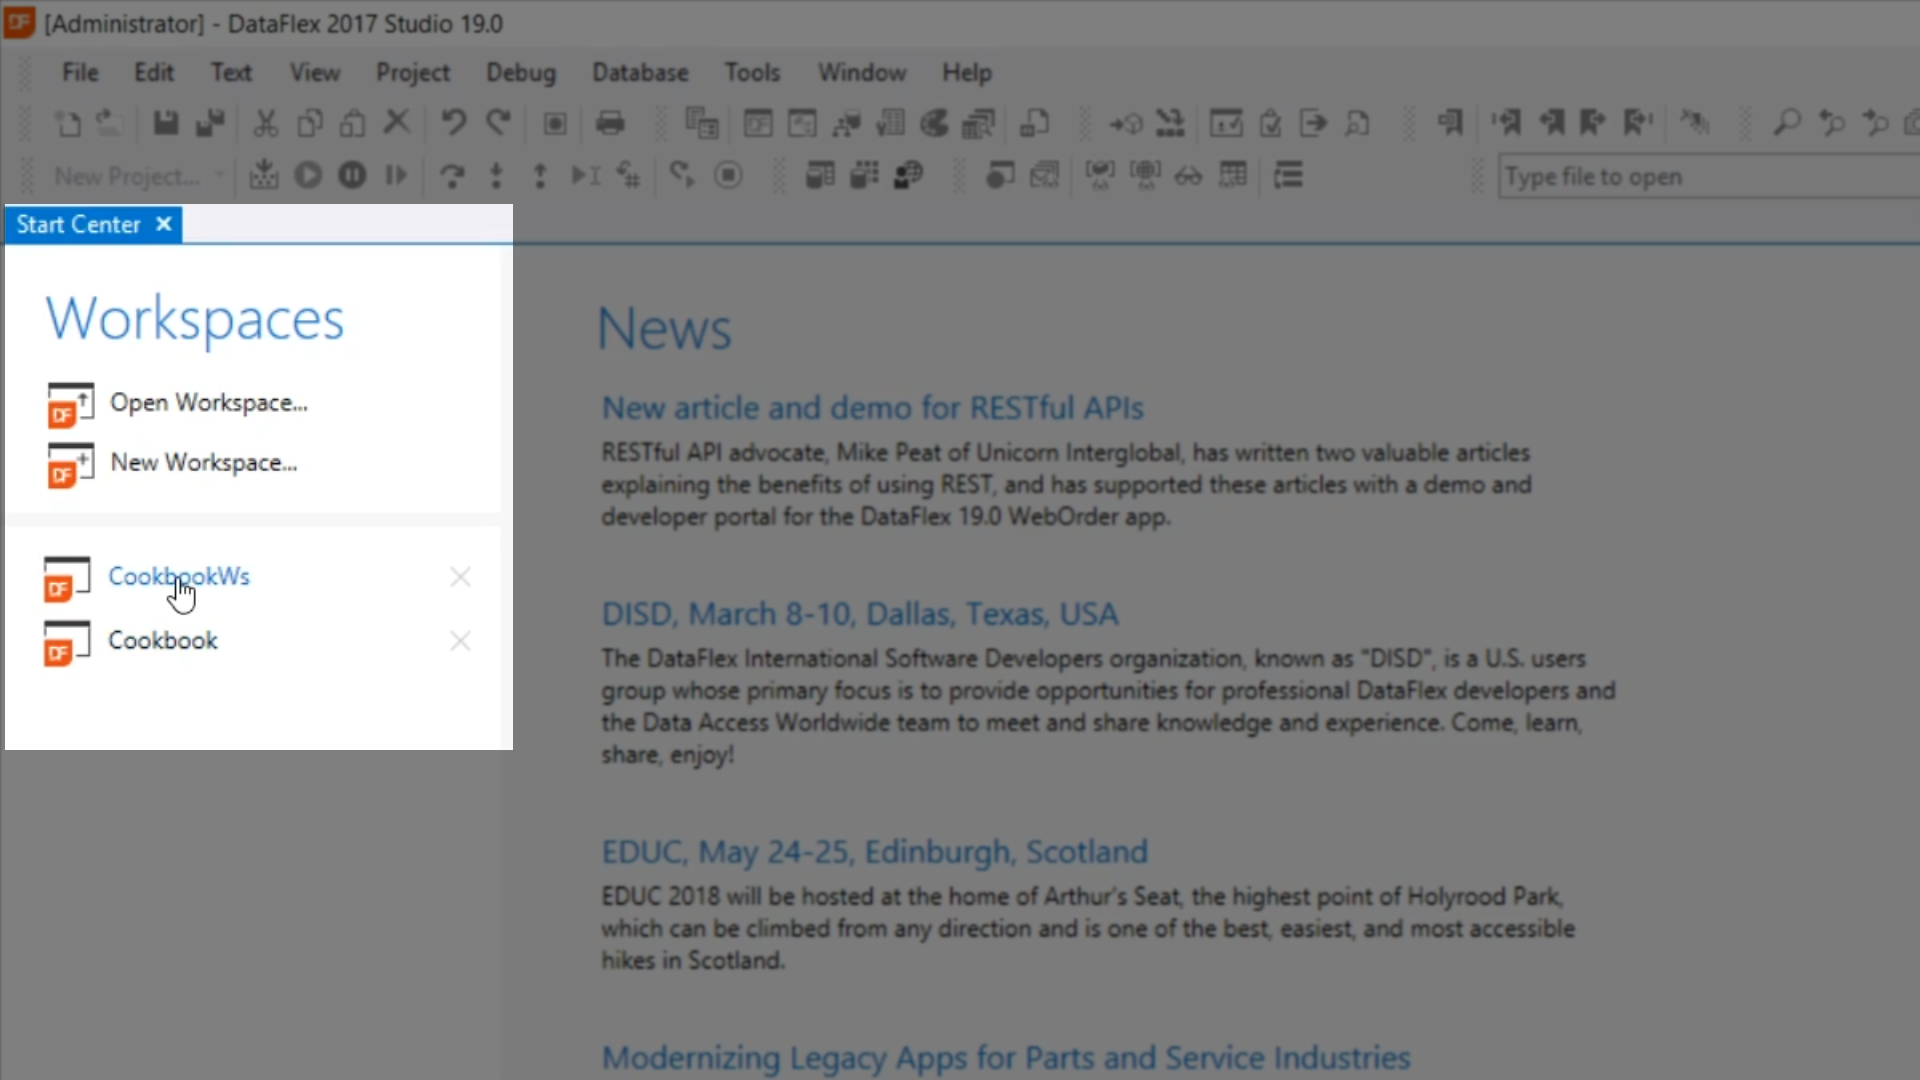
- From the Worspaces panel on the left select “Cookbook”
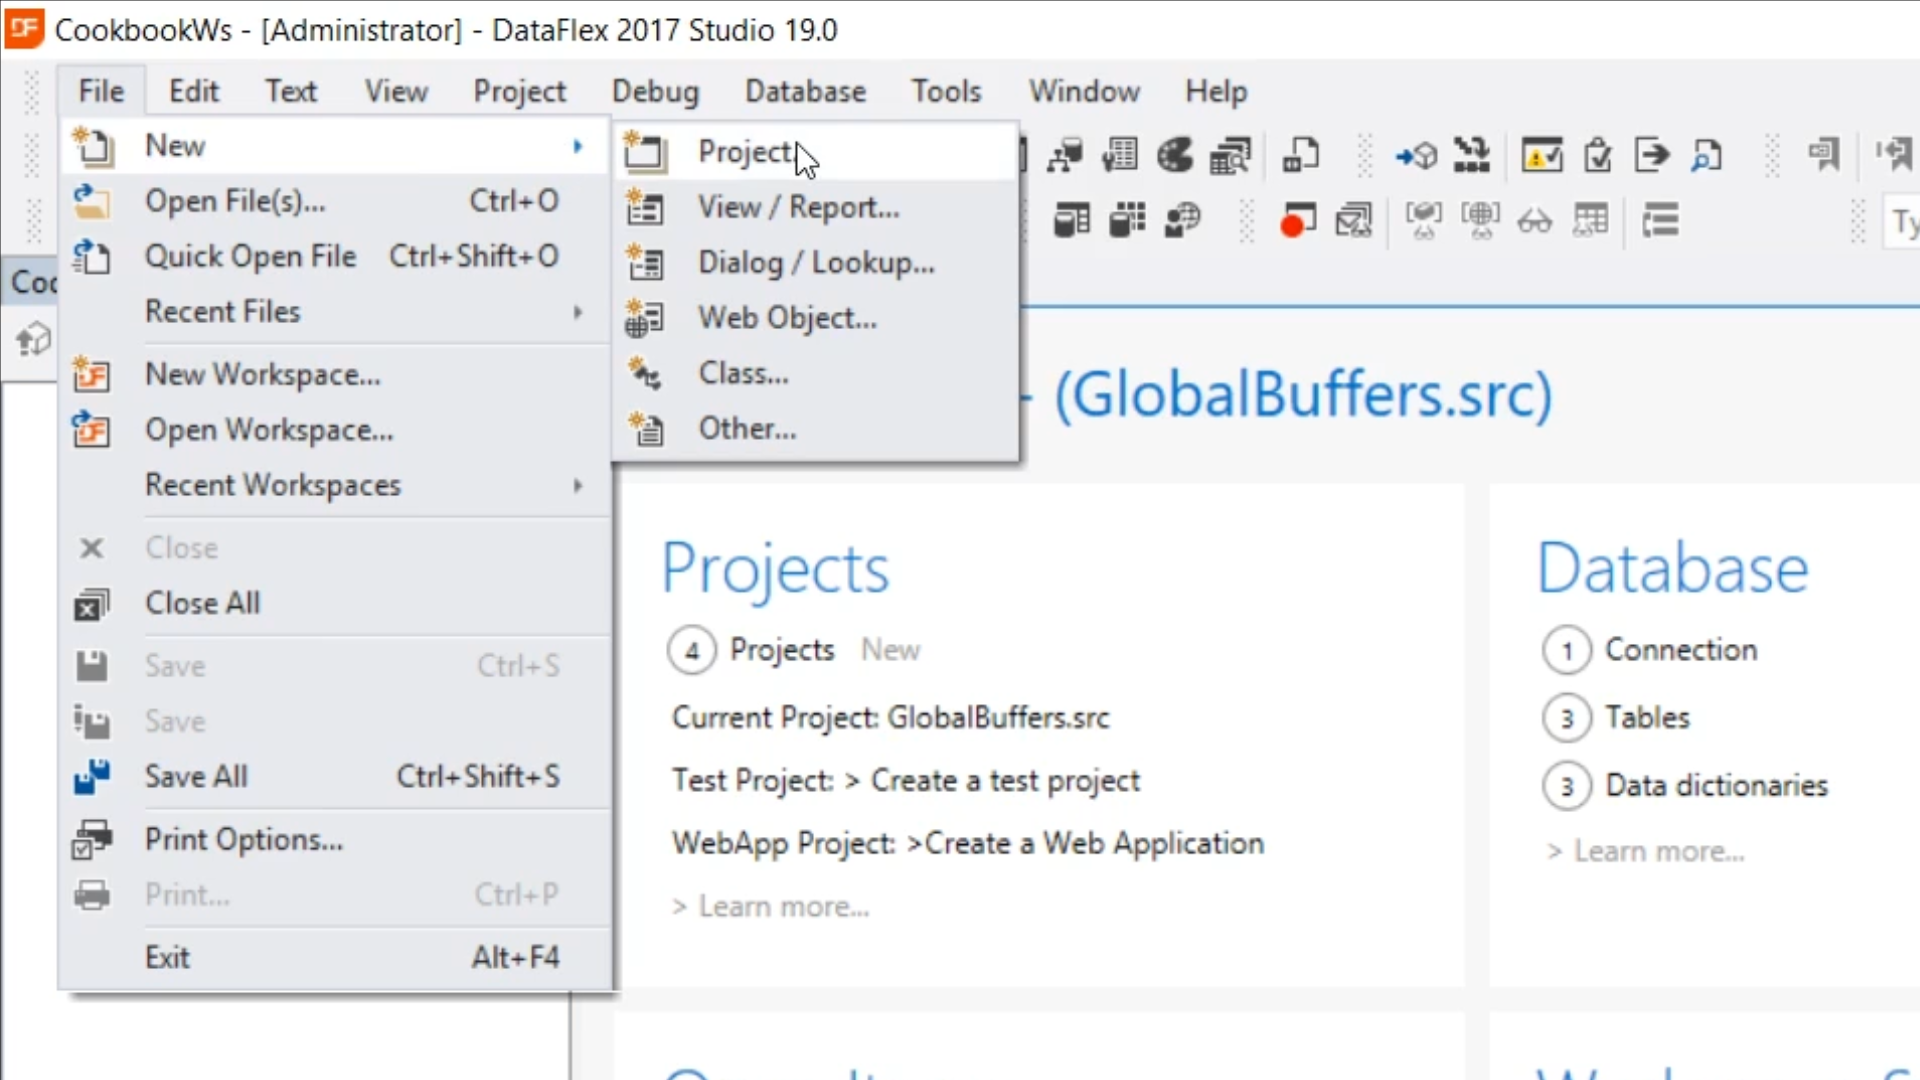
- To create a project, select FILE > NEW >PROJECT
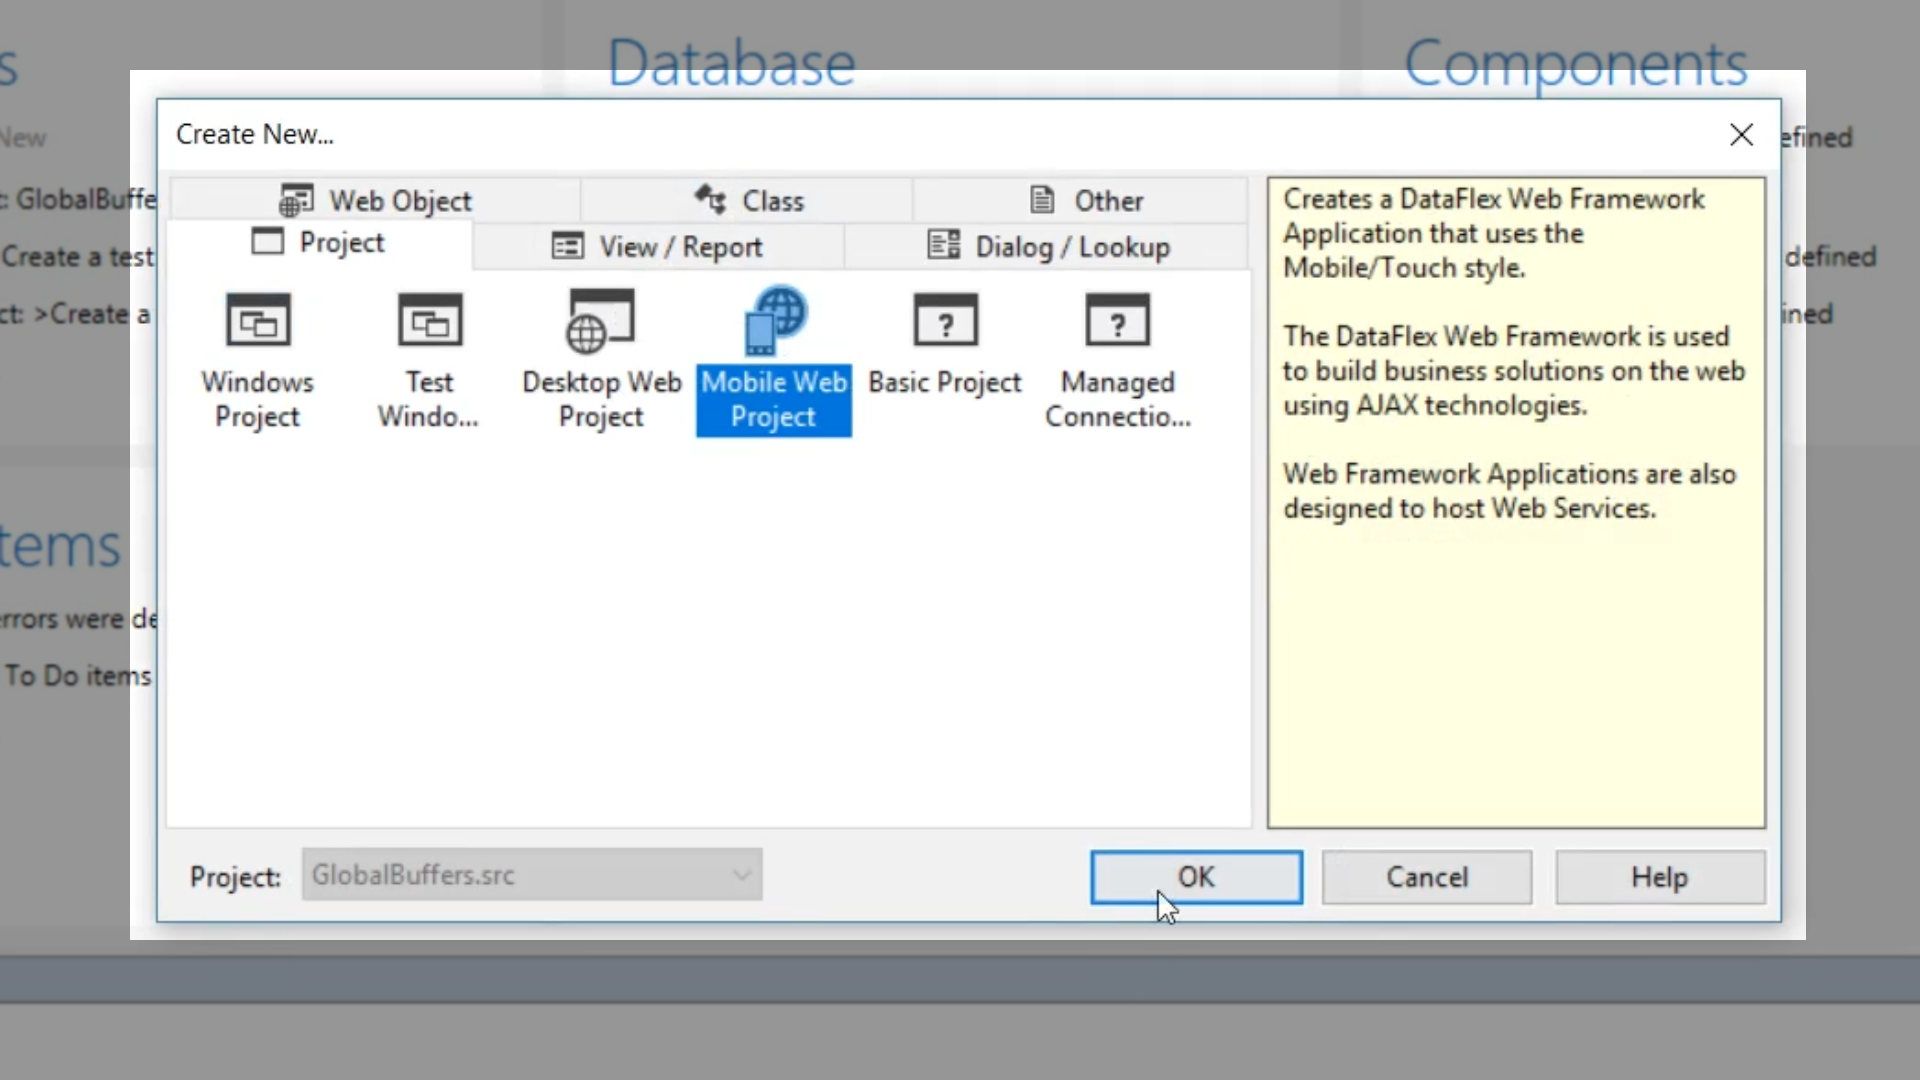
- Select ‘Mobile Web Project’ from the options and press ‘OK’
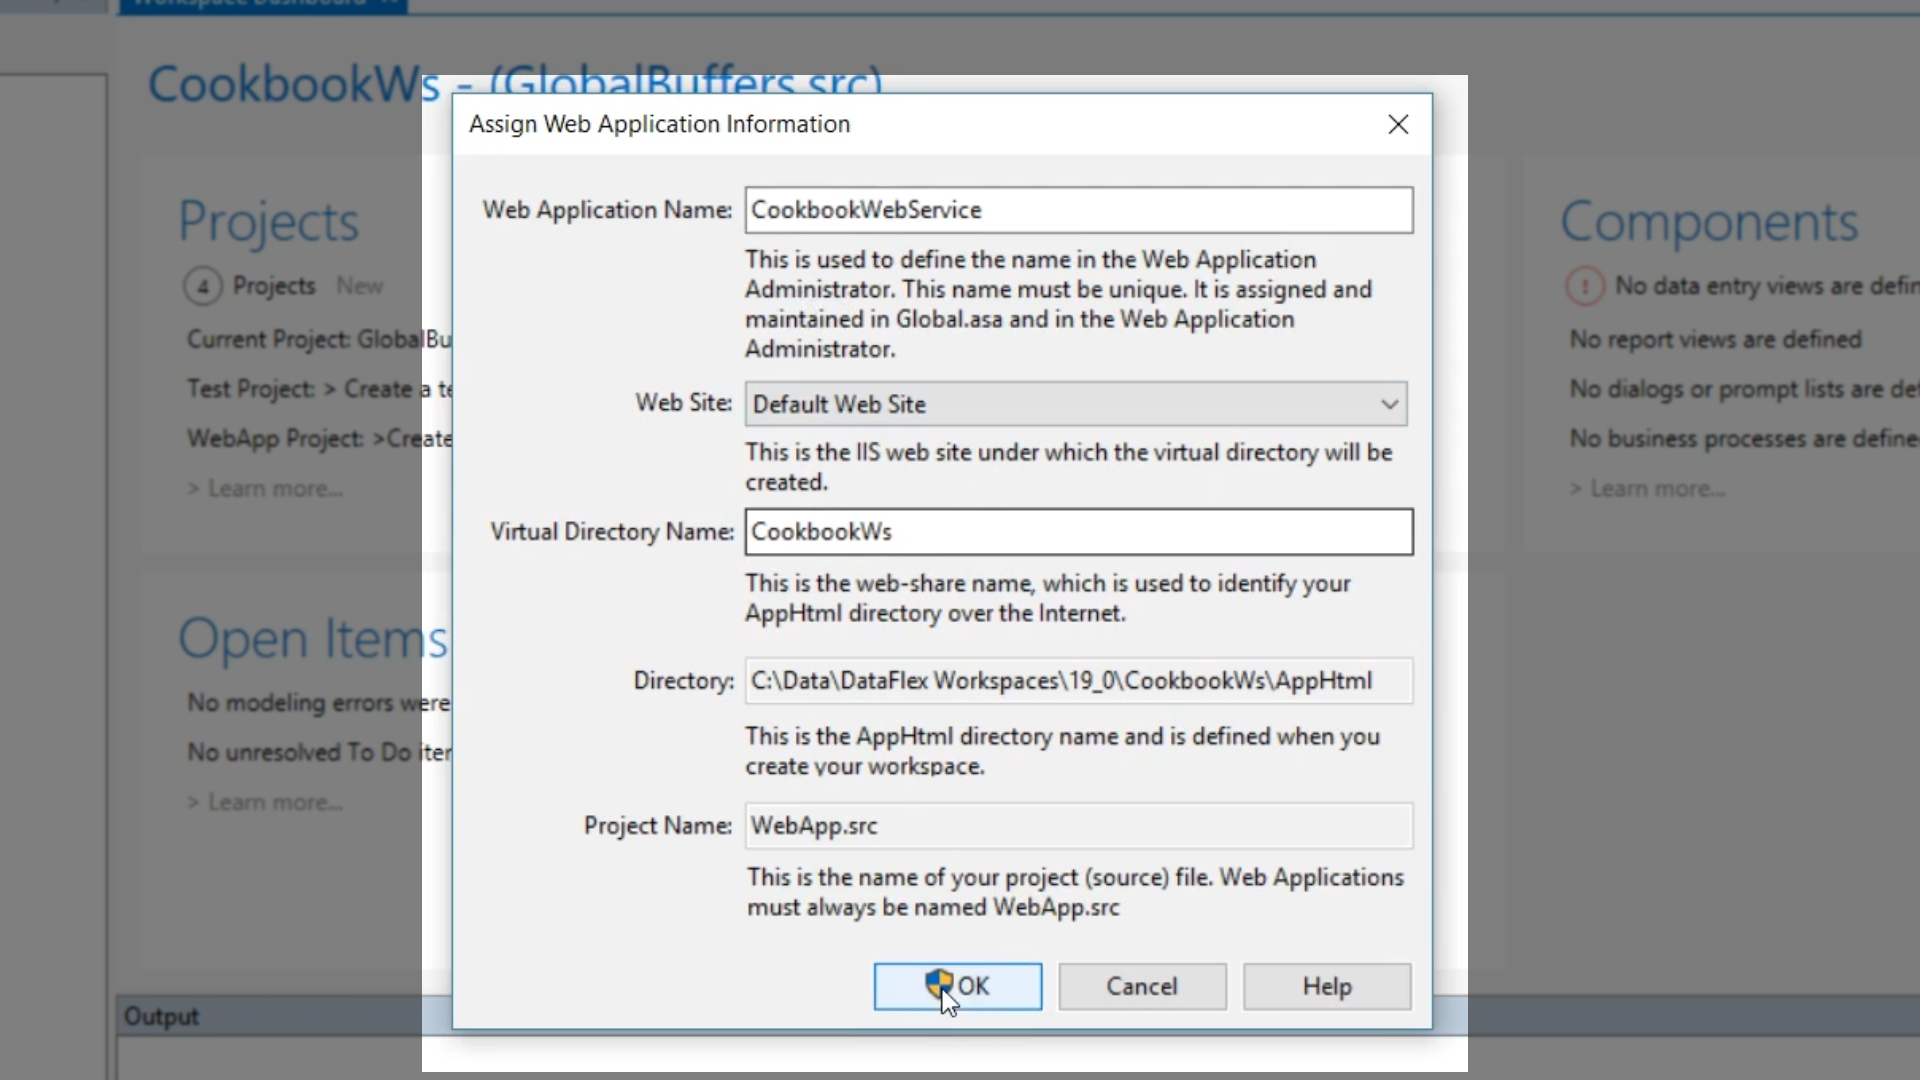
- Name the service, “CookbookWebService,” leave the remaining selections as they appear, and select OK.
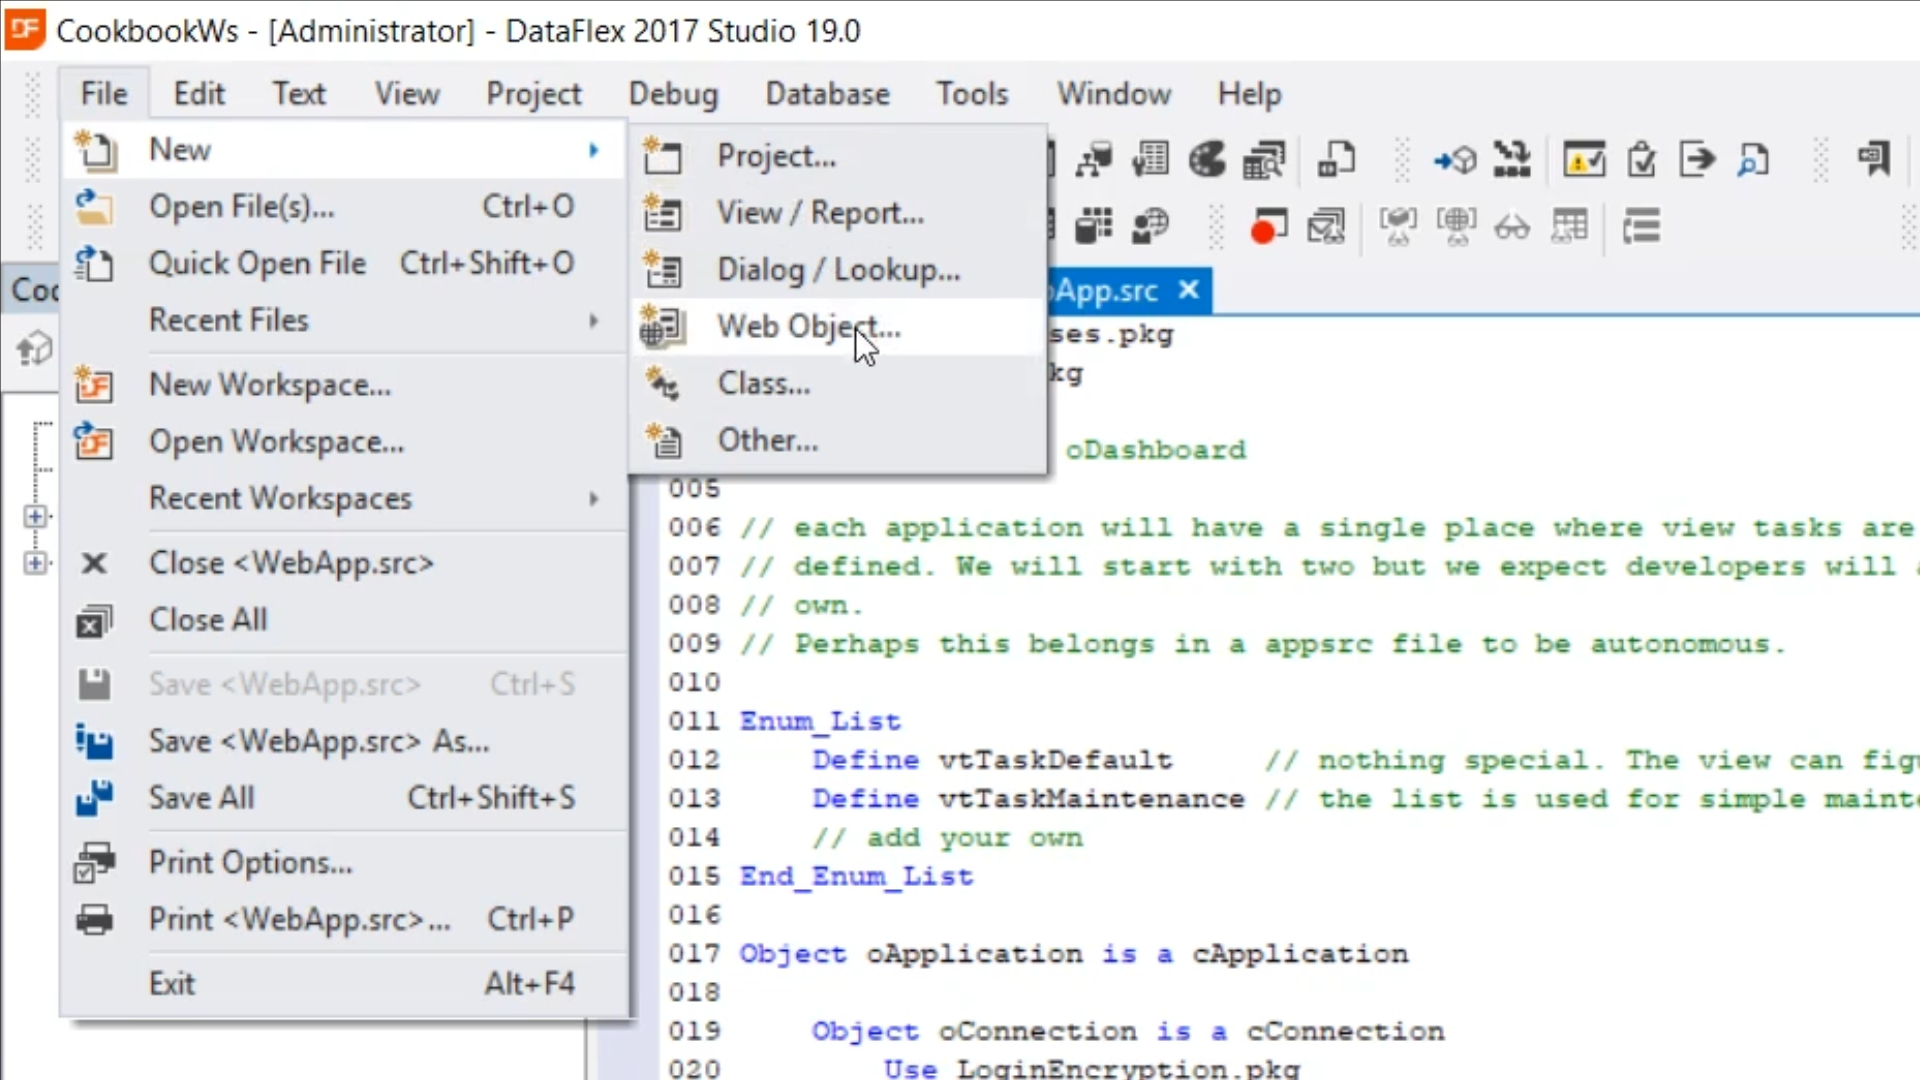
- To create a new web service class, select FILE > NEW > WEB OBJECT
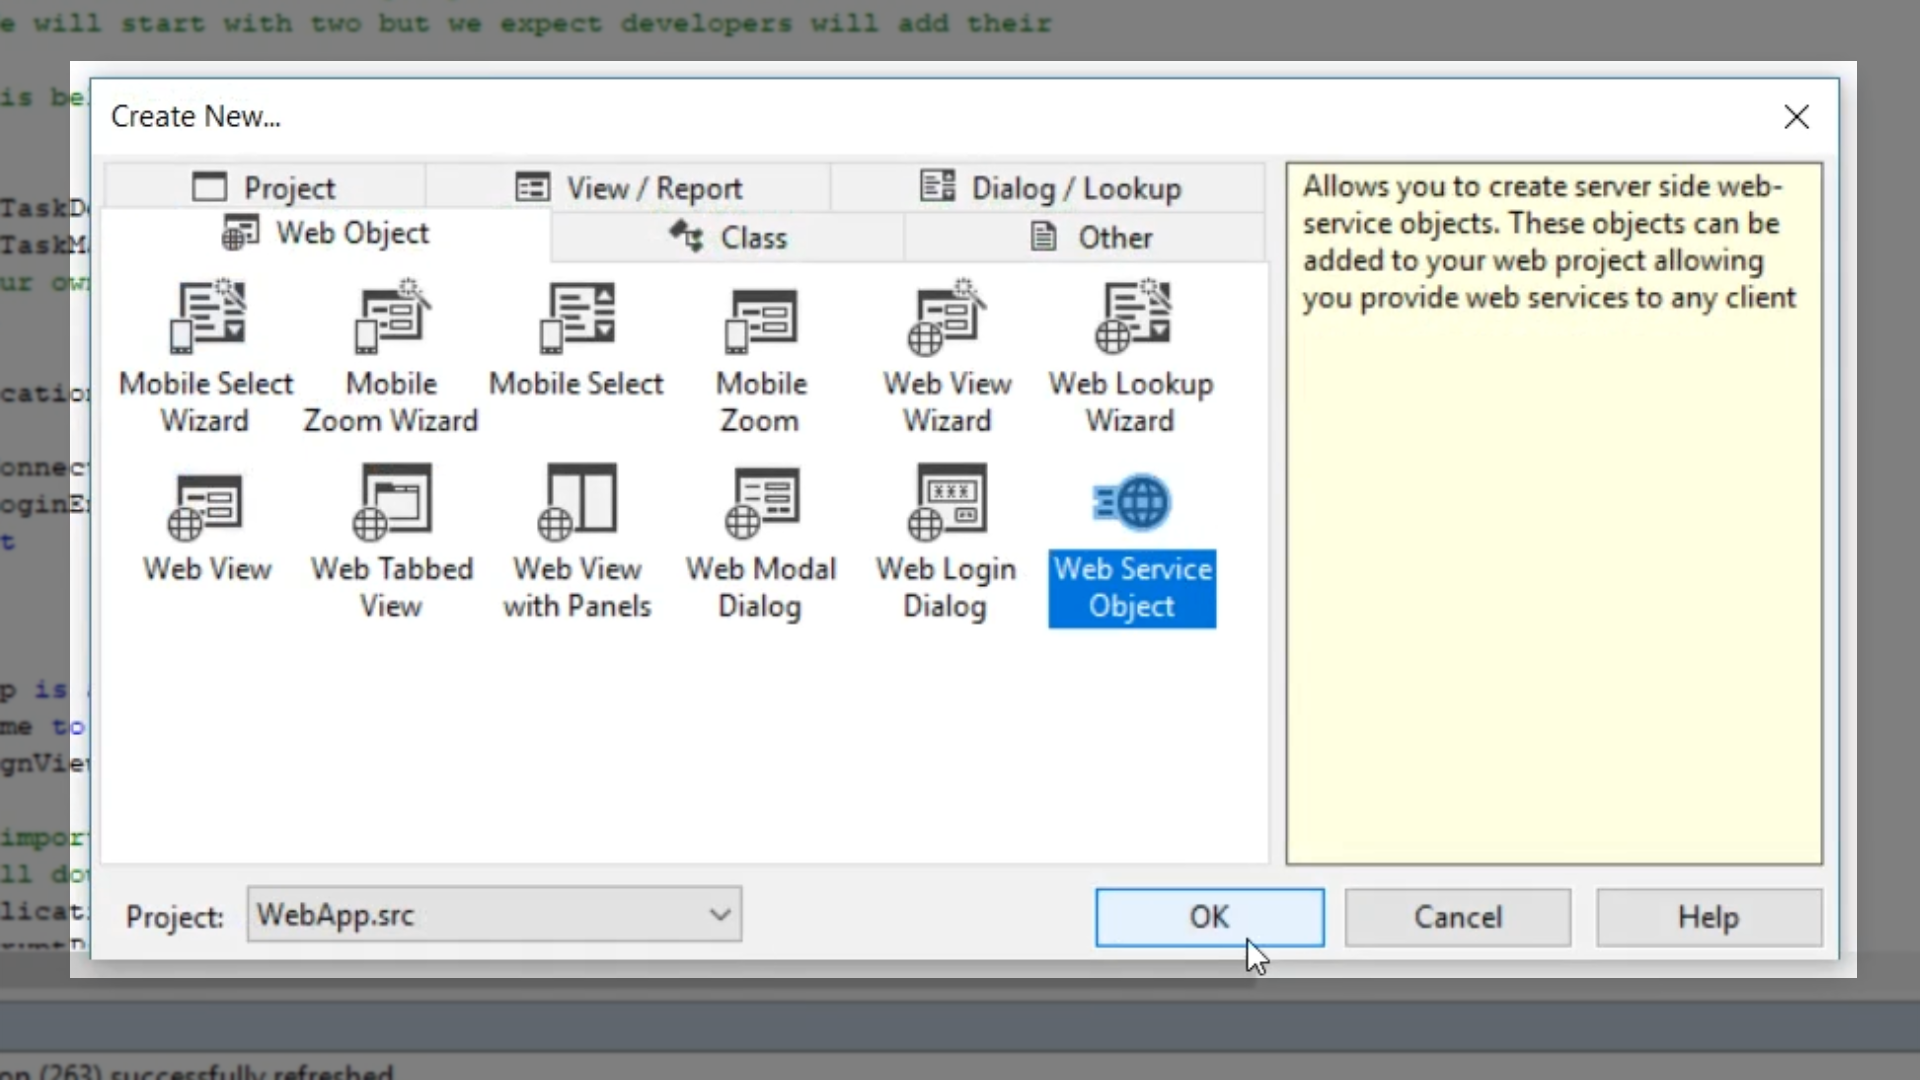
- Select ‘Web Service Object’ from the options and press ‘OK’
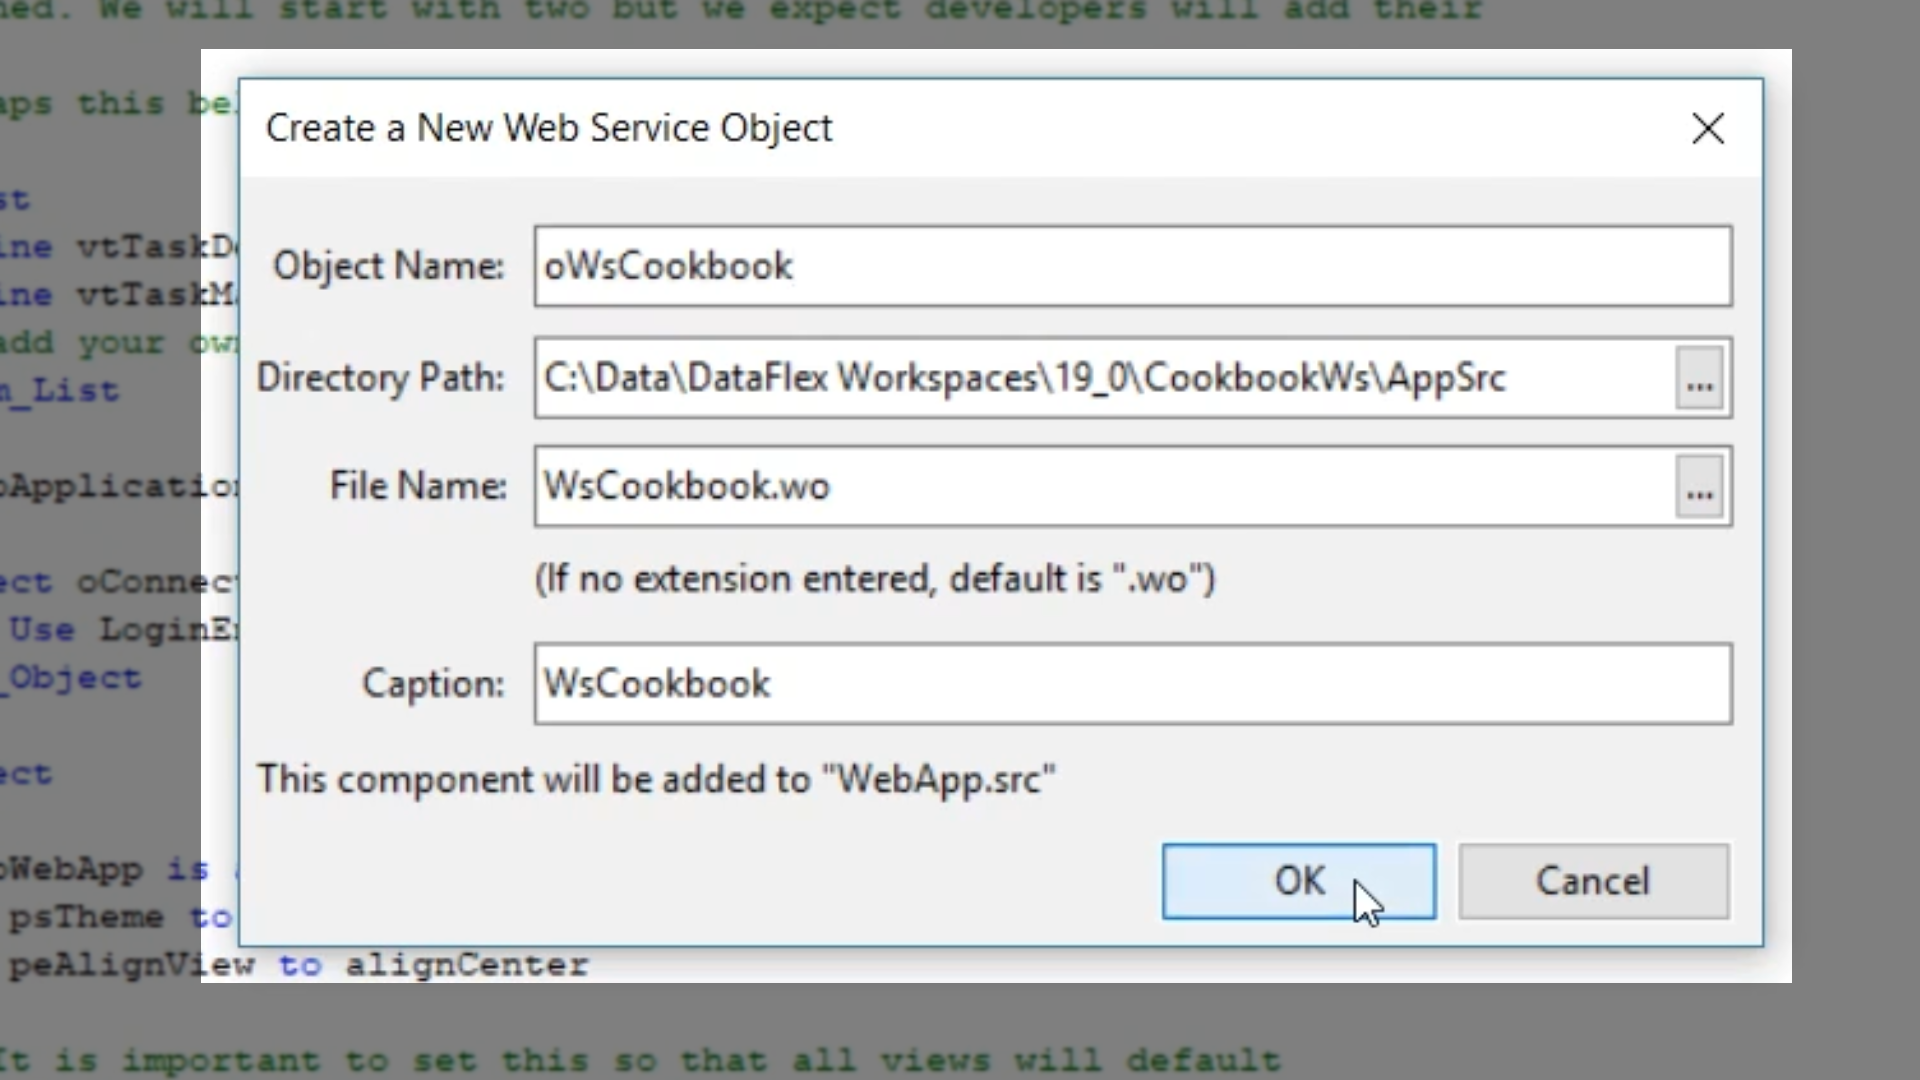
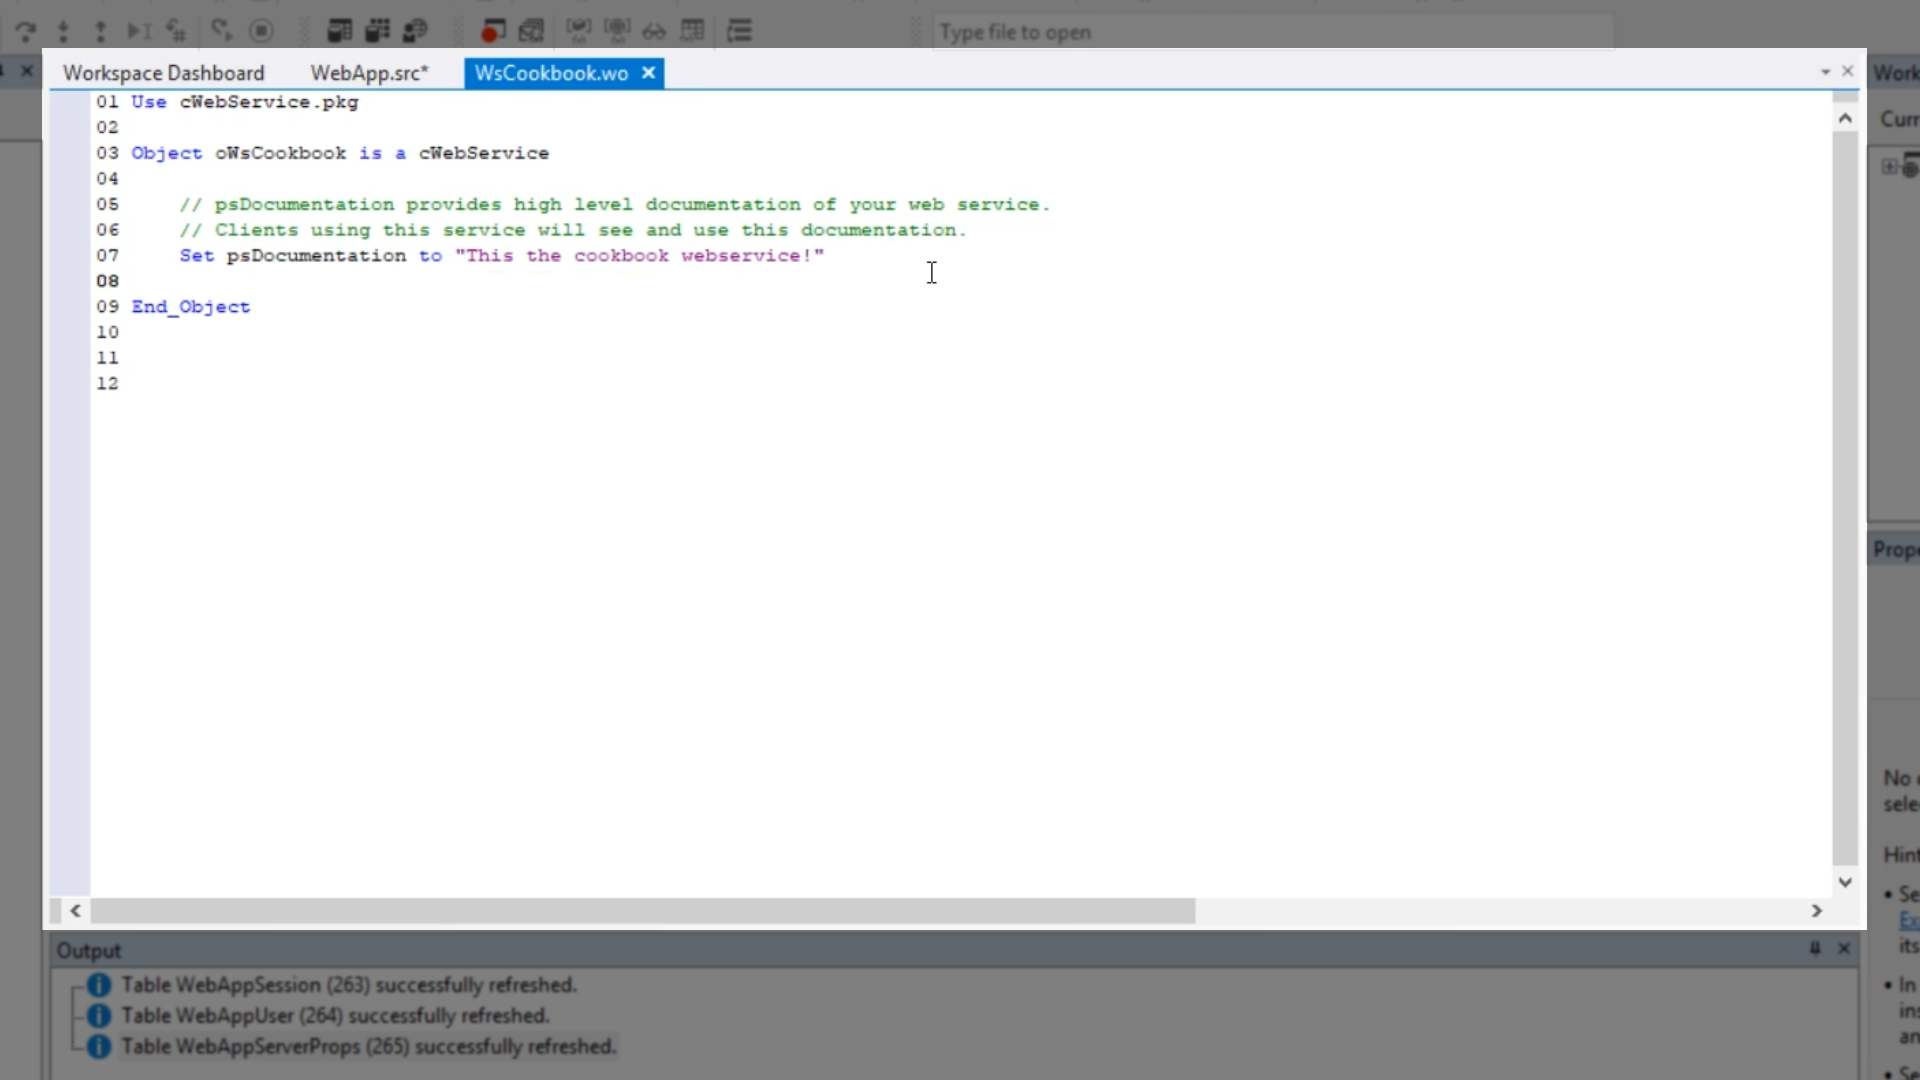
- Name the object “oWsCookbook,” and select OK thus creating the web service class.
- Shown is the psDocumentation that provides the opportunity to enter a description about what the web service does.
- For this example, “This is the cookbook webservice” is entered.
- Viewing the properties panel (CTRL+2) shows that several other properties that can be set.
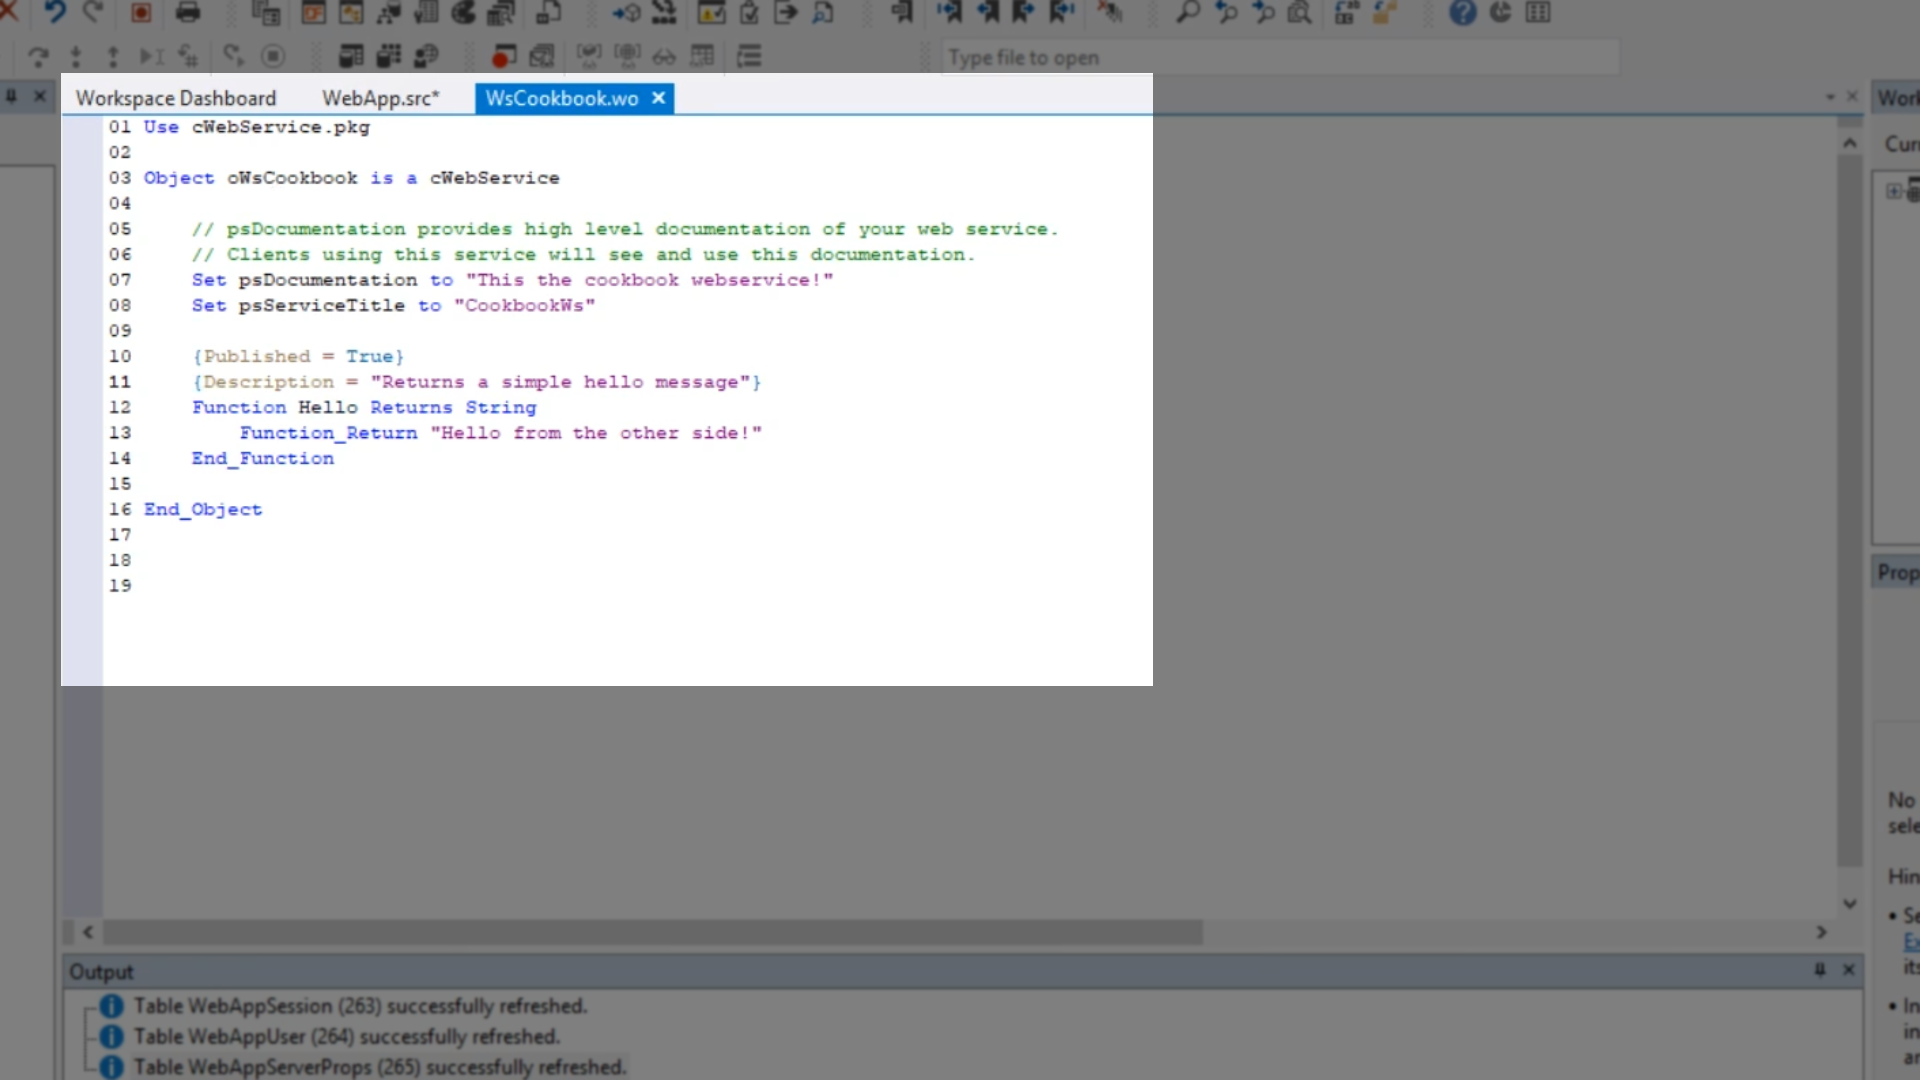
- Set “psServiceTitle” to “CookbookWs.” This then added to the code.

- Next, create a simple method that will return a greeting, publish the function so that it can be called by the service, and add a description…
{Published = True}
{Description = “Returns a simple hello message”}
Function Hello Returns String
Function_Return “Hello from the other side!”
End_Function
- Select run icon from the top toolbar.
- A web browser page will open showing the generated page that shows the web service.
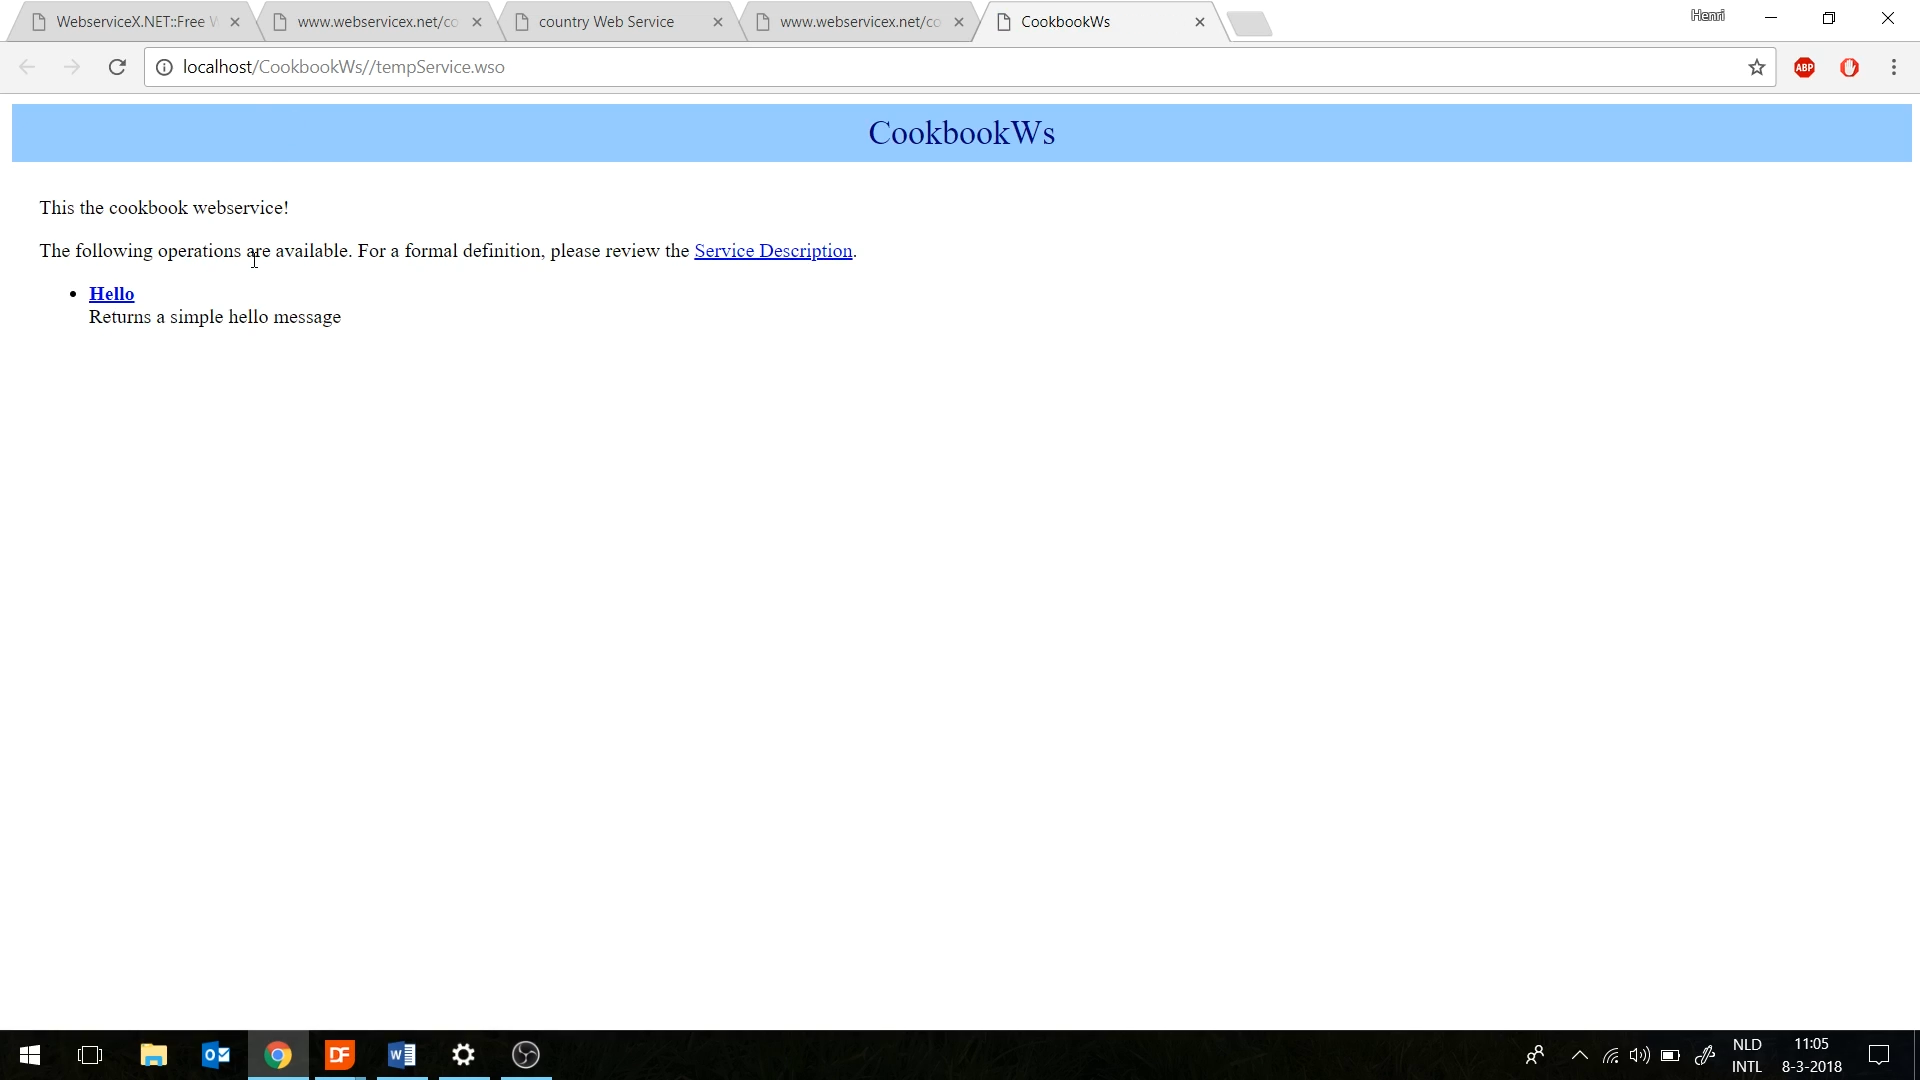
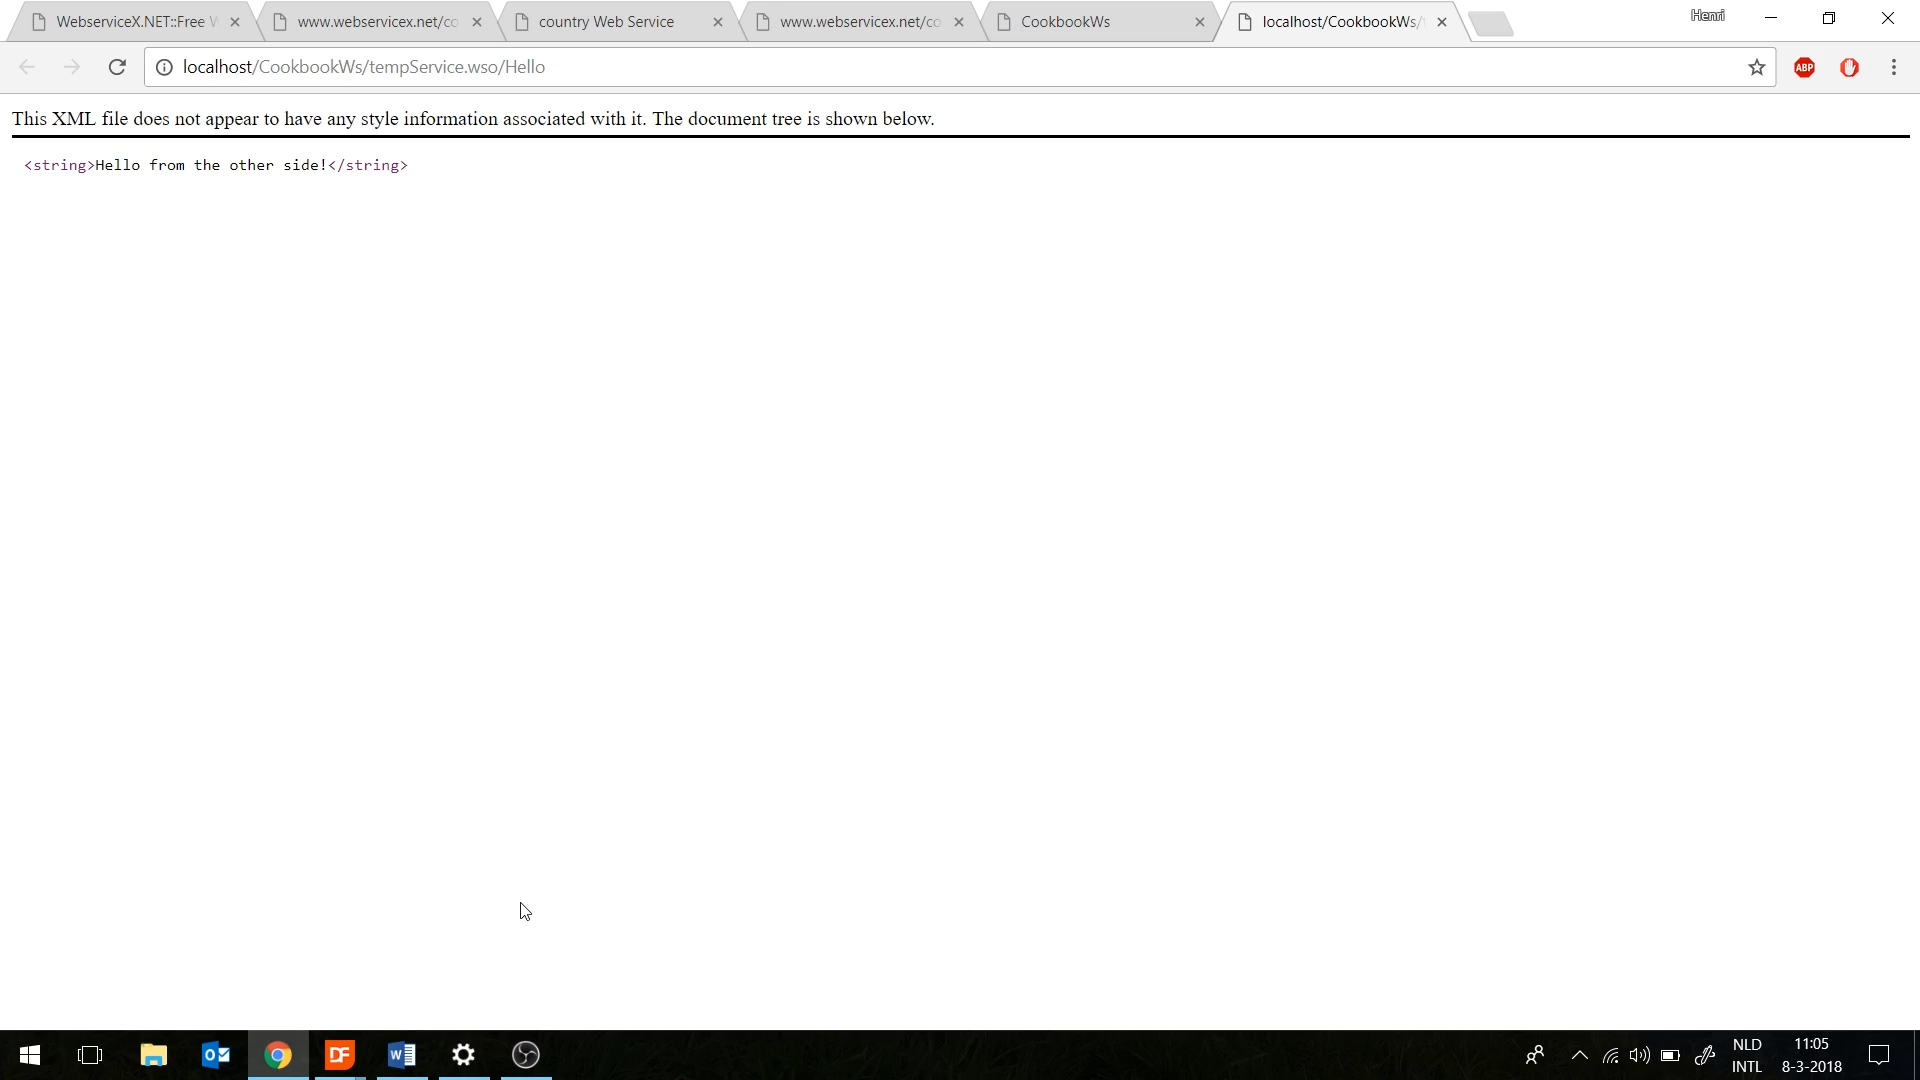
- Selecting the “Hello” calls on the Hello function that was just created.
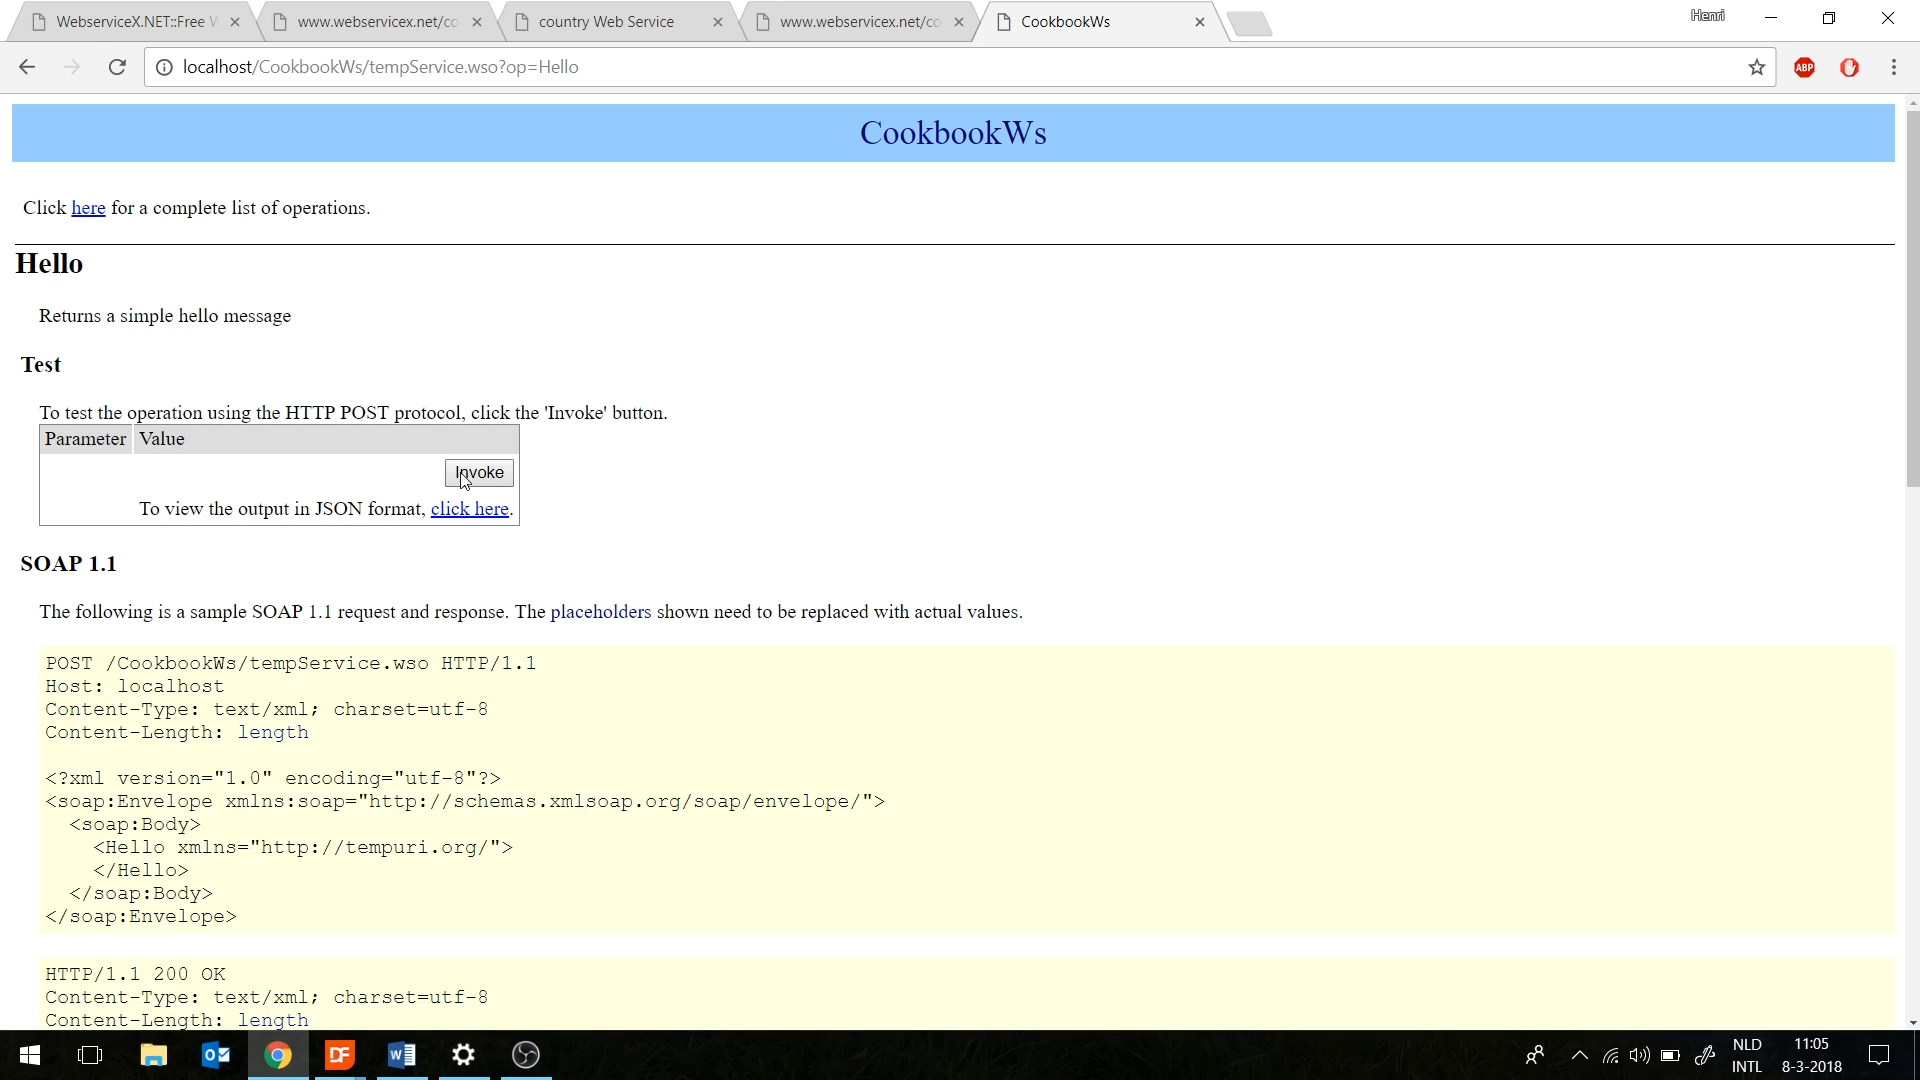
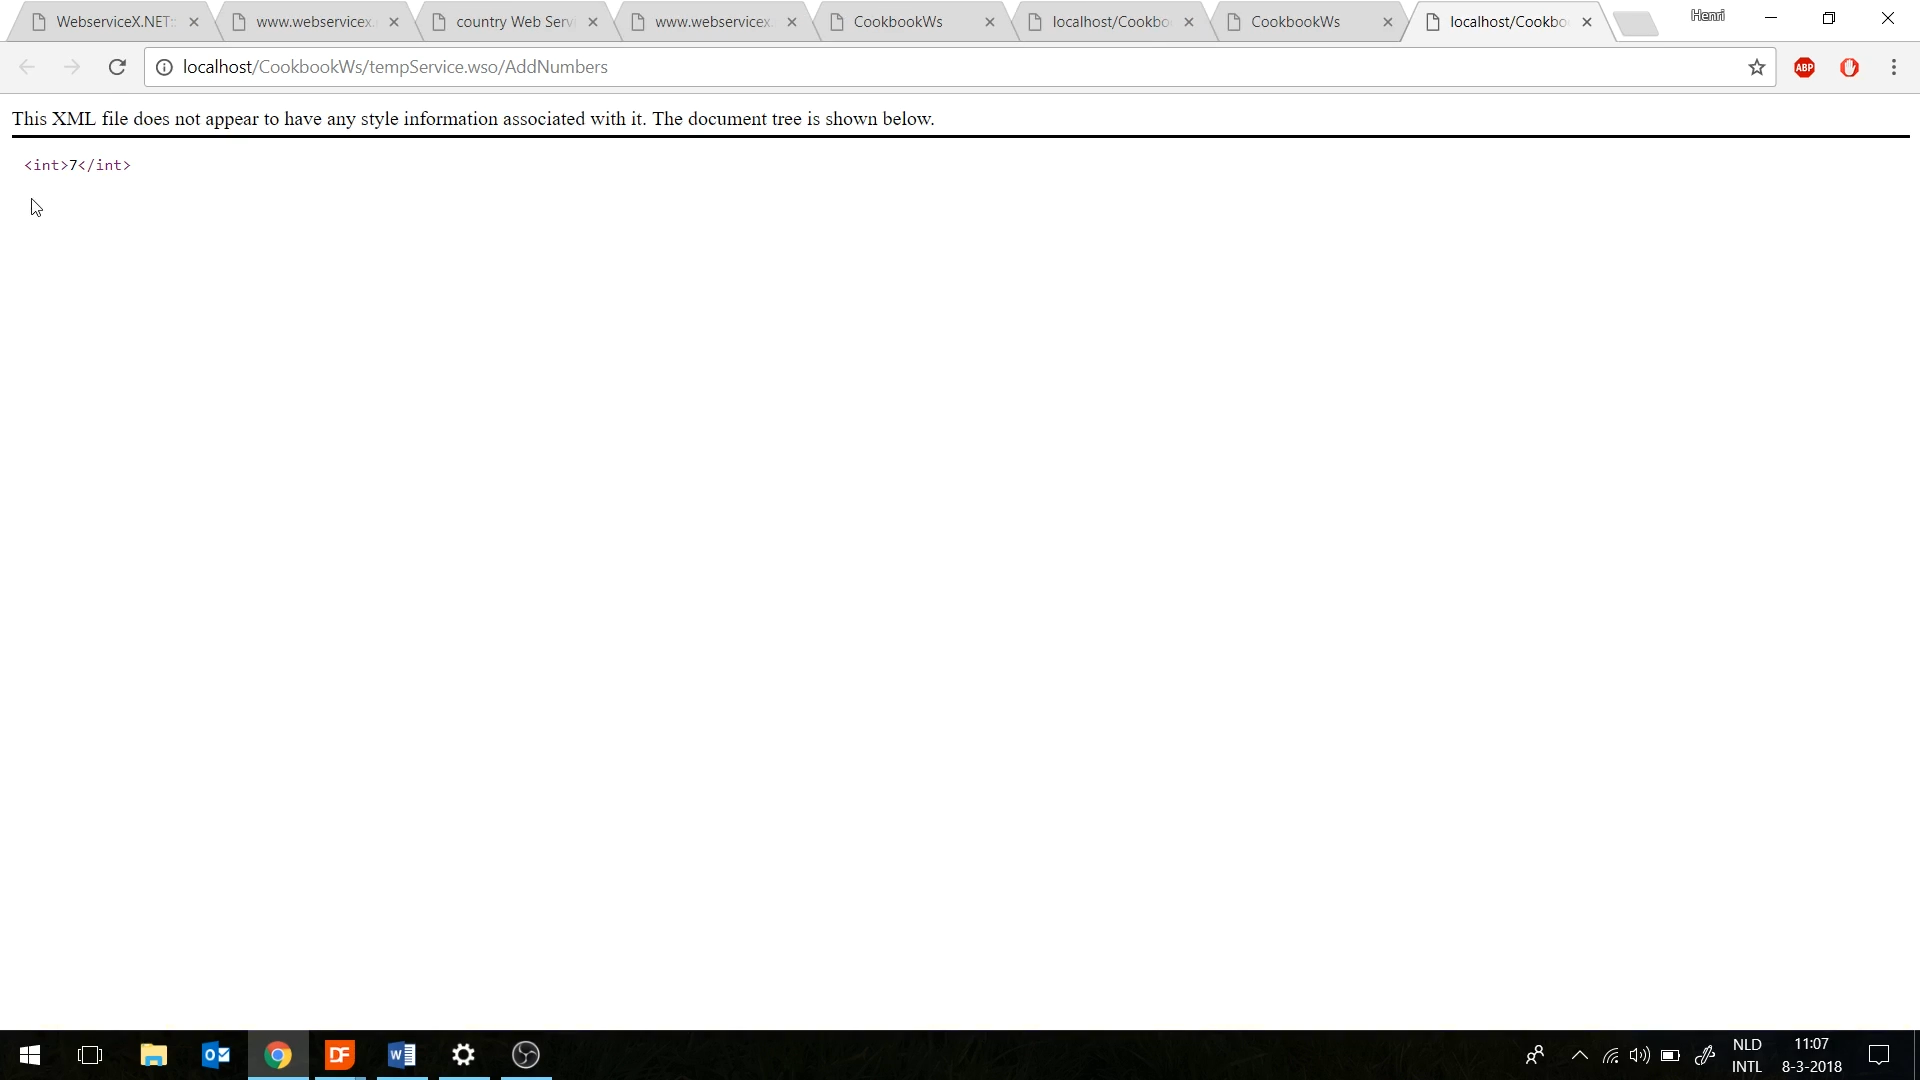
- Click on “Invoke,” and the specified string will appear; “Hello from the other side!”
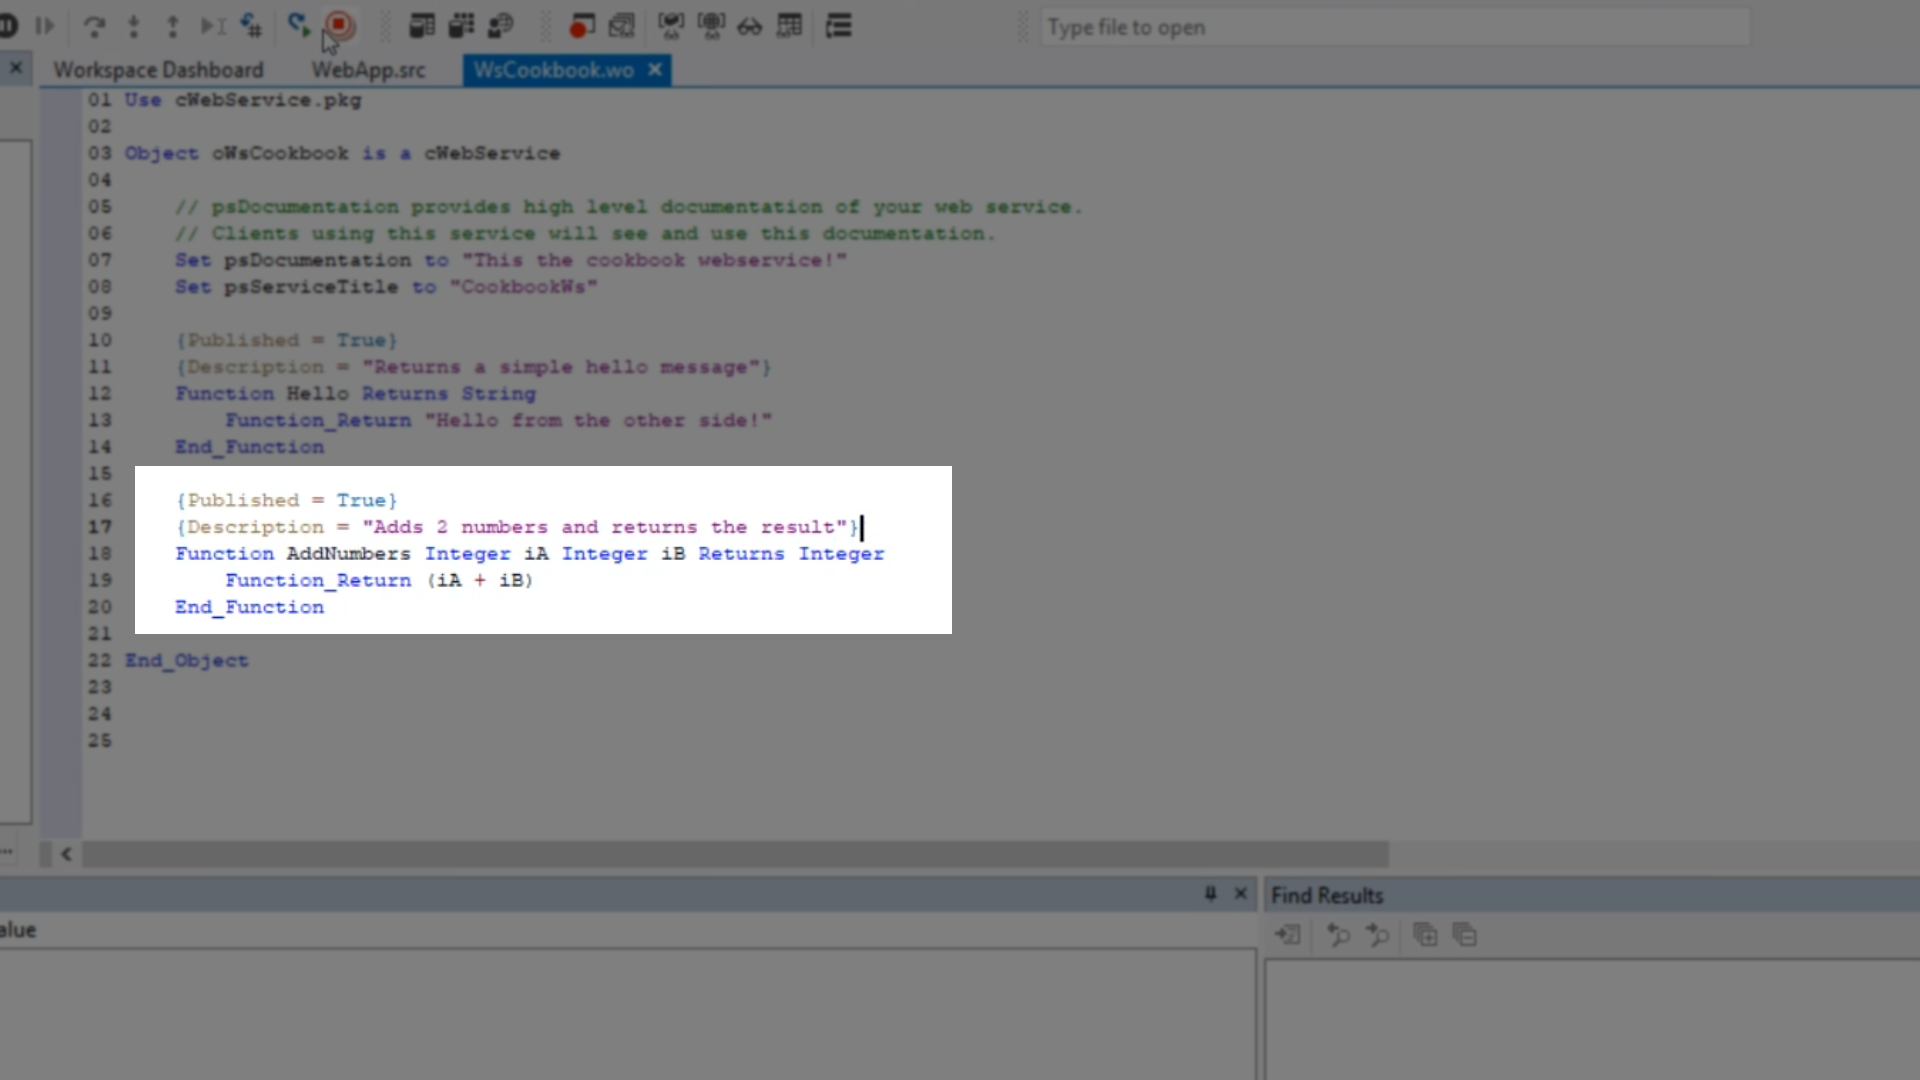
- Another example of a function would be to add two numbers.
{Published = True}
{Description = “Adds 2 numbers and returns the result”}
Function AddNumbers Integer 1A Integer 1B Returns Integer
Function_Return (1A + 1B)
End_Function
- Select run icon from the top toolbar.
- The web browser page now shows both functions.
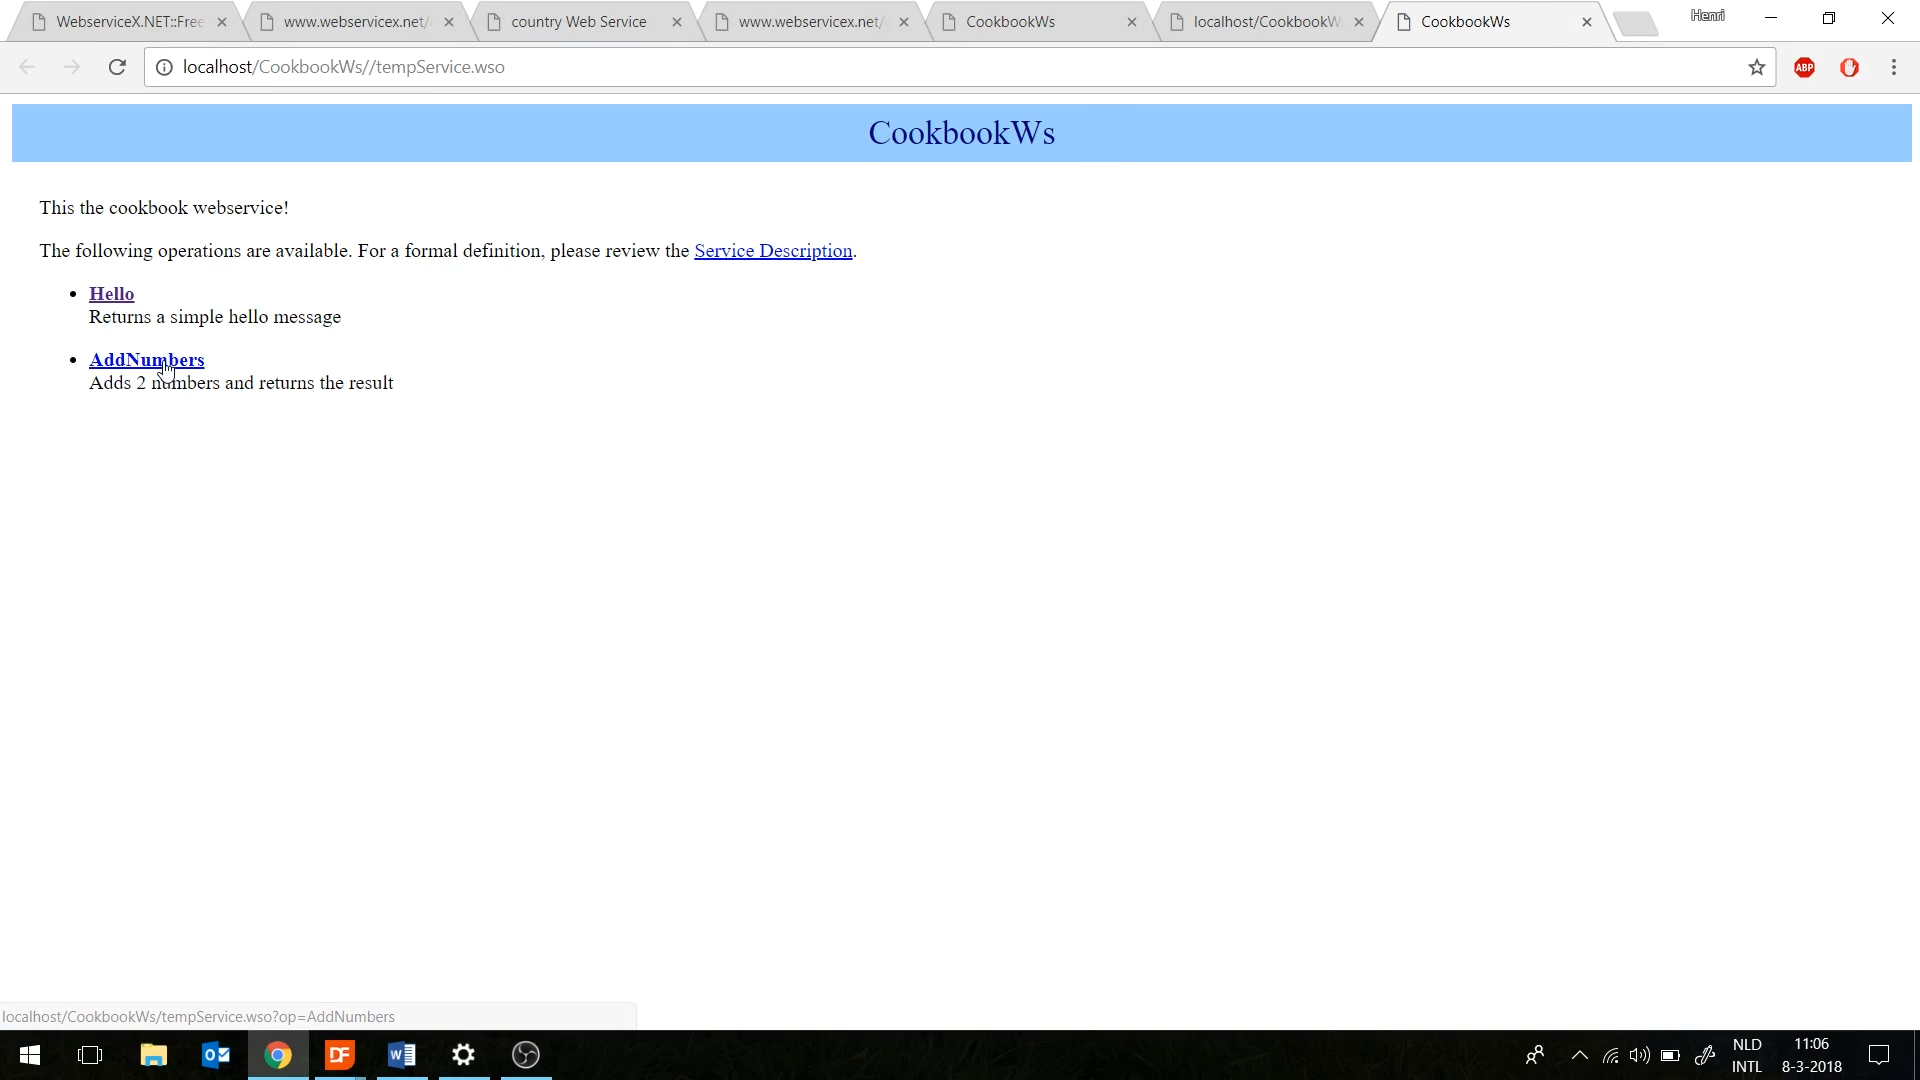
- Selecting “AddNumbers” calls the new function.
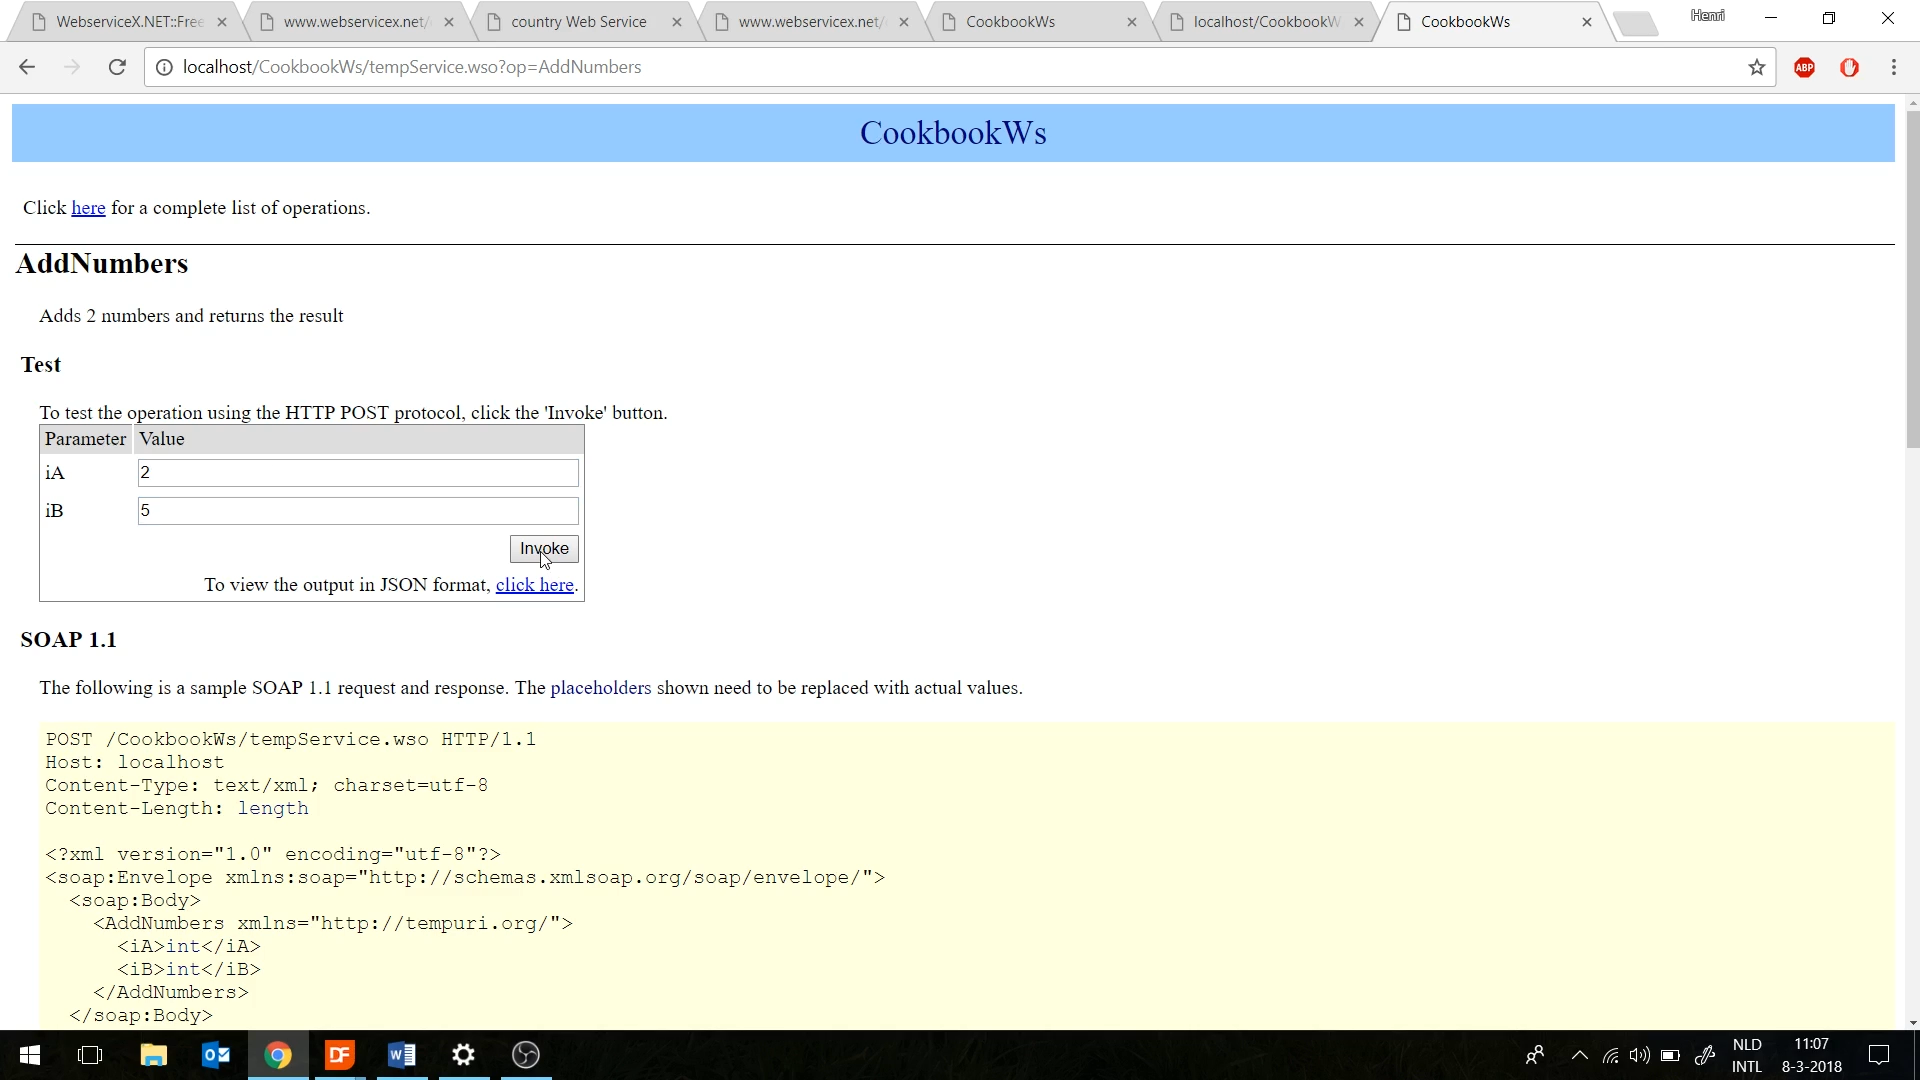
- Enter values in the 1A and 1B fields, select “invoke,” and the result will be shown.