Working with SOAP Web Services
Lesson 5: Calling SOAP Web Services - The basics
This lesson will show how to create a DataFlex program that will call on the web service that created in the previous lessons in this series.
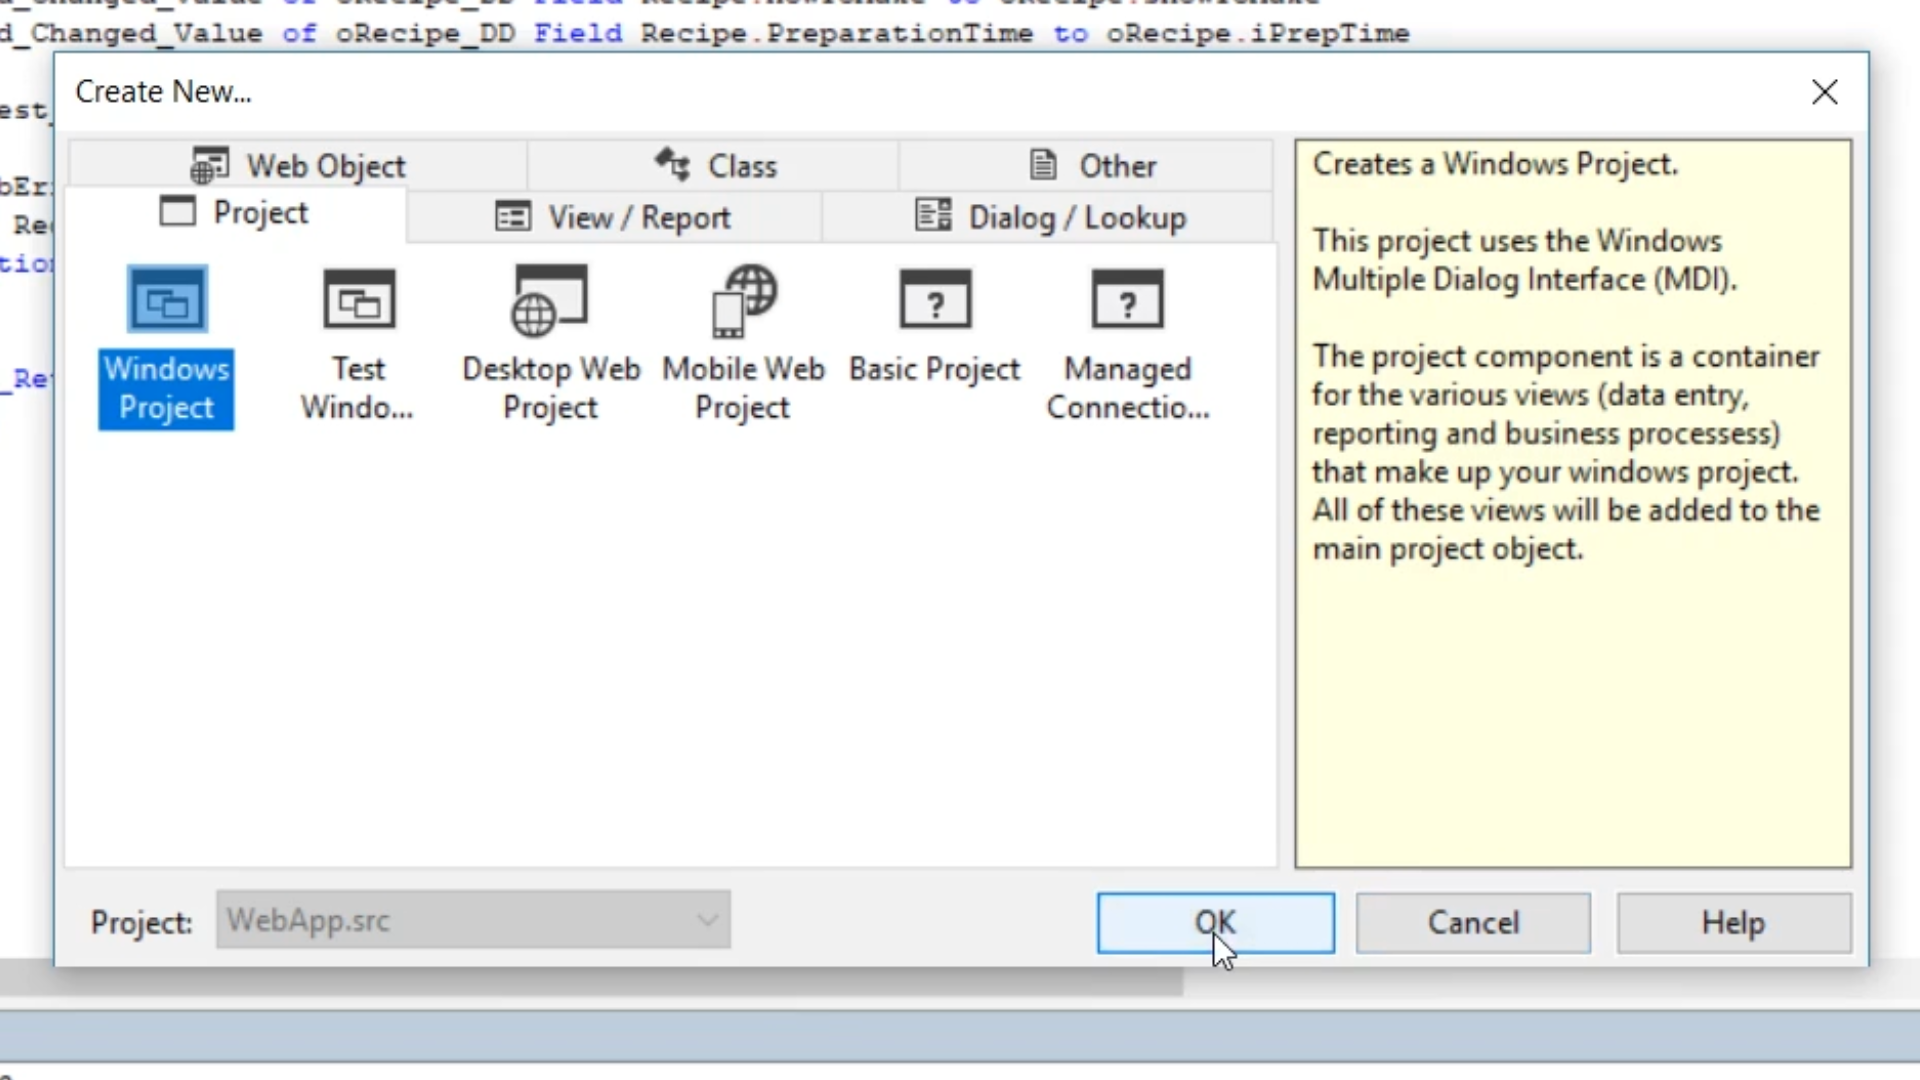
- From the DataFlex Studio select FILE > NEW > PROJECT > WINDOWS PROJECT. Select OK.
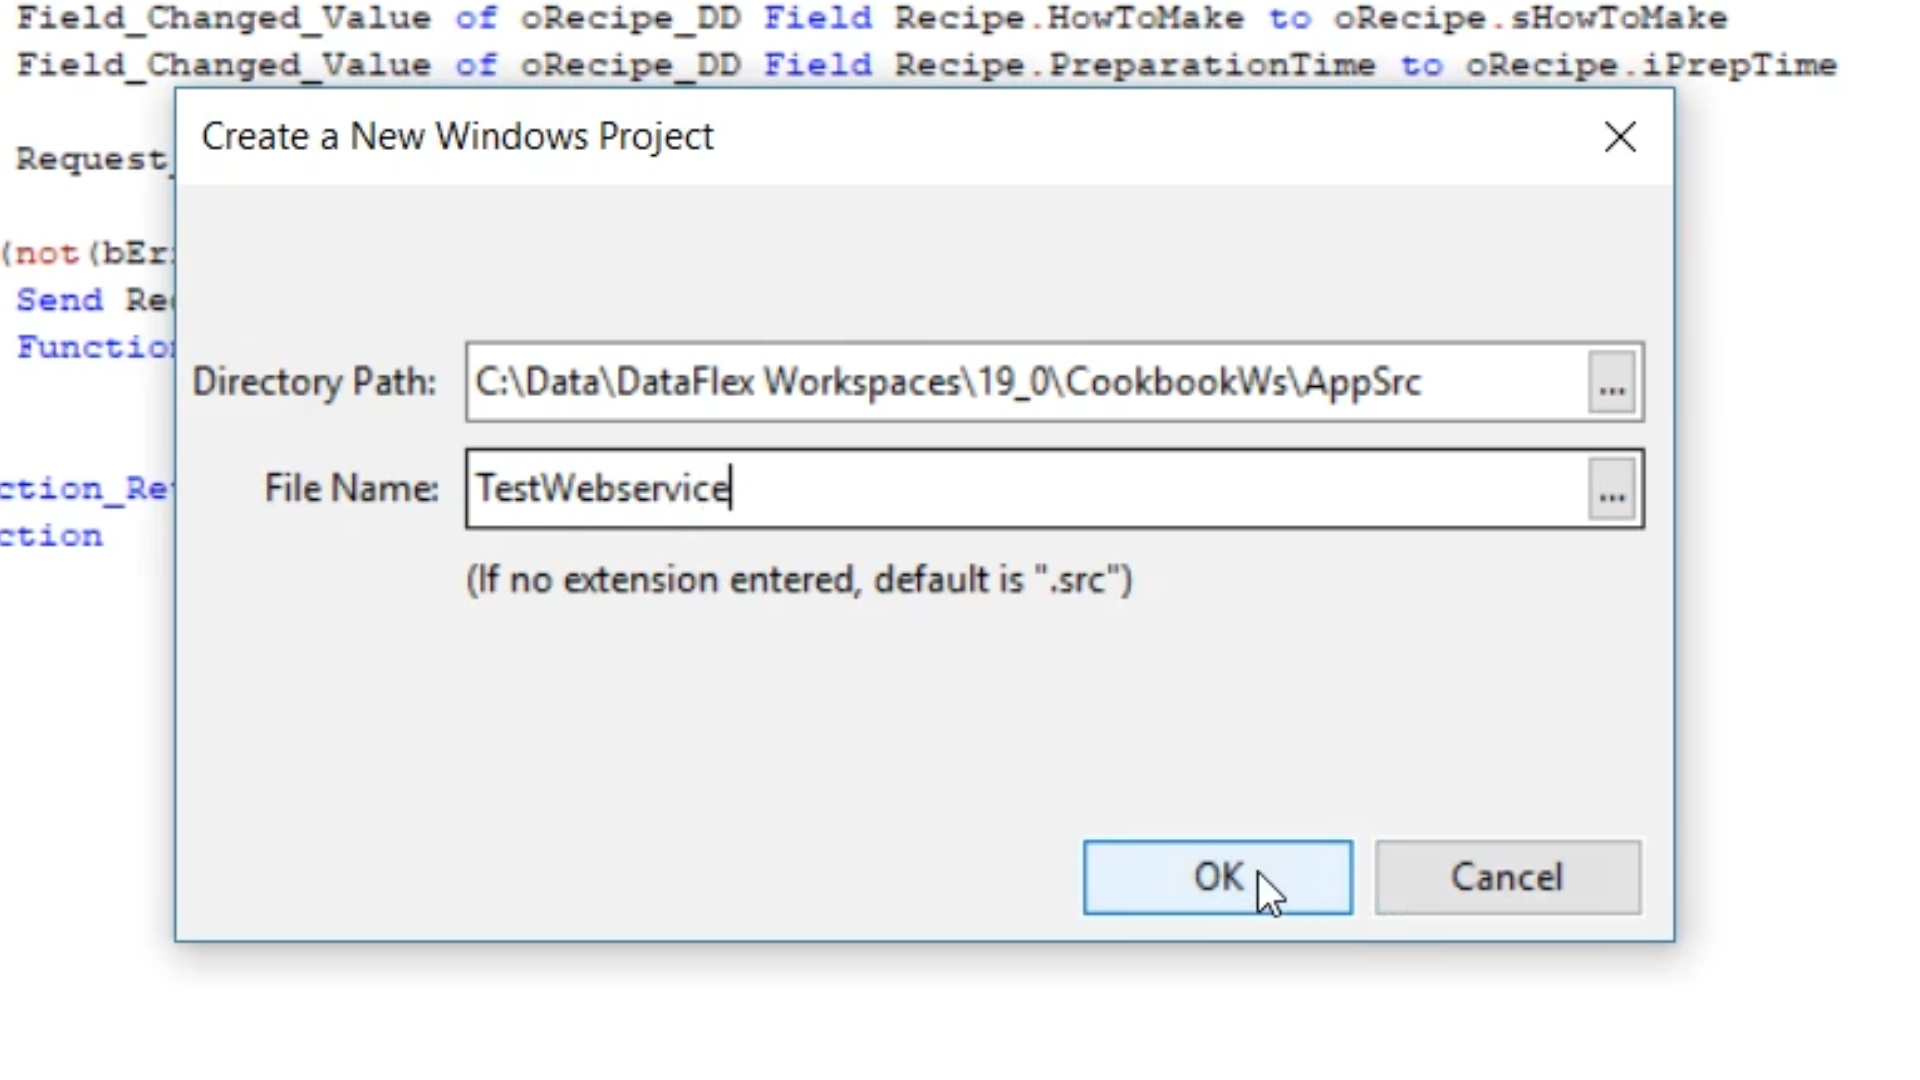
- Add “TestWebservice” as the file name. Select OK.
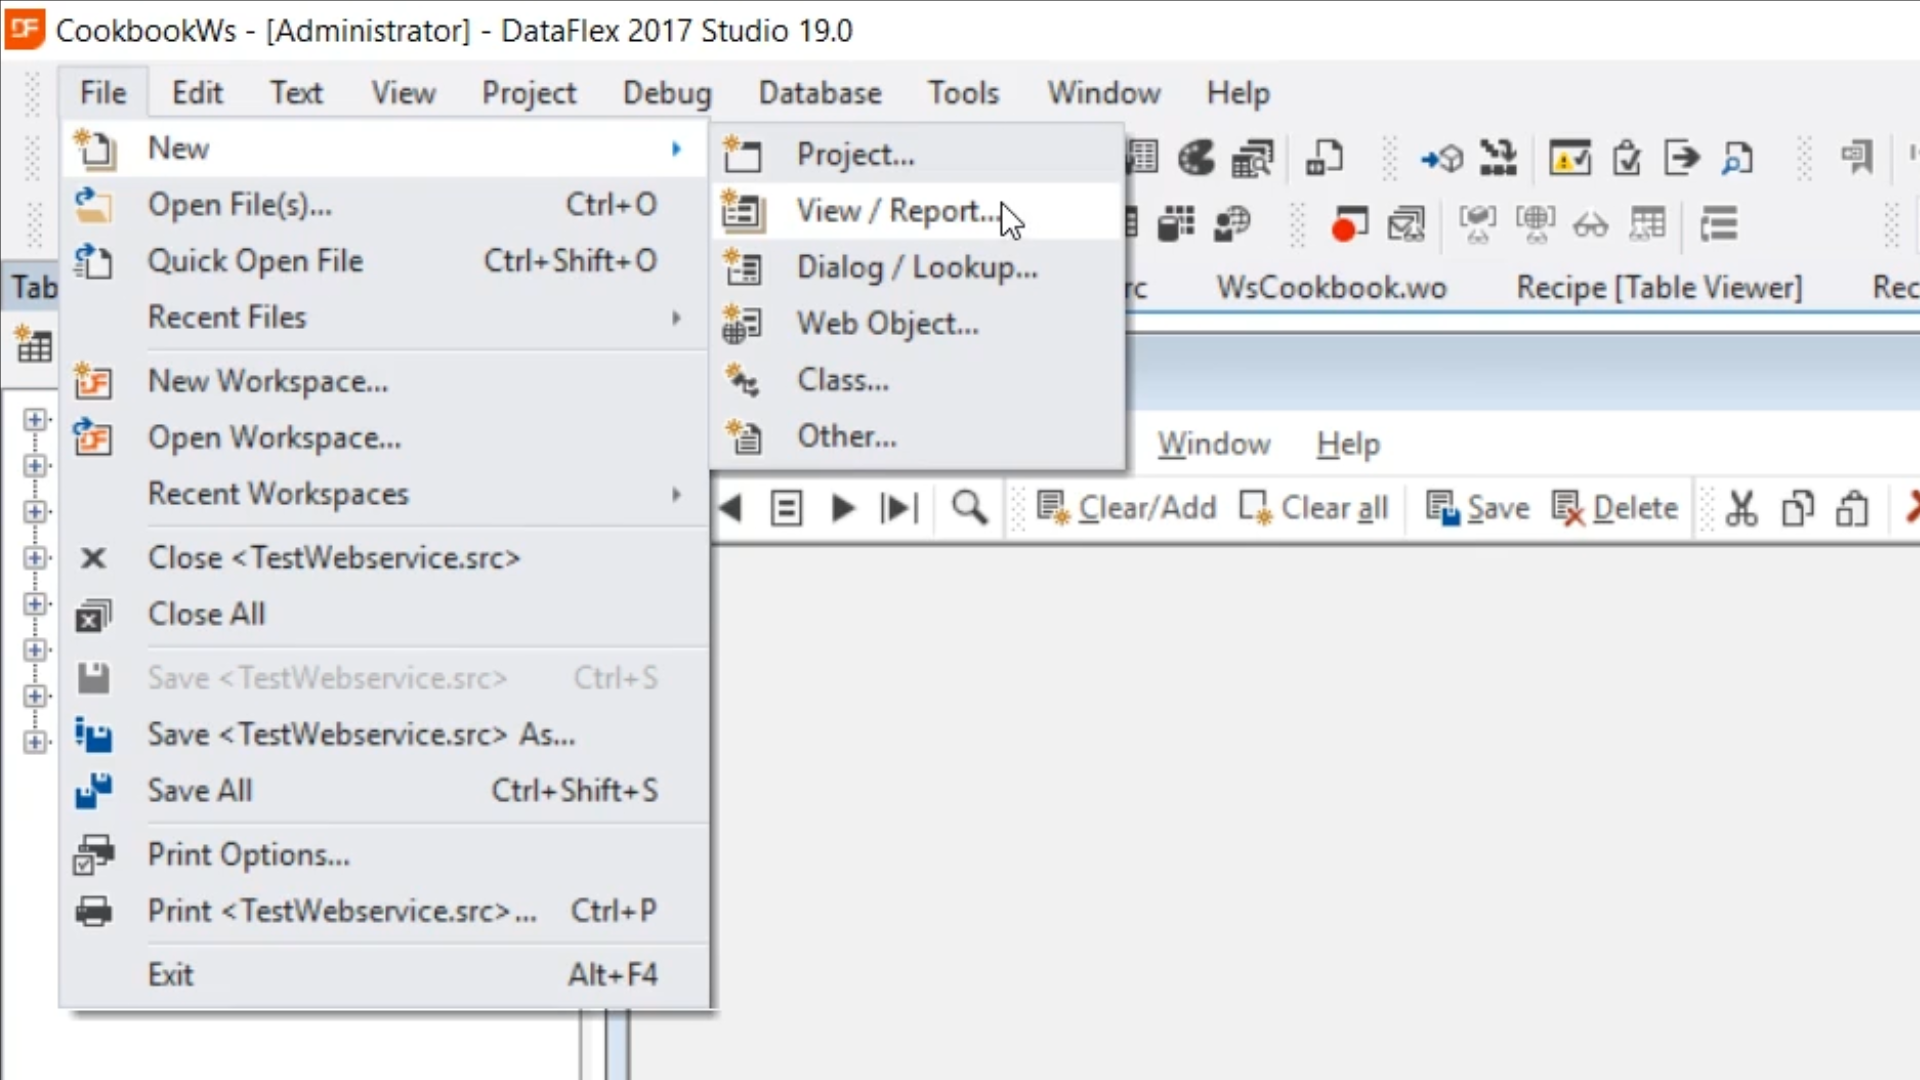
- Select FILE > NEW > VIEW/REPORT > DATA ENTRY VIEW. Select OK.
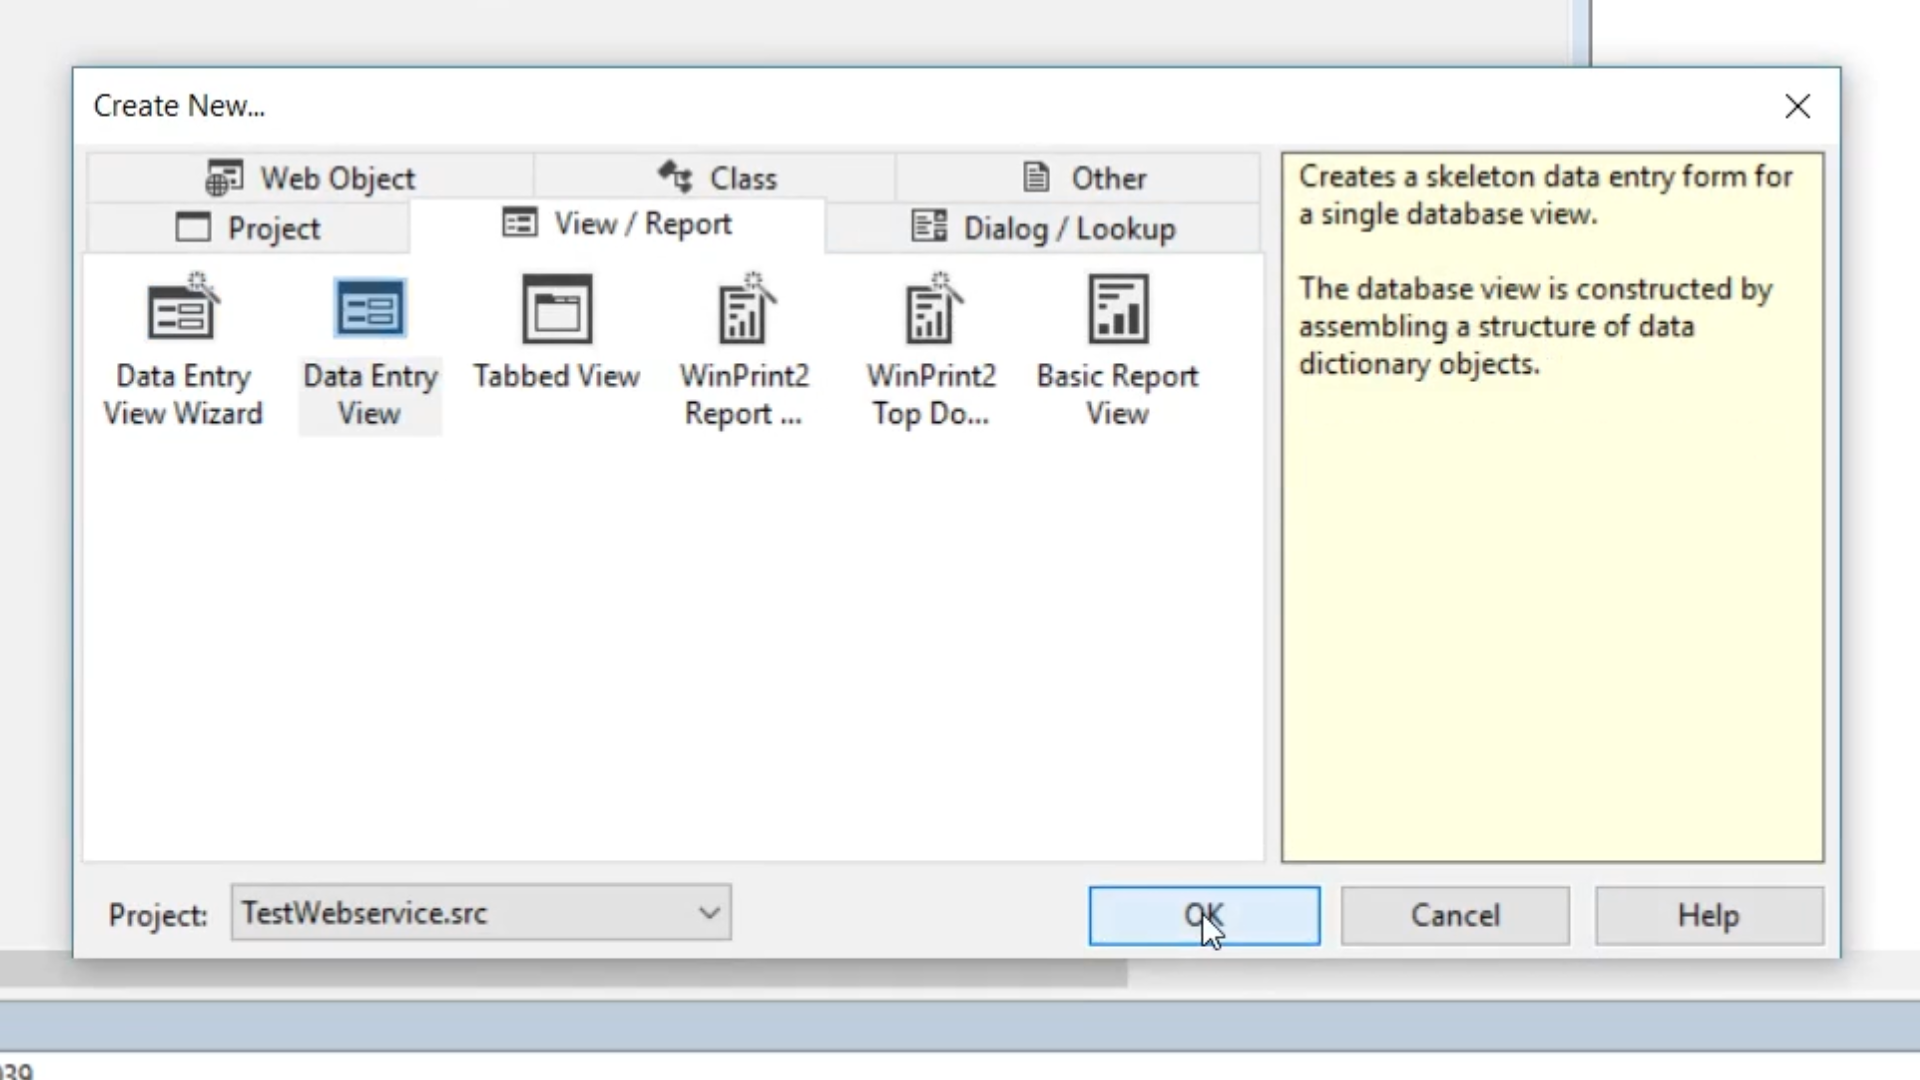
- Add “oVwTestWs” as the ‘Object Name.’ Select OK.

- Starting with the simplest function that was previously created, the Hello function…
- Open the ‘Class Palette’ by selecting its tab from the bottom of the left panel.
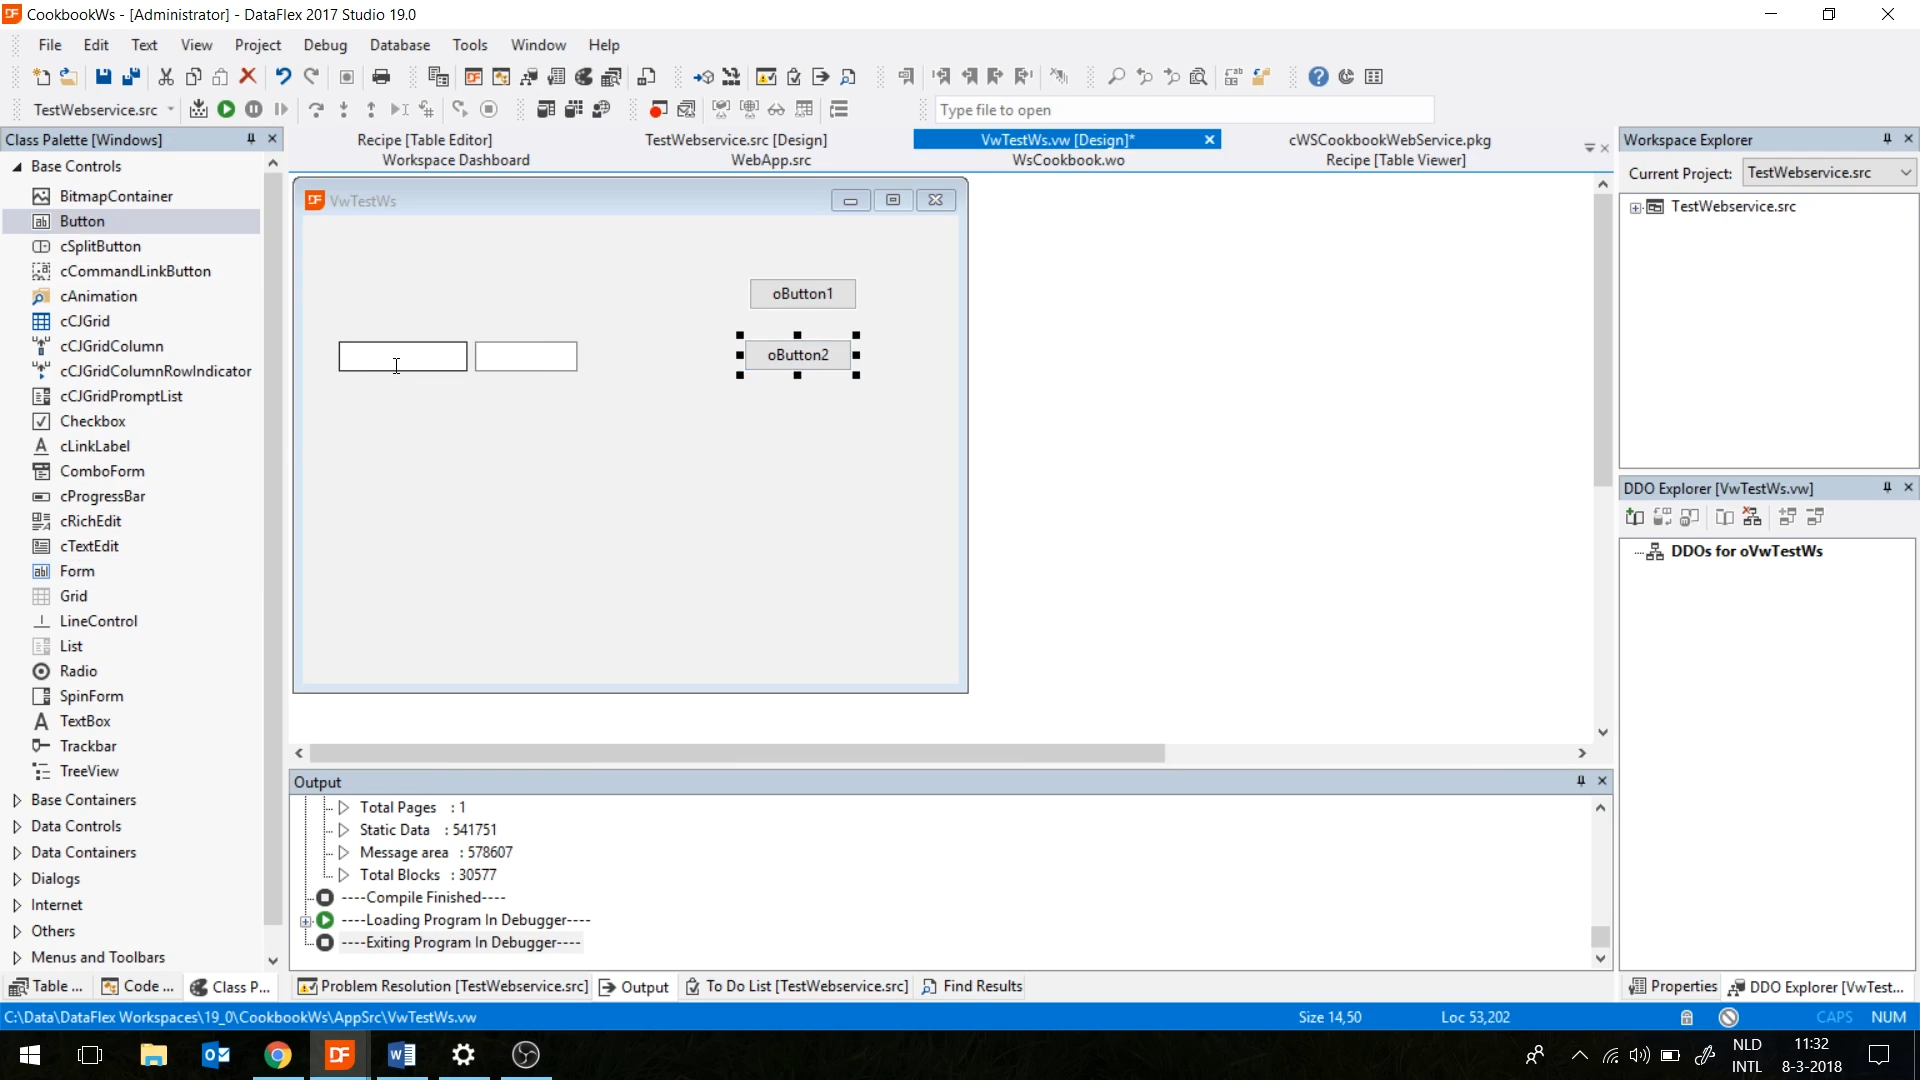
- Click on “Button” and drag and drop it on the view.
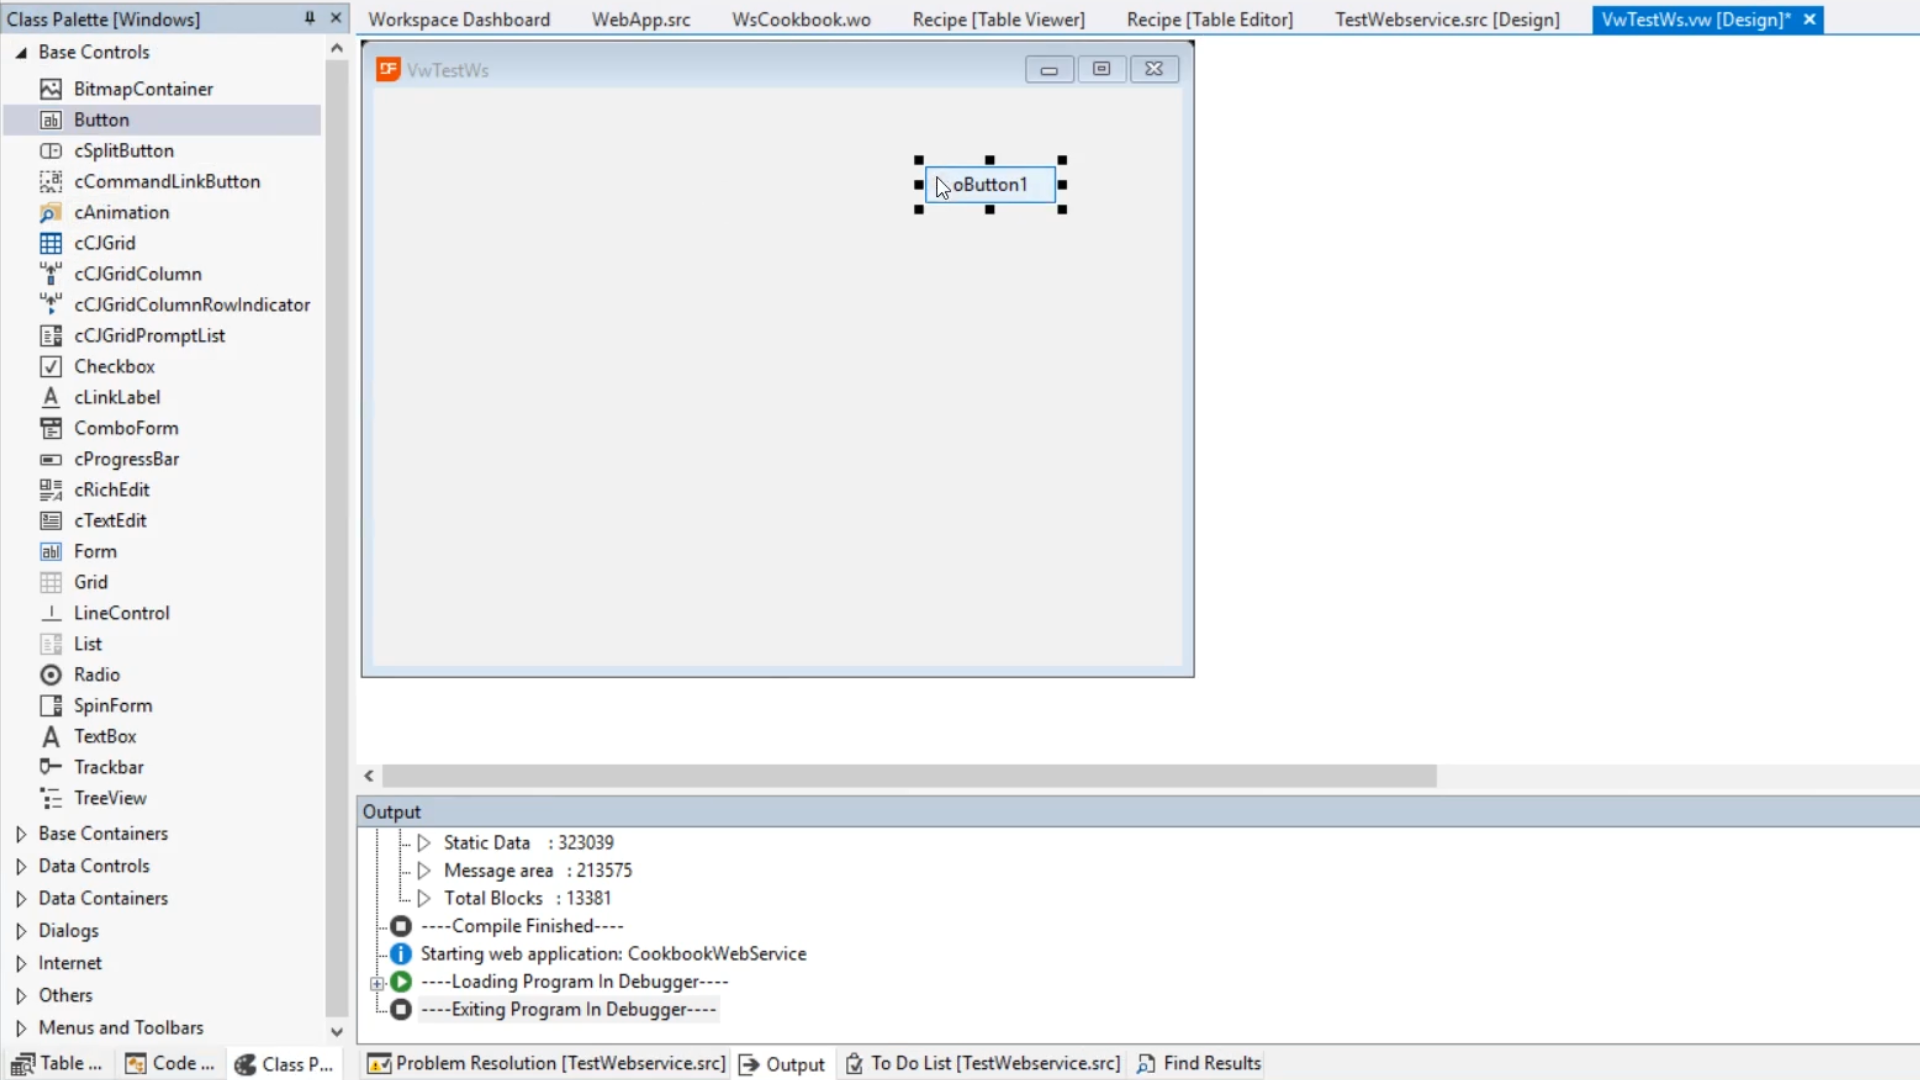
- Double click on the VwTestWs.vw [Design] view to open the code for VwTestWs.vw
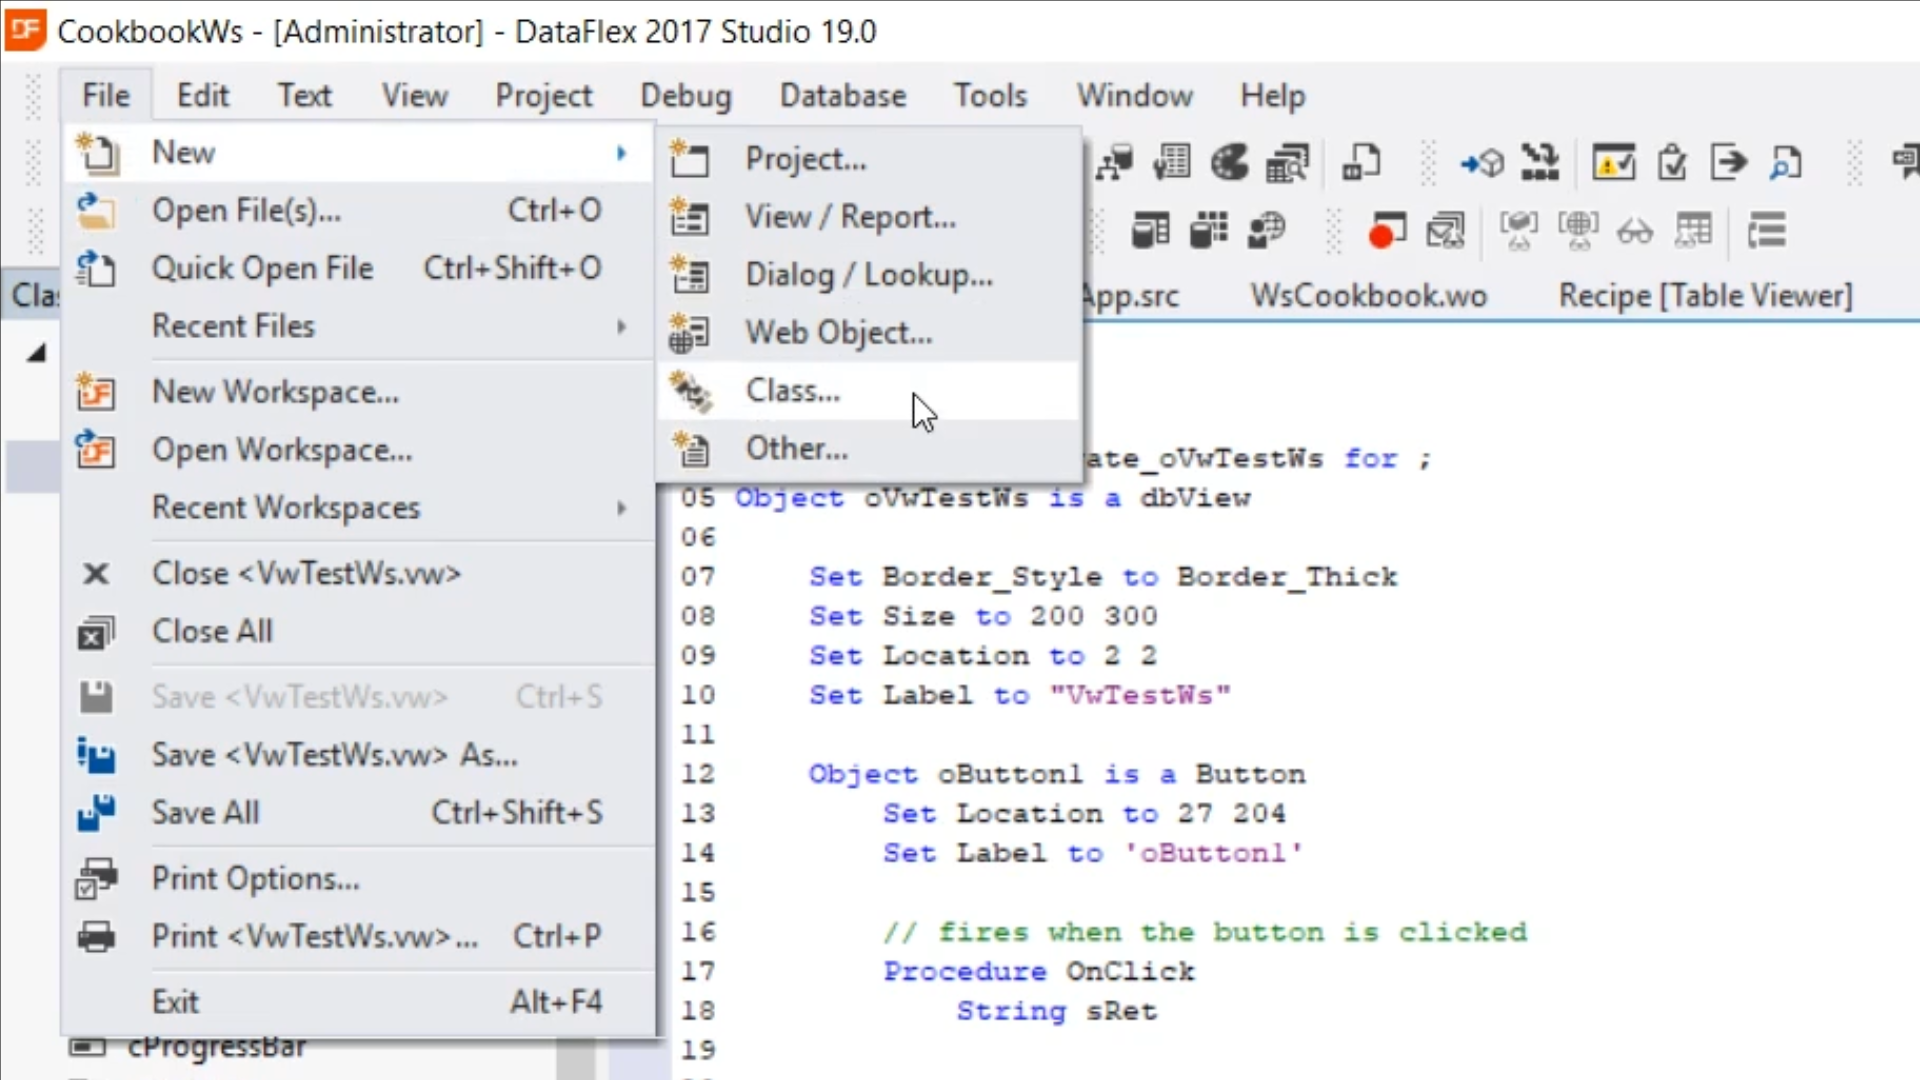
- Before adding code to specify the buttons onclick behavior, an implementation class of the existing web service needs to be created.
- Select FILE > NEW > CLASS
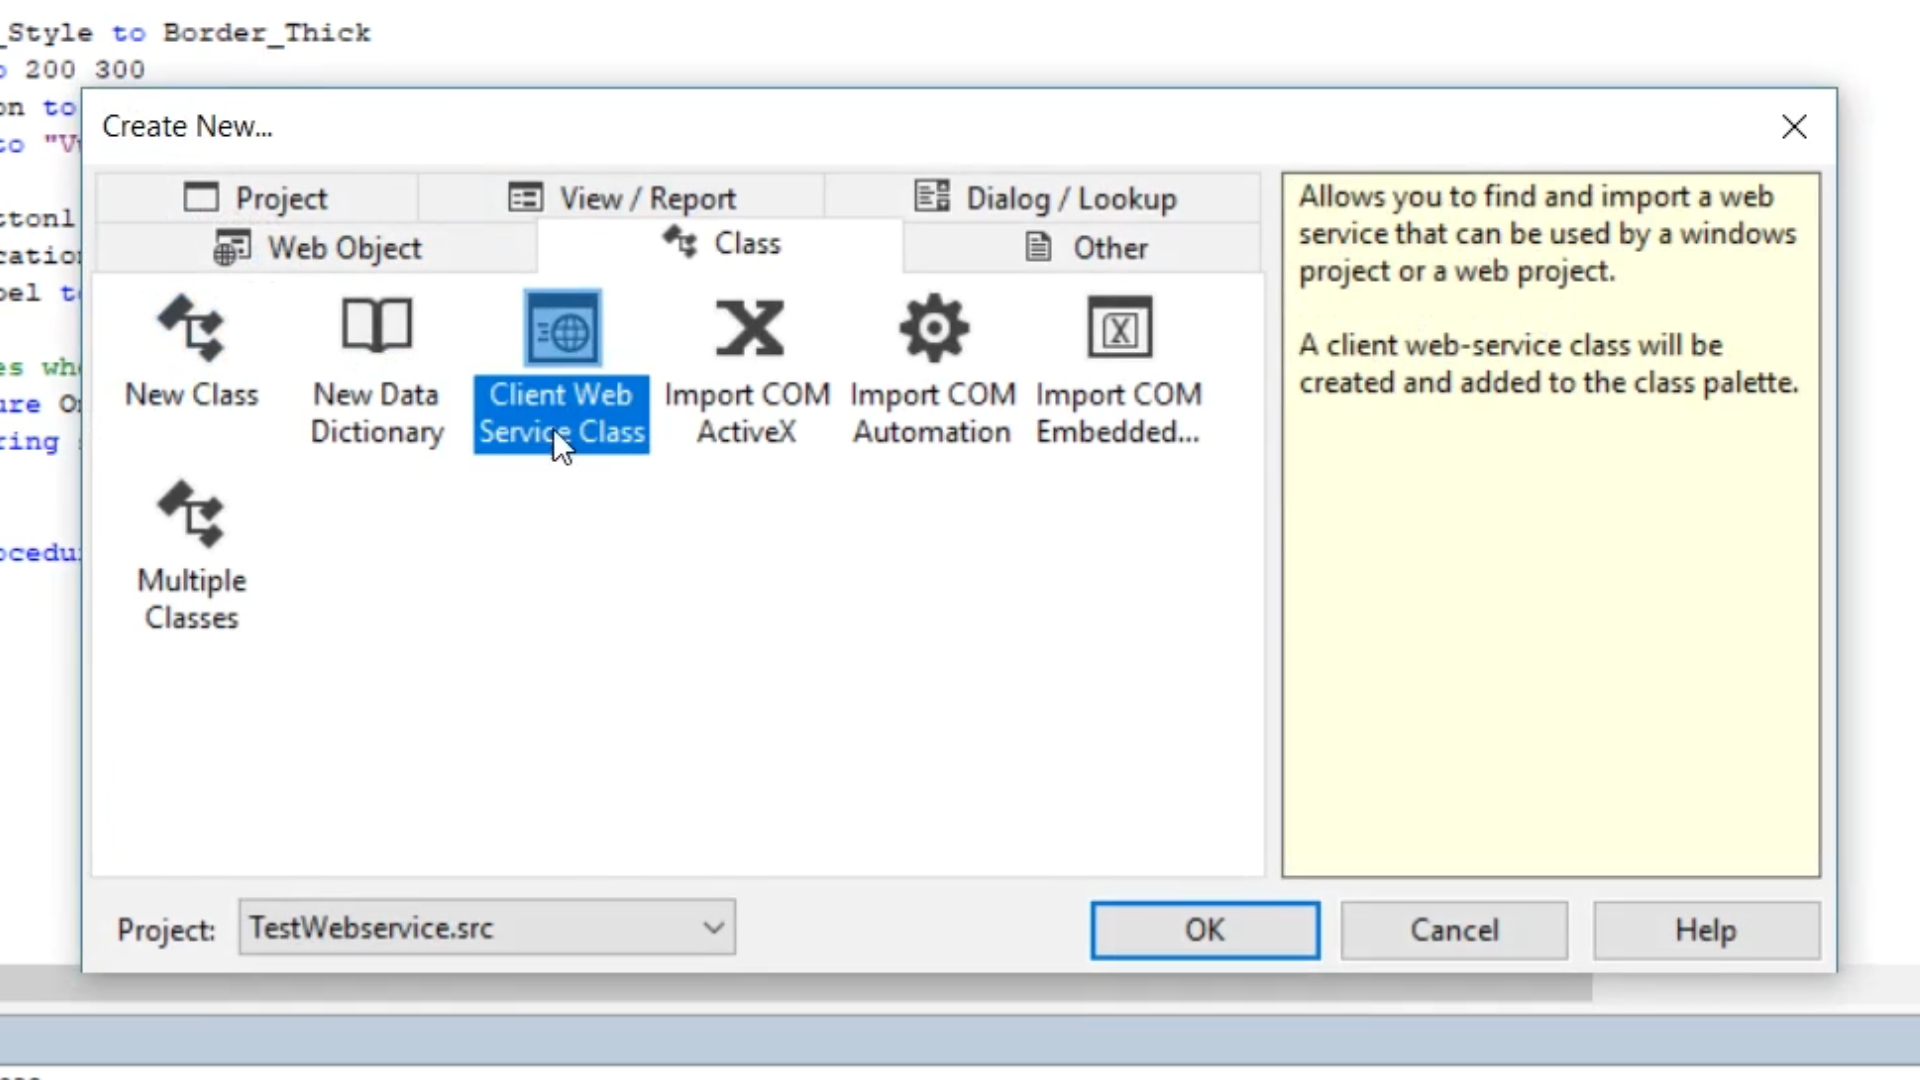
- Select CLIENT WEB SERVICE CLASS, and select OK.
- Fetch the URL that the web service is running on, add “?wsdl” to the end of it.
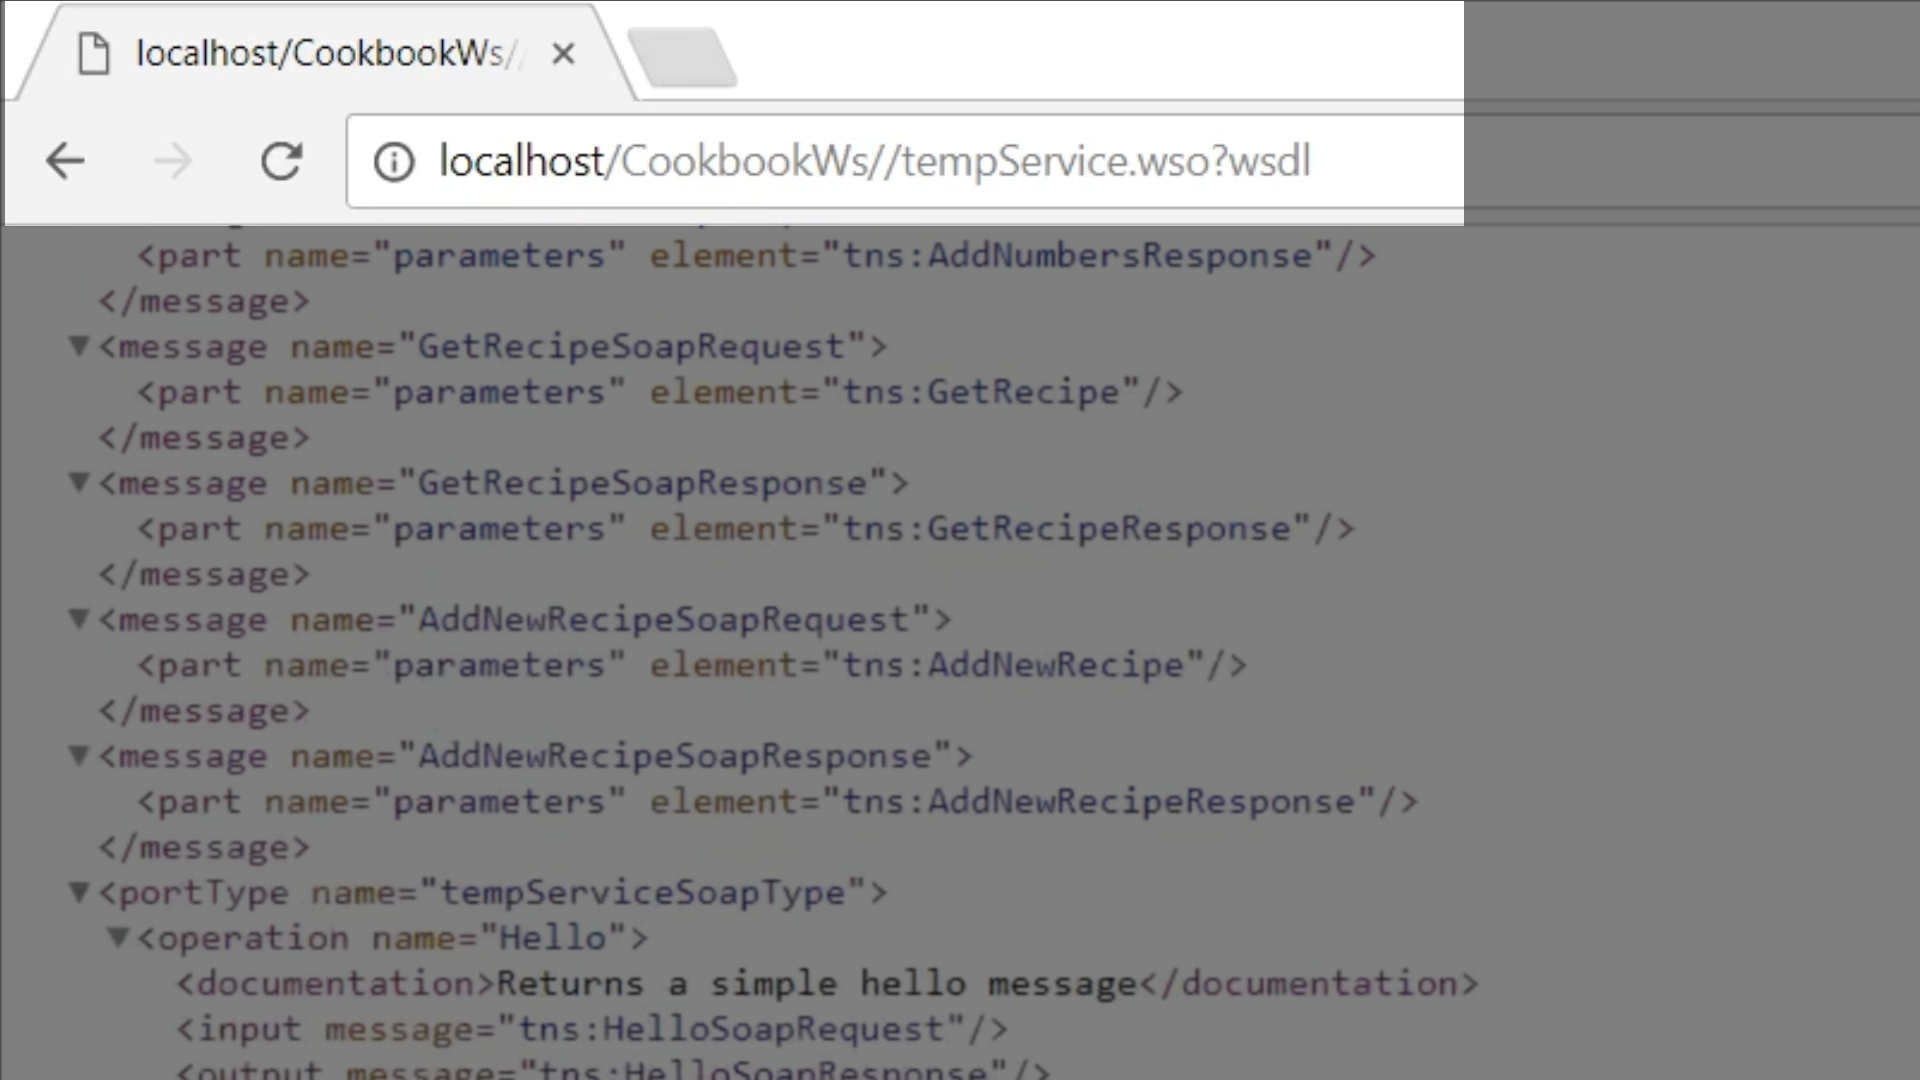
- Paste it into the WSDL URL field, and select PARSE. The web service class will then be generated.
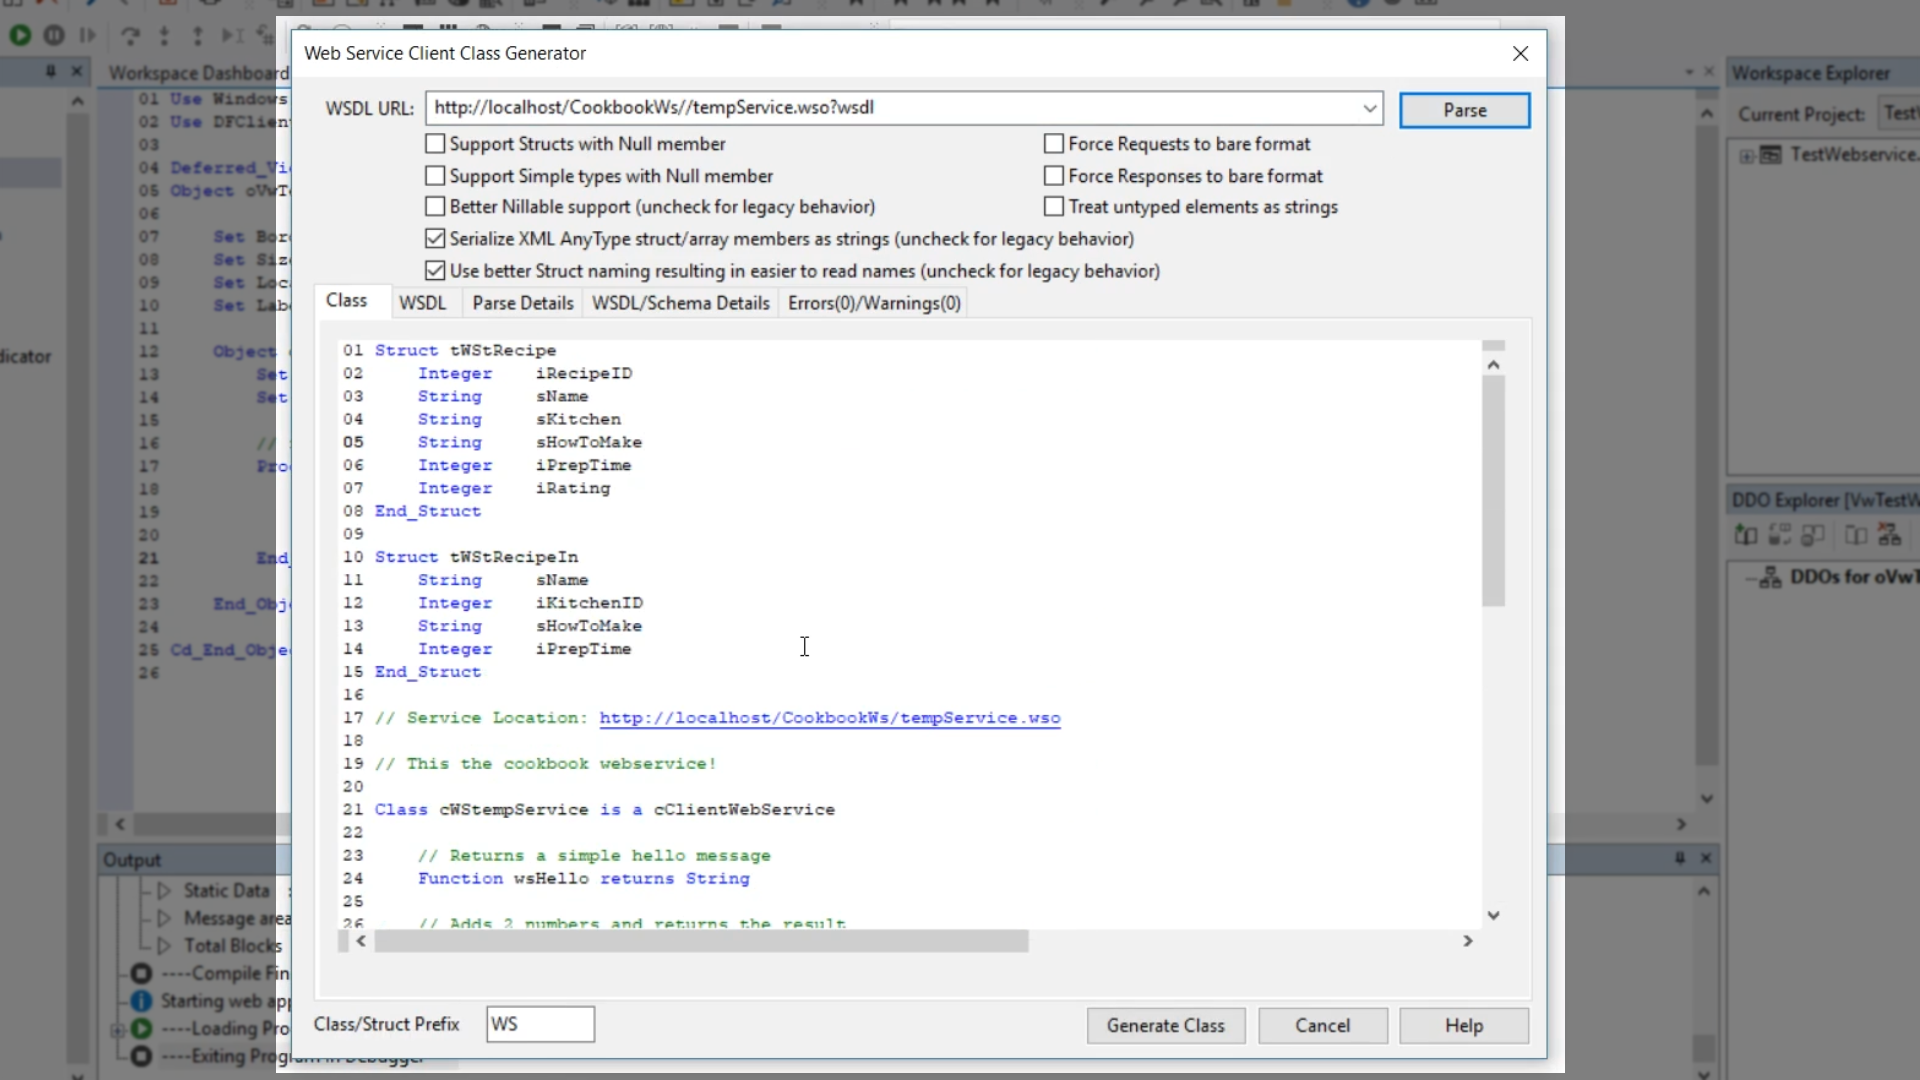
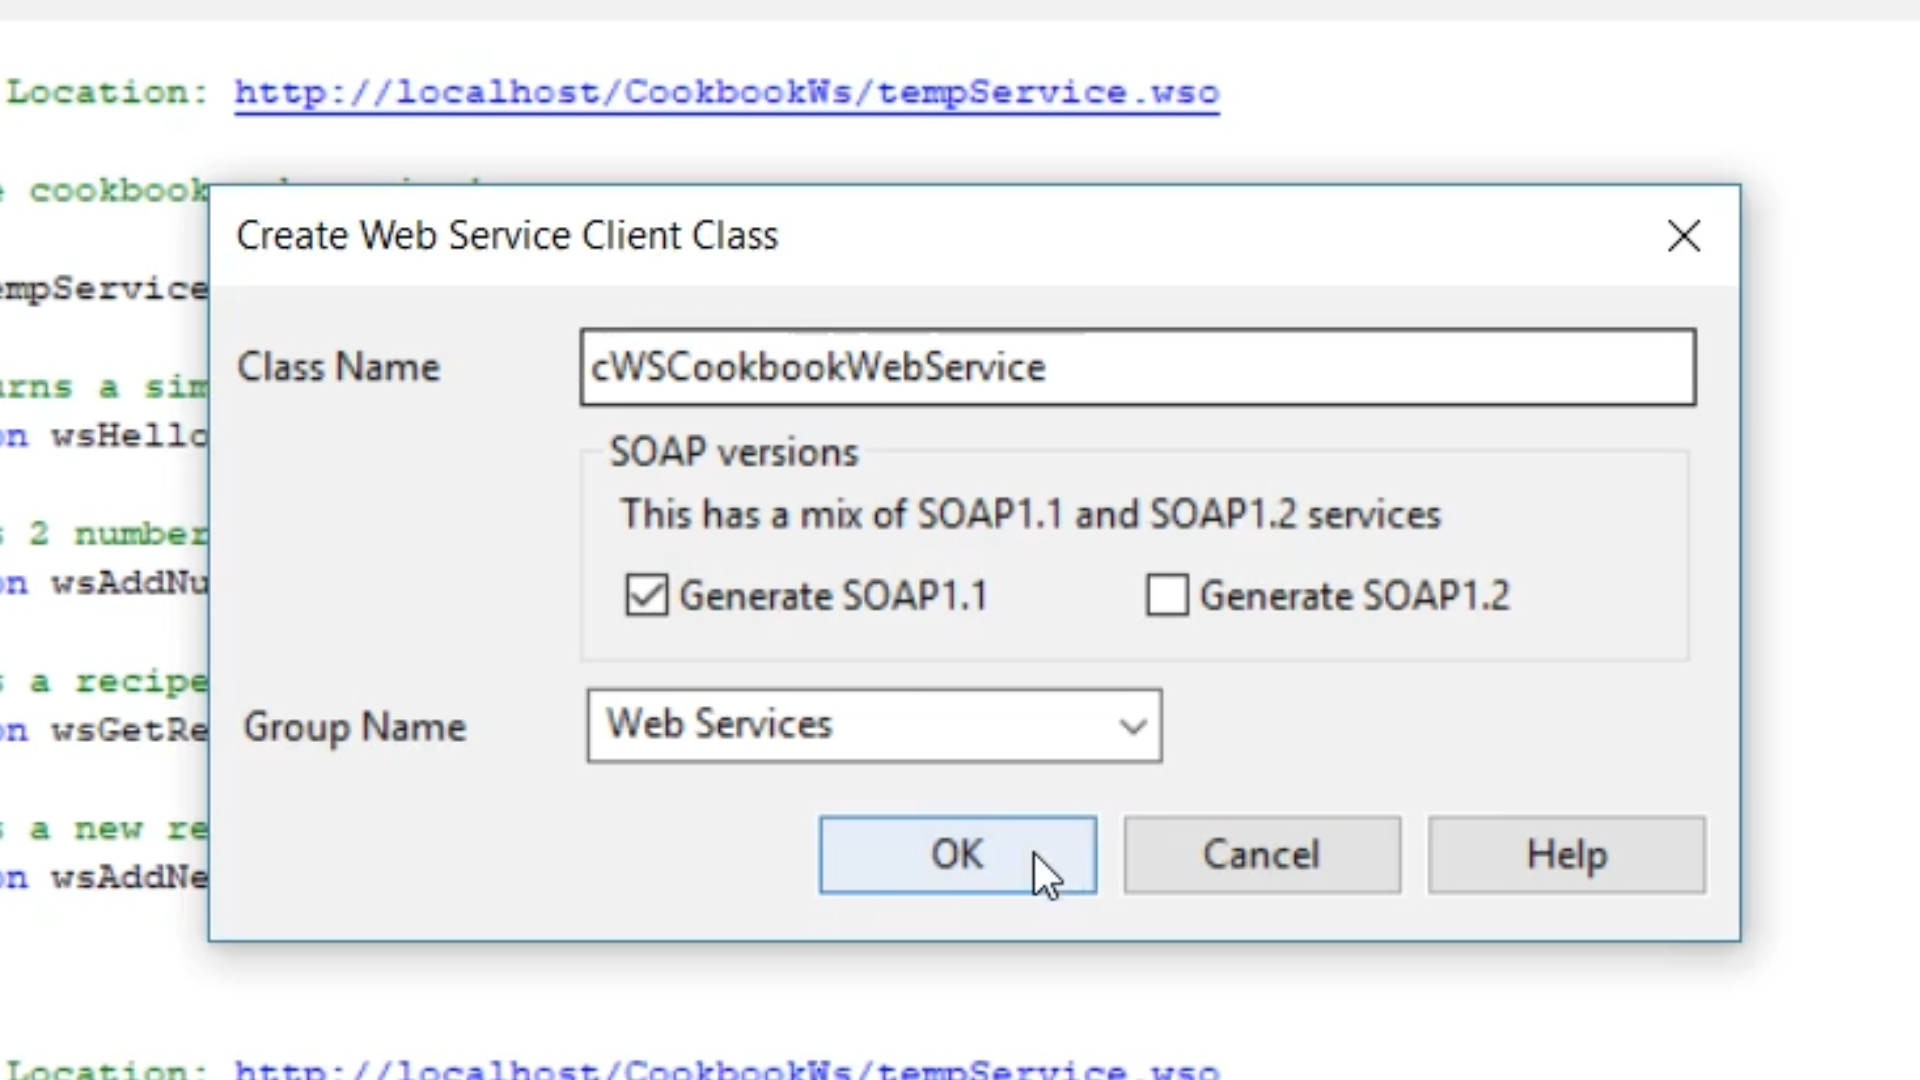
- Select GENERATE CLASS, enter “cWSCookbookWebService” into the ‘Class Name’ field, and select OK.
- The Cookbook webservice class has now been created, so that it can used in an application. It contains all the functions and information required to call on the web service.
- To view the available functions, open the ‘Code Explorer’ by selecting its tab from the bottom of the left panel.

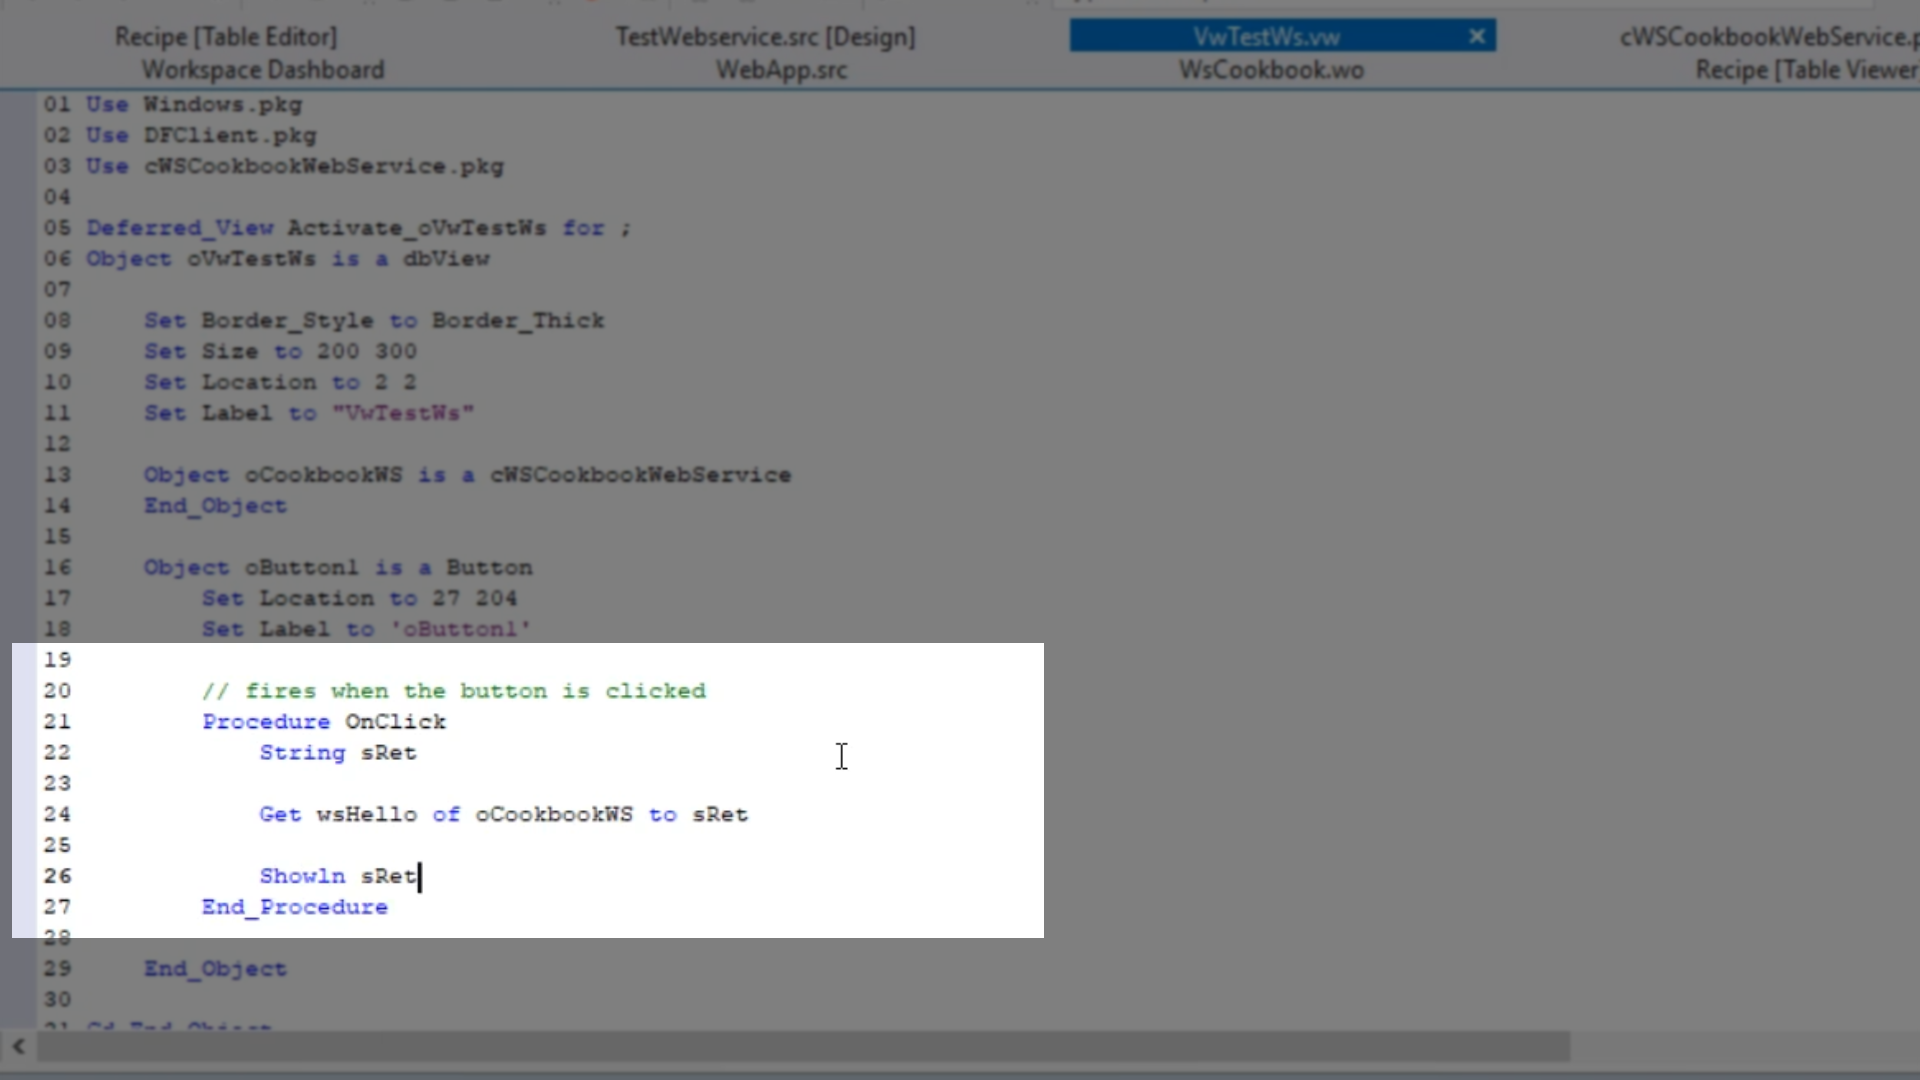
- To create the button’s onclick behavior that will return a string…
- Select the view, ‘VwTestWs.vw’
- Create an implantation of the generated web service client class.
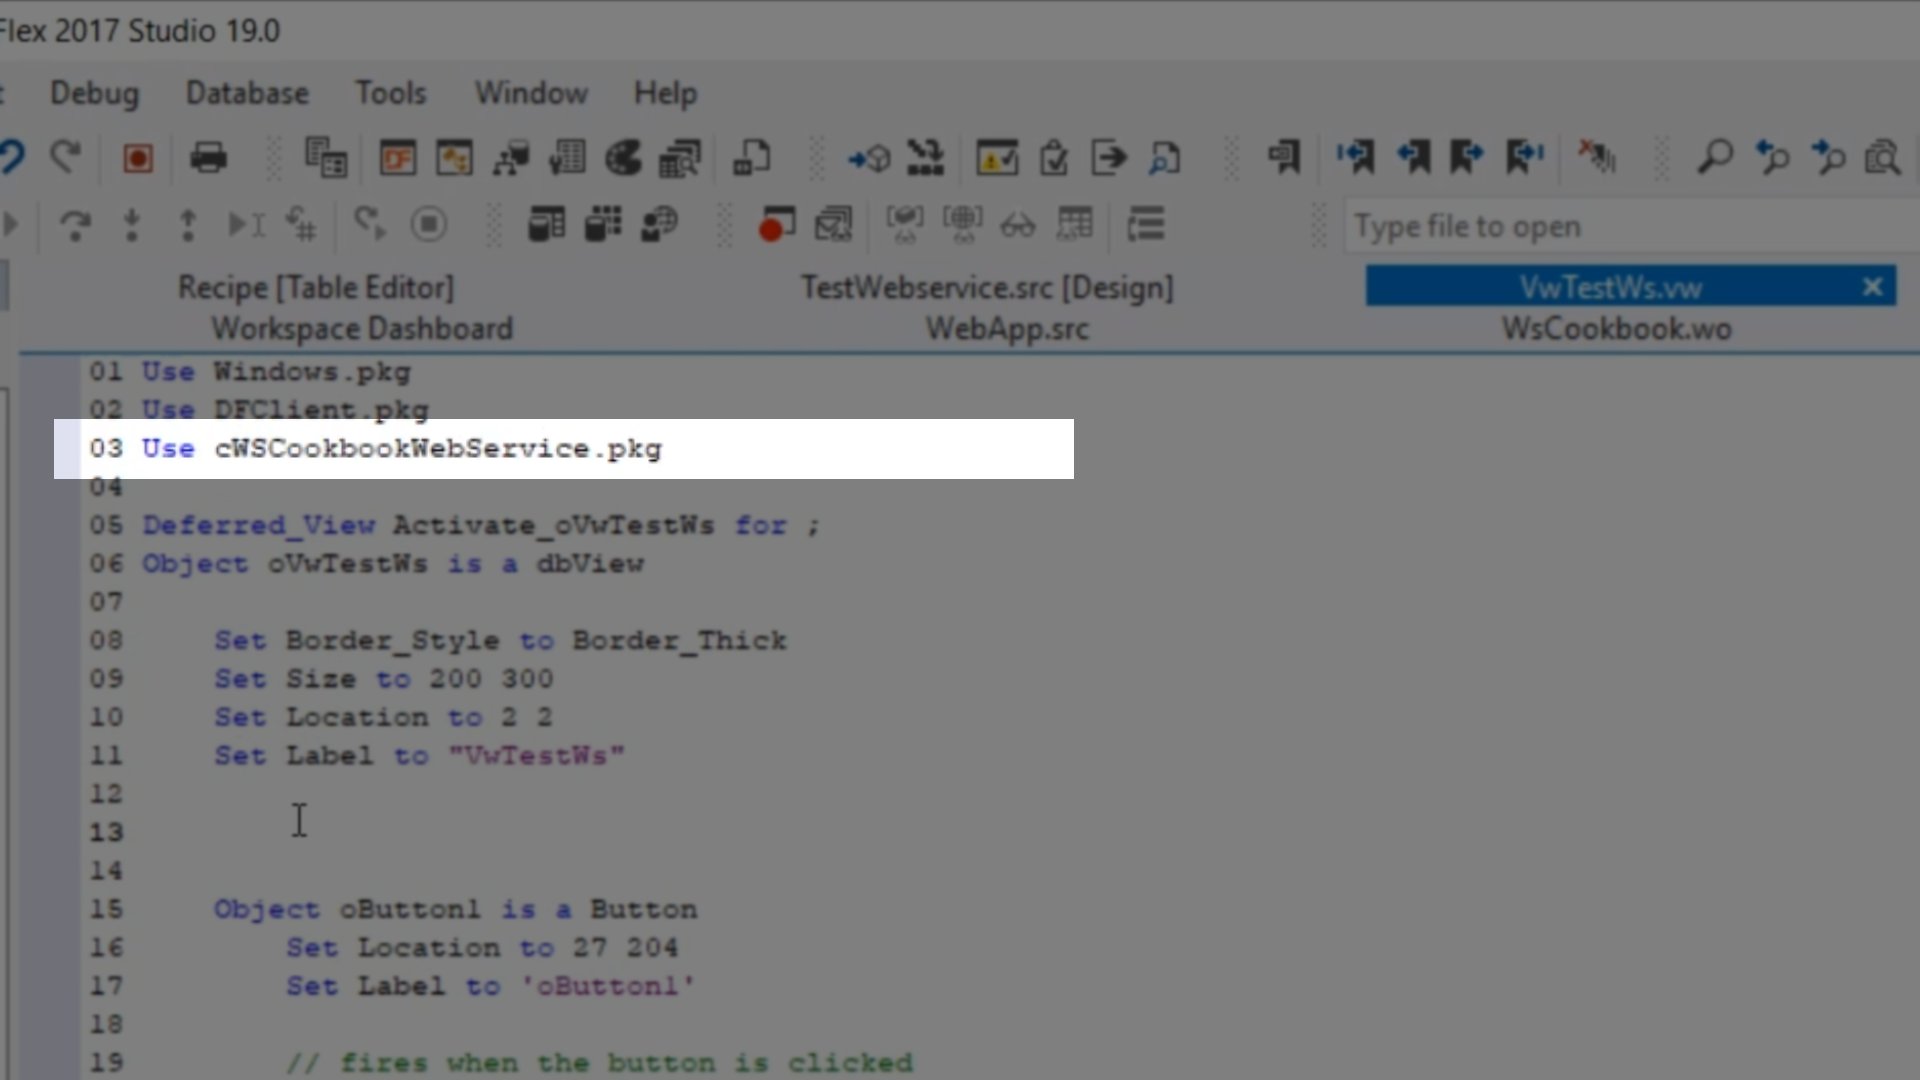
- First import it: Use cWSCookbookWebService.pkg
- Create a new CookBook webservice:
Object oCookbookWS is a cWSCookbookWebService
End_Object
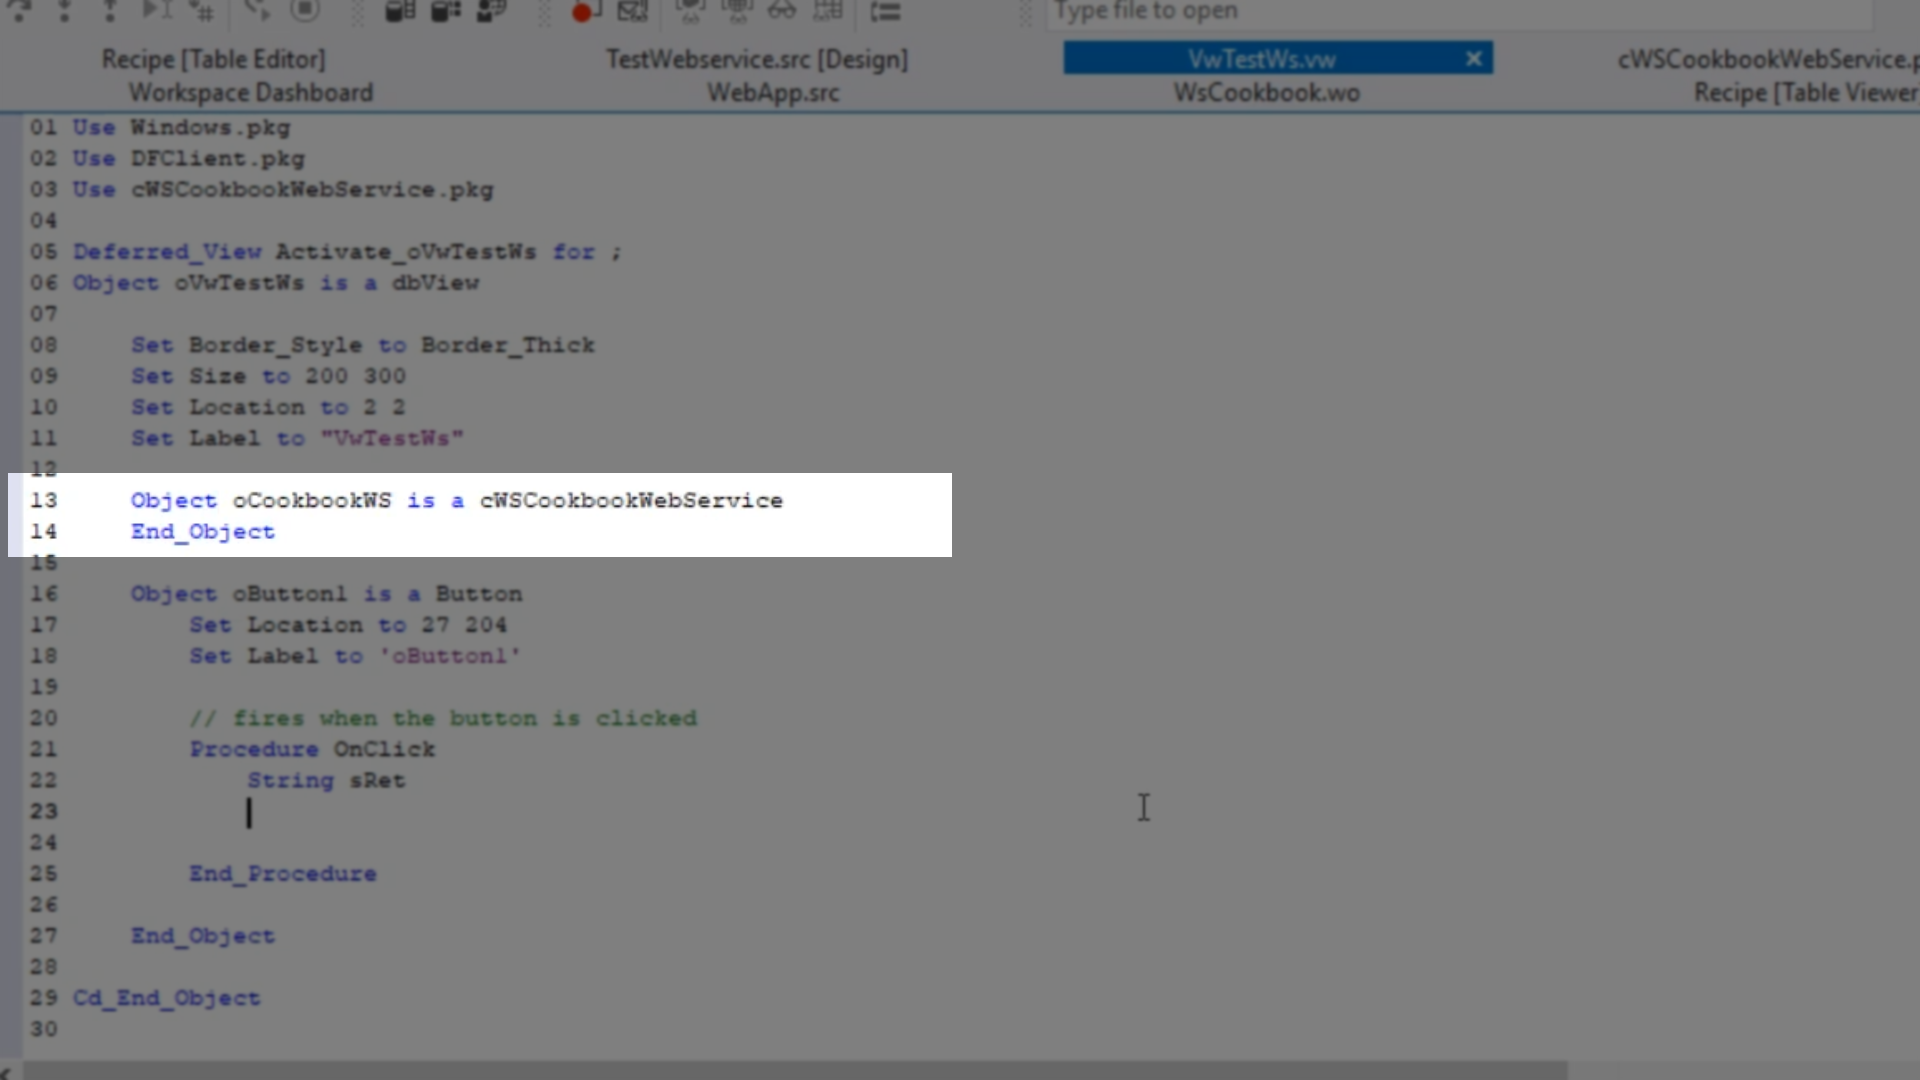
- That web service line object can now be used in the onclick procedure.
// fires when the button is clickedProcedure OnClick
String sRet
Get wsHello of oCookbookWS to sRet
Showln sRet
End_Procedure
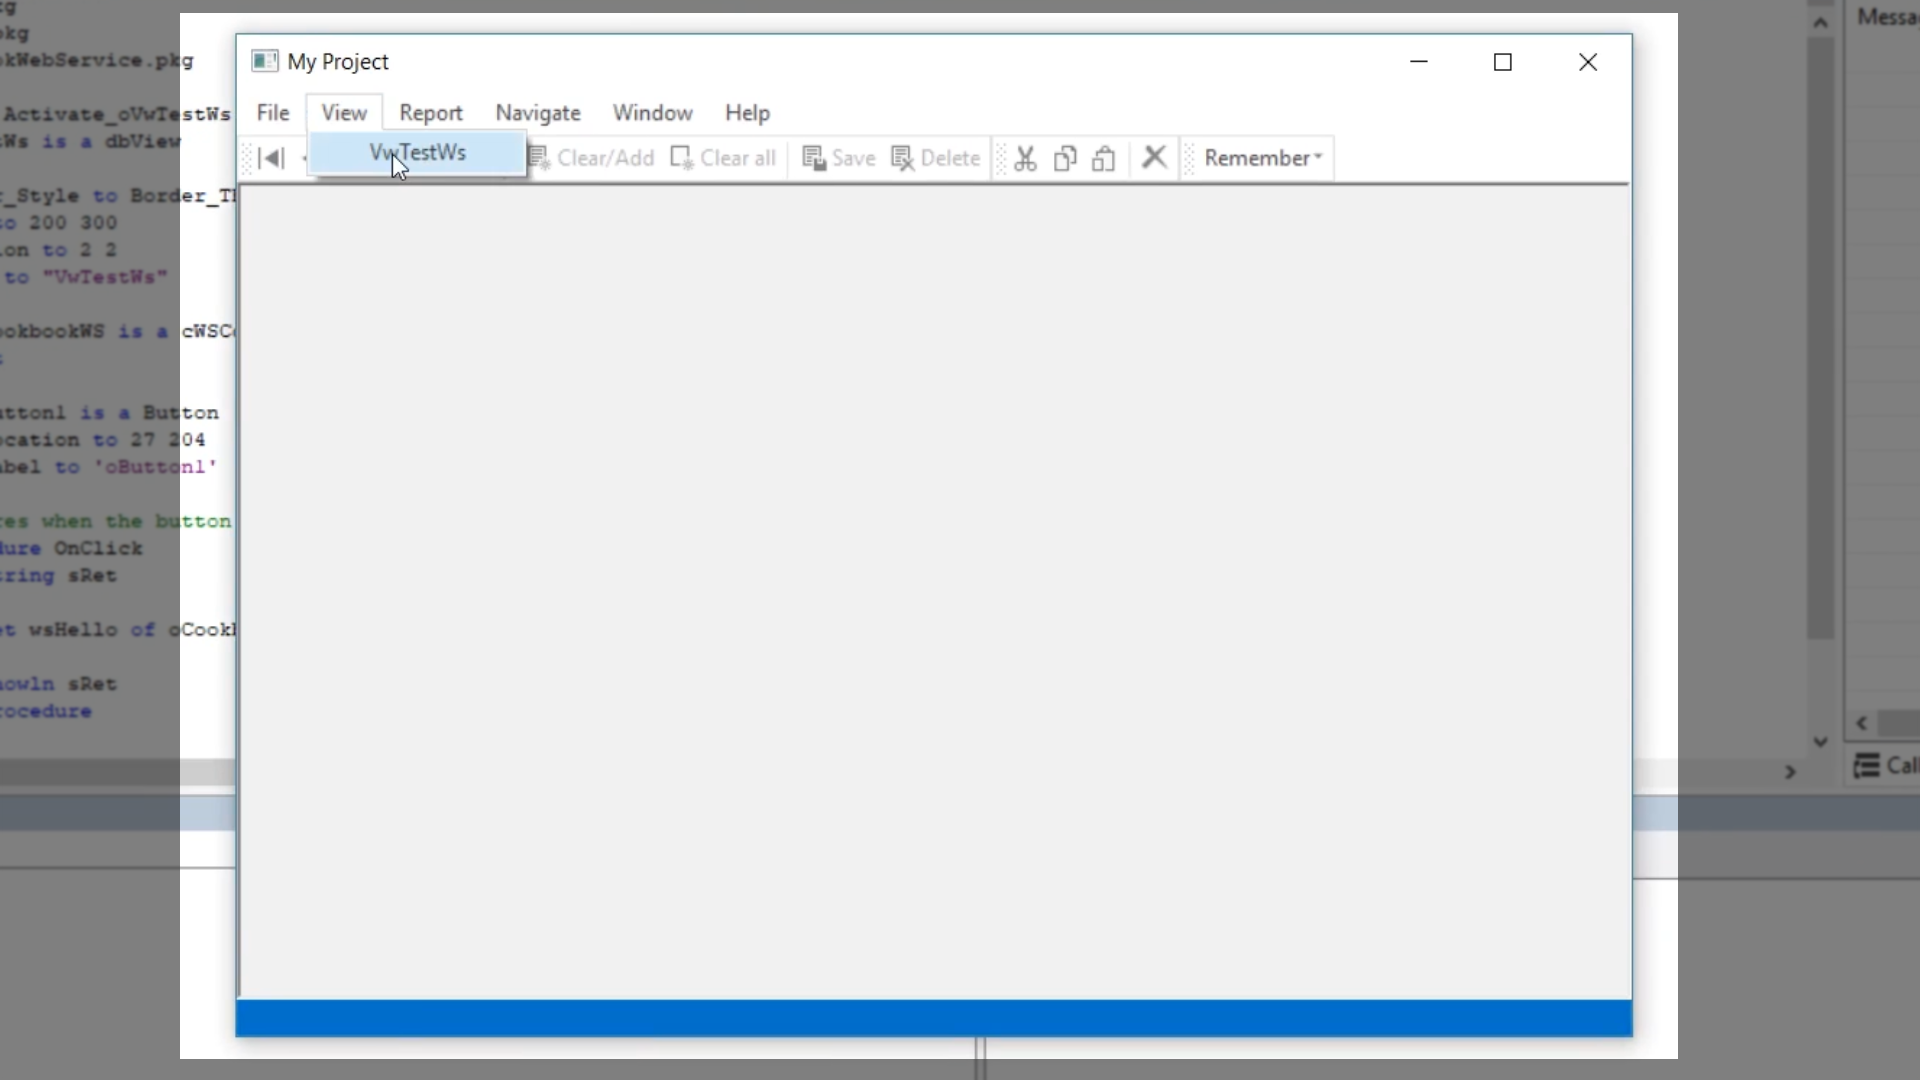
- Select the RUN icon from the top toolbar.
- The new program is loaded in a separate view.
- Select VIEW > VwTestWs from its menu to open the view that shows the button that was just created.
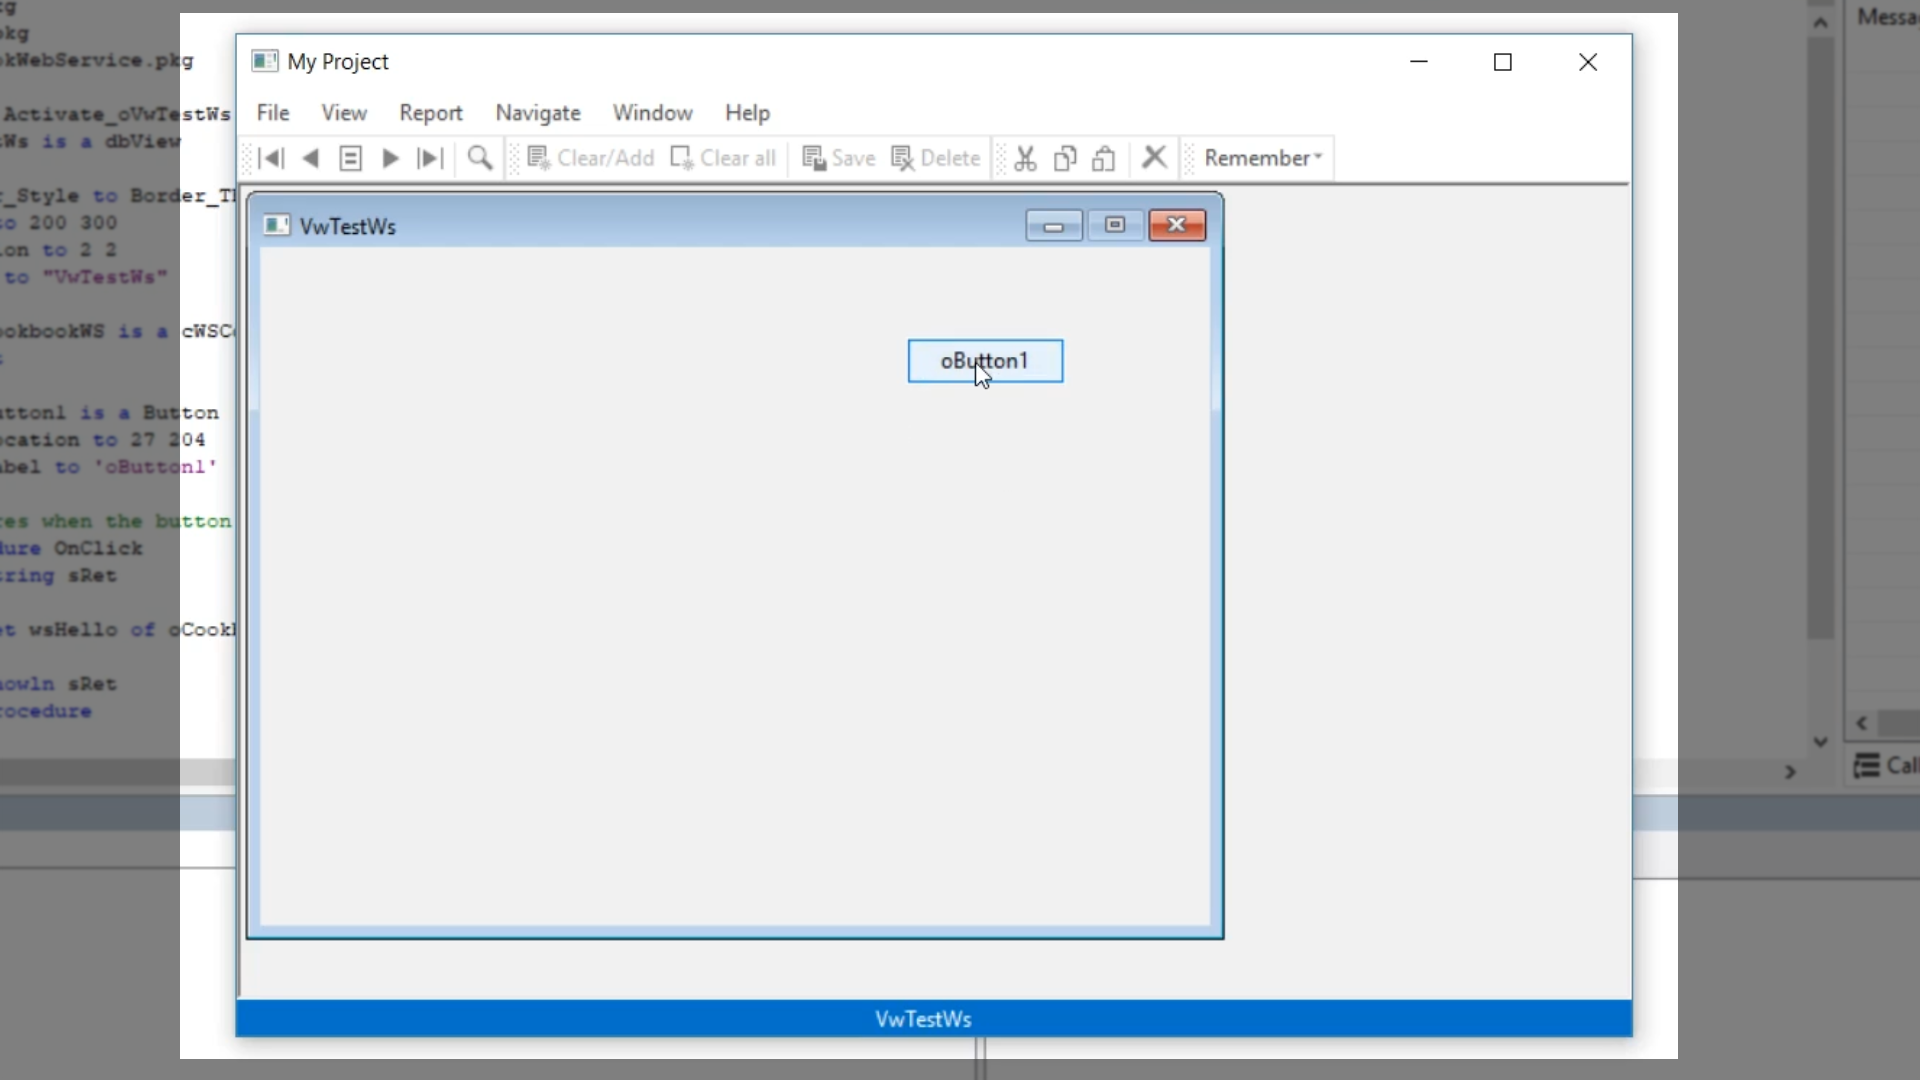
- Clicking the button opens an output window that reads as it should, “Hello from the other side!”

- Next, preparing the program to call upon the ‘AddNumbers’ function...
- Return to the DataFlex Studio, and open VwTestWs.vw [Design]
- Add two forms to the design of the program by clicking on ‘Form’ from the ‘Class Palette,’ and dragging and dropping the fields onto the view.
- Add a new button onto the form by clicking on ‘Button’ from the ‘Class Palette,’ and dragging and dropping the button onto the view.
- In the code change the names of the form fields and the button and add onclick functionality to the button.
- Field 1: Object oFormNr1 is a Form
Field 2: Object oFormNr2 is a Form

Button:
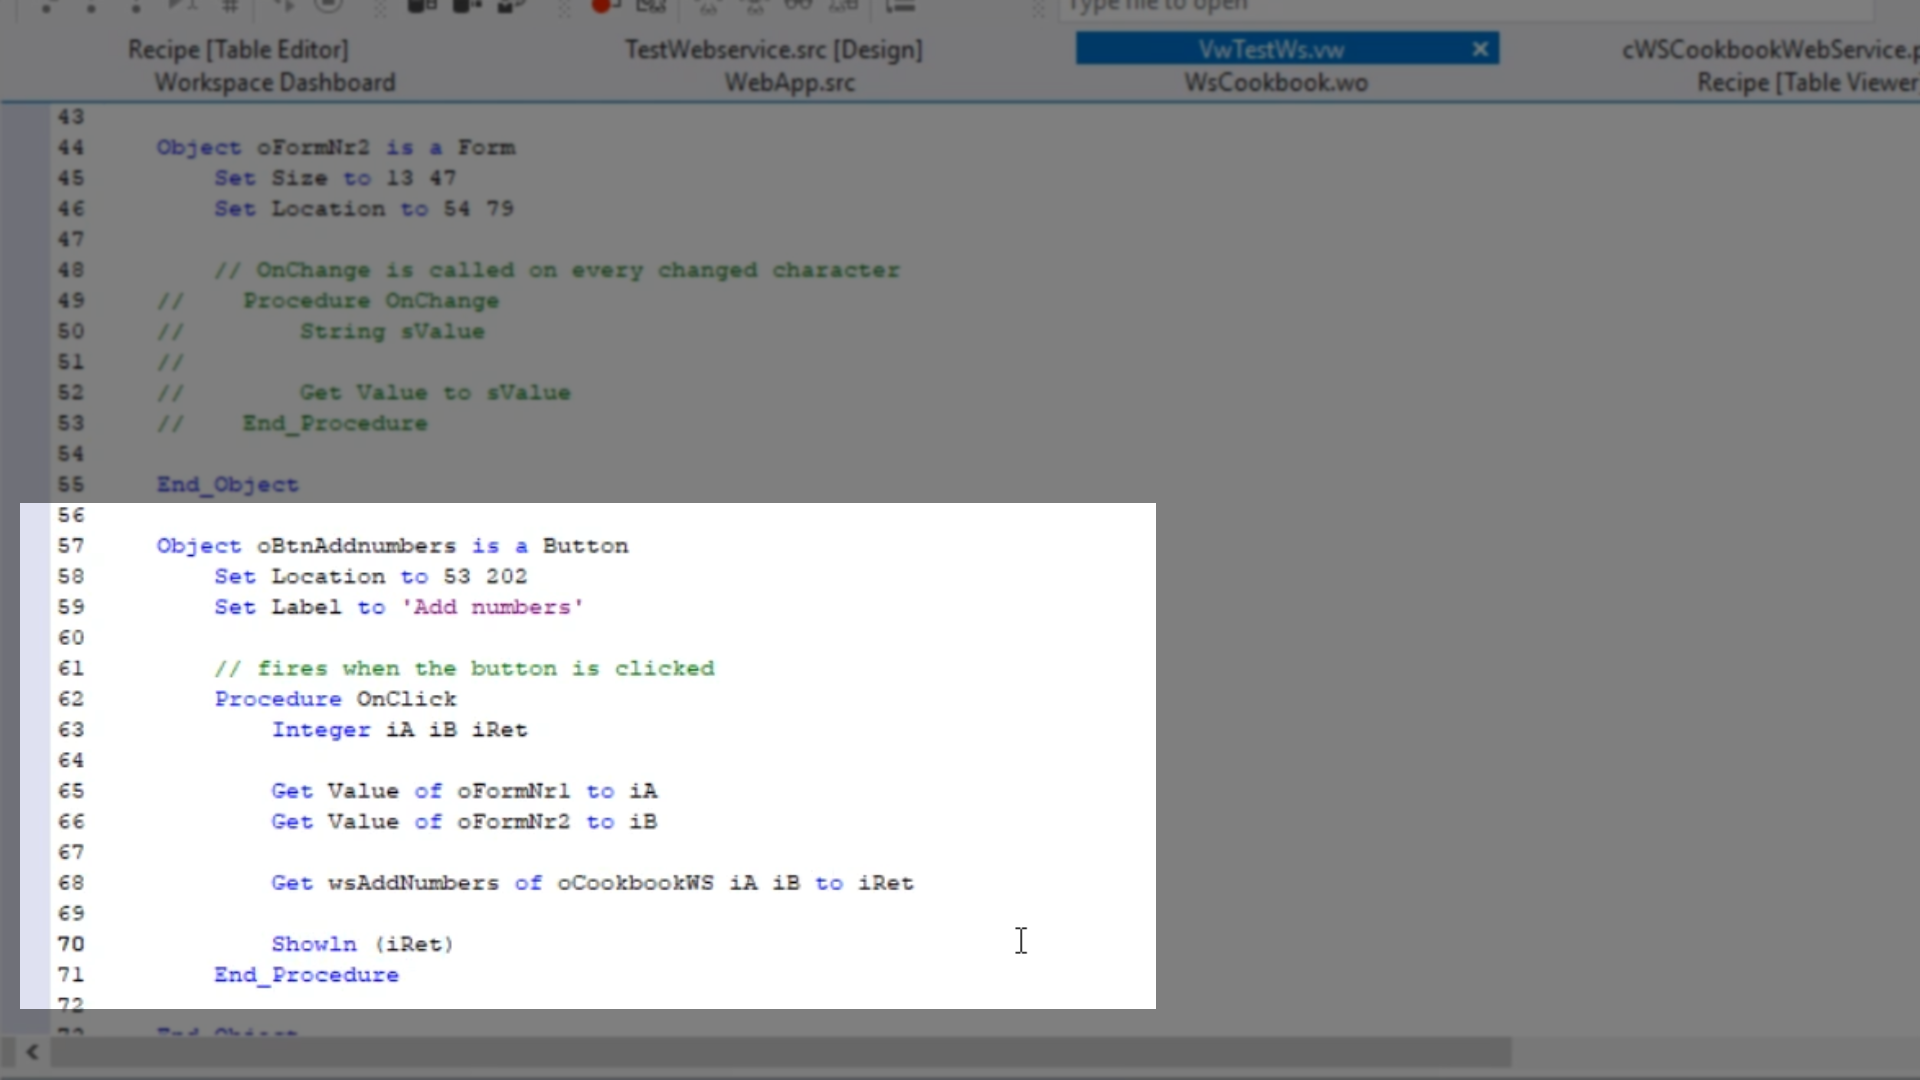
Object oBtnAddnumbers is a Button
Set Location to 53 202
Set Label to ‘Add numbers’
//fires when the button is clicked
Procedure OnClick
Integer iA iB iRet
Get Value of oFormNr1 to iA
Get Value of oFormNr2 to iB
Get wsAddNumbers of oCookbookWS iA iB to iRet
ShownIn (iRet)
End_Procedure
- Select the RUN icon from the top toolbar.
- The program is loaded in a separate view.
- Select VIEW > VwTestWs from its menu to open the view that shows the button that was just created.
- Add numbers to both form fields and select ‘Add numbers.’
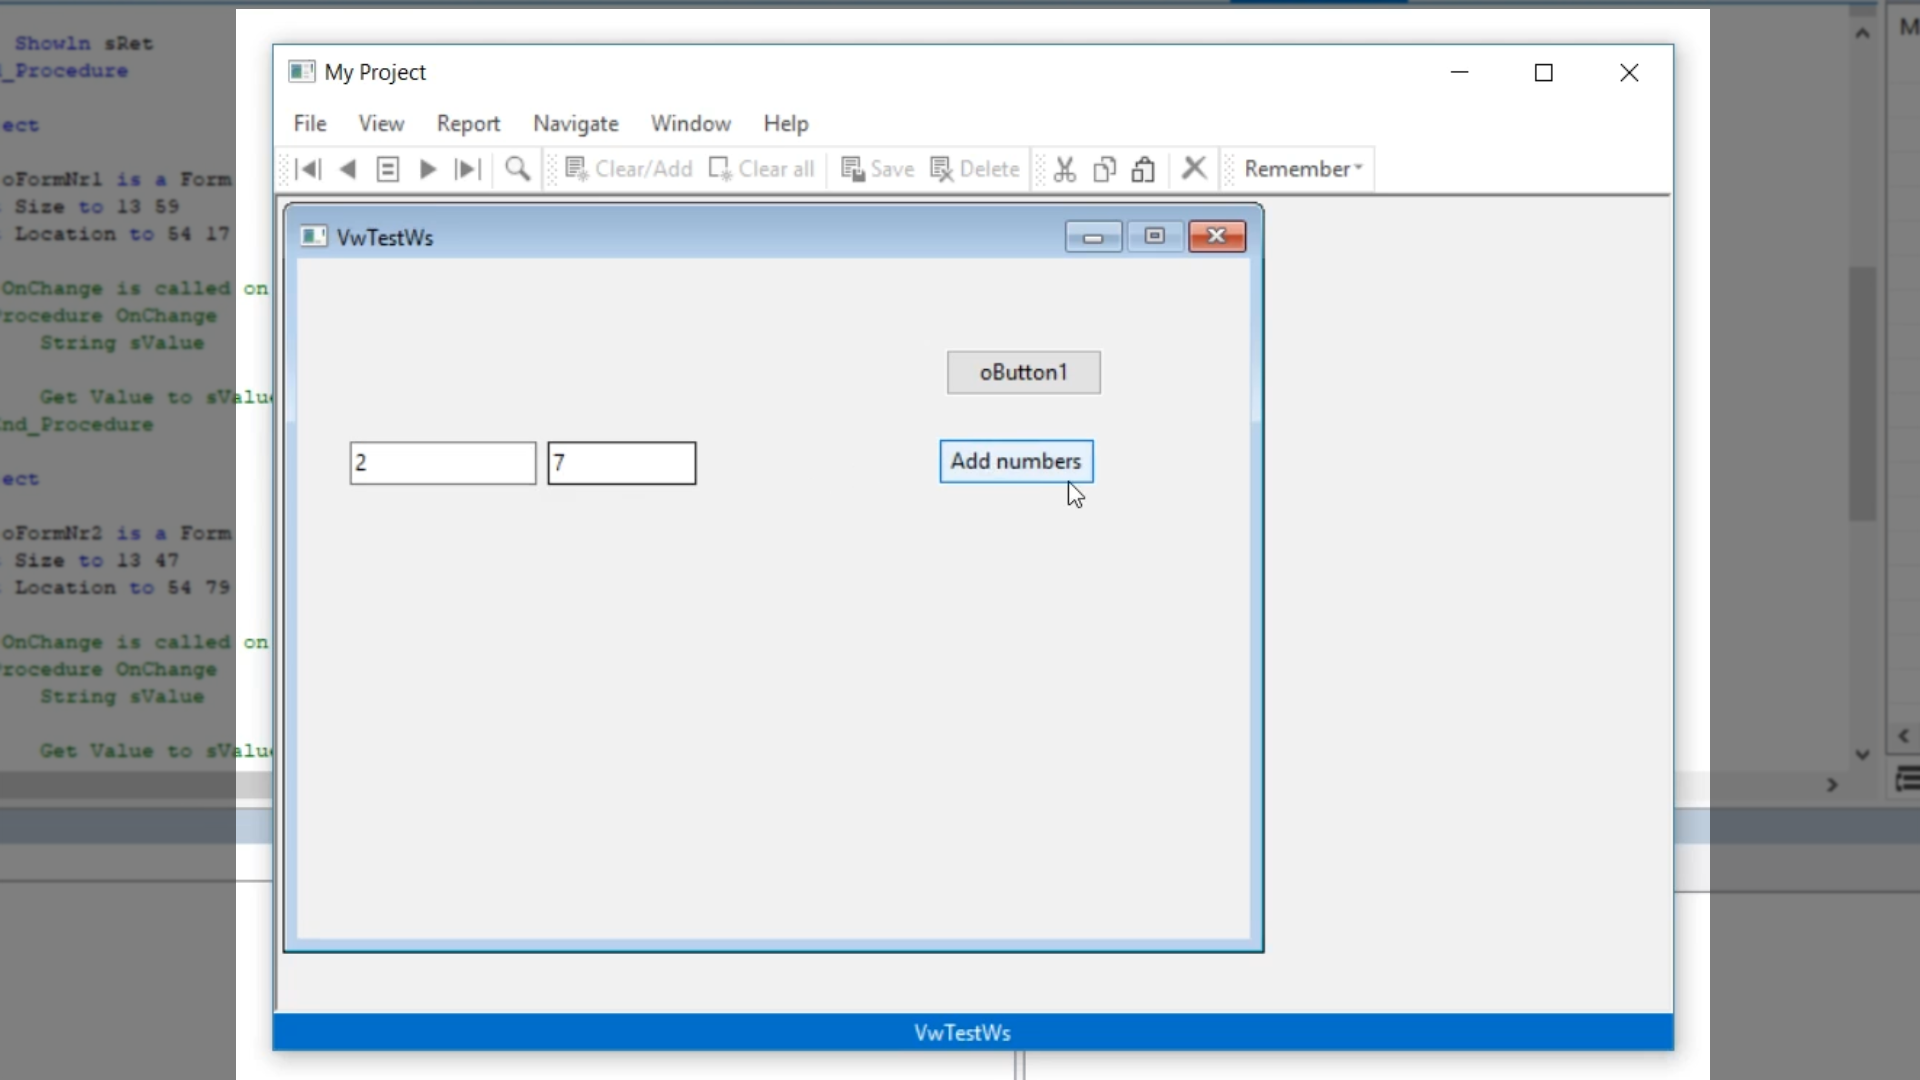
- The web service will be called, and the output will be the sum of the numbers.


