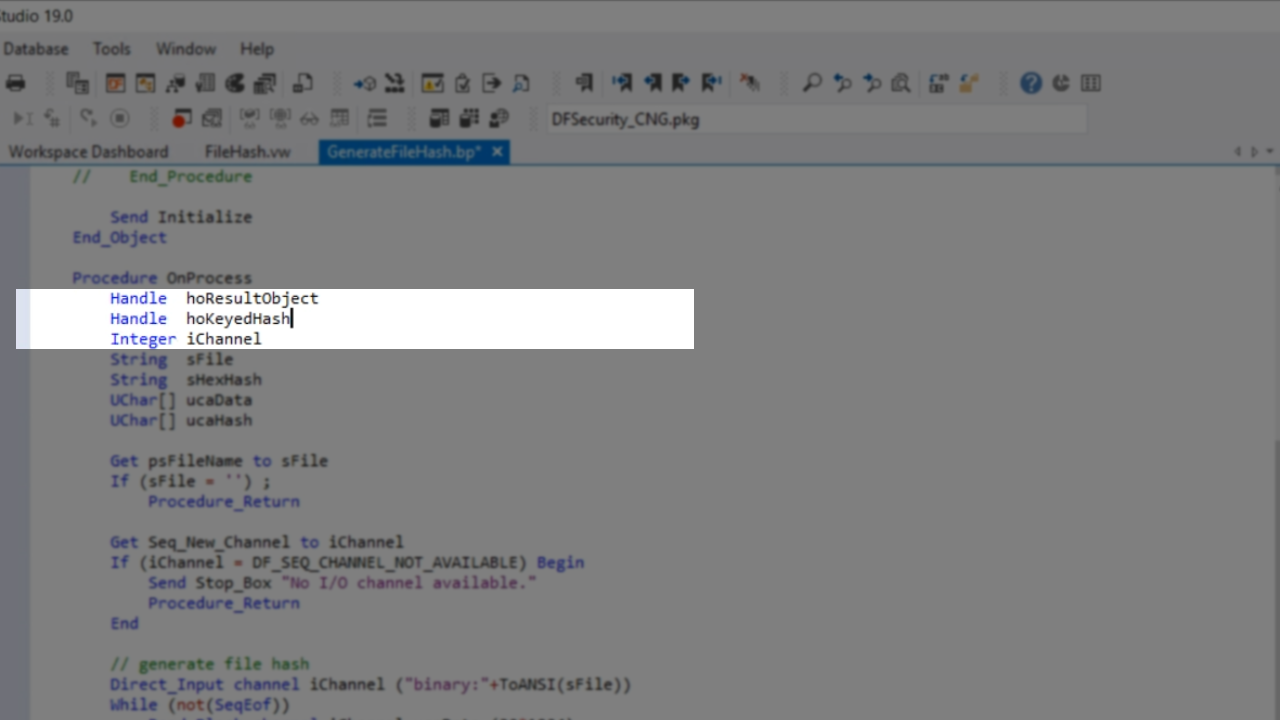
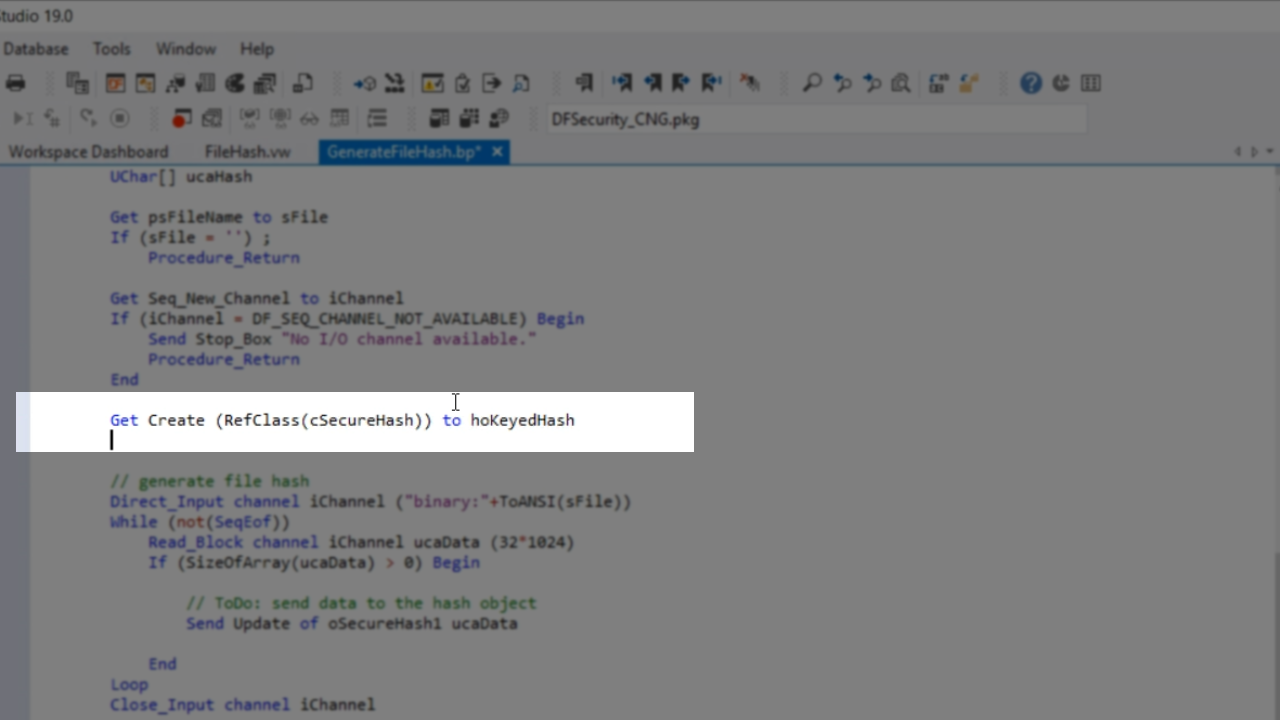
Before reading the file, an object needs to be created
Get Create (RefClass(cSecureHash)) to hoKeyedHash.
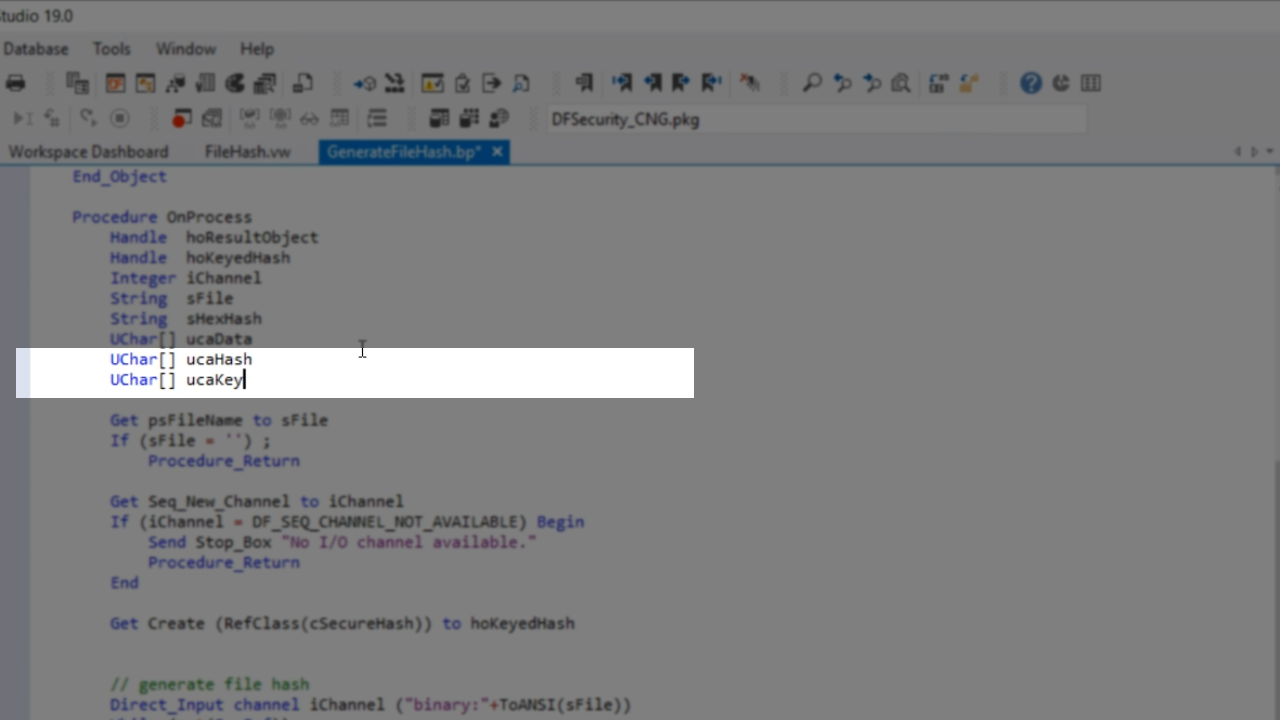
A key also needs to be created
Uchar[] ucaKey.
Again, UChar array is used because it’s binary data.
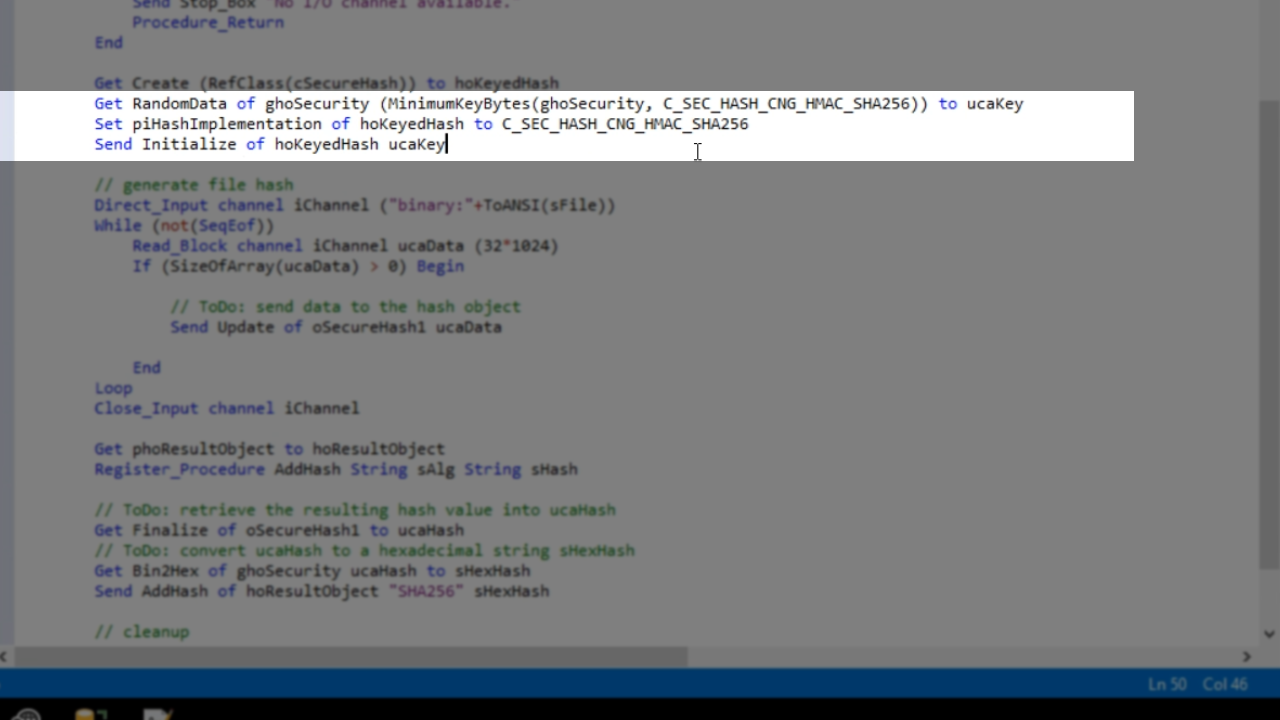
Some random data needs to be applied this time. Normally, there would be a fixed key, but because this is a demonstration system, something random can be generated
Get RandomData of ghoSecurity (MinimumKeyBytes(ghoSecurity C_SEC_HASH_CNG_HMAC_SHA256)) to ucaKey.
HMAC is used this time because they are keyed hashes. Like the static object above, a hash implementation also needs to be entered
Set piHashImplementation of hoKeyedHsh to C_SEC_HASH_CNG_HMAC_SHA256.
Next is to initialize the keyed hash object
Send Initialize of hoKeyedHash ucaKey.
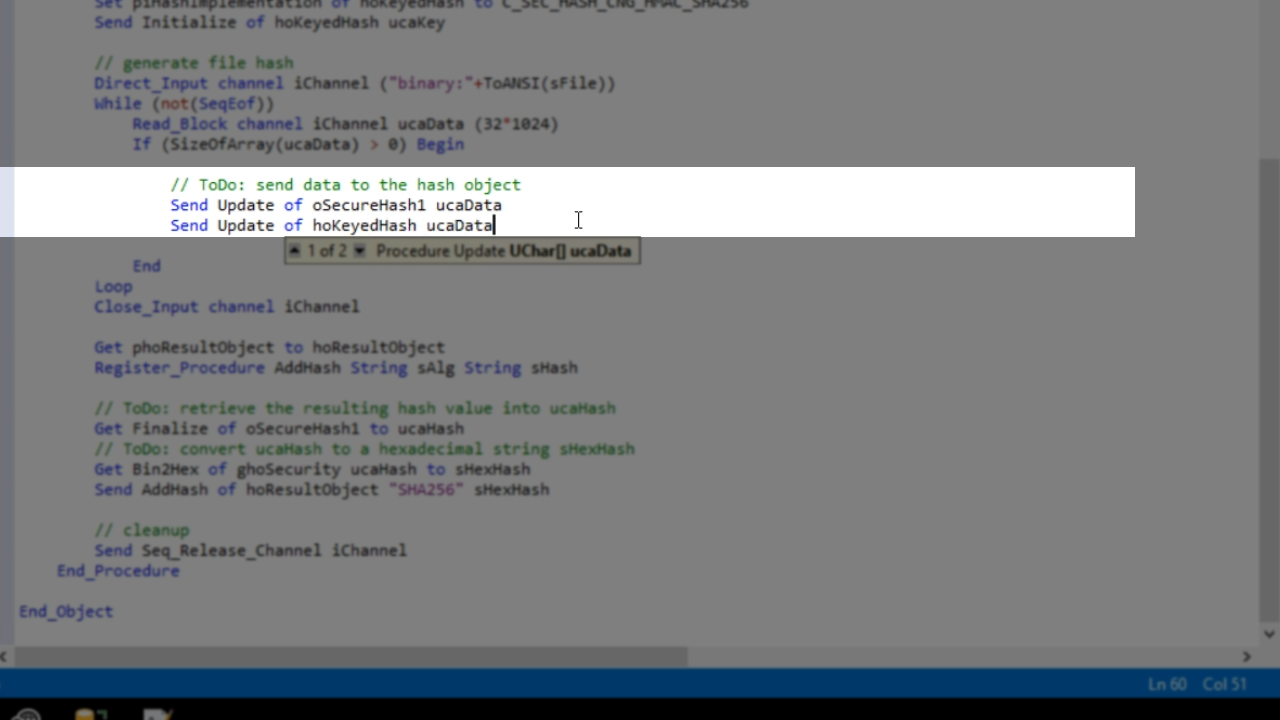
Add to the original hash:
Send Update of hoKeyedHash ucaData
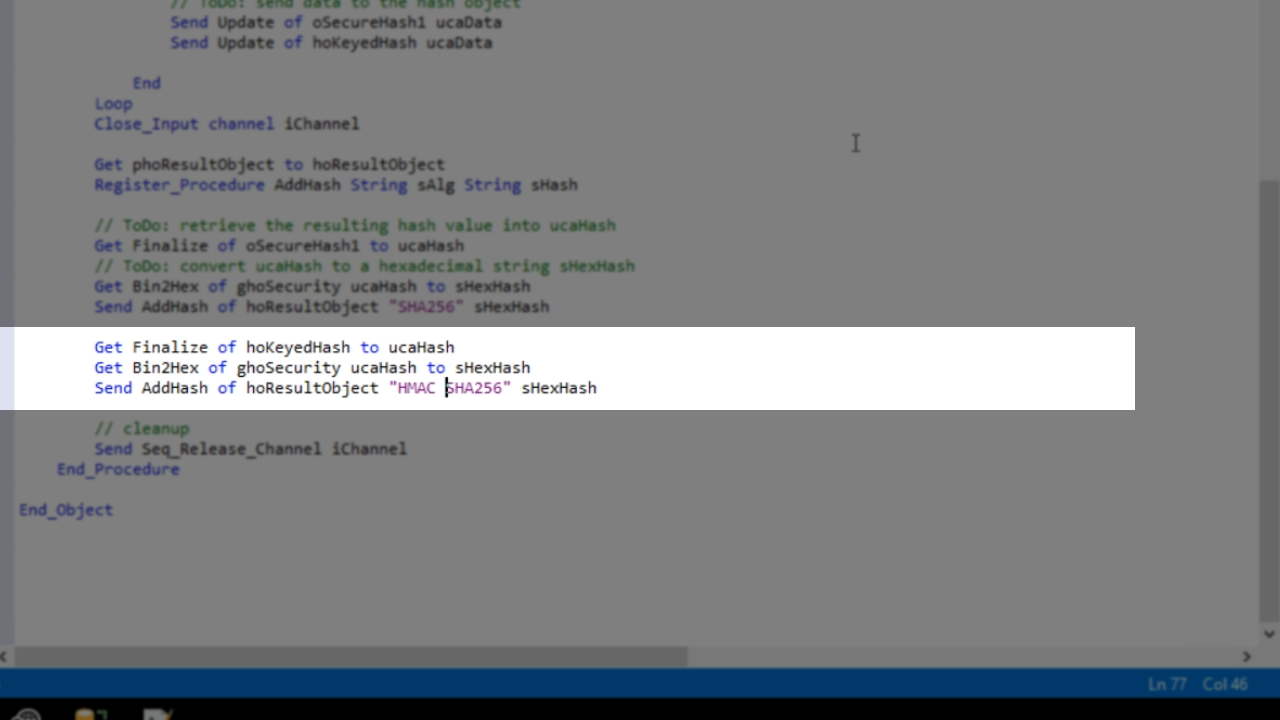
Finally, a section of code is copied and modified for the new hash…
Get Finalize of hoKeyedHash to ucaHash
Gen Bin2Hex of ghoSecurity ucaHash to sHexHash
Send AddHash of hoResultObject “HMAC SHA256” sHexHash
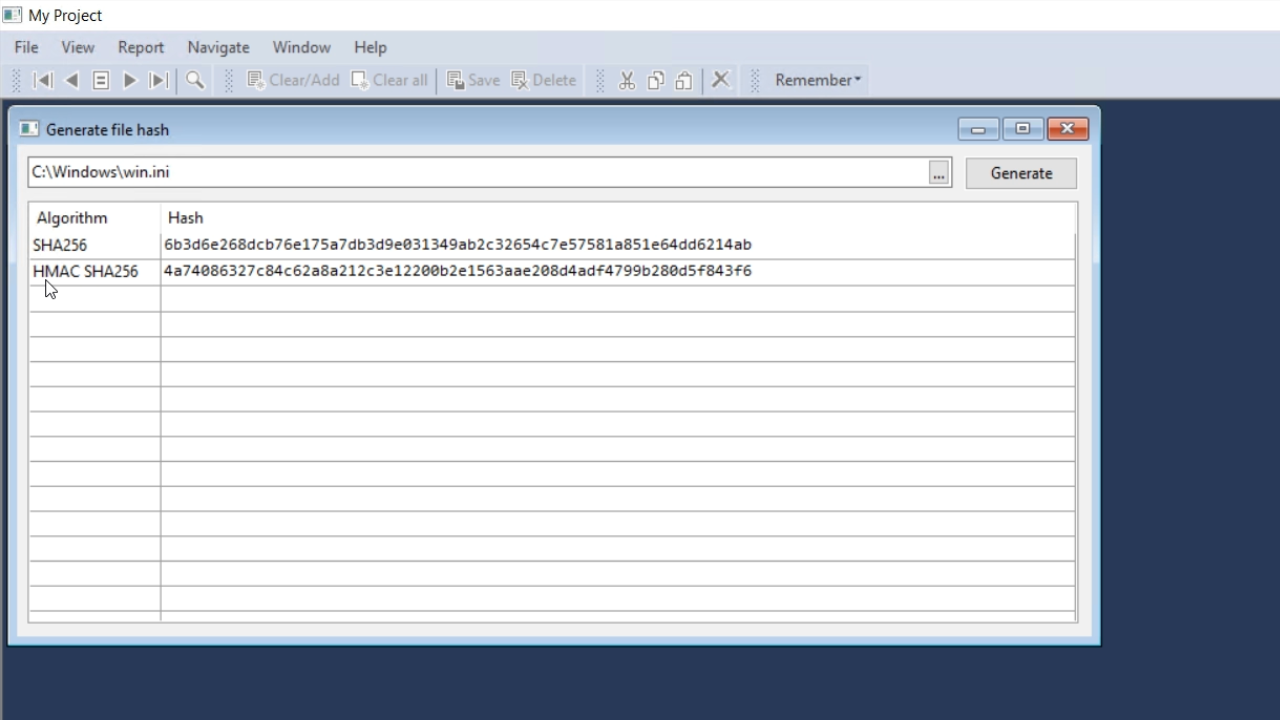
Press F5 to run the code. From the application screen, select VIEW from the top menu and then GENERATE FILE HASHES. Any file can be opened. Pressing the GENERATE button. Now two hashes are generated; one is shown as a ‘SHA256’ and the other is a ‘HMAC SHA256.’
The difference is that now a key is being used, so the result is different. Therefore, every time GENERATE is pushed, the original will remain the same, but the new, HMAC SHA256, will change.