A workspace needs to be installed prior to moving further into the lessons.
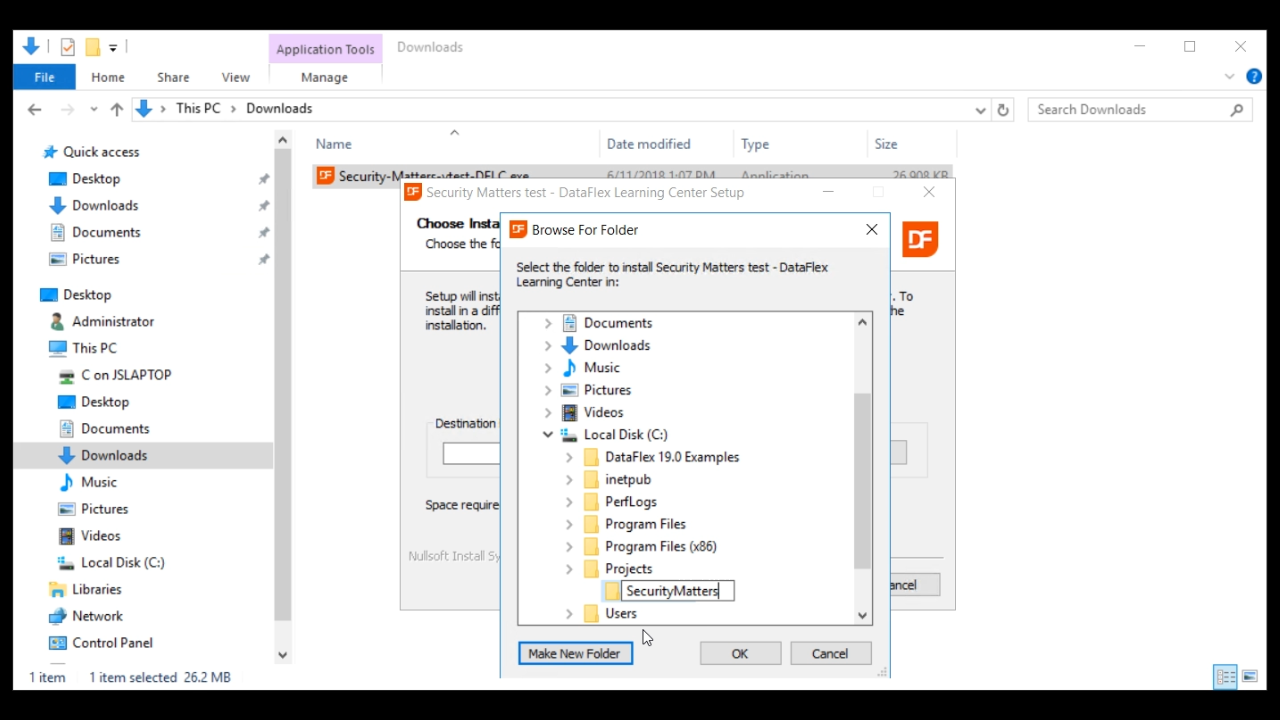
An .exe file is double clicked from the Downloads folder causing an installation wizard to be launched. All the defaults within the wizard can be accepted. A destination folder does need to be defined. A new folder called “SecurityMatters” is created within the “Projects” directory.
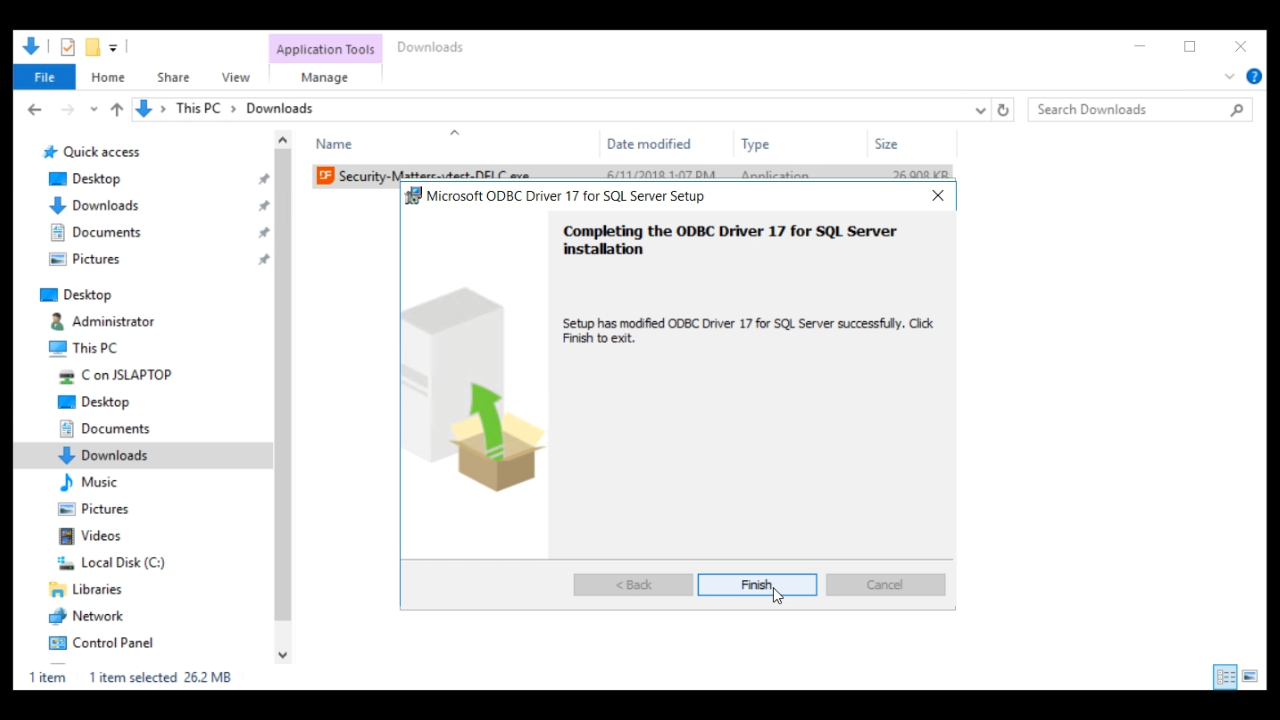
The ODBC Driver for the SQL Server will also need to be installed. Select NEXT three times to accept the defaults, and finally INSTALL and FINISH to complete its installation.
From the DataFlex Studio, open the newly installed workspace.
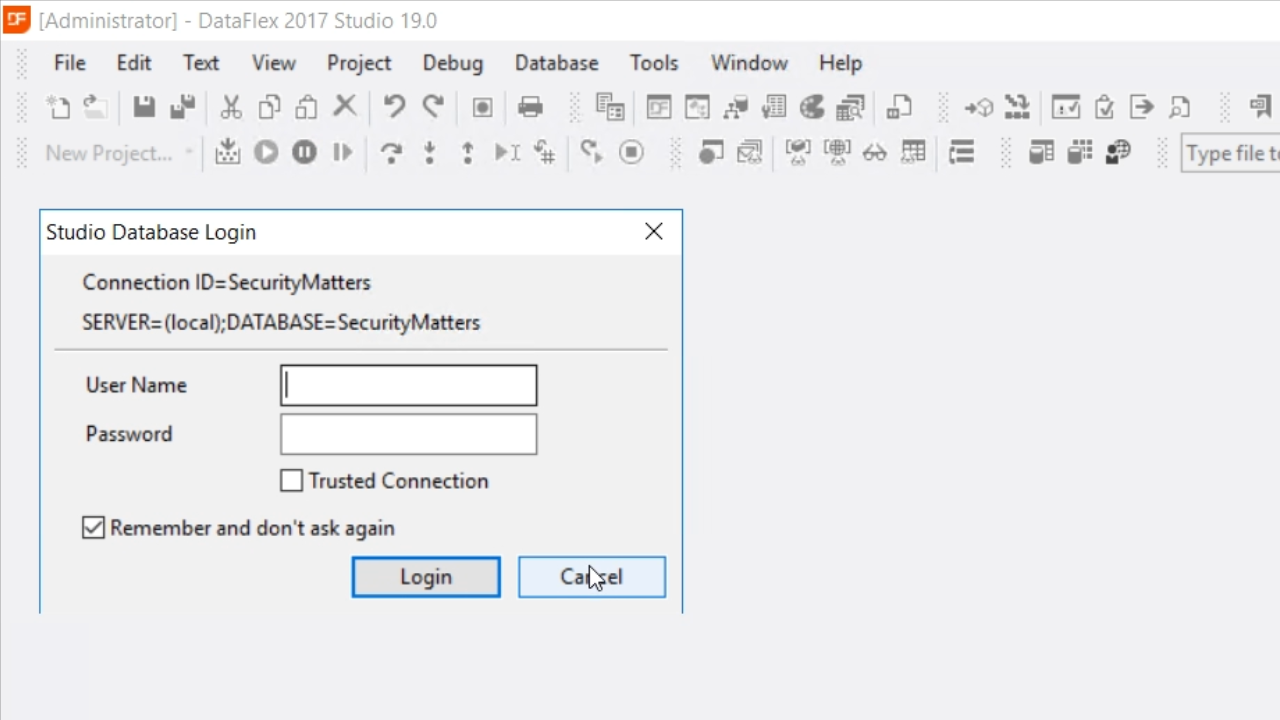
A notice will appear stating that the database cannot be automatically logged into. That is not an immediate concern, so select CANCEL on the first window and OK on the following popup.
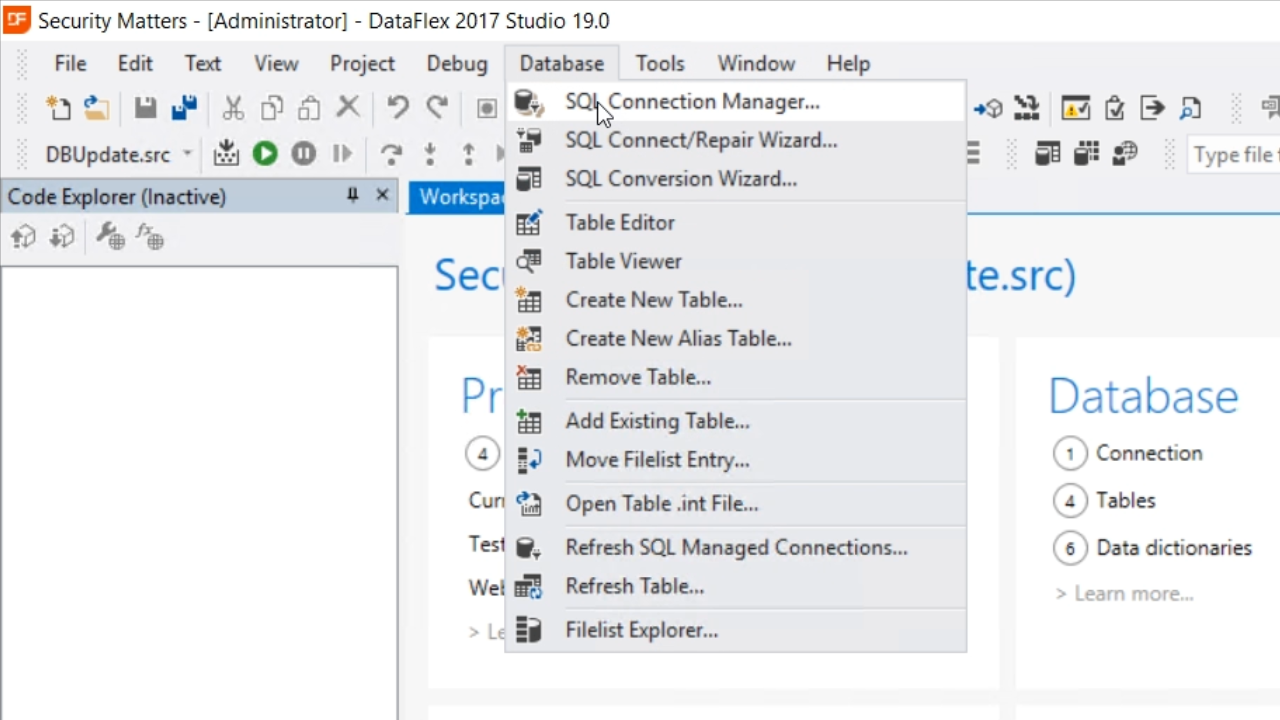
From the top menu select DATABASE and then SQL CONNECTION MANAGER.
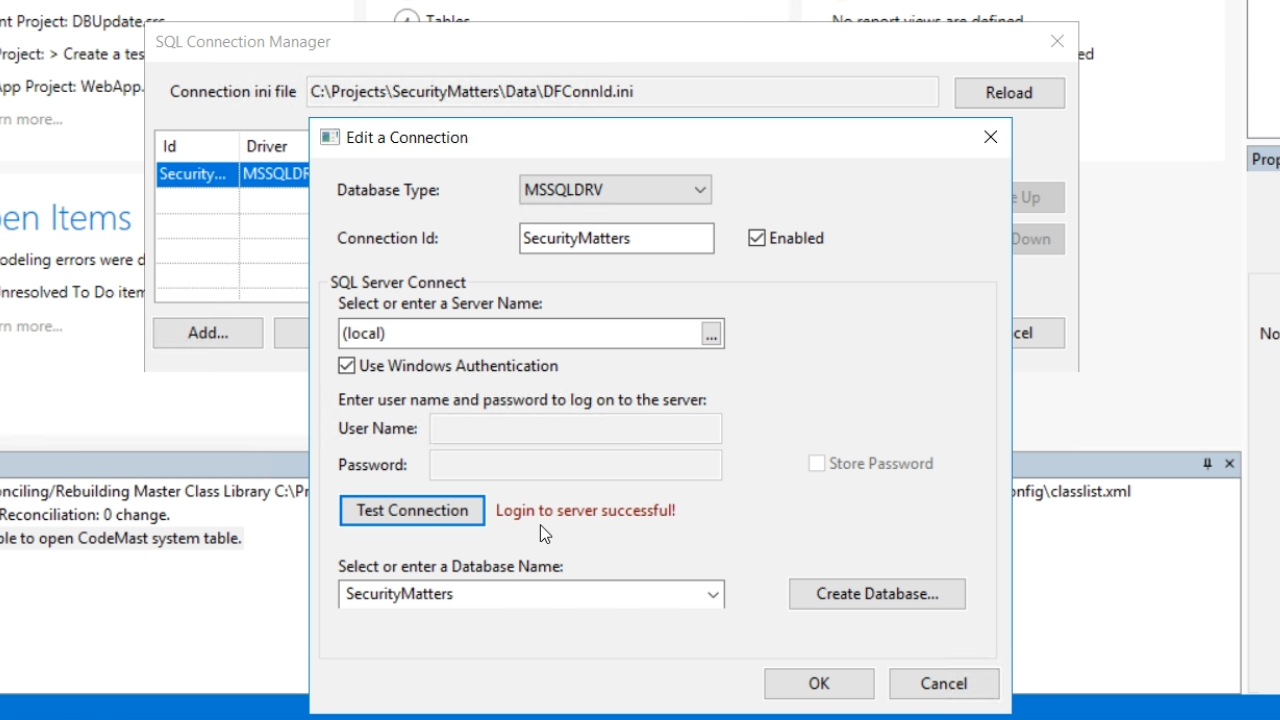
The default connection is shown even though it has not yet connected. Select the EDIT button. The ‘Connection Id’ and the ‘Select or enter a Server Name’ are correct for this example. ‘Use Windows Authentication’ needs to be checked. At this point, there is no database. Select the ‘Create Database’ button and enter a name in the following popup. “SecurityMatters” is used for this example. Select the ‘Test Connection’ button, and the message “Login to server successful!” should appear. Select OK, and then SAVE.
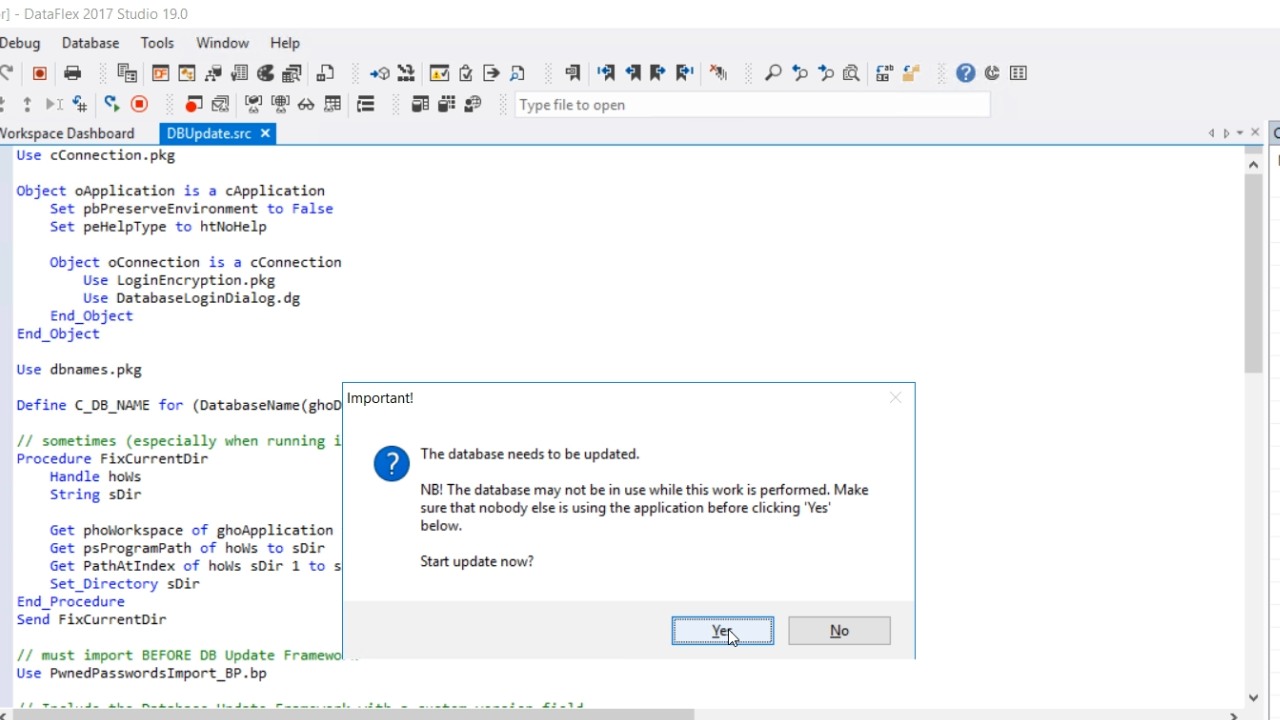
Next, double click the project, ‘DBUpdate.src,’ from the Workspace Explorer on the right to open it. This program will create the entire database structure and enter some dummy data into it.
Press F5 to run it. A popup will appear stating that the database needs to be updated. Select YES. Select OK at the end to finish. Now there is an installed workspace with a connected database.