Second factor authentication (2FA) adds another layer of security, supplementing the username and password model with something the user has. The most common method across the internet is a one time-based, one-time password. This demonstration will show how to implement this.
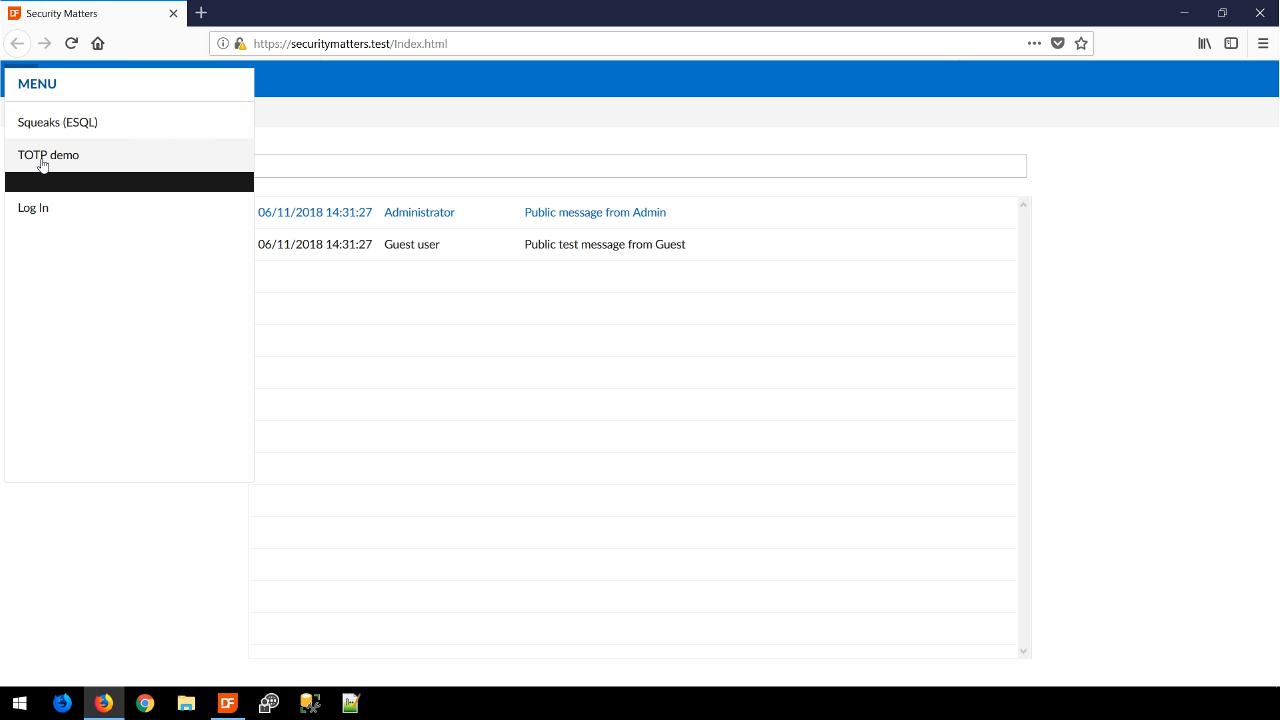
Viewing the web app, the ‘TOTP demo’ is selected from the top menu.
The one-time password (OTP) uses a secret, which is a base 32 encoded value. The secret must be available both at the server and at the client. The client is most commonly the user’s smartphone, which has an app on the phone that stores the secret and generate OTPs. Since the secret is on both sides, this form of OTPs is not suitable for Windows applications. It only works in client-server situations.
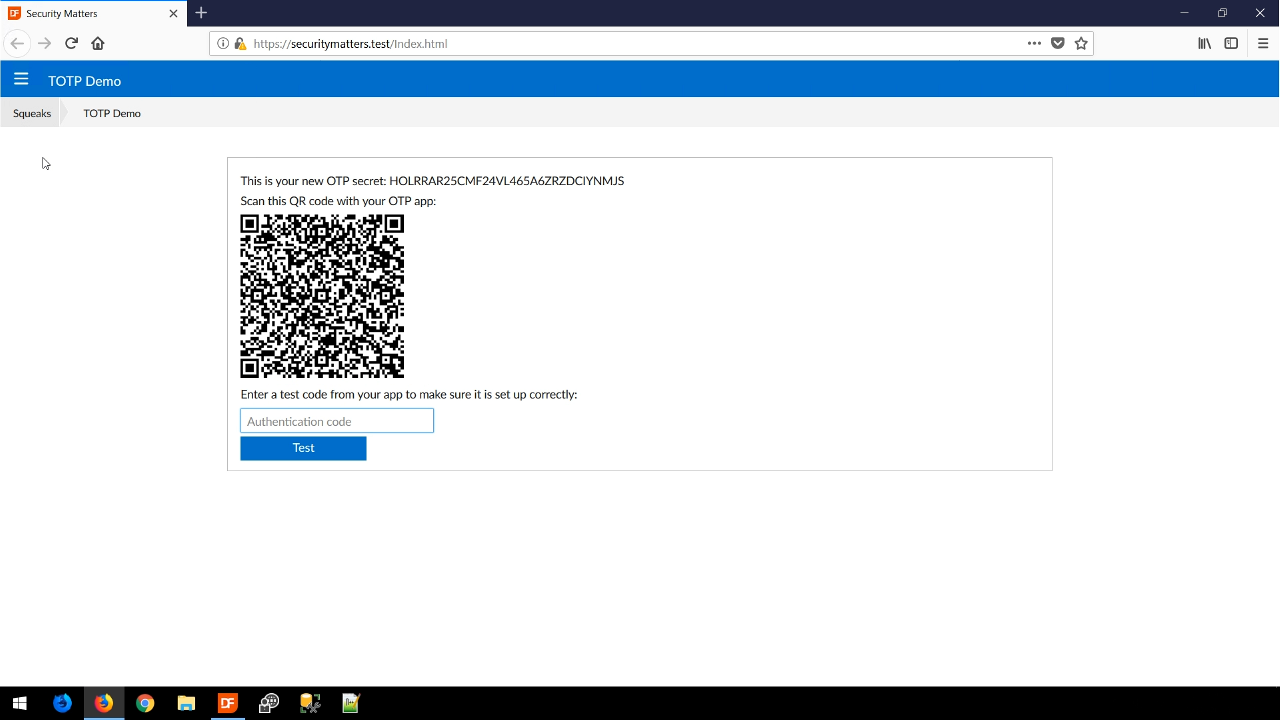
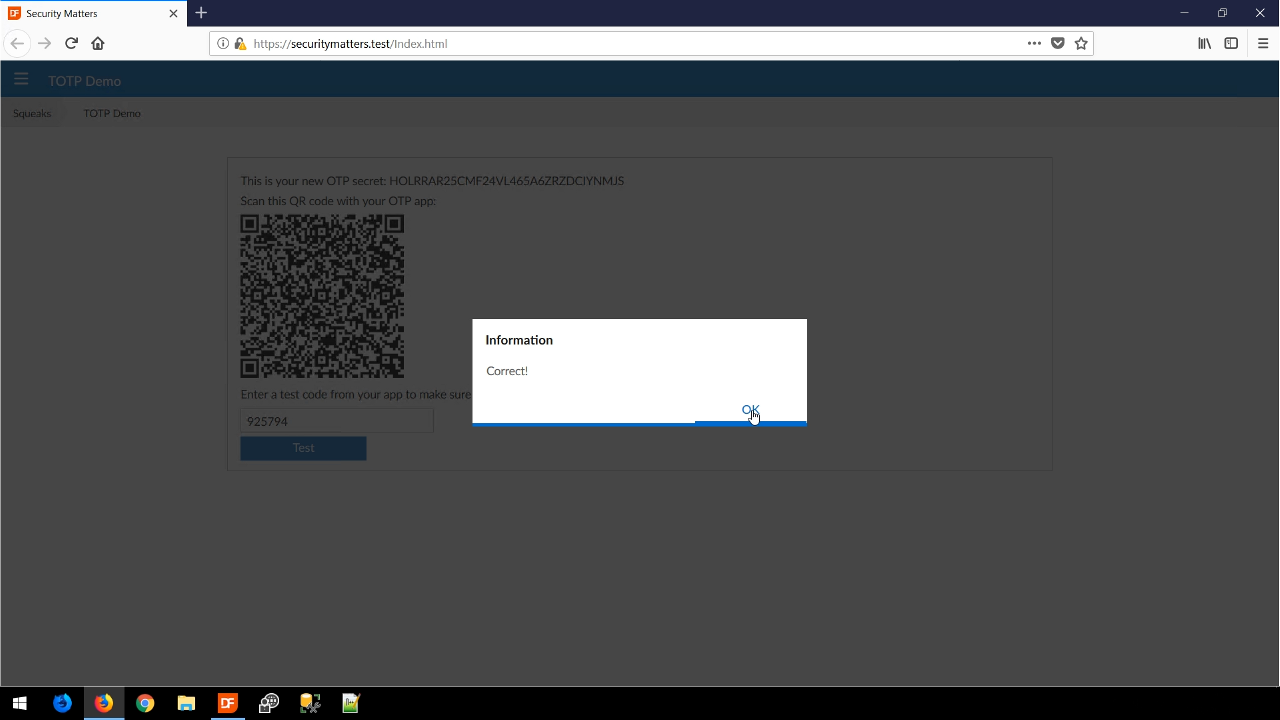
The QR code is a component that is included in the security library and contains all the information that is needed. For this example, a user would scan the QR code with their phone, and the phone app would then generate an authentication code that is then entered into the web app. When the correct code is entered, a notification window appears stating as much.
If the incorrect code is entered, an error window appears that states that the wrong code could be caused, “…by an incorrect registration, or time differences between the app and the server.” An incorrect registration rarely happens, but the time difference does happen more often. It’s important to make sure that servers are always running on time and synchronized with online atomic timeclocks.
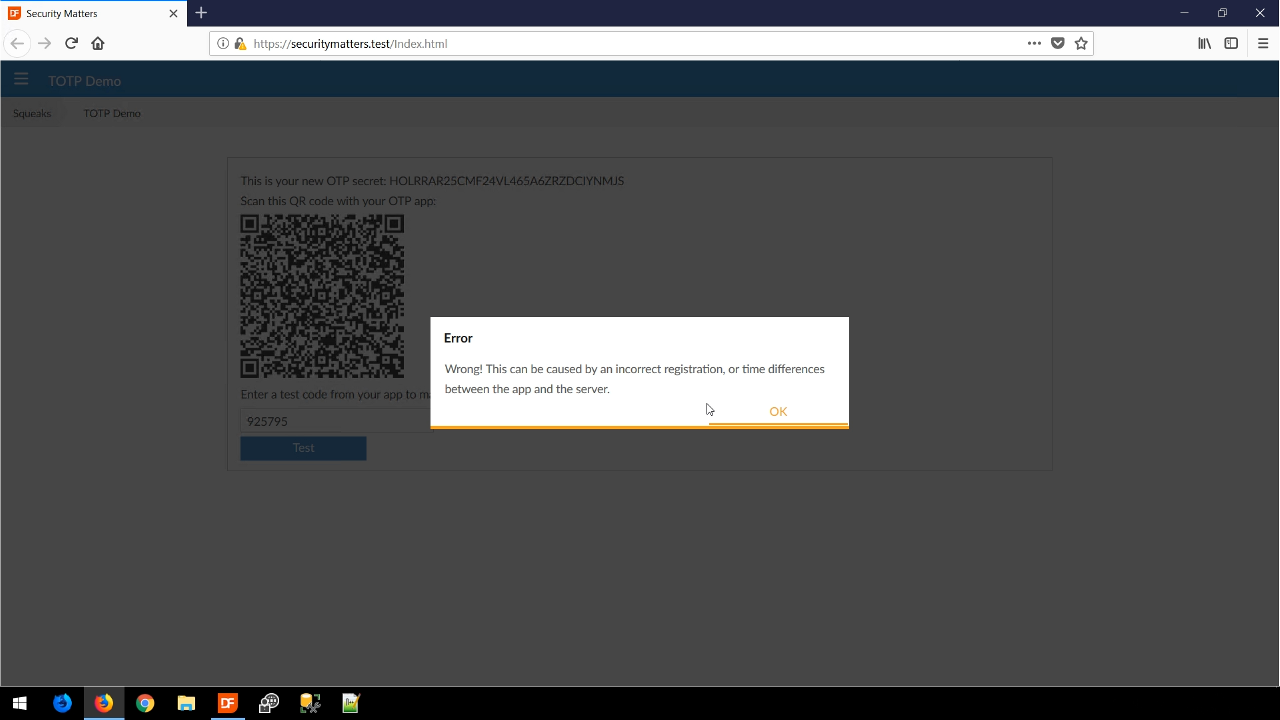
Even though they are called one-time passwords, they are time-based, and are valid within a defined timeframe. This helps compensate for the potential time differences between the phone and server.
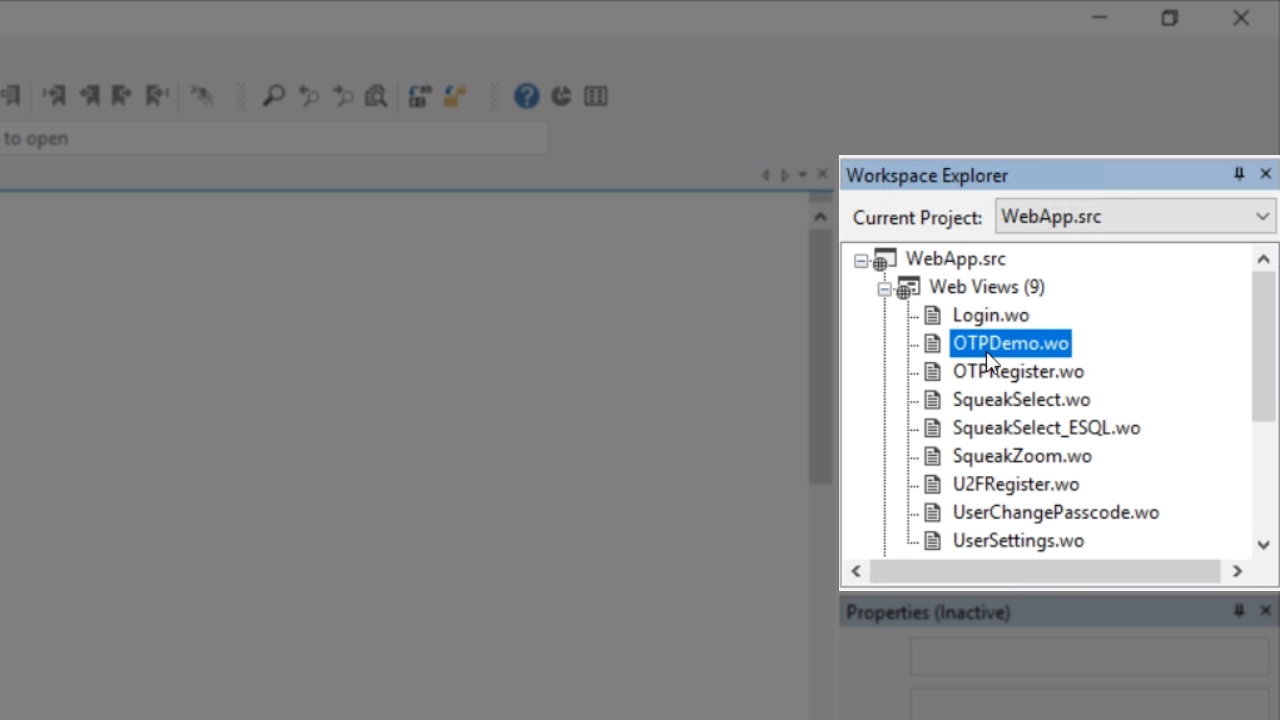
To view the code in the DataFlex Studio to see how this is implemented, set ‘WebApp.src’ as the current project in the ‘Workspace Explorer’ panel on the right, expand ‘WebViews’ and select ‘OTPDemo.wo.’
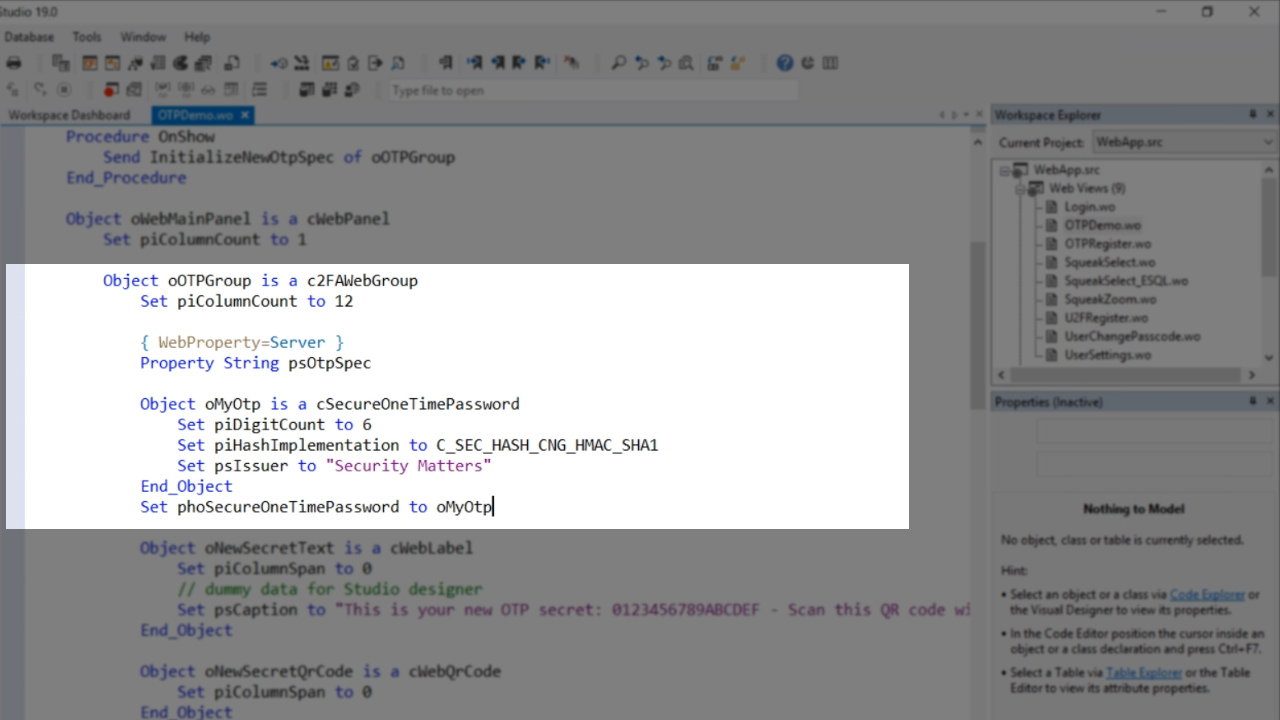
The first thing to note is the c2FAWebGroup. “2FA” stands for second factor authentication. This web group contains most of the methods that support the process of registering and validating the codes.
The cSecureOneTimePassword object is defined and contains a few parameters and sets phoSecureOneTimePassword of the webgroup (c2FAWebGroup) to the object (oMyOtp). The webgroup always knows where to find the object.
To see how the new OTP is initialized, expand ‘OTPDemo,’ ‘oWebMainPanel’ and ‘oOTPGroup’ in the ‘Code Explorer’ panel on the left, and select ‘InitializeNewOtpSpec.’
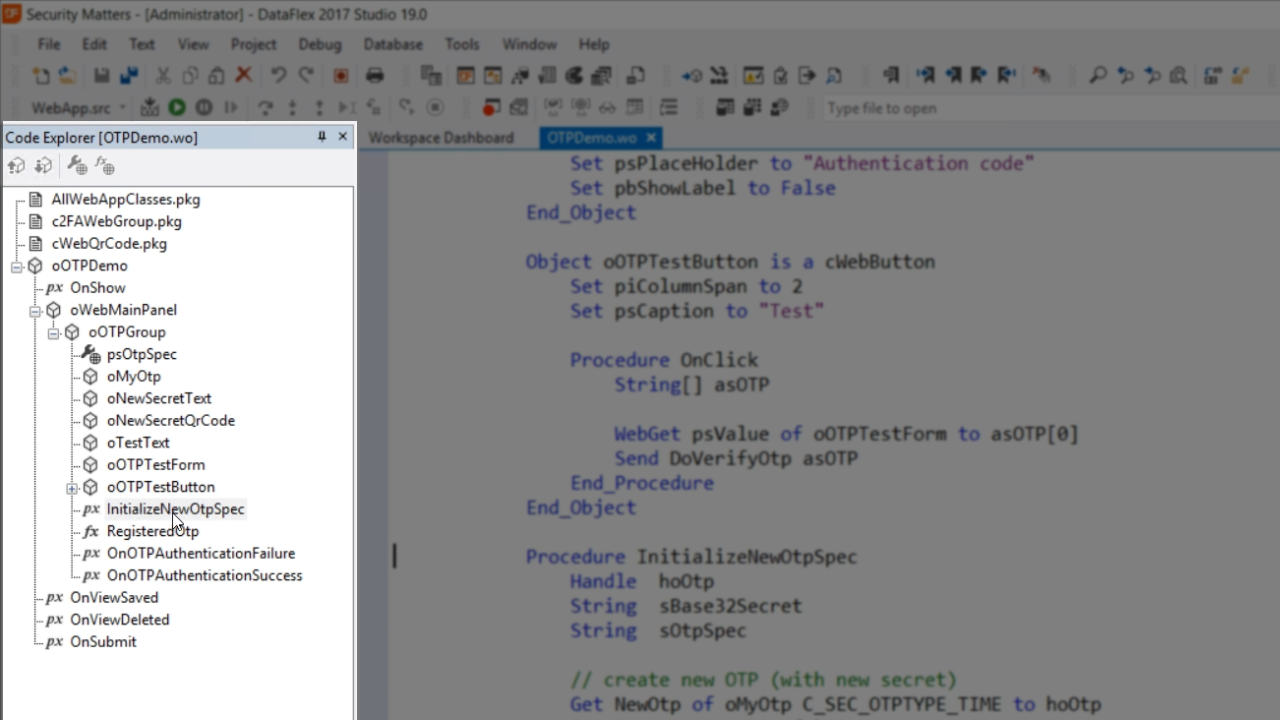
The first thing is to get the new OTP (NewOtp) from the one defined above (oMyOtp). This is a different class with some different functionality, which is important because every user needs a unique secret. A handle is then returned – hoOtp. Next, is to get the encoded string – sBase32Secret. This is the standard format for exchanging the secrets. That advantage of base-32 over base-64 is that base-32 is not case sensitive. Finally, with psCaption the secret is displayed to the user.
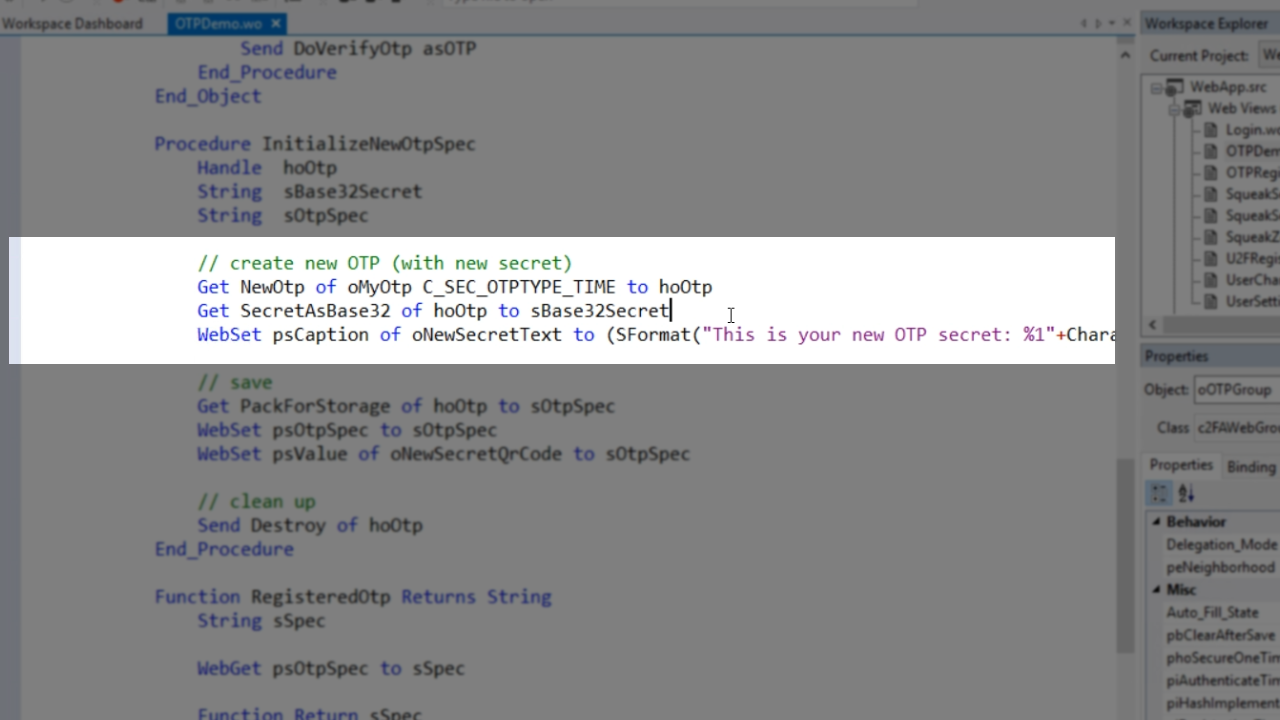
To save the secret, the entire one-time password specification, the PackForStorage function is used. It outputs all of the information. It is not saved in the database, but only in a server-side web property that is only valid for the session. The QR code is set to the same one-time password specification.
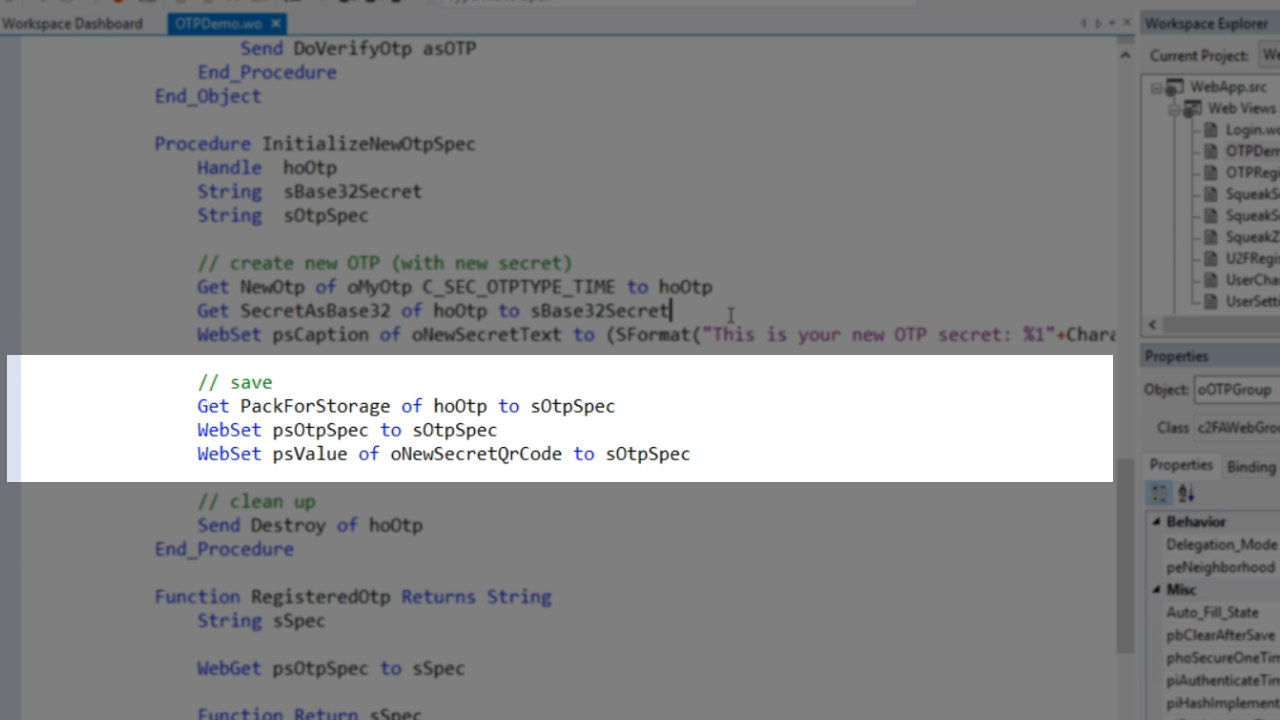
Select ‘oMyOtp’ from the ‘Code Explorer’ to take a closer look at the class.
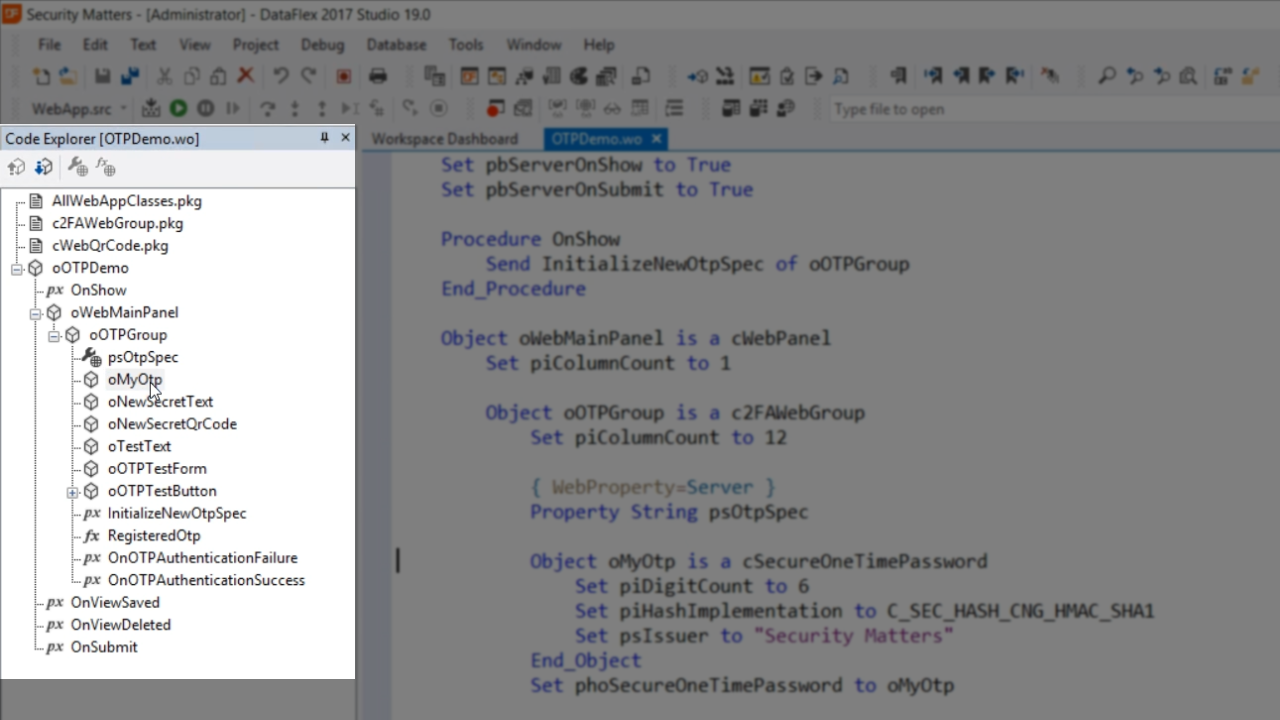
Then right click on cSecureOneTimePassword, which is the basic class, and select ‘Go To Definition.’
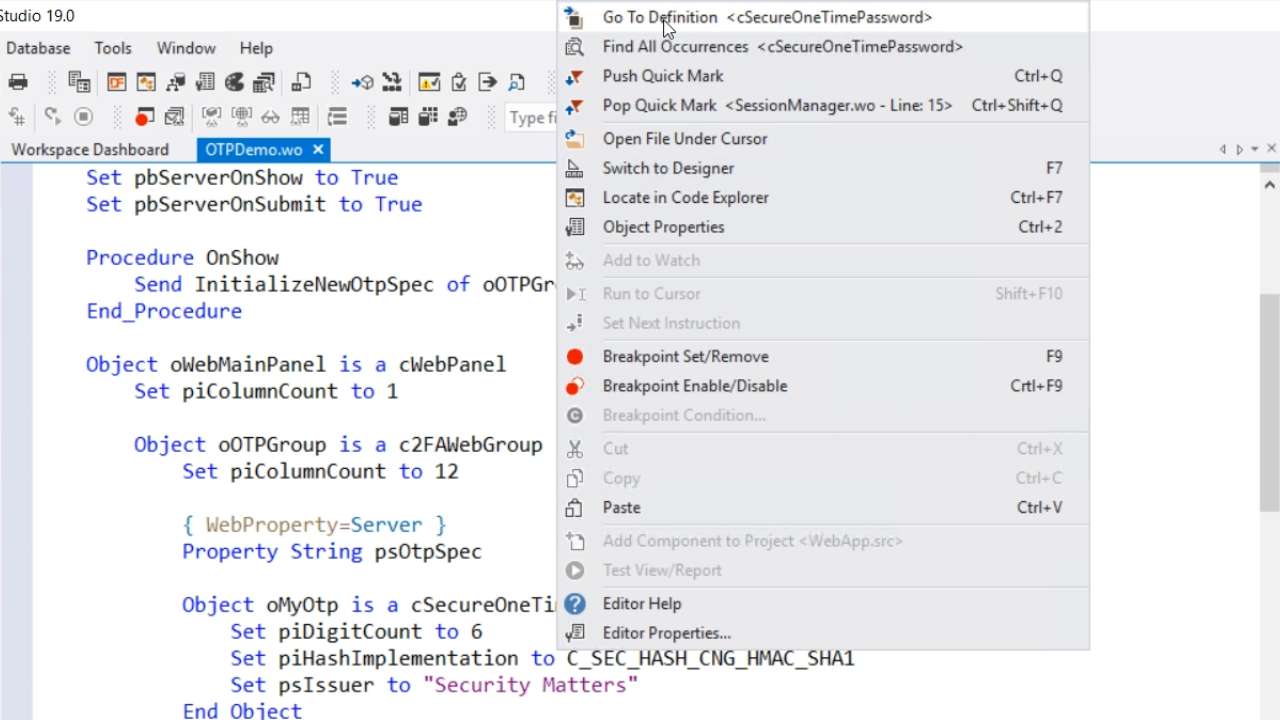
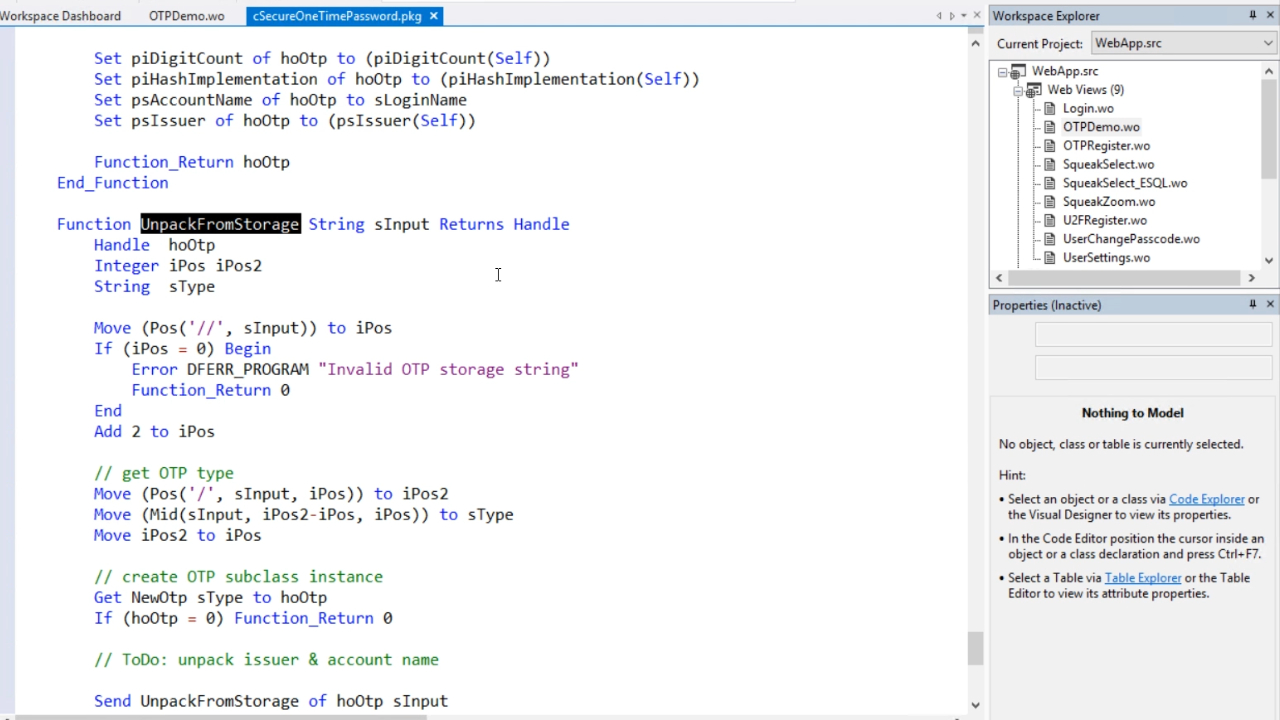
The class contains a few parameters and is a template for what is generally needed for new OTPs. UnpackFromStorage is the opposite of PackForStorage; it creates an object from the stored string.
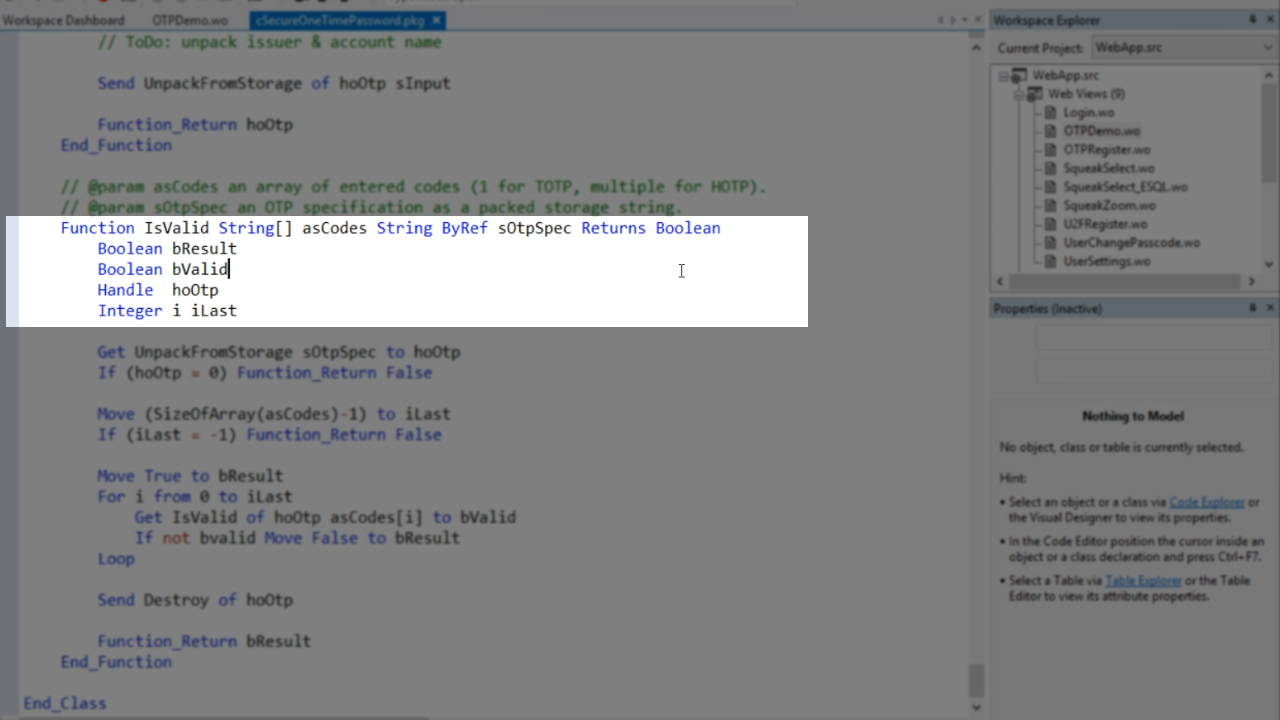
The IsValid function is very important to check whether one or more codes is valid. It is a string array because for hash-based OTPs it is very common to make sure that users enter two or three codes that are consecutive. The OTP specification (sOtpSpec) is given, which is in the database. The IsValid function (bValid) then simply returns true or false.
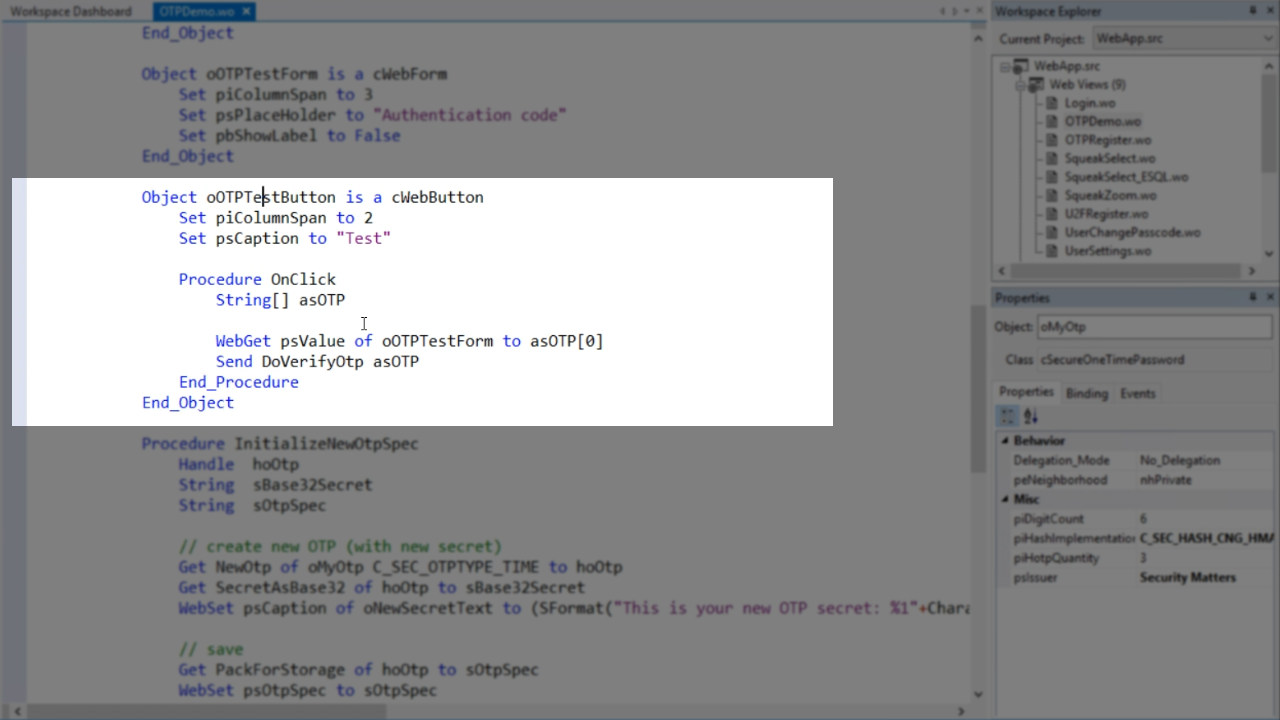
To look at the c2FAWebGroup, click back over to ‘OPTDemo.wo.’ The c2FAWebGroup helps implement the process. For example, when the test button (oOTPTestButton) is pressed, the value (psValue) from the form (oOTPTestForm) is retrieved and is put into the string array as the first element. Then it’s told to verify the OTP with the array – Send DoVerifyOtp as OTP. The web group already knows everything else and will make sure nearly everything else is tested. The one thing it does not know are the OTP specifications.
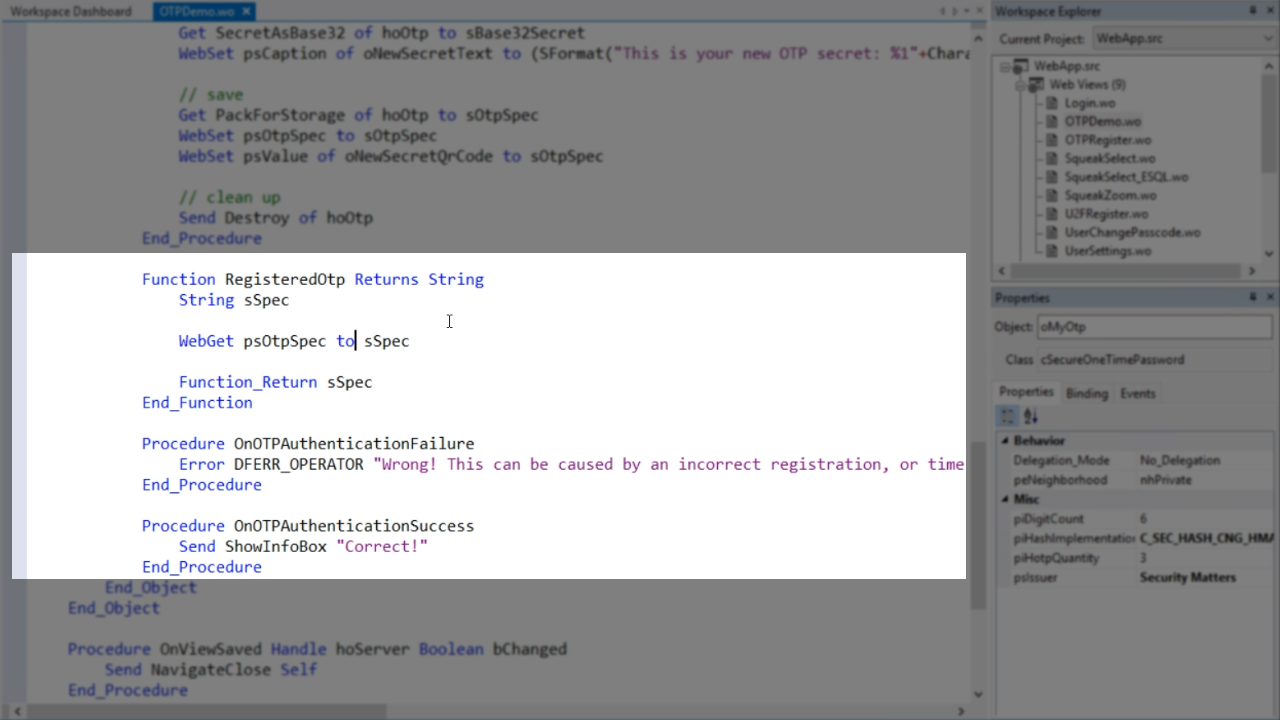
The RegisteredOtp callback function needs to be implemented to get the specification for a user’s OTP from the database. In this case, a server-side web property is used.
The results will come back as events – OnOTPAuthenticationFailure and OnOTPAuthenticationSuccess.
