Setup HTTPS redirection using URL rewriter (2m 48s)
Next lesson:
Cancel
Secure your web applications with HTTPS
Lesson 4: Setup HTTPS Redirection Using URL Rewriter
This lesson shows how to setup the IIS URL rewriter, so un-encrypted web applications automatically redirect to HTTPS.
DEMONSTRATION
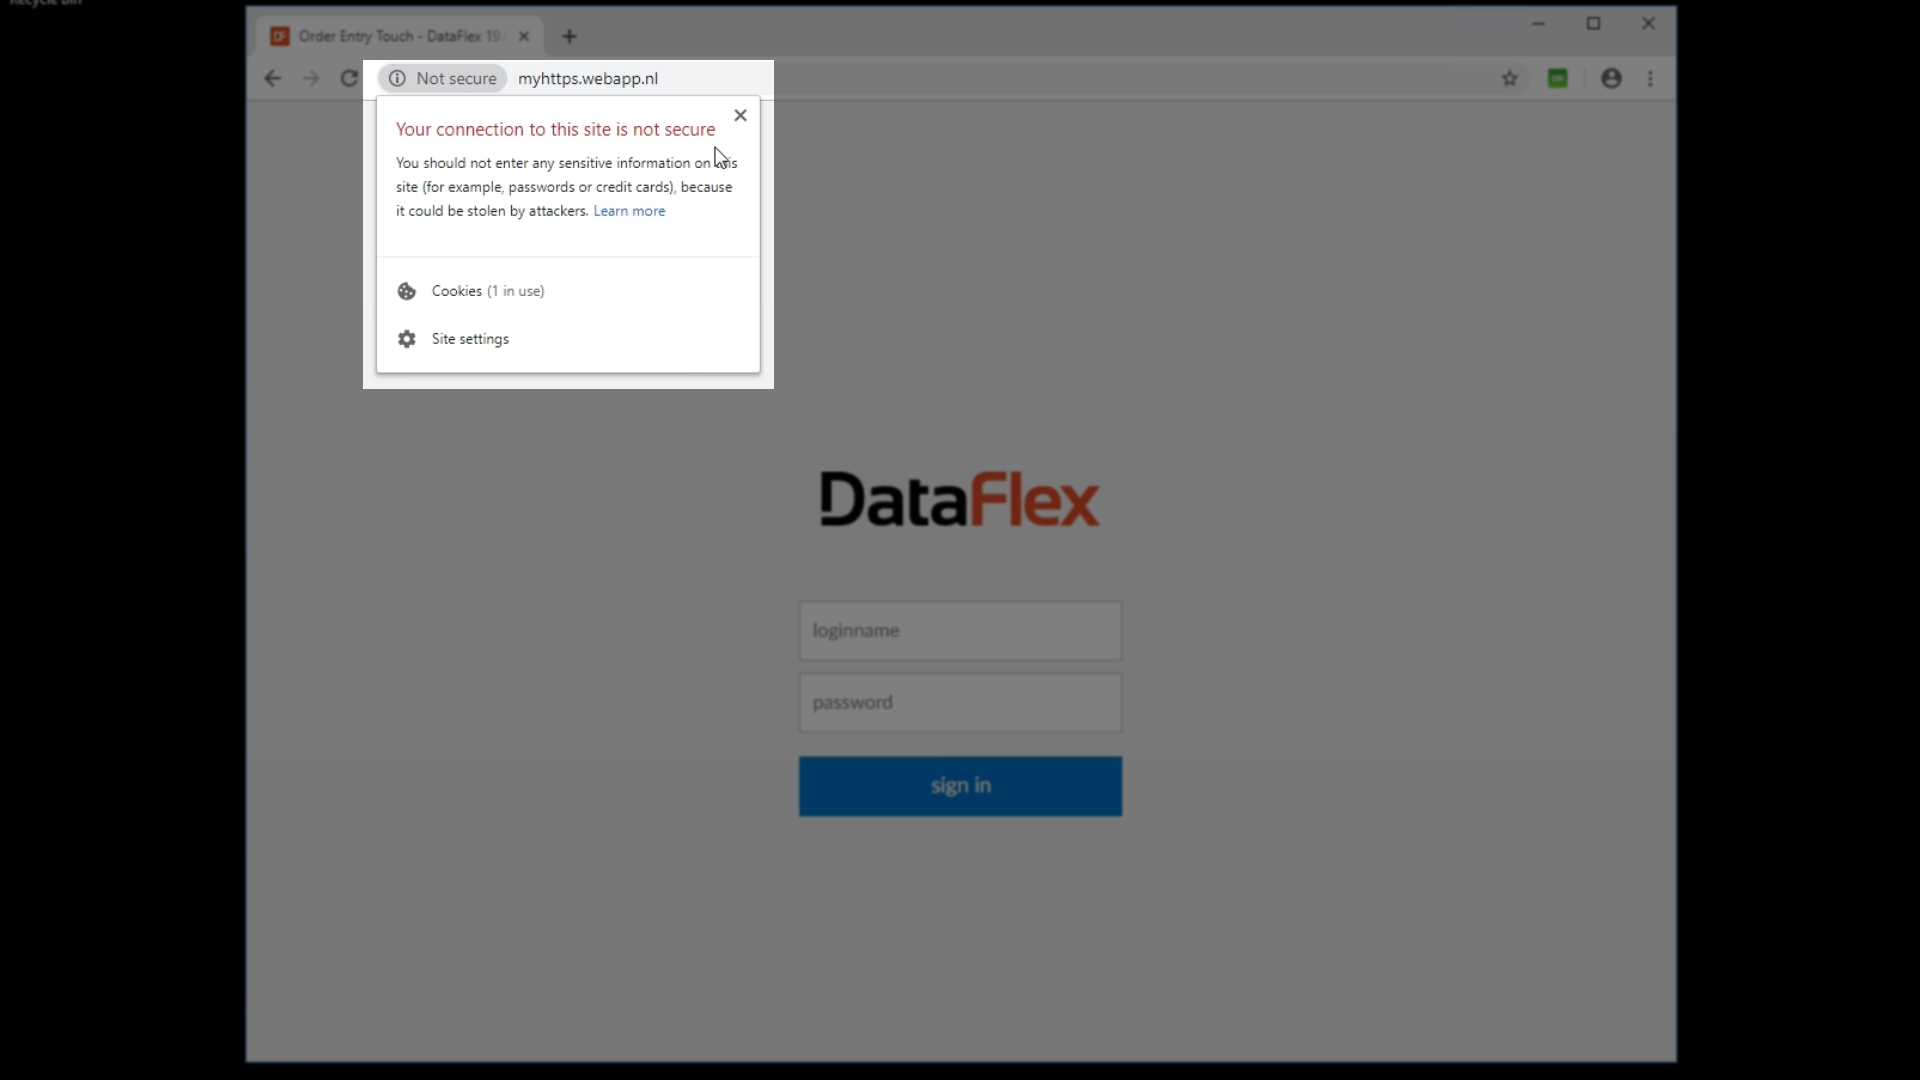
Proceeding from where <link>Lesson 3: Deploying HTTPS with a Free Certificate</link> left off… Currently, visiting the web application in a browser shows a “Not secure” warning in the address bar.
To automatically redirect the web application to HTTPS, a redirection rule needs to be created in the IIS URL rewriter.
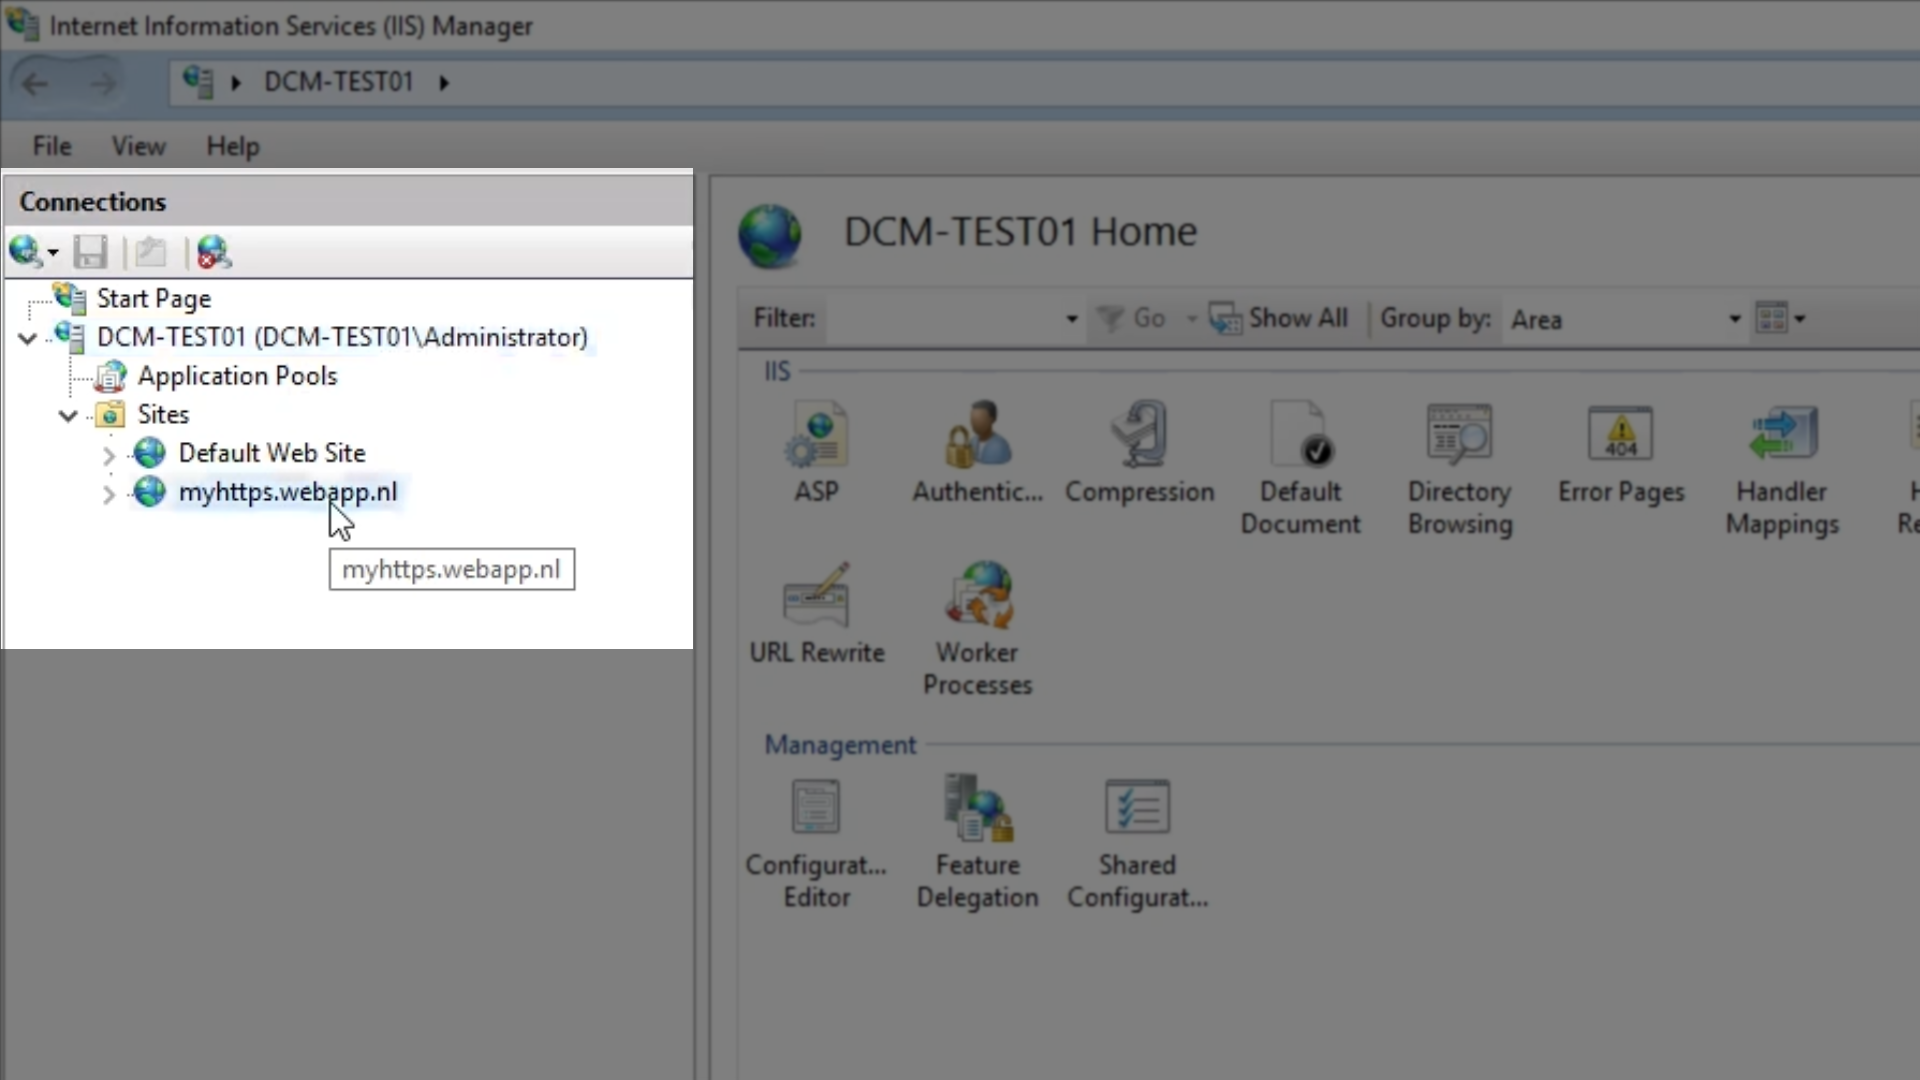
From the IIS Manager…
Expand the server node and then ‘Sites’ and select the web application that needs to be redirected
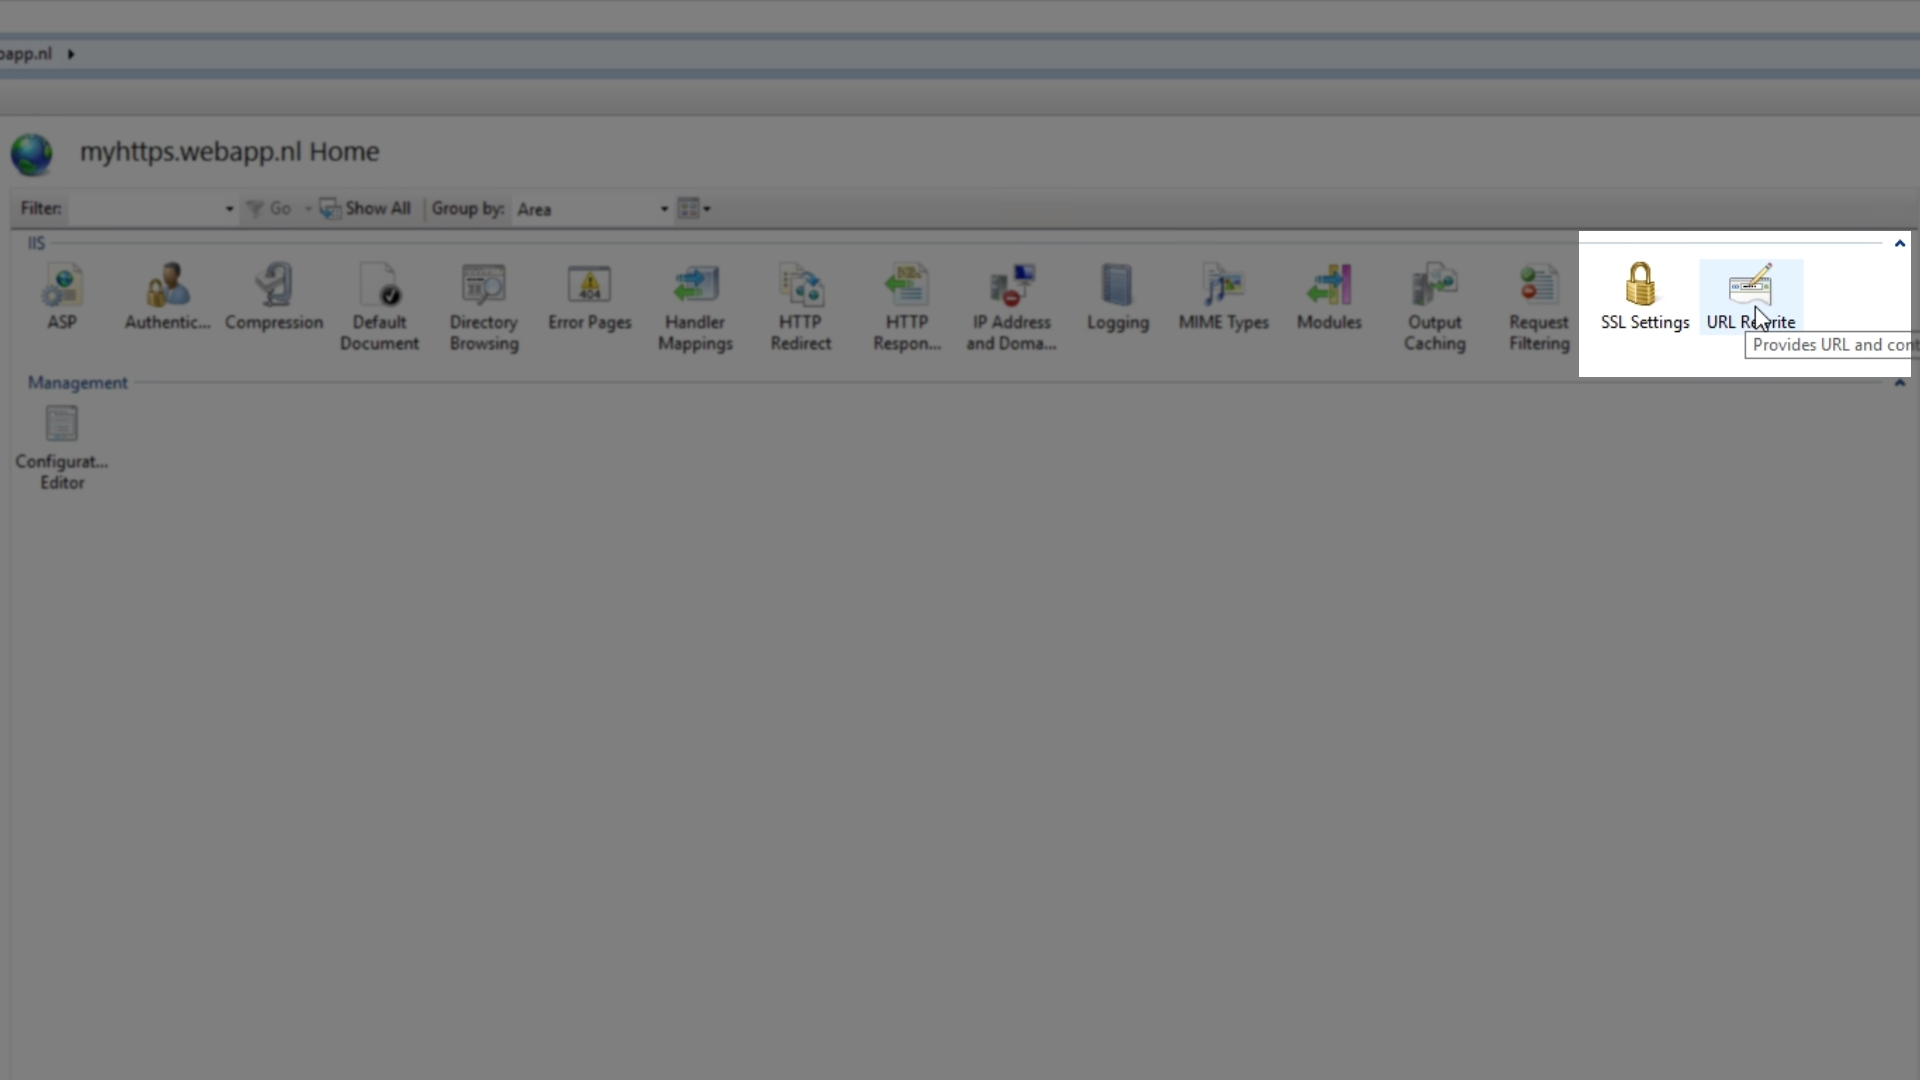
Double click ‘URL Rewrite’ from the center pane
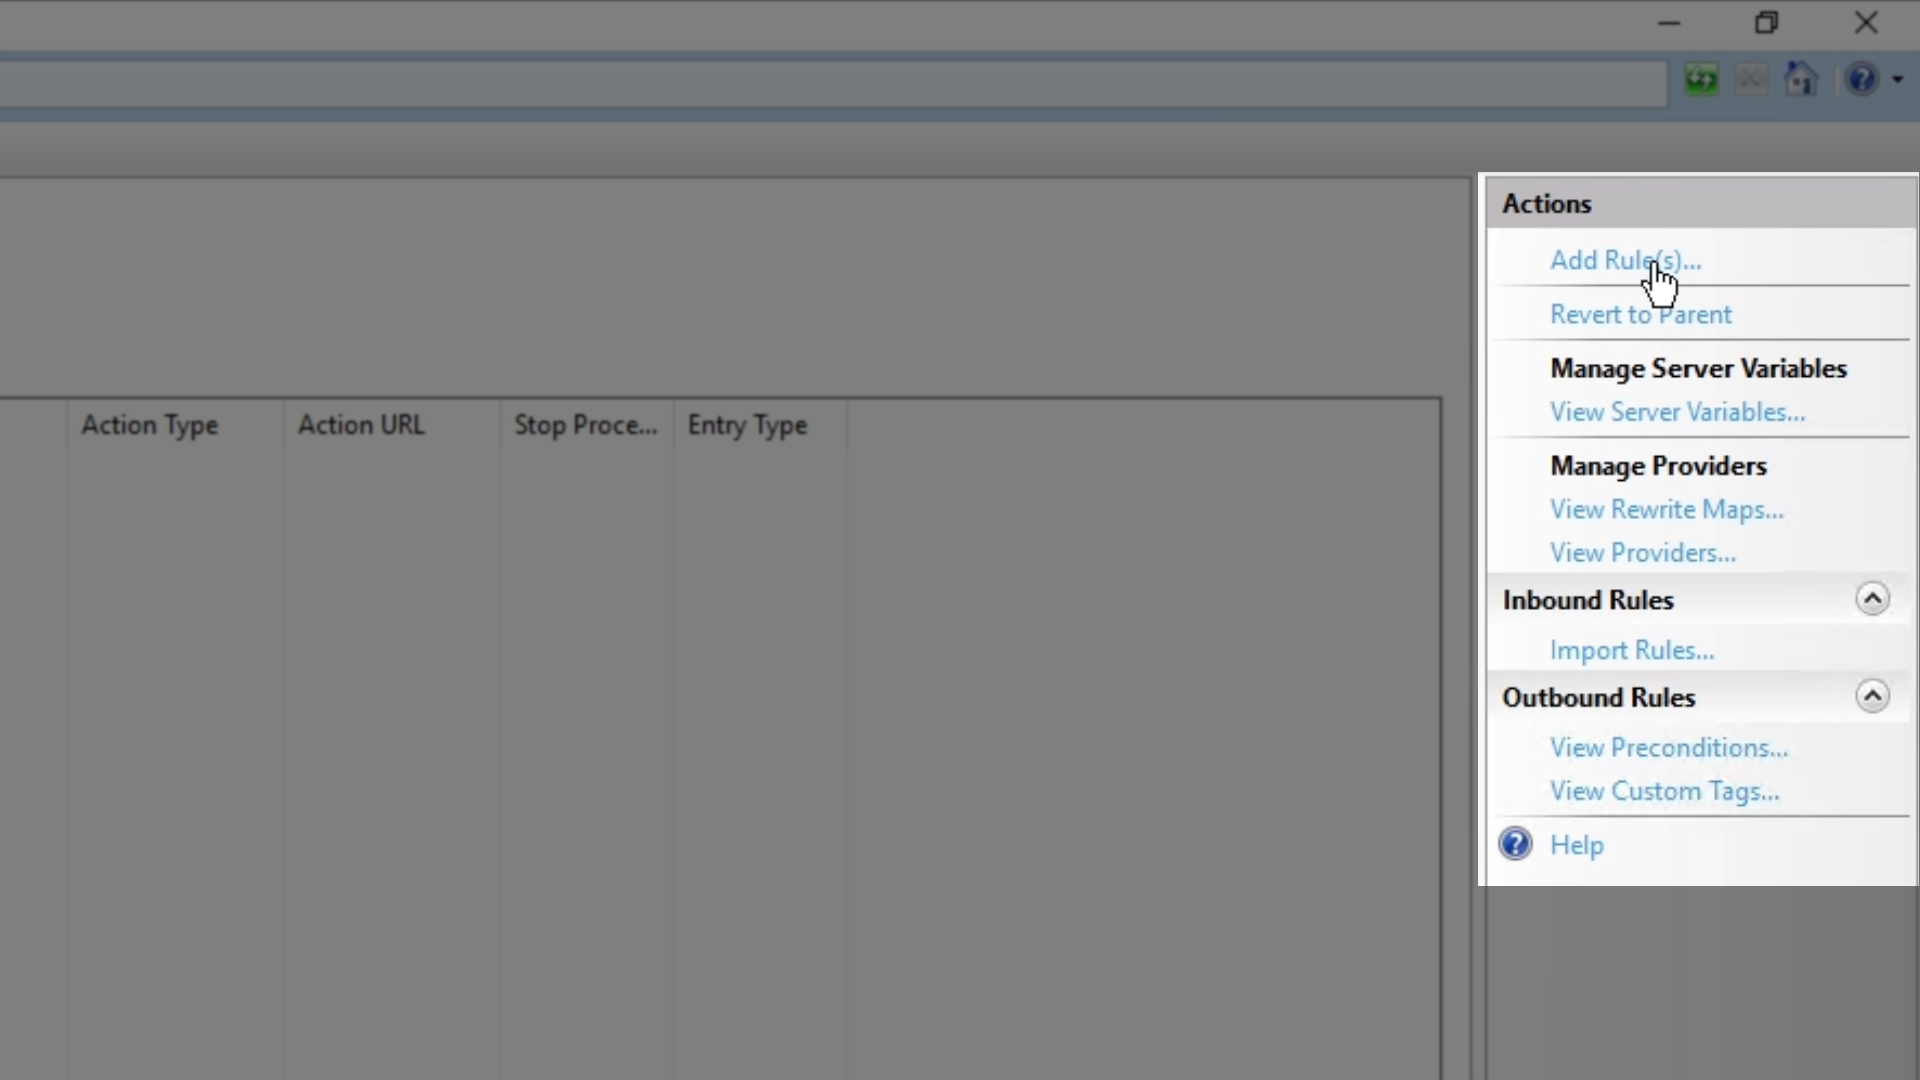
From ‘Actions’ panel on the right, click on ‘Add Rule(s)’
From the window that appears, select ‘Blank rule’
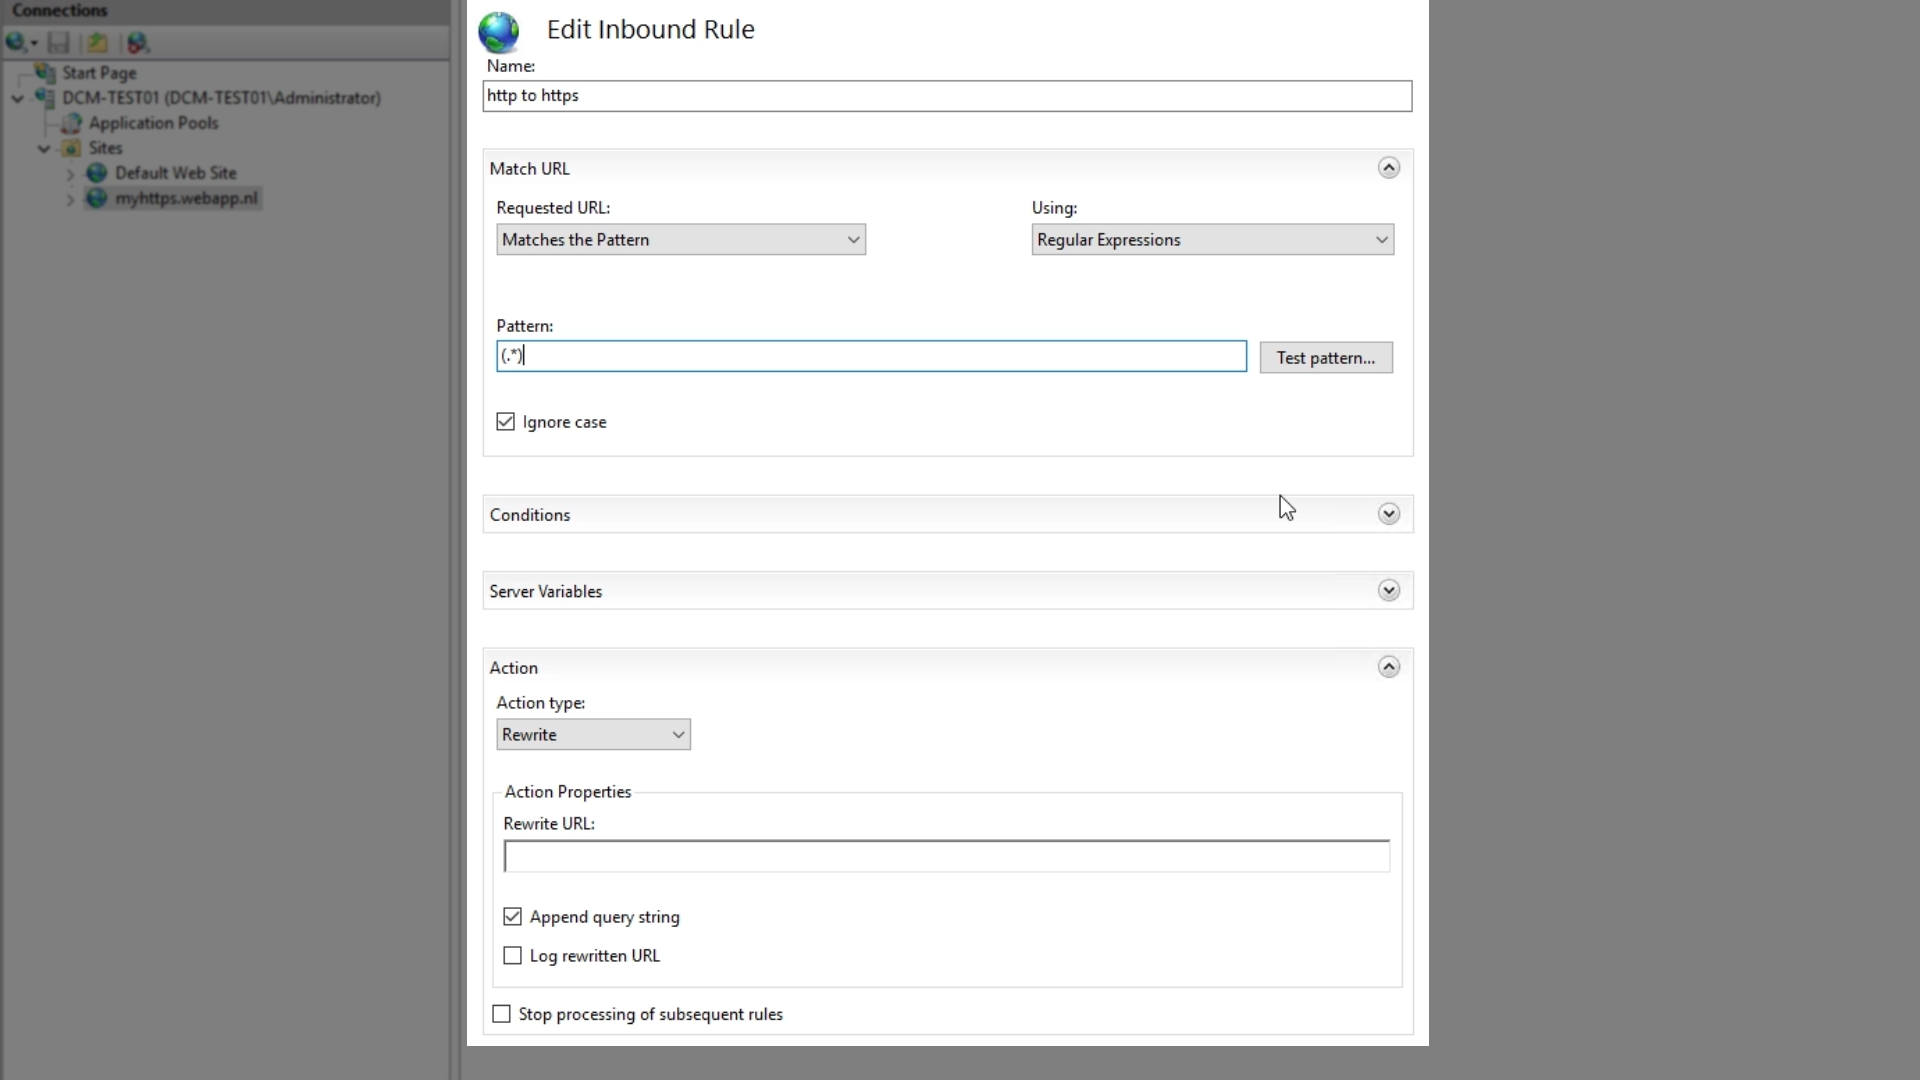
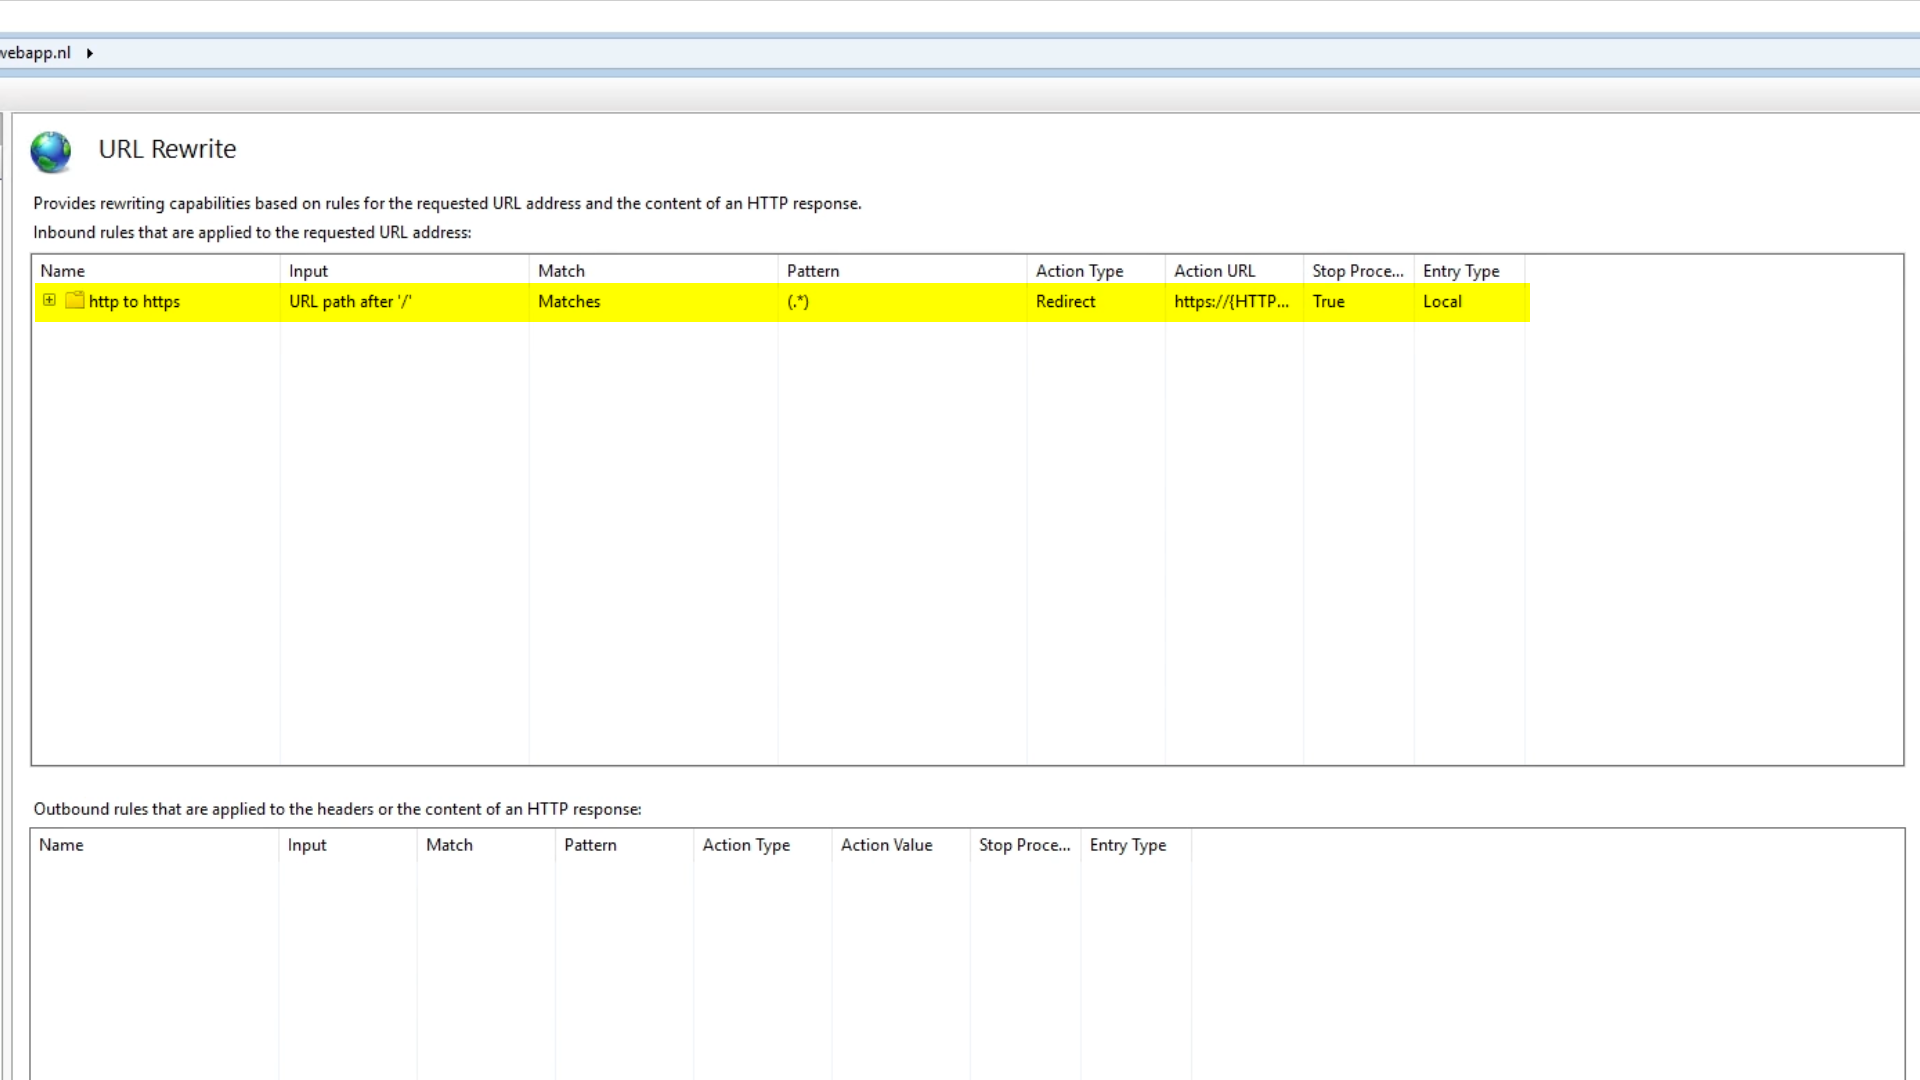
Add all of the pertinent information to the fields in the ‘Edit Inbound Rule’ window
Name (Ex: http to https)
Match URL pattern: (.*)
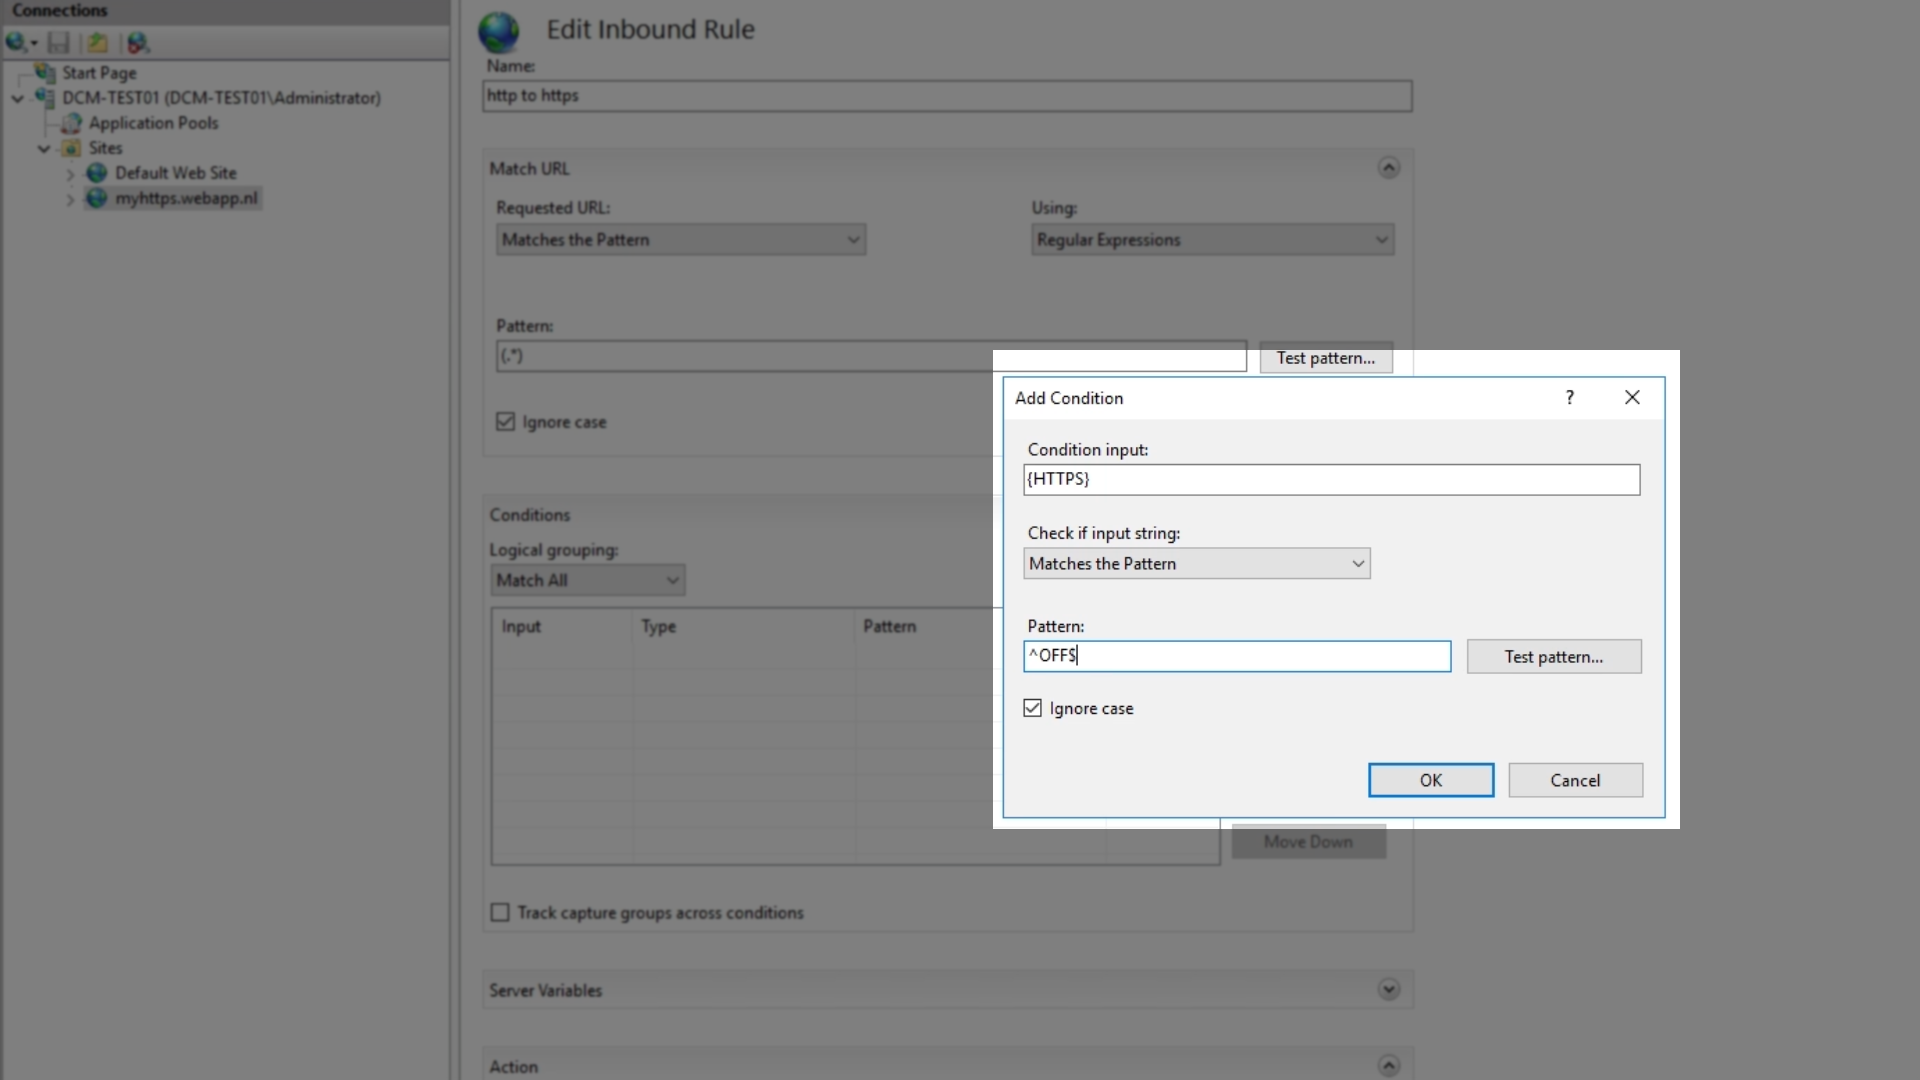
Add a condition: {HTTPS} with Pattern: ^OFF$
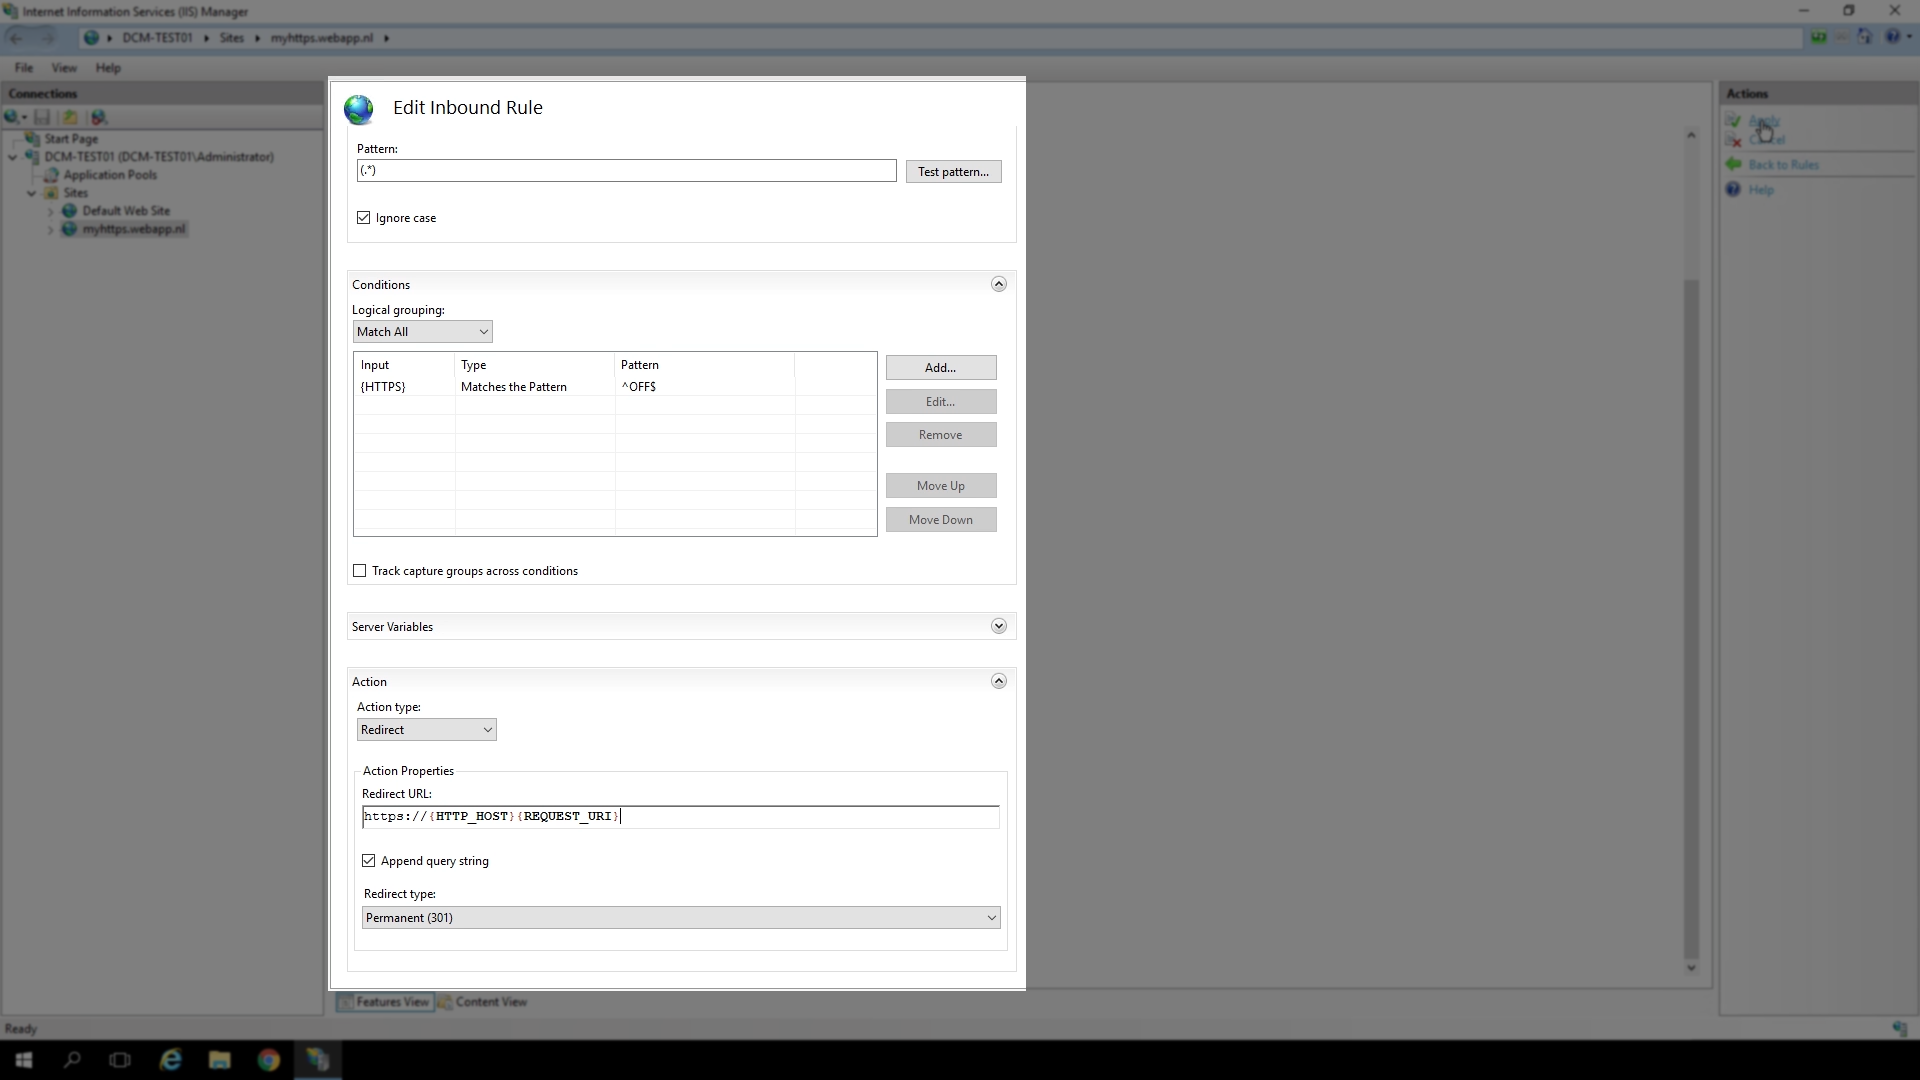
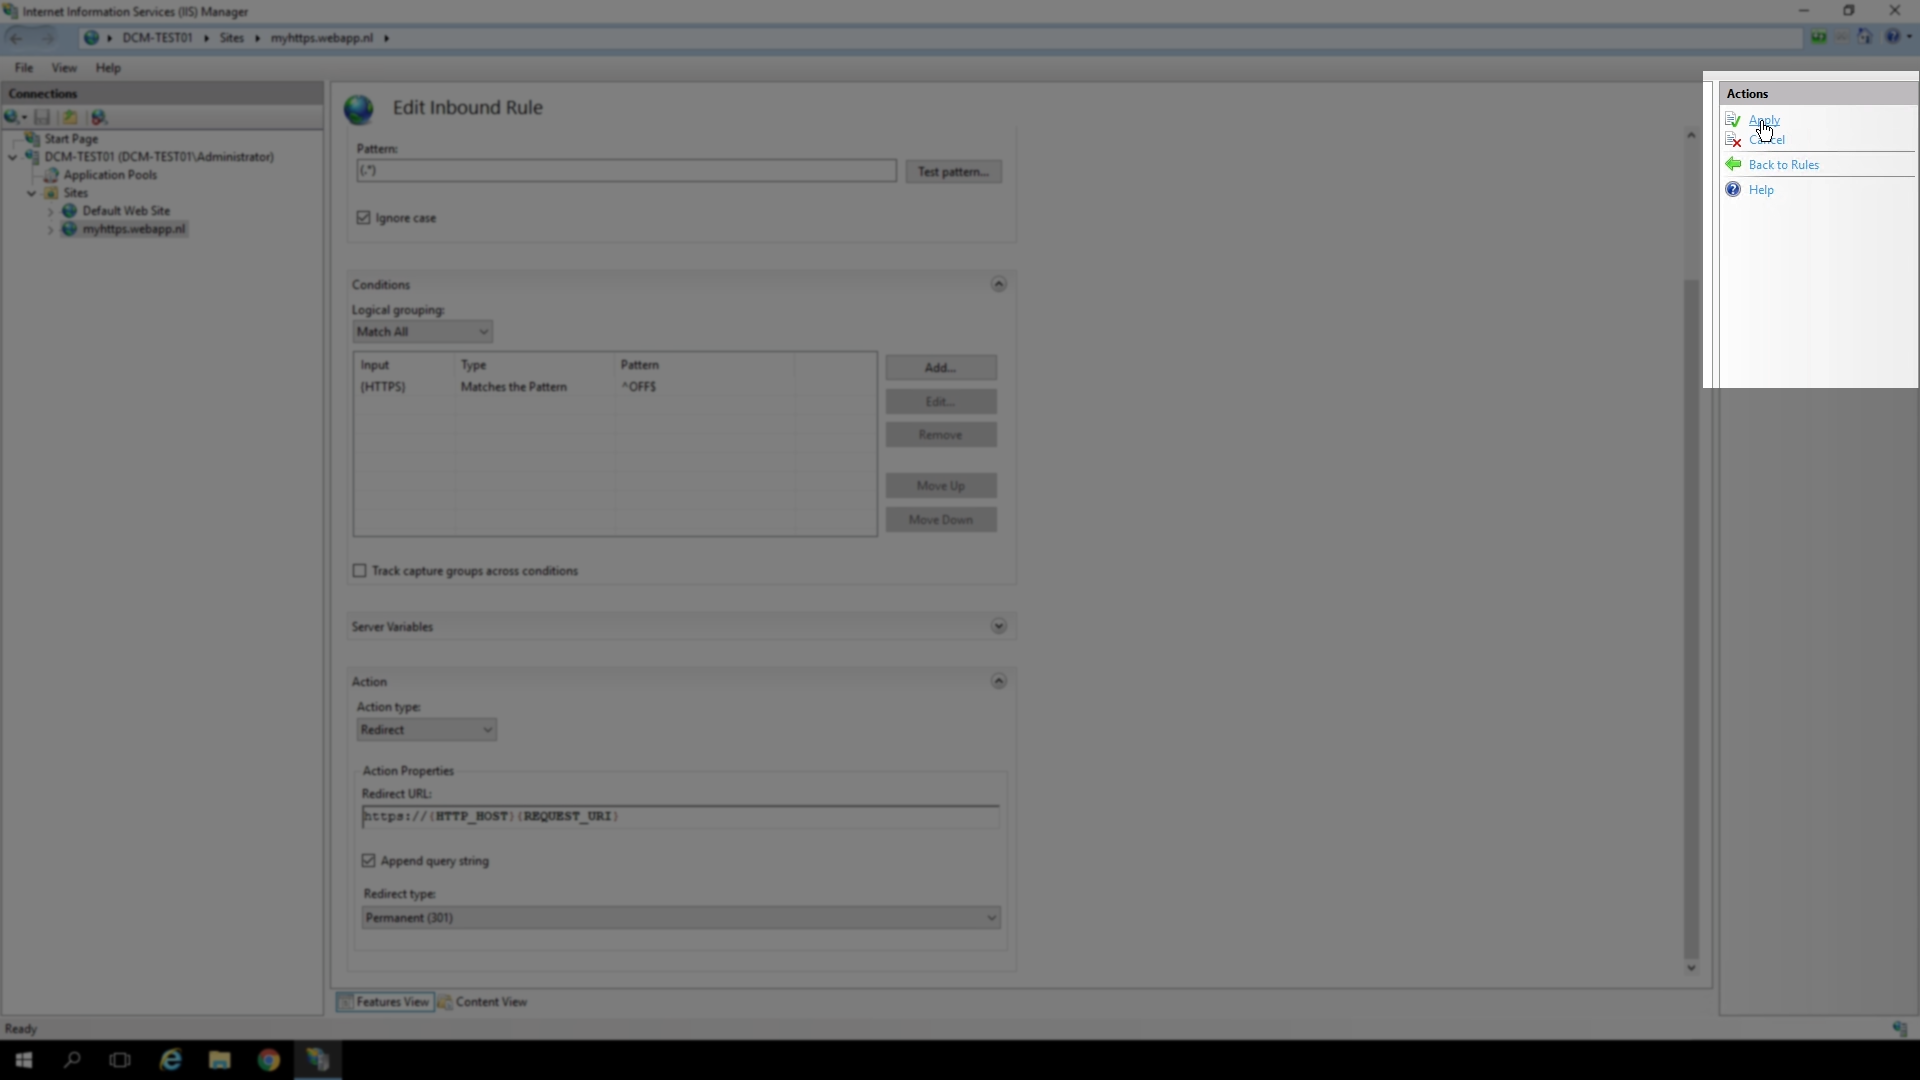
Set the ‘Action type’ to ‘Redirect’
Enter the ‘Redirect URL’ shown on the screen: https://{HTTP_HOST}{REQUEST_URI}
Click ‘Apply’ and then ‘Back to Rules’ in the ‘Actions’ pane
A rule with the name “http to https” has been created, and now shows in the ‘URL Rewrite’ pane
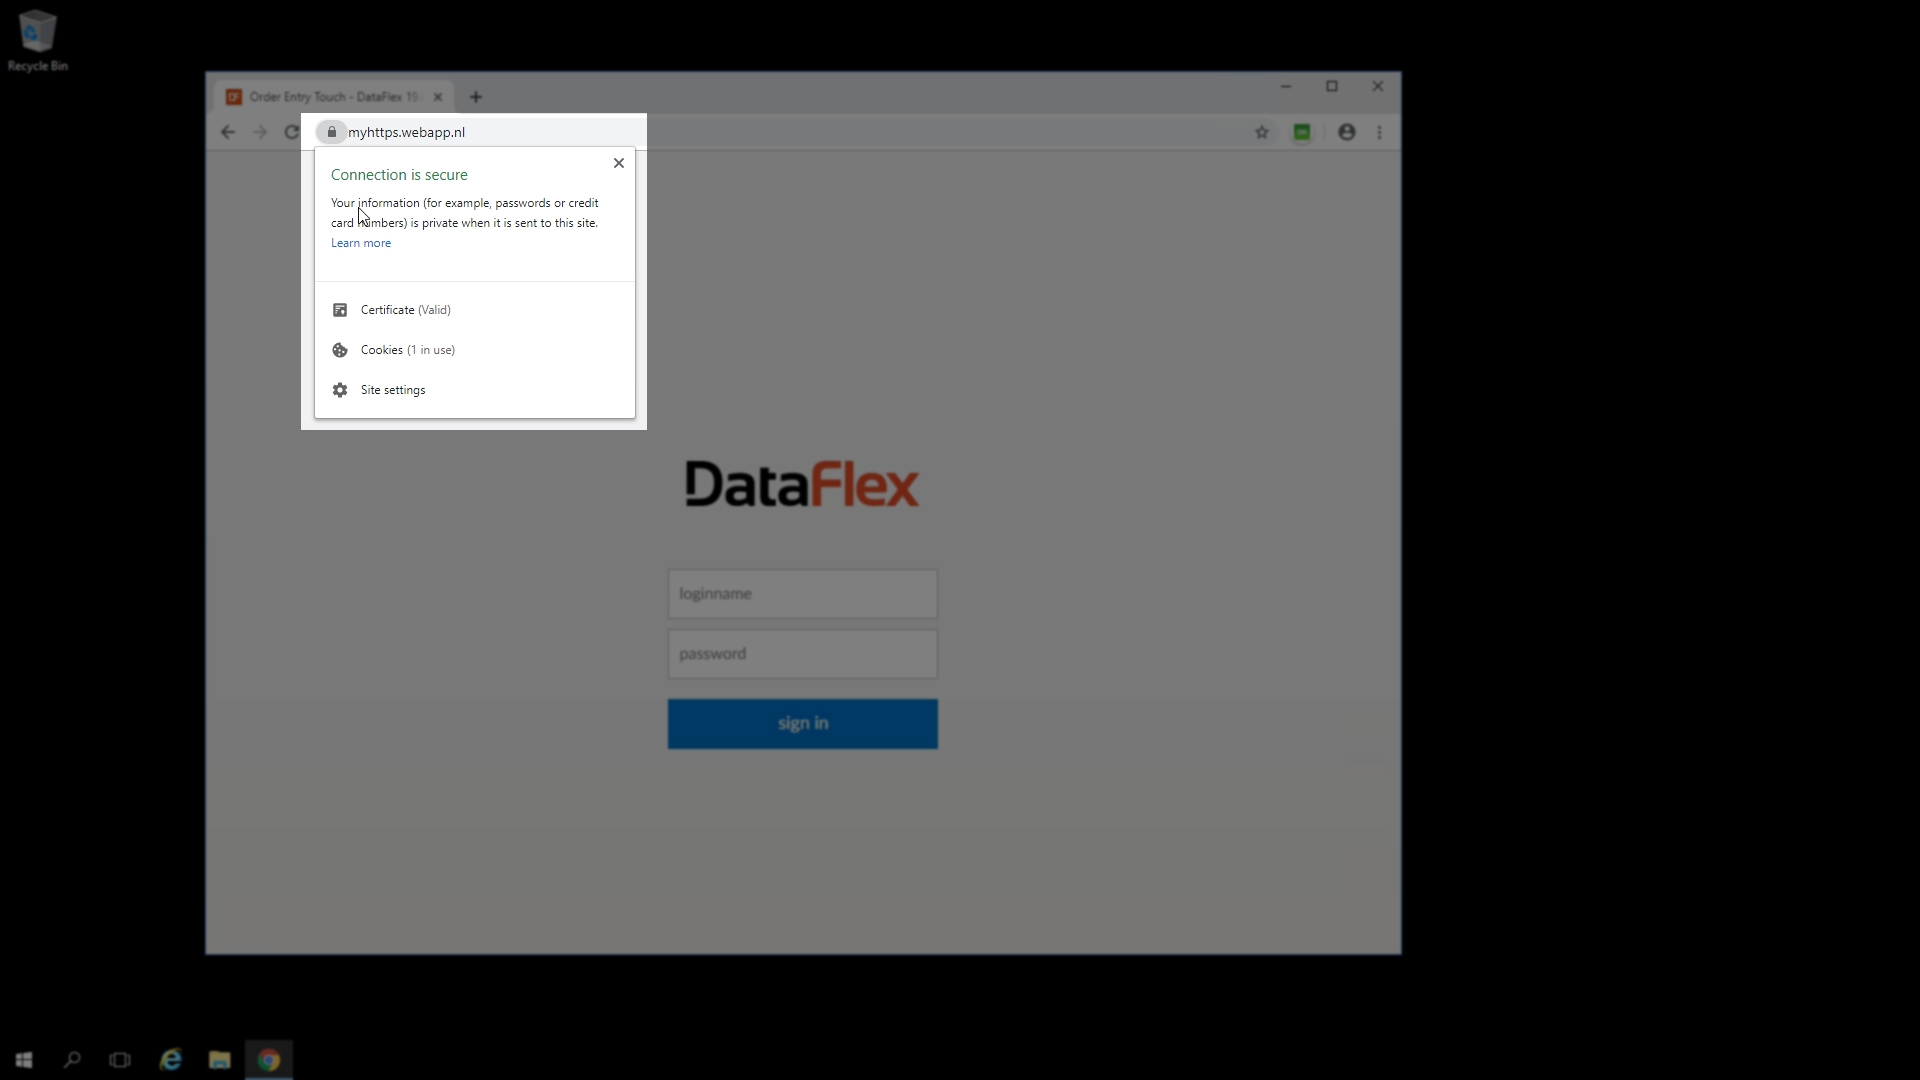
Revisiting the web application in the browser now shows that it is redirected to the secure web application.
Clicking the padlock in the address bar will now the connection as secure.