To continue with this content, please log in with your Data Access ID or create a new account.
Cancel Data Access ID
You may not be authorized to see this content. Please contact Data Access Europe for more information.
Cancel Data Access Europe
You are not authorized to see this content.
Cancel Data Access Europe
Next lesson:
Setup HTTPS redirection using URL rewriter
Cancel

Secure your web applications with HTTPS

Lesson 3: Deploying HTTPS with a Free Certificate

Let’s Encrypt is a free, automated and open certificate authority created by Internet Security Research Group, a non-profit. Using an automated client is the recommended method for obtaining a Let’s Encrypt certificate. This lesson shows a Let's Encrypt Client from PKISharp called win-acme.


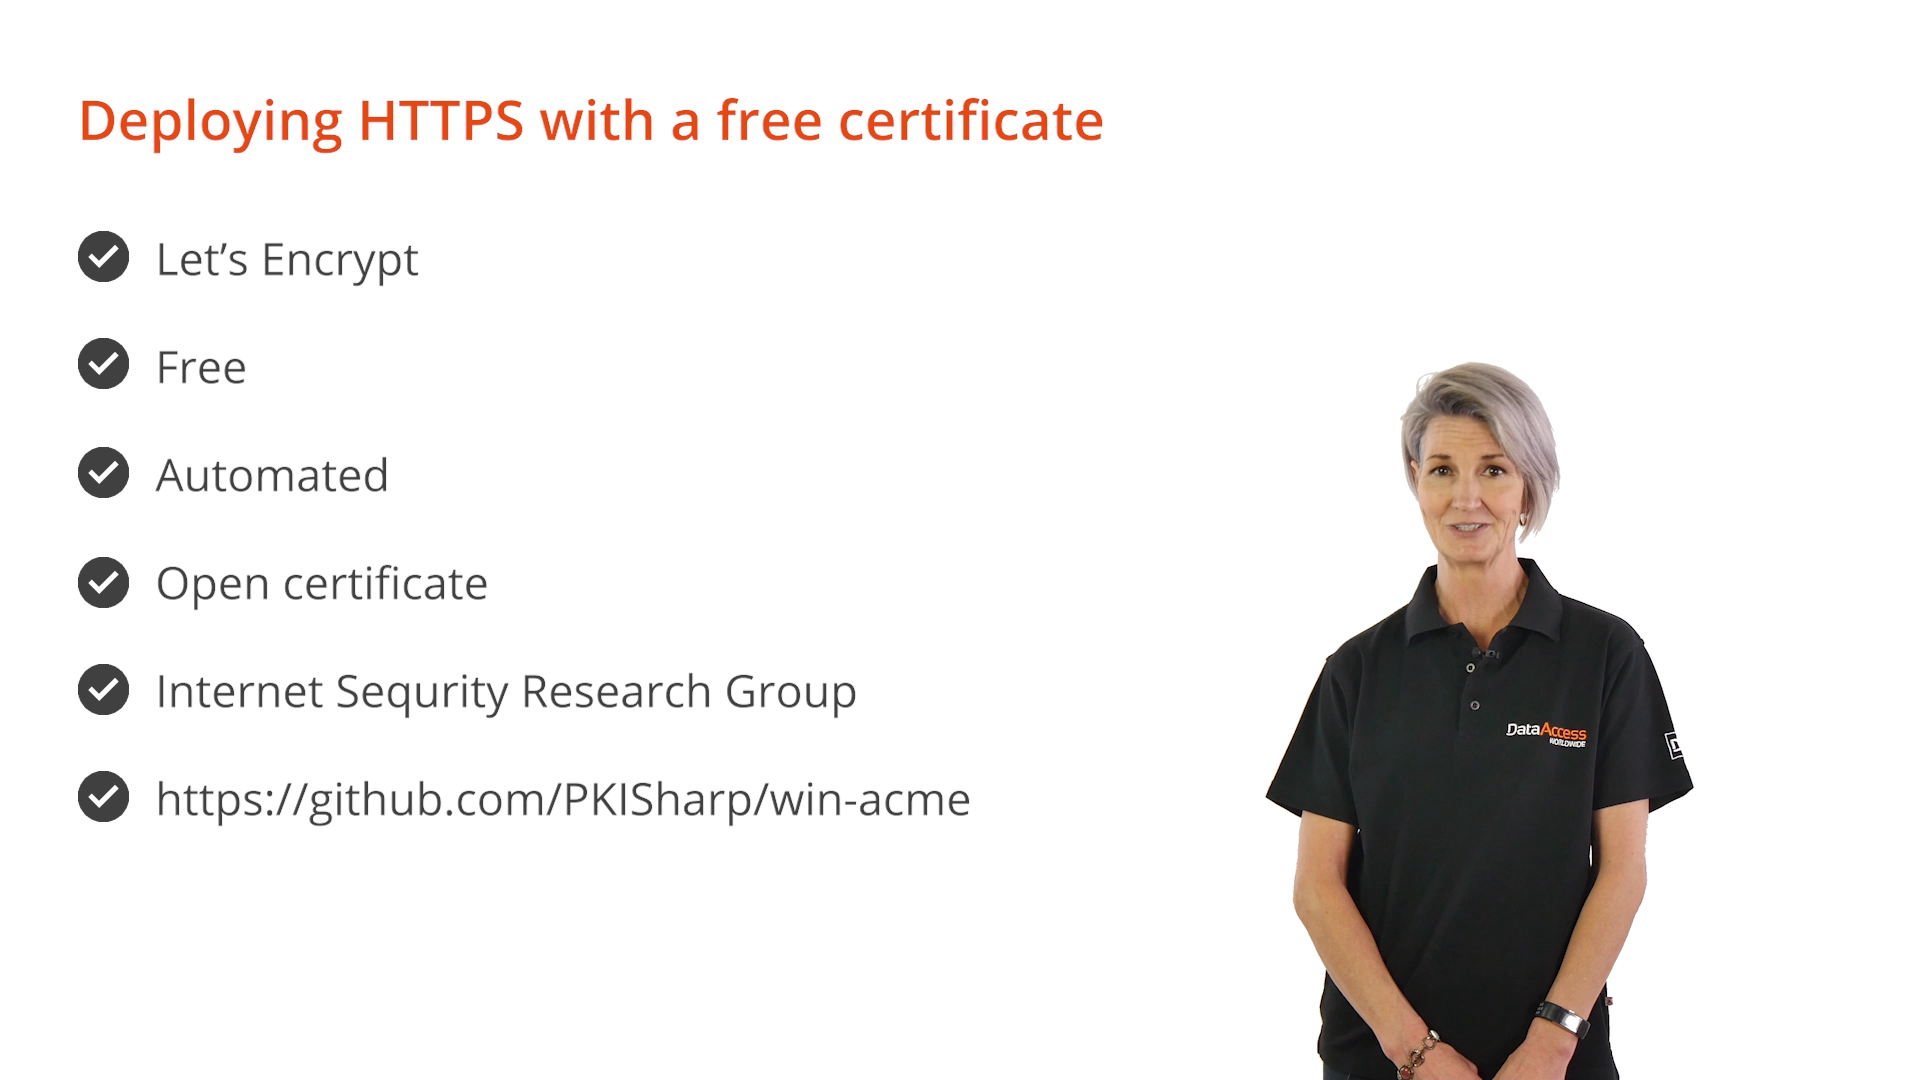
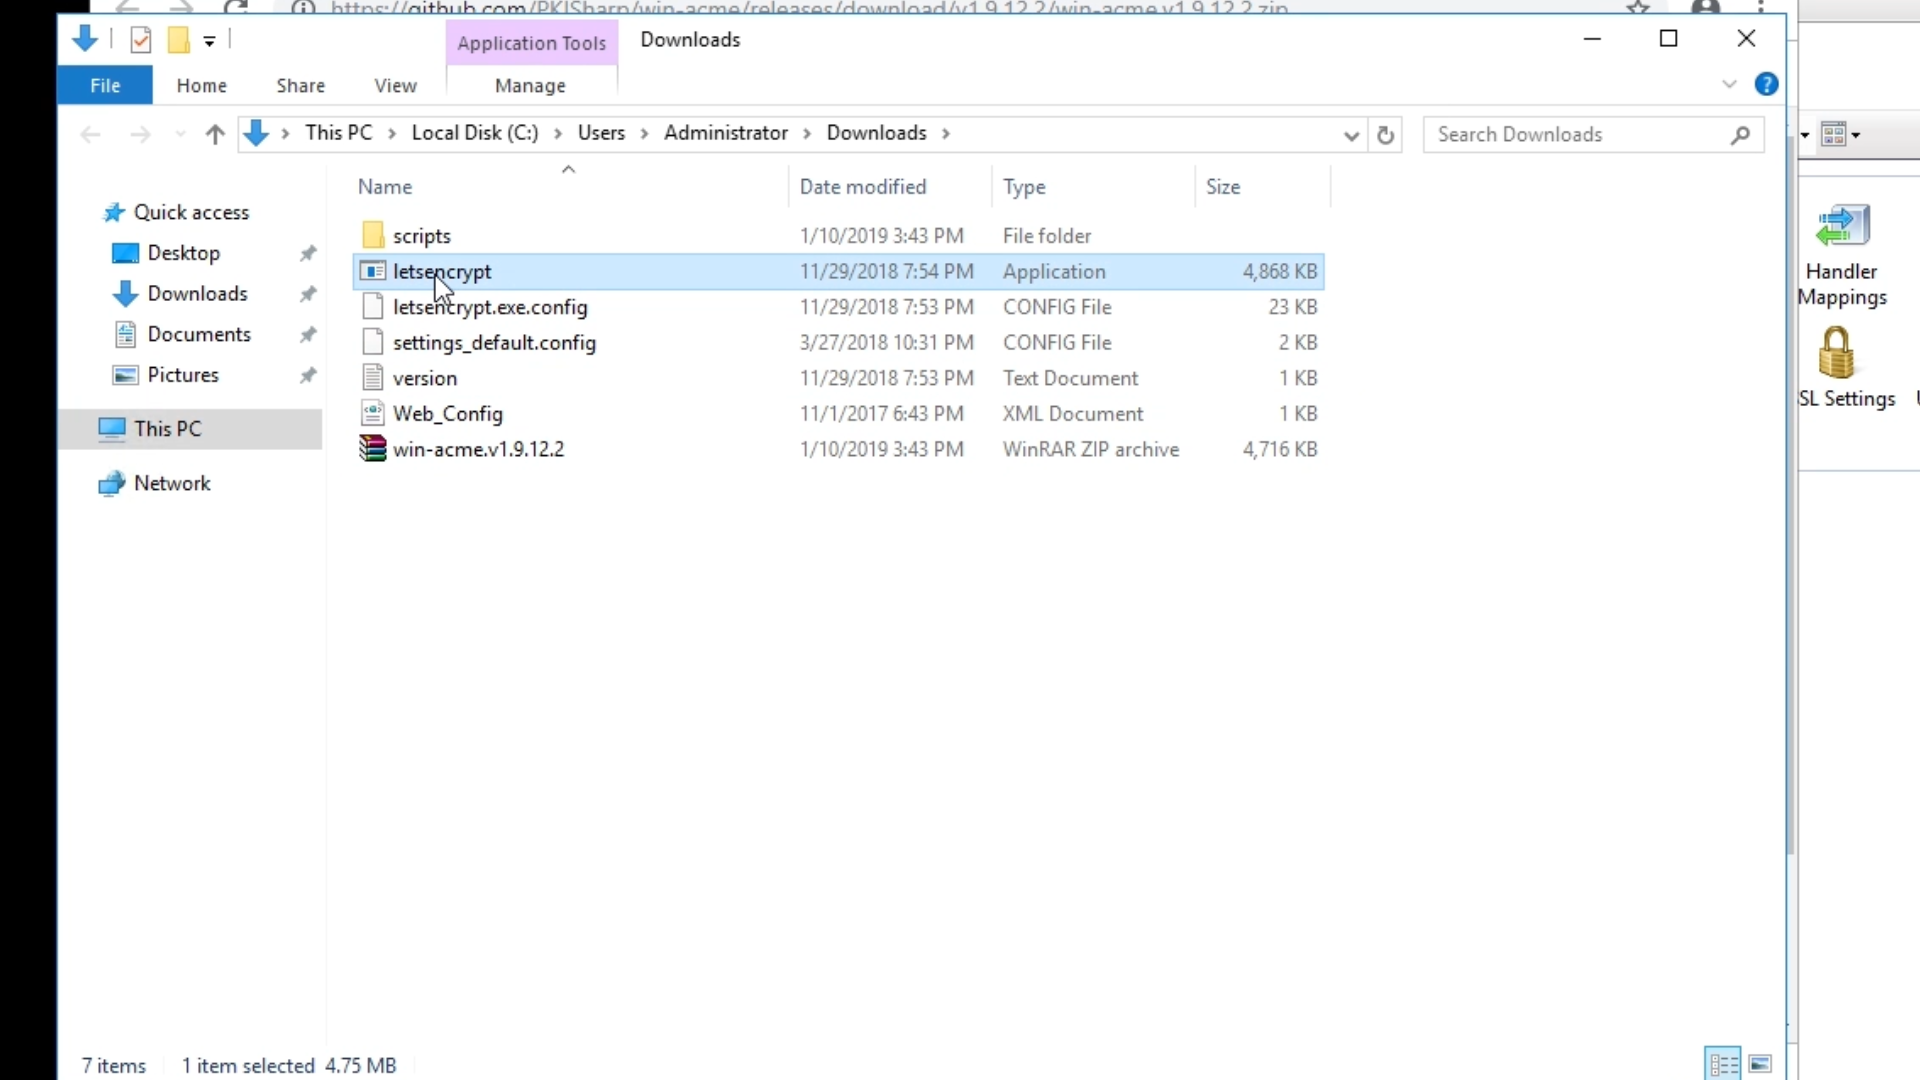
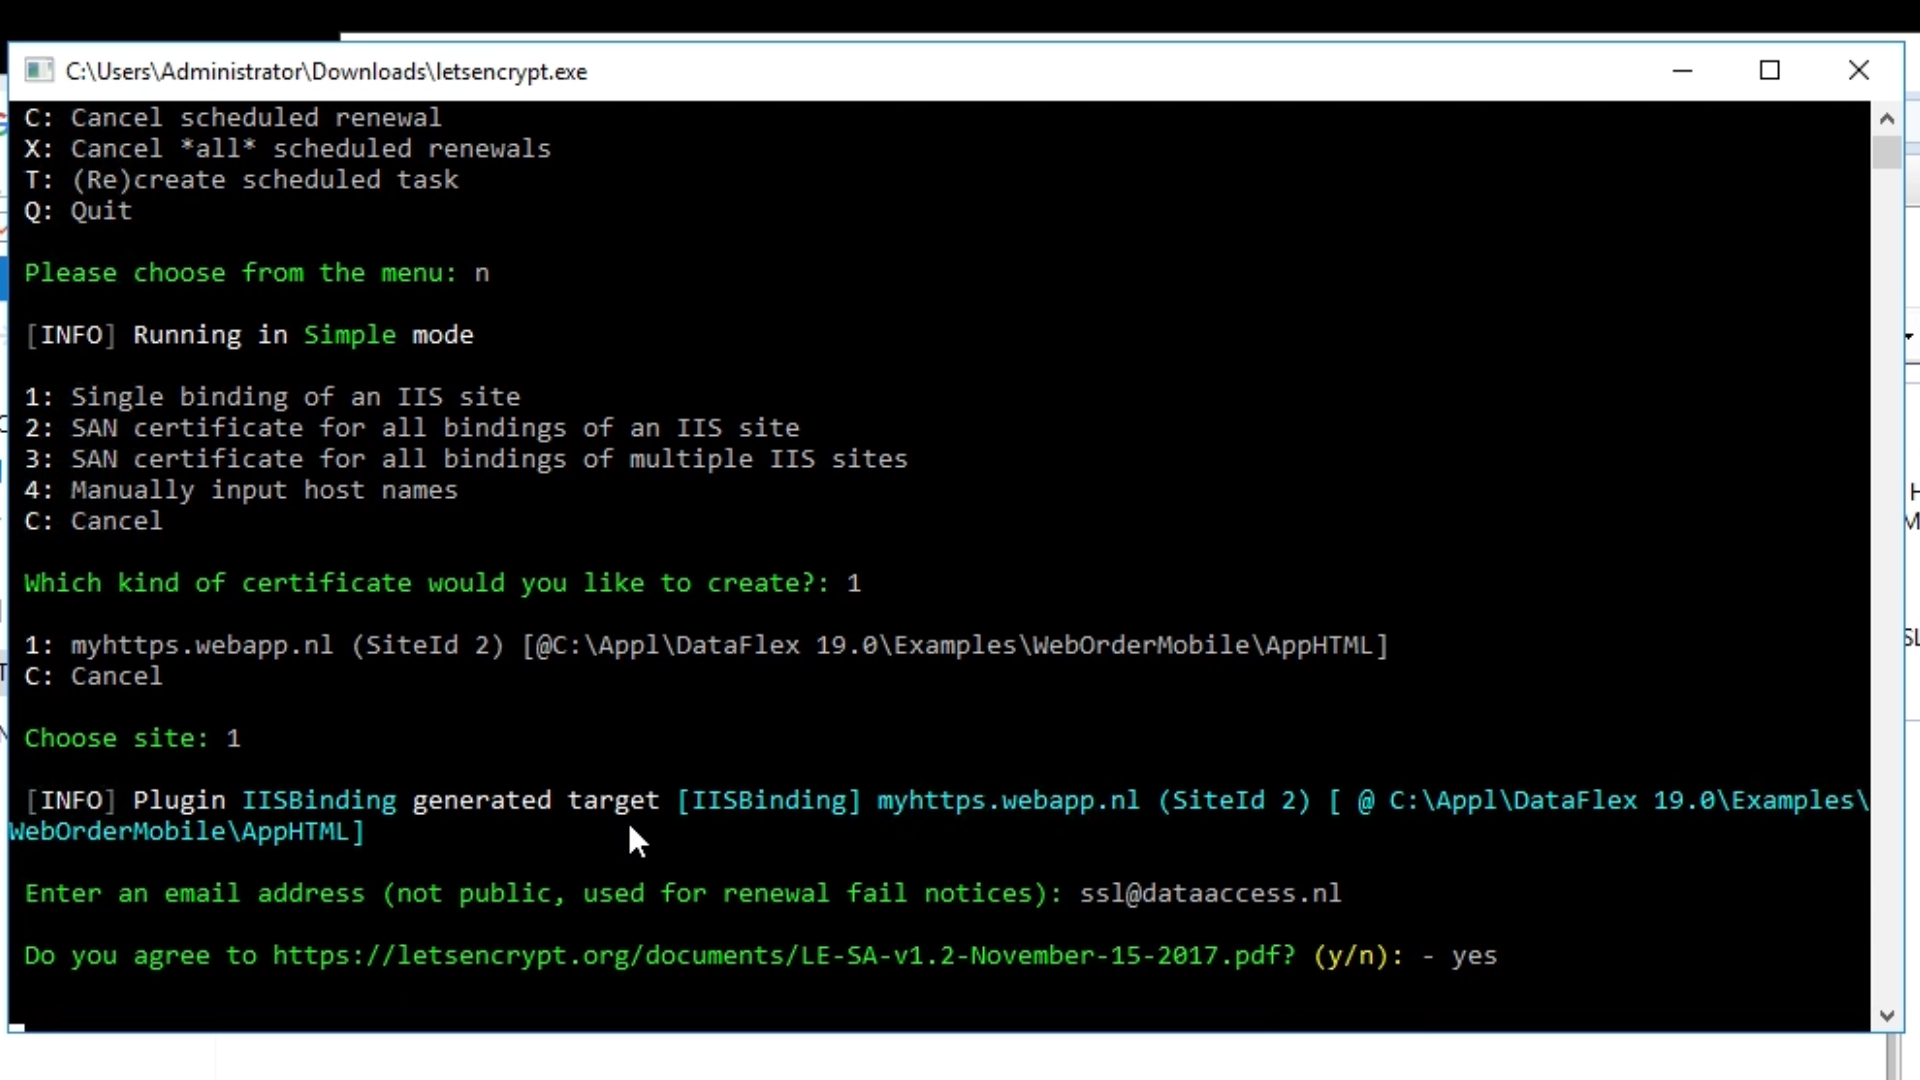
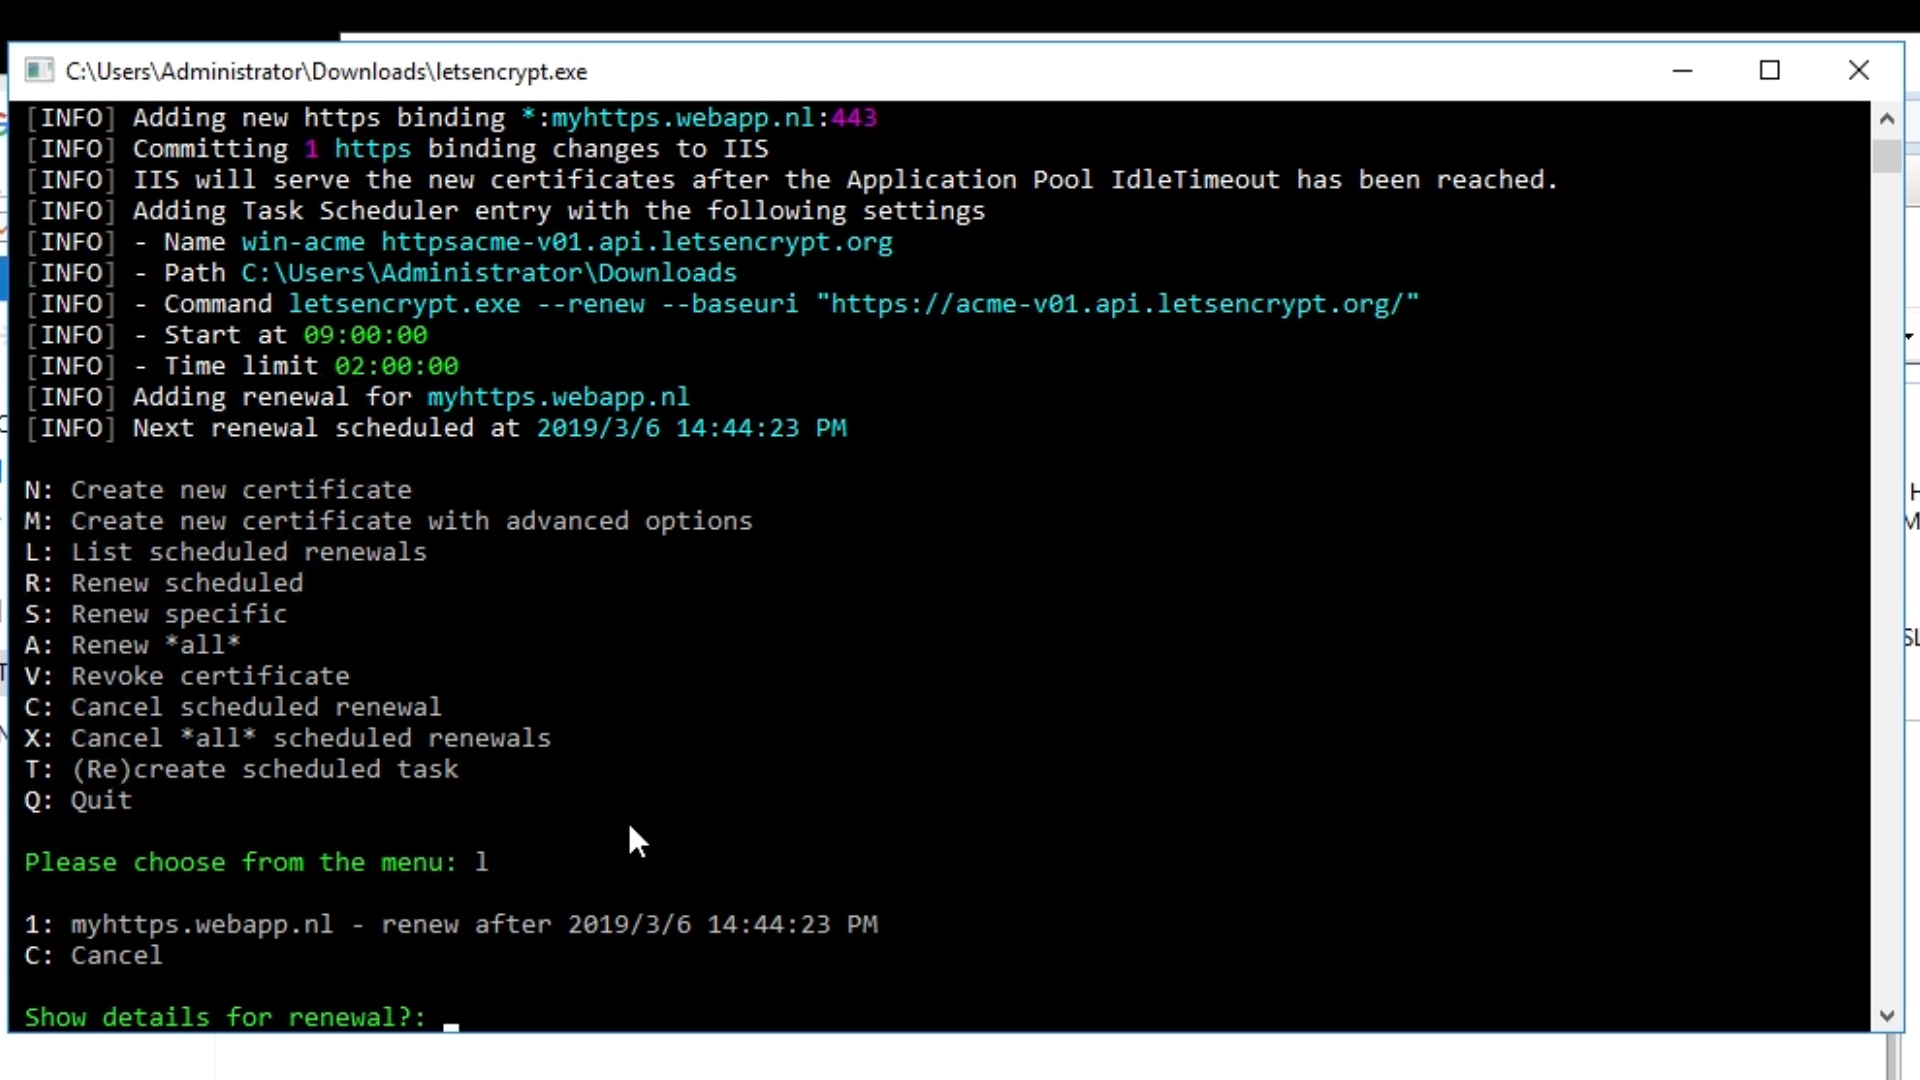
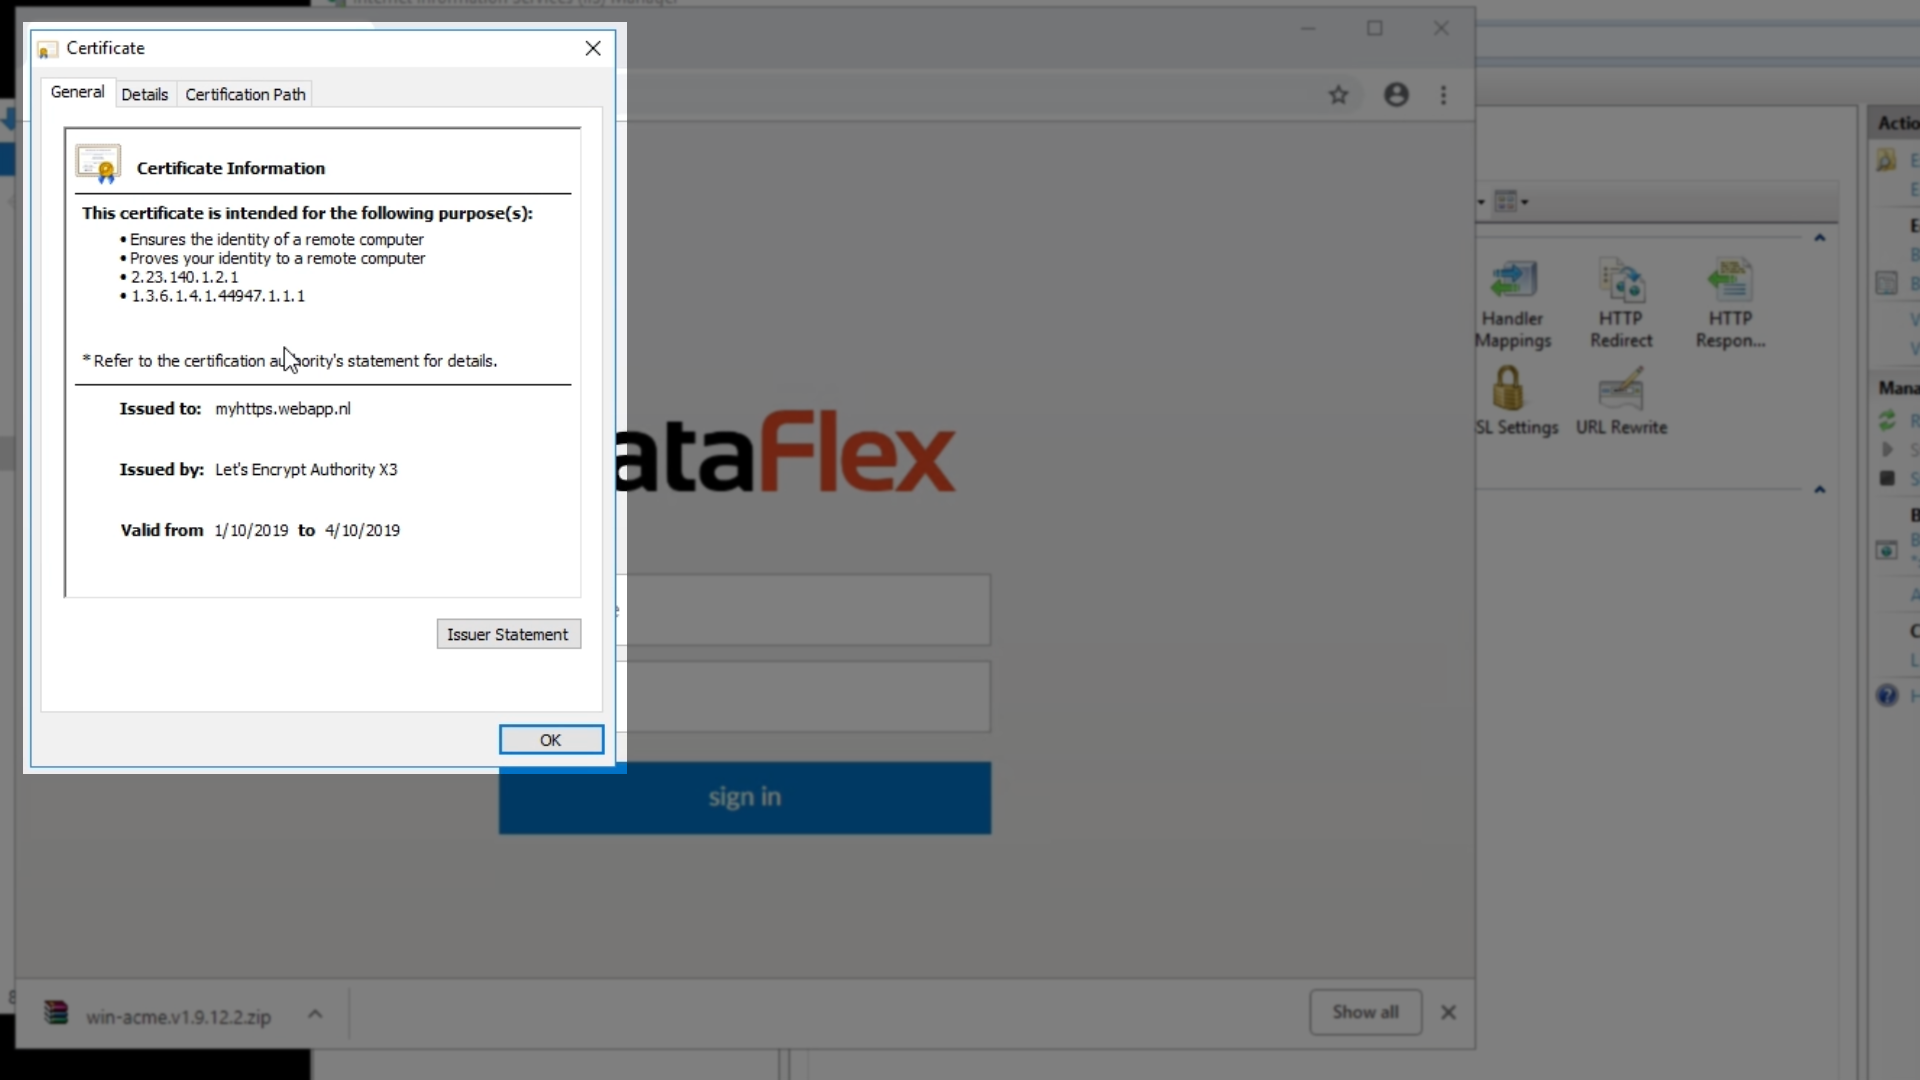
DEMONSTRATION – Creating a New Certificate

  • Download, unpack and run win-acme
  • A console mode menu is shown with options
    • Documentation on the various options is available
  • Enter ‘N’ for ‘Create new certificate’
  • Enter ‘1’ for ‘Single binding of an IIS site’
    • This is the appropriate selection due to only having one web application to secure
  • From the following list, choose the web application that will receive the SSL certificate
    • ‘1’ for this example
  • Enter a valid email address: contact for notification of any renewal fail notices from the Let’s Encrypt Authority
  • Answer ‘yes’ to agree to the terms of use
  • A certificate is then created, and the main menu reappears 
  • Type ‘L’ for ‘List scheduled renewals’ to confirm the client has scheduled a renewal
    • A ‘Renewal due’ appears showing the date the certificate expires
    • The certificate will auto-renew before this date
  • Viewing the certificates details in the browser will show ‘Issued by: Let's Encrypt Authority X3.’