Secure your web applications with HTTPS
Lesson 2: Deploying HTTPS with a commercial certificate
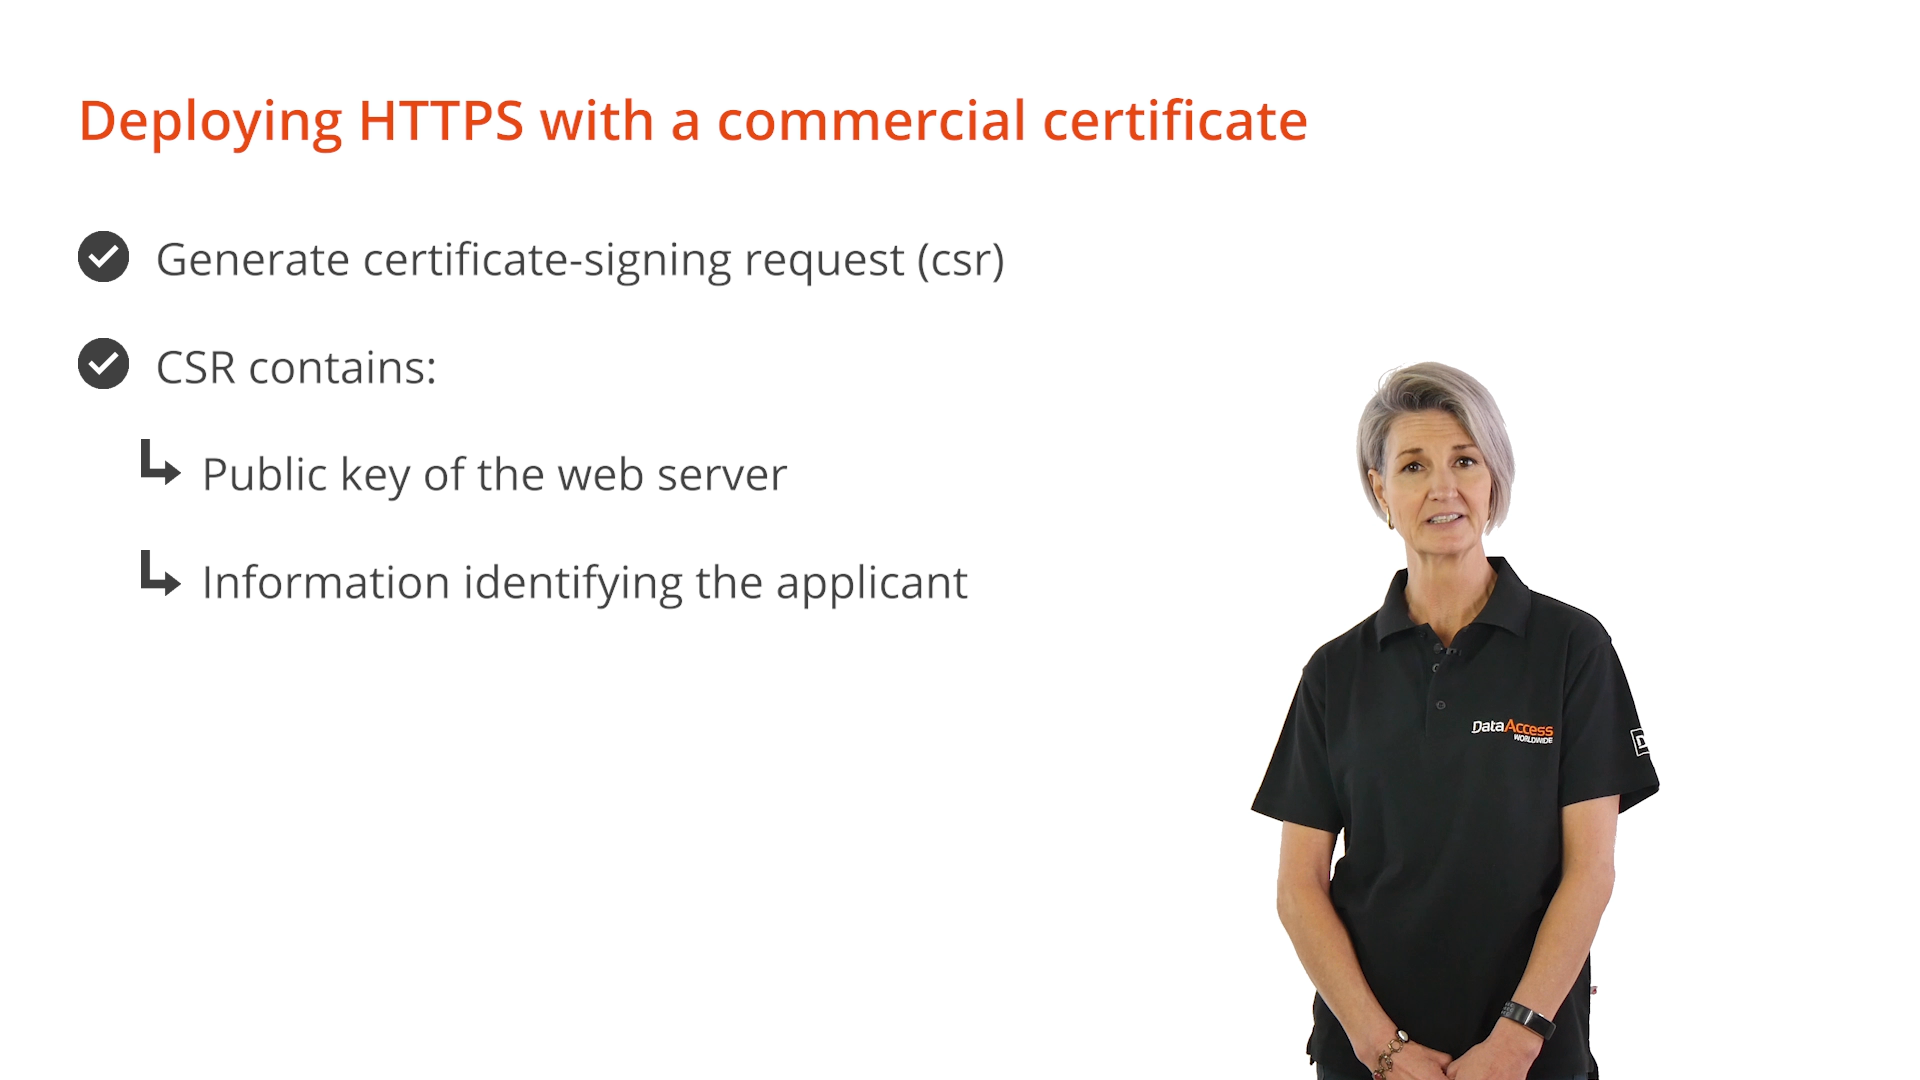
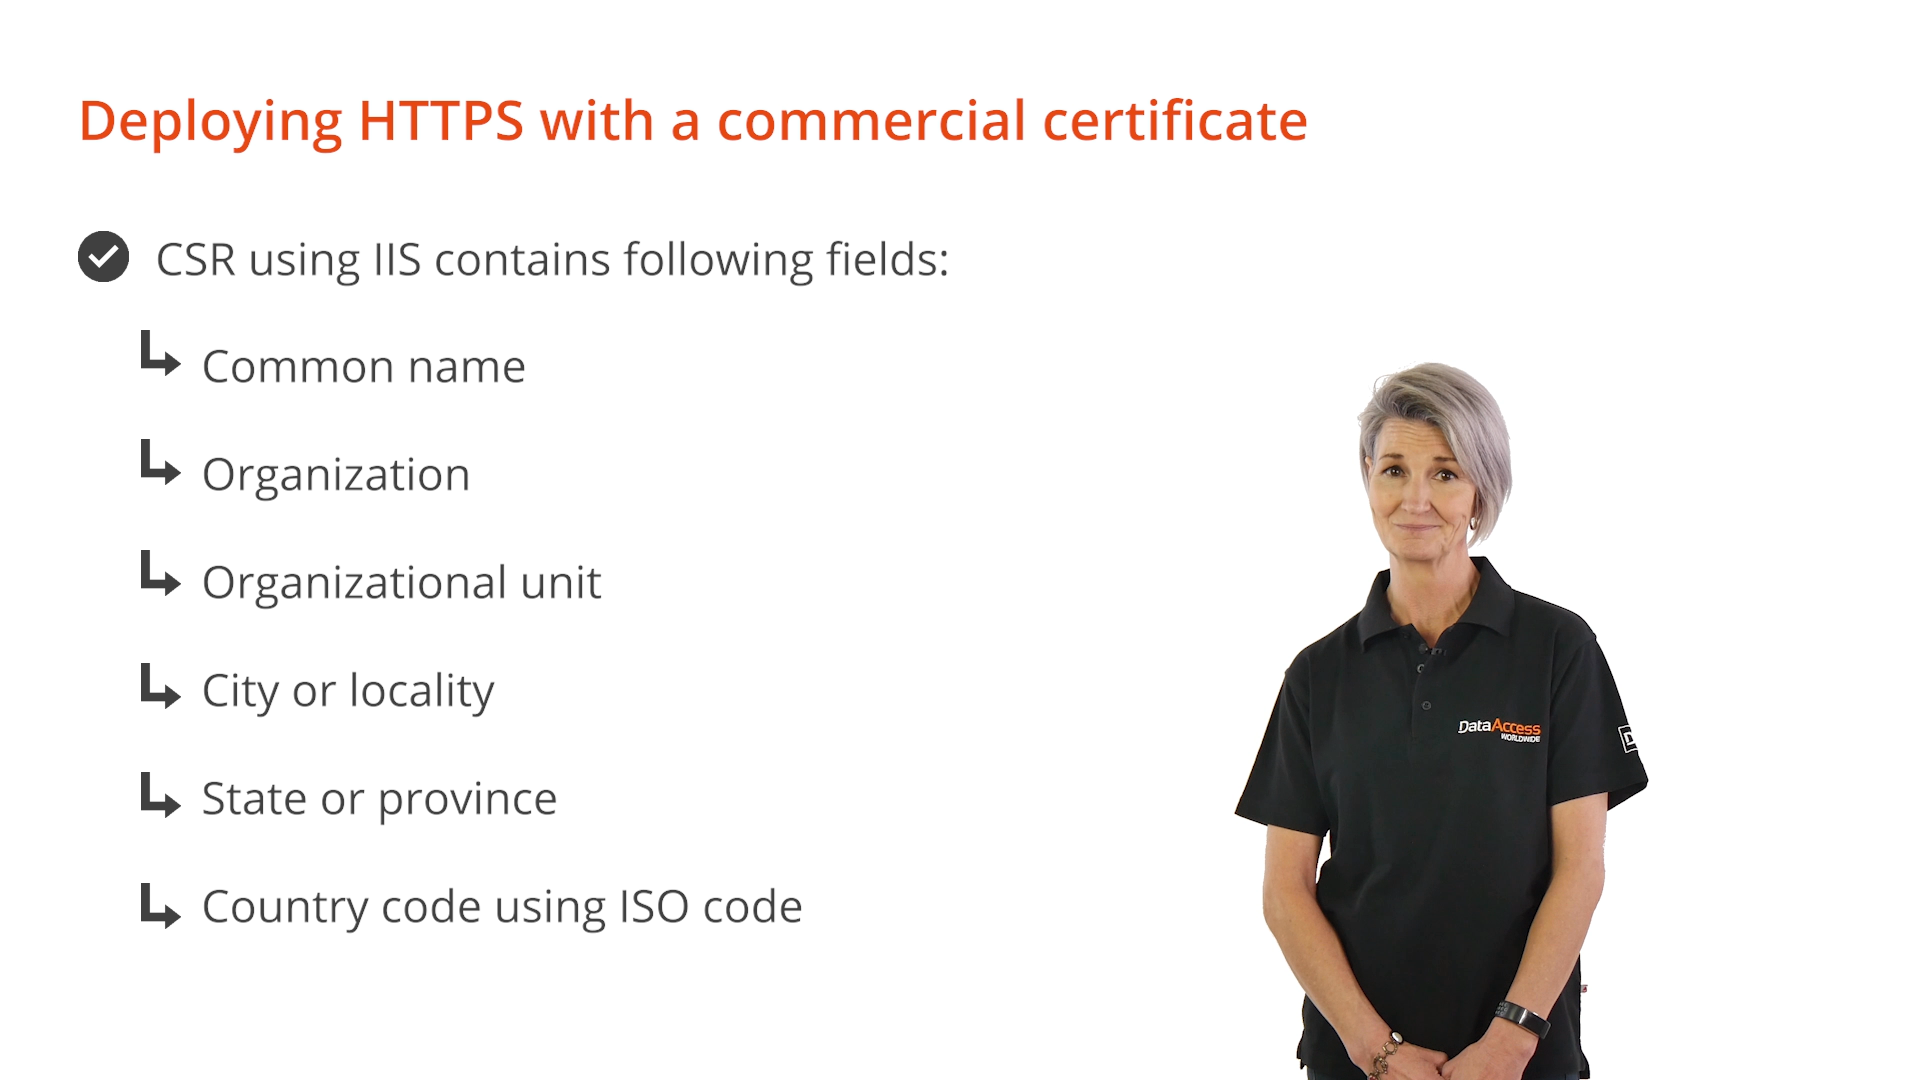
To deploy a commercial certificate, a certificate-signing request (CSR) must first be generated. The CSR contains the web server’s public key and information to identify the applicant. A CSR generated using IIS usually contains the following fields:
- Common name
- Most important field because it contains the name of the URL that is to be secured. A certificate error will appear when a browser tries to access the web application if a typo in the name exists.
- Organization
- Organizational unit
- City or locality
- State or province
- Country code using the two letter ISO code
DEMONSTRATION – Configuring a Commercial Certificate
To generate a CSR…
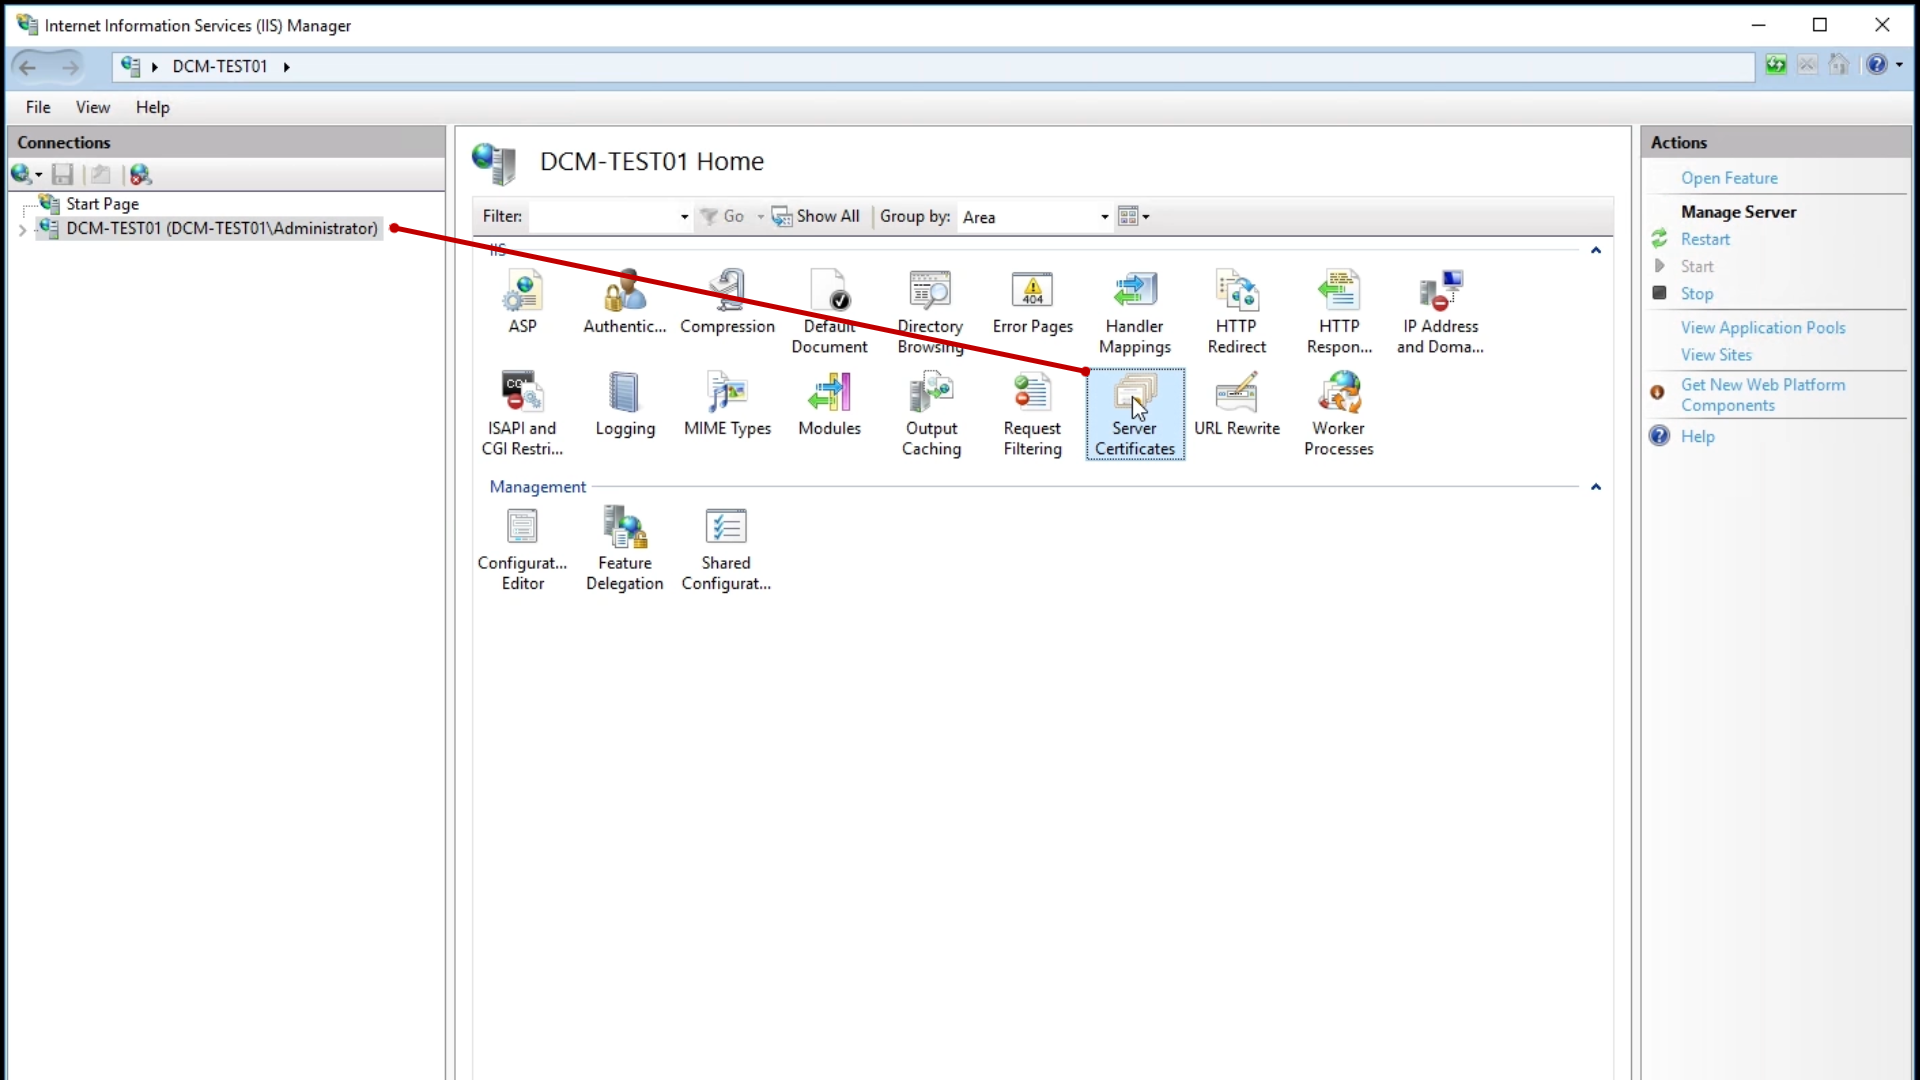
- Open the IIS Manager and click the server node from the ‘Connections’ panel on the left
- Double-click on ‘Server Certificates’ from the center panel
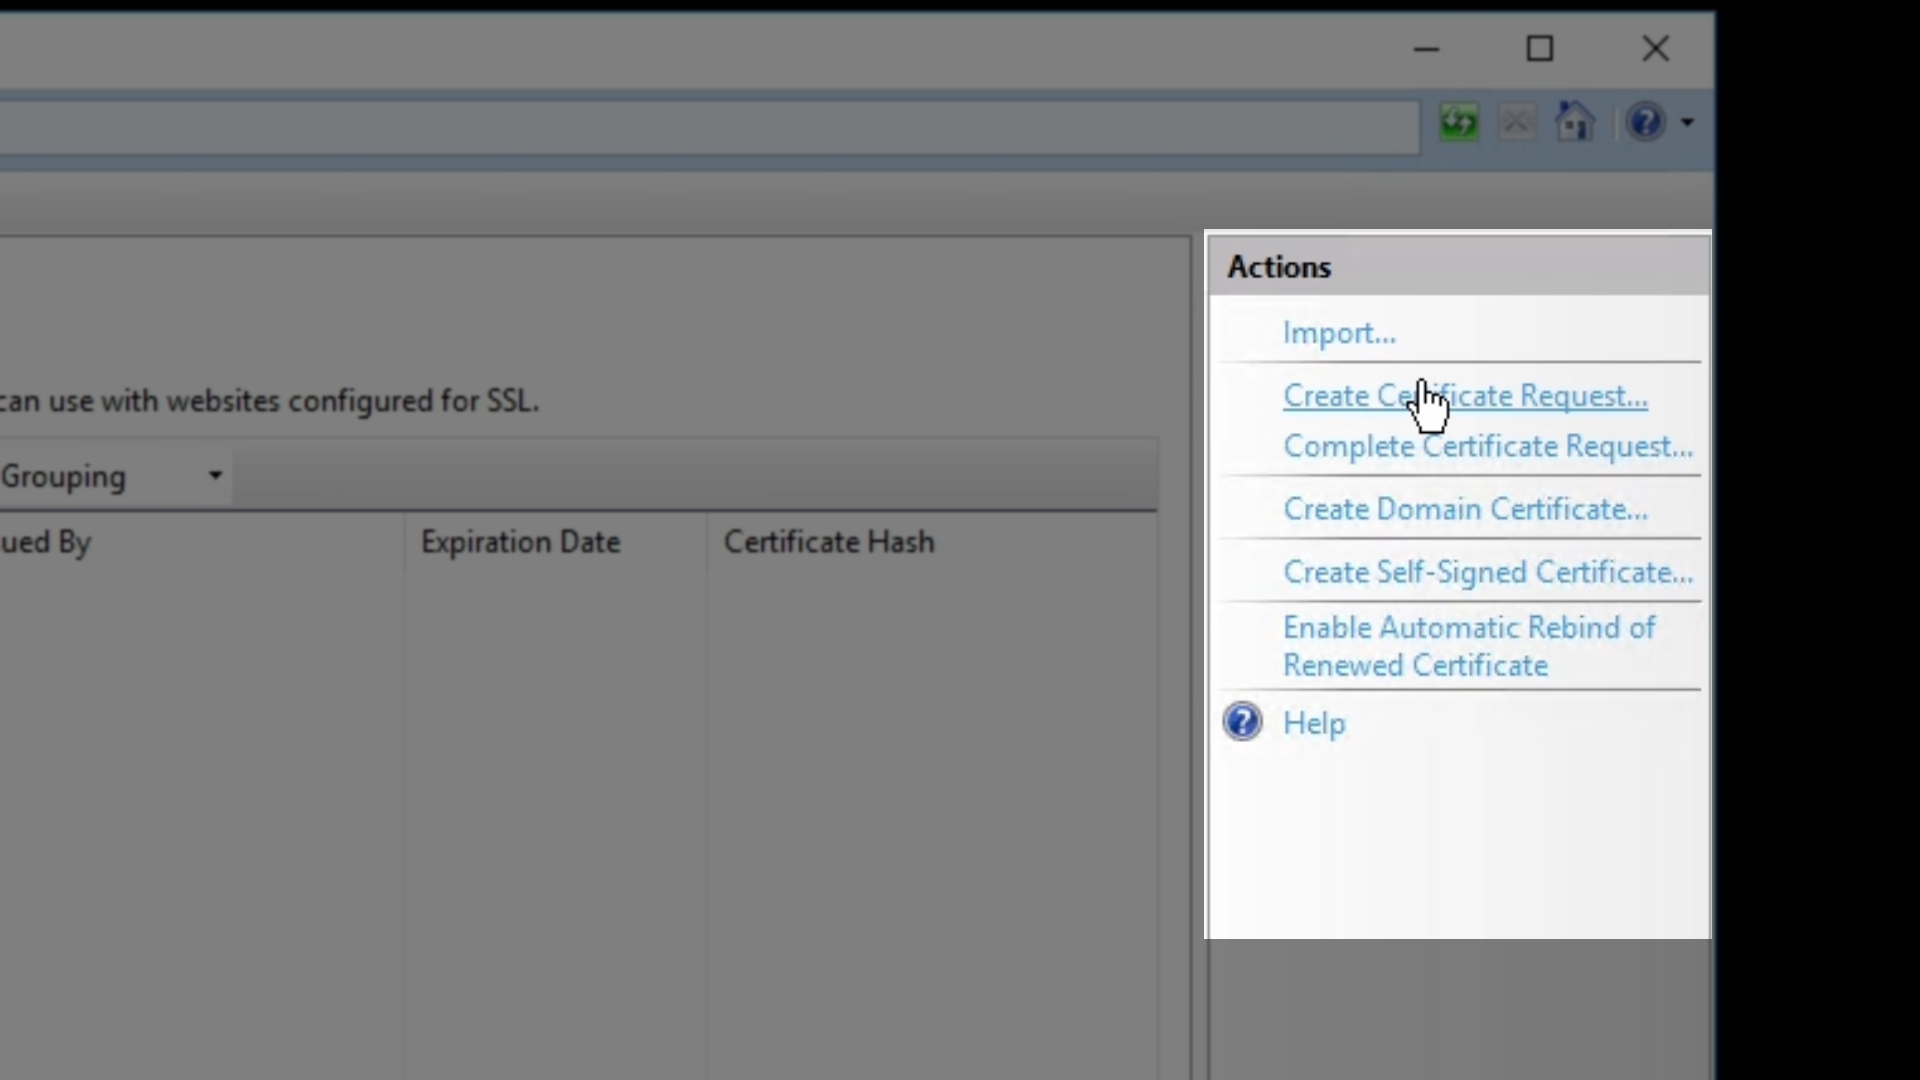
- In the ‘Actions’ panel on the right, click on ‘Create Certificate Request…’
- Enter all pertinent information into the ‘Request Certificate’ window that appears taking particular care when entering the ‘Common name.’ This field must contain the fully qualified domain name for the intended URL that is to be secured with the SSL certificate.
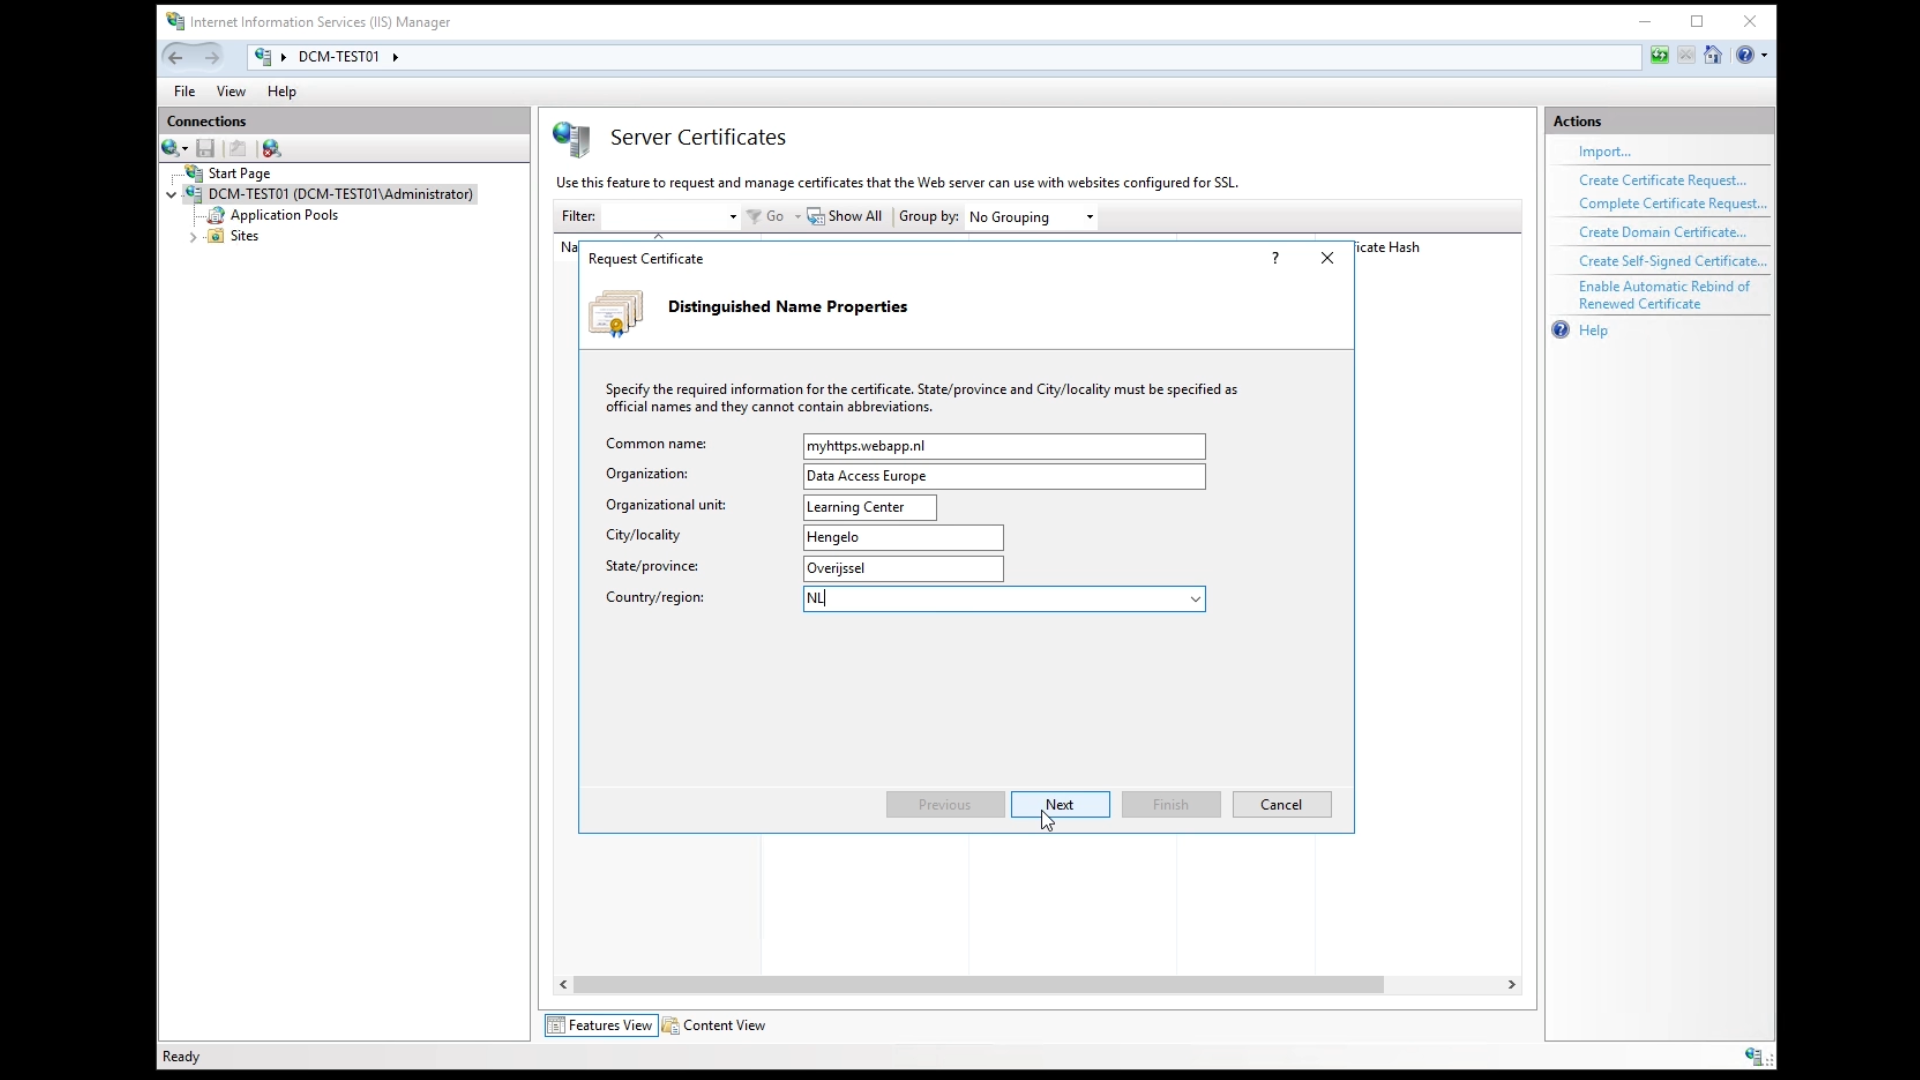
- Click ‘Next’
- The default options can be left in place for the ‘Cryptographic service provider,’ but ‘Bit Length’ should be set to a minimum of 2048 or higher
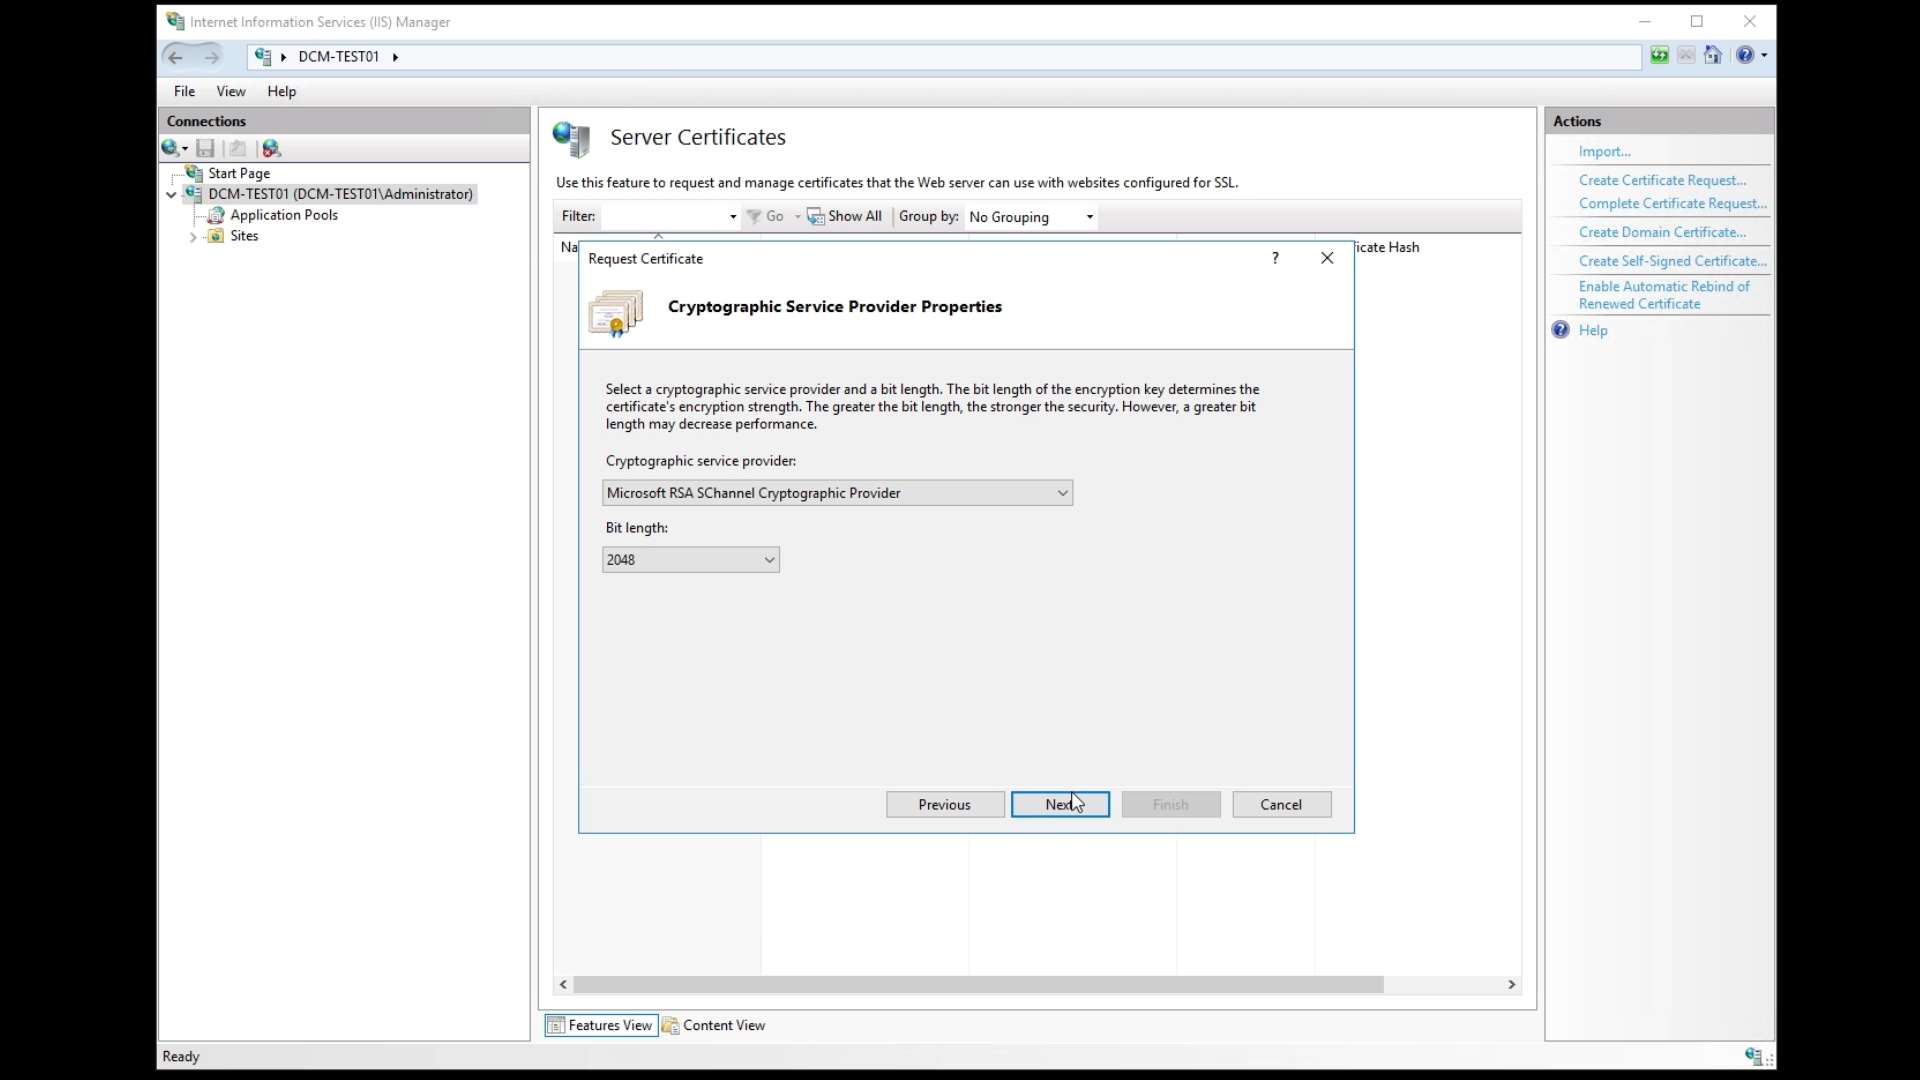
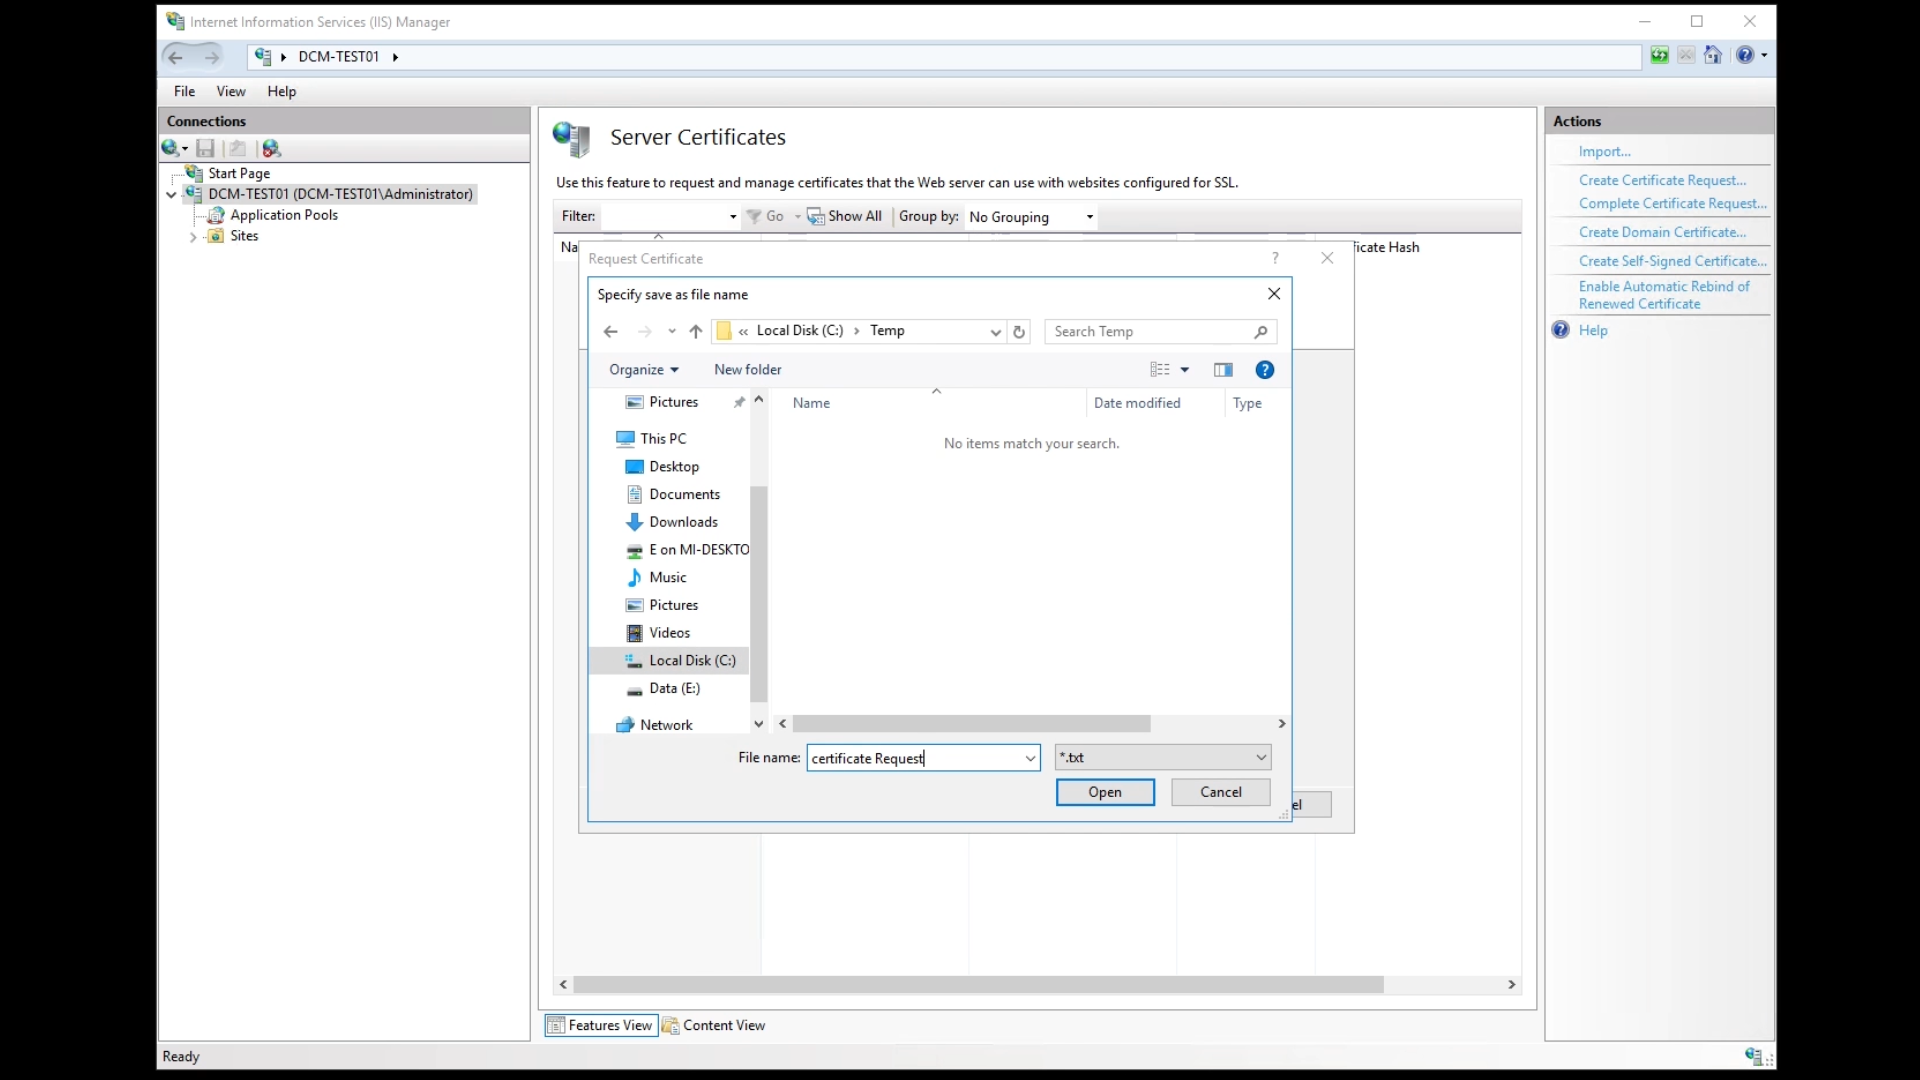
- Click ‘Next,’ specify where the certificate request should be stored, and click ‘Finish’
- The created CSR can now be used to buy and activate a certificate
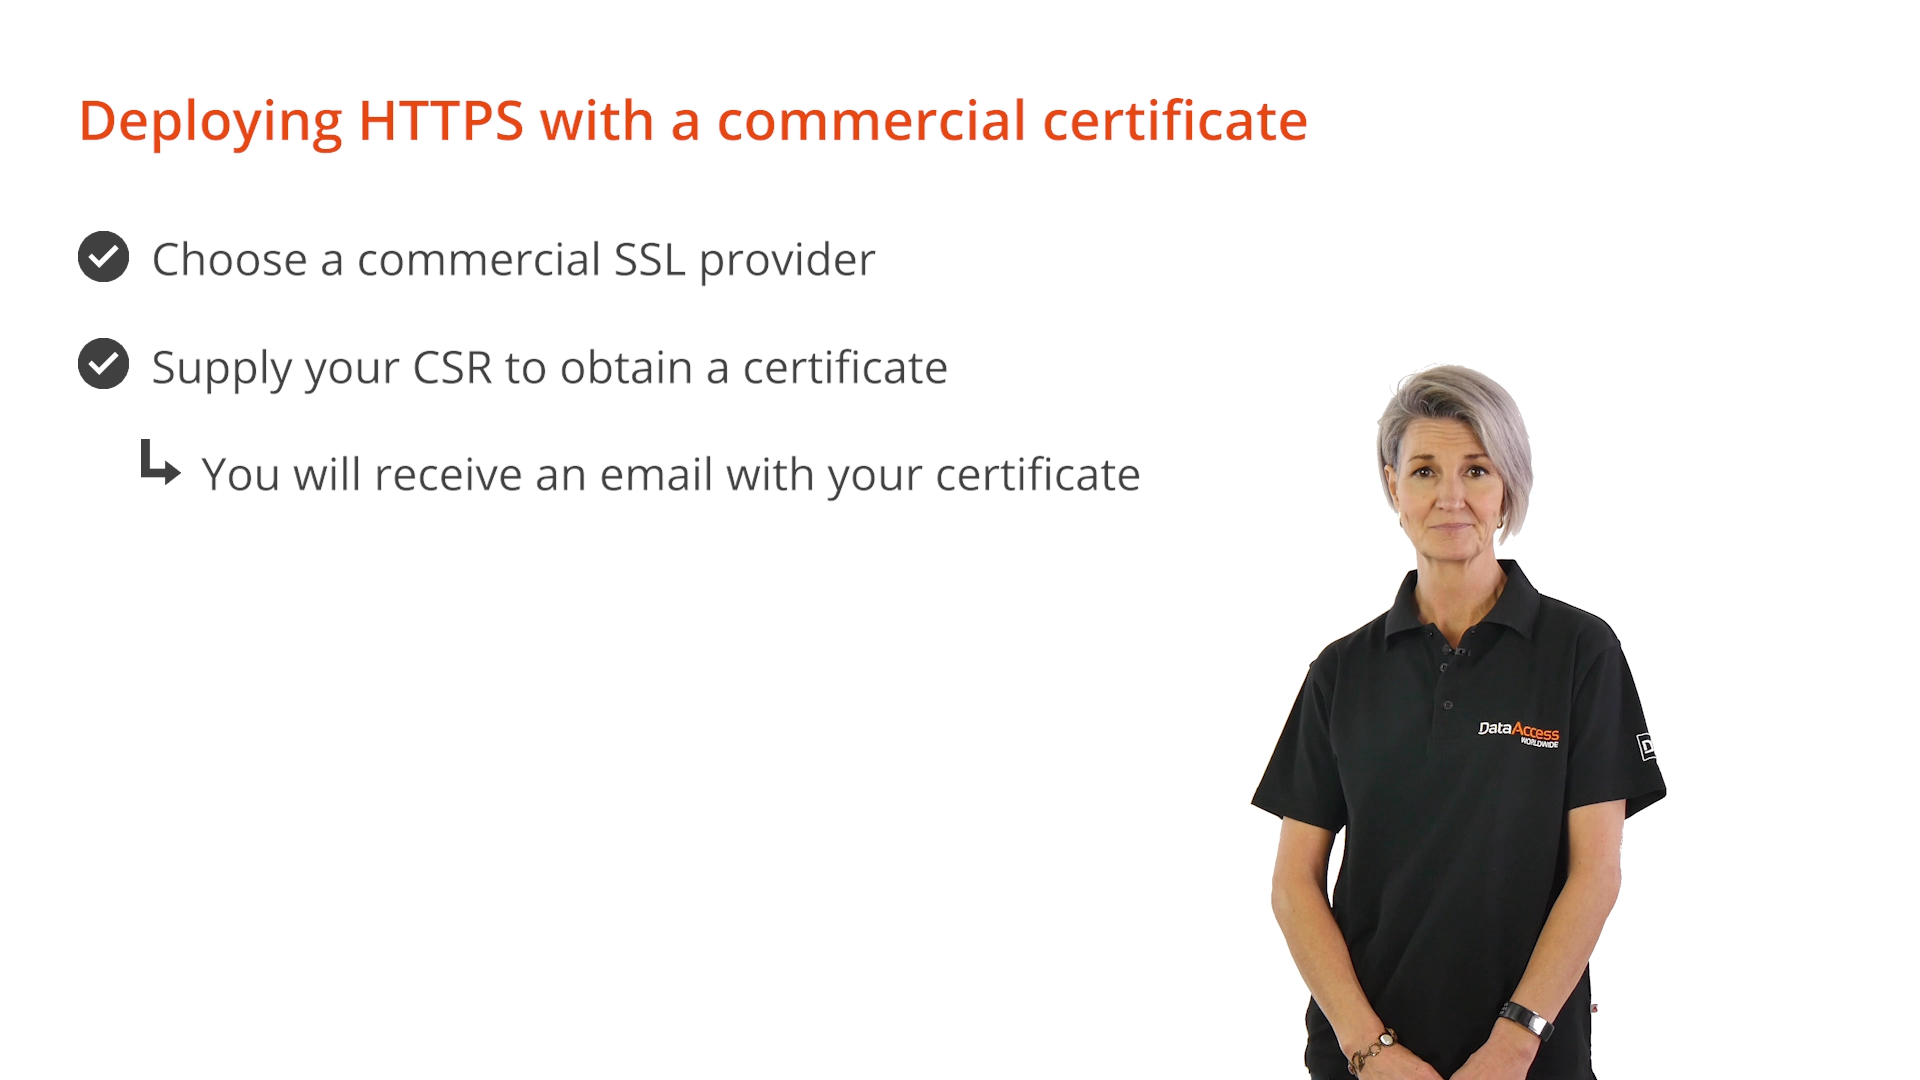
The next step is to choose a commercial SSL provider. Once the newly created CSR has been given to the provider, they will use their CA to authenticate the credentials. Upon verification of the CSR’s details, the provider will email the commercial certificate.
DEMONSTRATION – Adding a Certificate
The installation of an SSL certificate in a Windows Server using the IIS Manager is a continuation of the CSR generation process.
- Copy the certificate file to the server
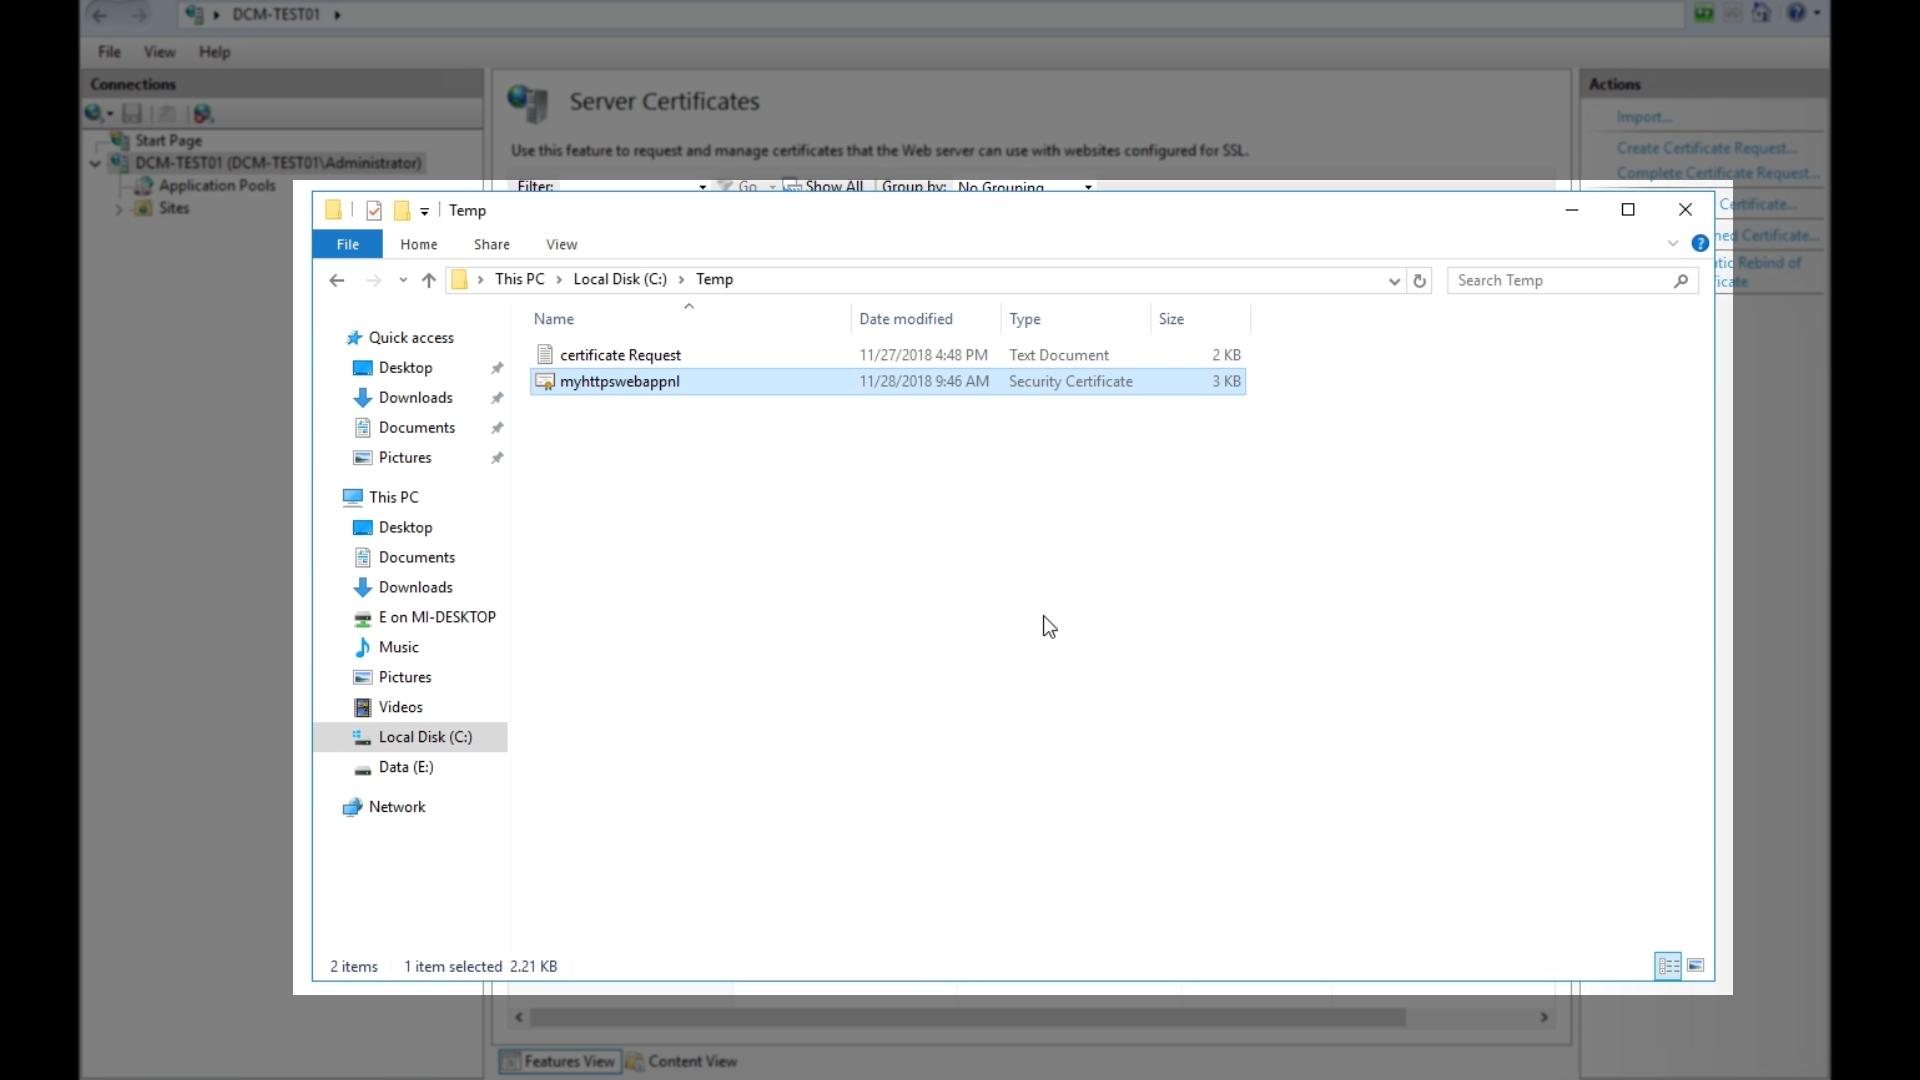
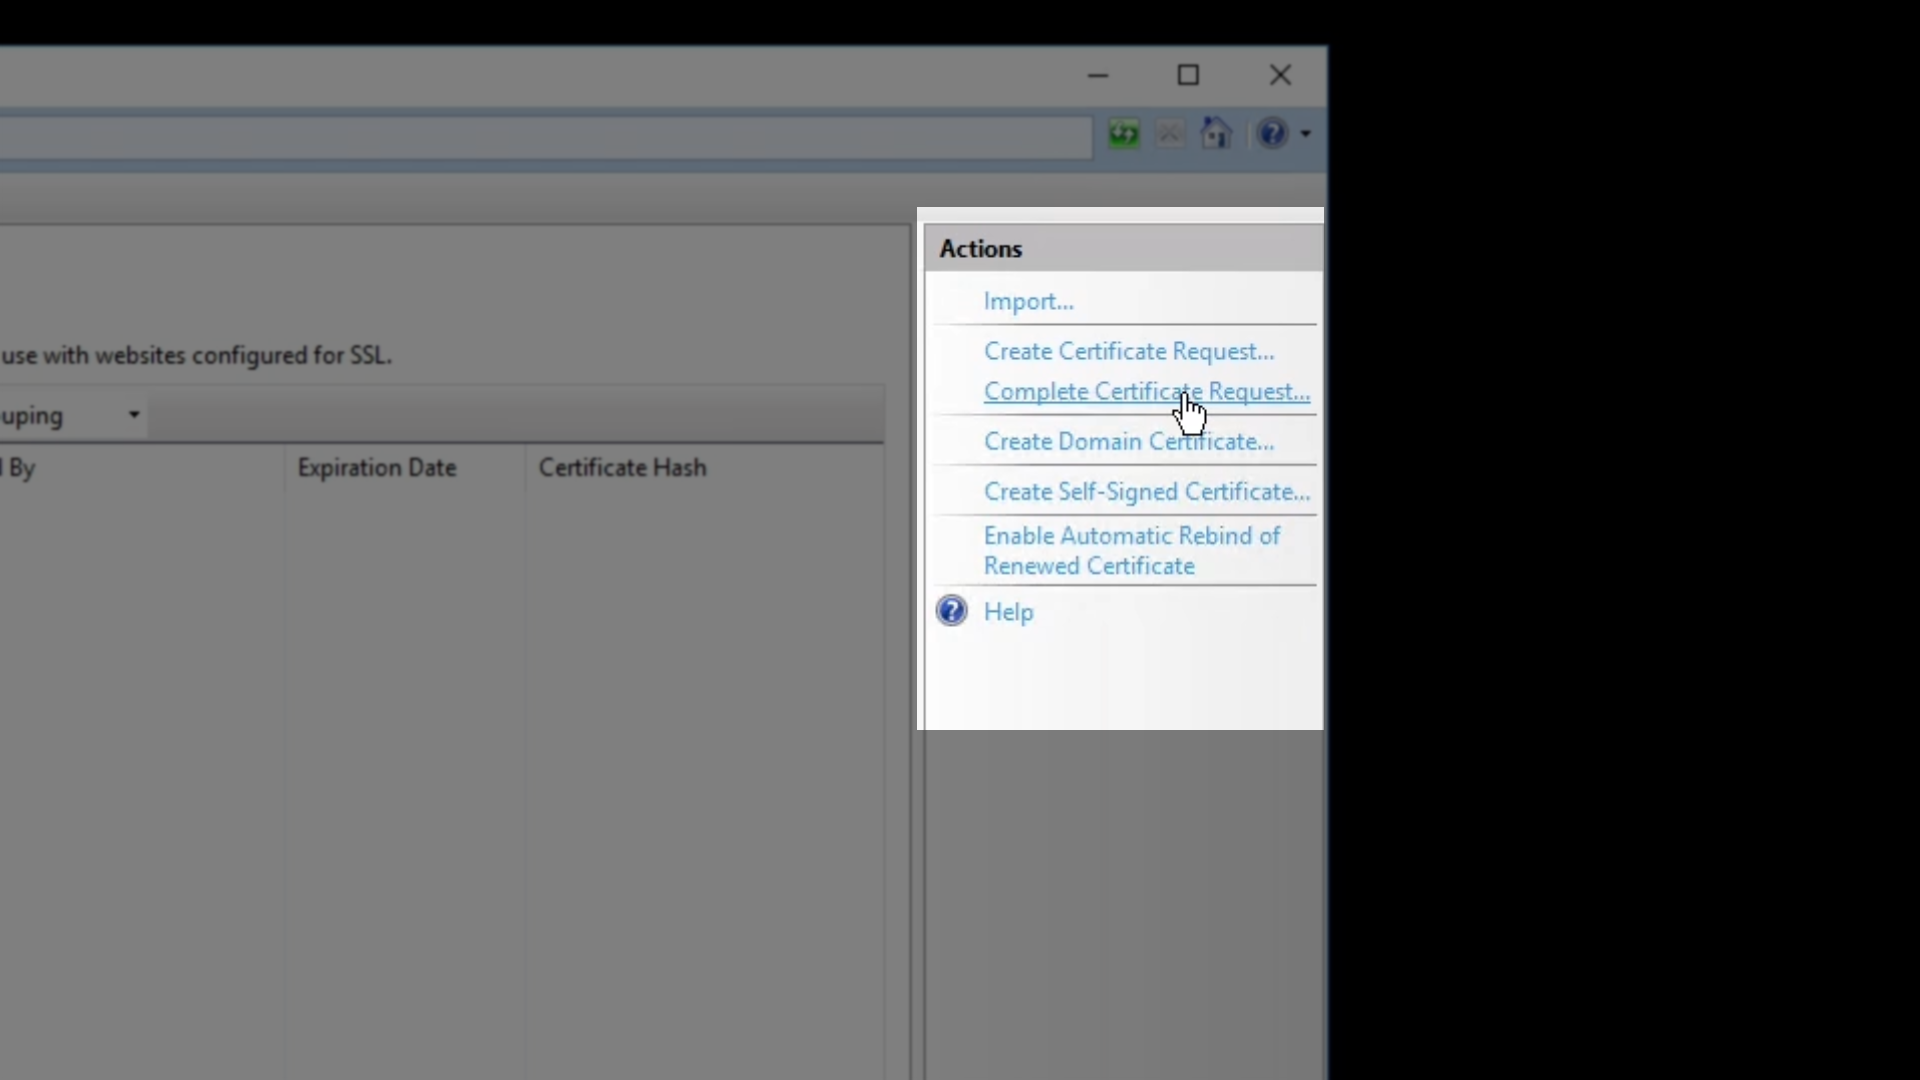
- In IIS Manager, click ‘Complete Certificate Request…’ from the ‘Actions’ panel on the right
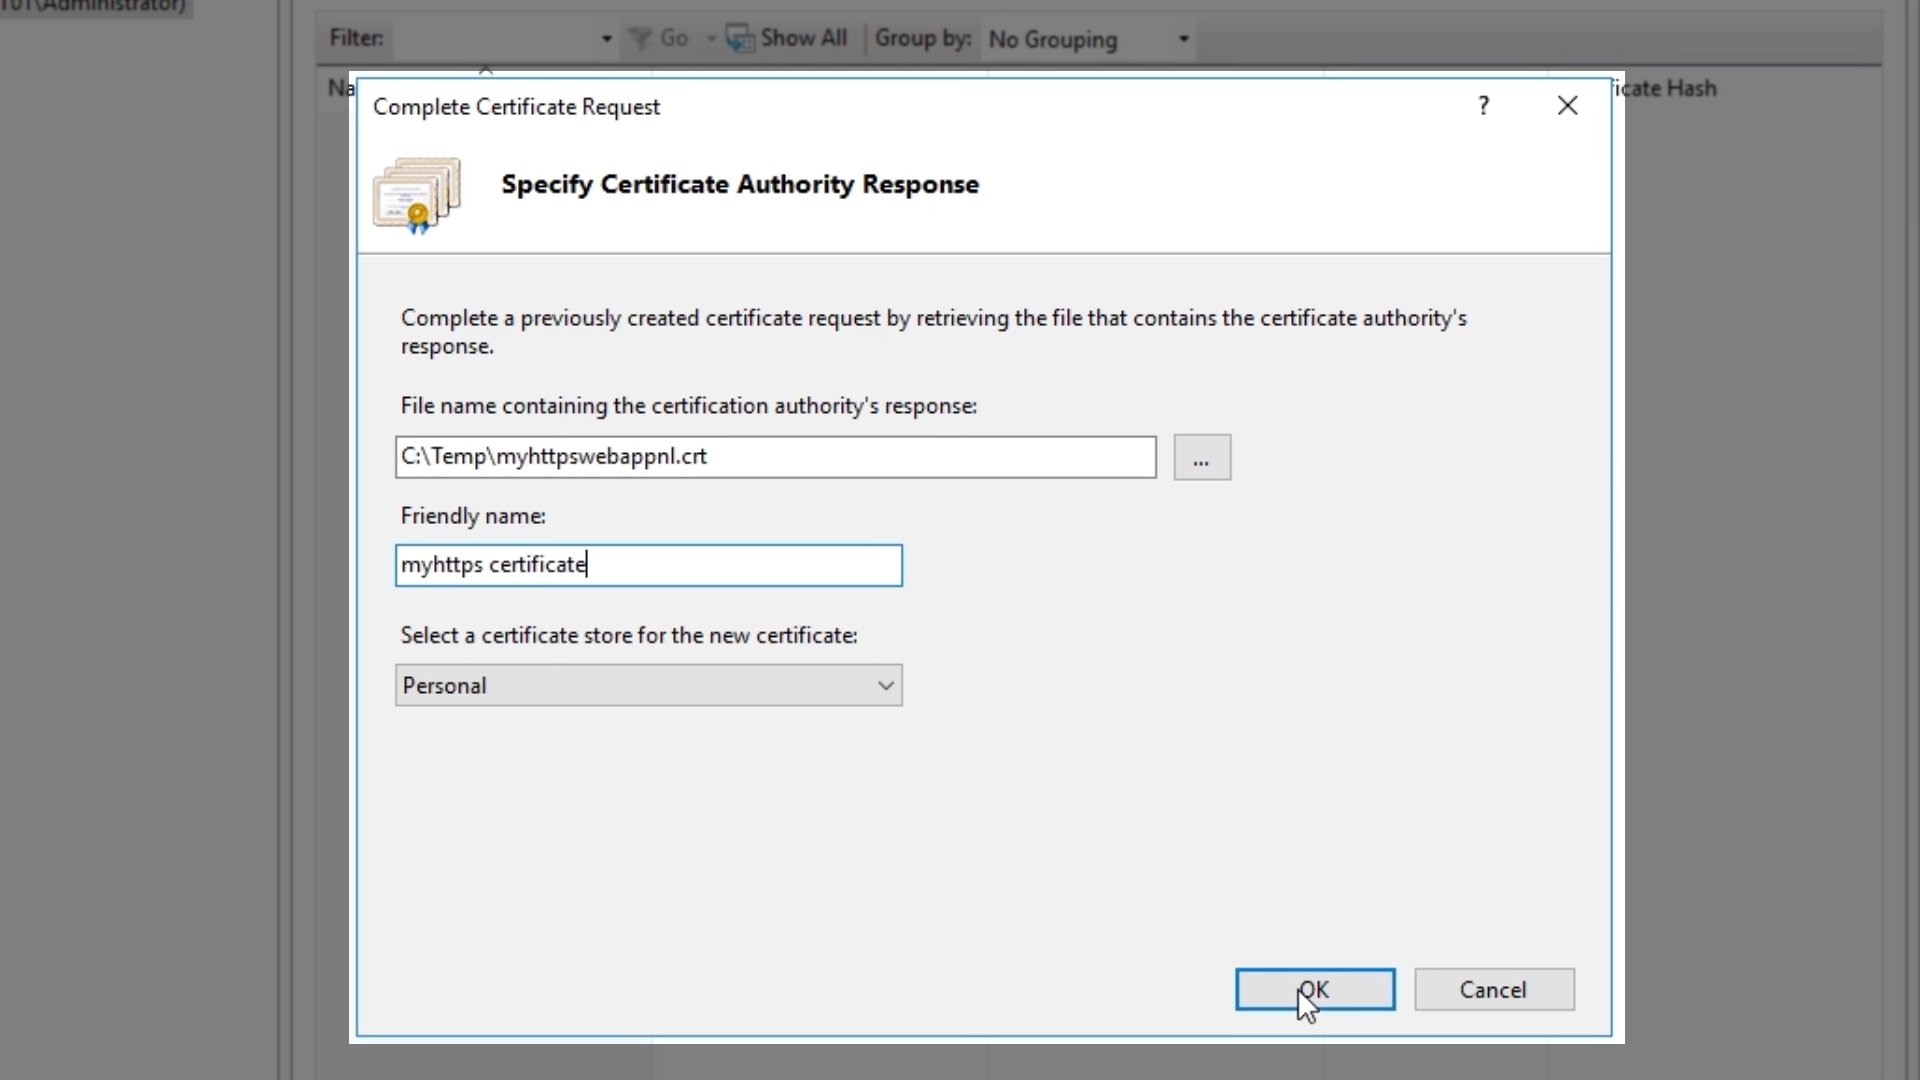
- In the first field, browse to and select the certificate file from where it has been placed on the server
- Enter a ‘Friendly name’ that will be used to identify the certificate and click ‘OK’
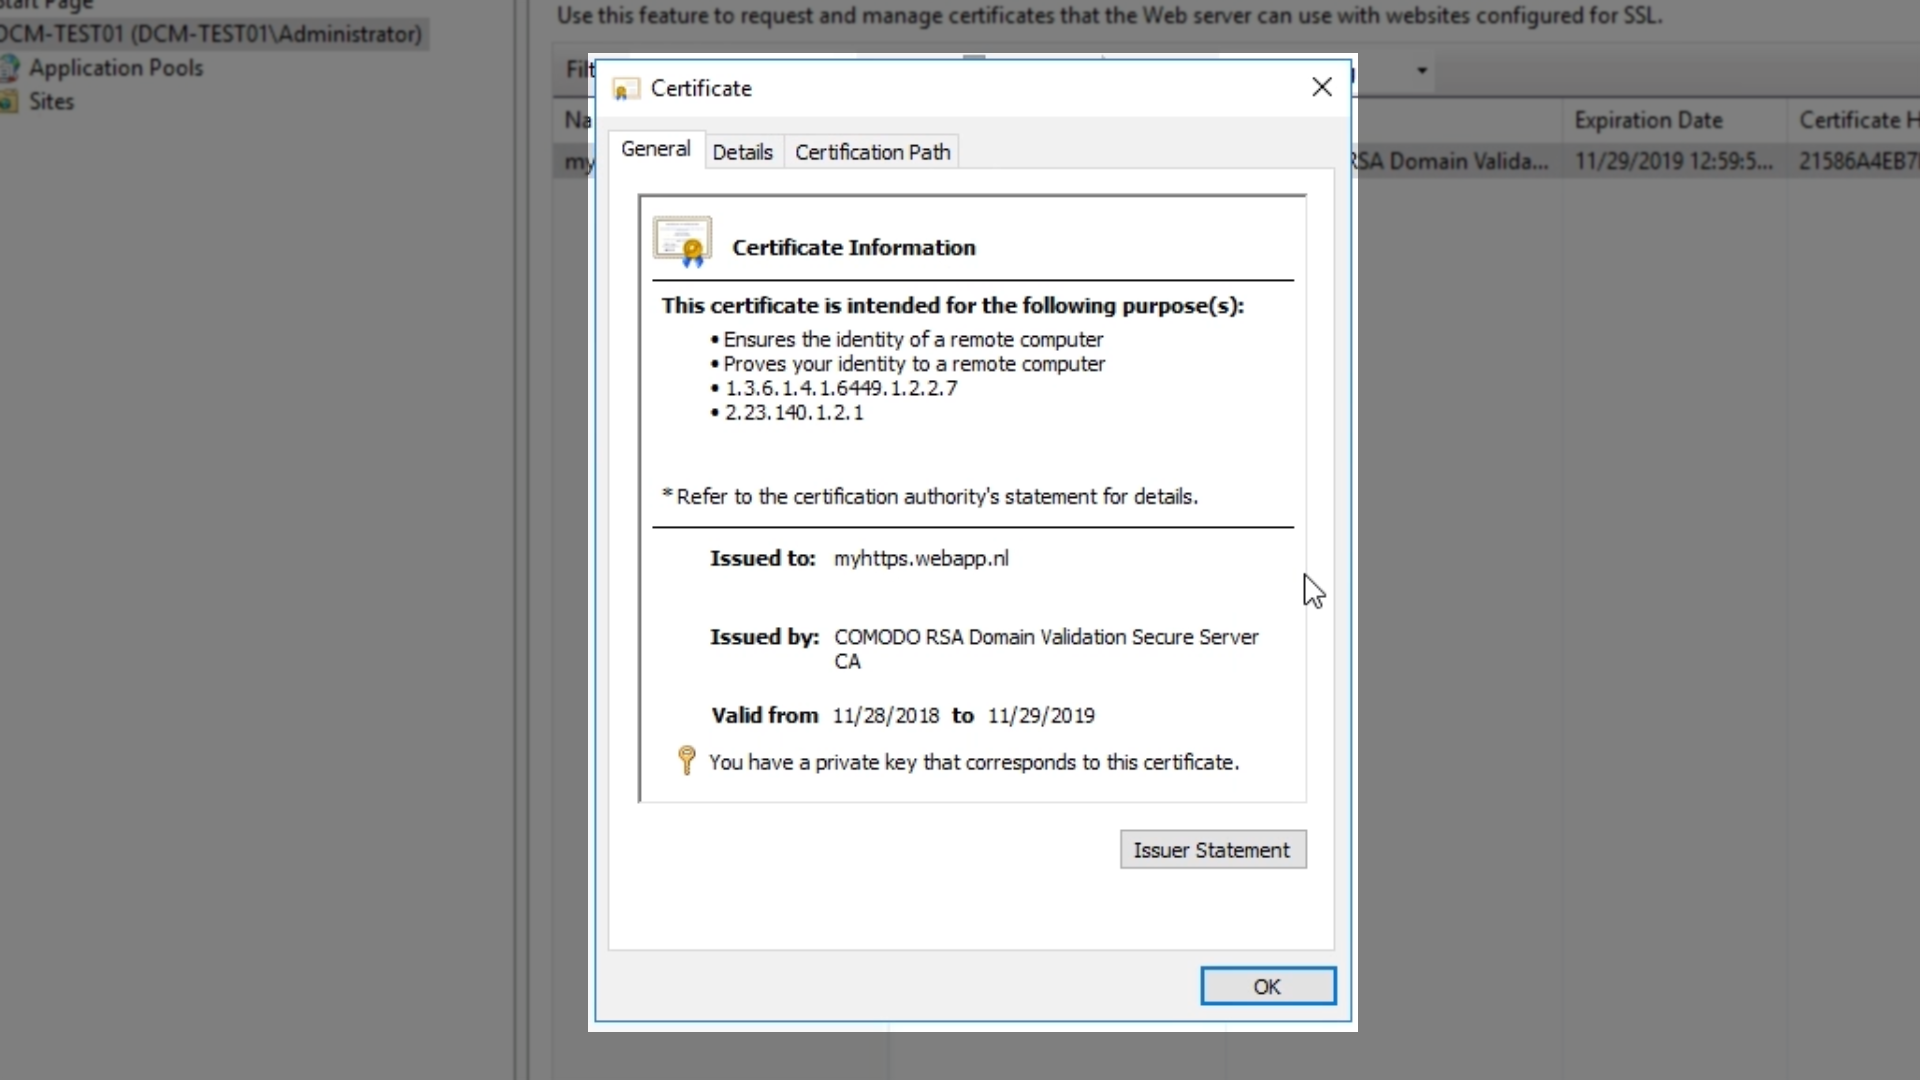
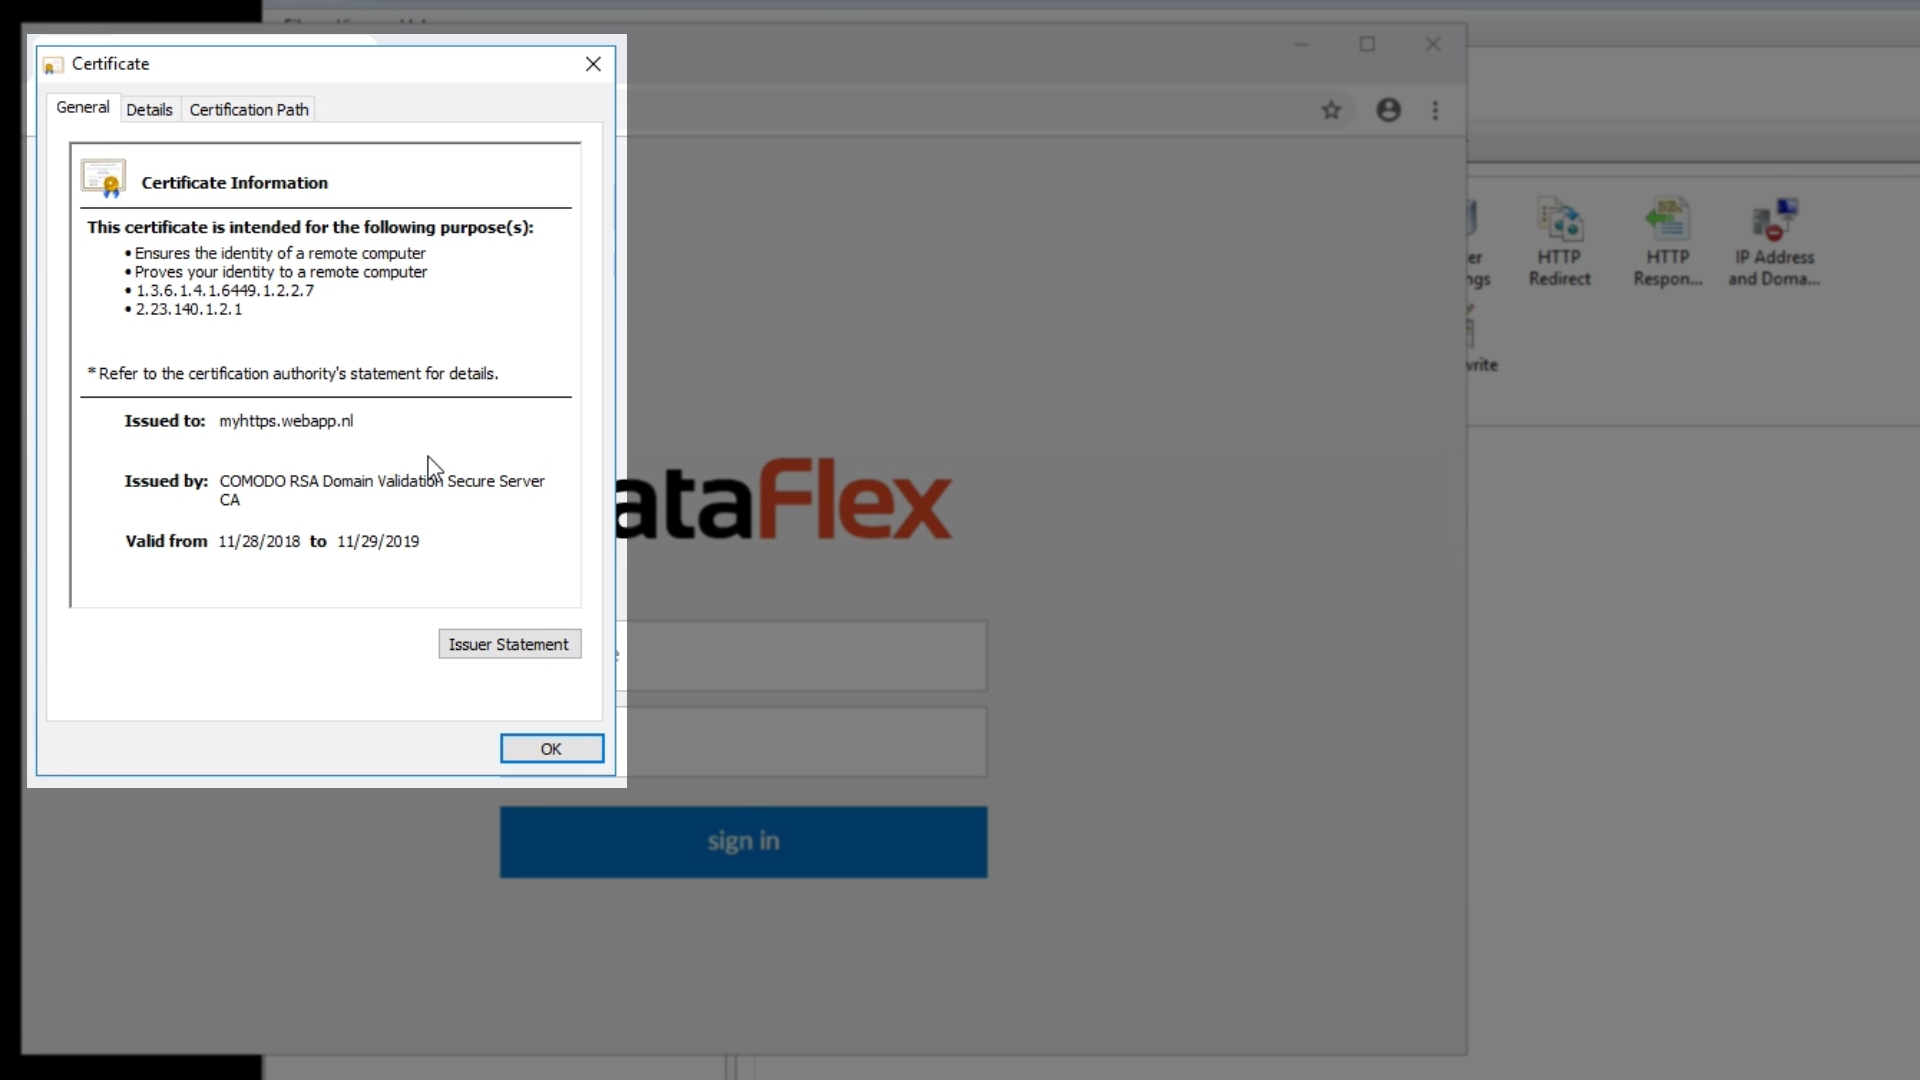
- The certificate is now listed. Double-clicking on it will bring up the certificate’s information
- Note: pay attention to the “Issued to’ field. It should contain the domain name that is to be secured.
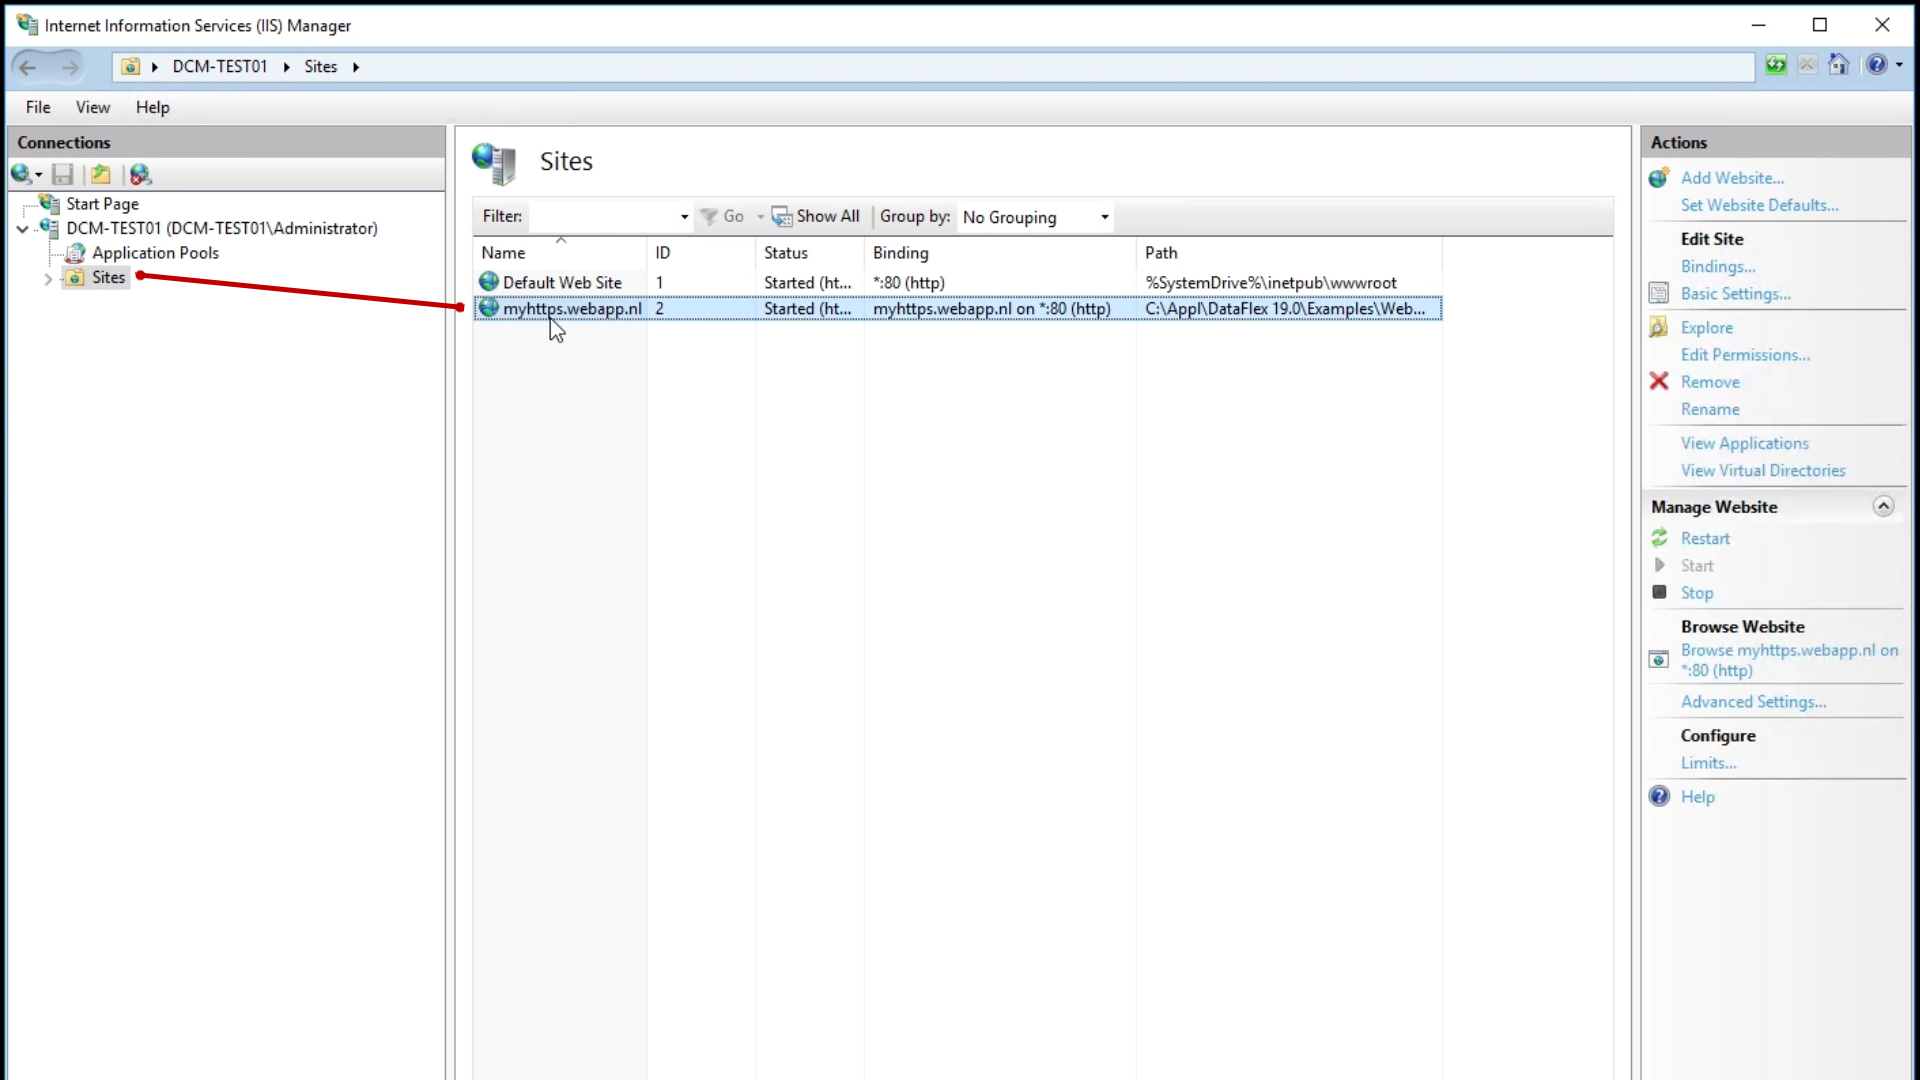
- Expand ‘Sites’ in the ‘Connections’ panel on the left and select the web application that is to be secured
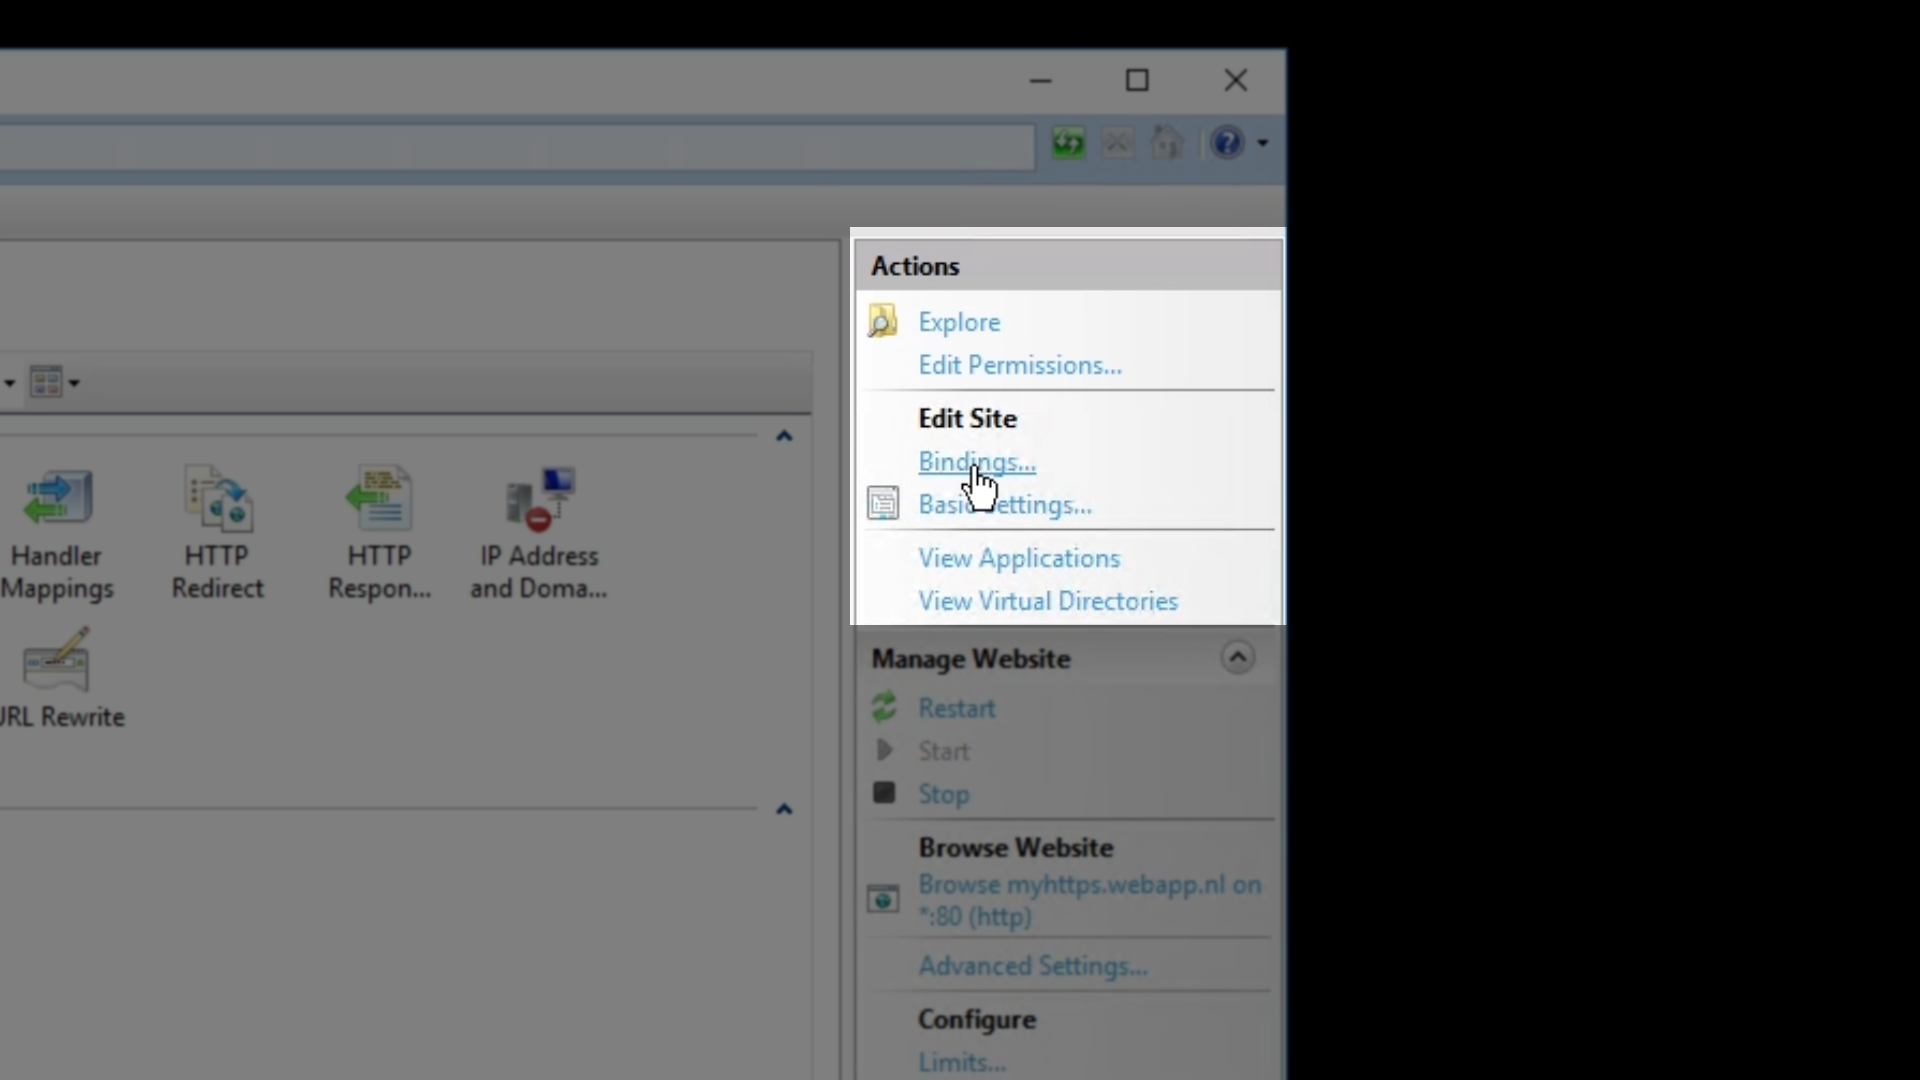
- Select ‘Bindings’ from the ‘Actions’ panel on the right
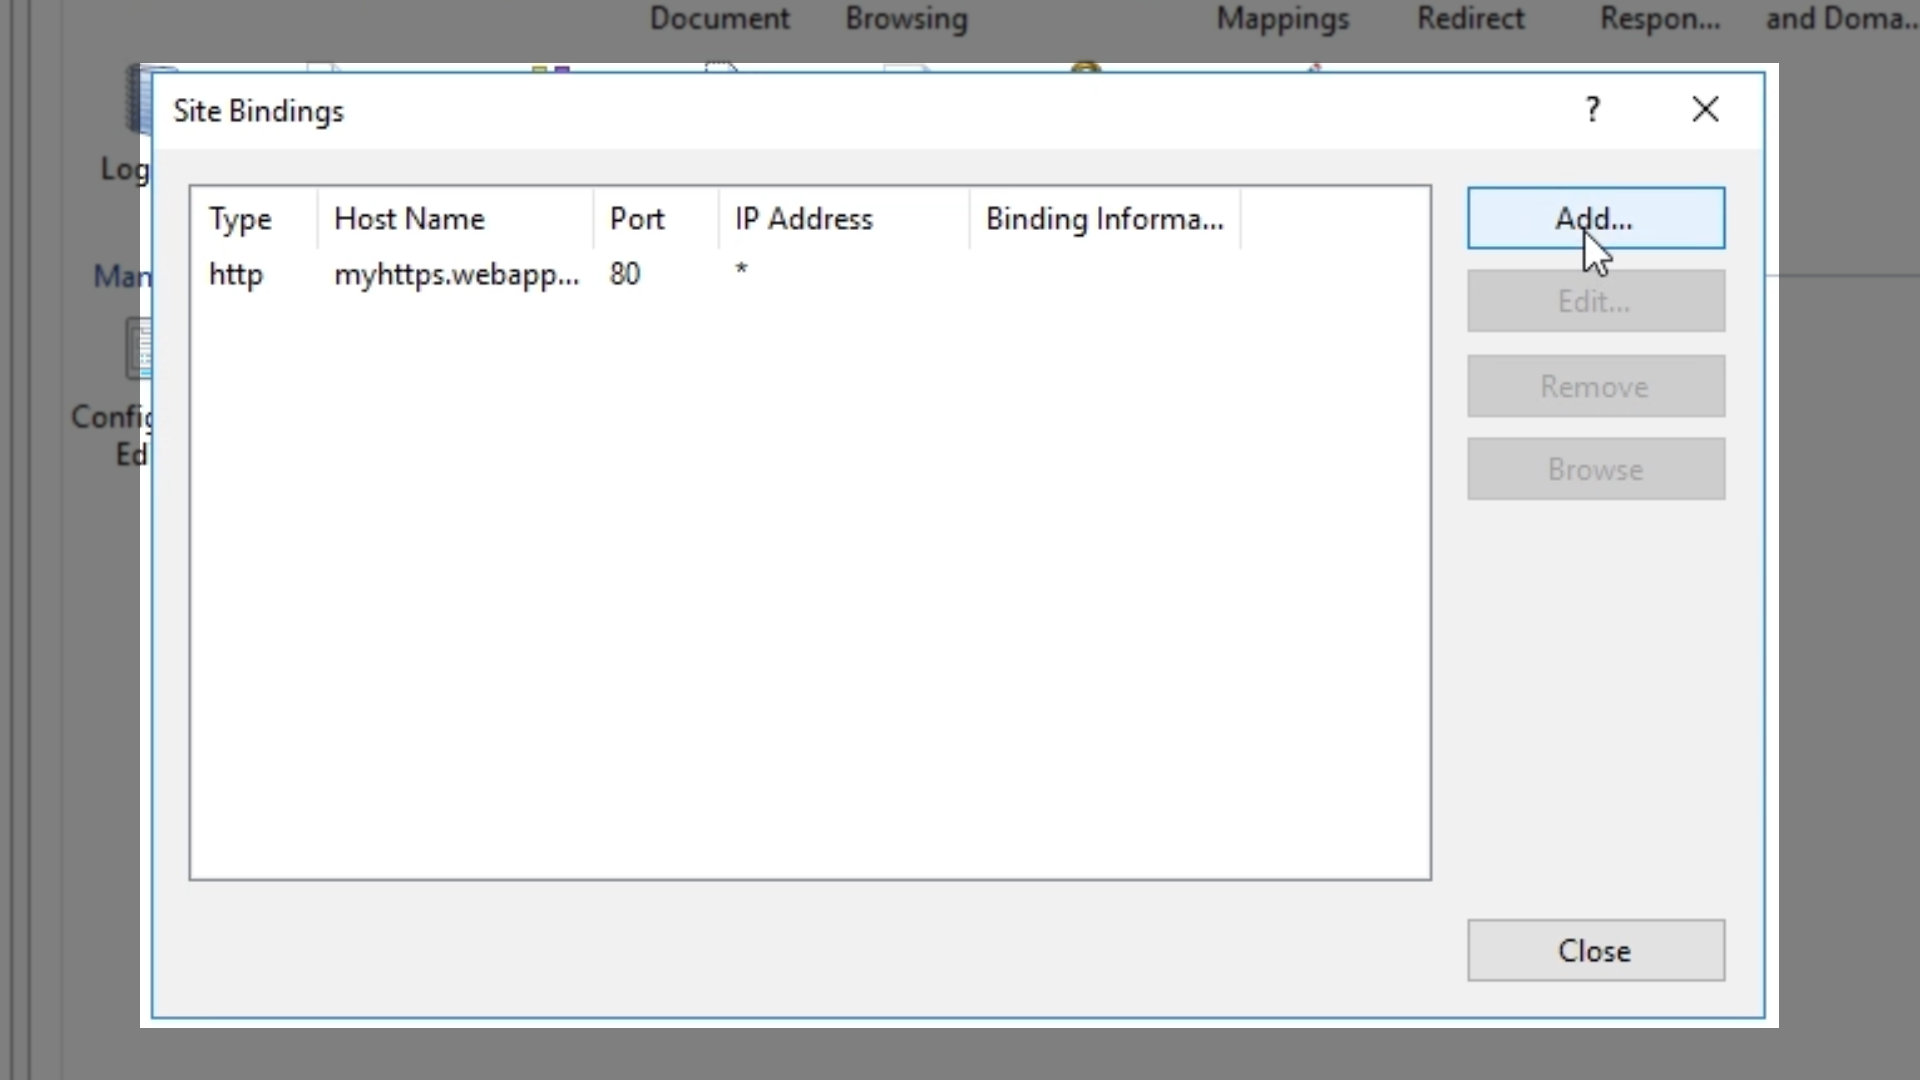
- The ‘Site Bindings’ window appears and shows an overview of the web applications bindings
- Click ‘Add’ and in the following window…
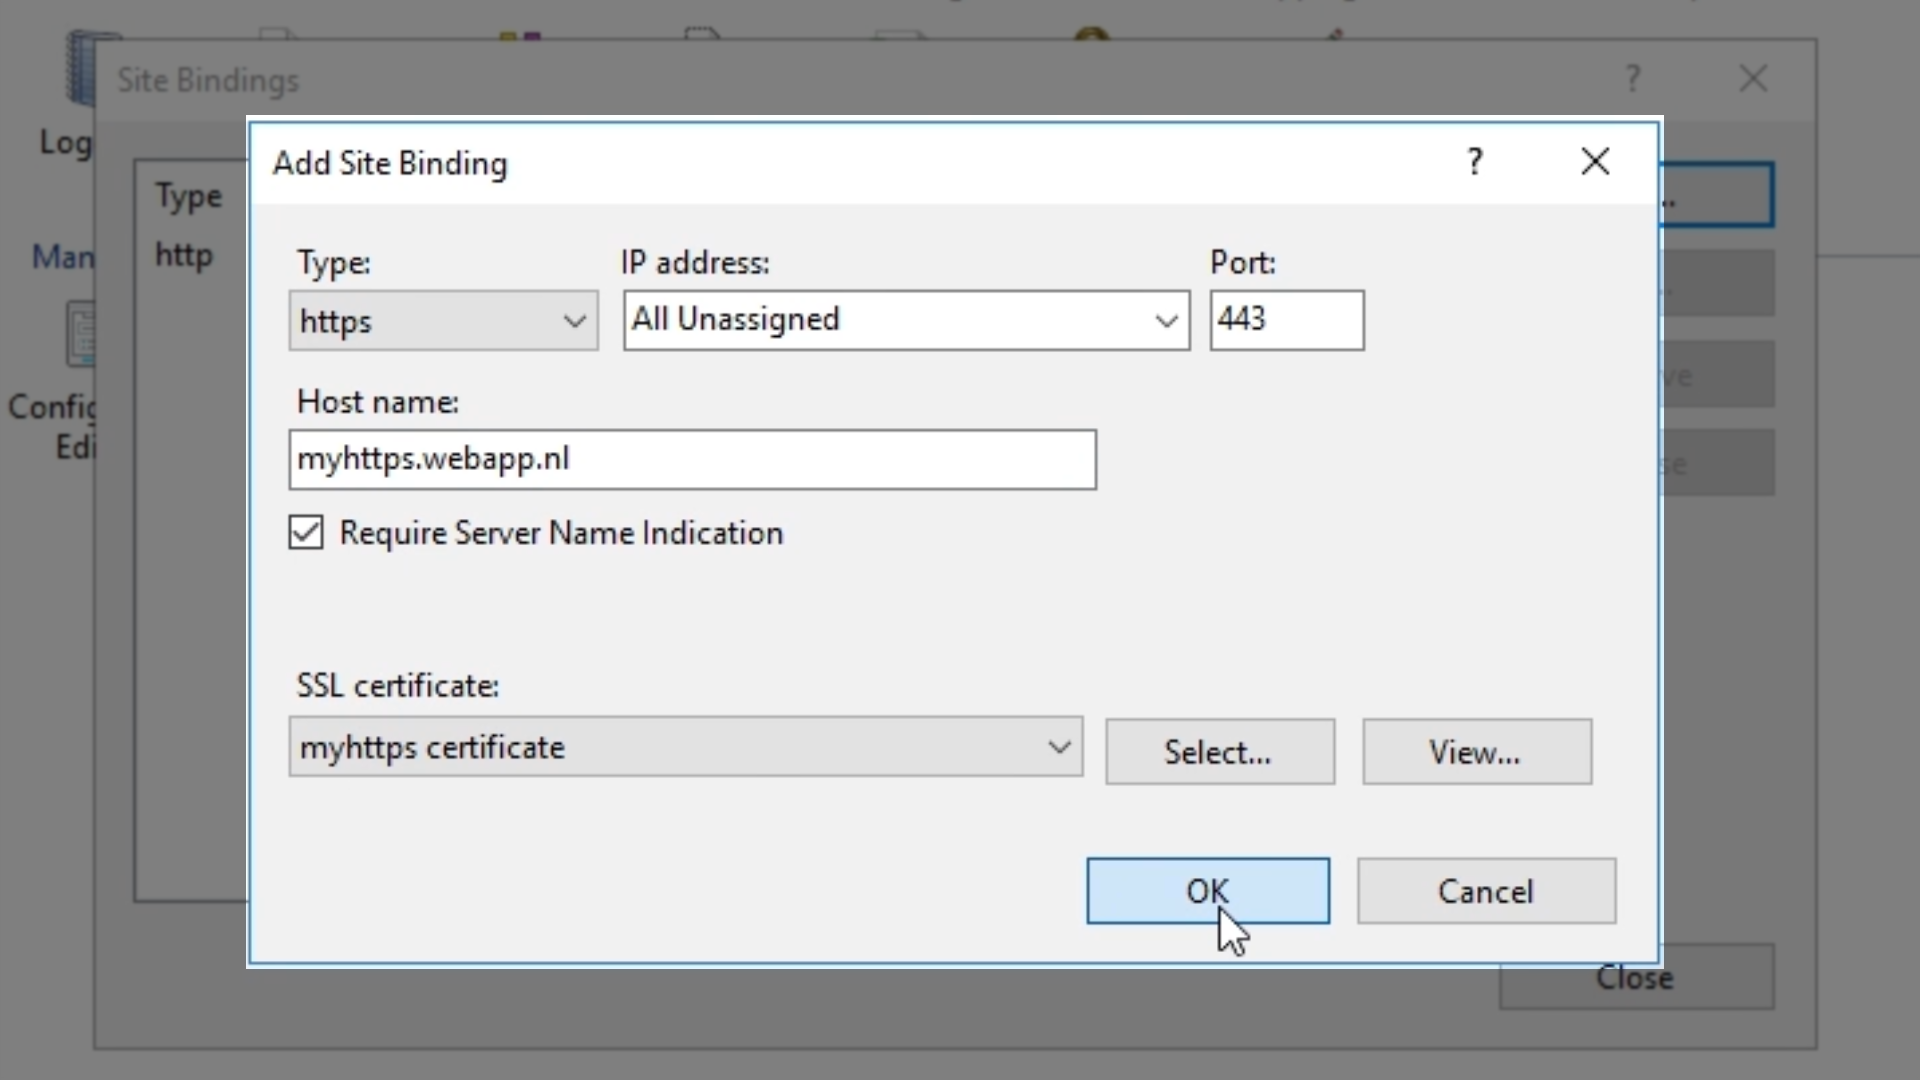
- Set ‘Type’ to ‘HTTPS’
- Select the appropriate certificate from the ‘SSL certificate’ dropdown
- It is recommended to check the box for ‘Require Server Name Identification’ if there will be multiple SSL web applications without unique IP addresses
- Enter a ‘Host name’
- Click ‘OK’ and then ‘Close’
- If no error messages appear, the SSL certificate has been successfully deployed
- Next, view the web application…
- Open a browser
- Enter the web application name in the address bar
- “HTTPS://” must be added to the name to reach the secured web application
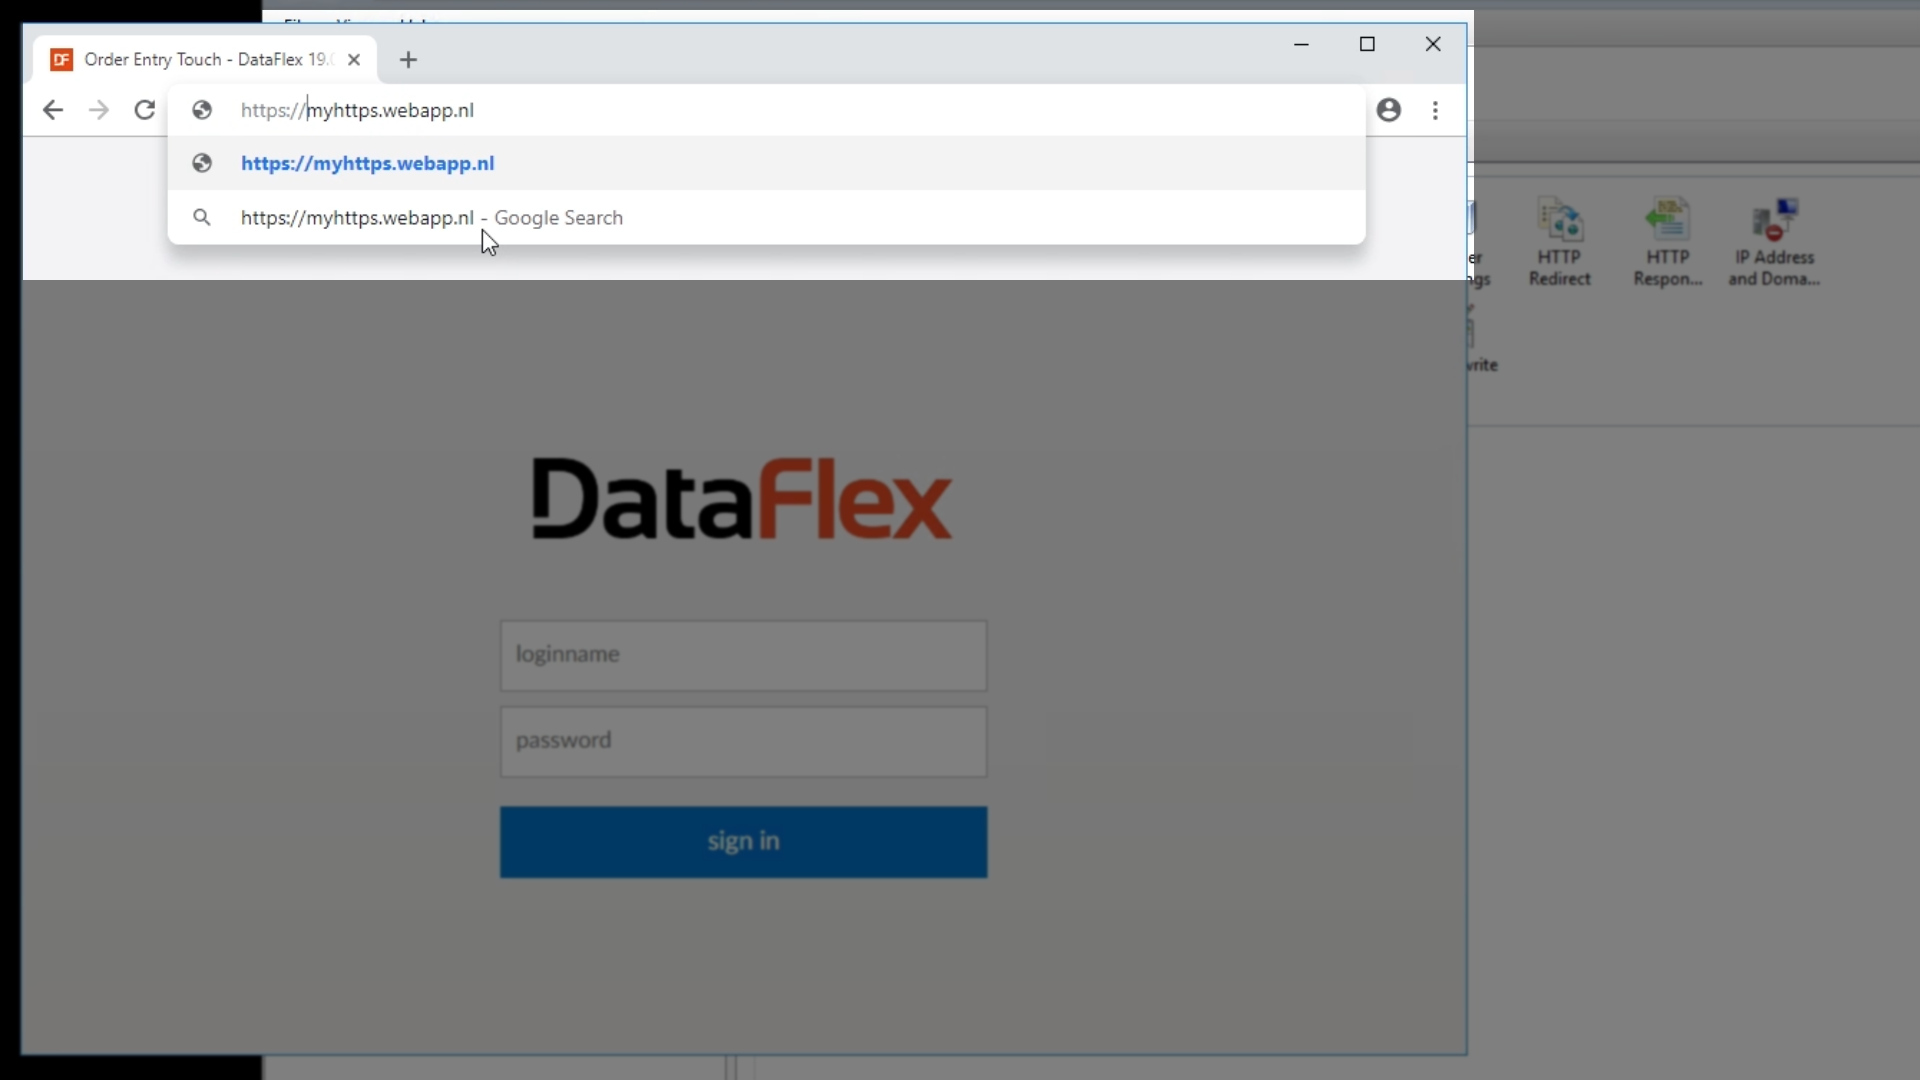
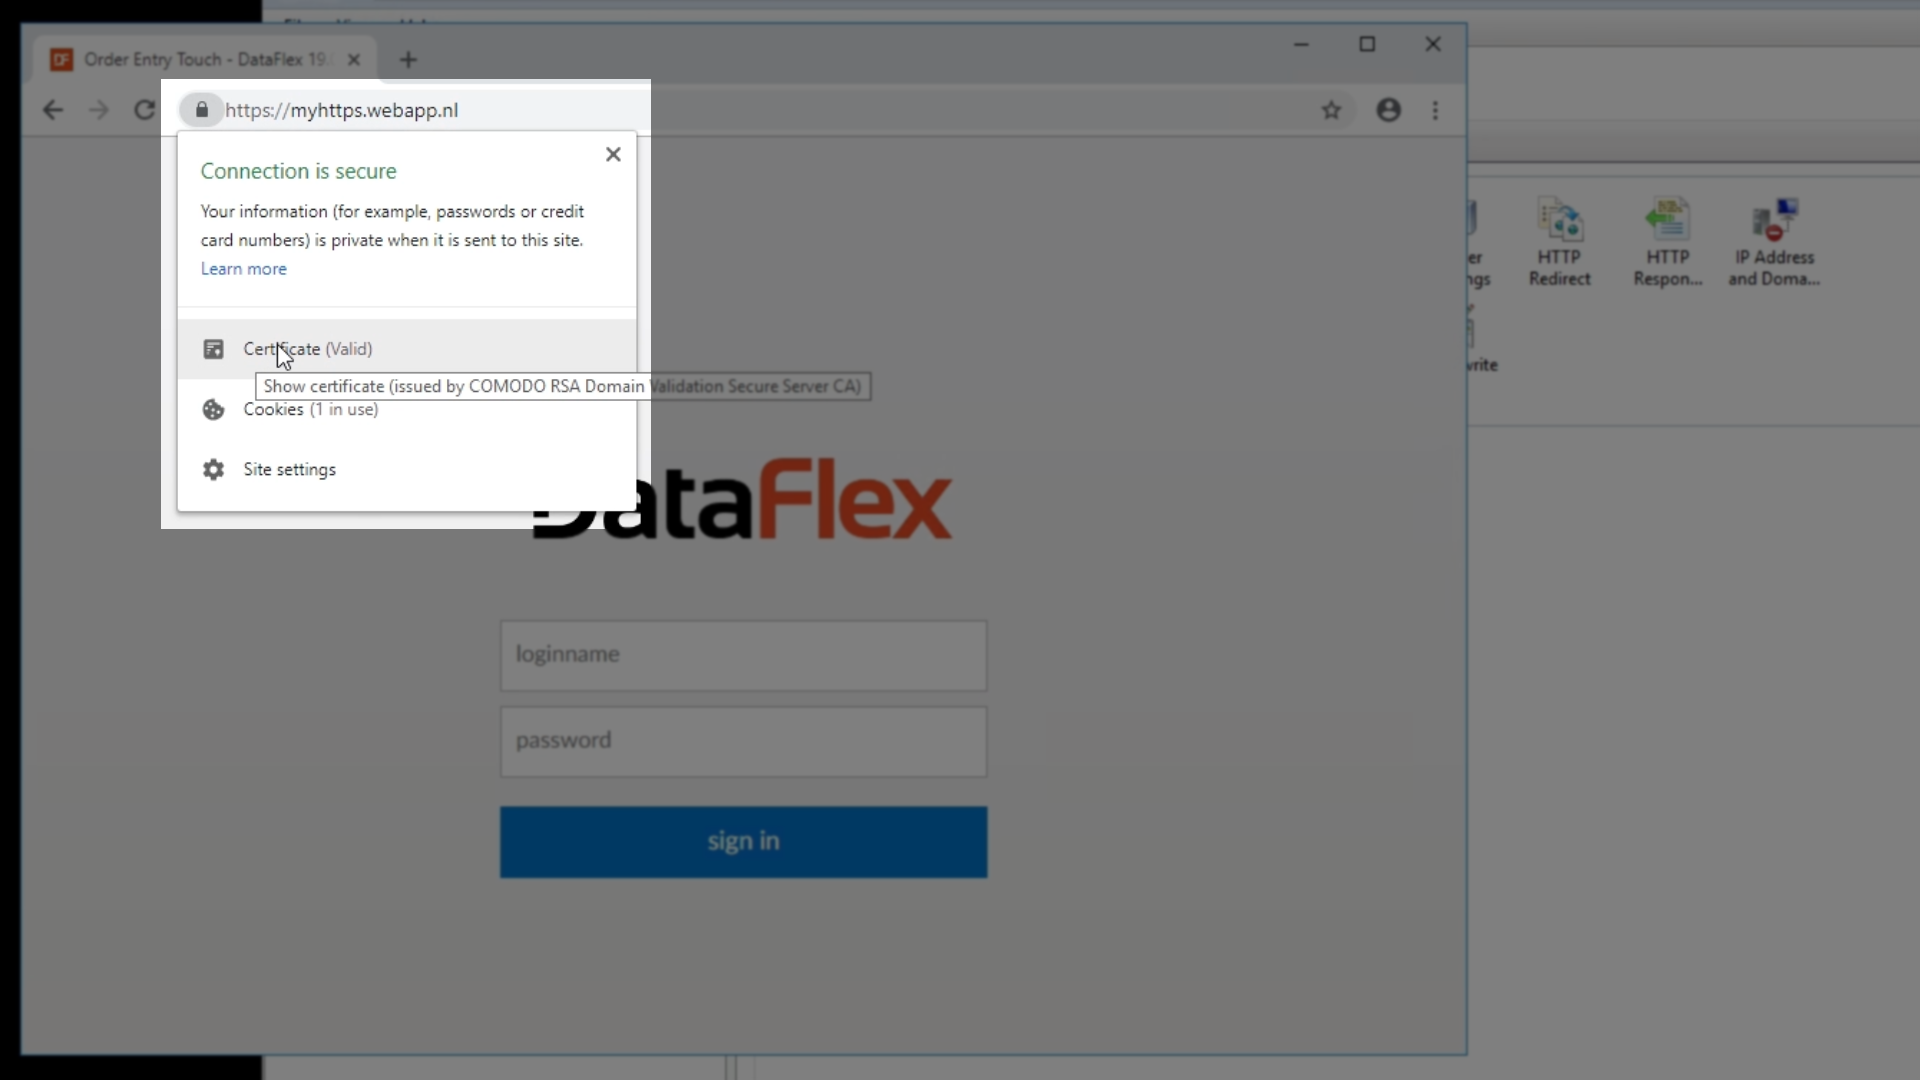
- The certificate information is now visible
- If using Chrome, select the lock icon from the address bar, and select ‘Certificate’ from the dropdown to view its details
Let’s Encrypt can be used to obtain a free SSL certificate for a web application. The following lesson, Deploying HTTPS with a Free Certificate, discusses how.


