Quickstart building a web application (Mobile touch)
Lesson 10 - Implement the dashboard
Now that we have created most parts of our application, it's time to implement the dashboard. In this lesson, we're going to implement some dashboard tiles, which provide a nice easy way of navigating into your views.
DEMONSTRATION
- We are back at the Studio dashboard. And we're going to open the dashboard file of the application. I do this using the workspace Explorer, and open dashboard.wo.

- If we open the previewer, we're seeing the tiles.
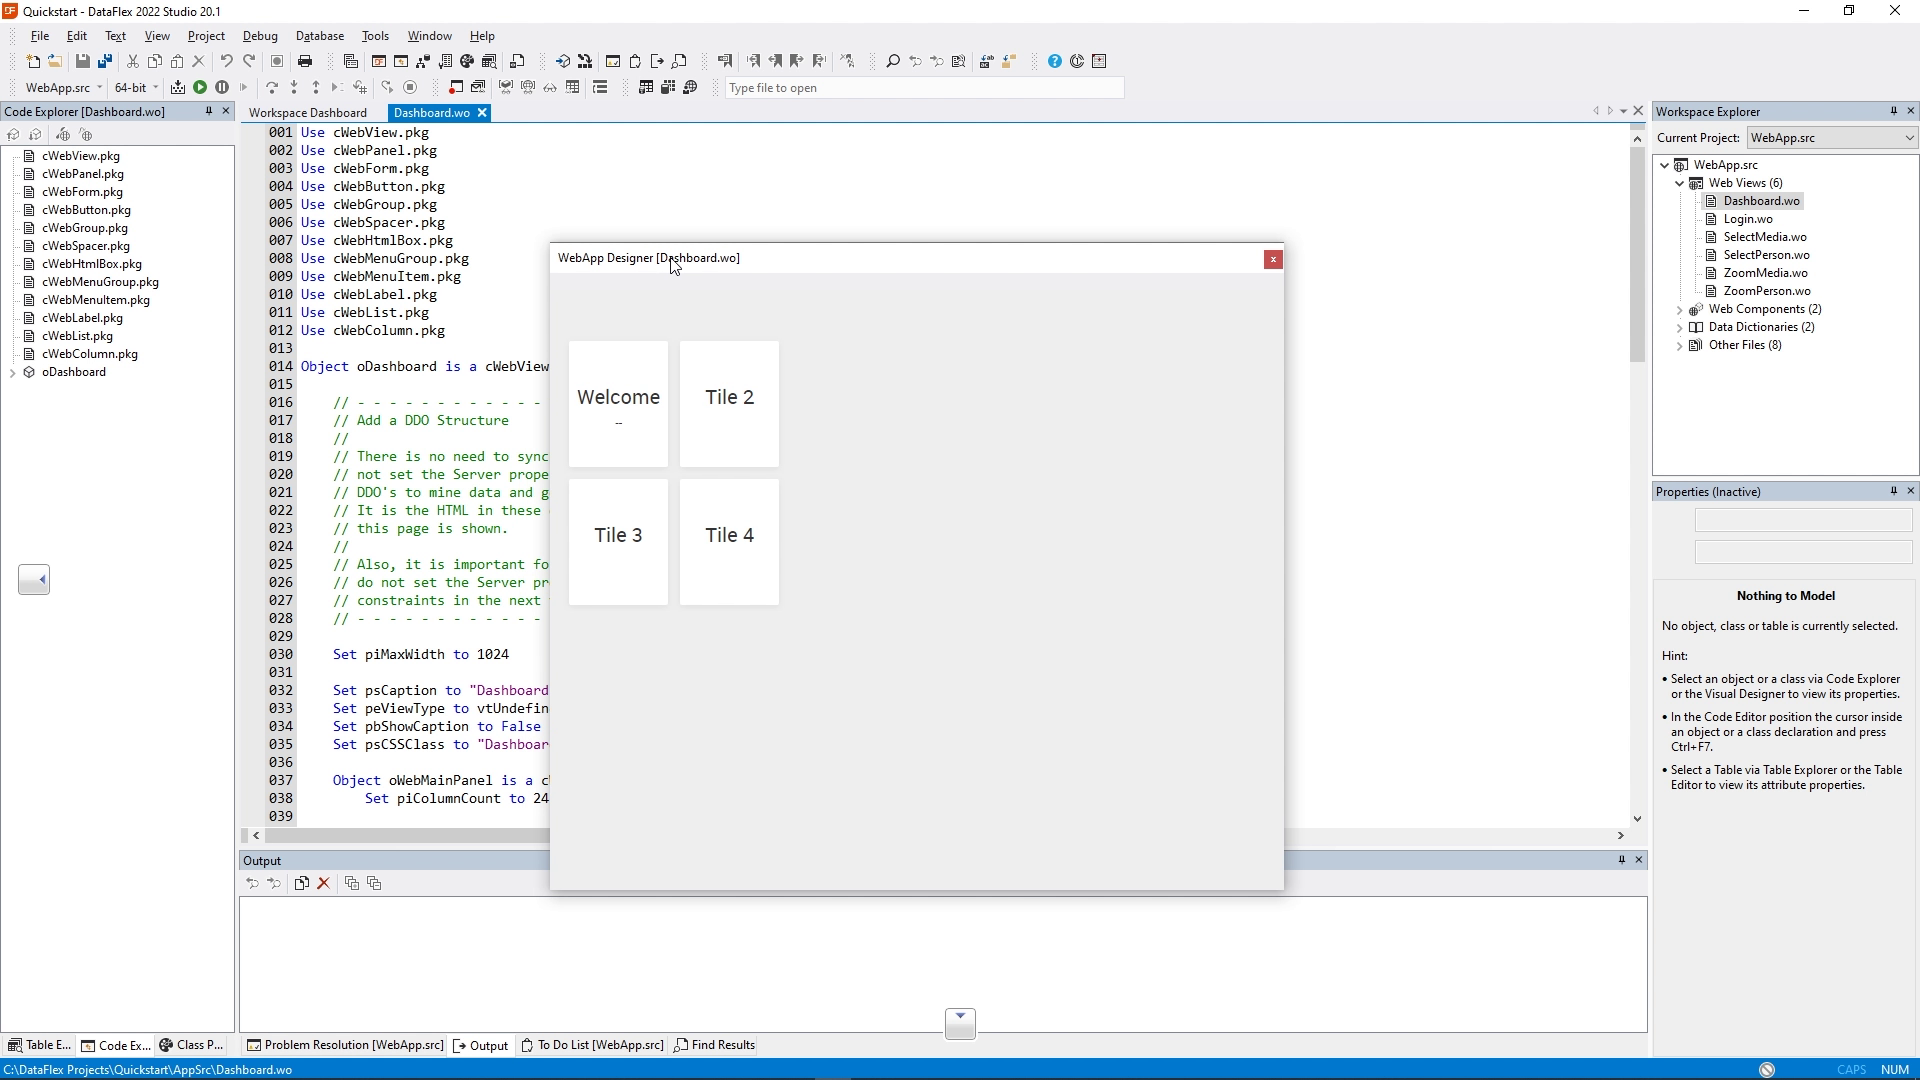
- We're going to change tile 2 and tile 3. By double clicking on the tile, we see the code and we see that the tiles are HTML box elements. They are basically pieces of HTML that are placed inside the application. The HTML box has a special feature called DataServerOnClick, which is an attribute that you can add to the HTML. If you add this, it will fire the OnClick event within DataFlex.

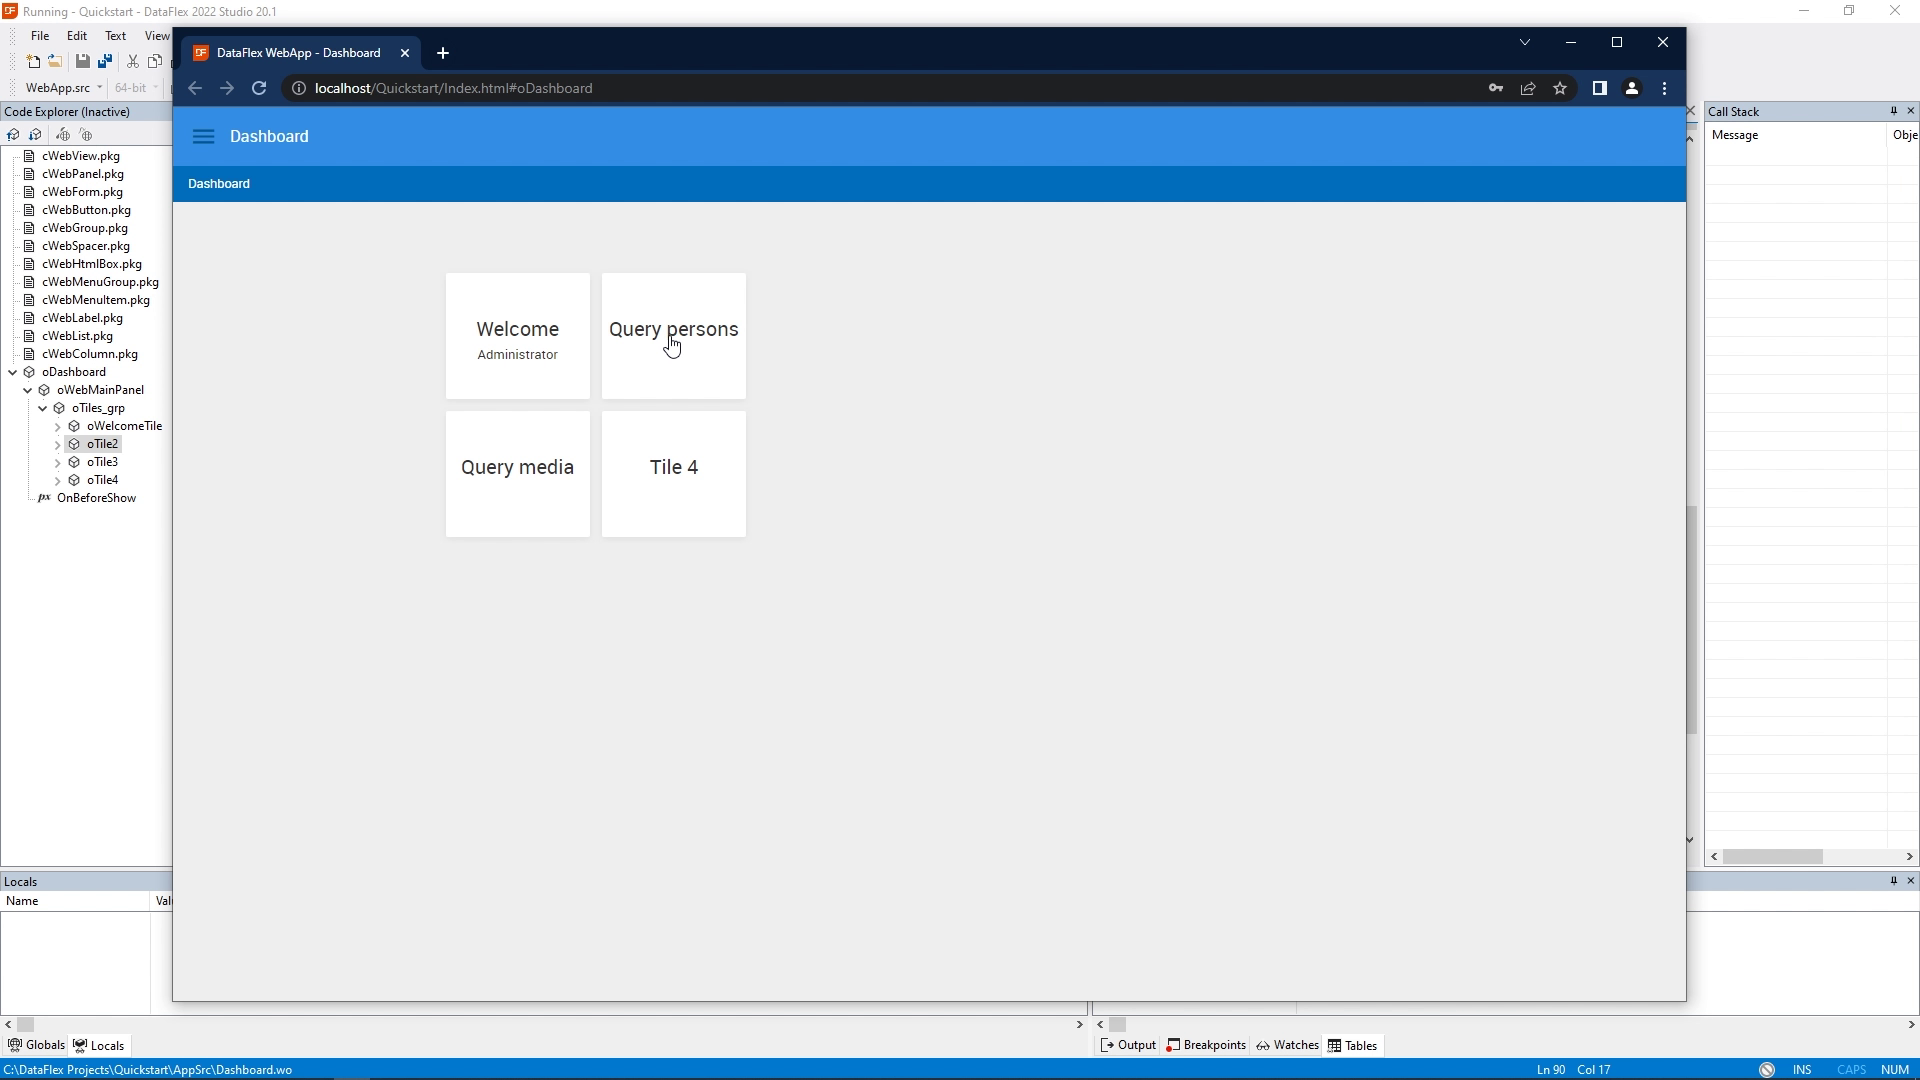
- First, we're going to change the title of Tile 2. I change it into “Query persons”. And next, you see that the OnClick procedure has already been implemented to navigate to another view, but exactly where it will navigate to, is still commented out. So we're going to uncomment this line of code. And change the view name into oSelectPerson.

- We do the same thing for tile 3. On tile 3 we change the text into “Query media”. We're going to uncomment this line and change the name of the view into oSelectMedia. So when this tile is clicked, it's going to open the media select view.
- We can compile and run.
- When the browser opens, we can verify that it works by clicking the tiles and seeing that we navigate directly into the right view.
- Now we are ready for the last lesson of this course, which is testing your application.


