Quickstart building a web application (Mobile touch)
Lesson 9 - Filter the Media list
In the previous lessons we have created select views, for person and for media. In this lesson, we're going to show you how to filter the Media list on persons.
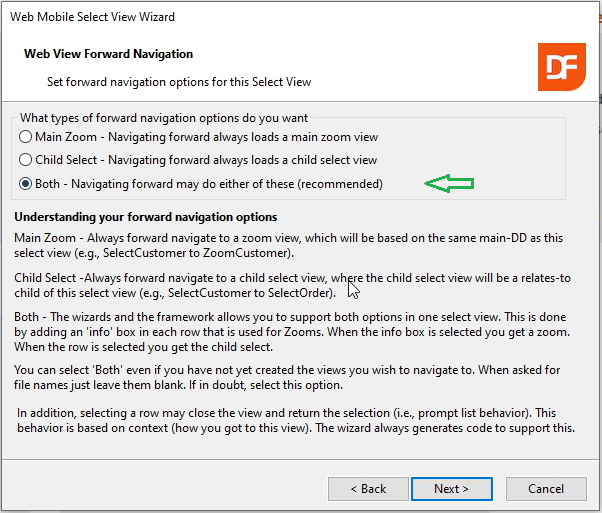
For this, we are going to add code in the Person select view. Remember that in the wizard, we selected Both as the navigation options when we created this view. This allows us to use the Person select view for filtering media items on the Person.
DEMONSTRATION
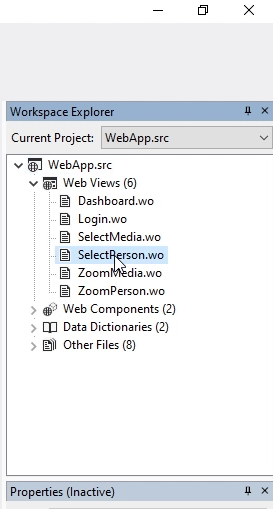
- So, we're first going to open the Person Select view.
- Then we can go to the ToDo items in the studio, which is a panel at the bottom. And we see that the wizard has added three ToDo items in this view: “Fill in the from-parent child; Select view object name for navigate forward.”

- So if I double click this, it goes to the right place in the source code.
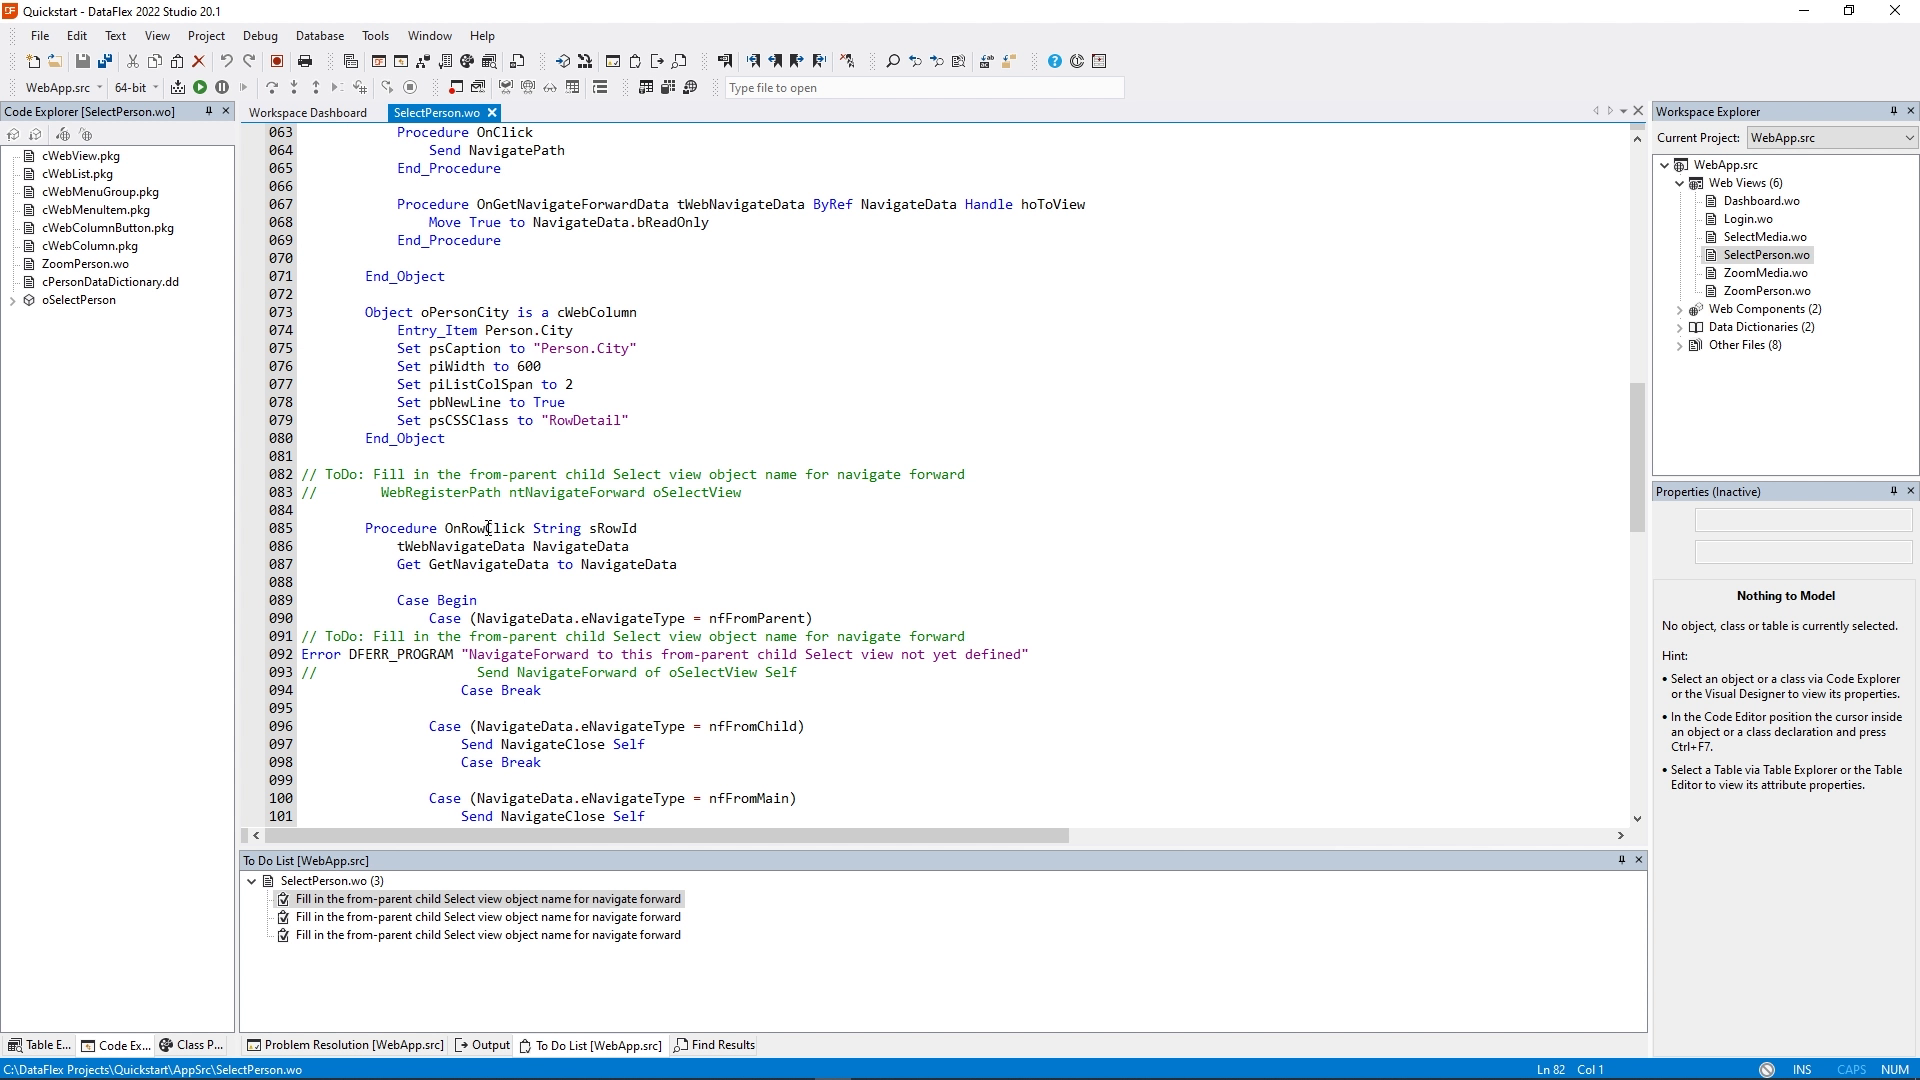
- This is the OnRowClick of the list object. And this is triggered as soon as you click on a row in the list.
- We're going to change the implementation here. We're going to remove the ToDo item and uncomment this line, which registers a navigation path in a drill-down style Web Application.

- This allows the back and forward buttons of the browser to function.
- Then I change the name of the object that is registered into oSelectMedia. This basically tells the framework to navigate into this view.
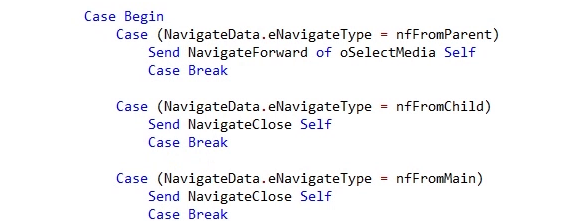
- Next, I’m going to remove this ToDo item and the error. And I uncomment this line. Note that we are inside a case statement. And we're inside the case where the navigation type is nfFromParent, meaning that we came into this view from a parent. Most likely that's not going to happen, but by default we're going to implement that as well. Also change the object into oSelectMedia.
- We're passing Self as a reference to the current view so it knows which view you're coming from and what record it should select.
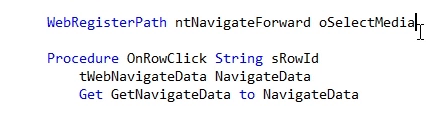
- Down here we see the same kind of code.
- Remove the ToDo item and the error, uncomment the line of code and change the object in oSelectMedia. So, in the else case, which in our sample is where we will end up in, we're going to do the same thing. So if we're not coming from a different select view, we're going to navigate into the Select Media view.

- We can compile and run this already.
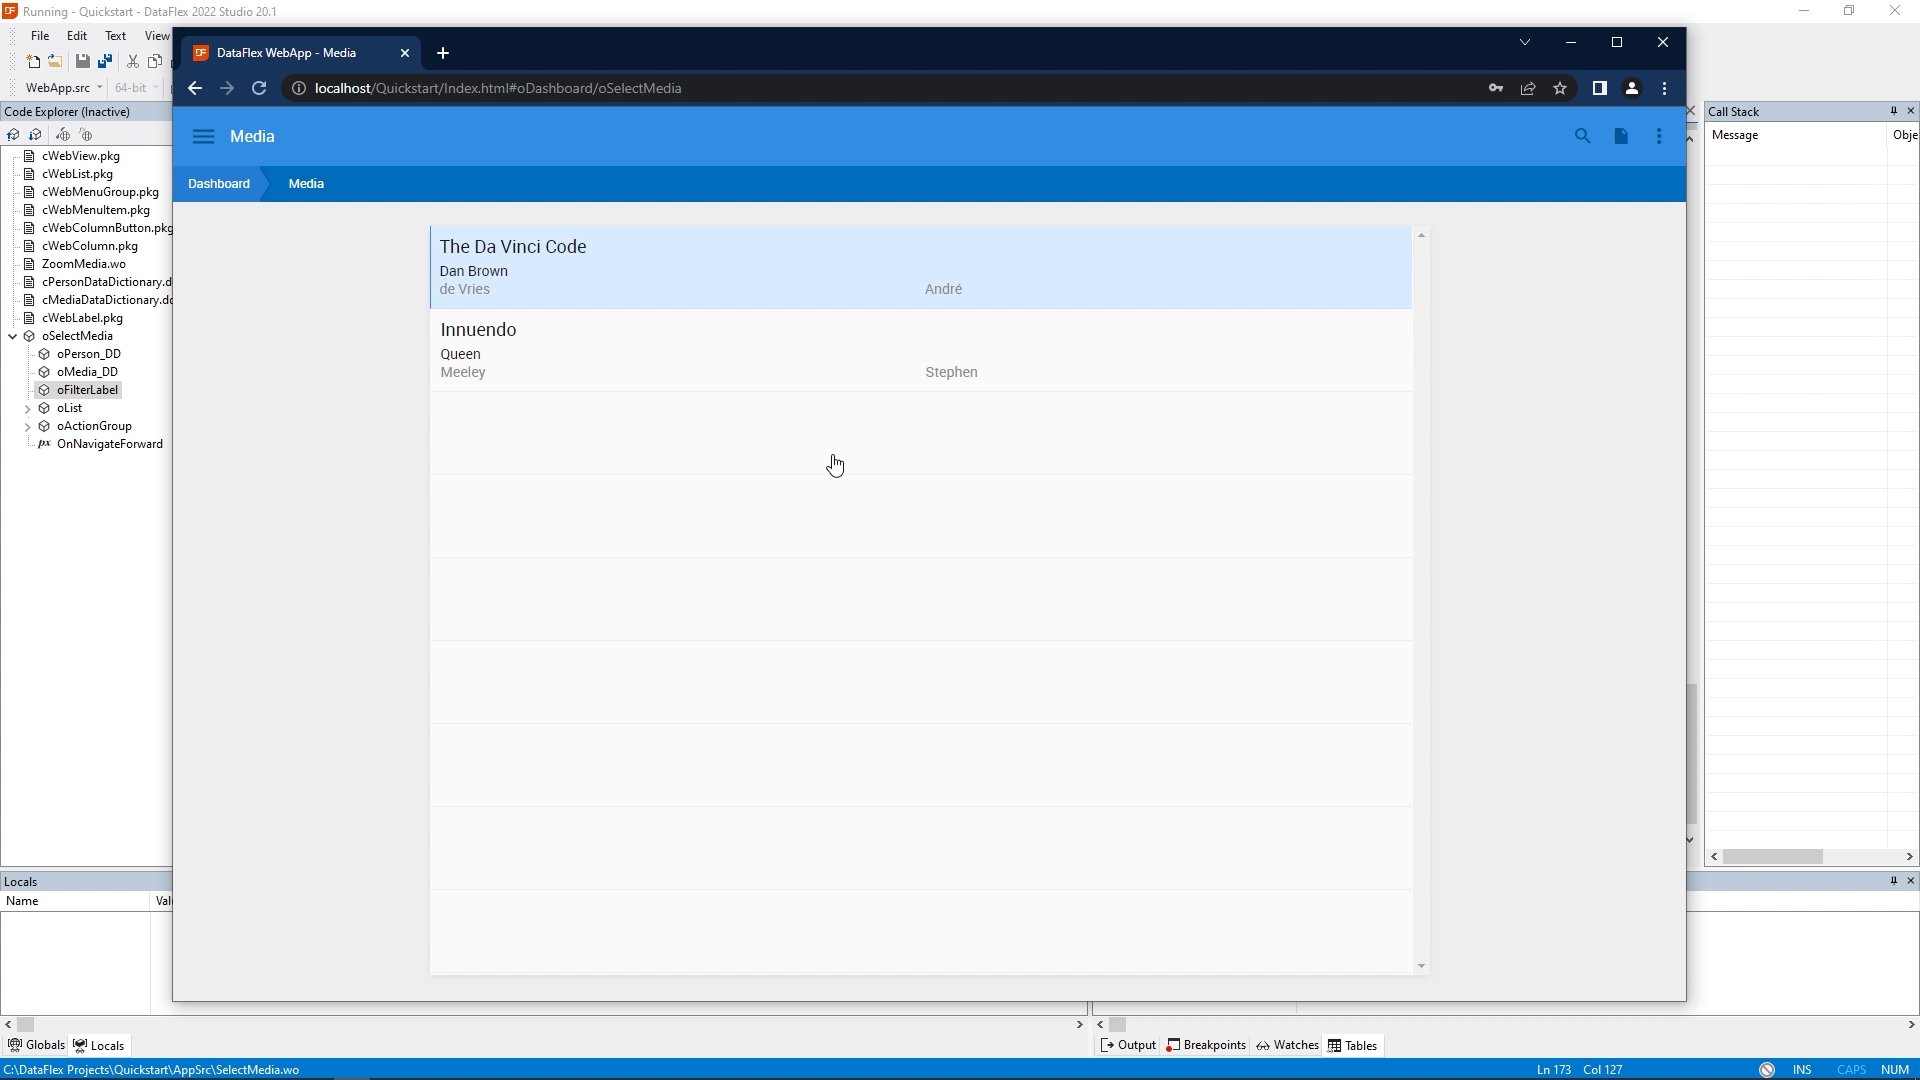
- I am going to View Persons. If I now click on Stephen Meeley, I see the Innuendo track. So we're going now from the Select persons into the Select Media view.
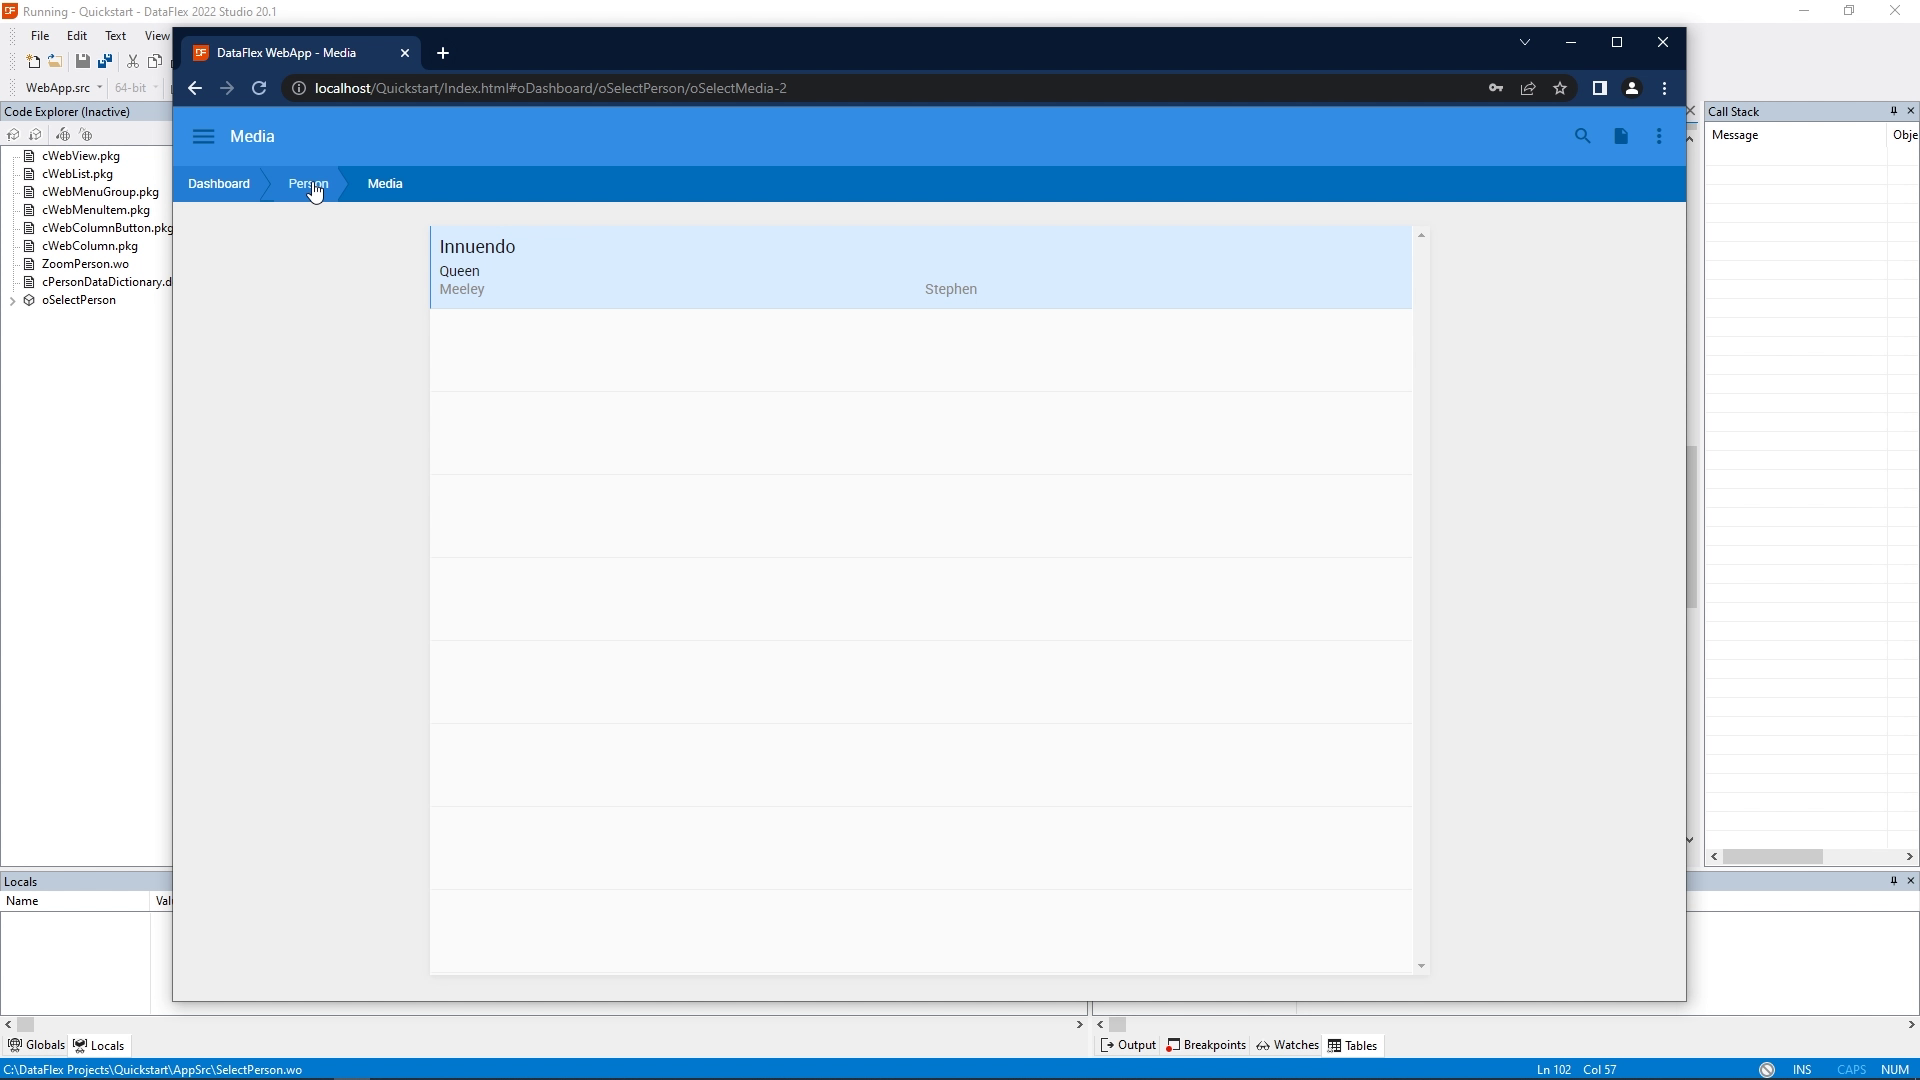
- But if I click on my name, we can see that this person doesn't have any data yet.
- So now we can add a new item here. And note that the person fields are disabled, so we cannot change to a different person because we drill down in here through the André de Vries person. And now we can add an item for this person. I’m going to add The Da Vinci Code, which is authored by Dan Brown. I bought it a while ago and paid 15 euros for it.
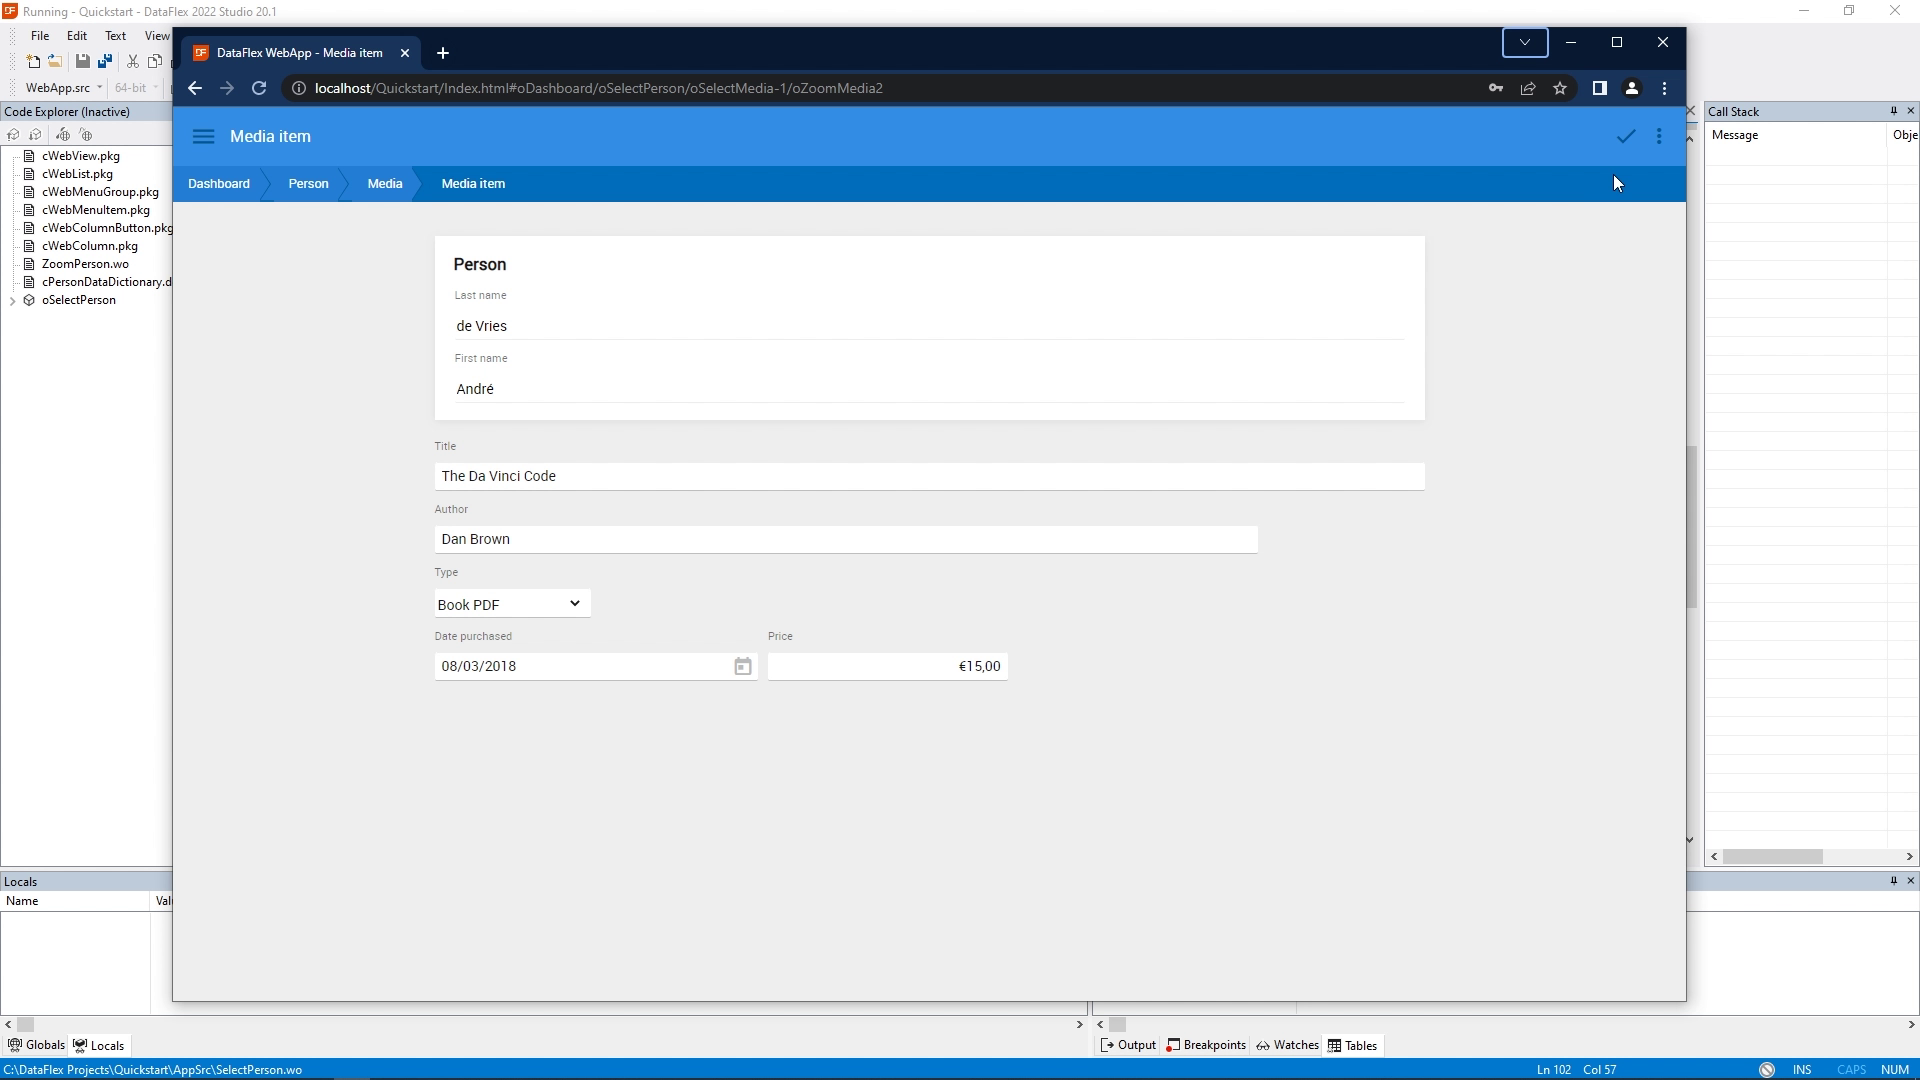
- Now we see that I have the Da Vinci Code.
- What we cannot see here is which person we have selected. So the next step is that we're going to adjust the media select view to show us which person we came from.
- So we're going to stop debugging and we're going back to the Studio.
- And in the studio, we're going to open SelectMedia.
- I open up the designer. I'm going to add in a cWebLabel. I do that before the list and I make it expand the full width.
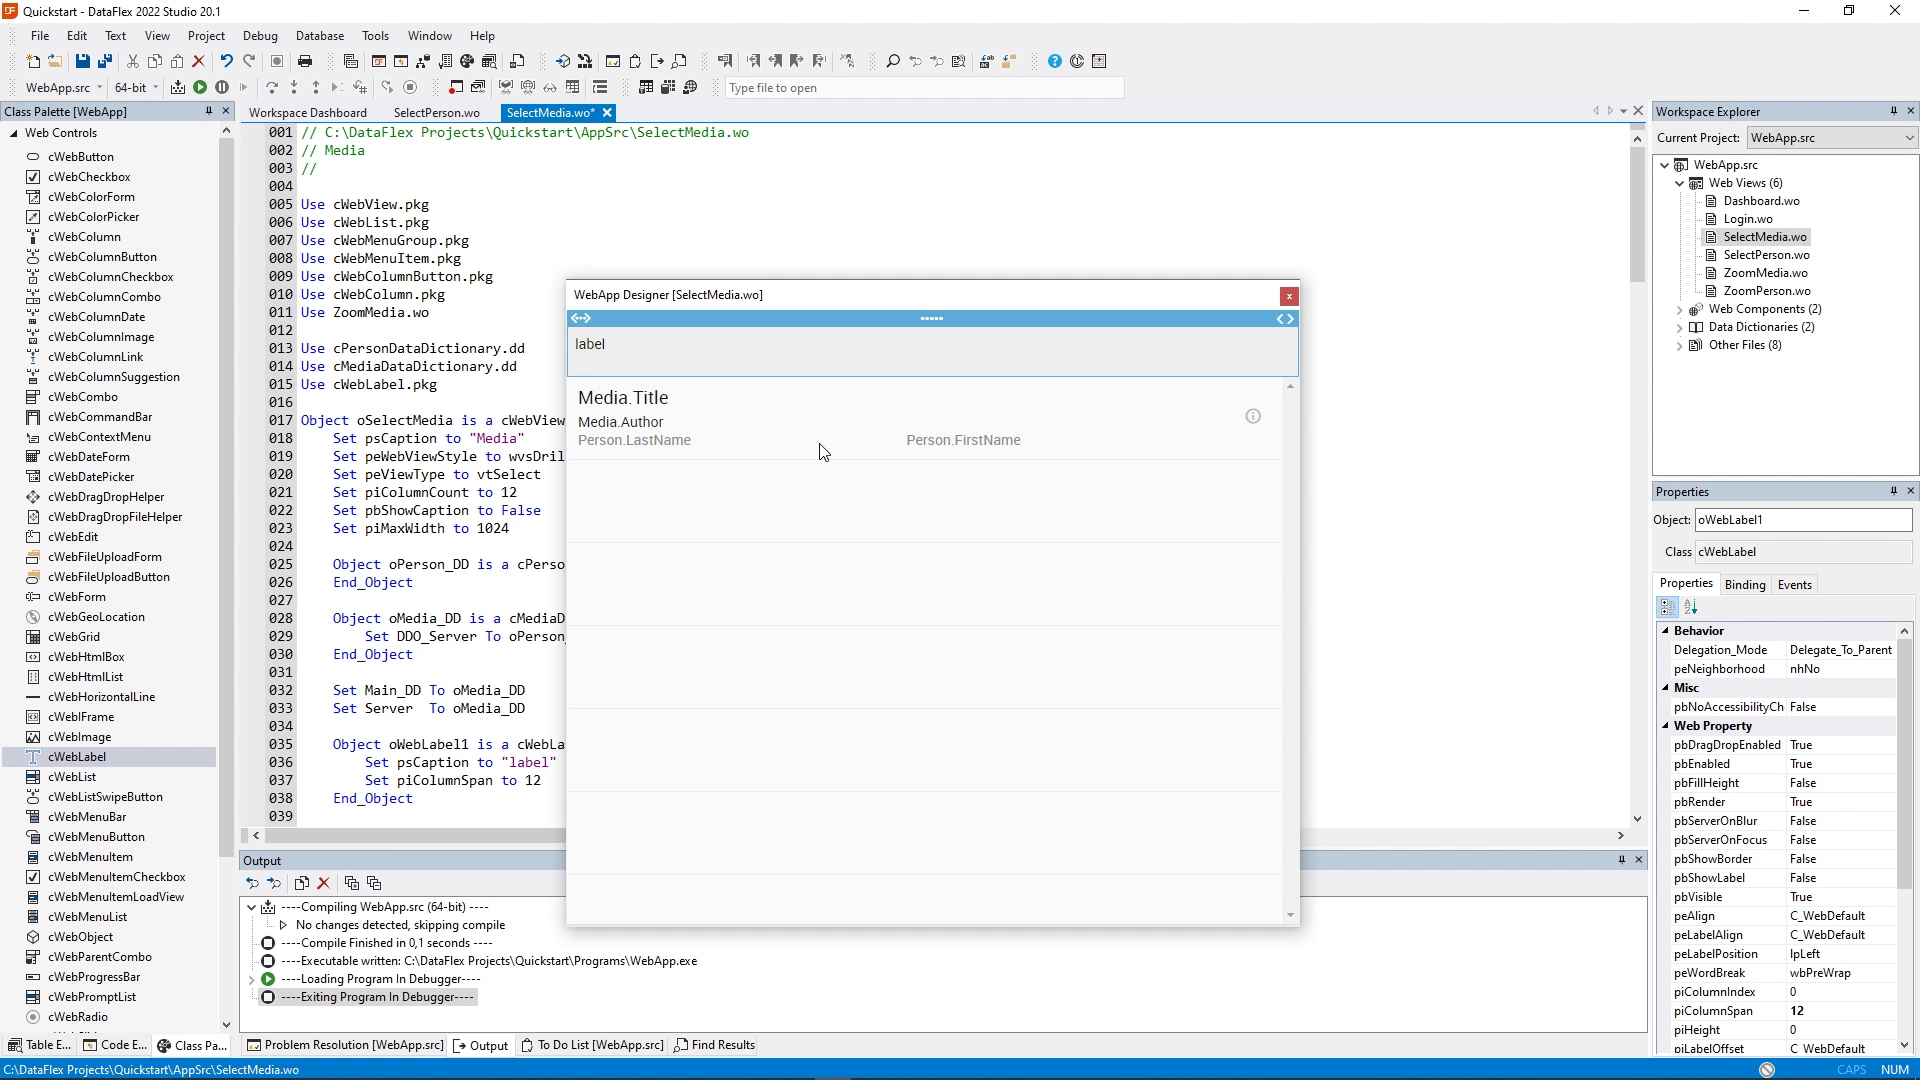
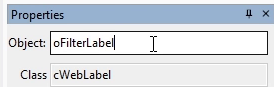
- I'm going to set some properties on it. First, I'm going to change the name into oFilterLabel. We need this name to refer to this object later.
- Then change the caption into “Media items of dot dot”. We are going to make that dynamic later.
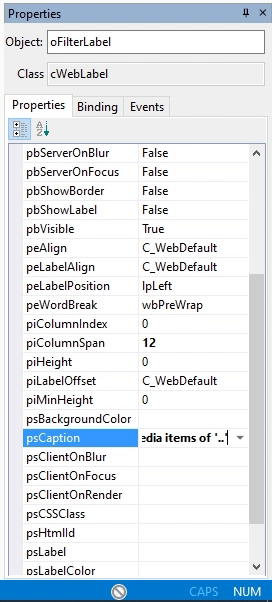
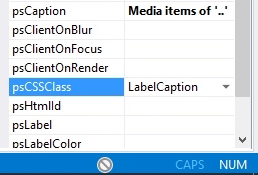
- And we're going to set a CSS class called LabelCaption, which will change how this label is being shown exactly.
- We see that the font changes slightly. Later on, you’ll see more changes.
- Now we need to make sure that this label is only shown when we come from the select view.
- So if we go directly into select Media, and it shows all the items, we don't want to show this label. So by default, we say WebSet pbRender of oFilterLabel to False. We do this in an event called OnNavigateForward, which is called as soon as this view is opened. It gets information being passed into it in a struct called NavigateData.

- And in NavigateData, there is an eNavigateType, which tells us how we came into this view. In this case, we're going to show this label if we came from a different select View. So for nfFromParent, we're going to enable this label.
- So I'm going to say: WebSet pbRender of oFilterLabel to true. And I'm going to do: WebSet psCaption of oFilterLabel to... Now we're going to dynamically change the text shown inside this label. I'm going to use the SFormat function for that. I say: Media items of ‘percentage’ one. The percentage one will be replaced by SFormat by the next parameter. Which is going to be… Trim and then Person dot FirstName combined with Person dot LastName. And I close the expression.

- So now we can compile our application again and run it.
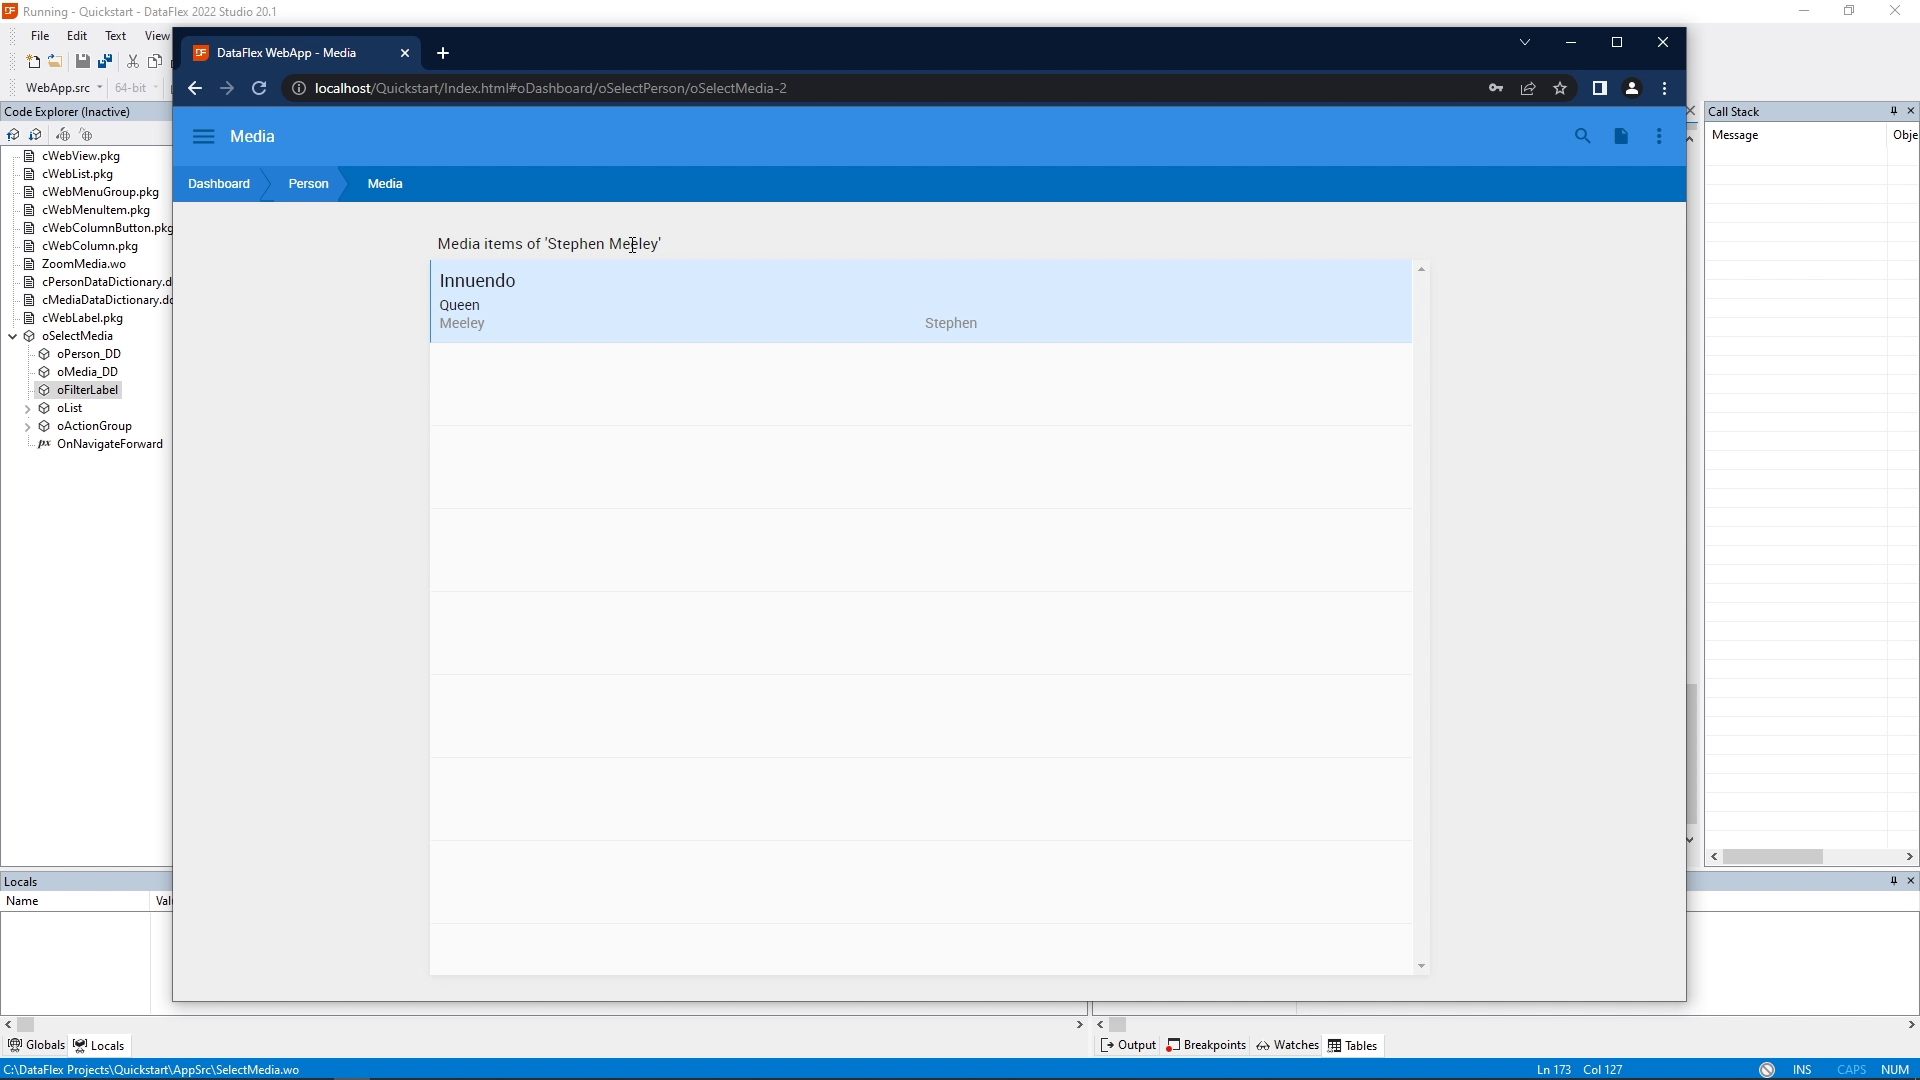
- I'm going back to the menu and go to View Media. Now we see all the media items and we do not see the label.
- Now I go to View Persons. And I'm going to select Steven Meeley. And now it shows the media items of Stephen Meeley. So now we know that we are filtering on this specific person.
- Now that we have connected these two select views, we are ready for the next lesson, in which we are going to implement the dashboard tiles, so we can quickly navigate into these views.


