Quickstart building a web application (Mobile touch)
Lesson 2 - Defining the database
So now we have created our workspace. In this lesson, we're going to define the database. The database consists of multiple tables that are related to each other. And we're going to define a couple of tables that we're going to use for the rest of the training.
DEMONSTRATION
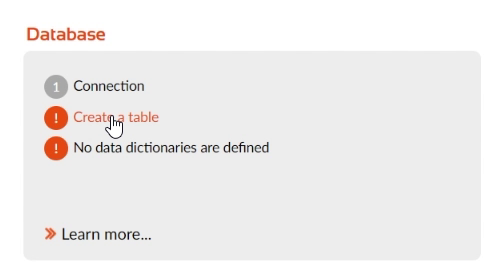
- The first table we're going to create is the person table. I click the Create Table button on the dashboard.
- Our person table is going to be used to store the persons that we want to enter in our database, and we're going to store specific details of these persons.
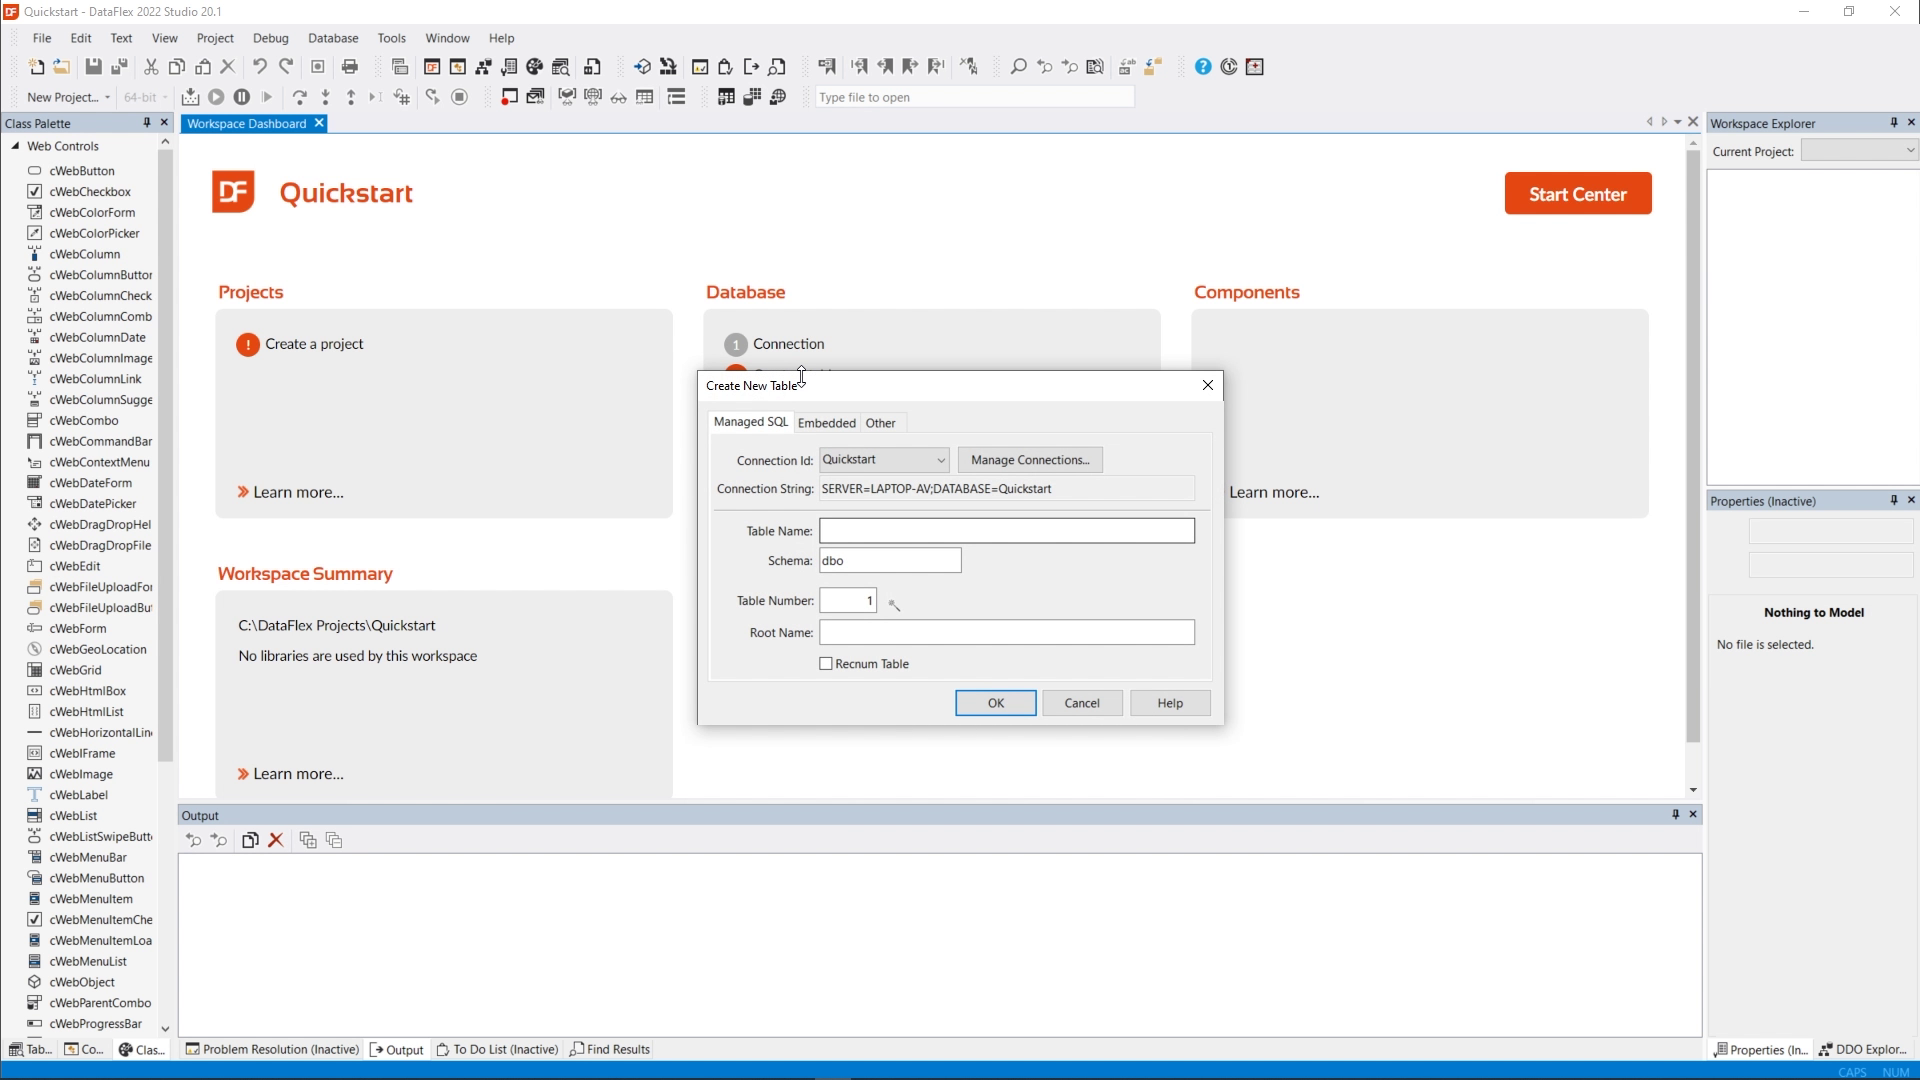
- We're going to create an SQL table, so we are on the right tab page. And we're going to name this table “person”. Click OK. It creates the table for me and the table editor comes up.
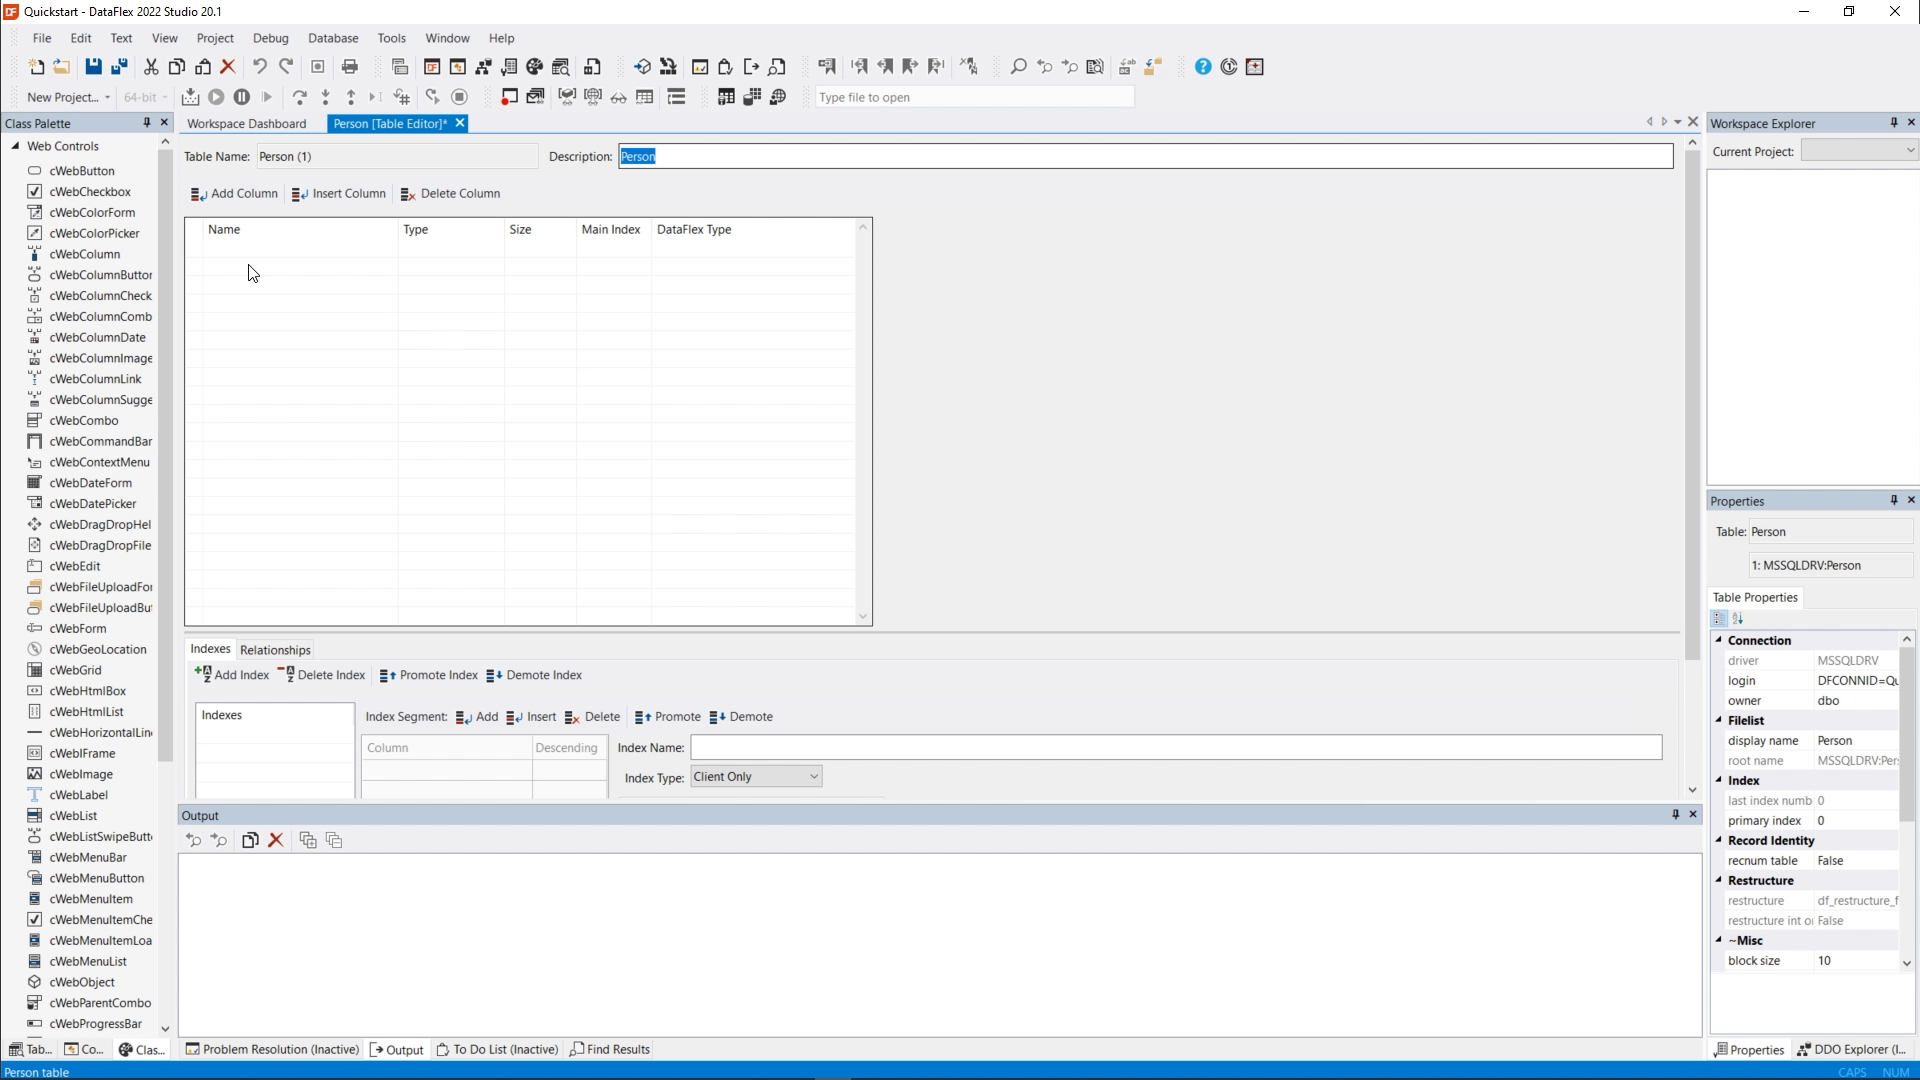
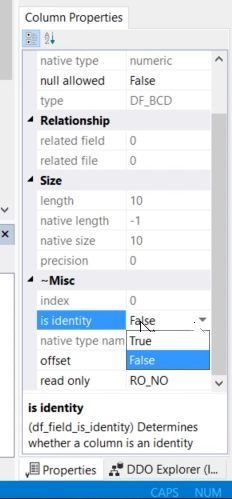
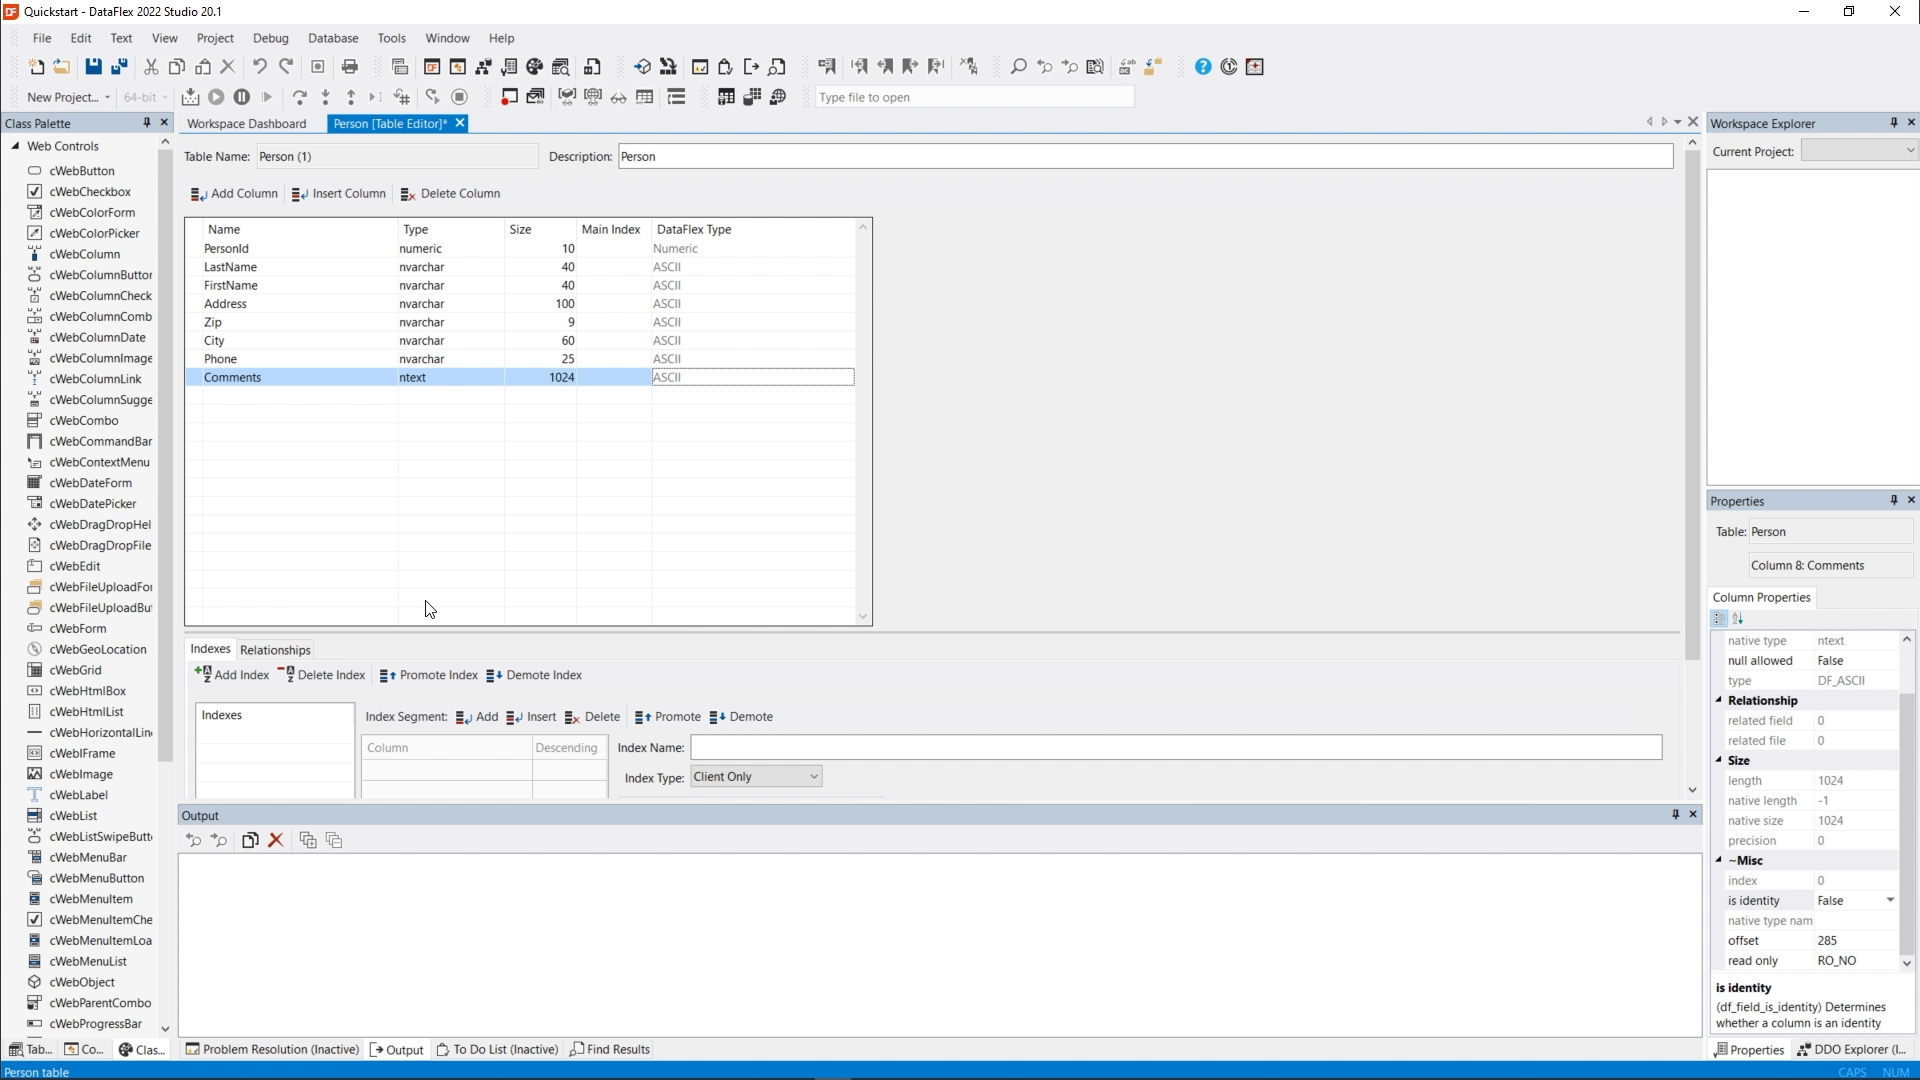
- The next step is to define the columns that are part of the person table. The first column is going to be PersonID, which is a numeric column, and this will be an auto increment column. So each person will have a unique ID that the system uses internally to identify a person. We can make it an auto-increment column in the Column Properties panel on the right hand side. Just set the “Is_Identity” property to True. MS SQL will then manage this automatically for you.
- We want to store the last name which is going to be an NVarChar field of 40 characters. This type of field can also hold Unicode characters. The first name, which is also going to be 40 characters. Then an Address field, which is a bit larger. ZIP, which will be nine characters. The city, 60 characters, and phone will be 25 characters. Then we're going to add a Comments field, which will be a text field instead of an ASCII field. Text fields are usually bigger, and they are stored in a different way, so we can have more data in them. I’m going to make this one kilobyte.
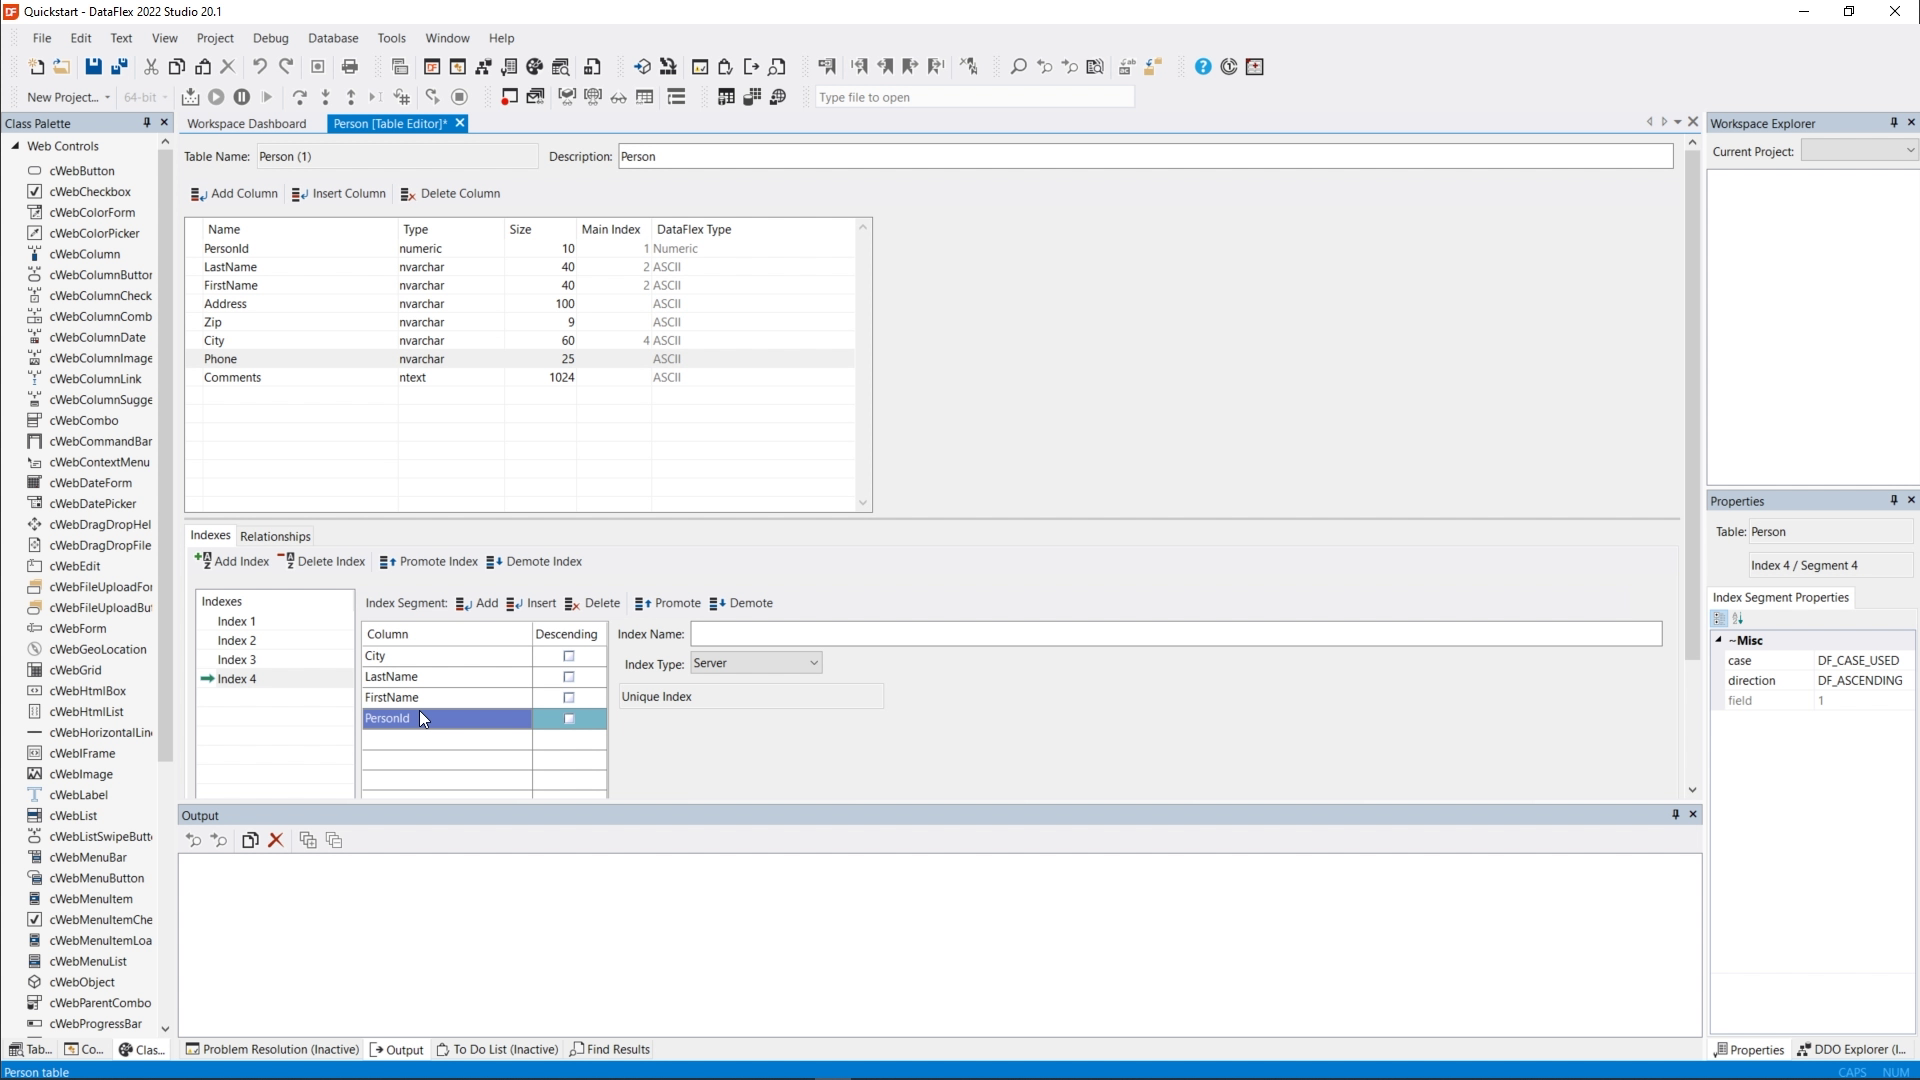
- Now we've defined our fields, the next step is to define the indexes. DataFlex uses indexes to determine how it's going to sort the data. The first step is always to create a unique index on the primary key of our table. In this case, it's going to be the person ID. So I create an index with just the person ID.

- We also want to be able to sort on, for example, the last name, so we're going to add another index. And in this index, the first segment is going to be LastName. Also, once we have the last name, we can further sort on the first name. So the second segment is going to be FirstName. We're going to make it unique by adding the PersonID. We also want to be able to sort on first name. So we're going to add an index on FirstName, LastName and PersonID. And finally, we're going to add an index on City. First pick City, then LastName, FirstName, and PersonID to make it unique.
- When we look at the columns, we see that most fields now have the proper main index, but first name has index 2, while it should be index 3.
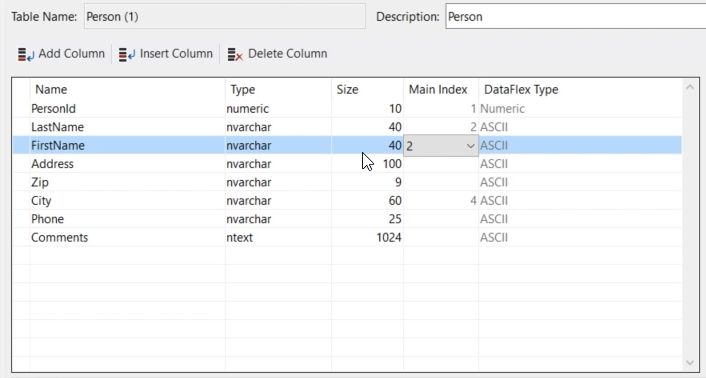
- The reason that it has index 2 is because it is a segment of the second index. So we want the main index to be the one that starts with FirstName as the first segment. So we're going to change this into index 3.
- Now we can save the table, and it will create it in SQL. It restructures the table and writes out the new indexes. And it's ready to be used. A nice place to see which tables we have is the Table explorer. By default, the Table Explorer is open on the left side of the studio.
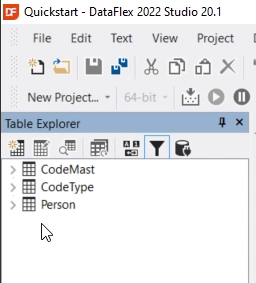
- And here we now see the person table as one of the tables. CodeMast and CodeType were automatically created. Later on, we will see more tables that are automatically created.
- From here we're going to create the next table which is going to be Media. The Media table is going to contain records about media items, for example, images, tracks and video’s. And they are going to be related to the person. So we're going to create a new table called Media.
- And again, it comes up with the table editor. Our media table will also start with a unique ID which is going to be a numeric column.
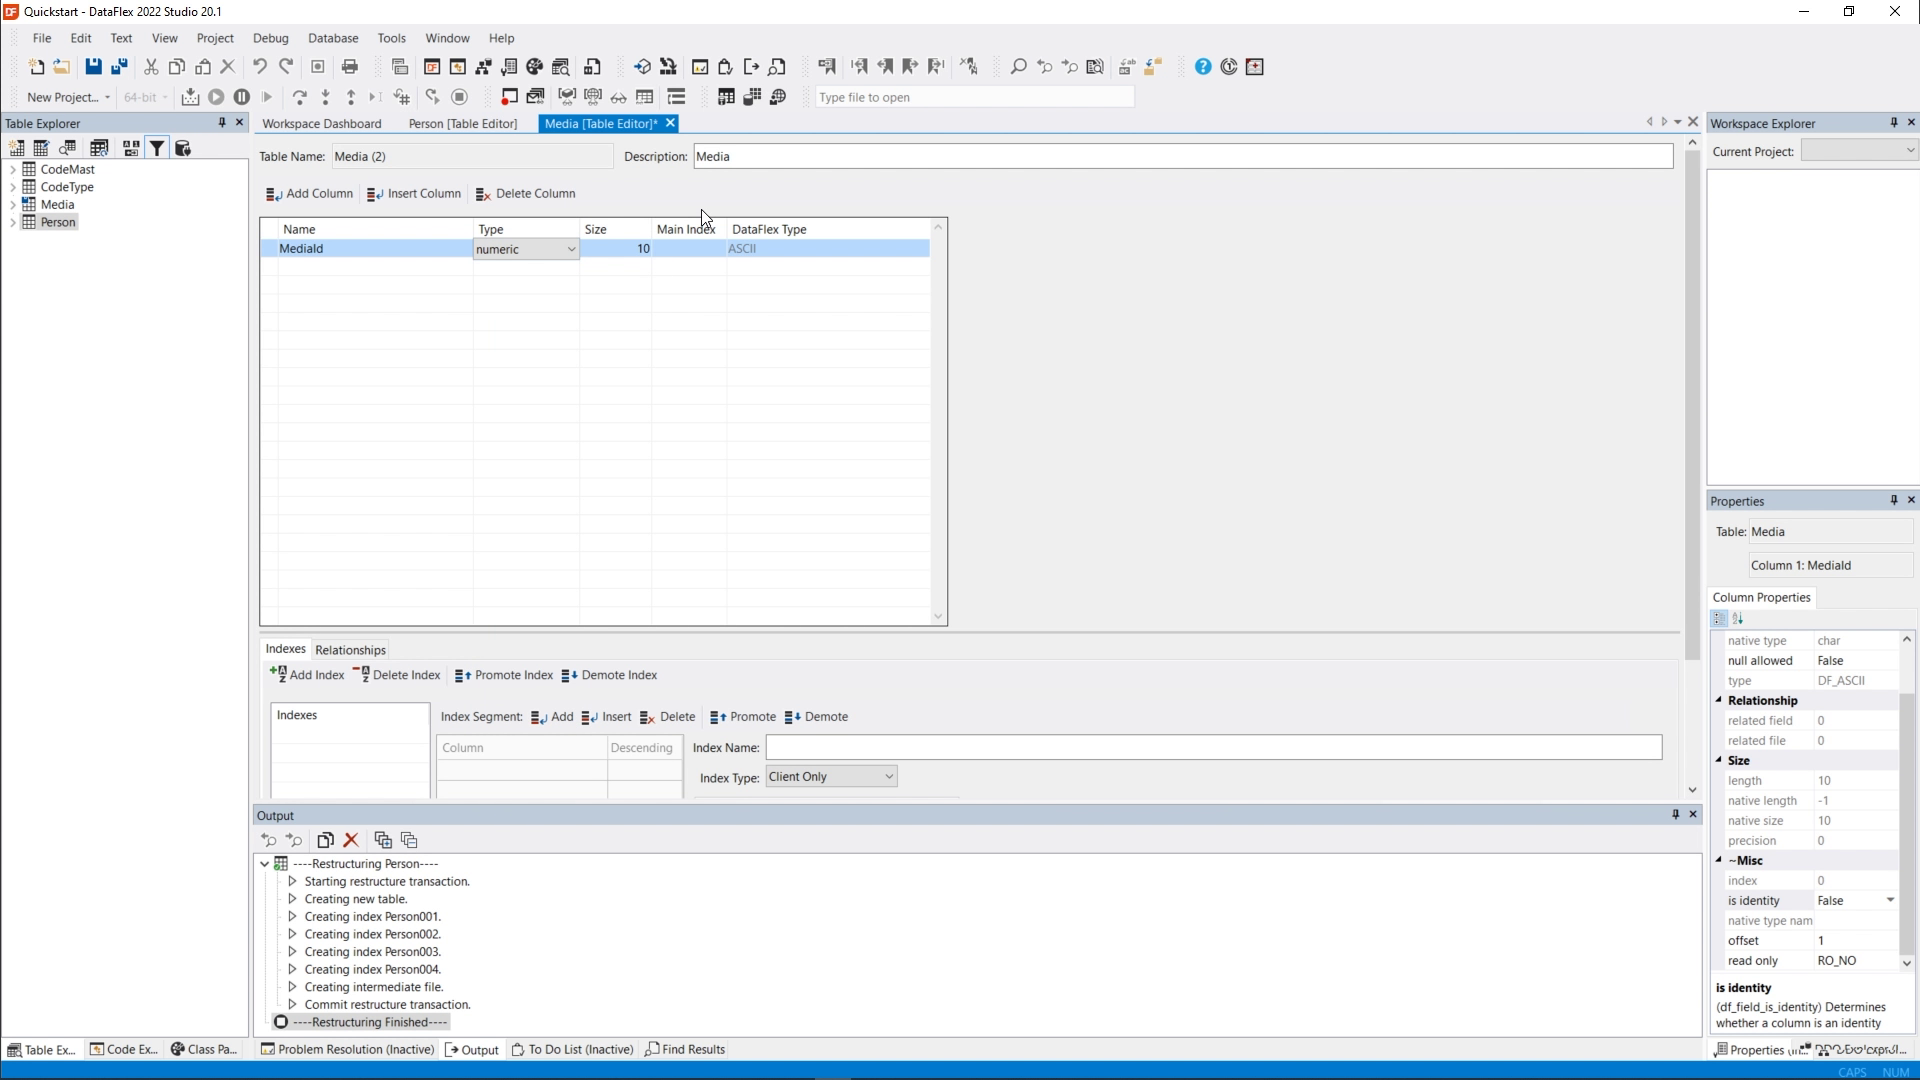
- This table is going to have a relation with Person. So we're going to make a PersonID here, which is also a numeric column. The size of this column should match the size of the index of the Person table, so we can define a relation on it.
- I want to make the MediaID an auto increment column too, so I set “Is_Identity” to True in the Column Properties panel.
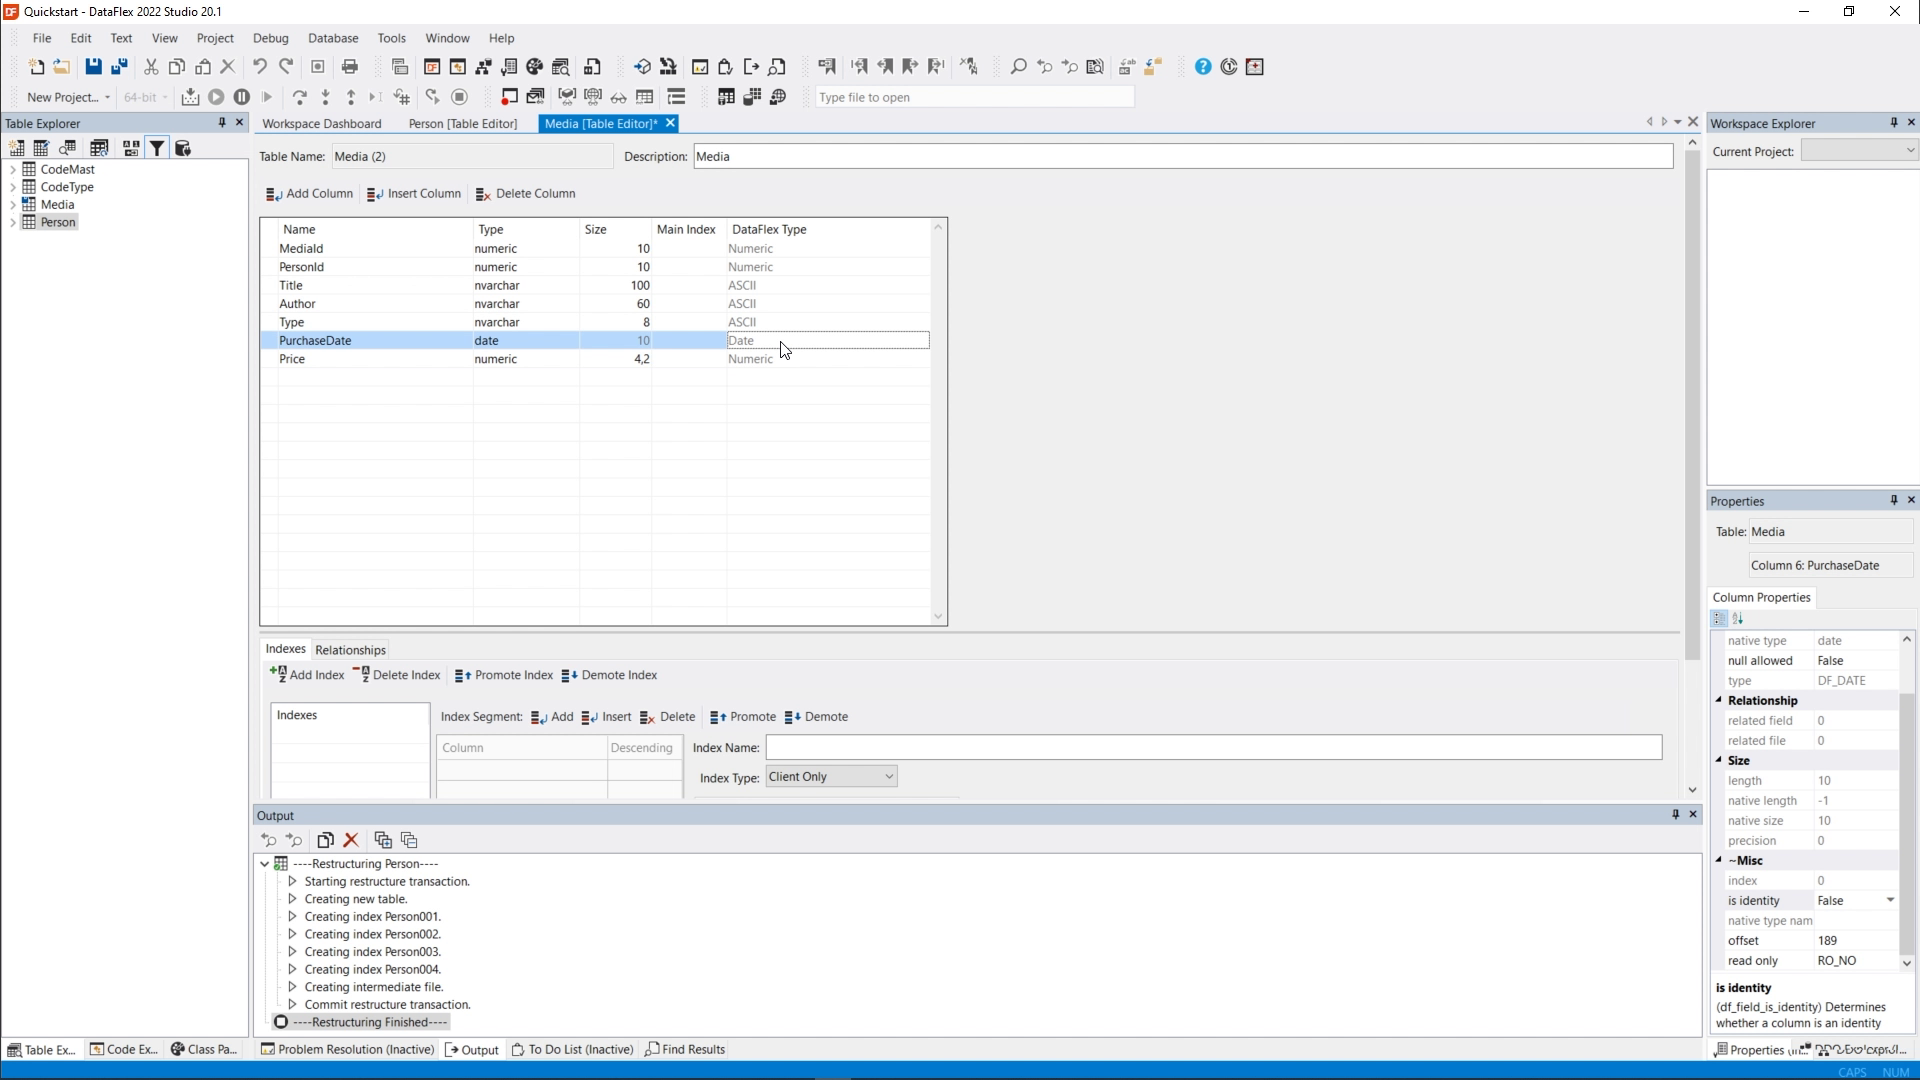
- Then, I'm going to enter the other fields. So we will have a title of 100 characters, an author, which will be 60 characters. And there's Type, eight characters. Purchase date, it's going to be a date field. And price, which will be a numeric field with four digits and two decimals.
- The next step is to add the indexes. So we're going to add a unique index first on MediaID. The second index is going to be the Title index, so that we are going to sort on Title. Add the MediaID to make this index unique. And we're going to create a special index on PersonID, which is going to be PersonID, Title and MediaID. This index will be used for constraining data on the person. So when you just want to see the media items of a specific person, this index will help DataFlex to find those records a lot faster.
- So now we created these two tables, we can define a relationship between them. We can do this on the relationships Tab.
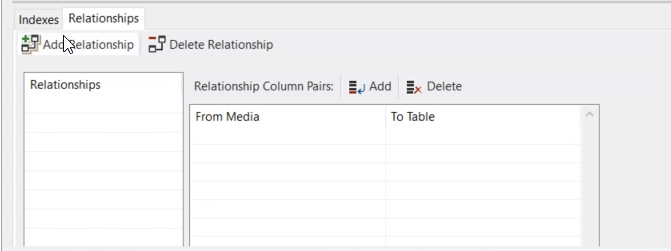
- We’re going to add a relationship. I'm going to relate to Person. And now we can say that our PersonID of Media relates to the PersonID of Person.
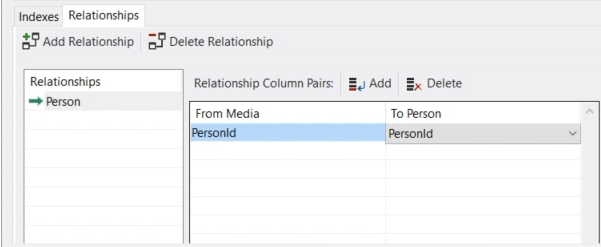
- When we save this, DataFlex knows that these records are related, and it will use that in several places.
Now we have finished our database, which we're going to use it in the rest of the lessons. Our next lesson is going to be how to configure your data dictionaries.


