Quickstart building a web application (Mobile touch)
Lesson 4 - Create a web project
Now we have created our database and configured our business rules. In this lesson, we're going to create our web project.
DEMONSTRATION
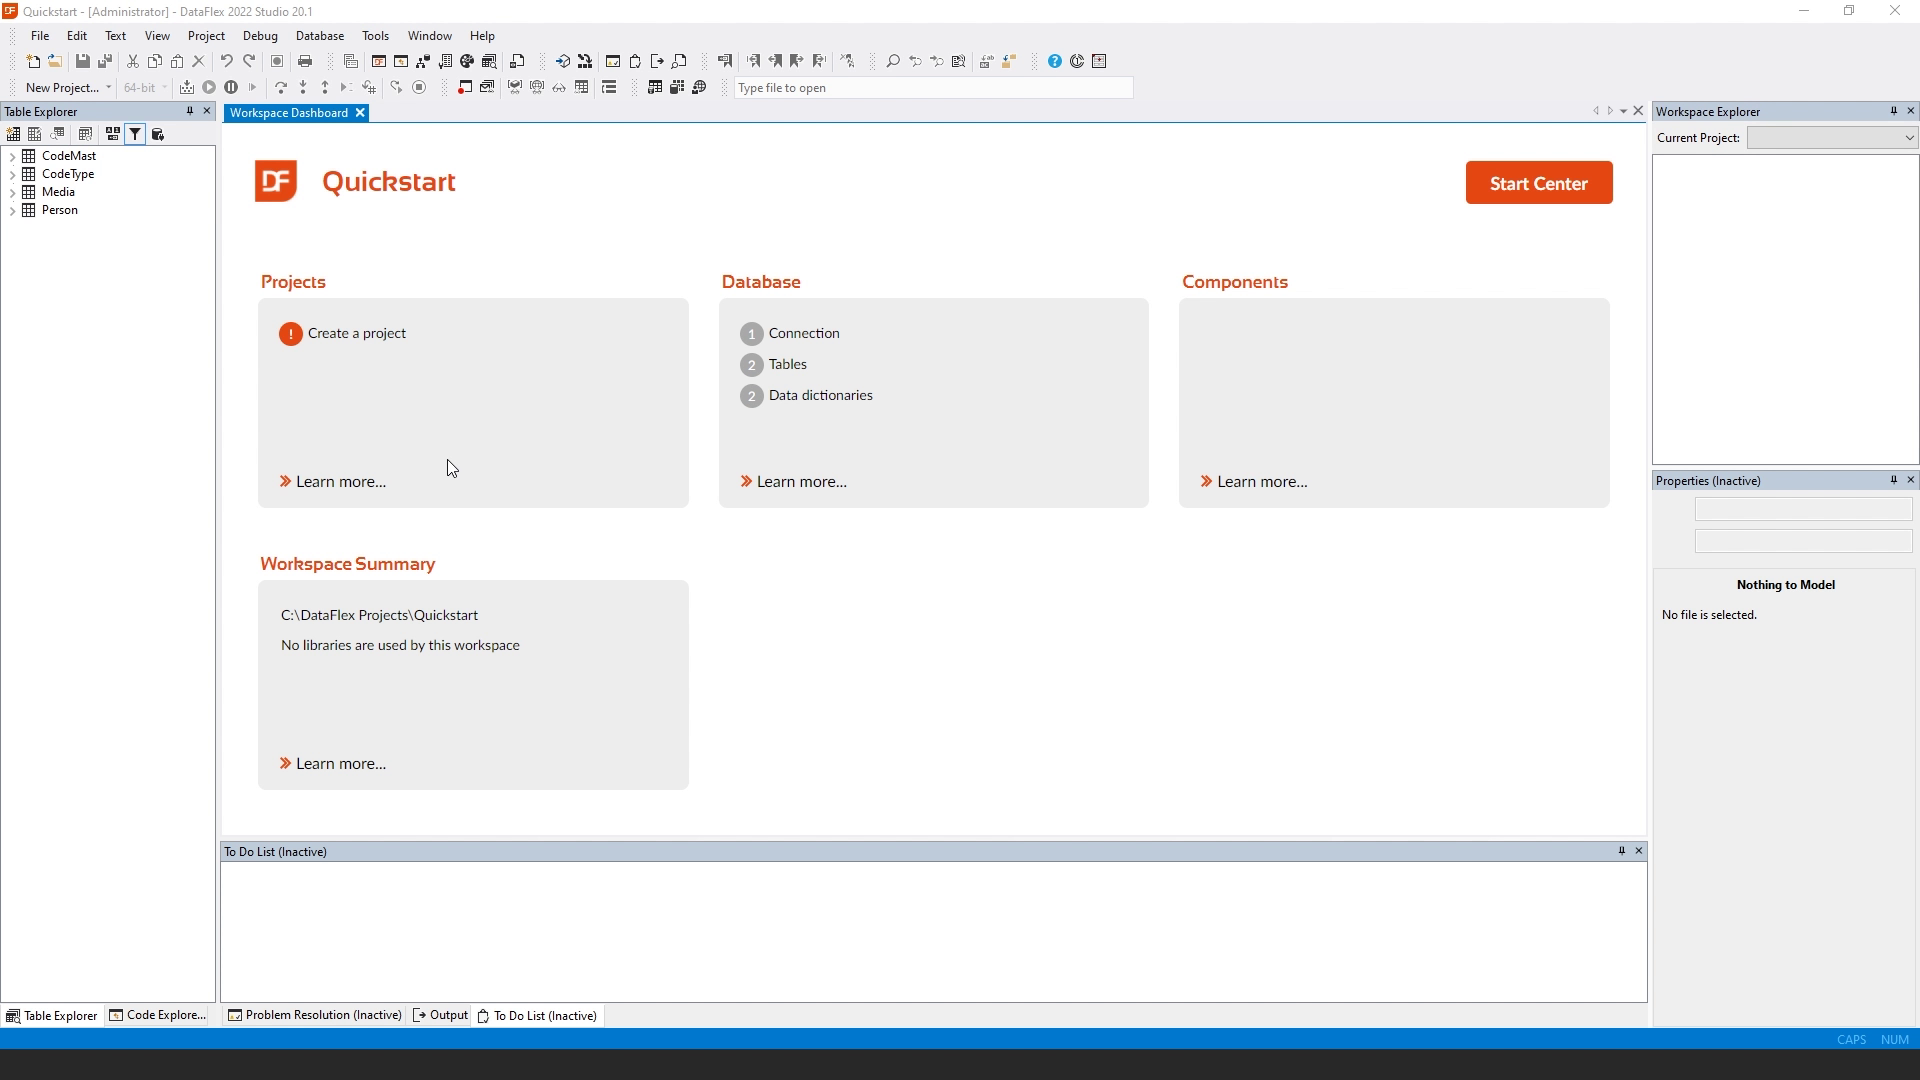
- We are back at our dashboard. And we see that we have two tables, two data dictionaries, but still no projects.
- So we're going to click the Create Project button. And we're going to choose mobile web project. We can also choose Windows project or desktop web project. We're now going to use the mobile drill down style of the web application framework. So I click mobile web project.
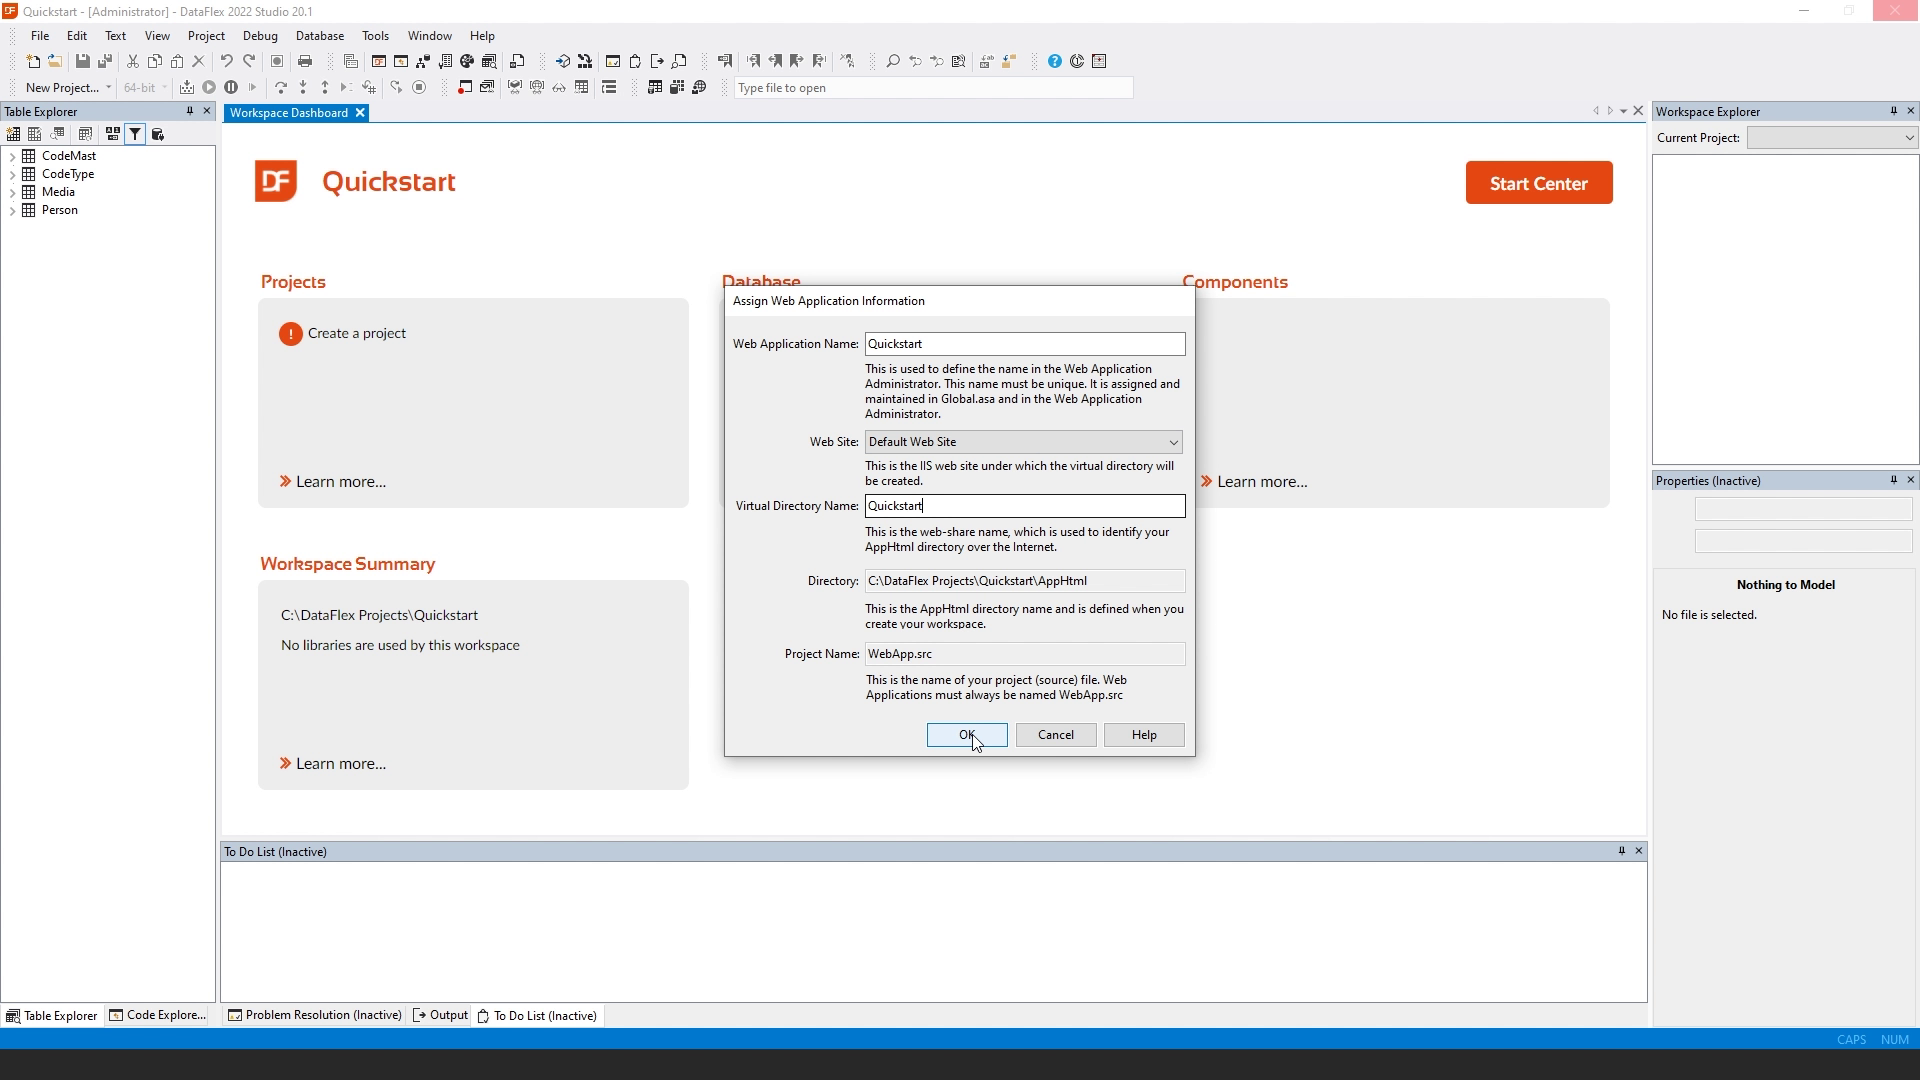
- Now it asks several questions. One is the web application name, which is going to be the name by which the DataFlex web application server is going to identify our application. It also wants to know several details on how it should register the website under the Internet Information Server. So we can choose between the websites that we have on our machine. And we can choose a virtual directory name. We're just going to leave everything at Quickstart, and I click OK.
- It's now copying in the Javascript engine to our app html folder. And it's going to create several other parts of our project. What we see now is that it has created a WebApp.src. The dot SRC file is the main source file of a DataFlex application.
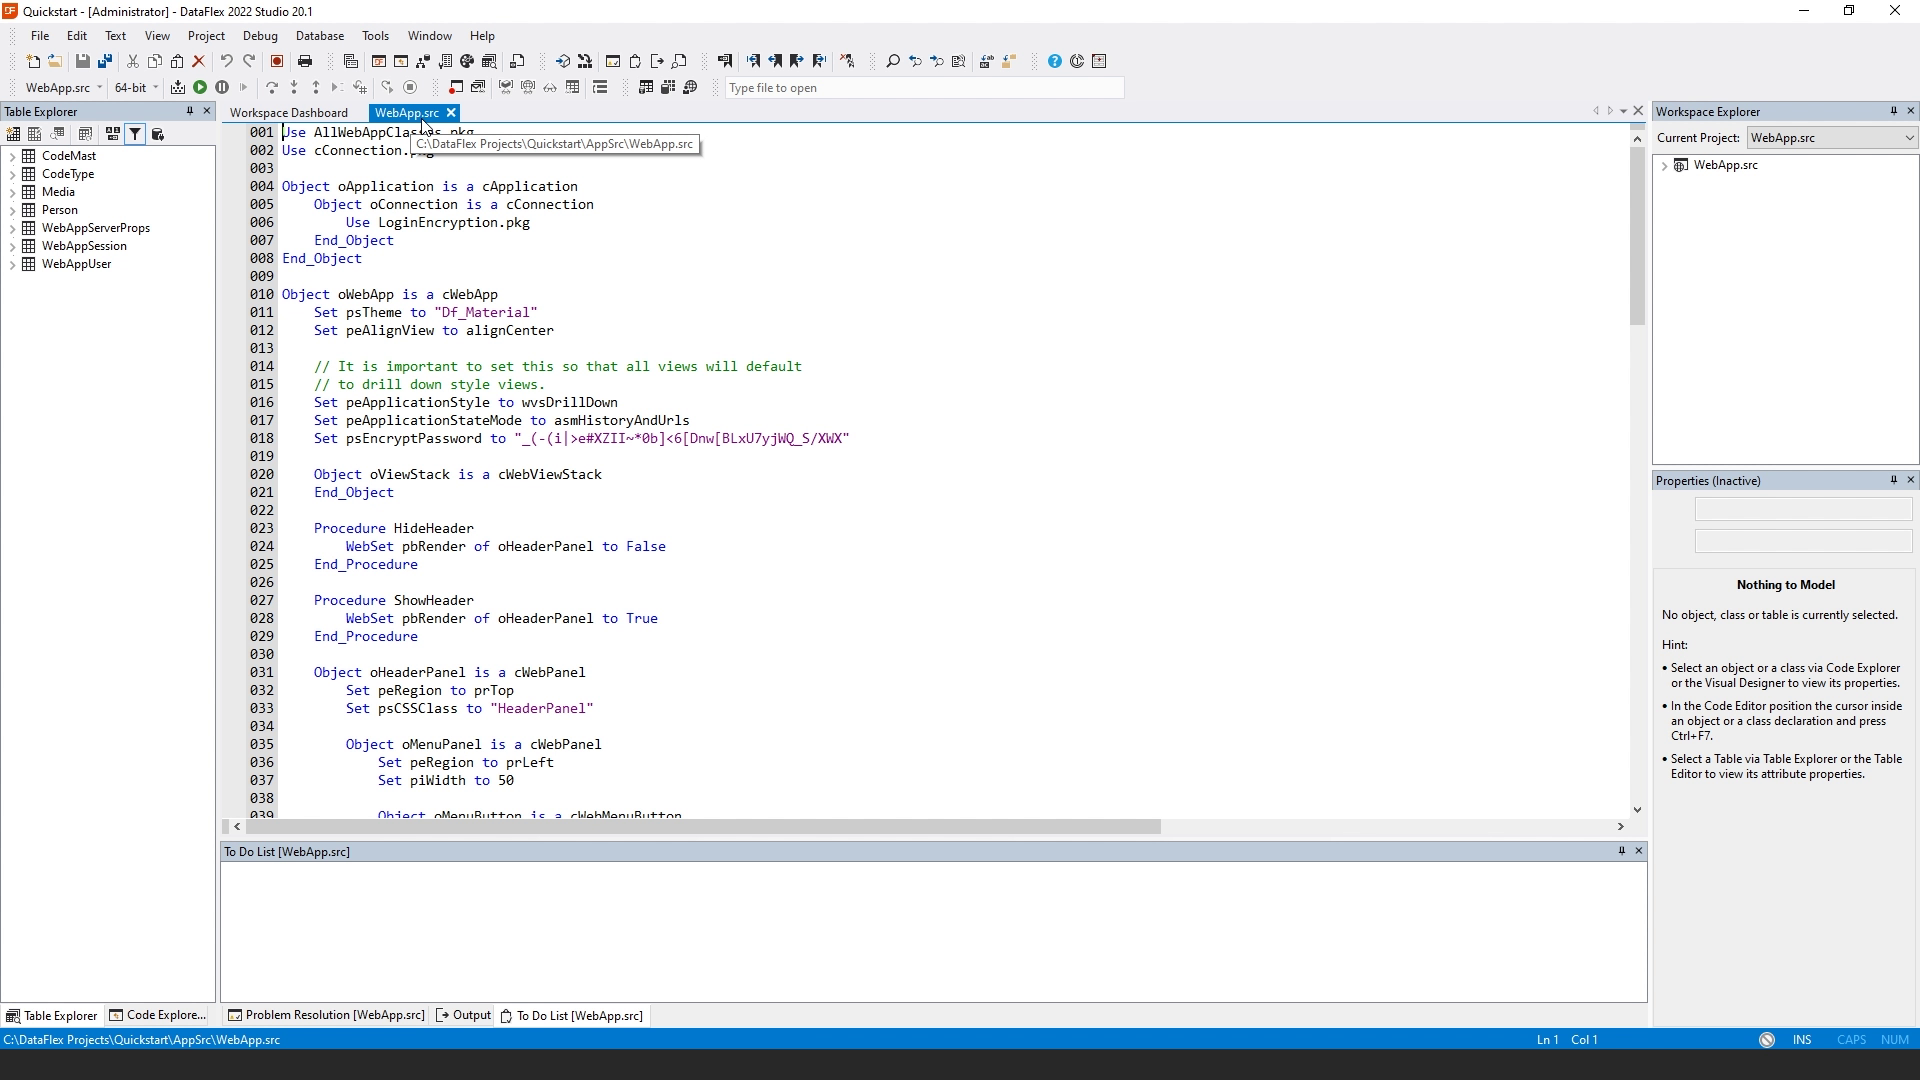
- On the right side, in the workspace Explorer, we see that we now have a single project WebApp.src. And we can expand the project to see the different bits and pieces that are part of the project.
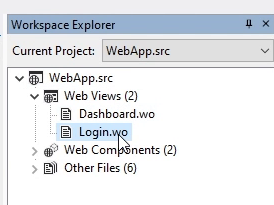
- By default, we have two views in our project, there is a dashboard and a login view, which we can open by just double clicking on here. So if I double click on the login view, it opens the Login.wo. This contains the web view for the login dialog. And I can press F7 to open the WebApp designer, which comes up as a panel. Here we see a preview of the login dialog. If I now switch between the different bits, we see a preview of the different parts of our application.
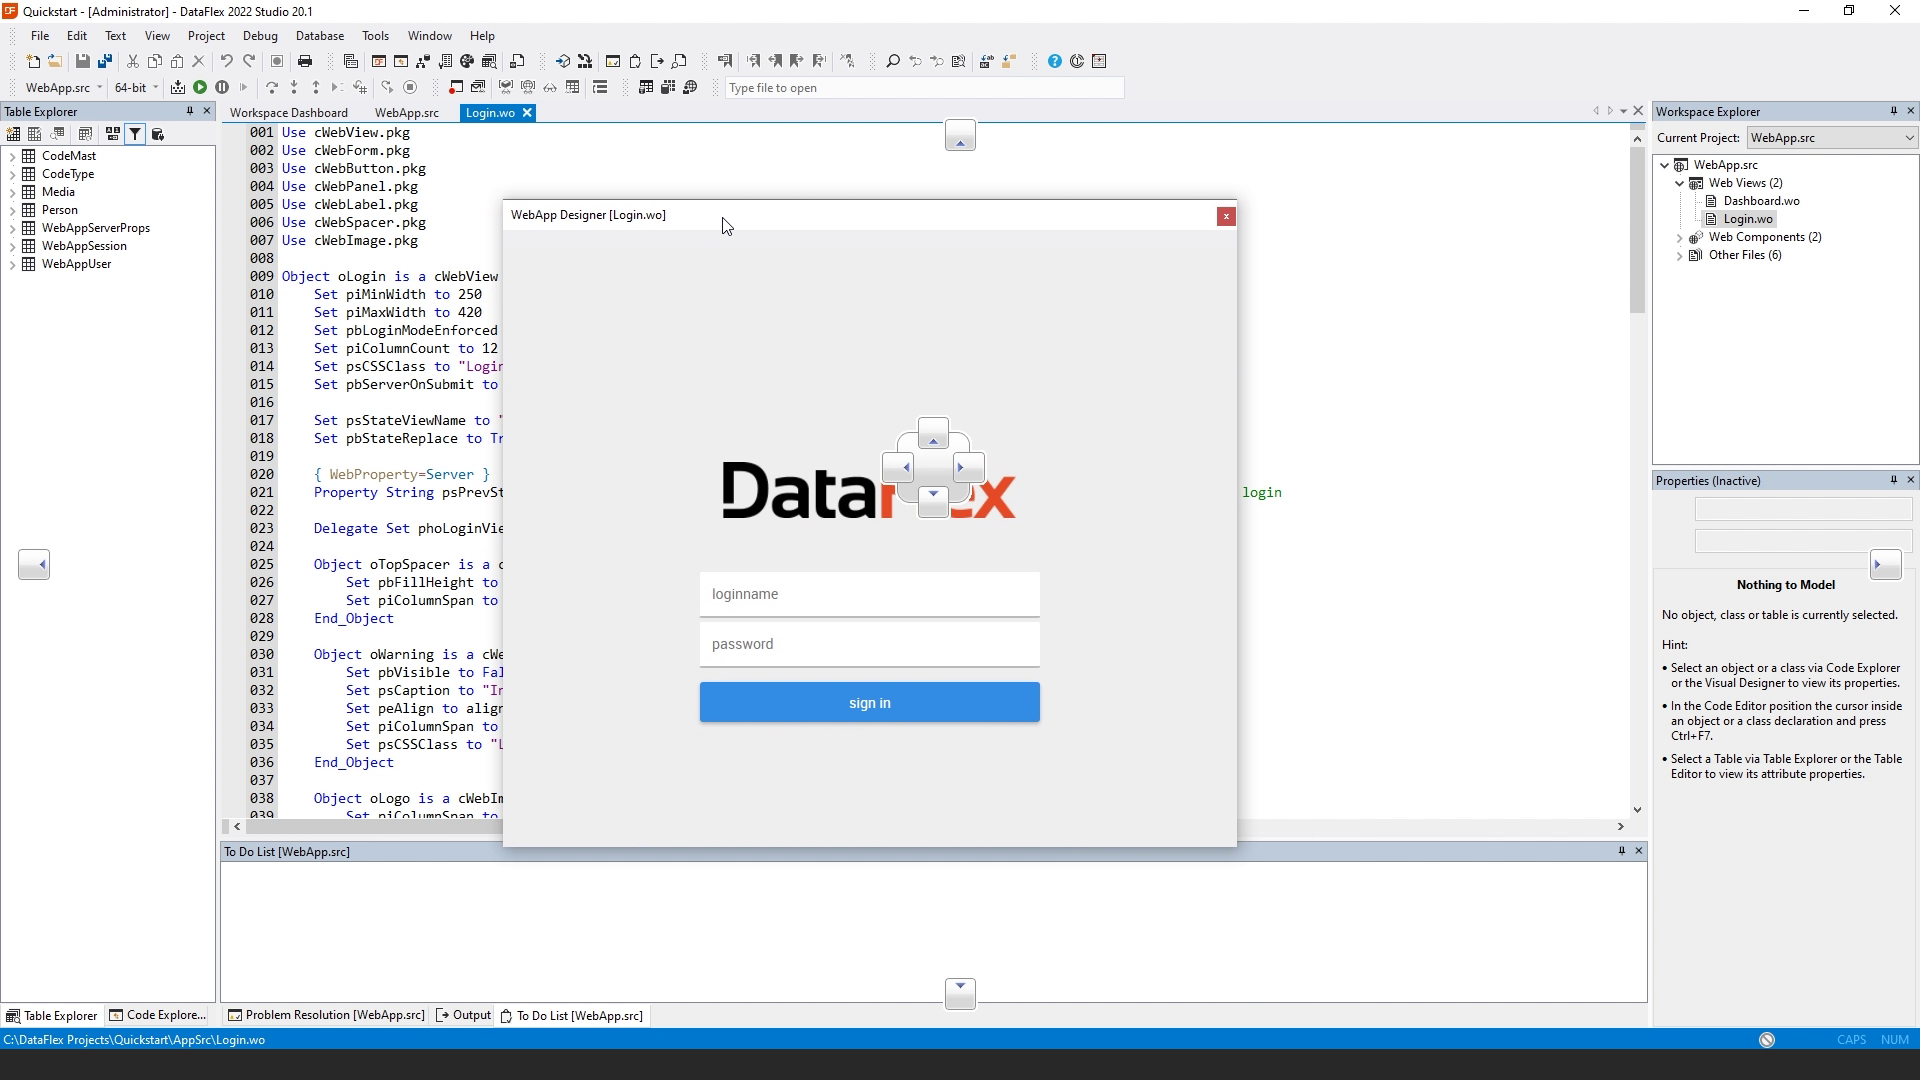
- There are also parts that don't have a user interface, for example, the session manager and the resource manager, which are automatically generated by the wizard.
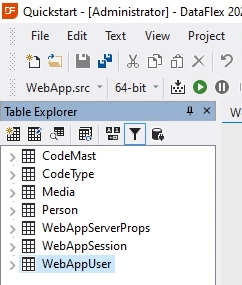
- If we look at the table Explorer, we see that we have three new tables, including the session table and the User table that are going to be used by default.
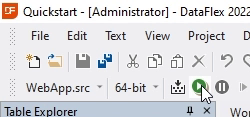
- We can actually run our application now by compiling it.

- And click on Run.
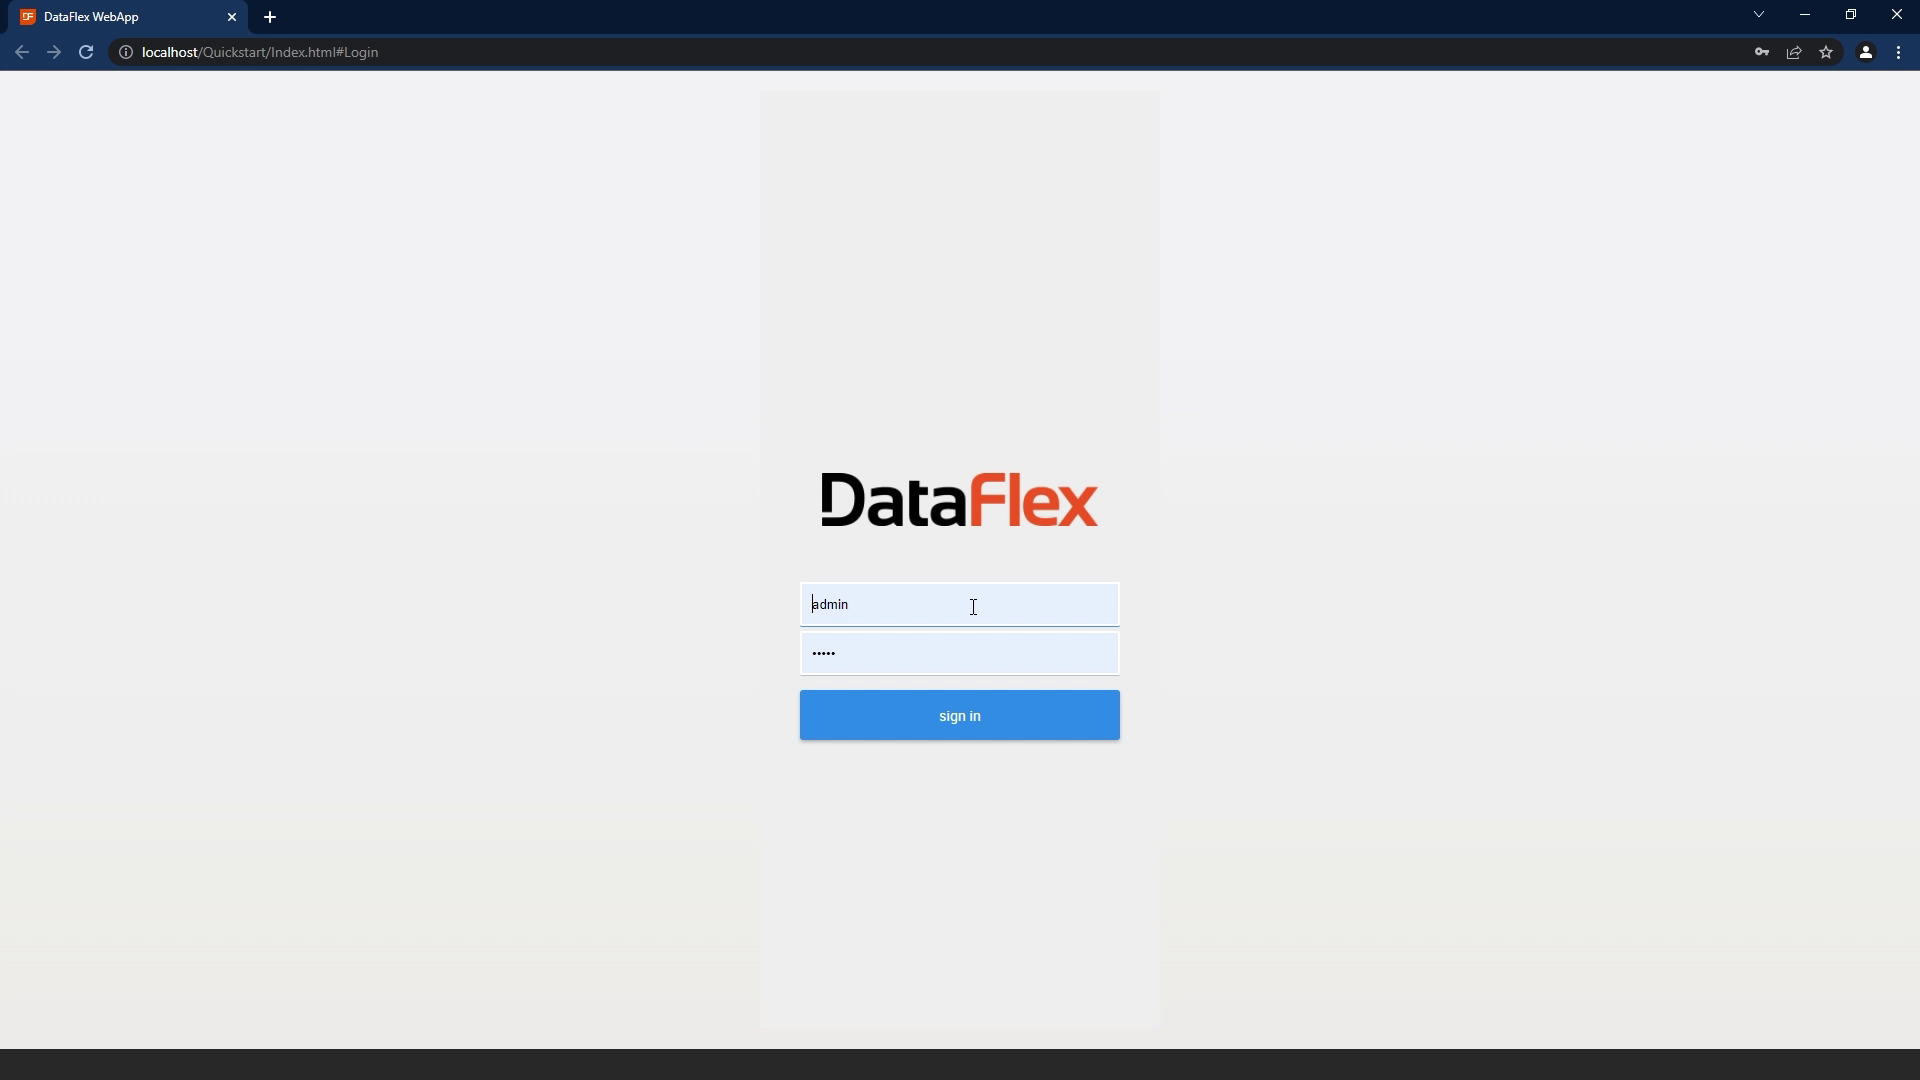
- The browser comes up and we see our login screen. Our user table by default has an admin user, so we can log in using admin and password admin.
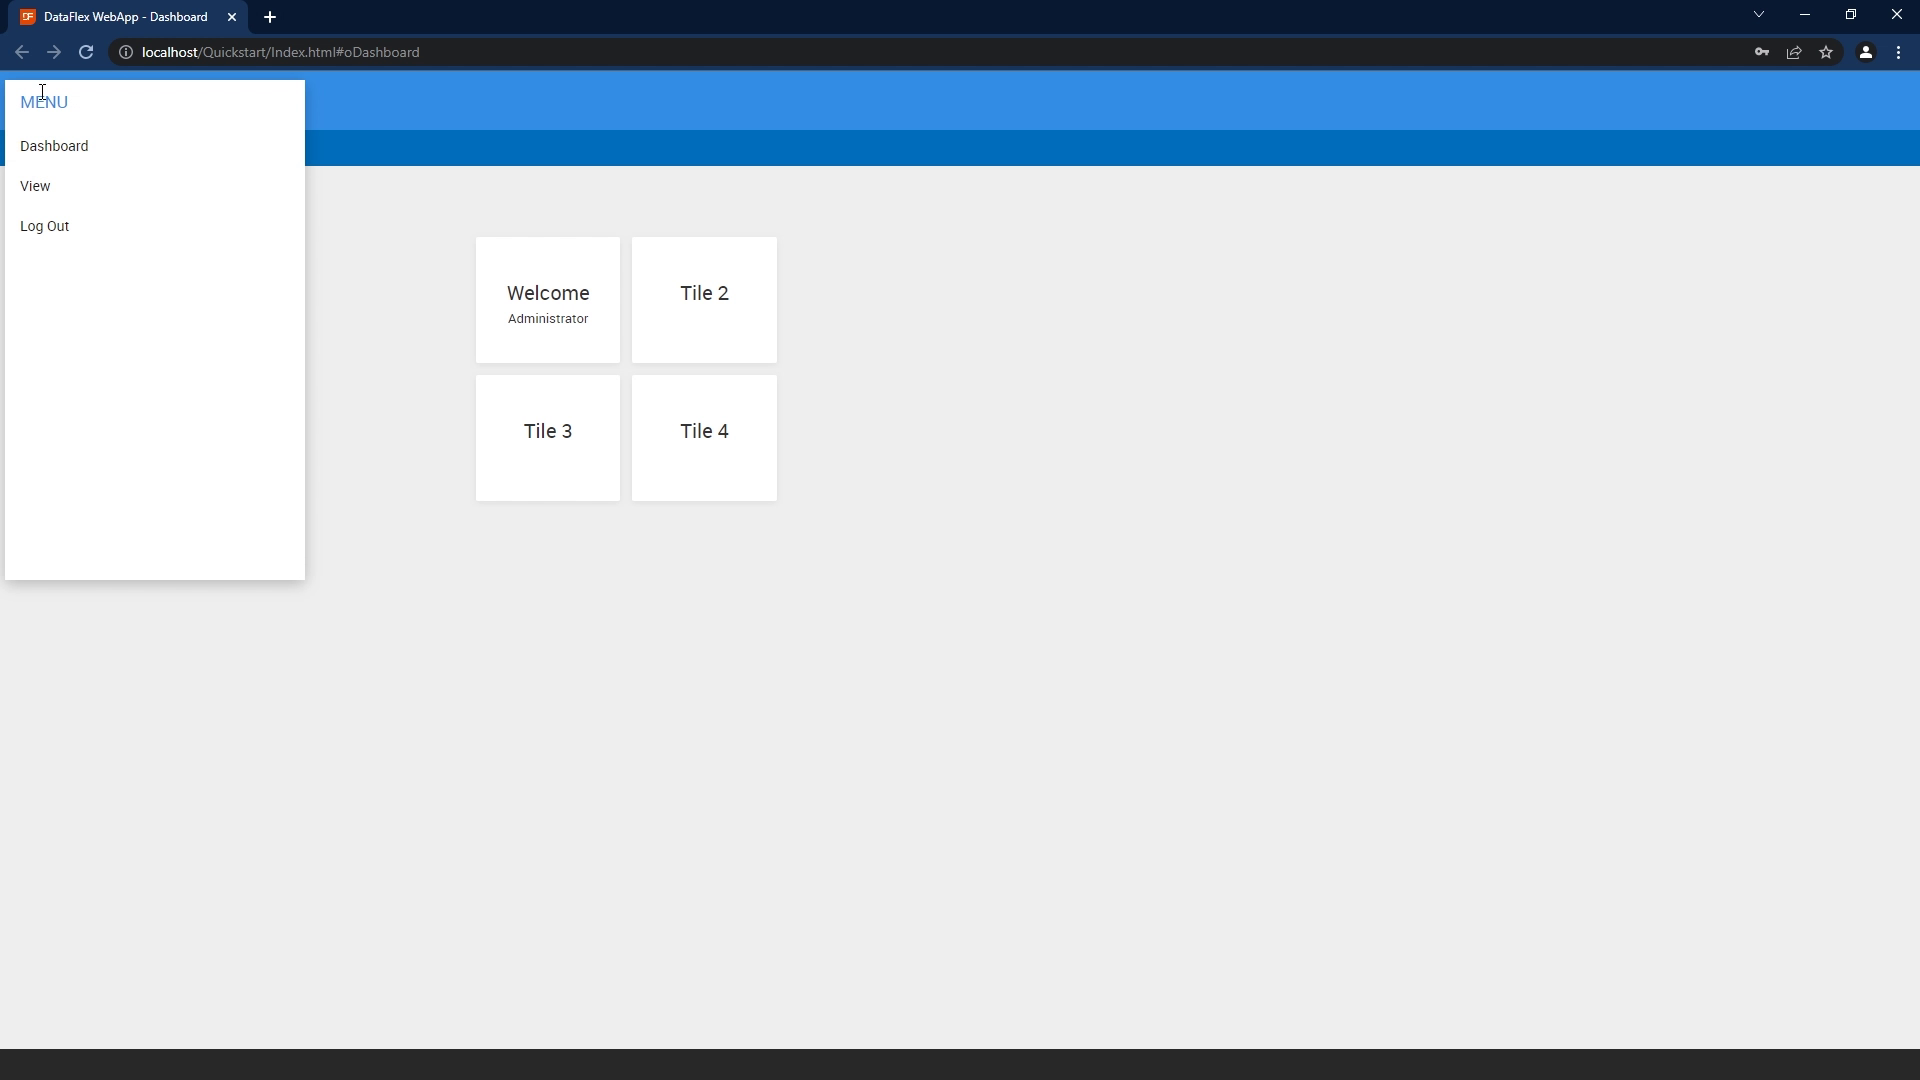
- And the dashboard comes up, you see that we have a menu here with not a lot of content because we didn't implement anything. But here will be our views that we will create and the logout button is already available. So this is the default structure of a mobile drilldown web application within DataFlex.
- Now that we only have created our project, we are ready for the next lesson, which is going to be the generation of our first view.


