Quickstart building a web application (Mobile touch)
Lesson 6 - Create a Person Select View
Now that we have created the zoom view in the previous lesson, in this lesson, we're going to create the person select view. We need the select view to select a record and then get into the zoom view to edit or view that record.
DEMONSTRATION
- First go to New, select the mobile select wizard. It comes up with some explanation. We're going to click Next. And I'm going to enter oSelectPerson. I leave the filename as is. And again, I'm going to change the description, which will be the title of our view. I change it into “Persons”.

- And I'm going to select the person as the main data dictionary for this view and click Next. Again, I'm going to select some fields of the person table. I'm not going to select all of them, just some that will show nicely in our overview. So I'm going to start with last name, first name, and I'm going to show the city in this overview.
- In the next step, it asks us what navigation options we want from the select view. We can choose between Main Zoom, which means that it will go from the select view to a single zoom view. Child Select which means that we'll go from this select view into another select View. Or both, which will provide both navigation options. Even though we selected both, we're going to use only one right now. We're going to implement the other one later. Next.
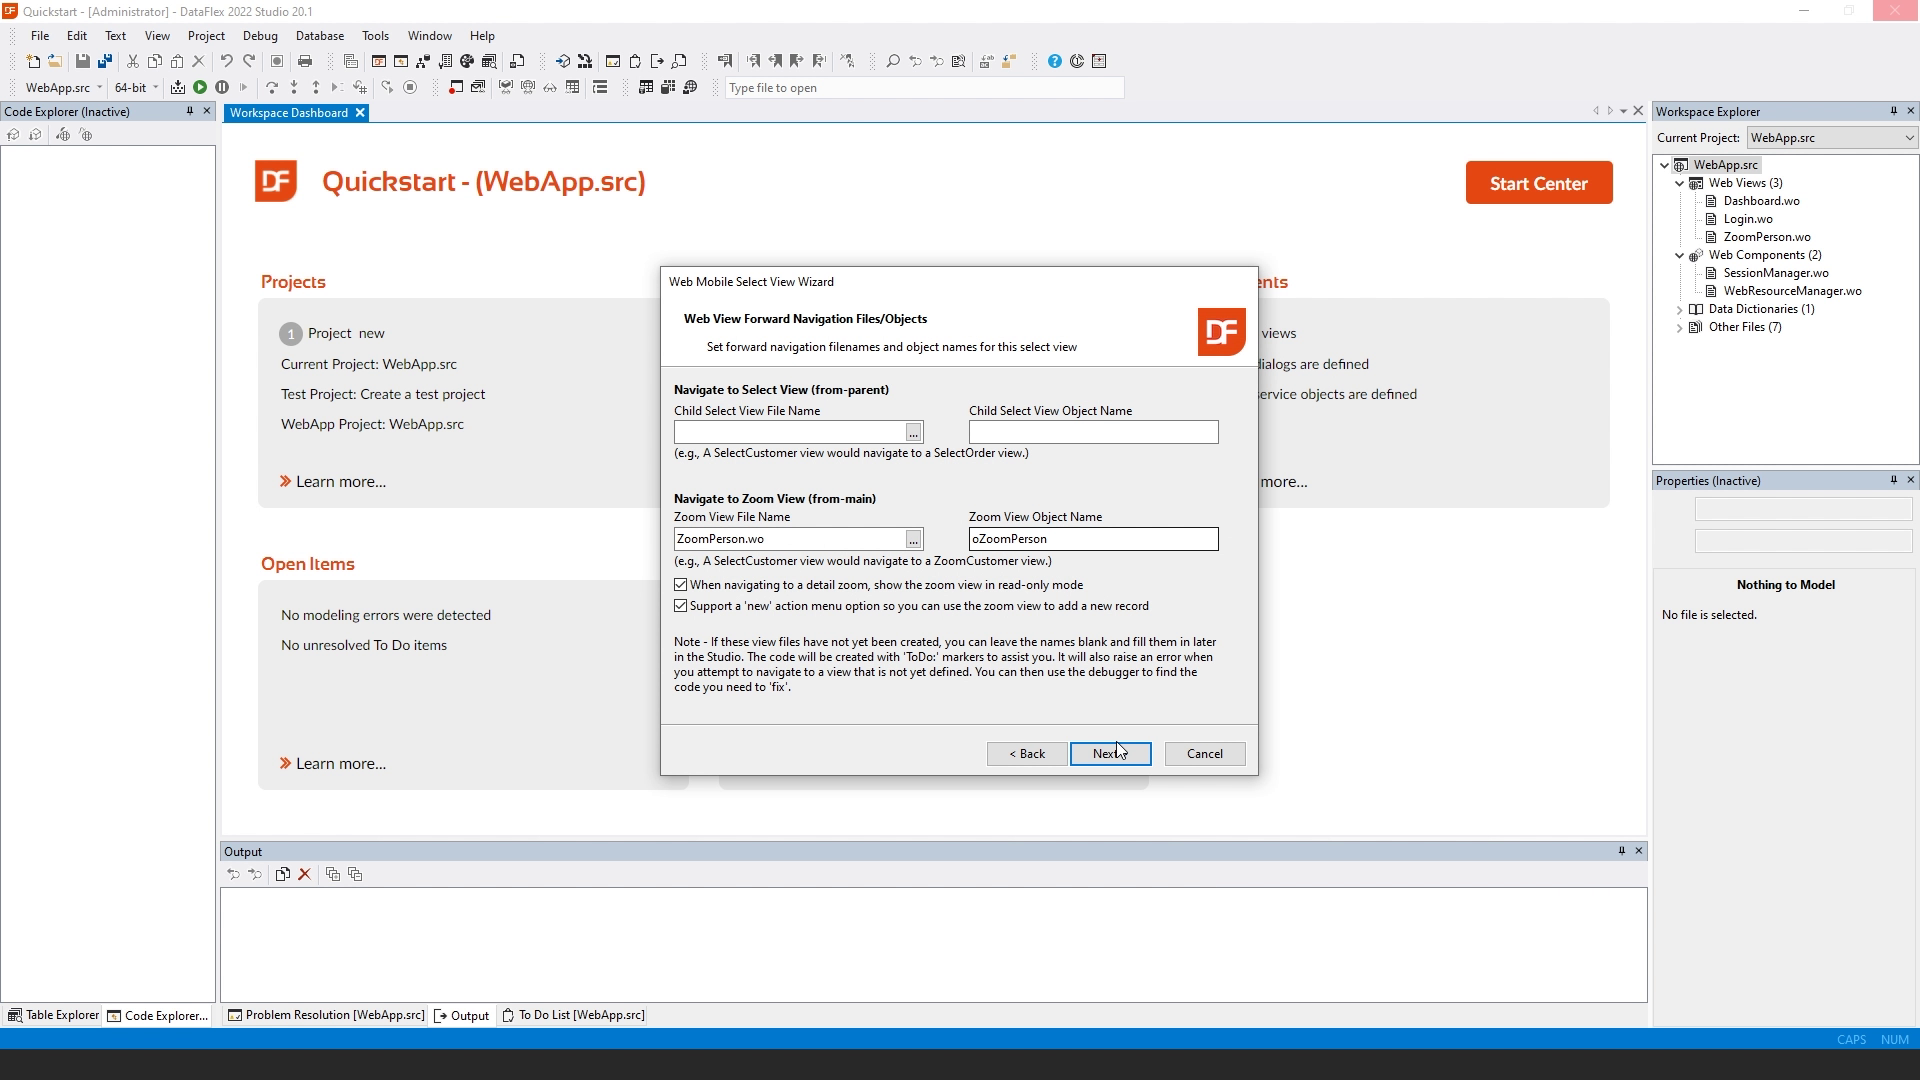
- Now we're going to choose our Navigate to Zoom View, which is going to be zoom person. So I select the file name and it fills out the object name here. I click Next.
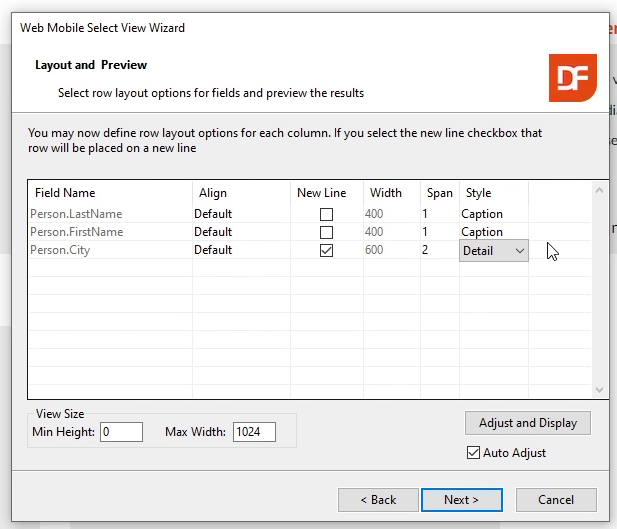
- And now we can change the layout of the select view. The select view is a list. And our list contains several rows. And this is basically the layout of a single row. Within this row you can have multiple lines of data, I'm going to put the city on the next line. And I'm going to have that span both last name and first name which are on the first line. And for each field we can select a style and I'm going to select Caption as the style for last name and first name and Detail as the style for city.
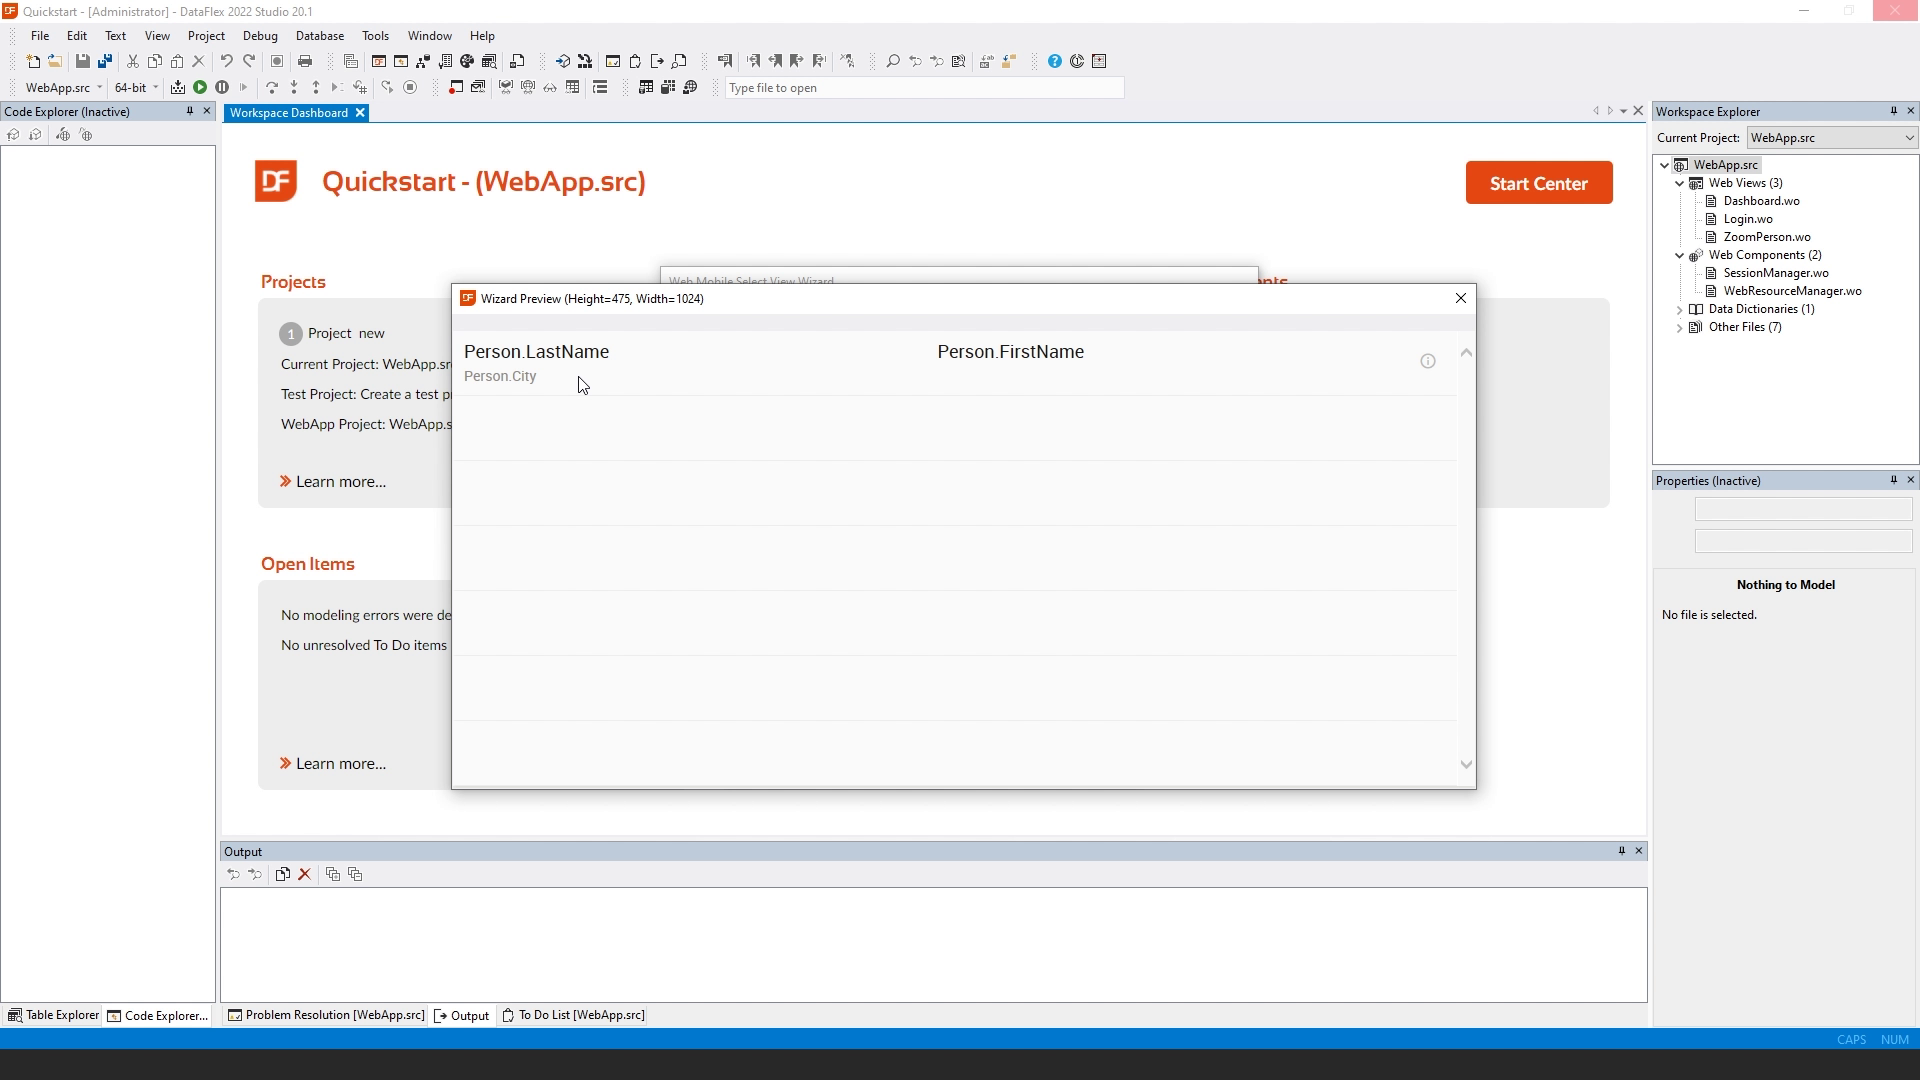
- If you click “Adjust and display”, you see a preview showing a single line with just the field names here, but this is going to be the layout of the select view.
- Now that I'm done I click Next and Finish and it is going to generate the code for the select view.
- Now we are ready to run the select view together with the zoom view and enter our first data.
- So I'm going to start the application, log in again, go to the menu and under “View” it has added “Persons”.
- Our database has no data yet. So we're going to add a new record, and here we see the view that we have created. I'm going to enter the last name and when I try to tab out of the first name, it shows us that this entry field is required. So we have to enter this field. This is because we have set the required data dictionary option for this field for this column.
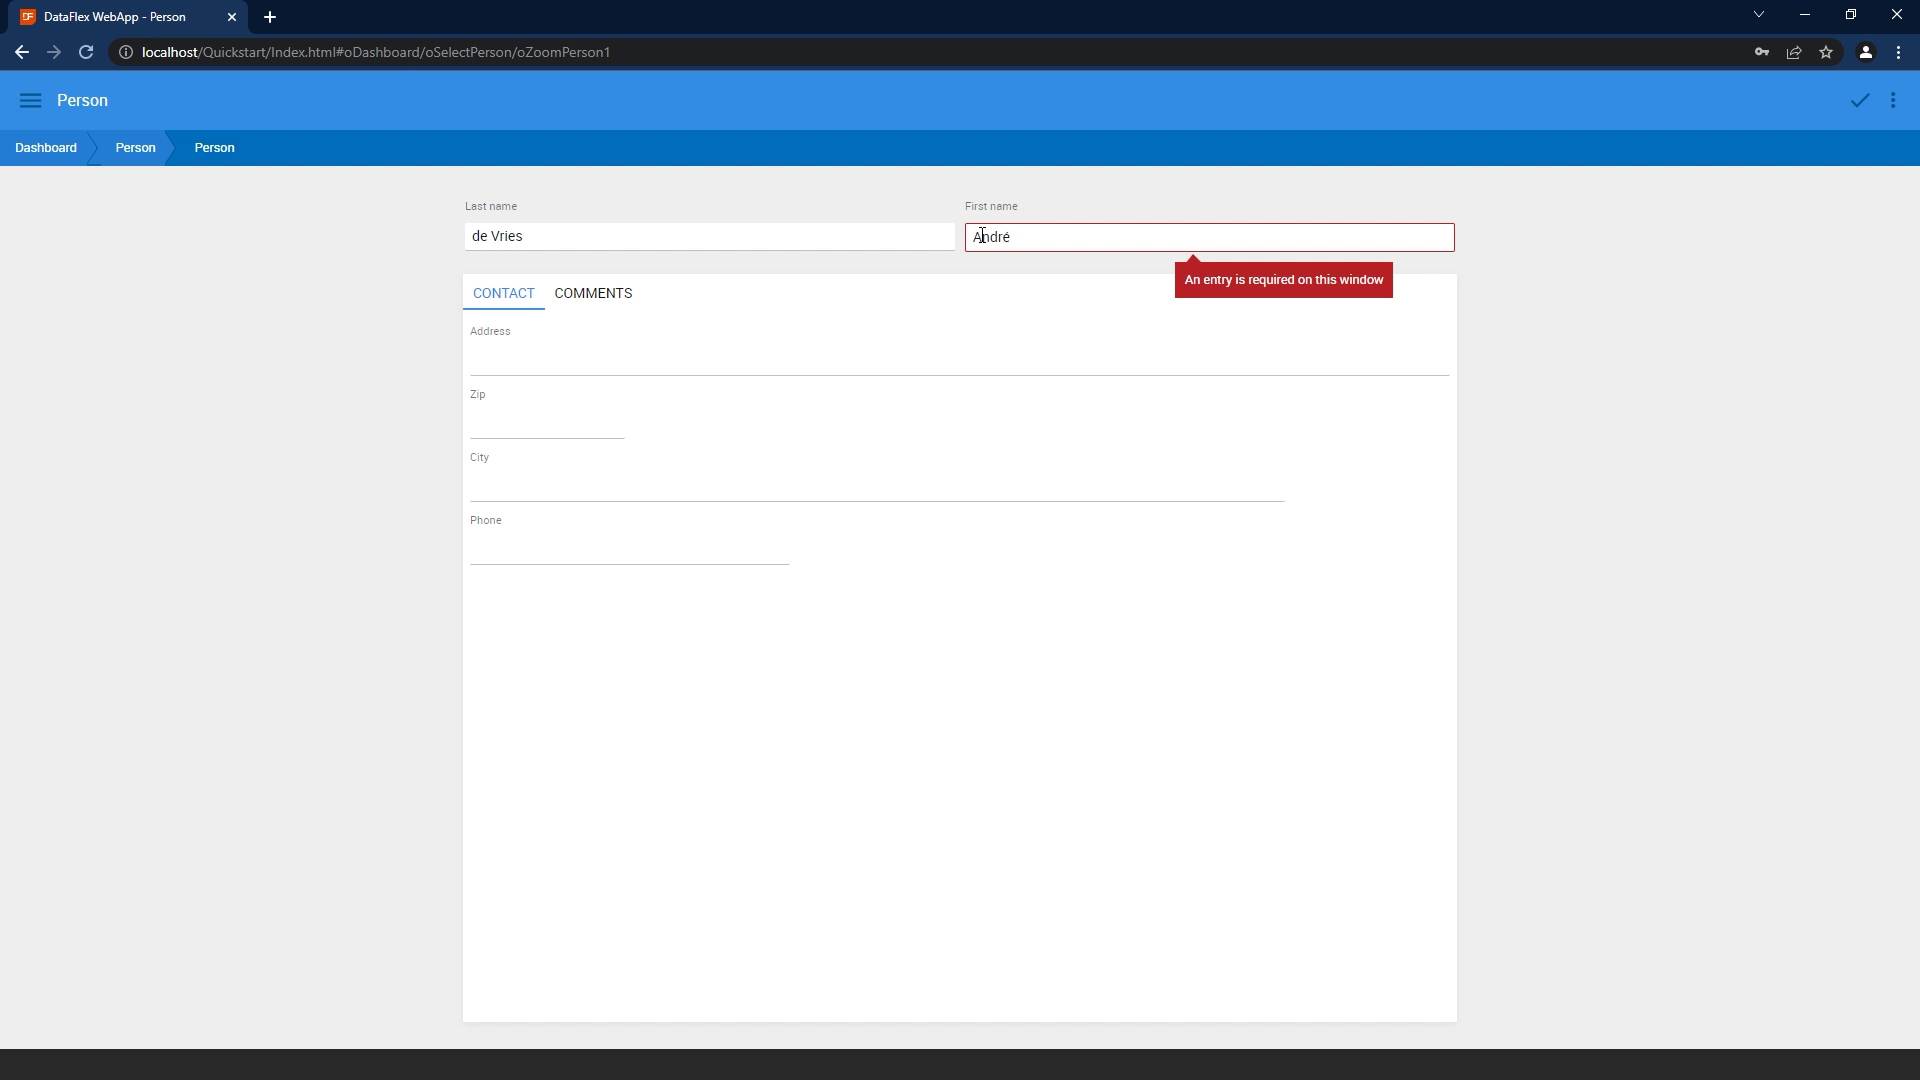
- So when I enter it, I can get out of it. Move on to the next field and fill in data.
- Click here to save it.
- So now we have created a single record. Of course you want to create multiple records. So I'm going to add Steven Meeley, who lives in Richmond and Chip Casanave, who lives in Miami.
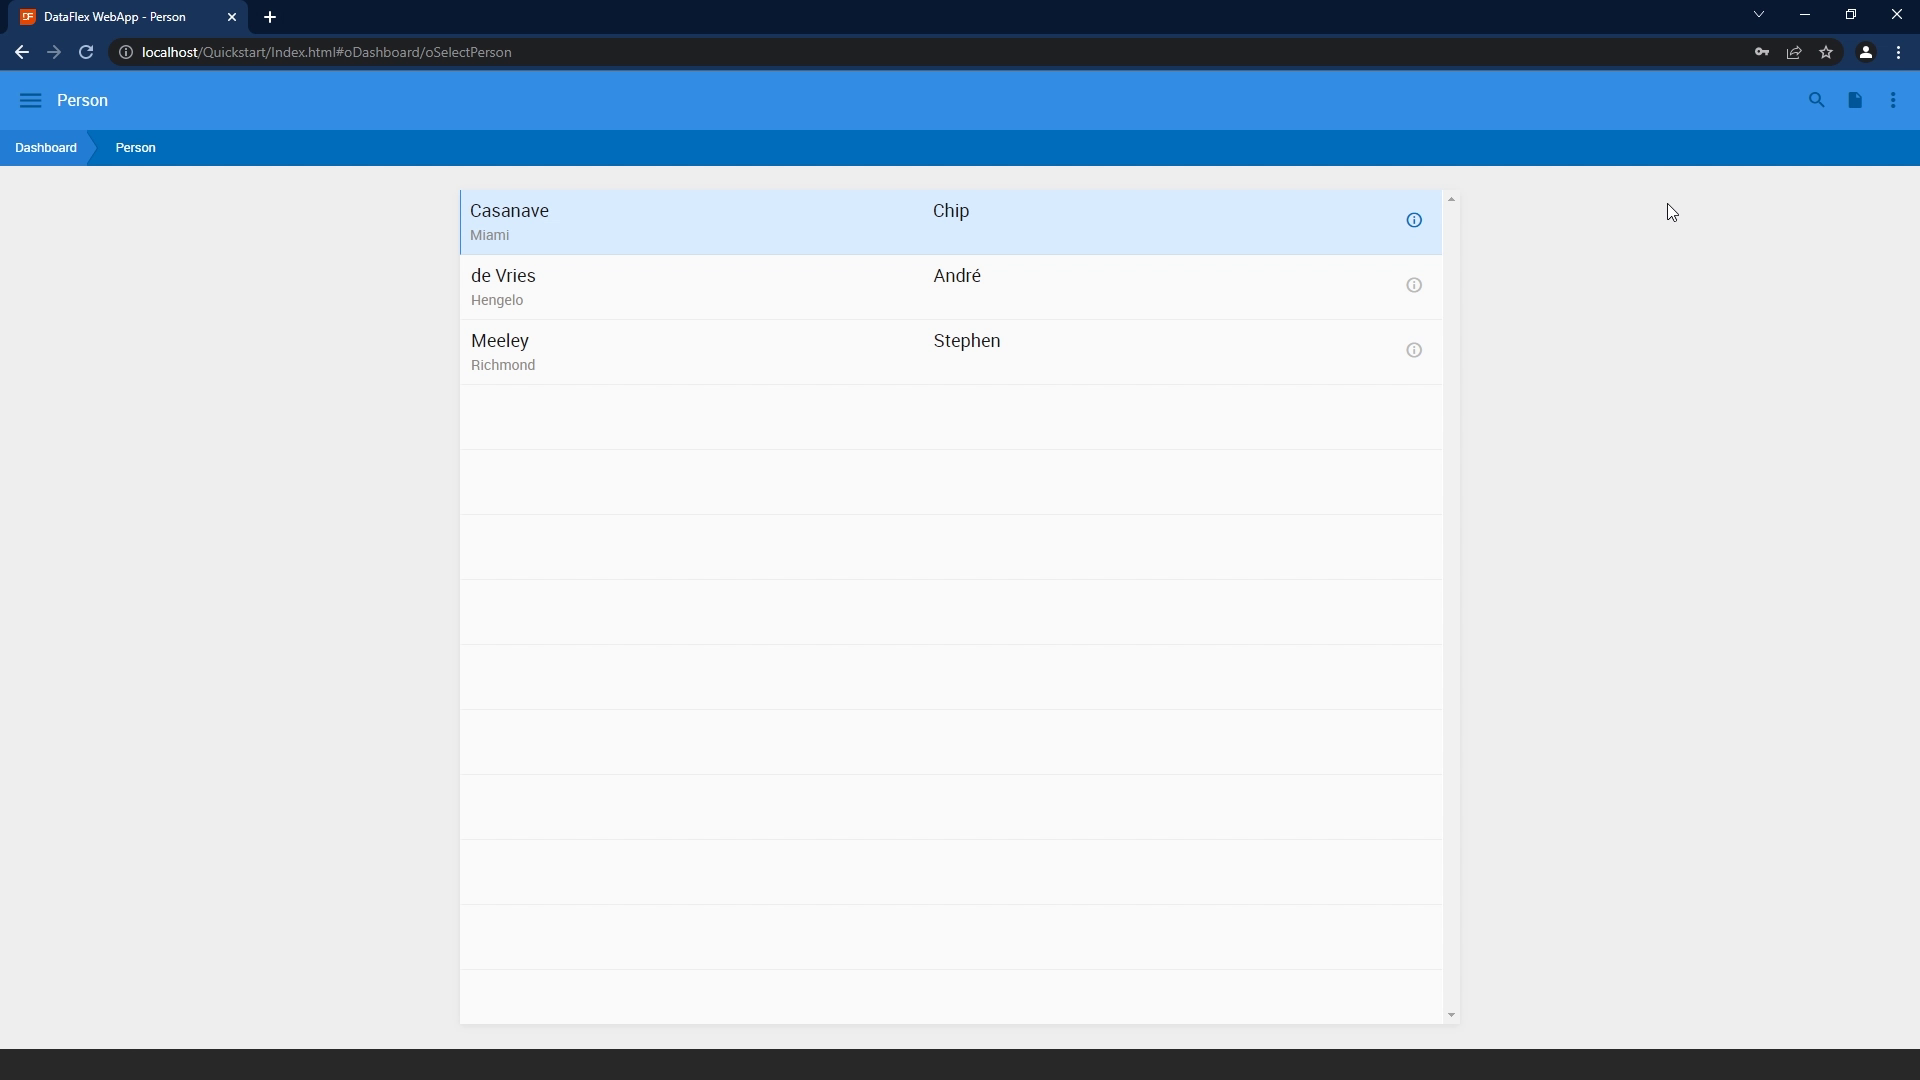
- We can now also open an existing record by clicking on the info button. The record comes up in read only mode. So if you want to edit it now, we have to click the Edit button, or we can just navigate away by clicking in the breadcrumb process.
- Now we have finished the creation of our select View and we are ready for the next lesson, which is going to be the creation of the media zoom view.


