Quickstart building a web application (Mobile touch)
Lesson 7 - Create a Media Zoom View
In the previous lesson, we have added the ability to add and maintain persons. Now we're going to create a zoom view for the media items.
DEMONSTRATION
- I'm going to create new, and select the mobile zoom wizard to create a zoom view for the media table.
- The name will be oZoomMedia. And the description will be Media item.
- It is going to be a simple form, Media will be the main table.
- Because media is related to person, we can select fields from both person and from media. First I add some fields from media. We'll start by adding Title, Author, Type. And I'm going to add a group. And in this group, I'm going to add the Last Name of the Person table.
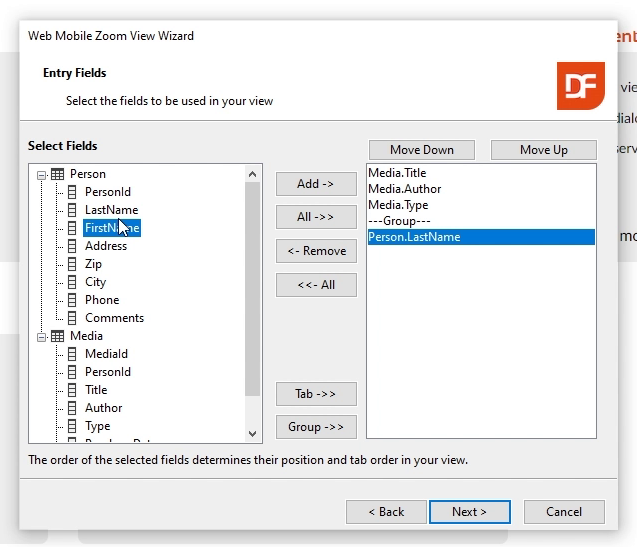
- When I click Next, we can change the specifics of this view. And I can change LastName into last space name and the label of the group into Person.
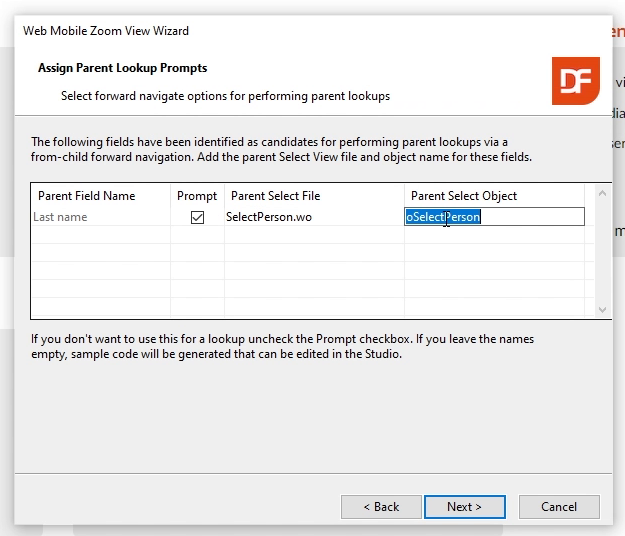
- When I click next, it asks me to assign Parent Lookup prompts. Because last name is a field from person, we can add a prompt here to select a different person. We do this by changing parent select file into select person, and it automatically assigns the object name to oSelectPerson. This way, a prompt button will appear in the LastName field to select a different person.
- I click Next and Finish.
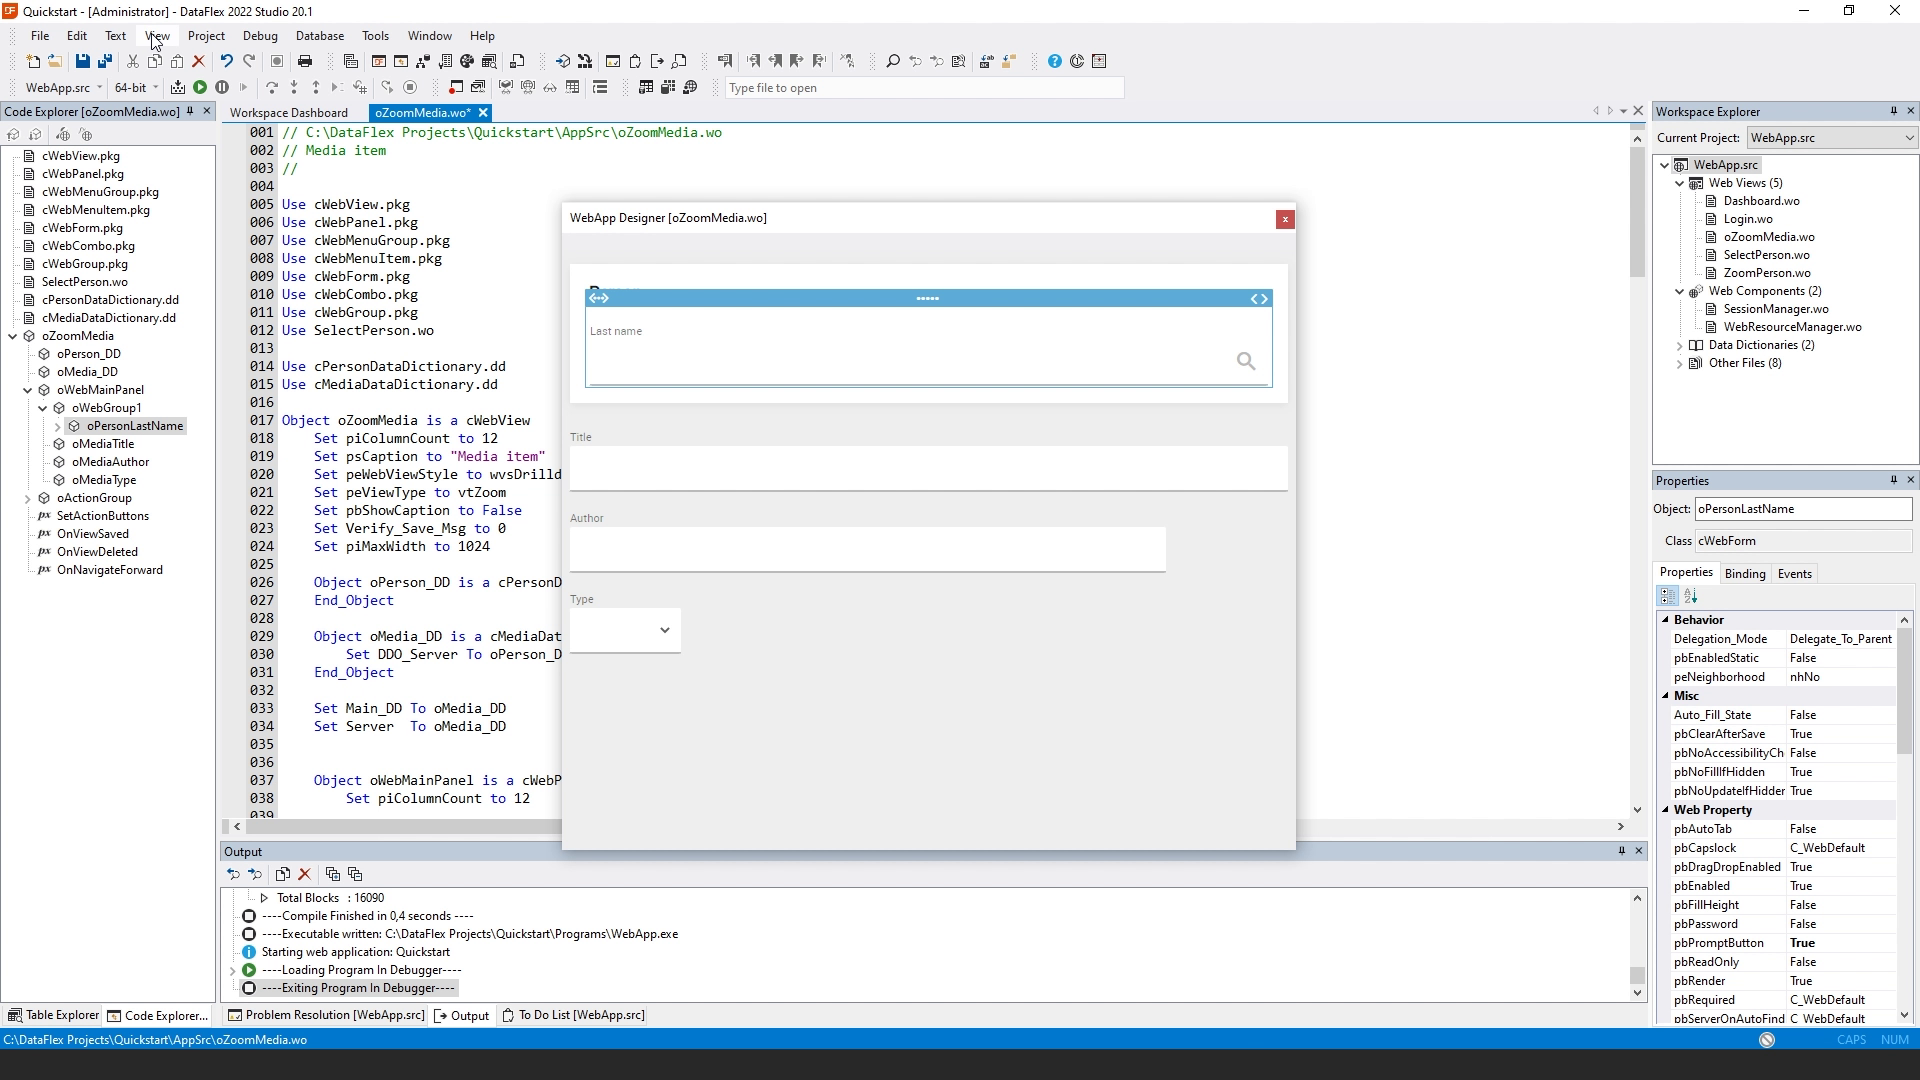
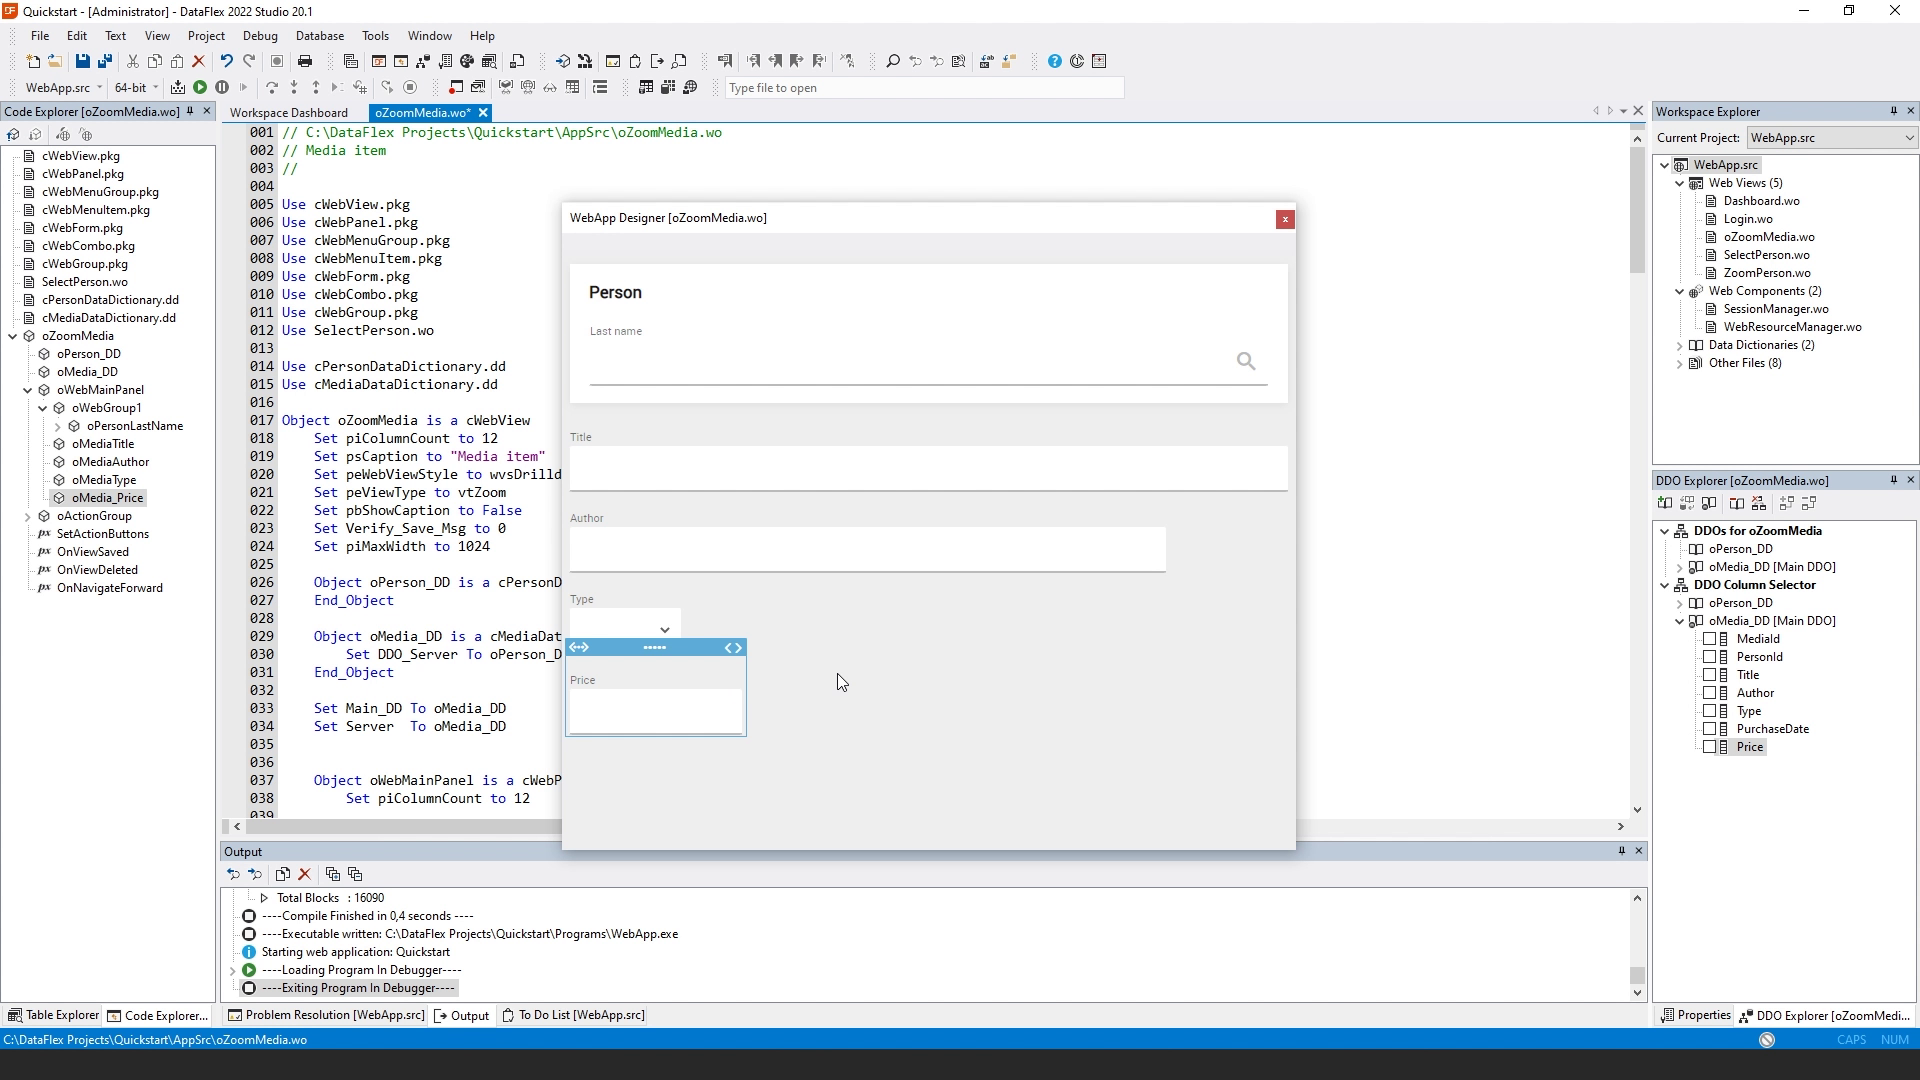
- It generates the view. And if we look at that in the designer, we see what we just have created. The person group is at the bottom, and I want it at the top. So I'm going to rearrange the fields and move person to the top. I'm going to make LastName a bit larger so it spans the full width.
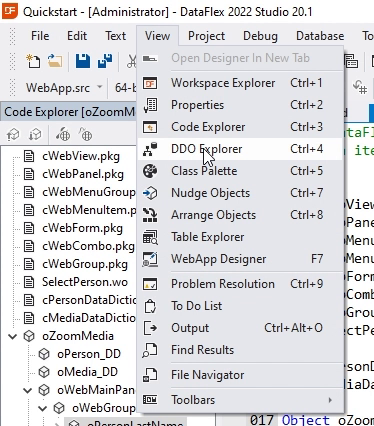
- I also noticed that I'm missing some fields. So I'm going to add those. And the easiest way to add them after you finish the wizard is by using the DDO explorer. DDO stands for data dictionary objects.
- It will show us the data dictionary objects that are available within our view. And the Explorer is a panel within the Studio that shows us the structure. So we have Media and Person.
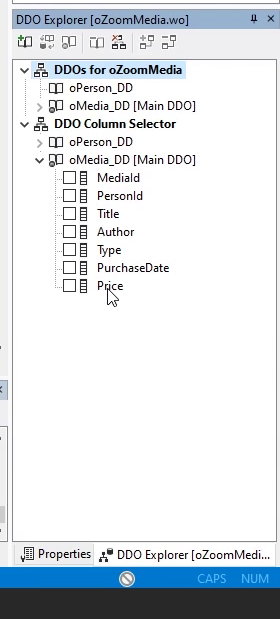
- And I can select columns from the tables. And in this case, I am missing price. So I'm going to select that and drag it onto the view. So now it generates the Price field which is quite large, so I make it a bit smaller.
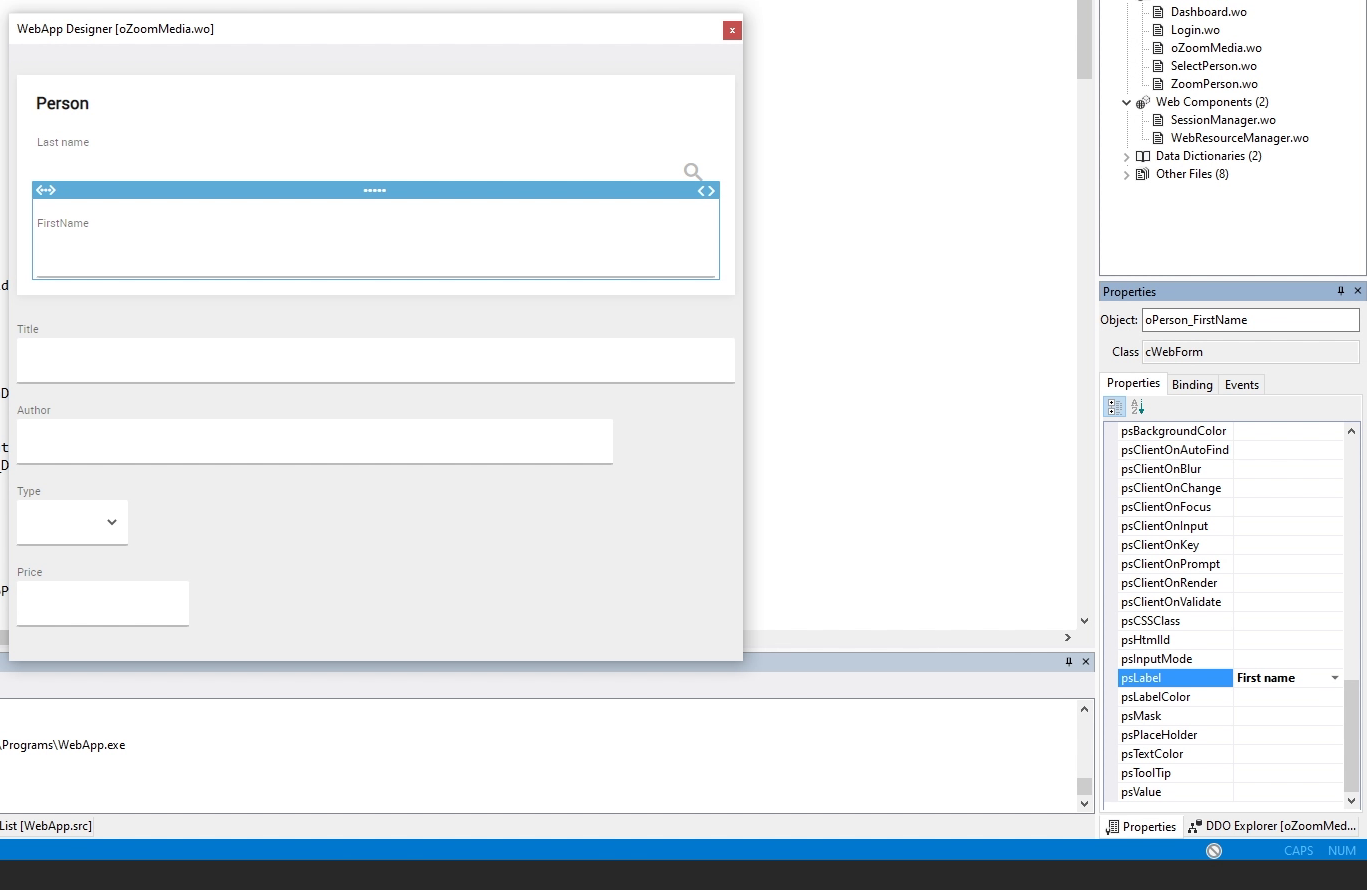
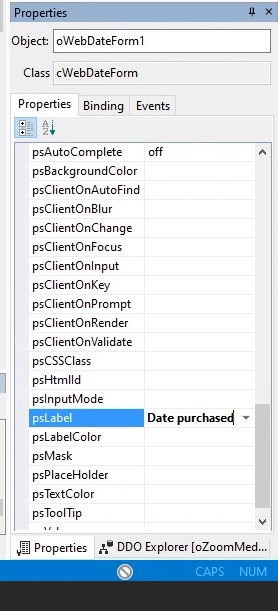
- I can also drag fields from parent tables. So I can also add the first name and drag that into our group. So now we have last name and first name. I can adjust the label by selecting it, and go to properties. And down here is psLabel, which I can change into First name to match the other names.
- Another way to add new controls is by using the class palette. By default, the class palette is not visible. So I'm going to View and Class palette.
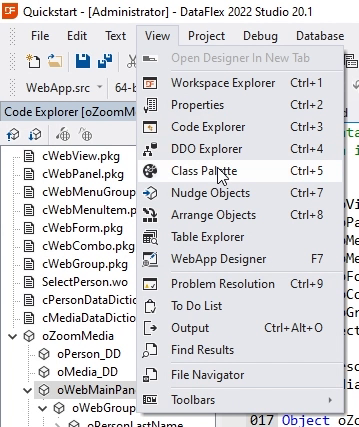
- Now we see the class palette appearing on the left side of the screen.
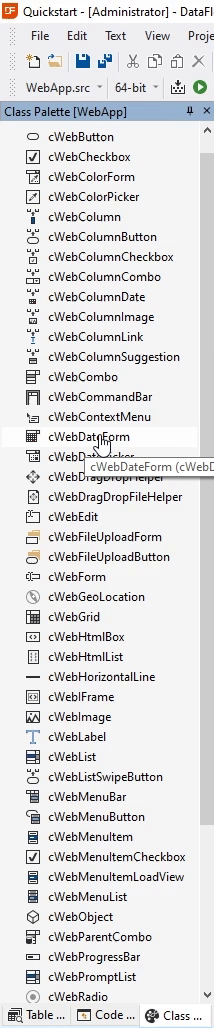
- From the class palette, we can drag controls onto the view.
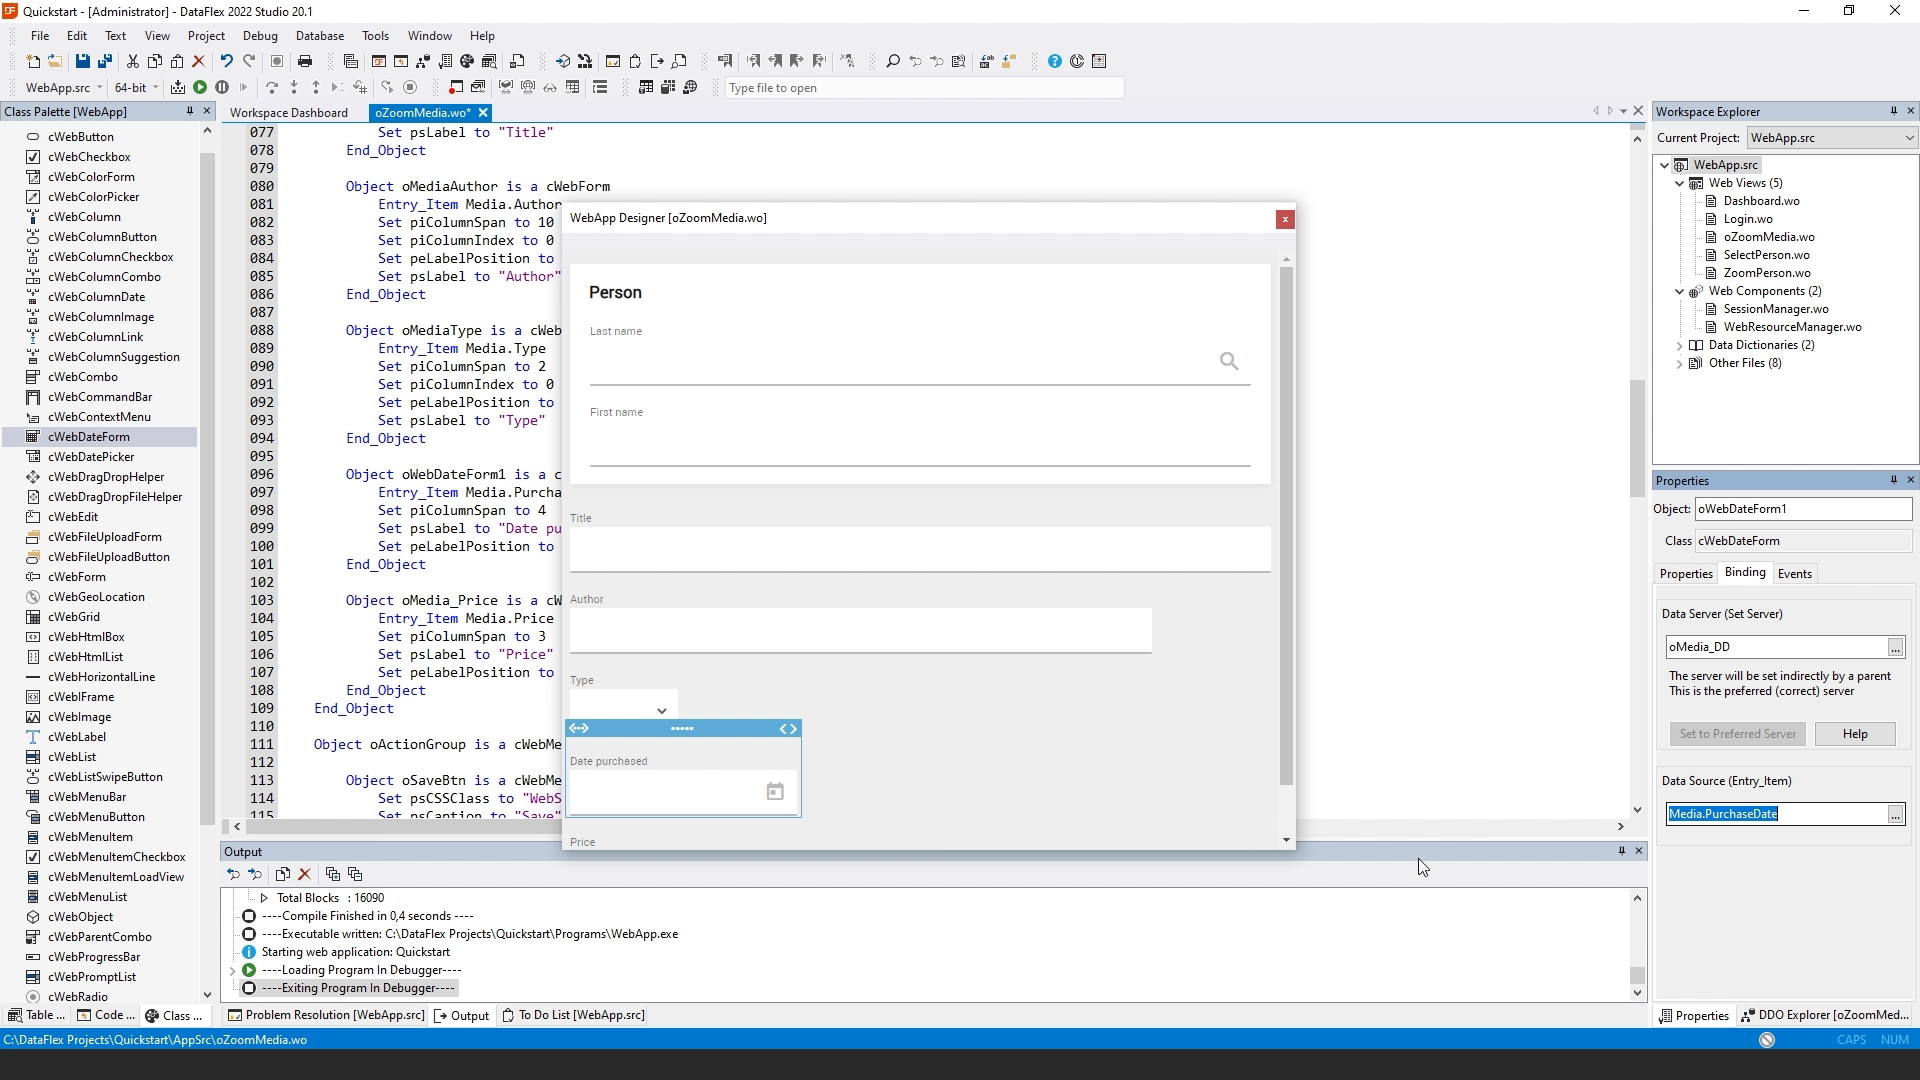
- And I drag the cWebDateForm onto the view. I insert that after type and before price. Now we see a date picker.
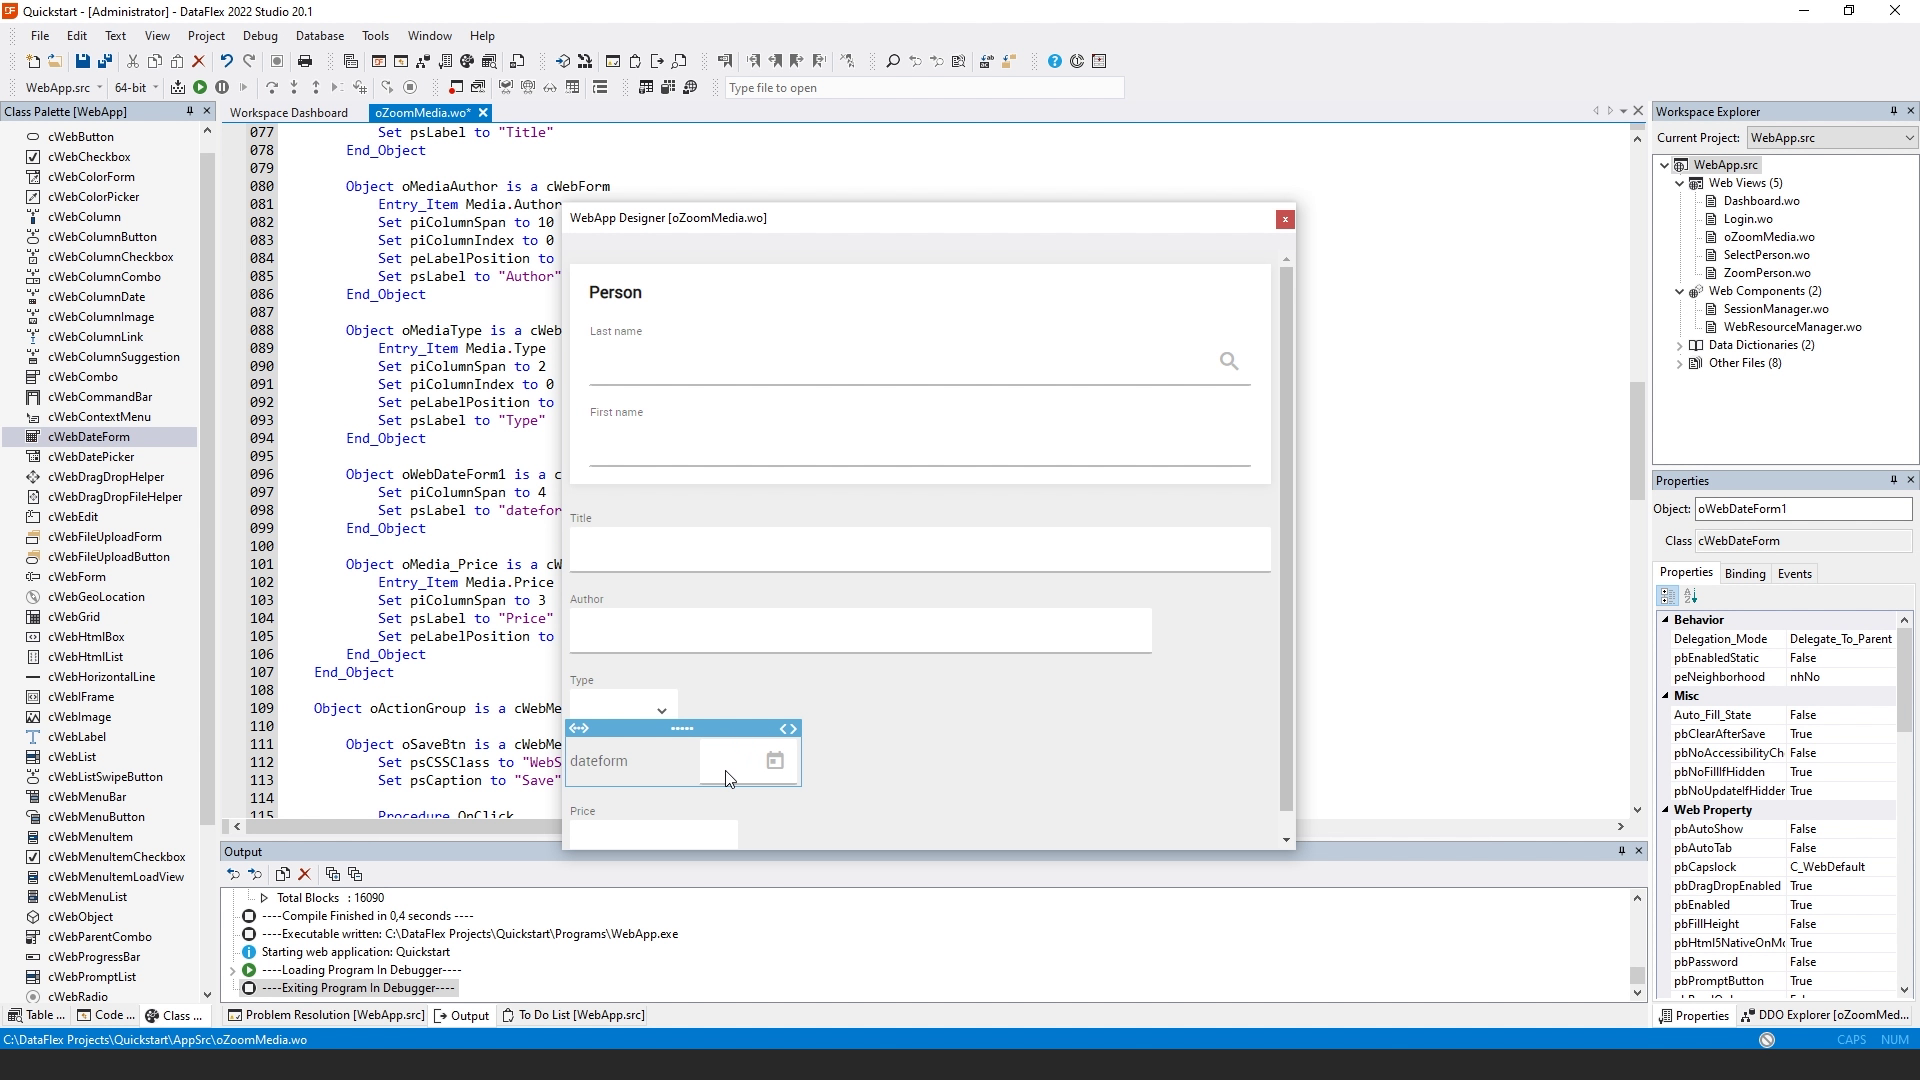
- The date form is basically a form with a date picker icon. And now I'm going to change the label into Date purchased.
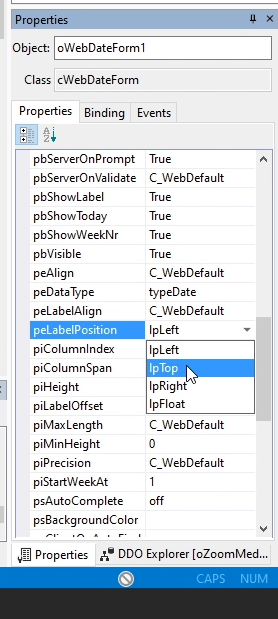
- And I put the label on top like the other views have. For that, I change peLabelposition from left to top.
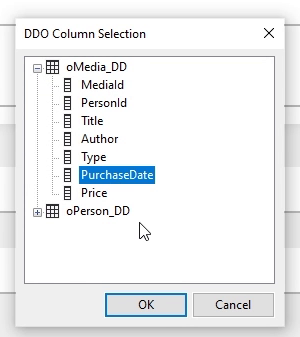
- And I'm going to change the binding of this field.
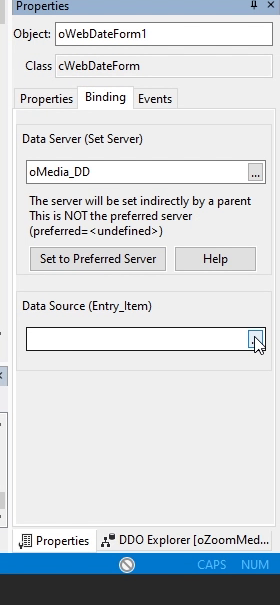
- I bind it to the media PurchaseDate field.
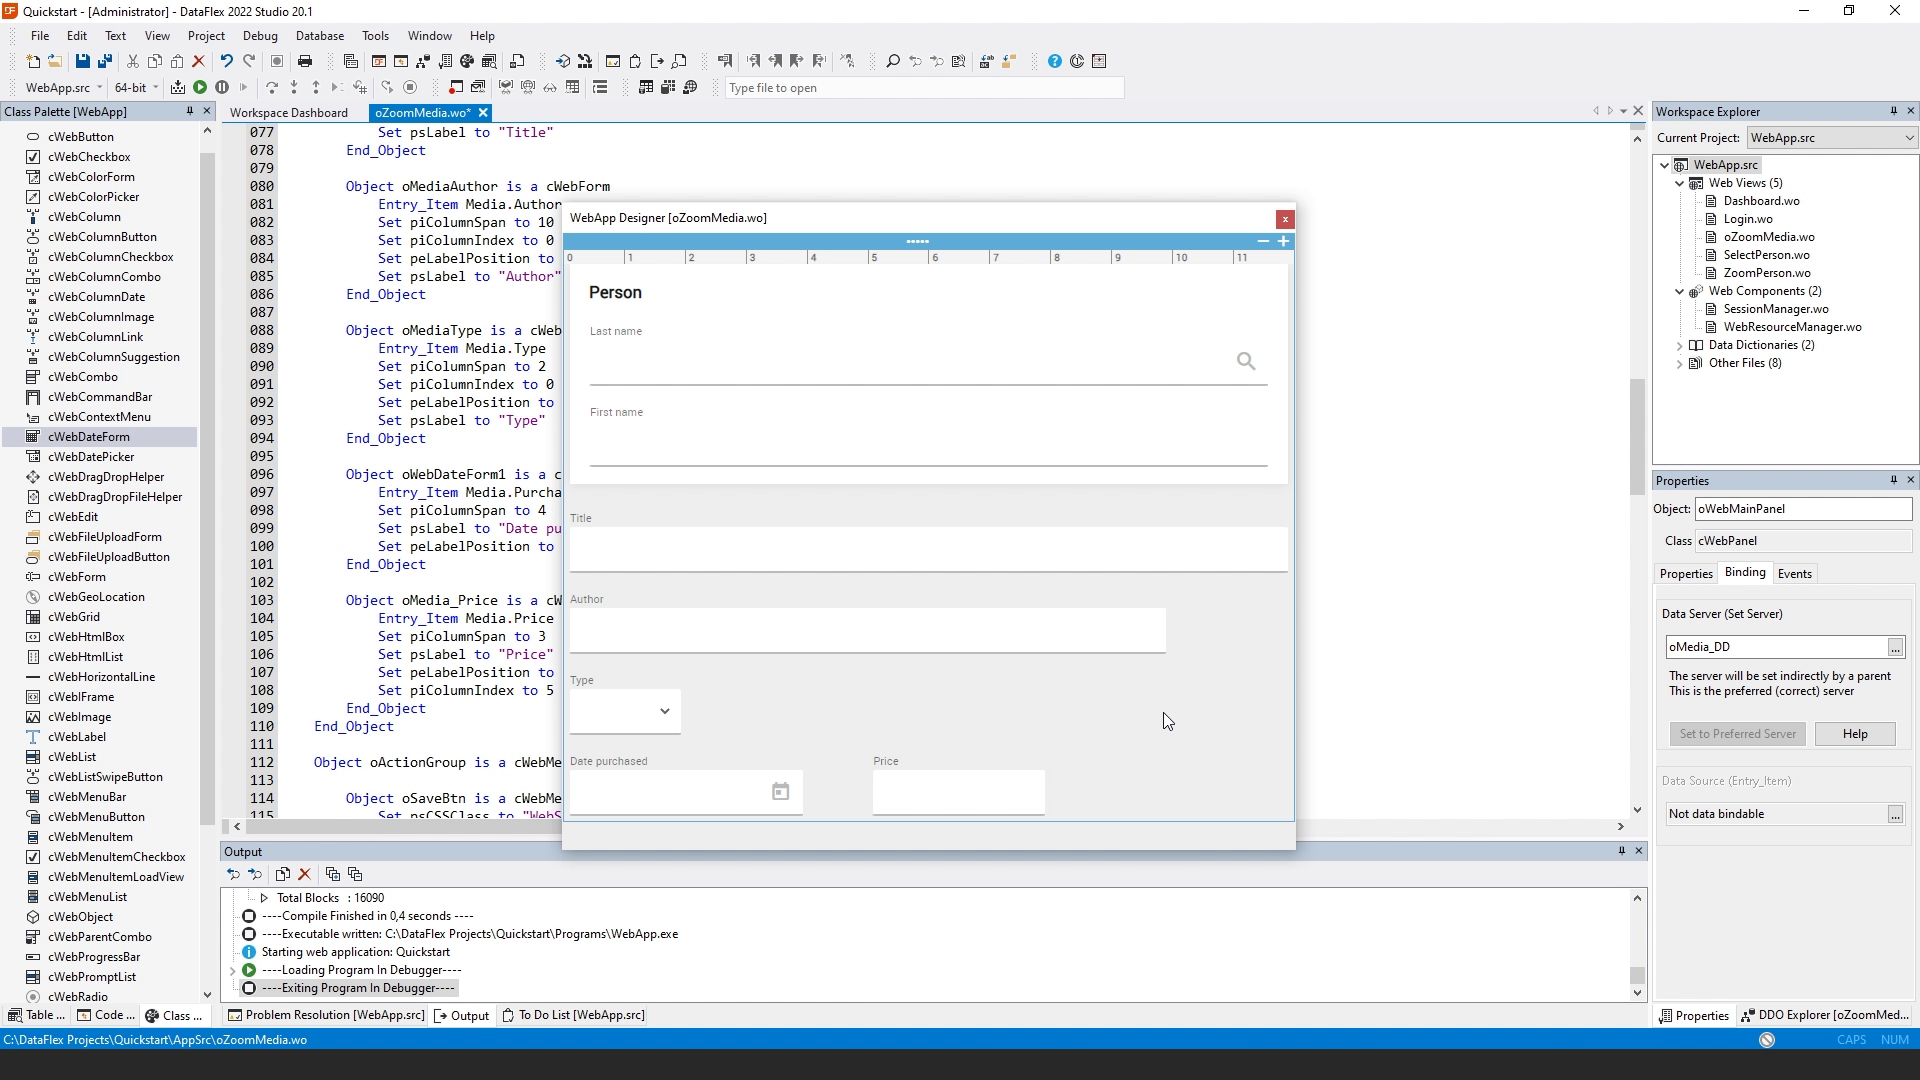
- So now we see that it's bound like the other fields.
- And it will now show the content of this field when we go through the records. And finally I place Price next to Date purchased.
- So this finishes the zoom media view and the next lesson will be the creation of the media select view.


