Quickstart building a web application (desktop style)
Lesson 4: Creating the Person table
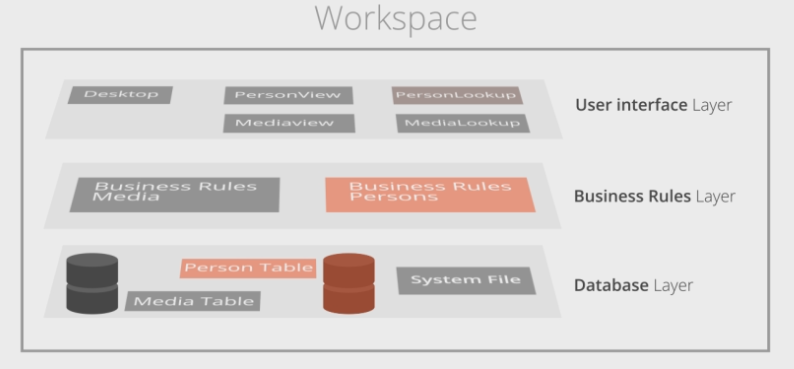
Now it’s time to start building the actual application. The first goal is to build the person view, to do that the following steps need to be followed:
- Define the person table, which is part of the database layer.
- Define the business rules on top of the person table. The business rules will configure how the view will display its fields and specific properties of that view.
- Create the view, by using the wizard.
- Run the application.
- Add the lookup, the dialog that helps to easily select records.
Person table
- Click on Create new table to create the person table.
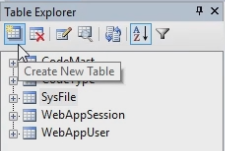
- Enter the name of the table, in this case Person.
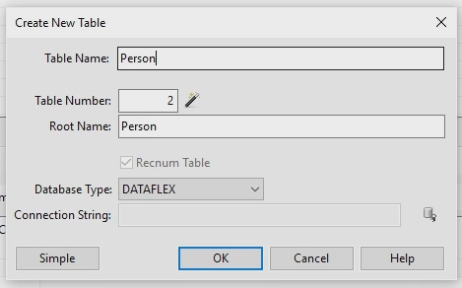
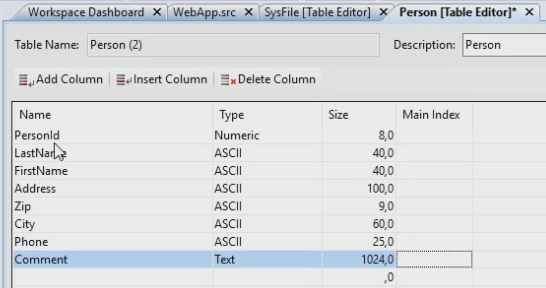
- Fill in the fields of the table, in this Quickstart:
- PersonId, Numeric, 8,0
- LastName, ASCII, 40,0
- FirstName, ASCII, 40,0
- Address, ASCII, 100,0
- Zip, ASCII, 9,0
- City, ASCII, 60,0
- Phone, ASCII, 25,0
- Comment, Text, 1024
- The fields of the table have been defined, now we will add the indexes.
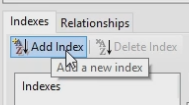
- Click on Add Index for adding more indexes.
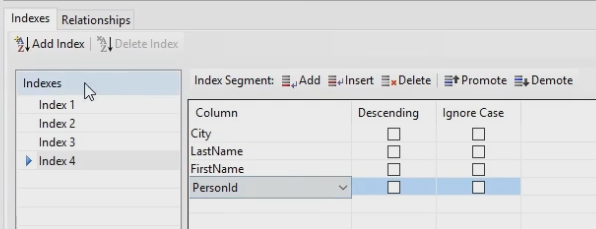
- Index 1: Add PersonId by column.
- Index 2: Add LastName, FirstName and PersonId. That allows searching for LastName. PersonId is needed to make it unique.
- Index 3: Add FirstName, LastName and PersonId. That allows searching for FirstName.
- Index 4: Add City, LastName and FirstName. That allows searching for City.
Business Rules
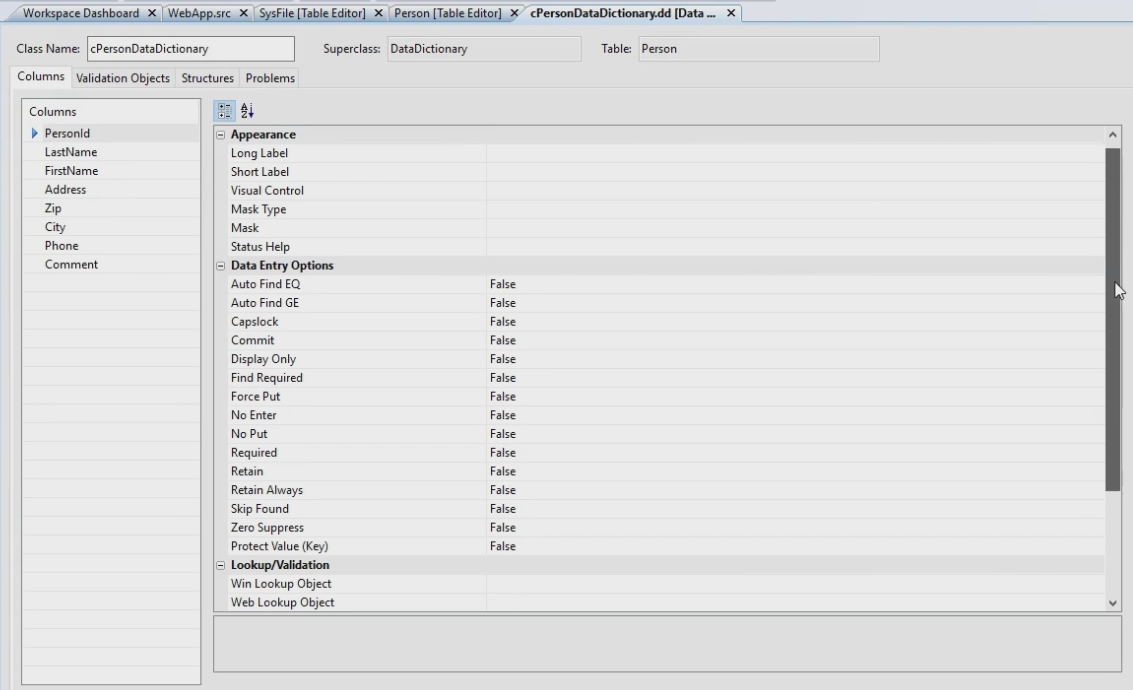
- Expand Person in the Table Explorer, select cPersonDataDictionary.
- A list with Business Rules opens.
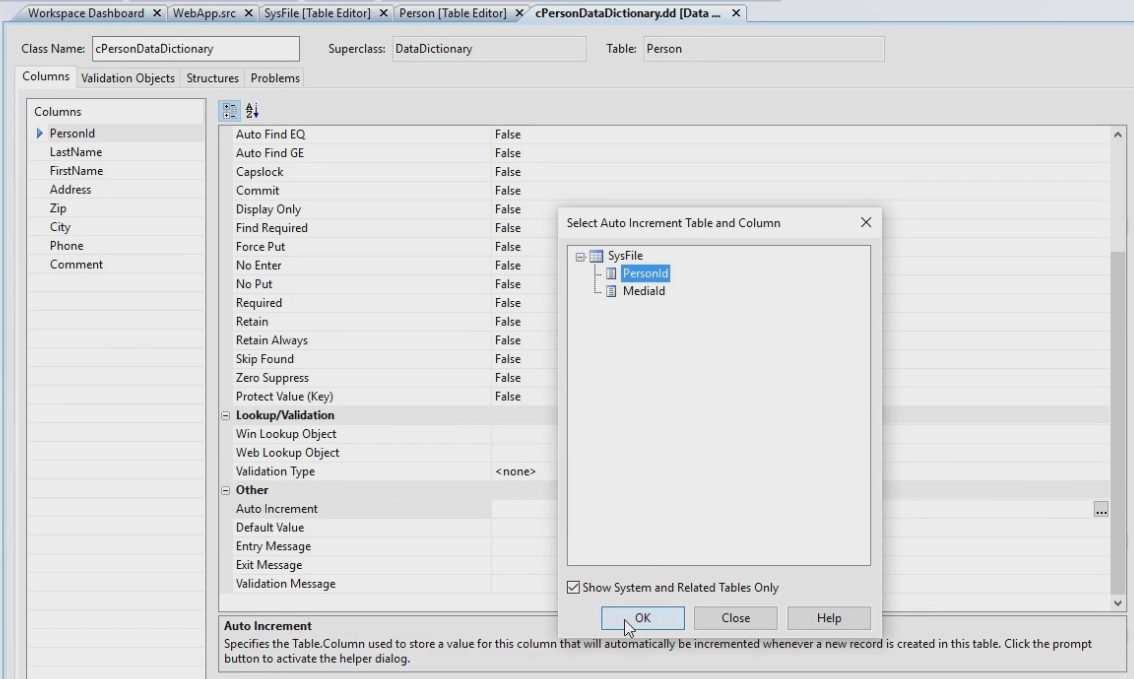
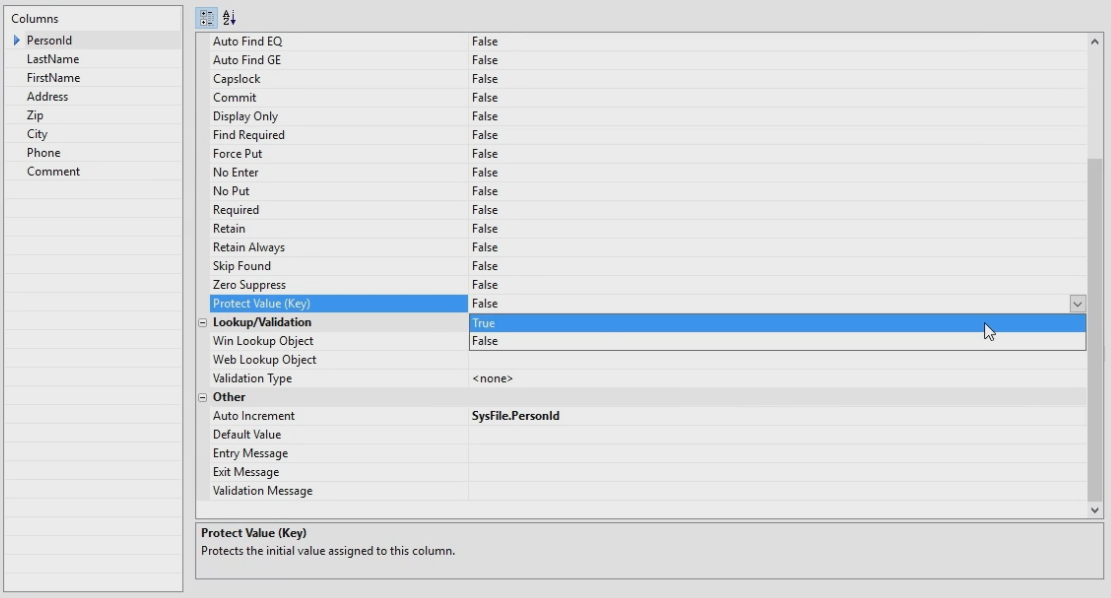
- First set the Auto Increment field. Click on the buttons next to Auto Increment and select PersonId. Now the application knows that it has to use this field to determine the next PersonId.
- Mark the PersonId as a protected value preventing the user from editing it after it has been generated. Set it to True.
- All Business Rules for PersonId are set. Click on LastName to set the Business Rules for LastName.
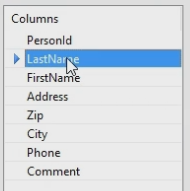
- We want all of our records to have a LastName, so double click on Required to set it to True.
- Do the same for the FirstName. Select FirstName in the Columns panel and double click the Required field.
- Do the same for City, because that’s also one of the Indexes.
- Save the Data Dictionary by clicking the Save icon.
Person View
- Click the Create New button.
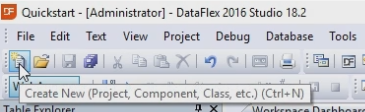
- Select the Web View Wizard. This will generate the view.
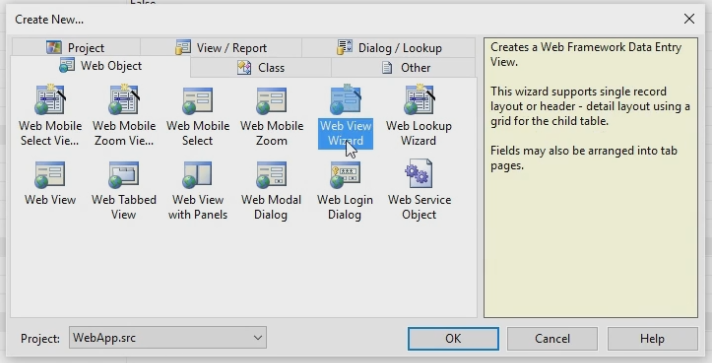
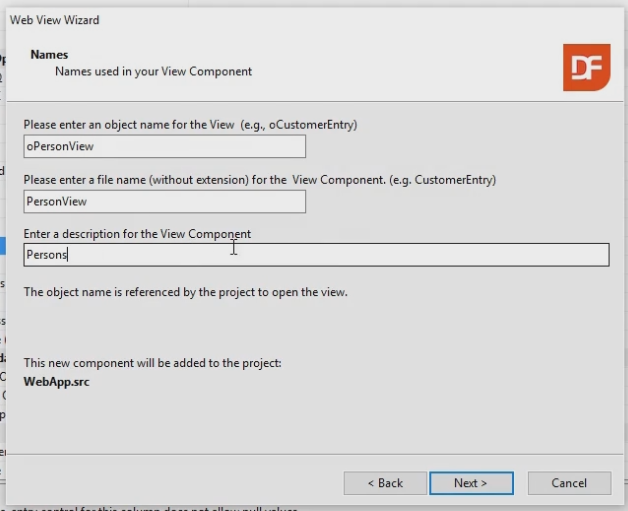
- First step is to create a name for the view. In this Quickstart: oPersonView.
- On the next step choose the Simple Form Web View. There is also the option Header/detail Web view, a more advanced option. For this Quickstart choose the Simple view.
- Select Person as the main table for this view.
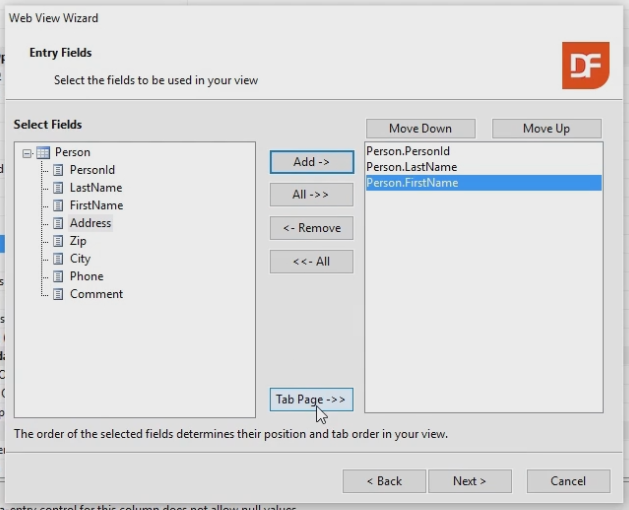
- On the next step select the fields that will be used in the view. Click on the view that needs to be added and click Add. In this Quickstart select:
- PersonId
- LastName
- FirstName
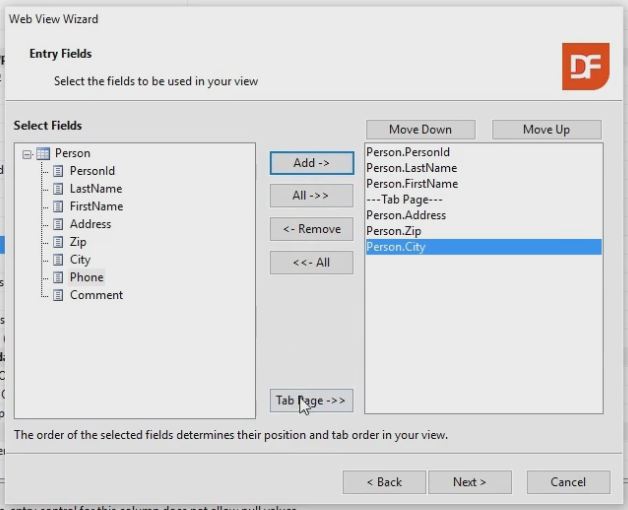
- Ad a Tab page by clicking on the Tab page button. This will add a new Tab Container and the next fields will be on the first tab of that container.
- Add the fields Address, Zip and City under that containter.
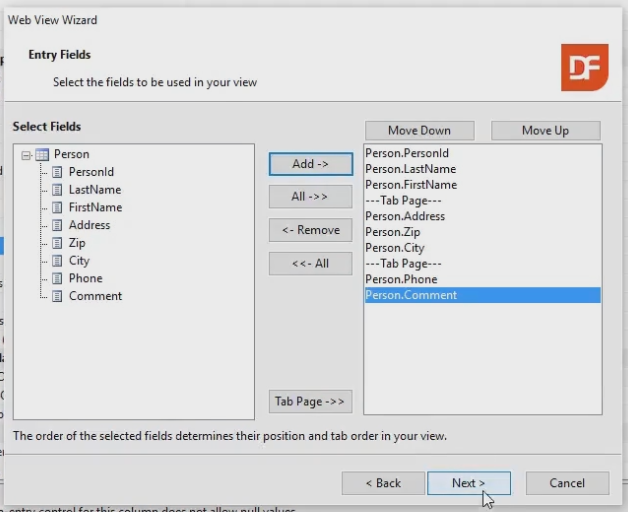
- Add another Tab page and add Phone and Comment on the second tab.
- On the next step change the name of the labels for a more logical name by double clicking the name:
- First tab page: Address
- Second tab page: Details
- LastName into Last name
- FirstName into First name
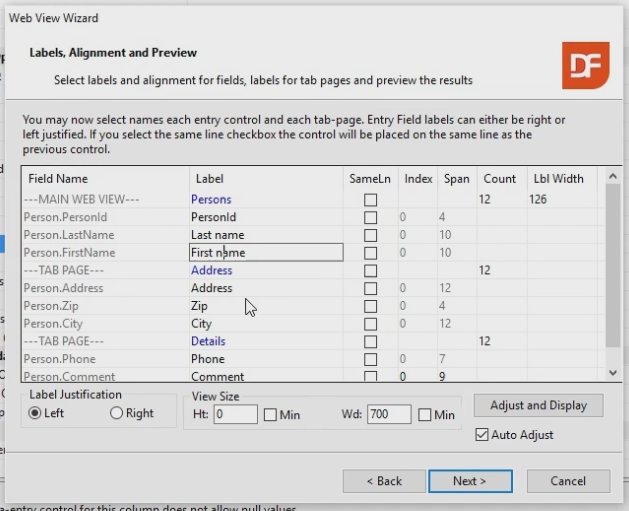
- By clicking Adjust and Display a preview shows of what DataFlex will generate.
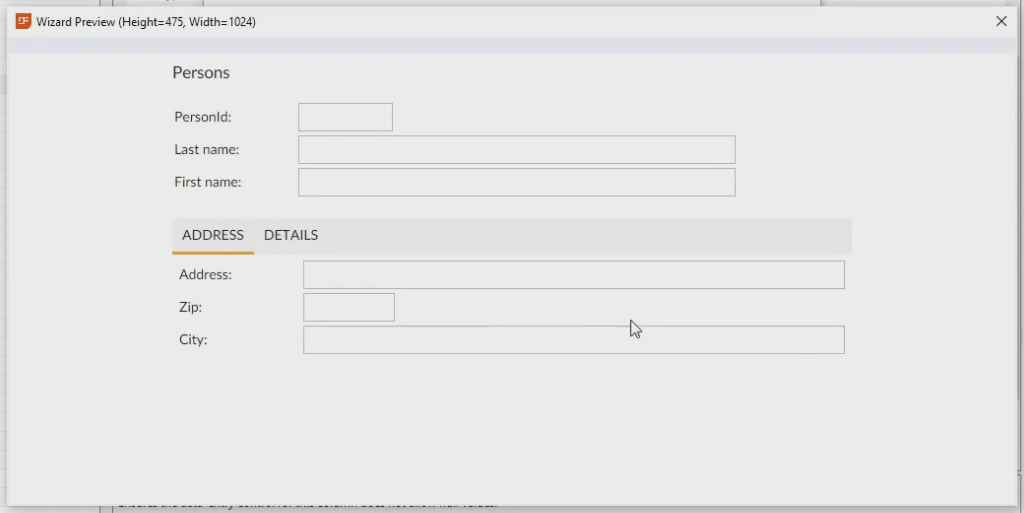
- Finish the Wizard and it will generate the code.
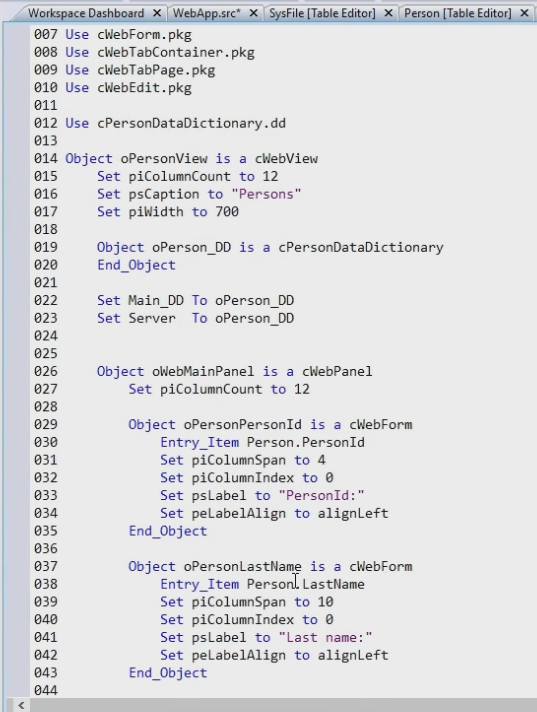
- The following is generated:
- A view object including a Panel with several fields
- The Data Dictionary
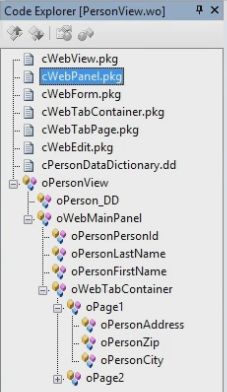
- By clicking on the plus icon in front of oPersonView in the Code Explorer you can see the structure in detail.
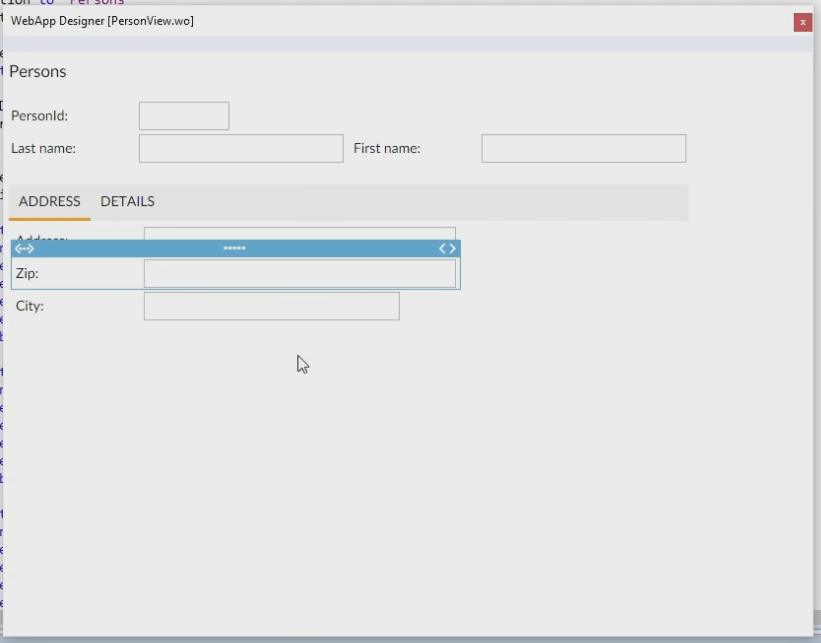
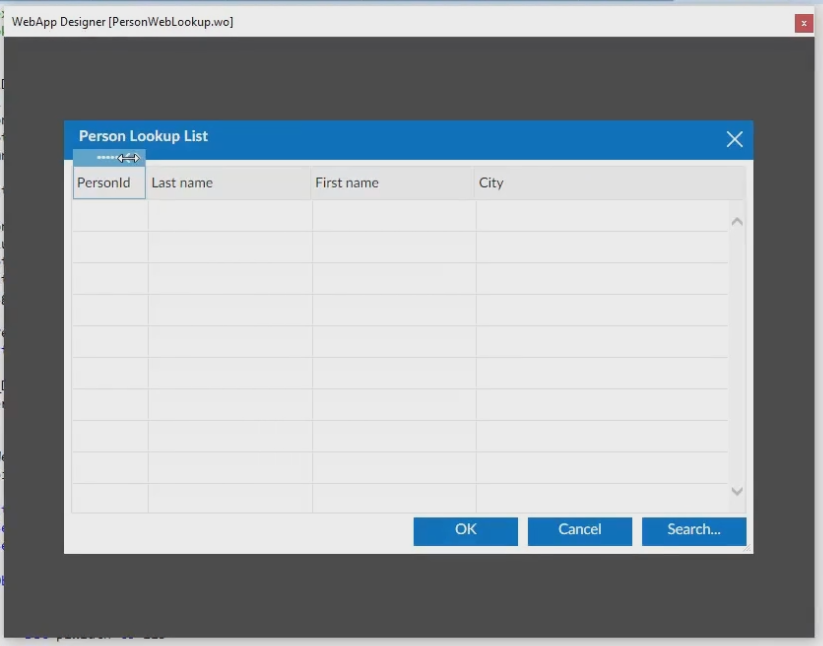
- Press F7, now the Designer pops up. With the designer the layout of the application can be changed.
Click on the items to resize them and place them next to each other. In this Quickstart we will make it look like this:
Run the application
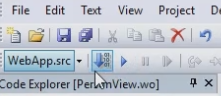
- Compile the application by clicking the Compile button or F8.
- Since the browser window is still open, click on the browser and refresh the application.
- Go to View in the menu, and the Persons view pops up.
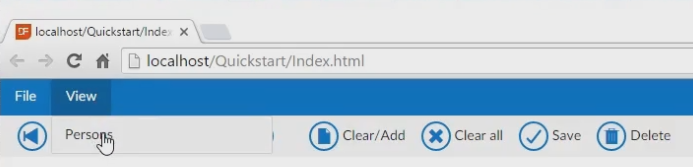
- Click on Persons, now the first person can be added. In this Quickstart we use:
- PersonId: will be generated
- Last name: Wibier
- First name: Harm
- Address: Lansinkesweg 4
- Zip: 7553 AE
- City: Hengelo
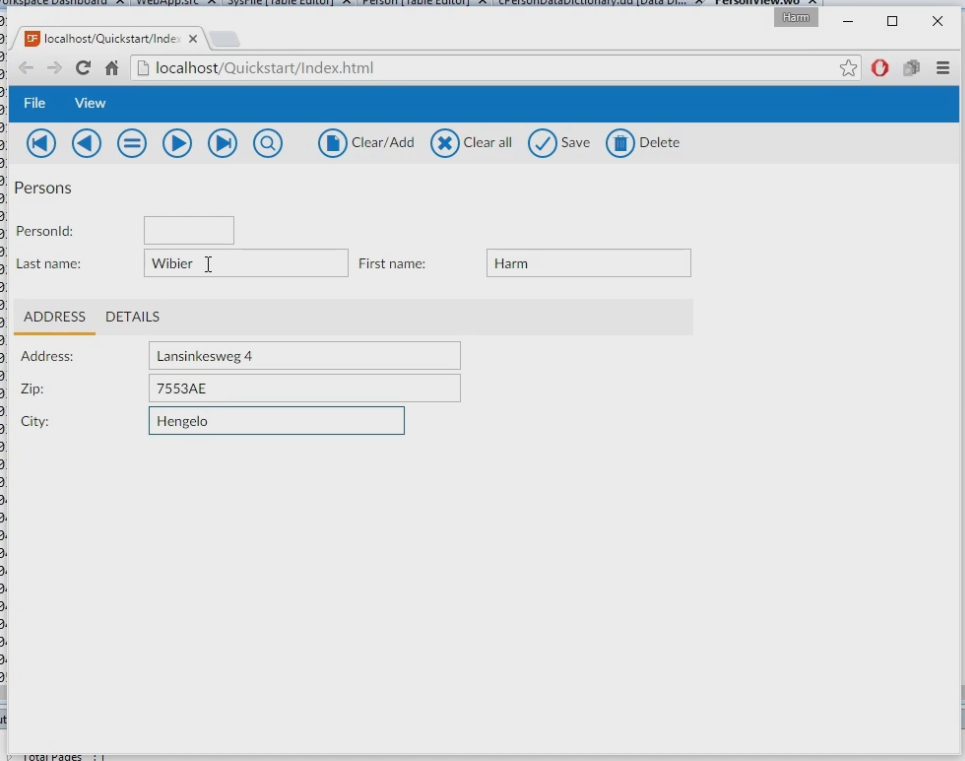
- Save the record.
- Clicking Next the record shows up. Also the PersonId is created with number 101, like entered earlier.

Generate the Look Up
- Click Create New.
- Select Web Lookup Wizard.
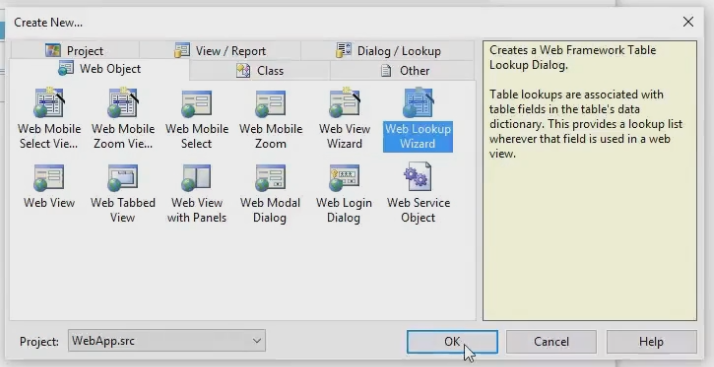
- The wizard pops up.
- Select the main table for the Look up. In this case Person – cPersonDataDictionary.
- The names and file names will automatically be generated.
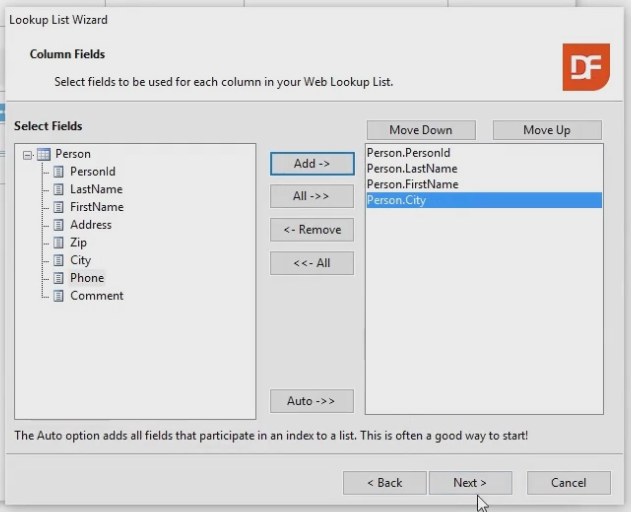
- Select the fields, in this Quickstart:
- PersonId
- LastName
- FirstName
- City
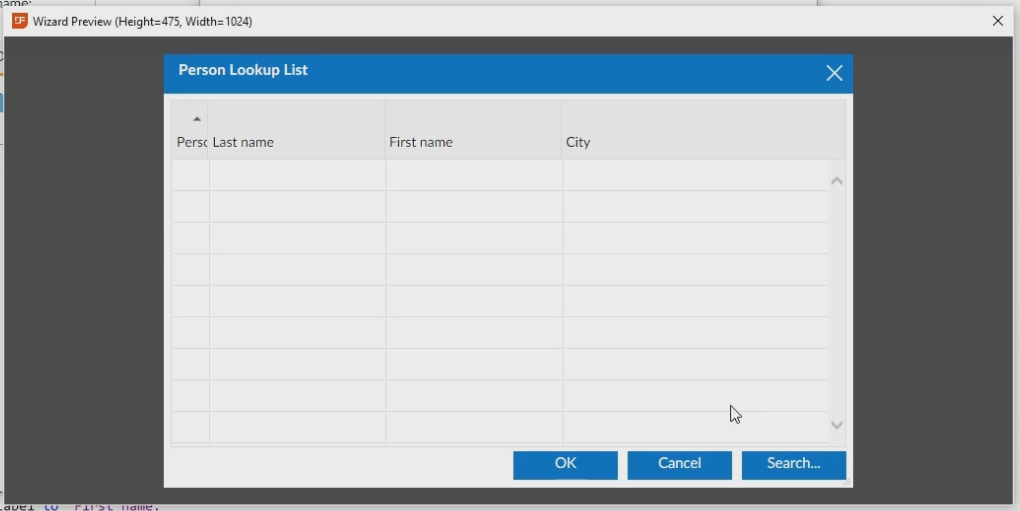
- Then, again, the labels can be changed. In this Quickstart we change:
- FirstName to First name
- LastName to Last name - Click Preview to see what it’s going to generate.
- Click Next.
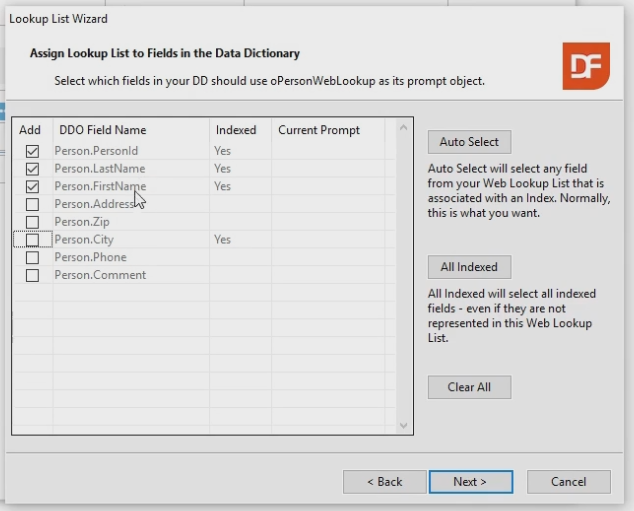
- Now it’s asking to which fields it needs to assign this Lookup. It is assigned in the Data Dictionary. This will automatically show the Lookup on the specific fields on the form. We want to add it to:
- PersonId
- LastName
- FirstName
- Finish the wizard.
- It will generate the Lookup.
- Adjust the layout in the designer, the same way as we did with View.
- Compile the application by clicking the Compile button or F8.
- Go back to the browser, go to View, Persons.
- The Lookups are added to the fields.
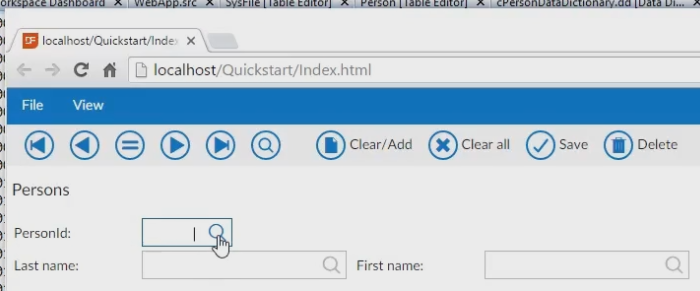
- Clicking on the Lookup buttons will show the list of records:
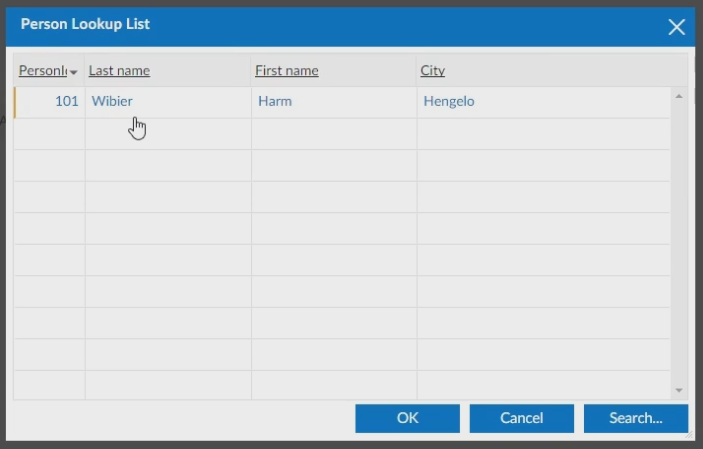
- By selecting a record the record will show on the screen.


