Quickstart building a web application (desktop style)
Lesson 5: Creating the Media View
In this last lesson the Media View will be created.
- Define the Media Table. A relation between the Media and Person Table will be created. The Person Table is the Parent of the Media Table.
- Define the business rules on top of the Media Table. These are defined in the Data Dictionary. We’re going to add a validation table that allows you to select the media type from a list of specific types.
- Create the Media View, by using a template.
- Test the Media View.
- Create the lookup, the dialog that helps to easily select records.
Define the Media Table
- Click the Create New Table.
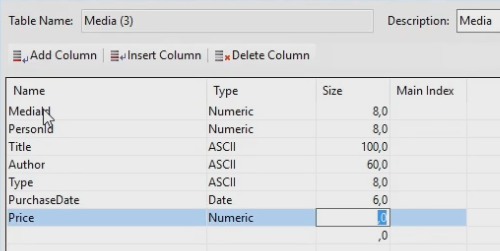
- Enter the Table Name: Media
- Add the following fields:
- MediaId, Numeric, 8,0
- PersonId, Numeric, 8,0
- Title, ASCII, 100,0
- Author, ASCII, 60,0
- Type, ASCII, 8,0
- PurchaseDate, Date, 6,0
- Price, Numeric, 4,2
- Define the Relationships by clicking the Relationships tab.
- Click on Add Relationship.
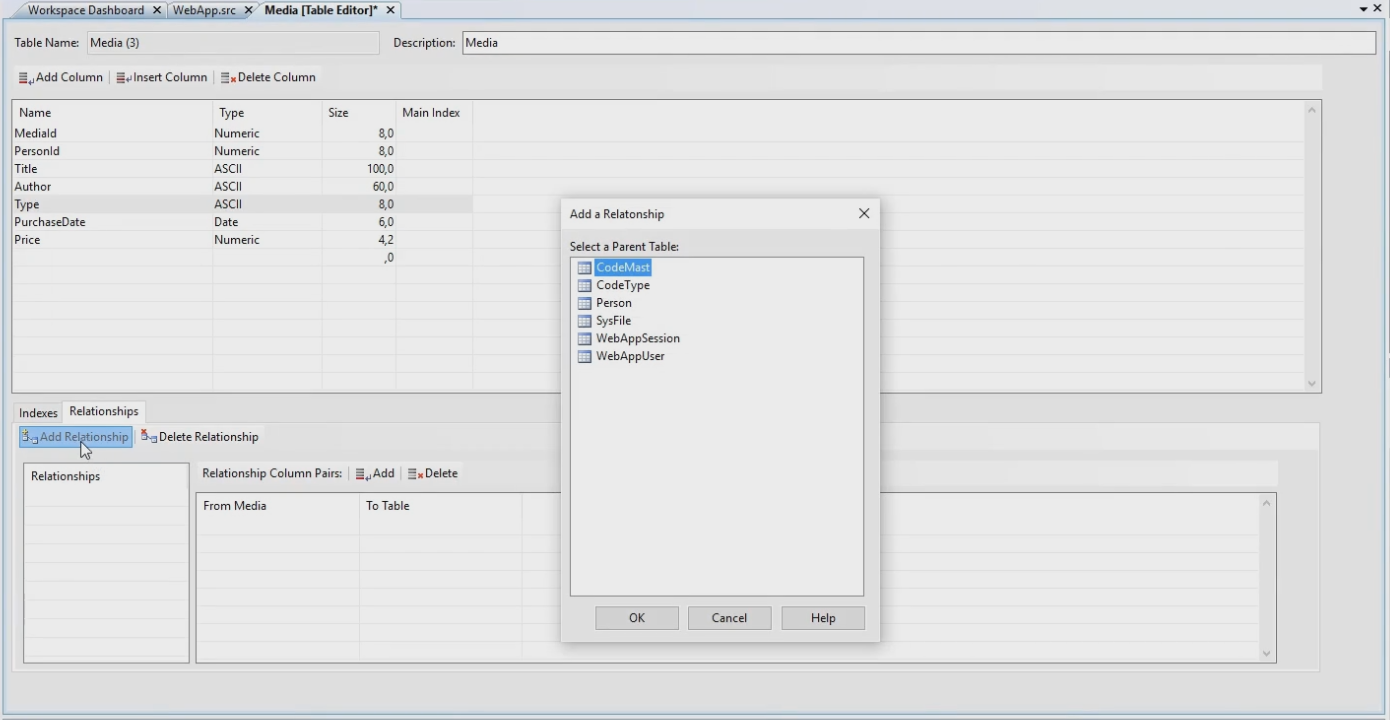
- Choose the table we want to relate to, in this case the Person table.
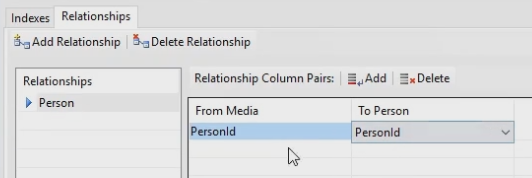
- Select the fields on both tables that will define the relation. The first is creating a relationship between the PersonId in Media and in Person.
- Define the Index.
- Got to Indexes and click Add Index.
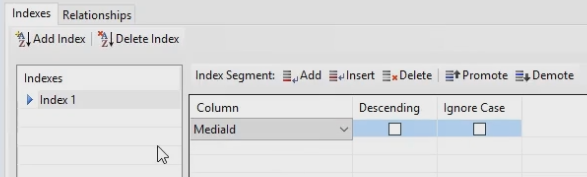
- Create a unique index for MediaId.
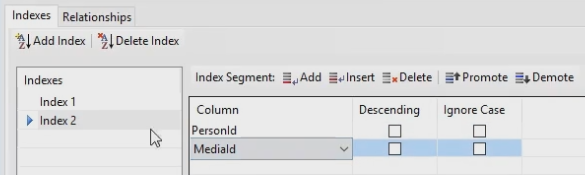
- The second Index will be used for the relationship. Select PersonId and MediaId.
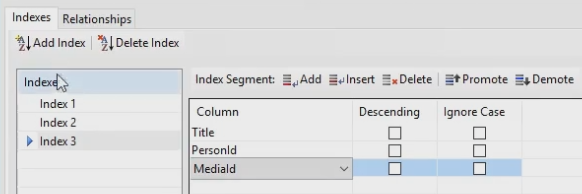
- Create some Indexes to sort on, in this case:
- Title
- PersonId
- MediaId
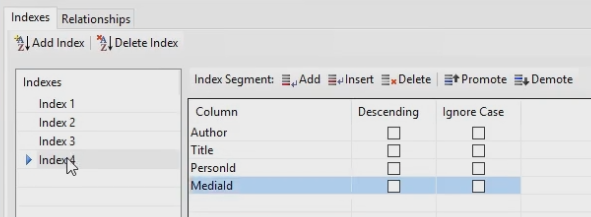
- The fourth Index contains also indexes to sort on:
- Author
- Title
- PersonId
- MediaId
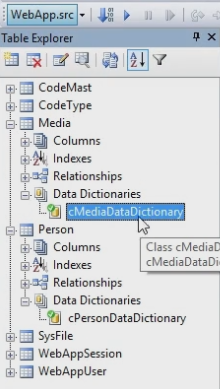
Create Data Dictionary
- The Studio already generated an empty Data Dictionary:
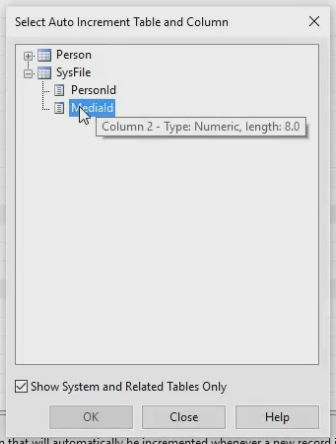
- Select Auto Increment and choose Sysfile, MediaId:
- Set Protect Vavlue to True by double clicking it:

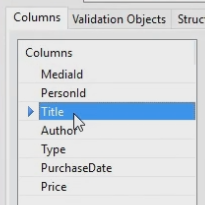
- In the left column select Title:
- Mark as required:

- Do the same for Author.
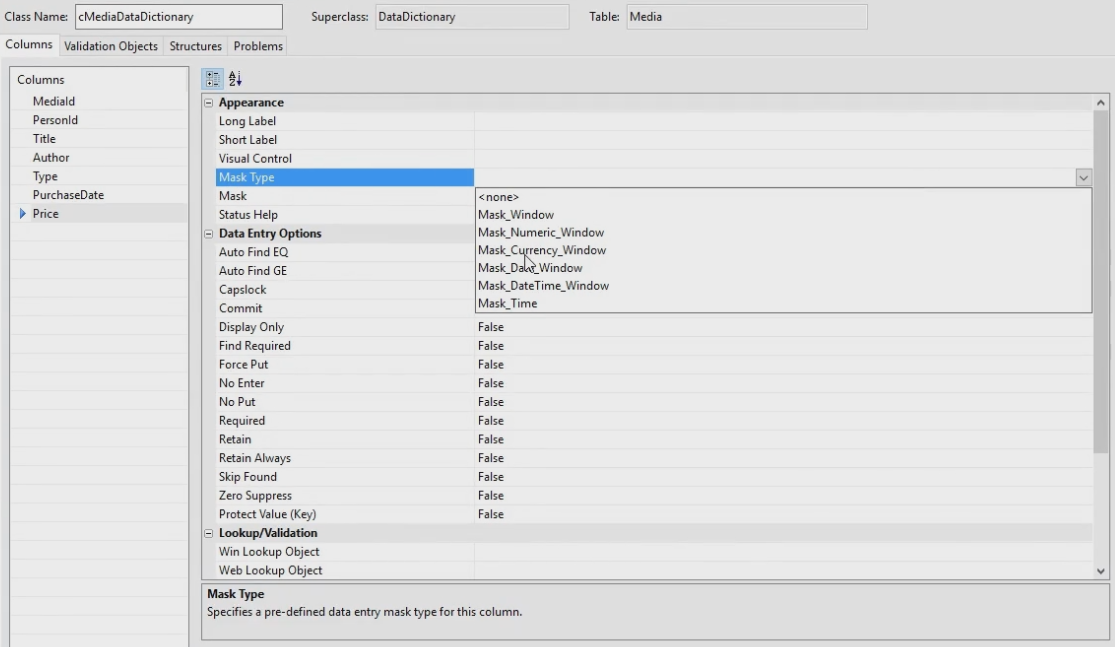
- Select Price:
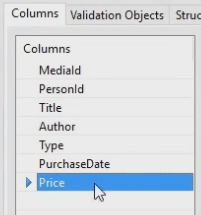
- For the Price select Mask Type and choose Mask_Currency_Window:
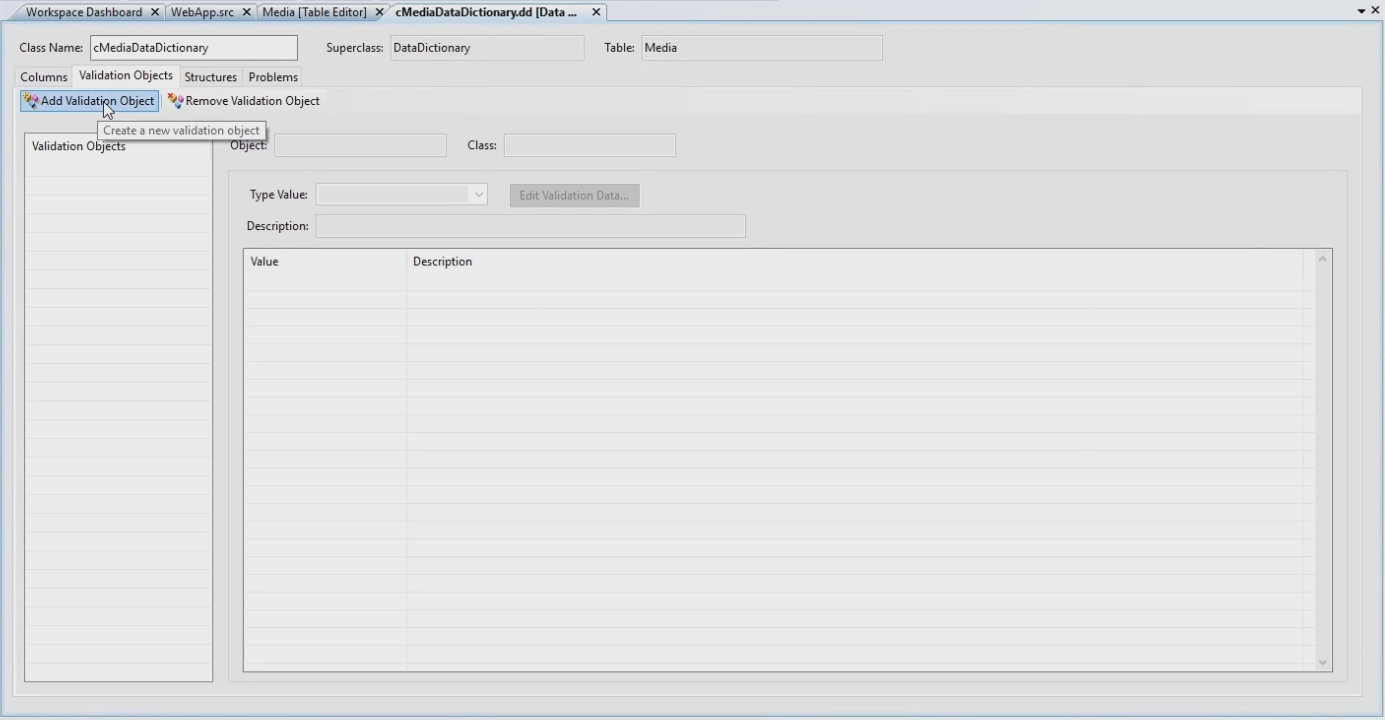
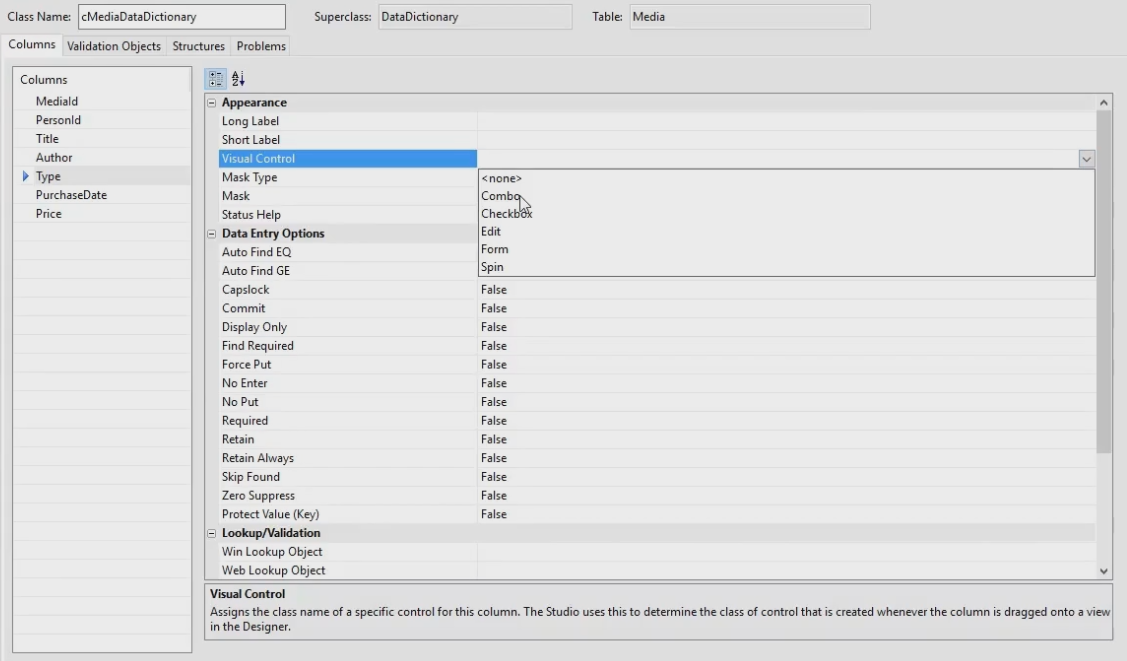
- Next step is setting up Validation Objects. First select Type in the left column. Then select Validation Objects. Click on Add Validation Object:
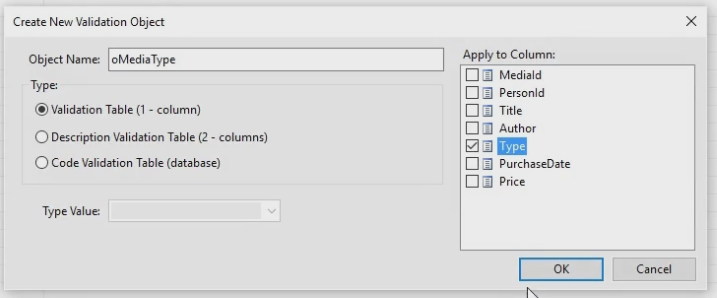
- Set the name to oMediaType and apply it to the Type column.
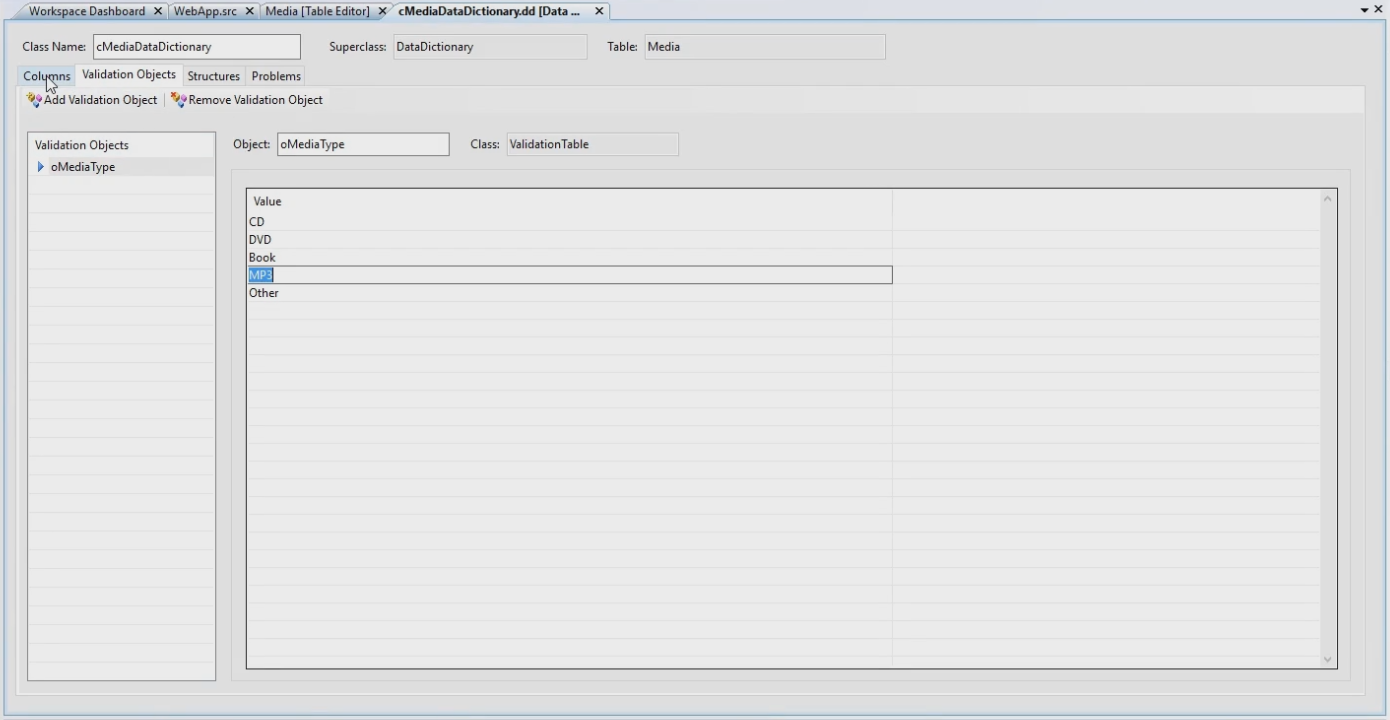
- Enter the options that will be available for this field. In this Quickstart:
- CD
- DVD
- Book
- Mp3
- Other
- We will make this Combo field as a pull down. Go back to the tab Columns.

- Make sure the Type column is still selected. Go to Visual Control and select Combo.
- Save the Data Dictionary.
Define the View
- Go to Create New and select the Web View.
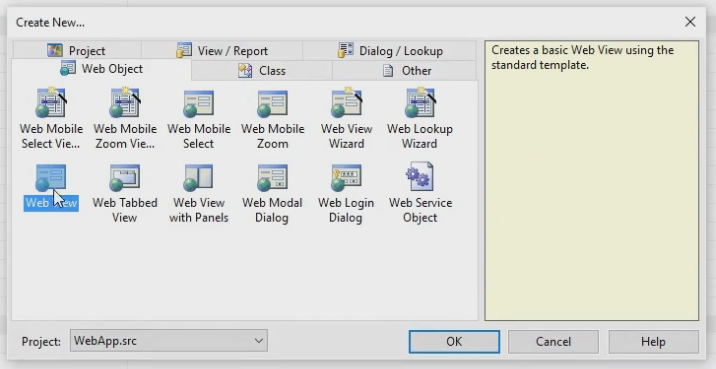
- Note: we don’t choose the Web View Wizard in this case, but the Web View Template. This is a bit simpler.
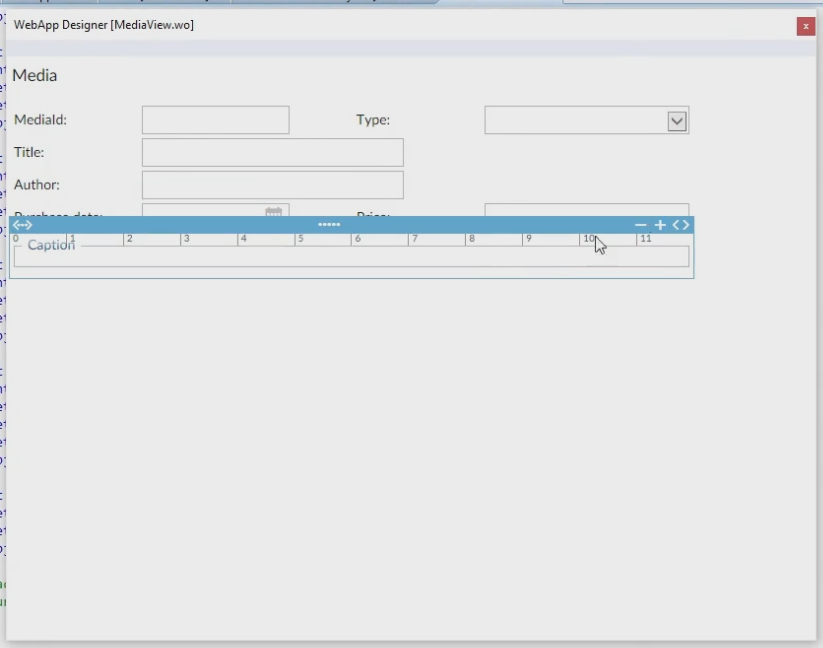
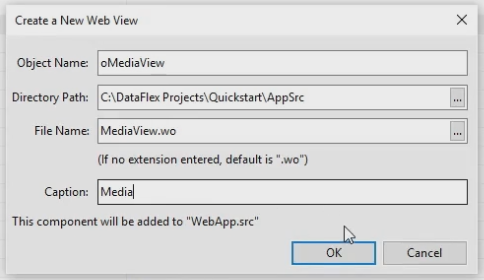
- Give the Object Name oMediaView and the caption Media.
- It immediately generates a basic structure for the view.
- Previewing this, there is one example field.

- Delete this example by right click and choosing Delete.
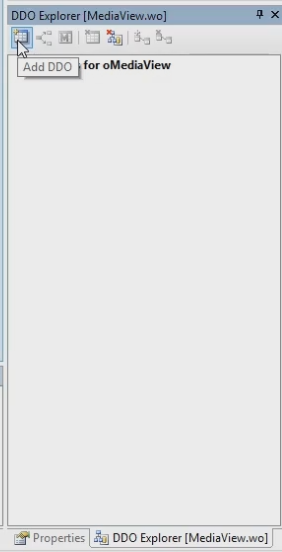
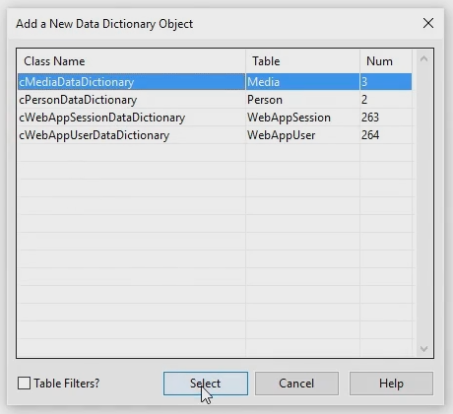
- To add a field again choose DDO Explorer and click on Add DDO.
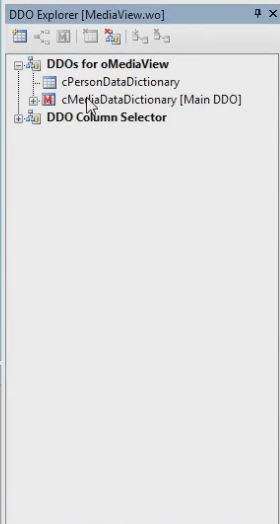
- Now the Data Dictionary needs to be chosen. In this case the Media data dictionary.
- It immediately also adds the Person Data Dictionary because it’s the parent. Based on the relationship that’s defined earlier.
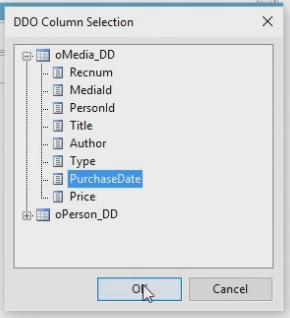
- Selecting the DDO Column Selector we can select the fields we want on our view. In this case:
- MediaId
- PersonId
- Title
- Author
- Type
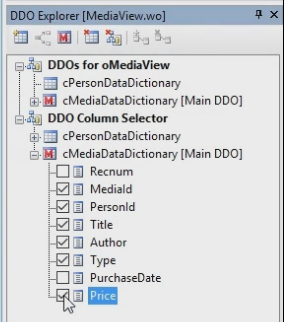
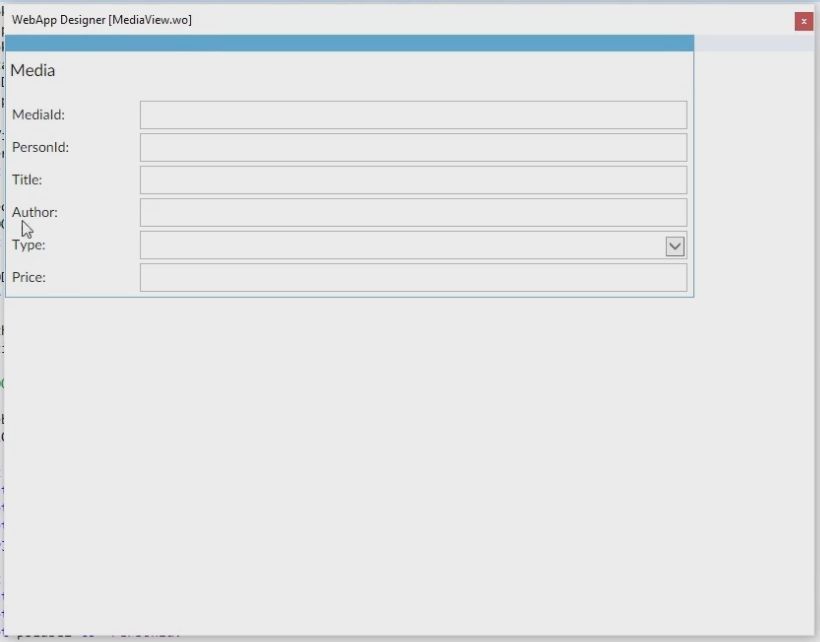
- Select the fields and drag them to the View.
- Note that Type automatically became a Combo form.
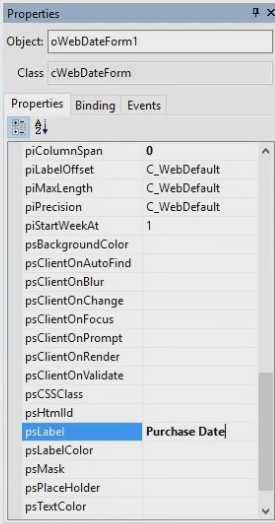
- In the previous list we didn’t select the PurchaseDate. To add the date go to Class Palette.
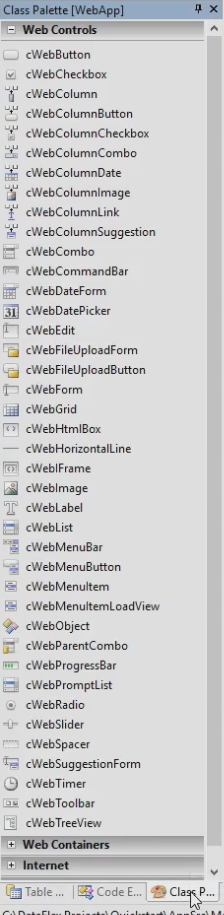
- Select the cWebDataForm.
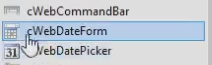
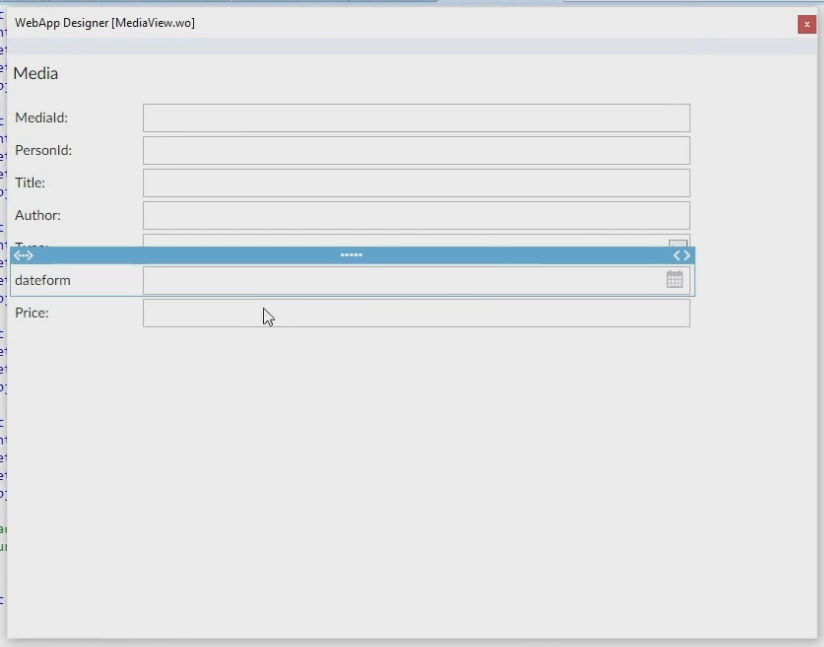
- Drag the DateForm and drag it after the Type field.
- Because it’s dragged from the Class Palette it needs to bind to the database field manually.
- Go to Properties, Binding.
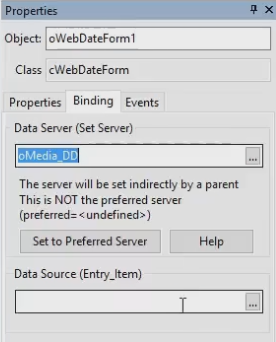
- Select the Data Source and select oMedia_DD, PurchaseDate.
- In the Properties panel the Label can be changed. In this Quickstart we change it from dateform to Purchase date.
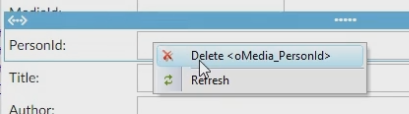
- Go back to the View. The PersonId isn’t needed in this case. Right click it and choose Delete.
- Now change the sizes and the order of the fields in the View. For this Quickstart we do it this way:

- Note that we didn’t add any fields from our parent table. We’re going to add that later.
- Now we will add a Group.
- Select Web Containers, cWebGroup, from the Class Palette.
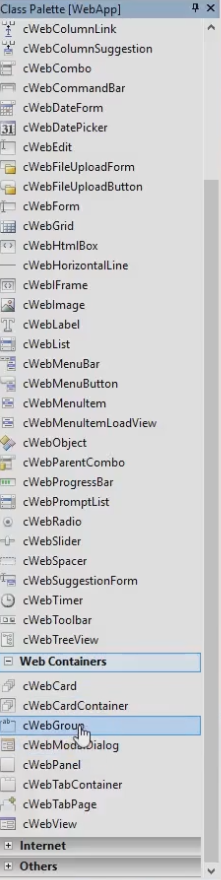
- Drag it after the Price field.