Quickstart building a web application (desktop style)
Lesson 2: Creating the Web App
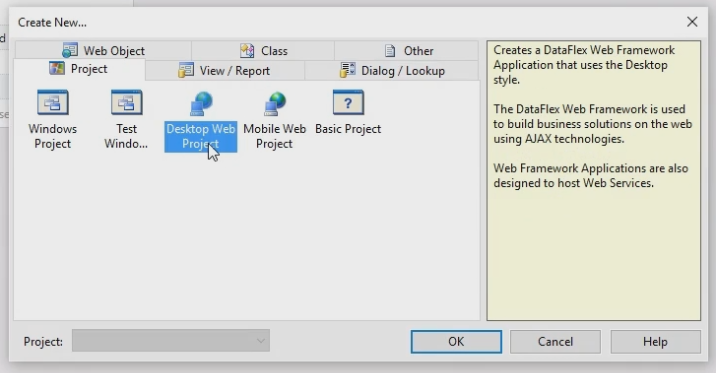
When the workspace is created the next step is creating a project. A workspace can contain several projects, but only one web project. In this Quickstart the focus will be on a Desktop style web application project.
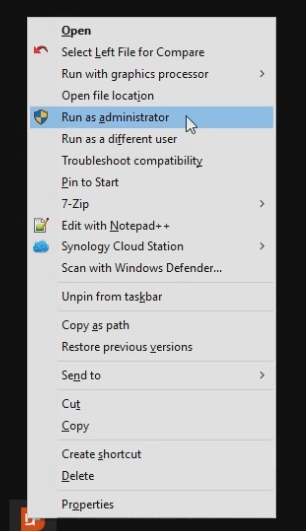
Start the studio as administrator. In that way the virtual directory can be registered under Microsoft internet information server.
Right click the studio icon and choose Run as administrator.
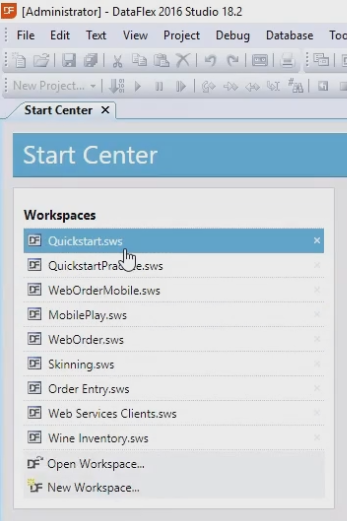
Open the created workspace Quickstart, by selecting the workspace.
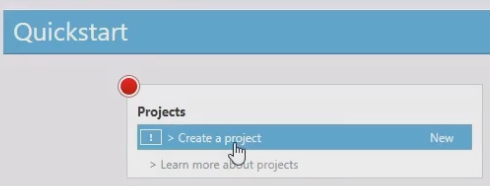
The dashboard opens. Click on create a project.
The Create New… dialog opens. Here several projects can be chosen. For this Quickstart choose Desktop Web Project.
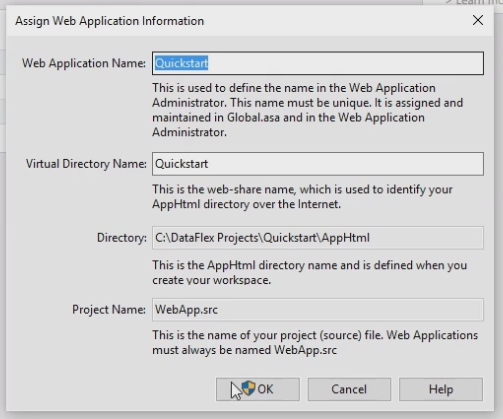
Choose a name for the Web Application Server. This is used to define the name in the Web Application Administrator.
Also choose the Virtual Directory Name. This is the web-share name, which is used to identify your AppHtml directory over the internet.
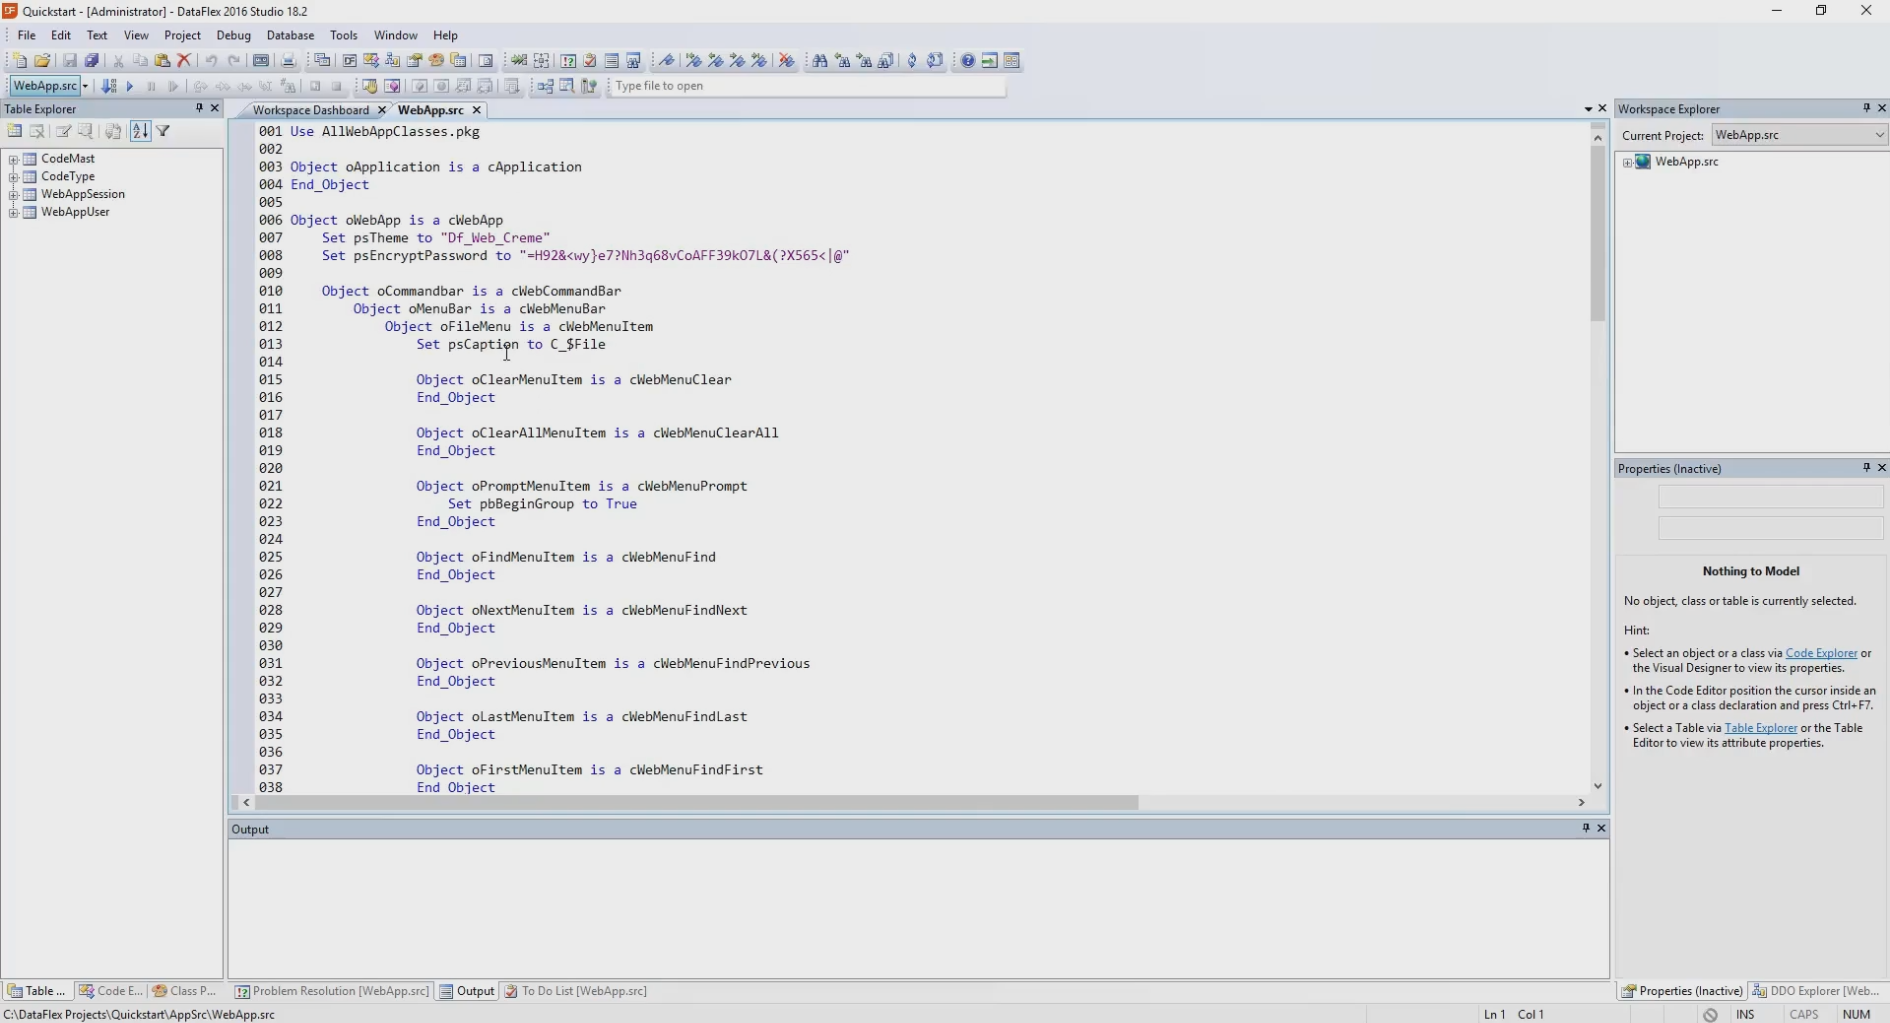
The project is created, including DataFlex source code.
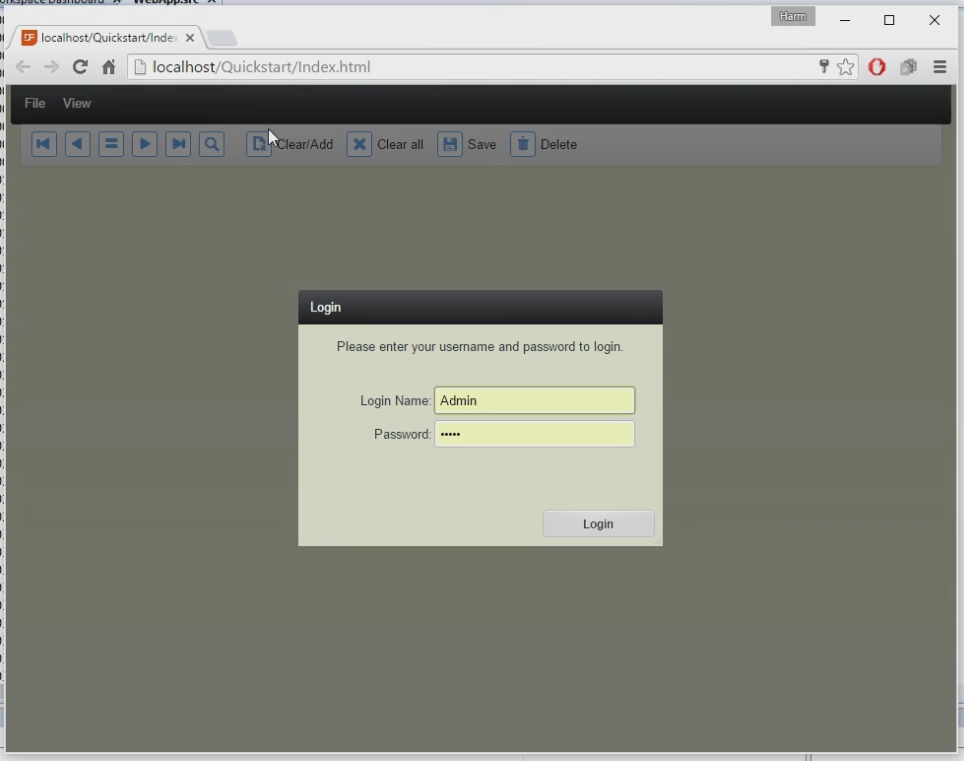
The basic skeleton of the application is created. Click the run button or F5 to see what’s created.
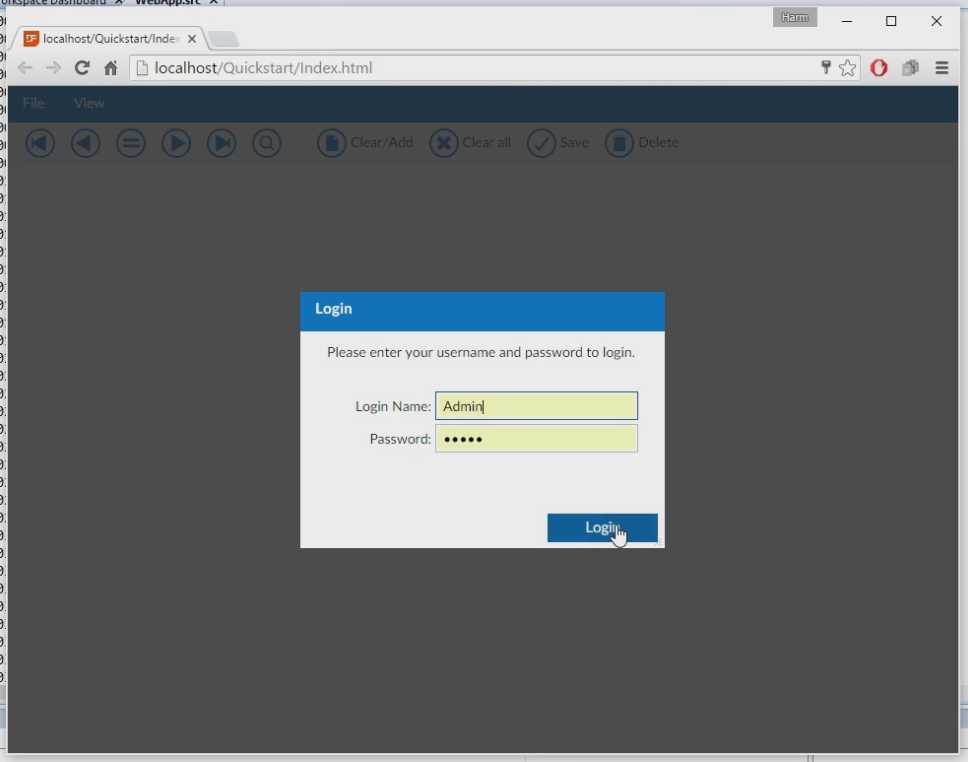
The browser opens and the login screen appears.
Default logins are Guest or Admin.
A file menu and view menu are created, they are still empty.
Close the application and go back to the DataFlex Studio.
We’re going to change the theme. In the Source code you will see the theme that’s used now. That’s: DF_Web_Creme.
In this Quickstart we will change it to the DF_Flat_Desktop theme. Do this by changing the psTheme property.
Run the application by clicking on the Run button or F5 to see the result.
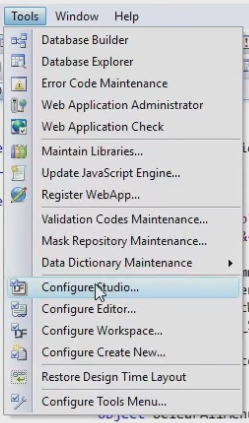
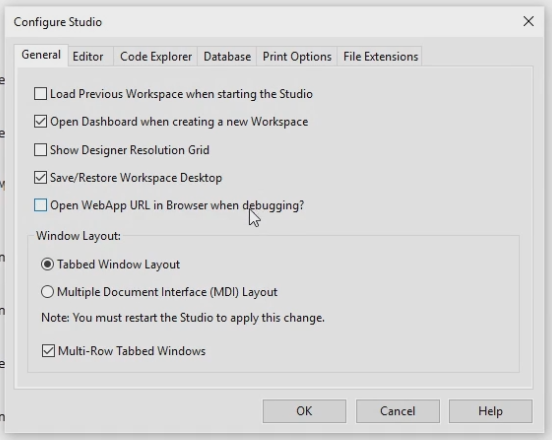
You can keep the application open at all time, so you don’t have to log on all the time. Go to the Tools menu and click on Configure Studio.
Disable the option Open WebApp URL in Browser when debugging.
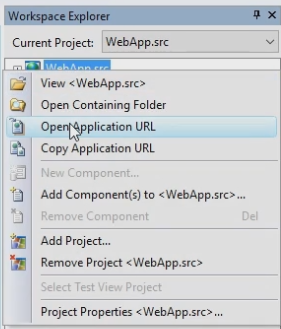
In the DataFlex Studio right click the WebApp on the Workspace Explorer and click on Open Application URL.
Now the application stays open on the background, while developing the application.