Custom Control: PdfViewer
Lesson 1: How to integrate the PdfViewer
In this lesson we’ll look at how to integrate the PdfViewer in your application. To get the component, you can download it from the Data Access website. After downloading, we’re going to unpack the zip file and perform the standard actions to add a Custom Control library to our workspace.
Demonstration
- In preparation of this video I’ve prepared a workspace that comes with the necessary files.
- So we’ve got a 19.1 Workspace here with a WebApp project, as well as an Uploads folder that contains the PDF’s we’re going to display.
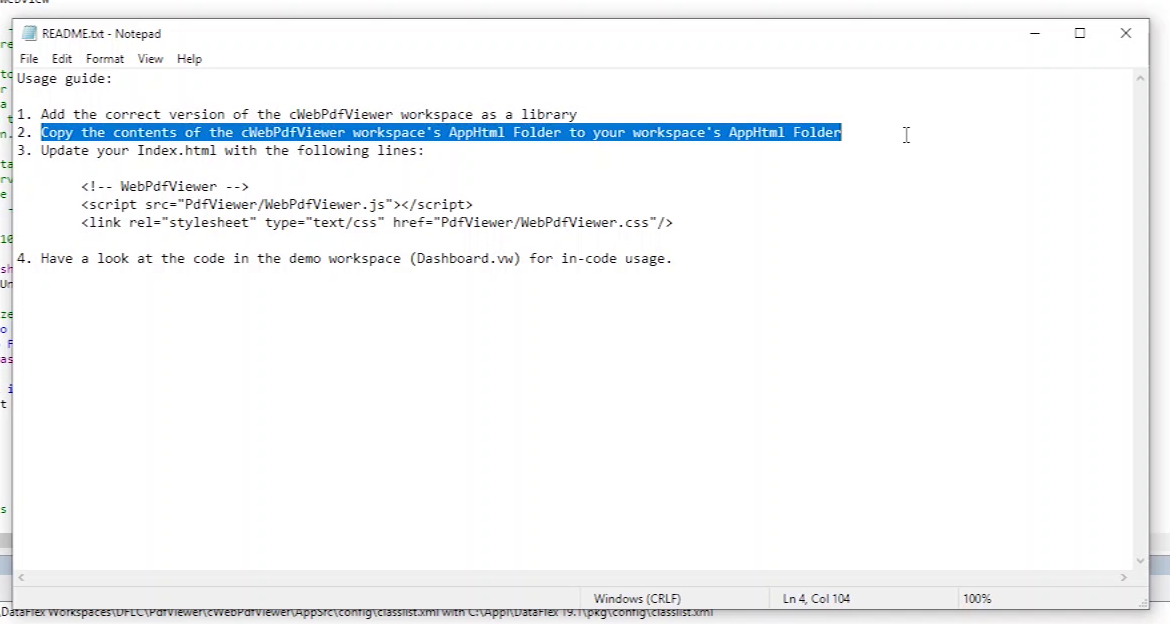
- The README in the folder lists the steps to take to include the library in your workspace, so let’s follow those.
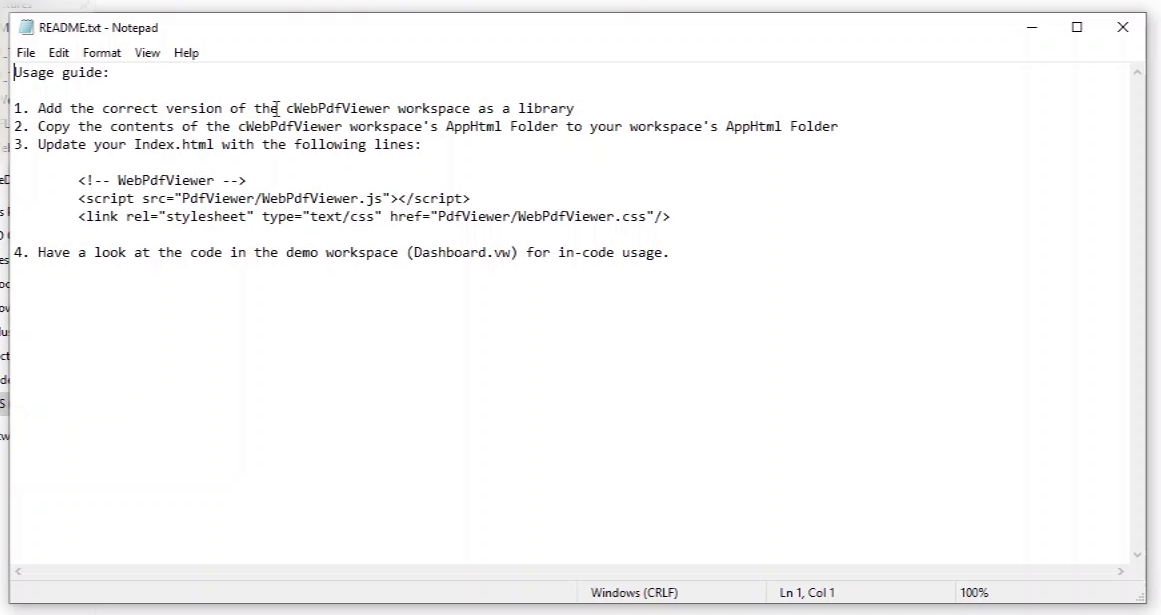
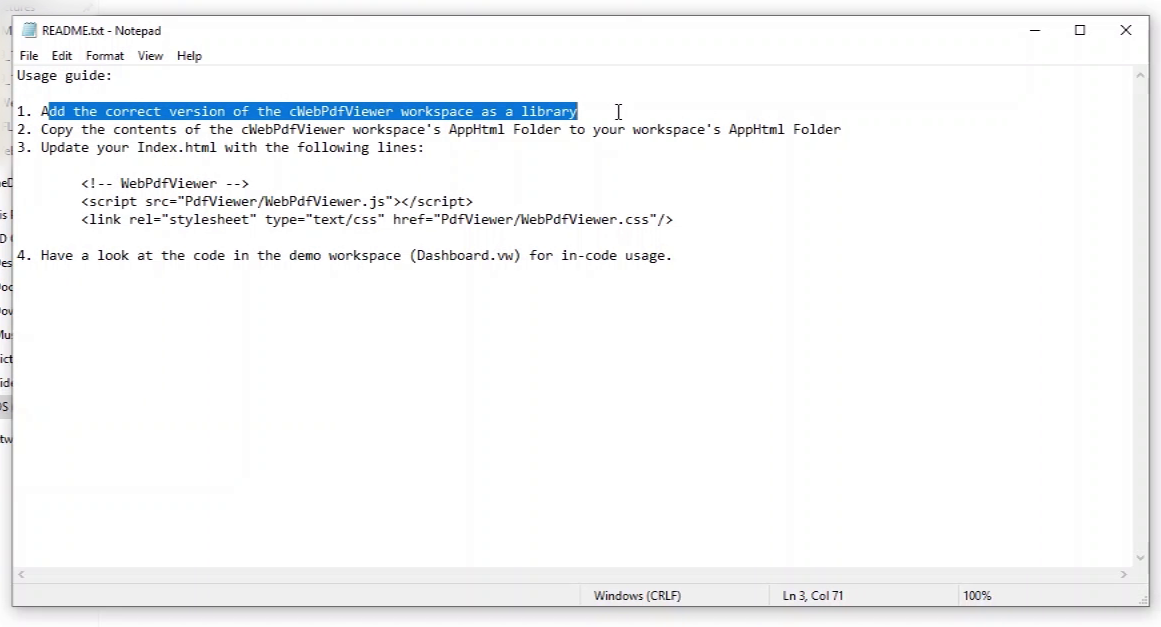
- Step 1: Add the correct version of the cWebPdfViewer workspace as a library.
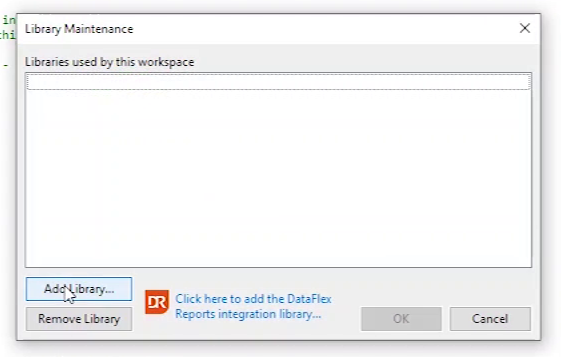
- Go to tools and select Maintain Libraries.
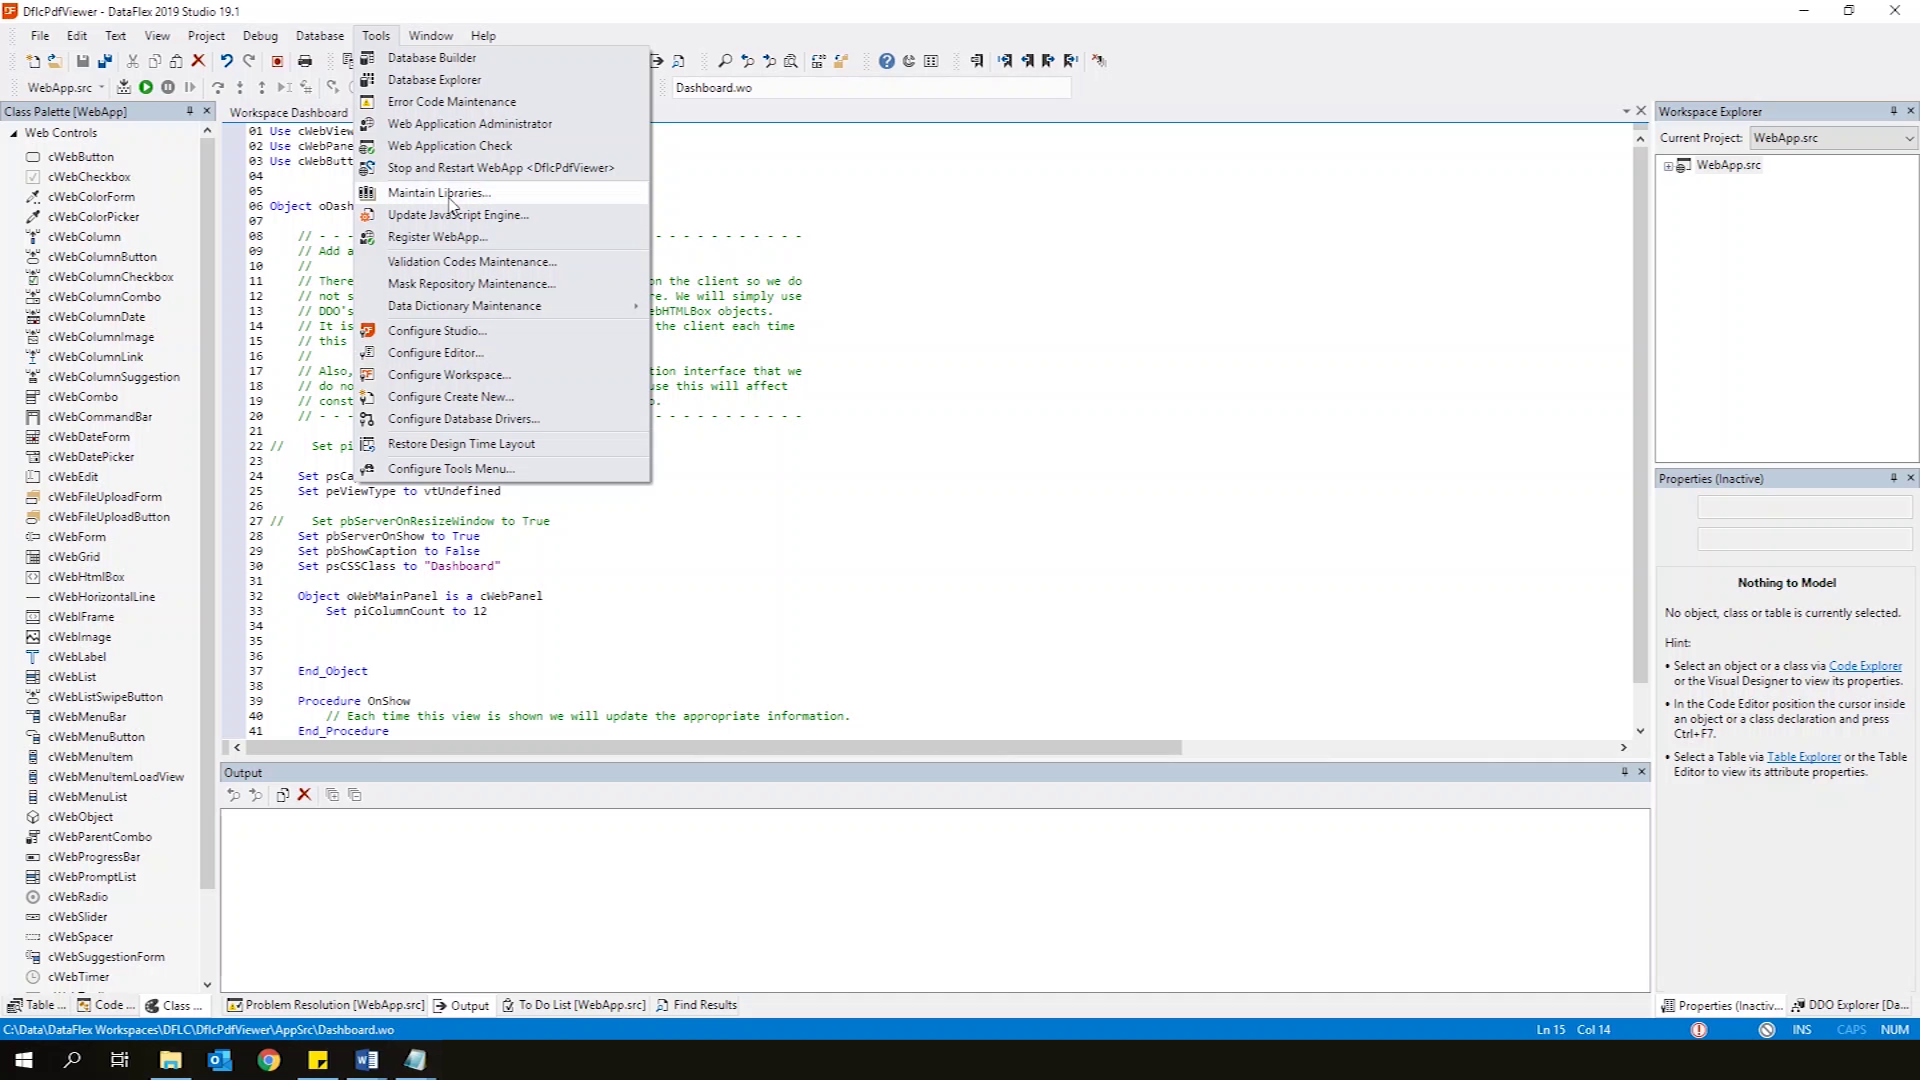
- Click Add Library.
- Select the right workspace.
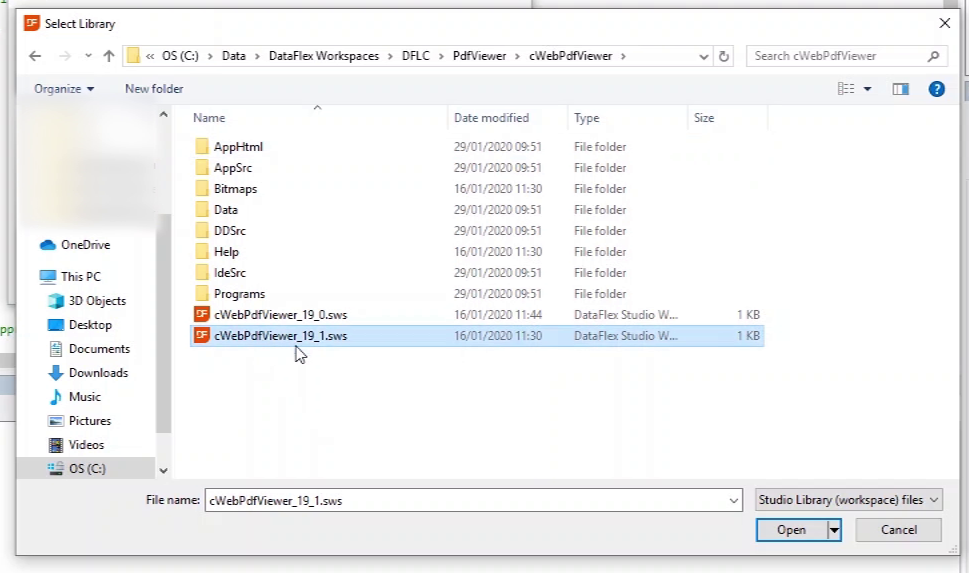
- Click OK.
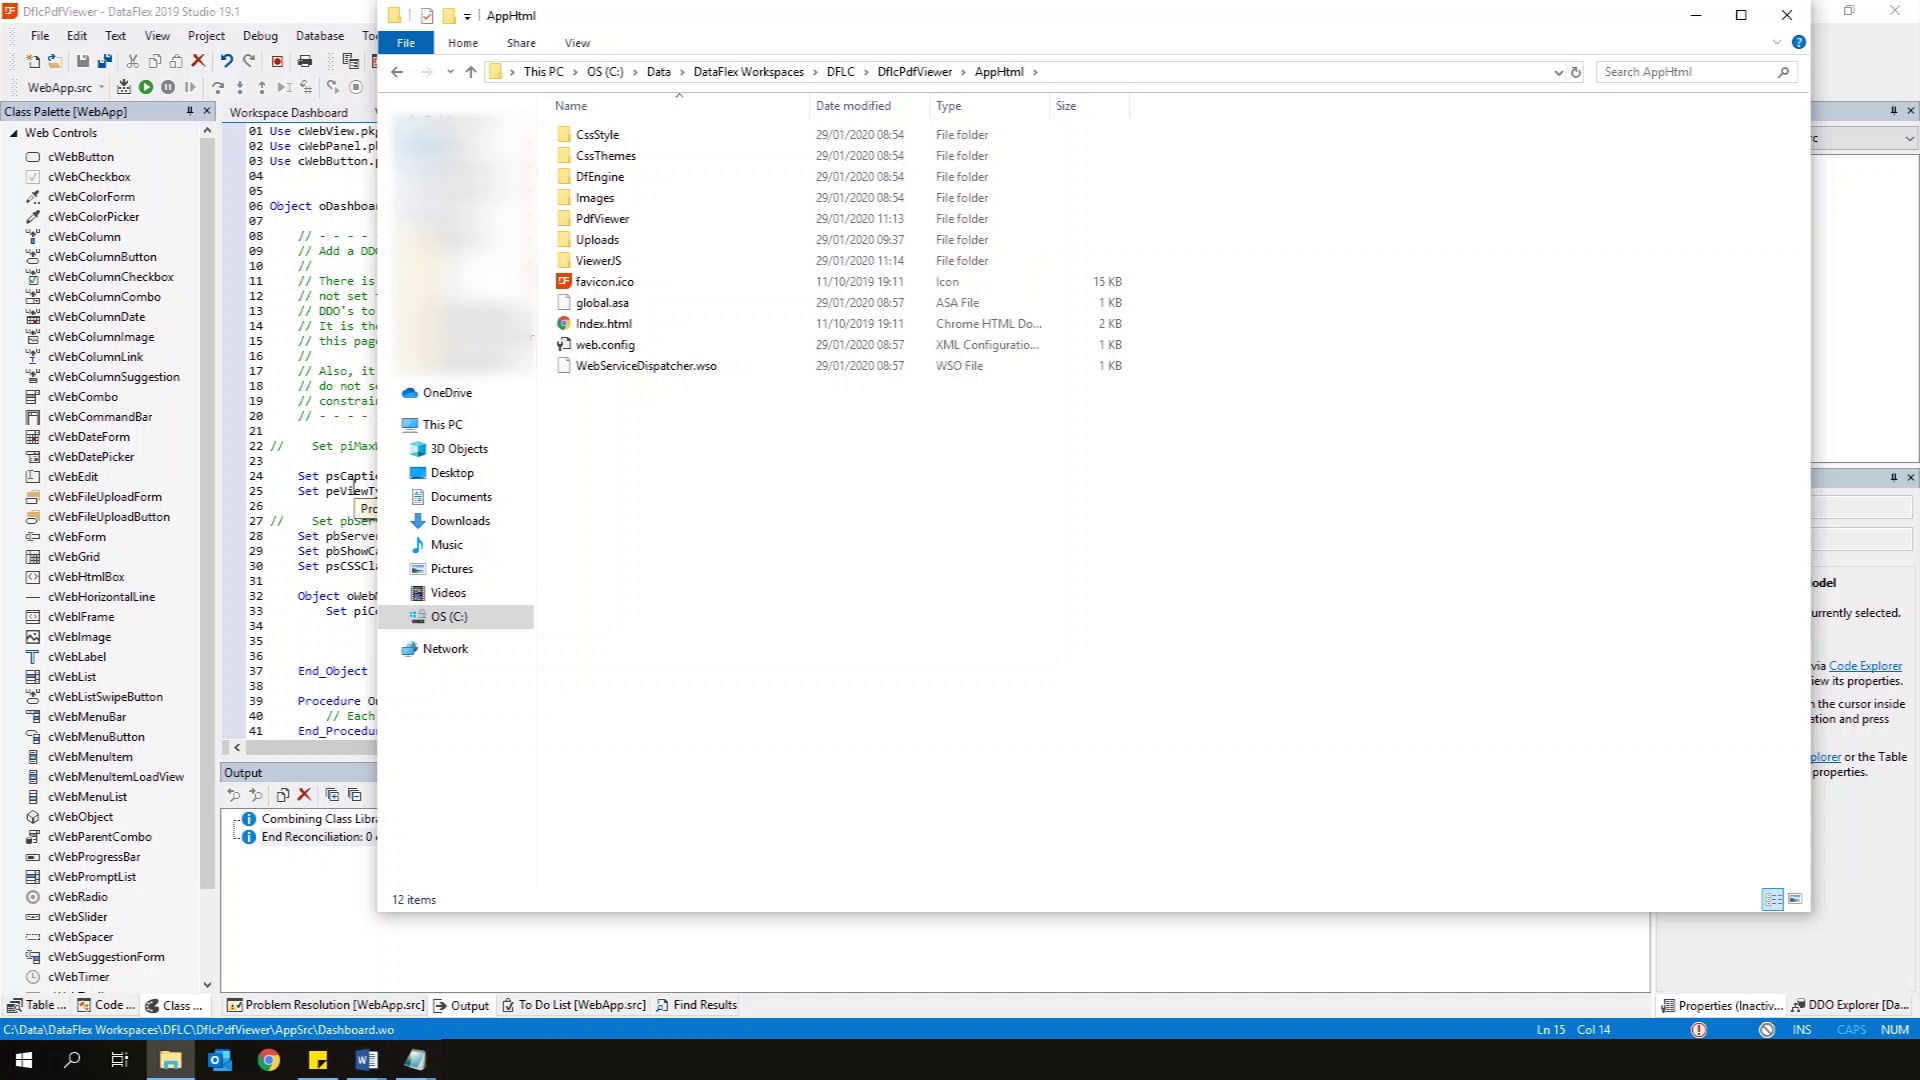
- Second step in the README: Copy the contents of the cWebPdfViewer workspace's AppHtml Folder to your workspace's AppHtml Folder.
- Let's do that!
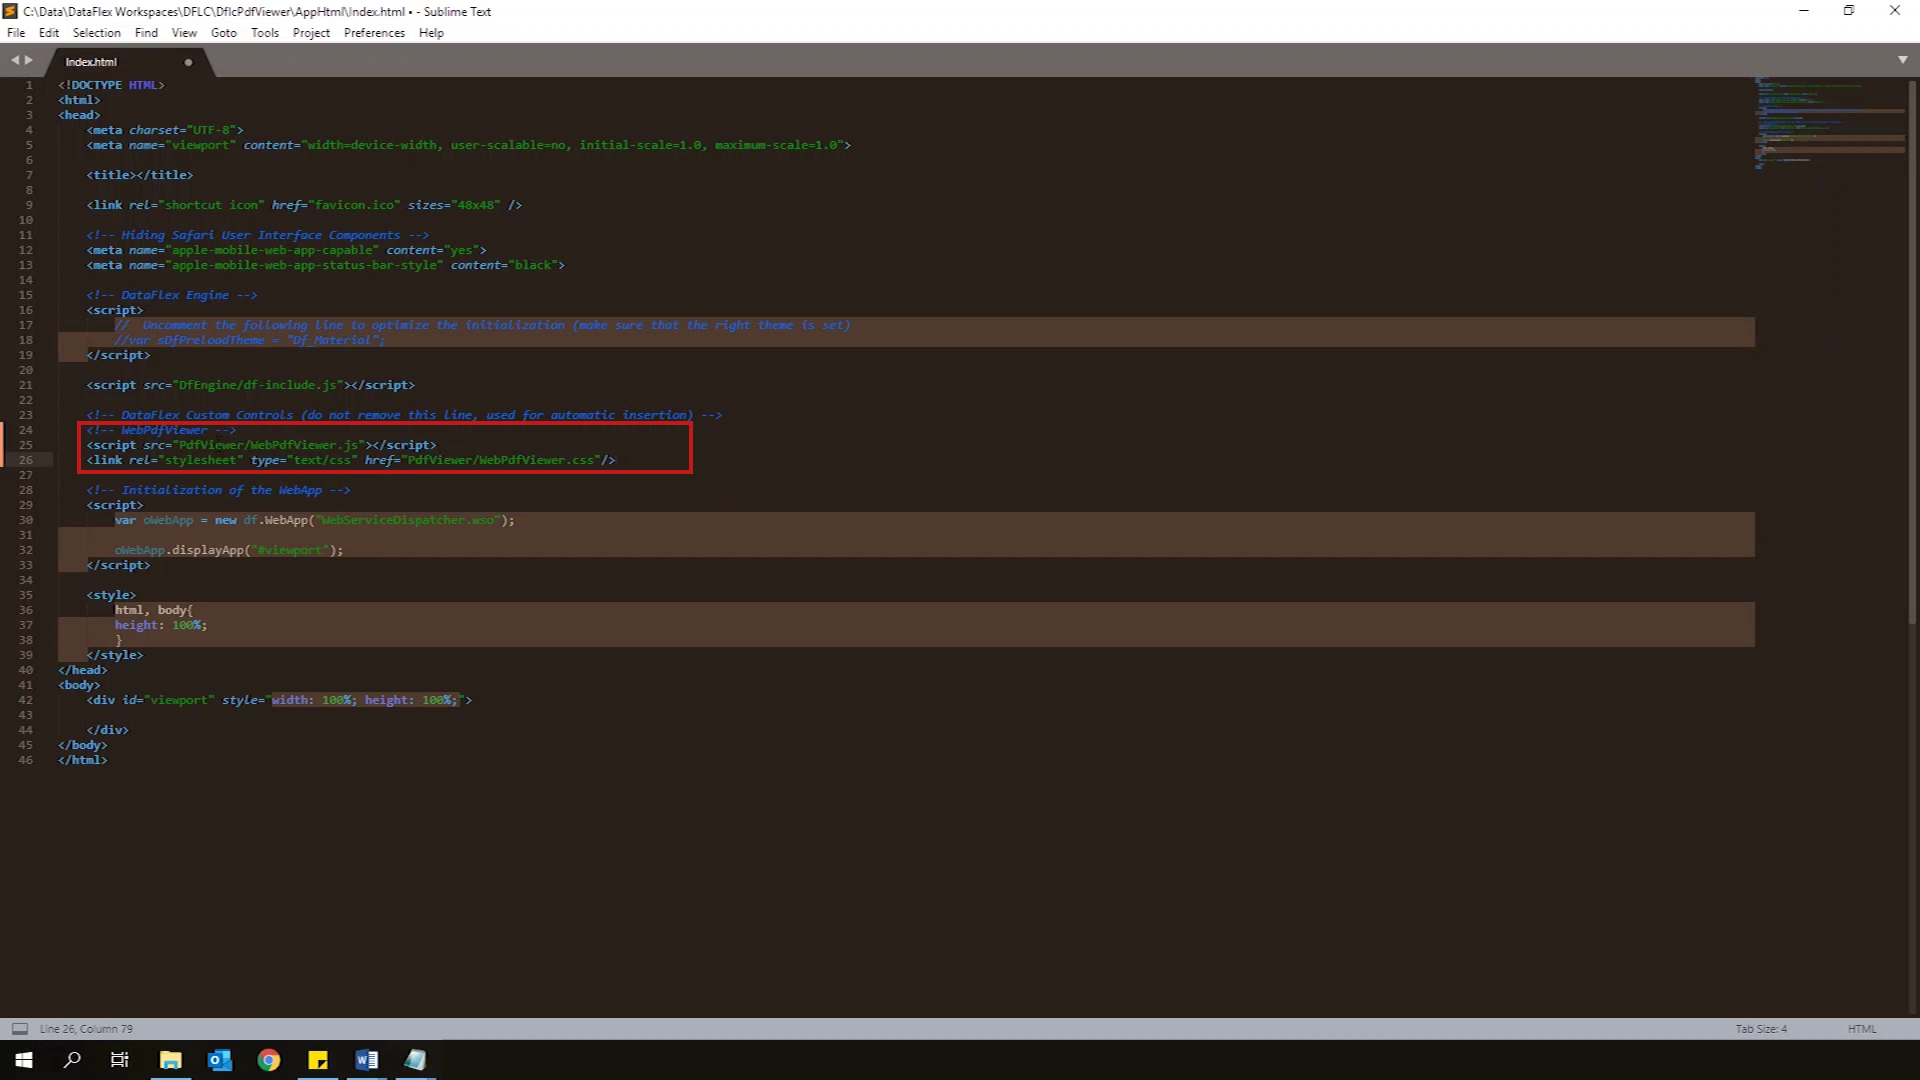
- The third step in the README: Update your Index.html.
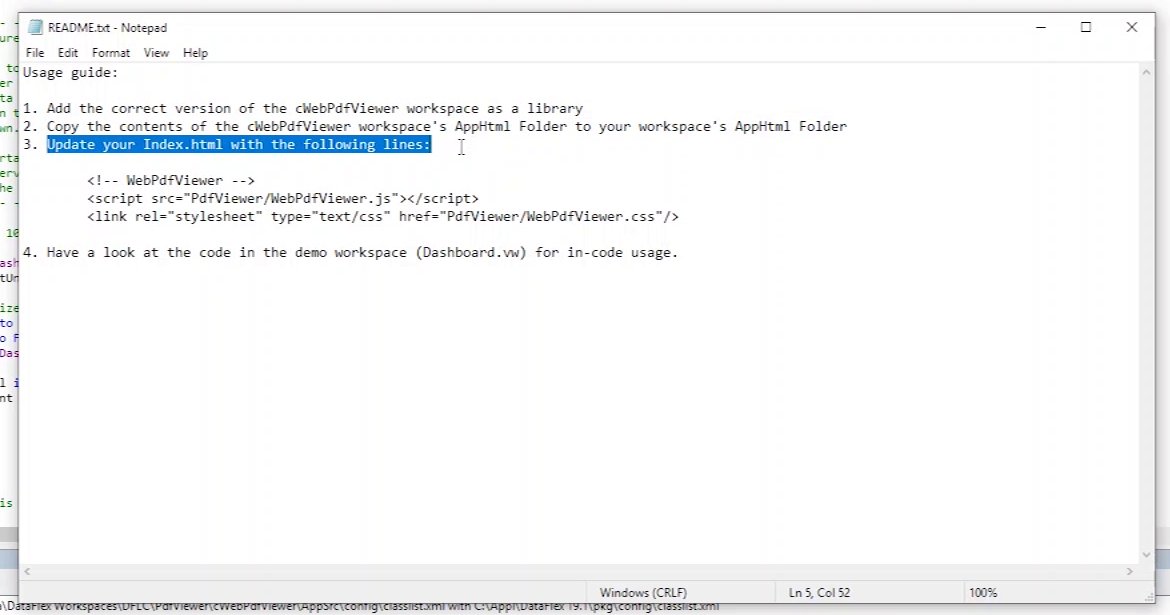
- Copy the lines from the README to your Index.html.
- In this video course we're going to skip the fourth step of the README: have a look at the code in the demo workspace (Dashboard.vw) for in-code usage.
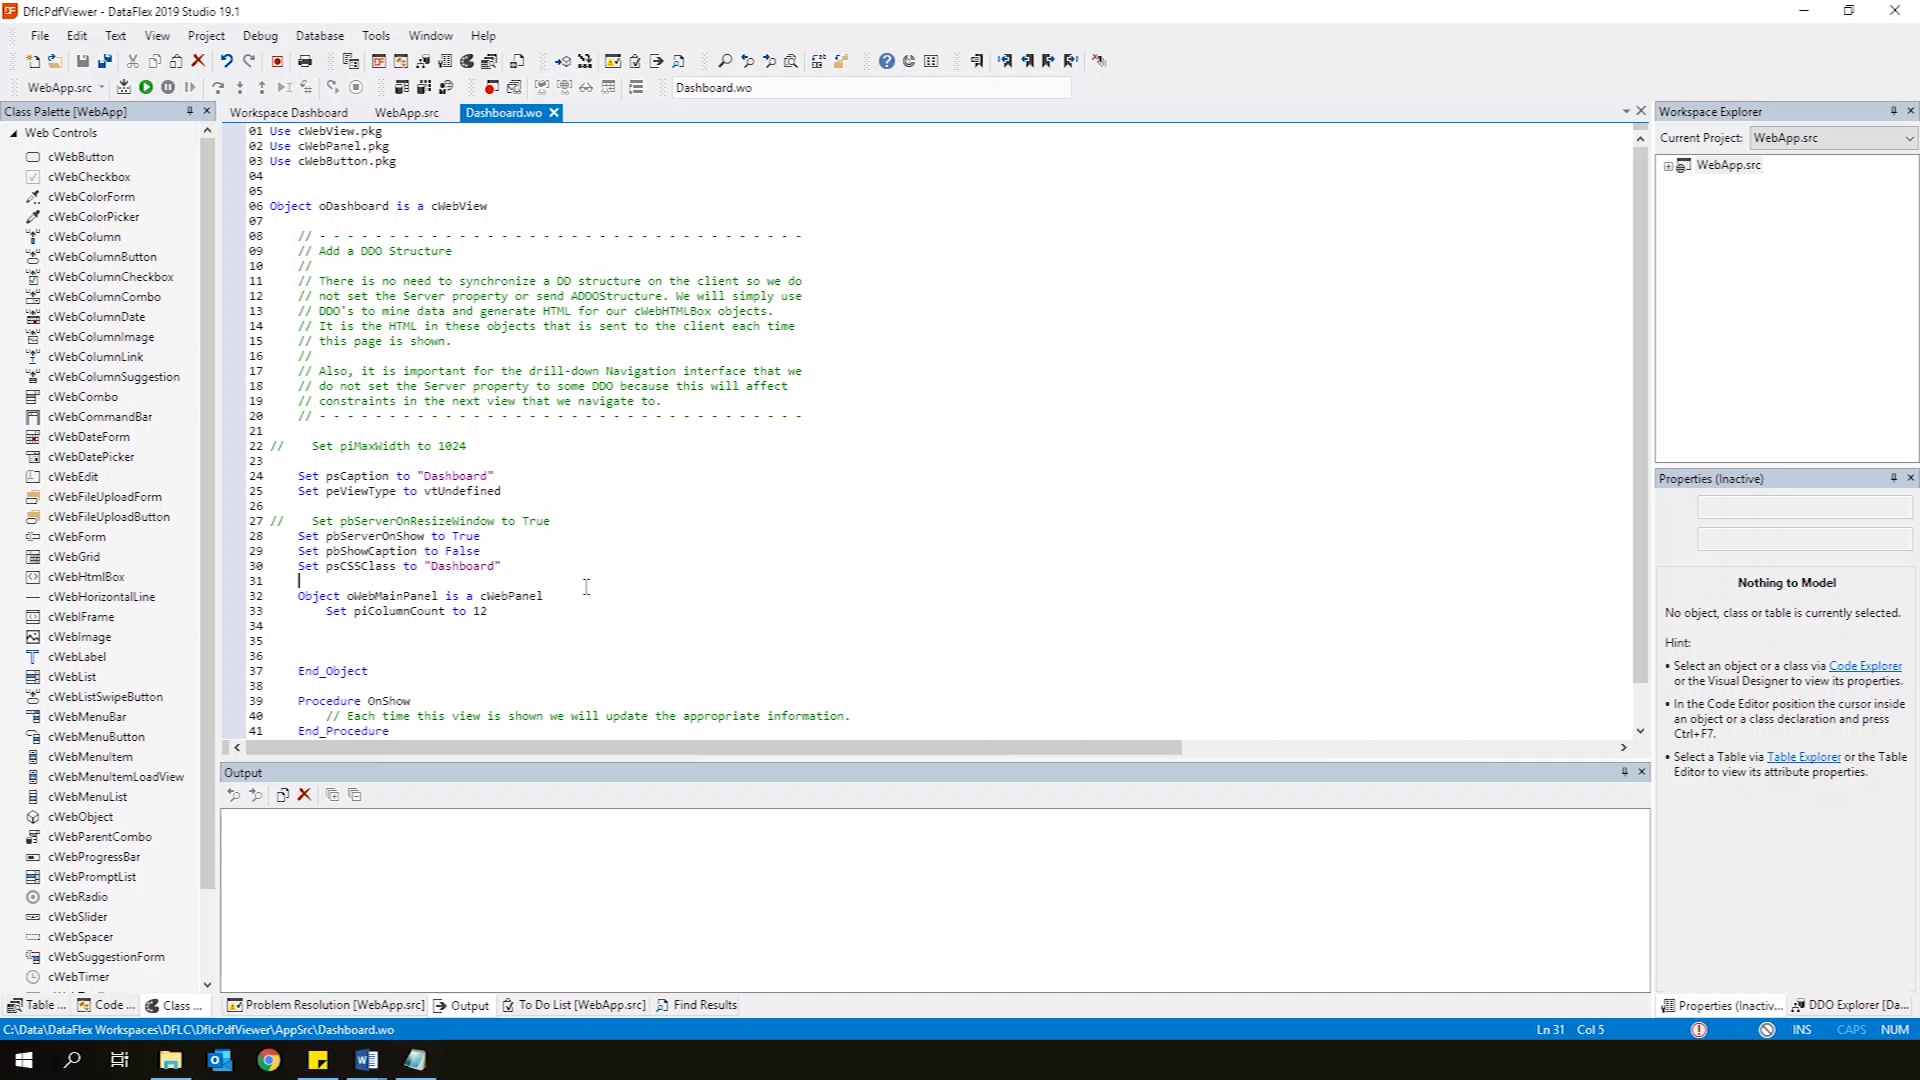
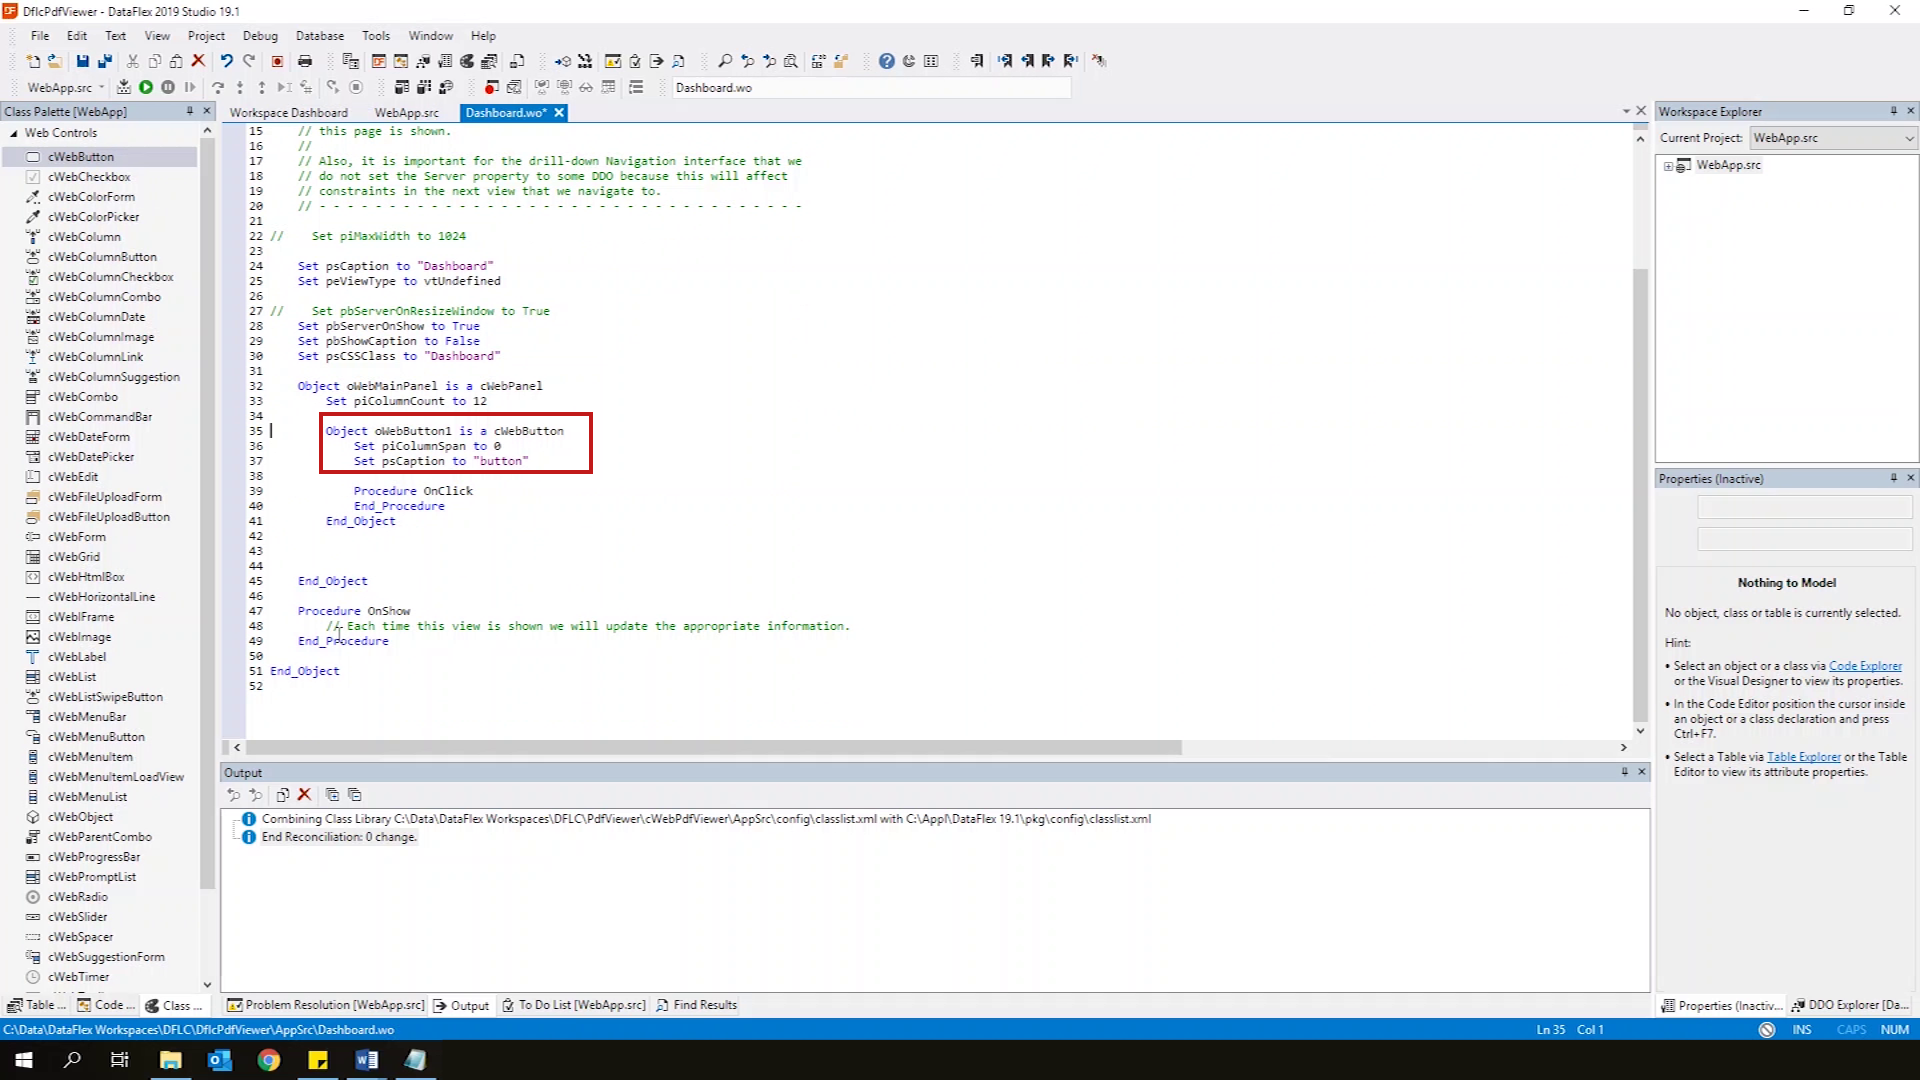
- Now that we’ve added the library to our workspace, let’s use the PdfViewer in our view.
- The first thing I’m going to do is create a button, we’ll use this to load a PDF in a bit.
- Drag & Drop the cWebButton from the Class Palette.
- After that, we’ll add a use statement for our cWebPdfViewer package.
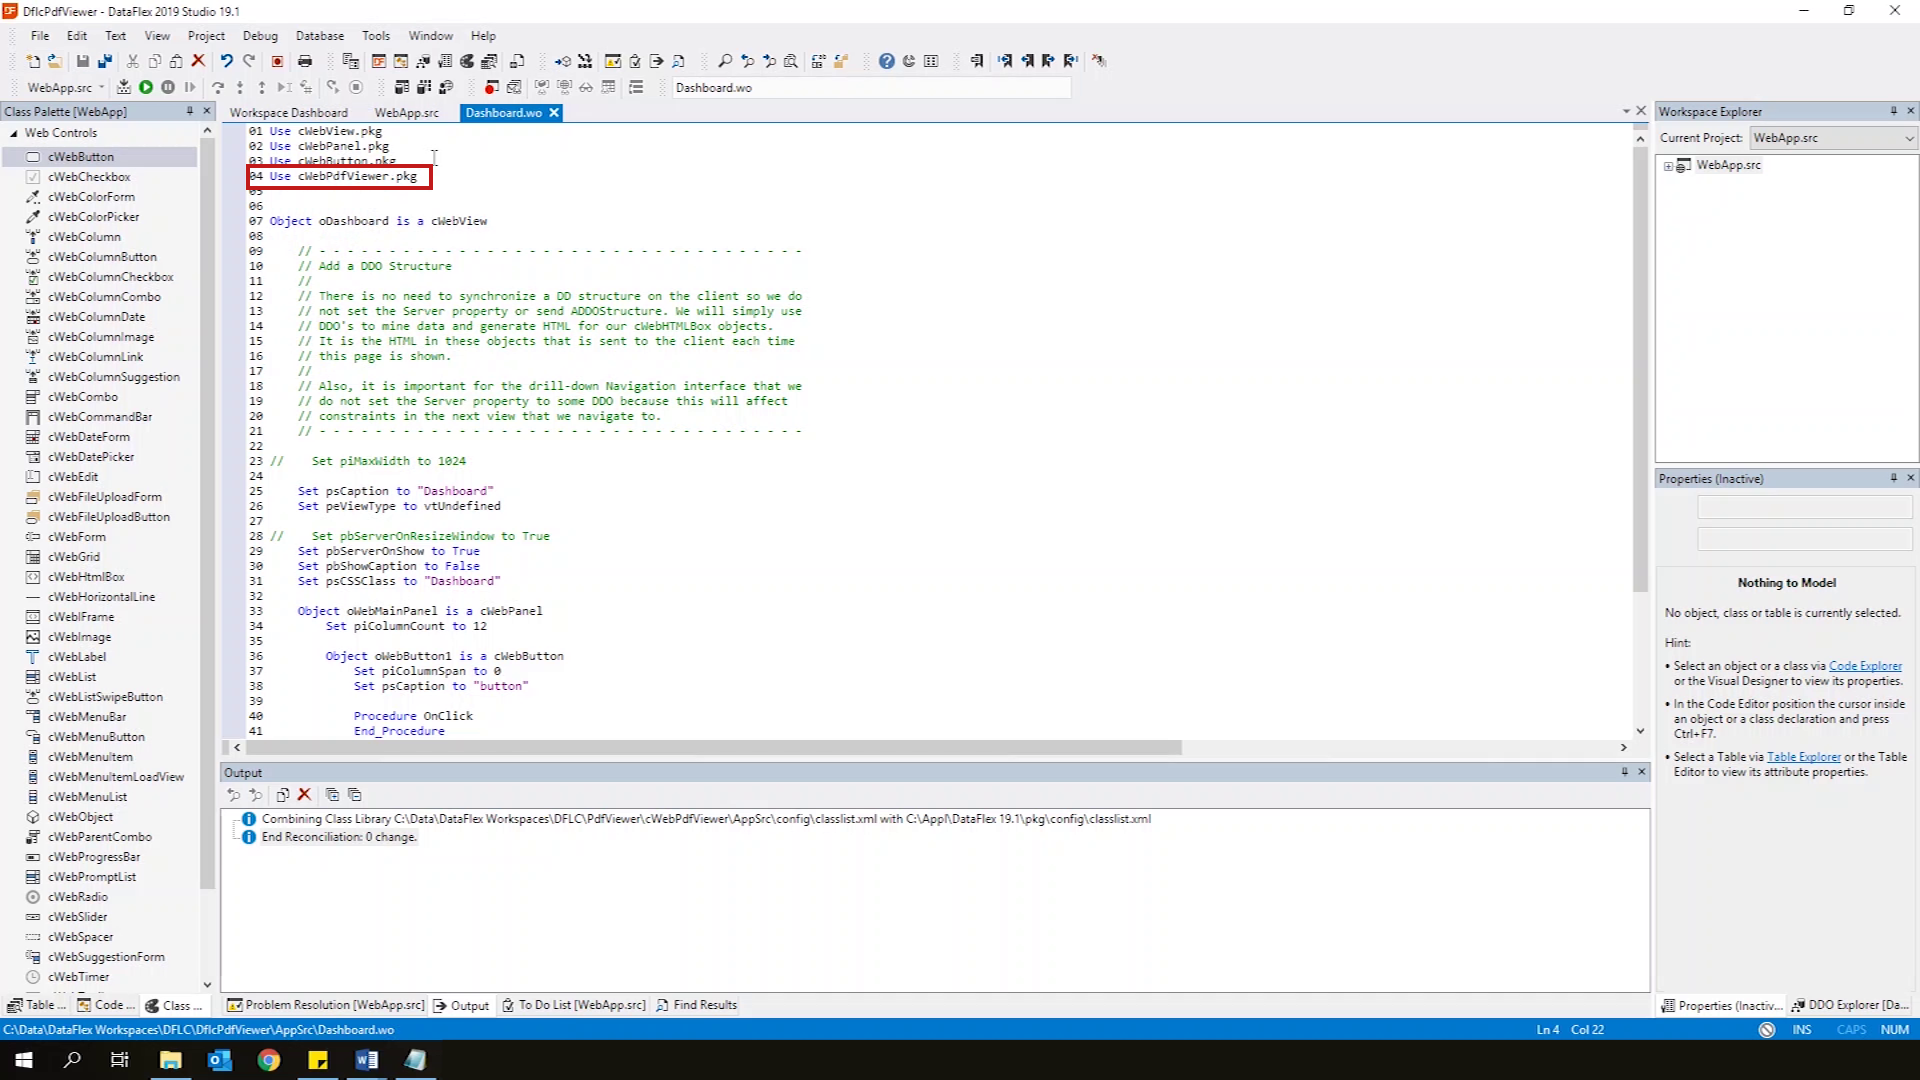
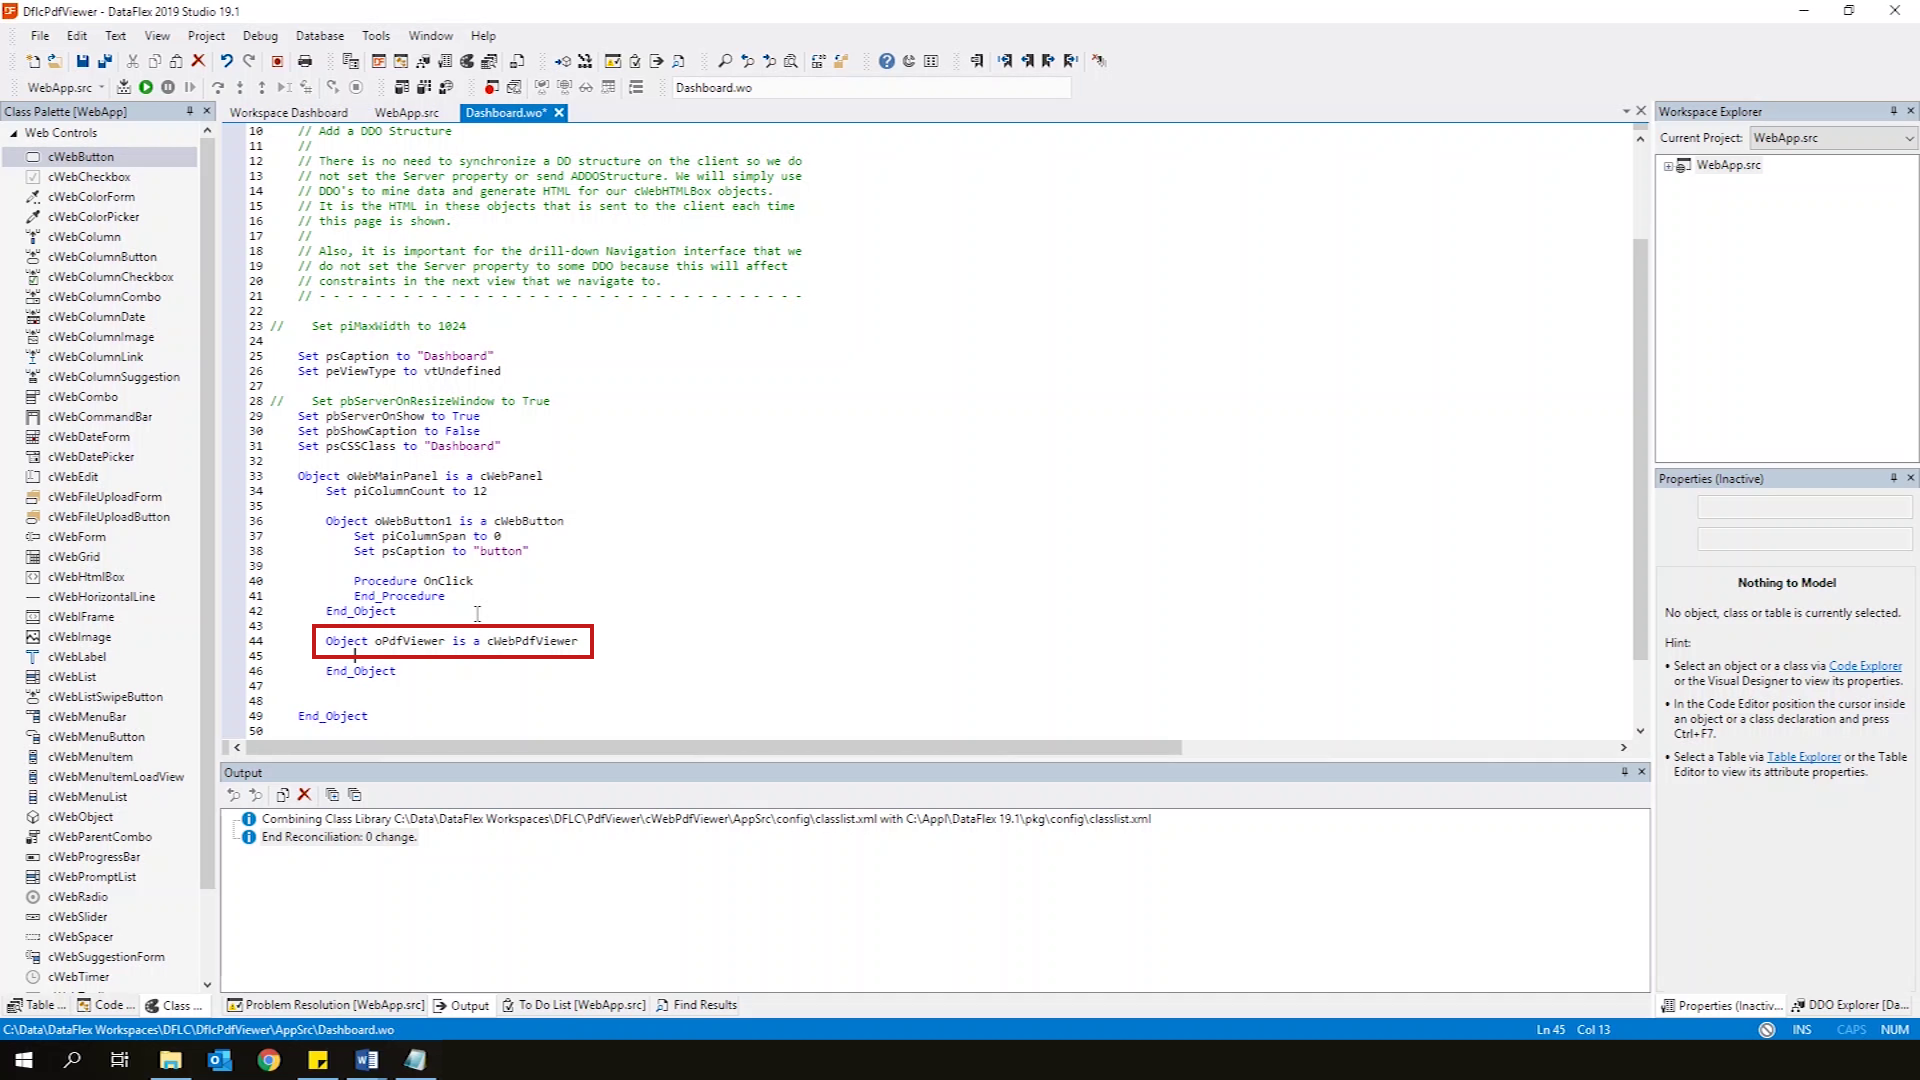
- Next we’ll create a PdfViewer object below our button.
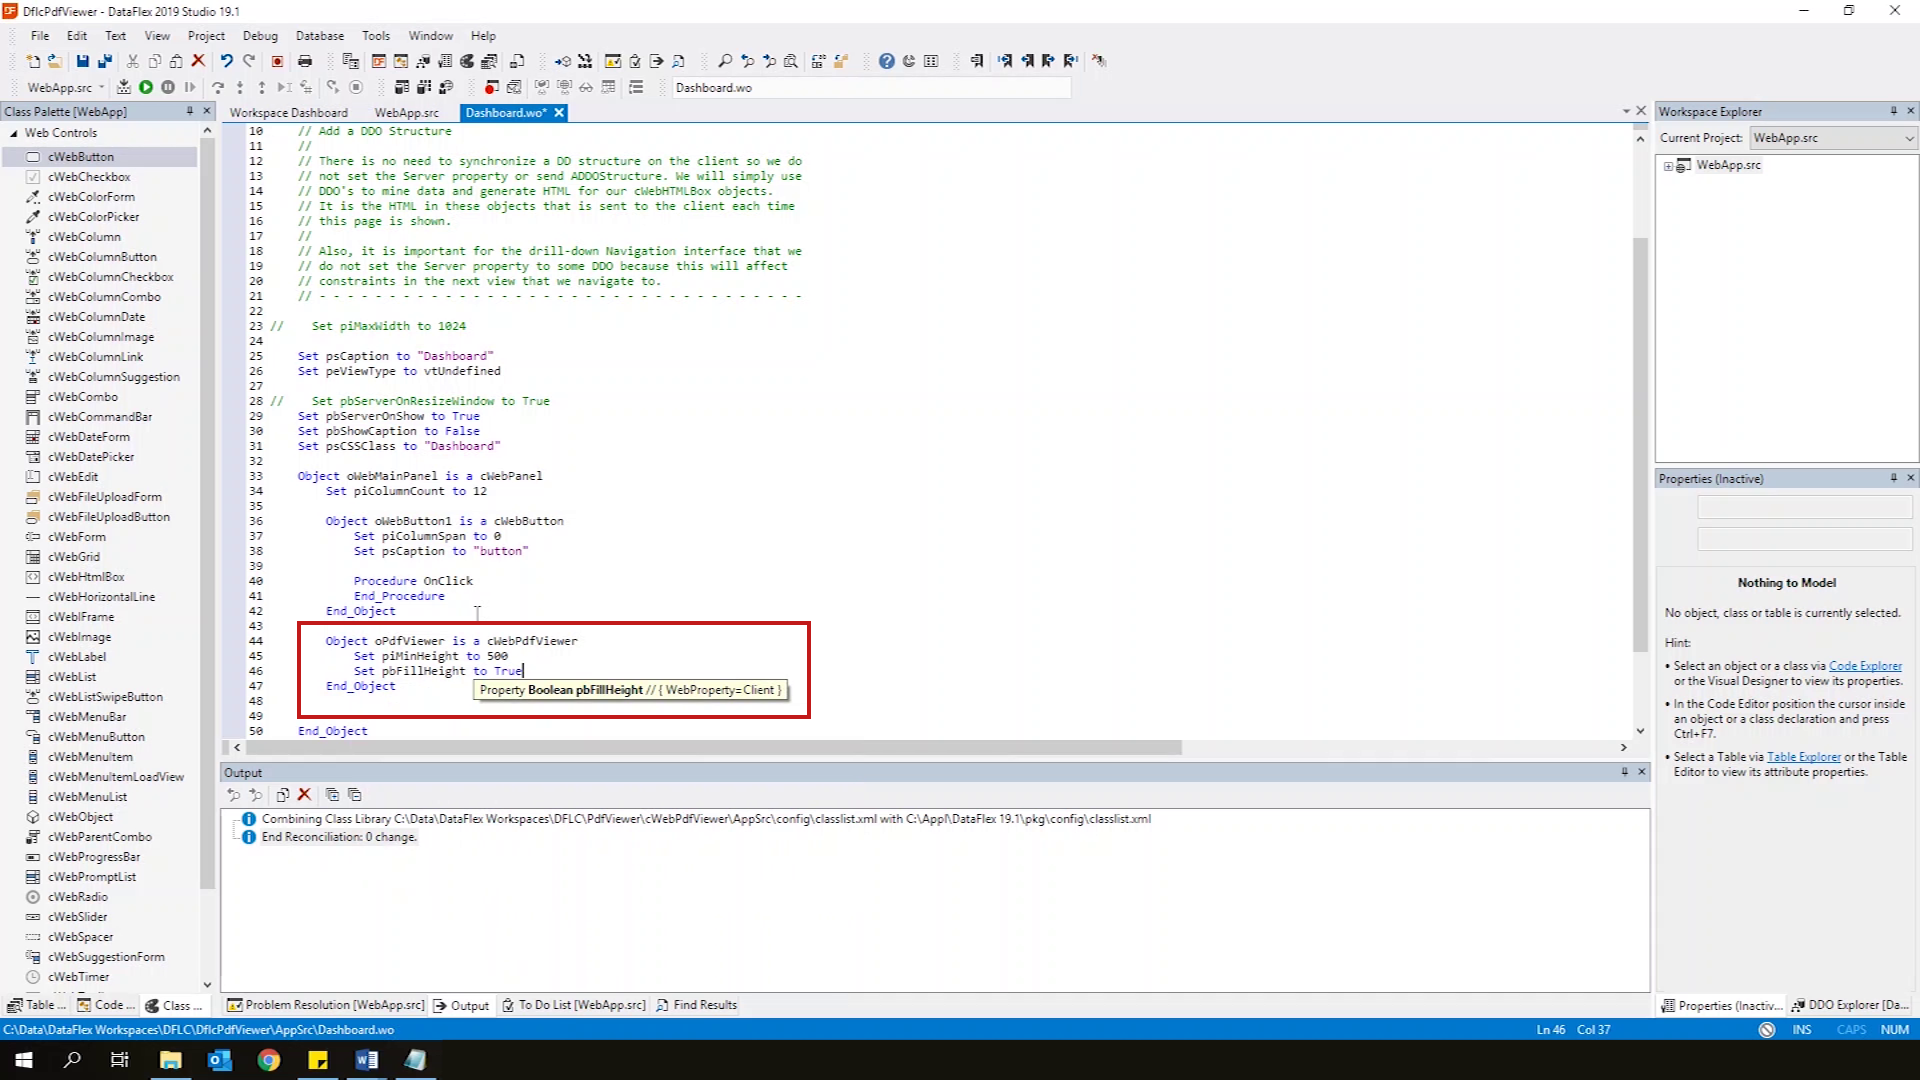
- To make it display properly, we’ll set the piMinHeight to 500 and the pbFillHeight to true.
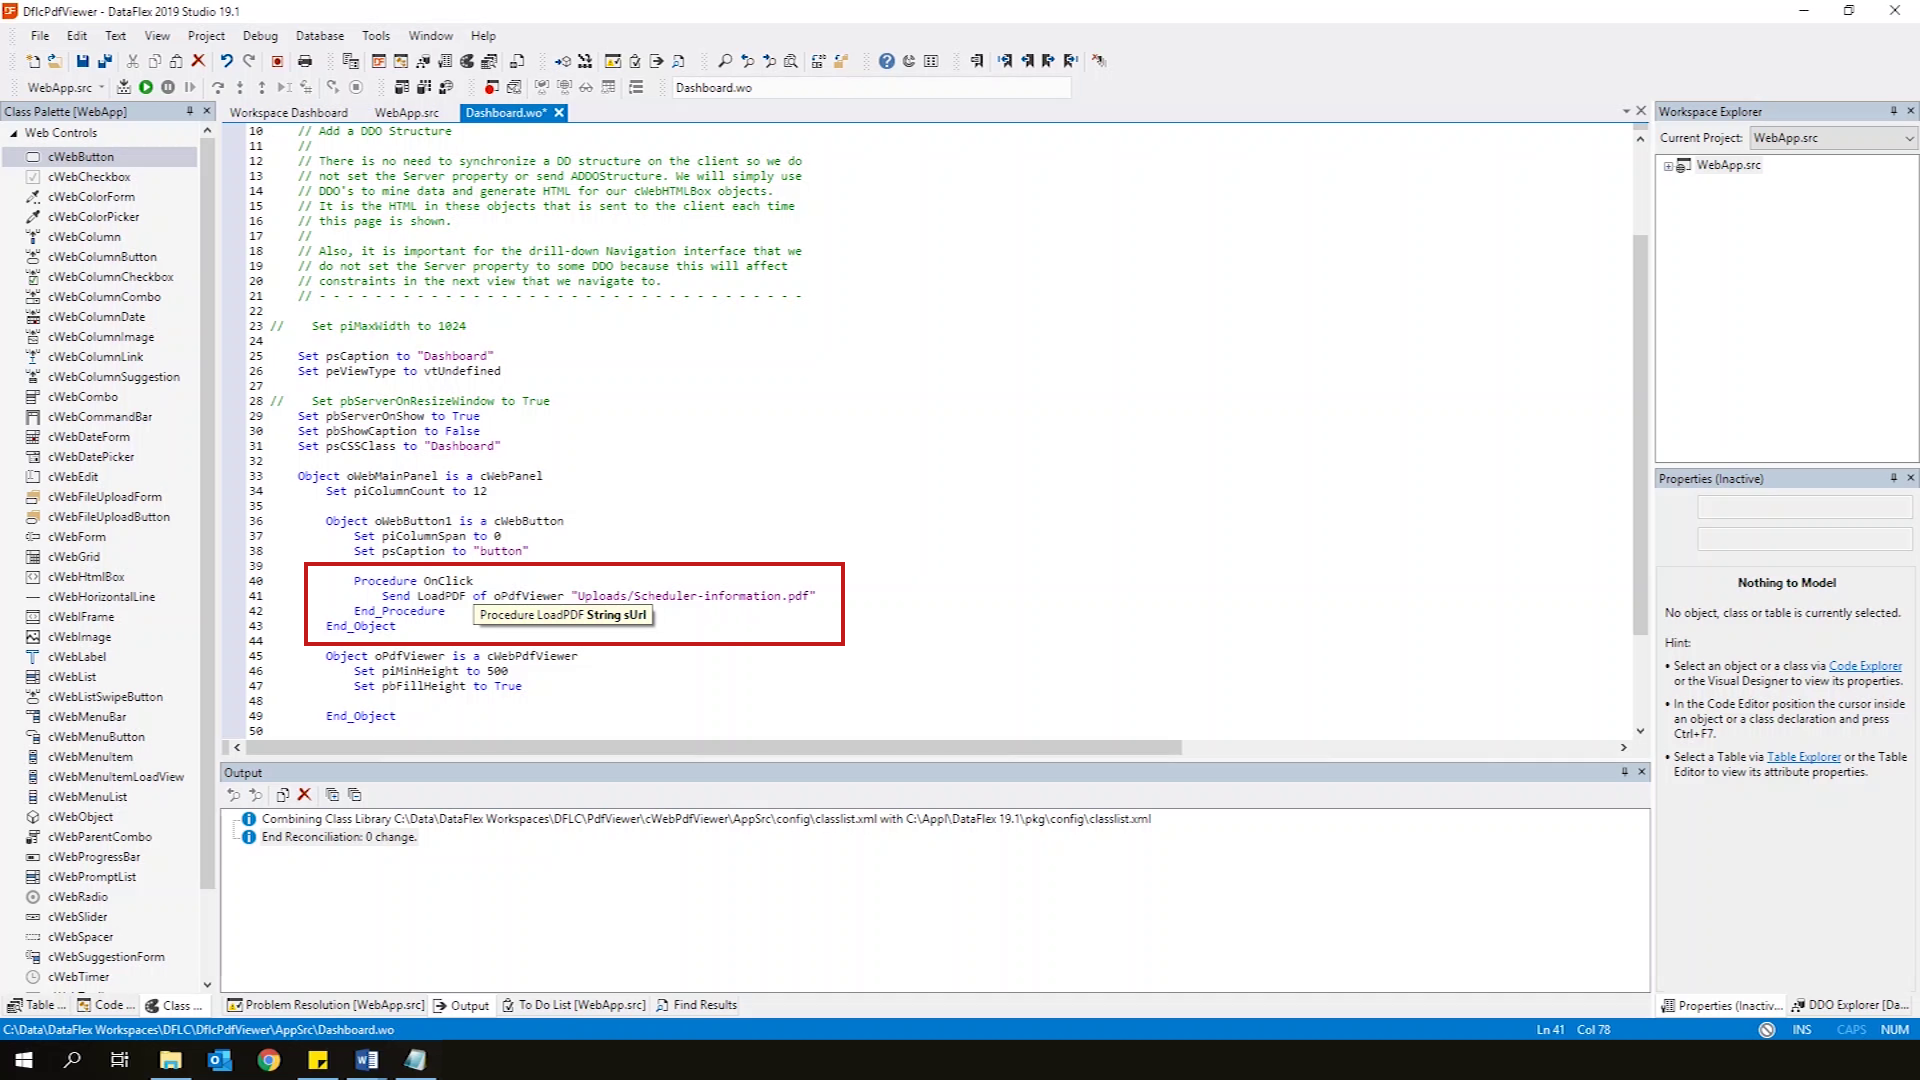
- Next we’ll use our button we created earlier to load a PDF.
- To do this we simply call on LoadPdf of our pdfviewer and pass the path to our file, in this case that would be: "Uploads/Scheduler-information.pdf".
- Note that I’ve already registered the DownloadFolder in the WebApp source, to allow the WebApp to actually access the files inside.
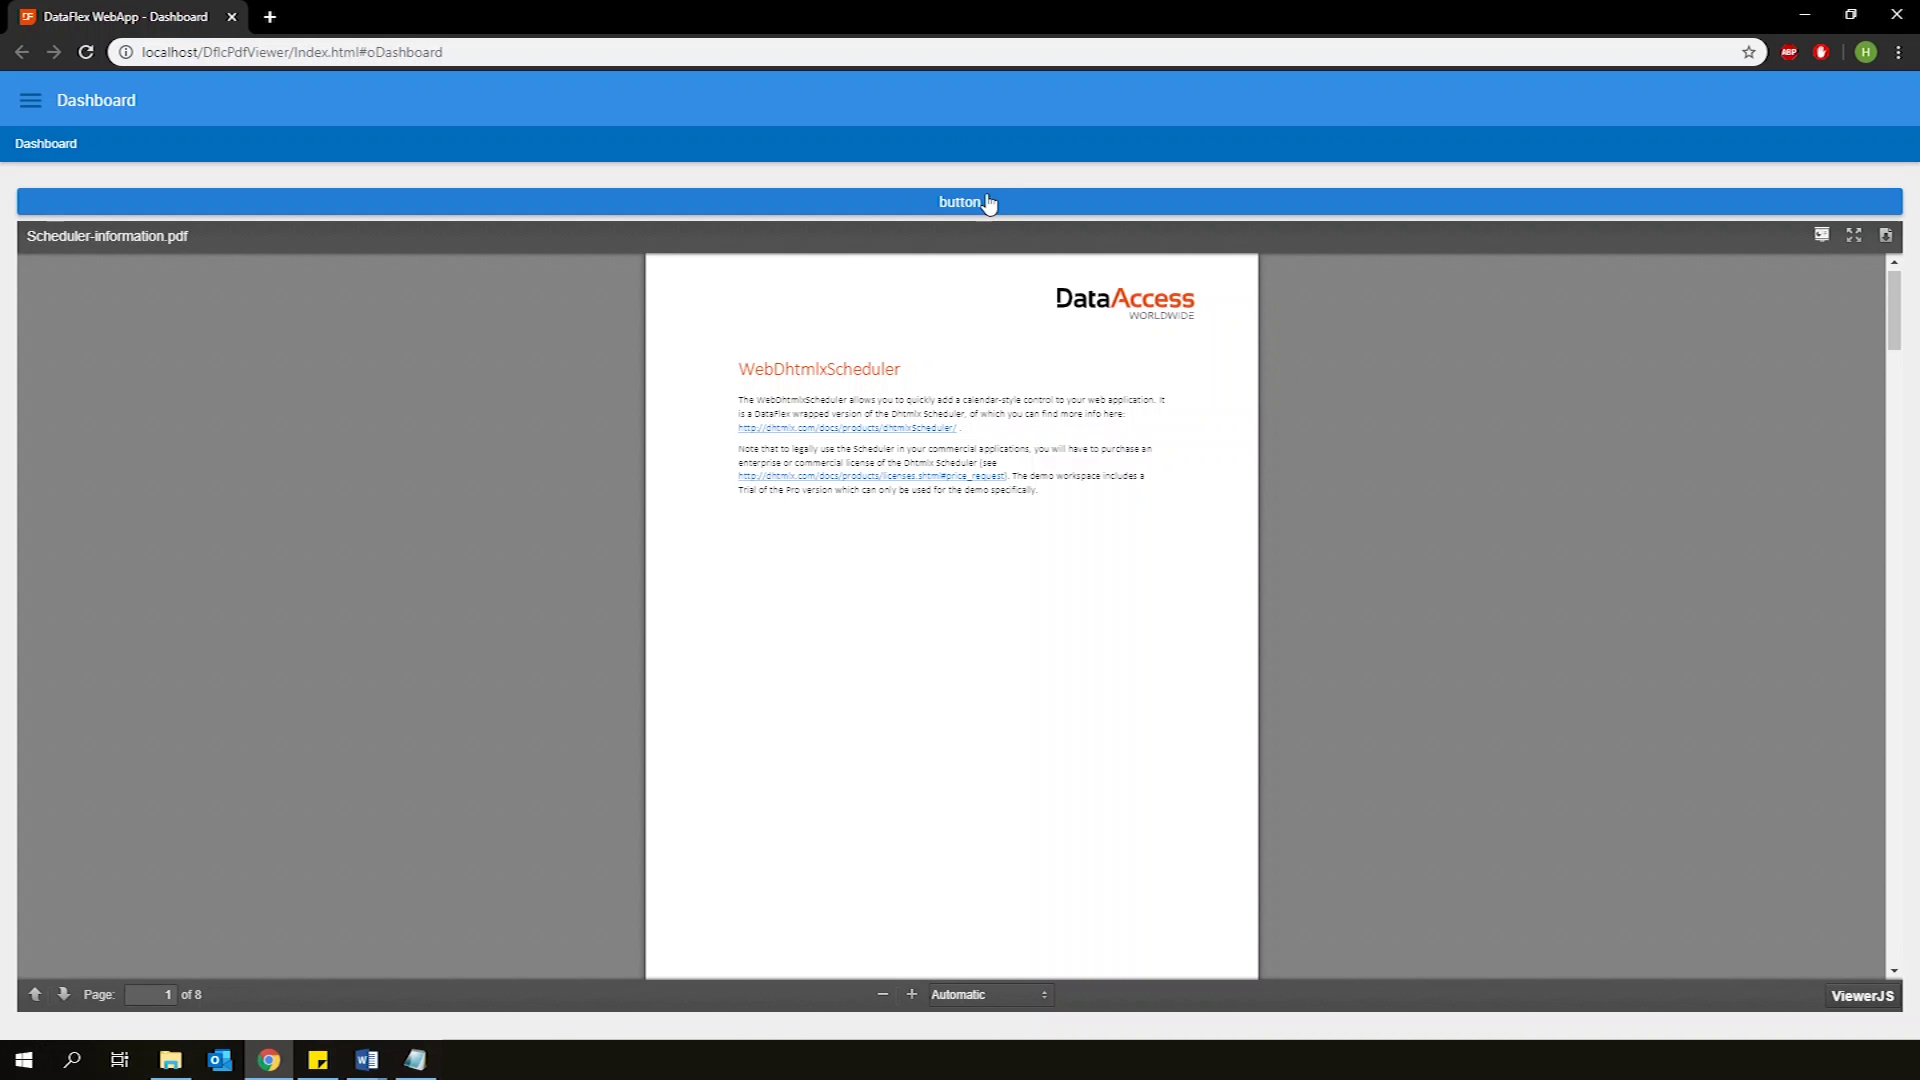
- That’s everything, Let’s see what we’ve built!
- So we’ll compile and run our project and navigate to our WebApp URL.
- When we click the button, you’ll see the PDF load nicely into our viewer. We can zoom in or out, navigate back and forth, etc.
Conclusion
In this course we’ve taken a look at the PdfViewer, a custom control that allows you to display PDF's easily in your WebApps. We’ve looked at how to integrate it, as well as demonstrated its usage. You can download the PdfViewer on the Data Access Website.


