This lesson will show the use of multi tenancy in a web application, and how the tenants can be switched based on the URL that is used.
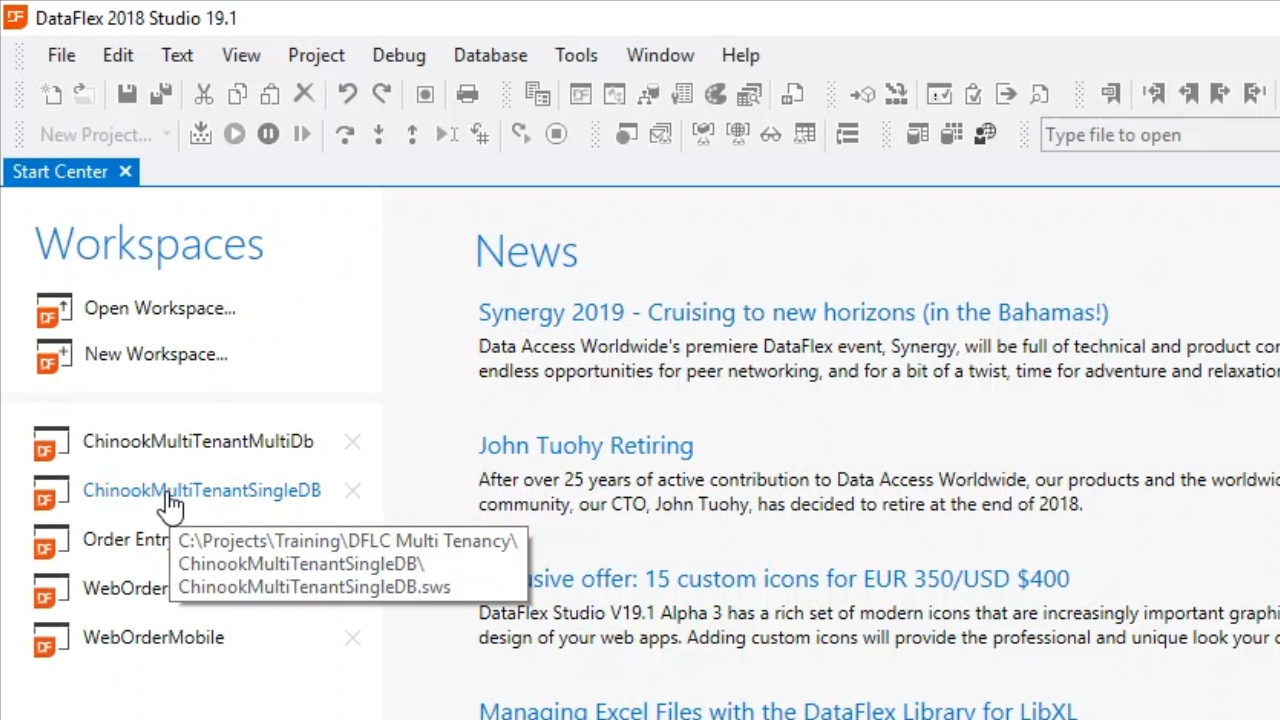
The examples in this lesson will be shown using a workspace called ChinookMultiTenantMultiDB.
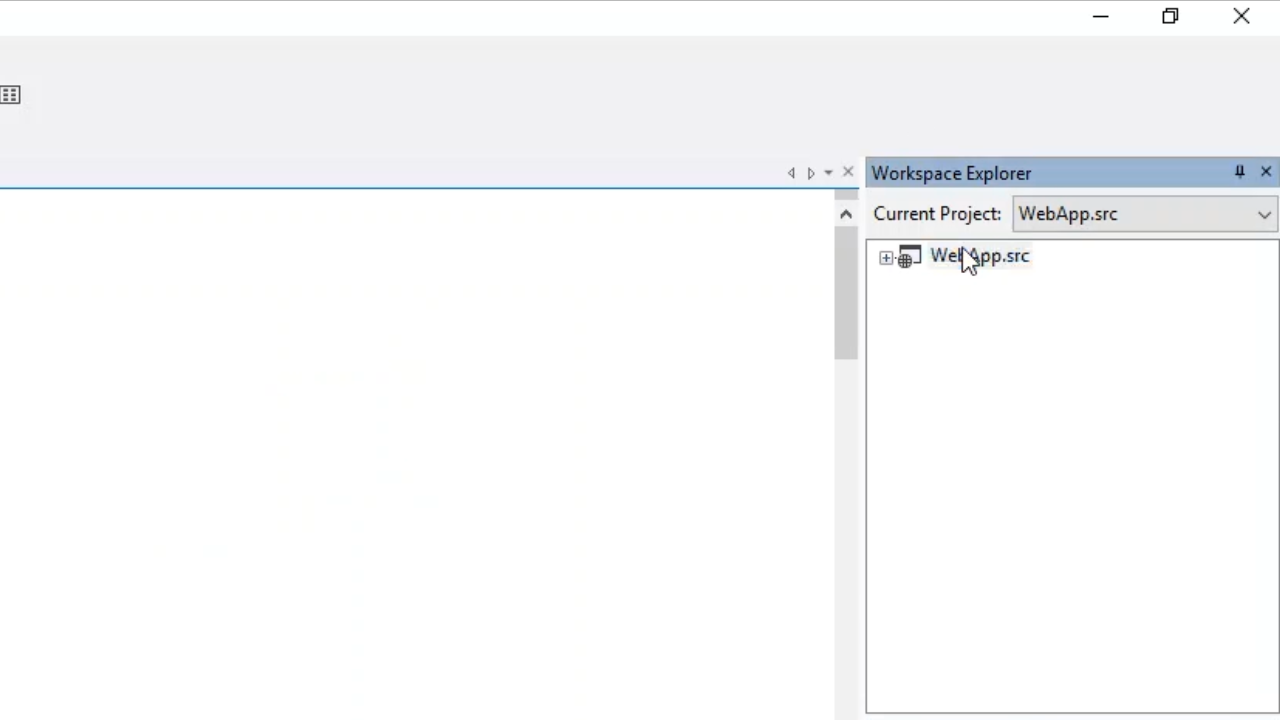
Open the source code by selecting WebApp.src from the Workspace Explorer on the right.
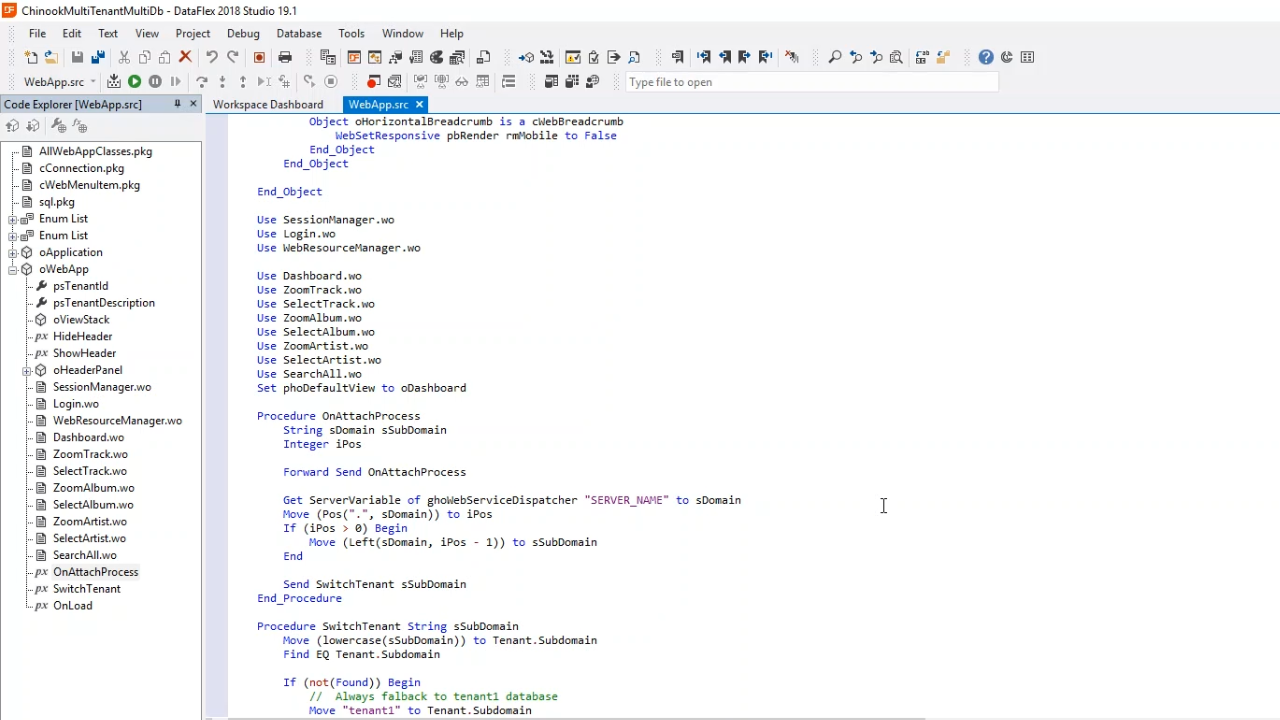
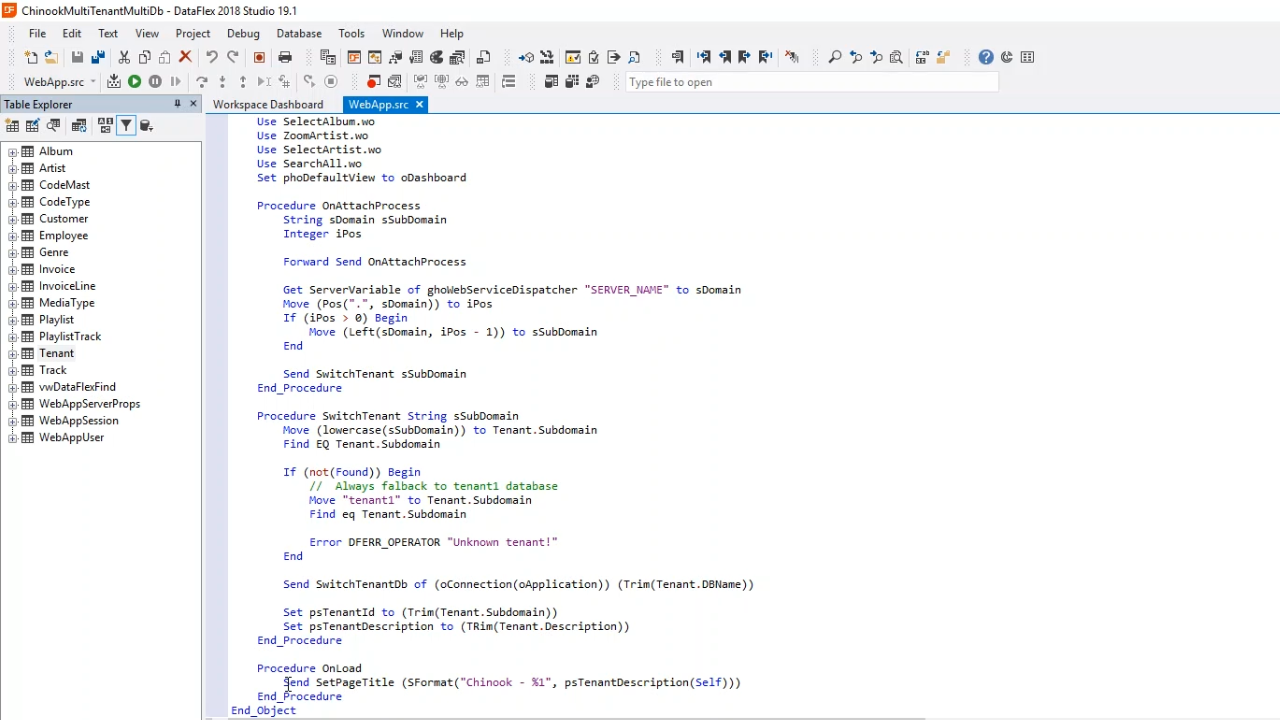
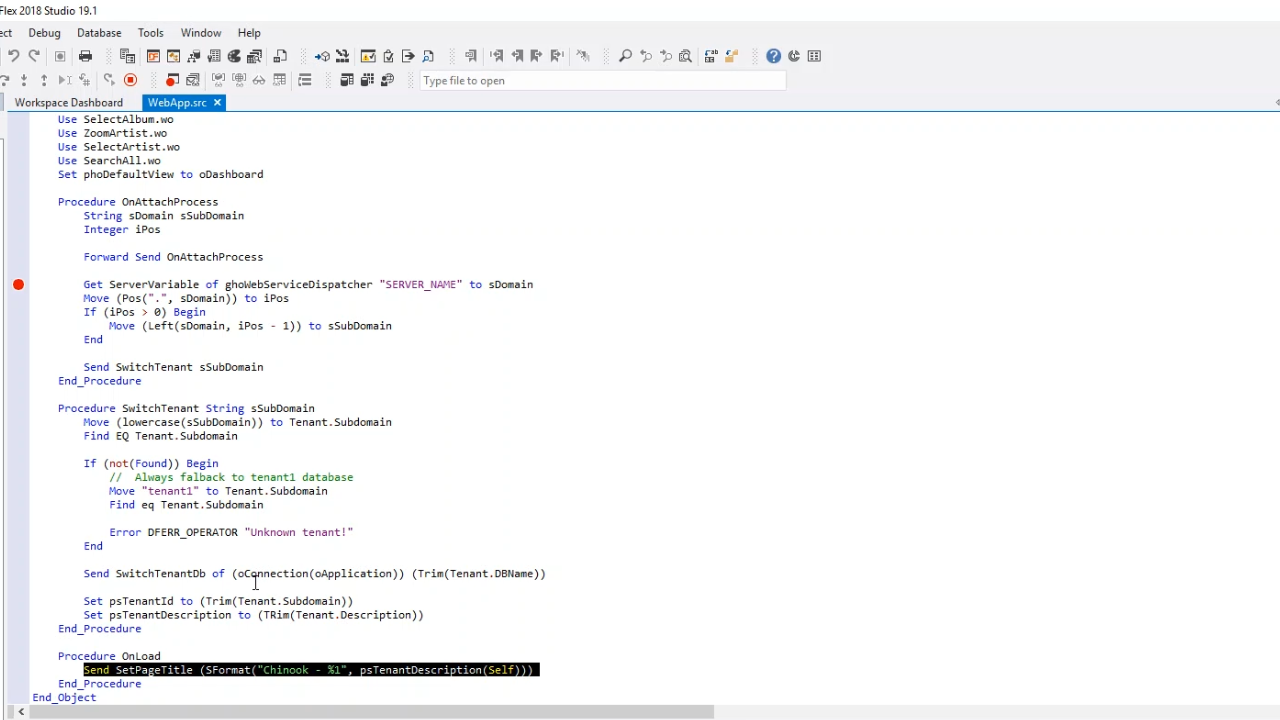
Expanding ‘oWebApp’ from the Code Explorer on the left shows an event called ‘OnAttachProcess.’ Double clicking it brings up its code that shows “Get ServerVariable” function that queries the URL. The variable returns the domain name that is used to access the application.
Throughout this lesson, the assumption is made that there a domain for the application, and that the subdomain indicates which tenant is accessing the application. There is a unique subdomain for each tenant.
In the function, the tenant portion of the string, sSubDomain, is pulled from URL string sDomain, and then SwitchTenant is called.
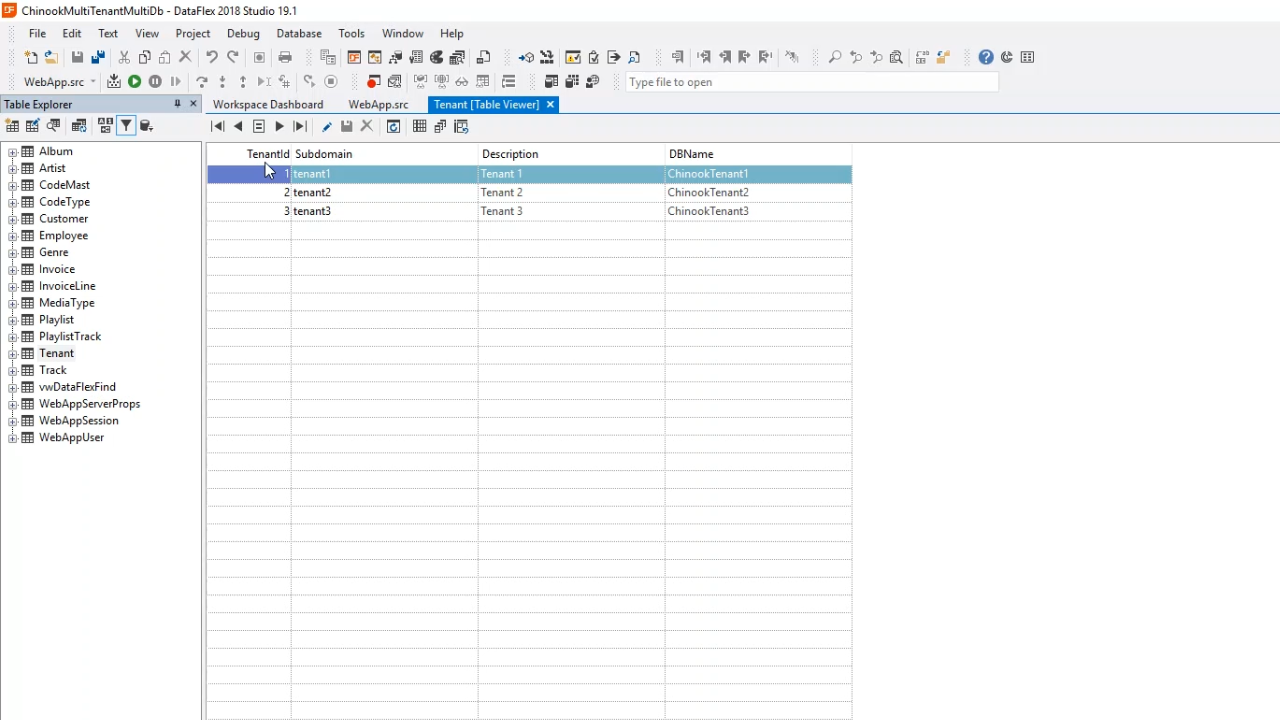
SwitchTenant looks at the ‘Tenant’ table. Open the table from the ‘Table Explorer’ on the left. The table shows that each tenant has a ‘TenantID,’ ‘Description’ and a ‘Subdomain.’ Here each tenant’s unique subdomain is shown.
In the SwitchTenant procedure, ‘SwitchTenantDB’ is called to pass on the ‘Tenant.DBName,’ and it will switch to the right database. Properties that will be used later are also set.
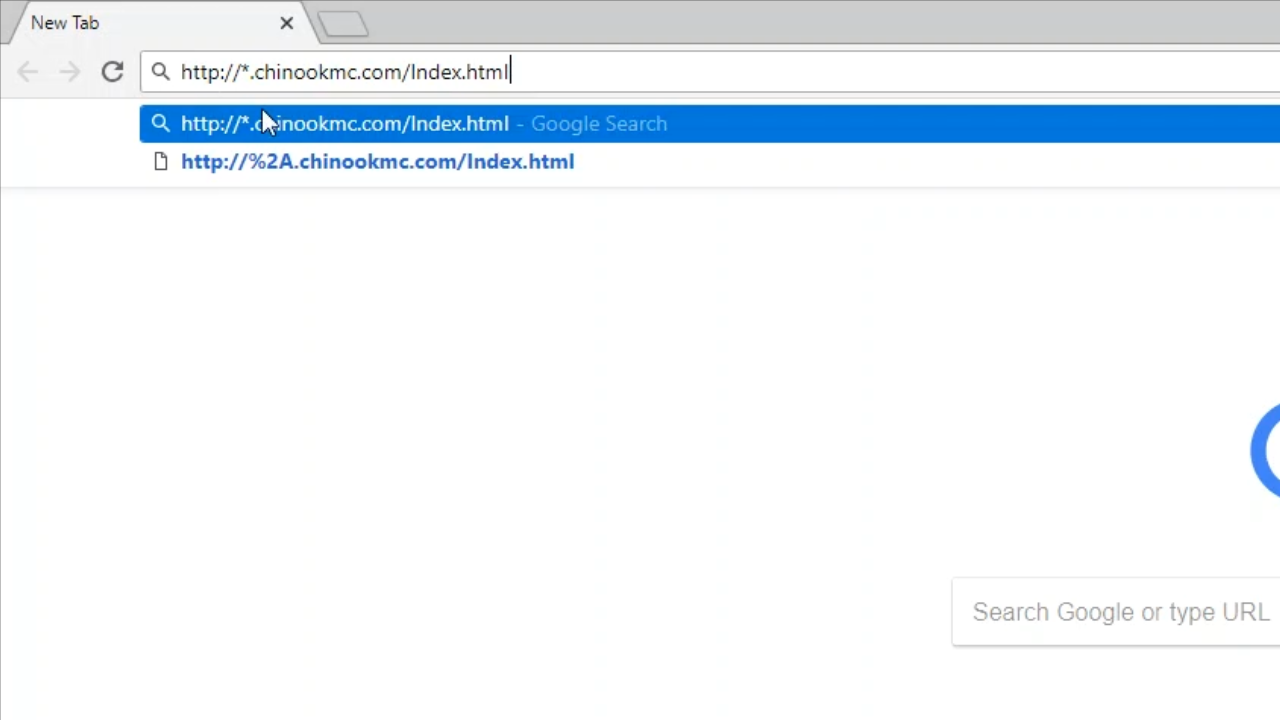
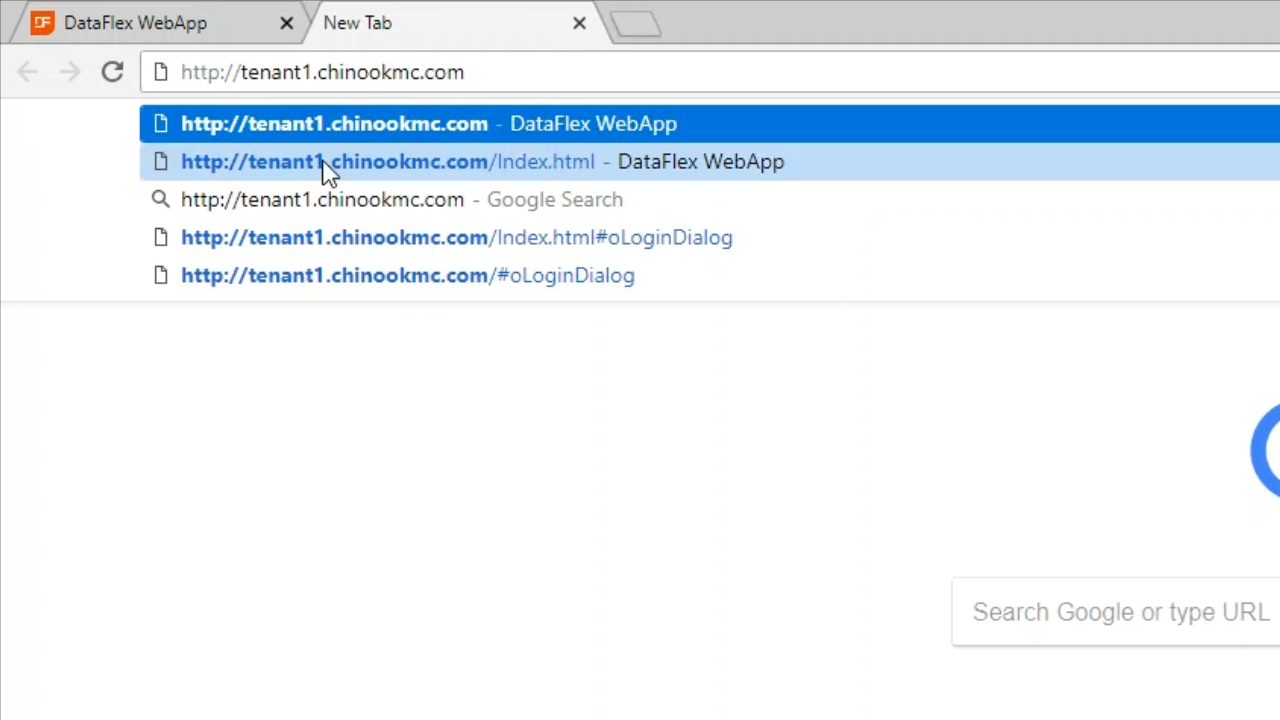
To view the application in a browser, right click on ‘WebApp.src’ in the Workspace Explorer and select ‘Copy Application URL.’ Open a browser window and paste the URL into the address bar. It will contain a star * and the domain name. Replacing the star with “tenant2” will determine with tenant is accessing the application.
“chinookmc.com” is the domain that is defined in the Windows host file. It is not an existing domain.
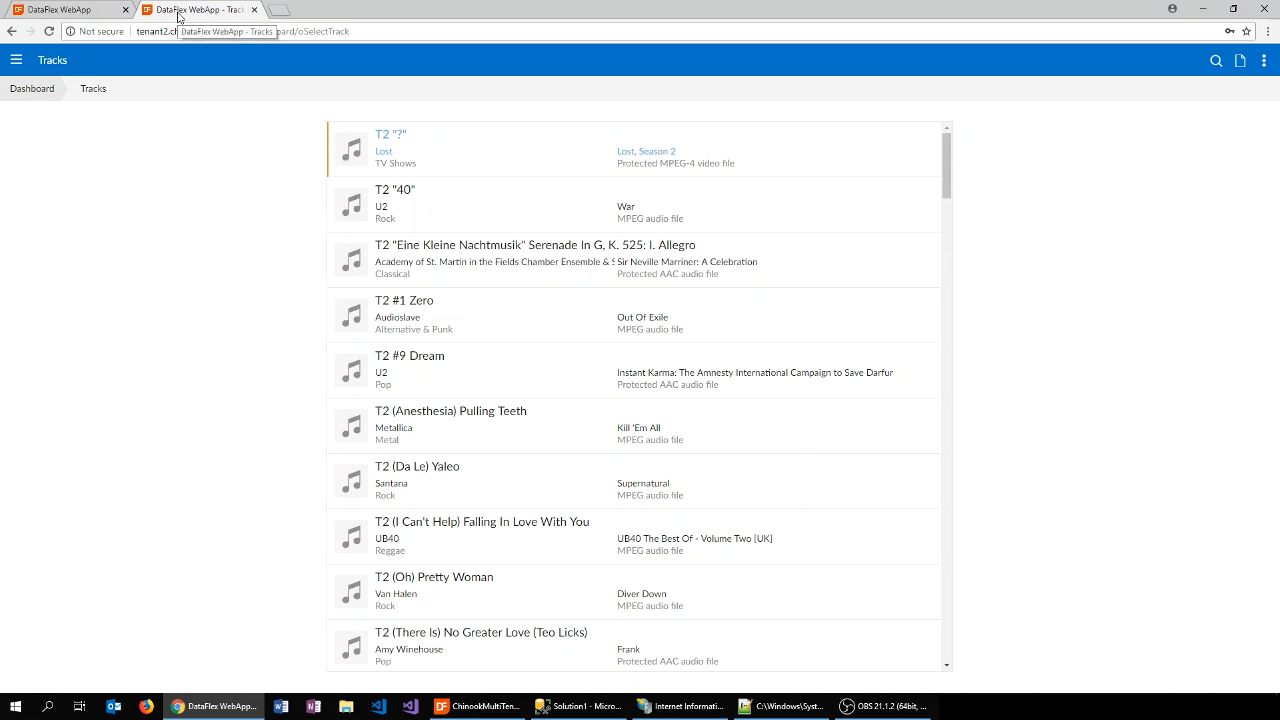
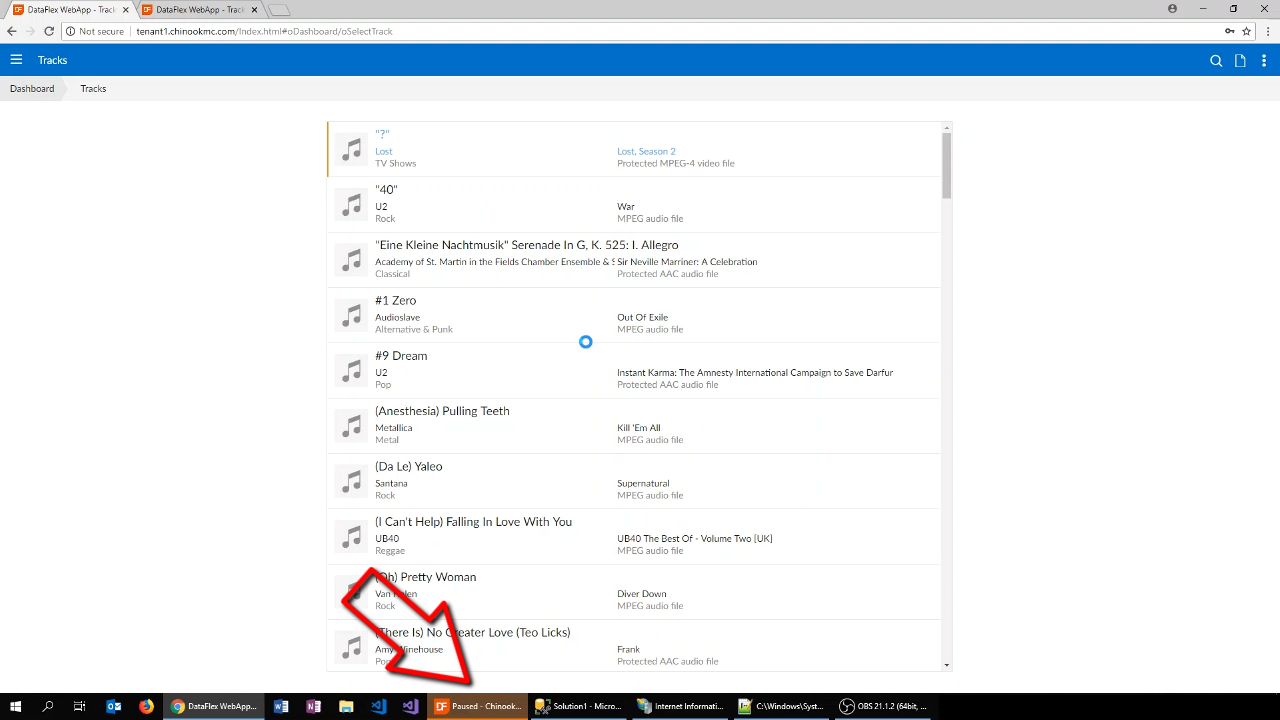
Logging into the application using “admin” as the name and password and selecting “Track Query” shows a list of tracks associated with tenant 2.
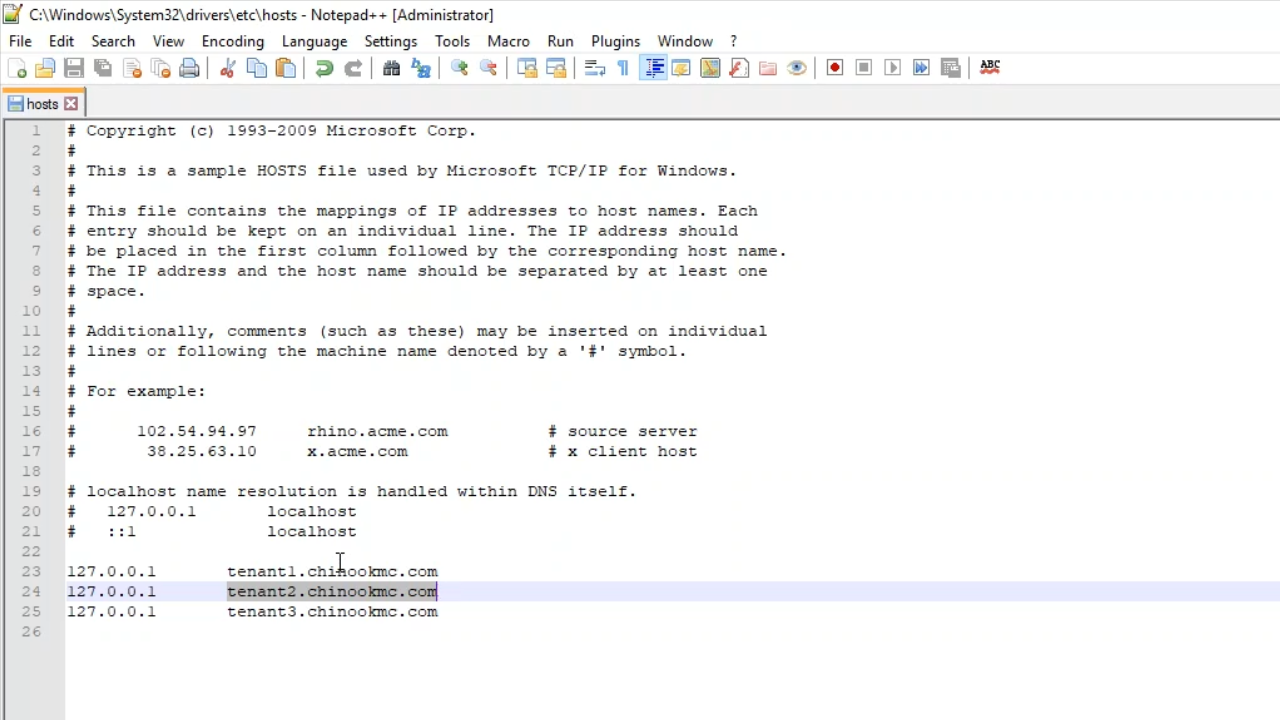
To configure this, the host file, which is a global configuration file that is found in the Window\System32\drivers directory, is edited to create fake domain names that point to specific IP addresses.
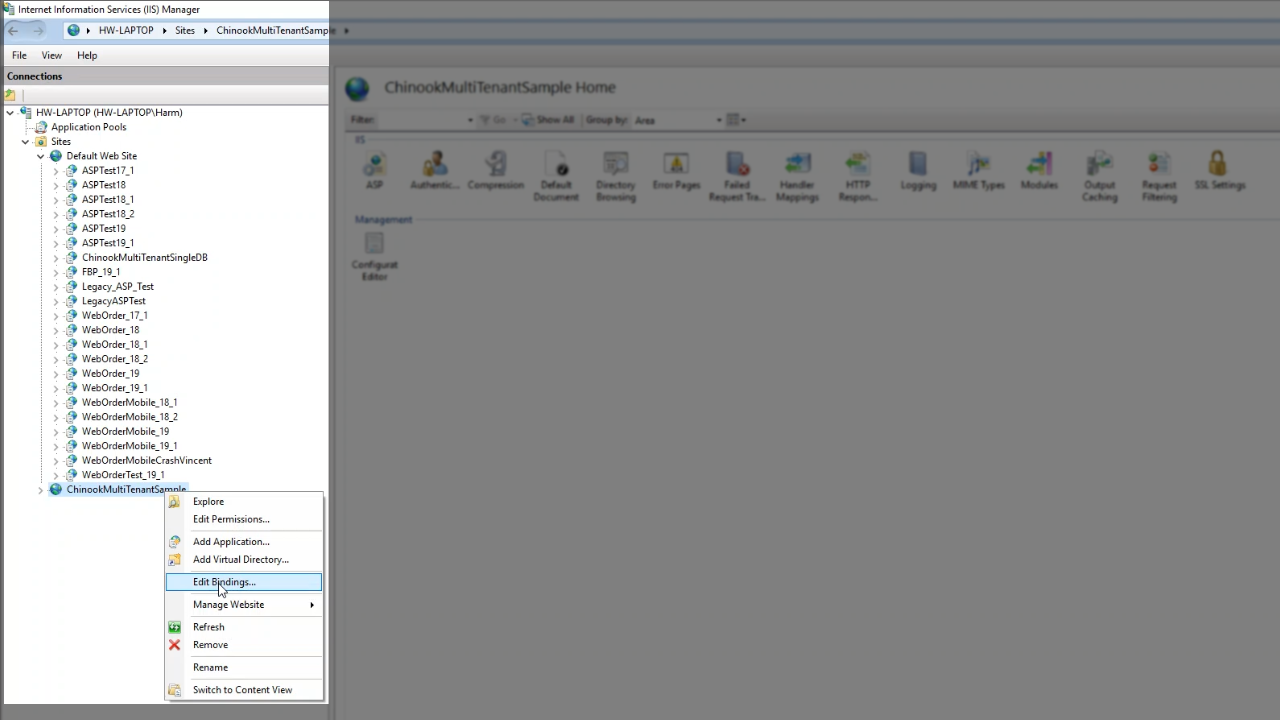
Then in IIS, a website is setup, ChinookMultiTenantSample.
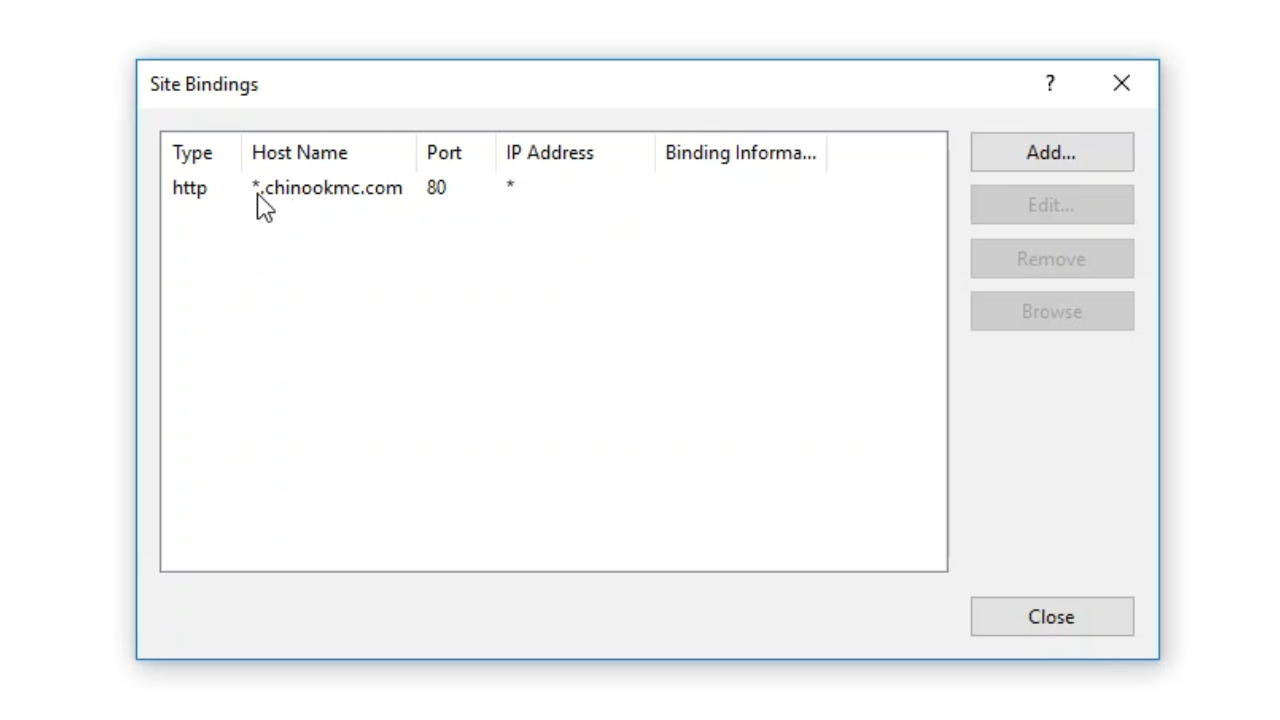
Right click on the site’s name and select ‘Edit Bindings’ to see that its host name is set to “*.chinookmc.com,” and its Port set to “80.” Every request that comes into that port with that specific host name will point to the application.
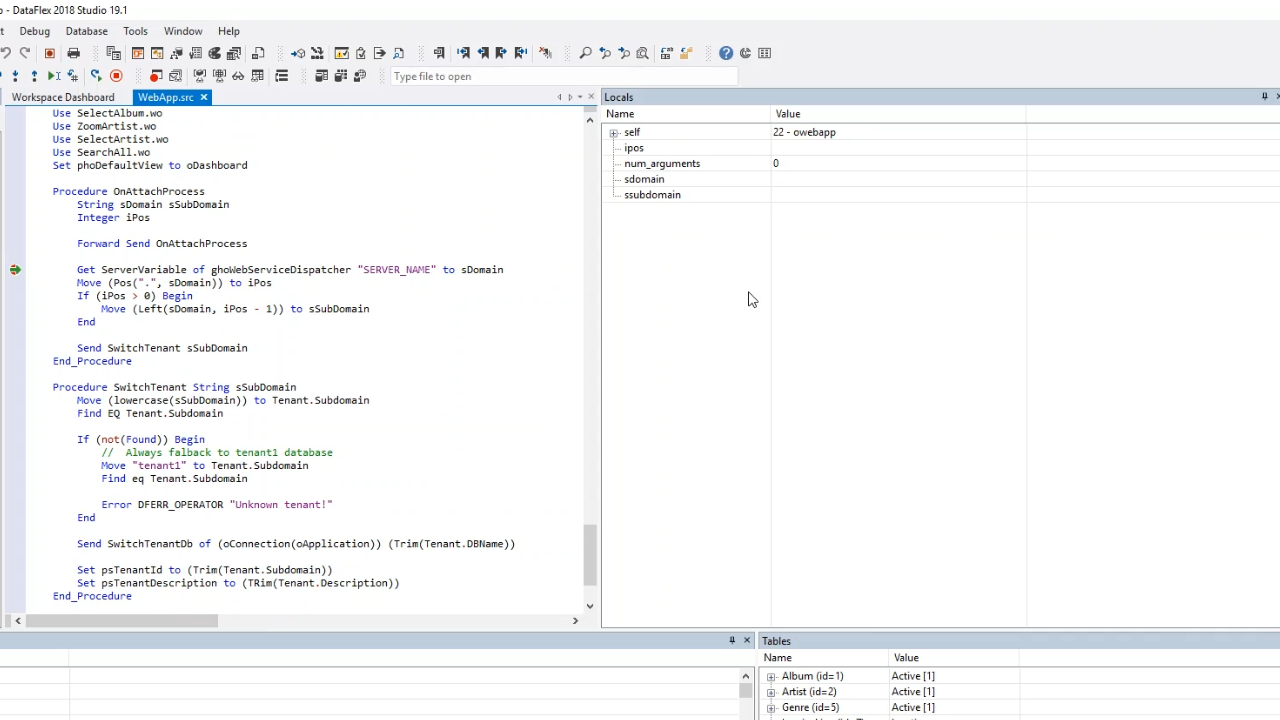
Each request comes in and is handled by a single process and the OnAttachProcess. To debug that the domain name is being used to switch to the right tenant, put a breakpoint below the OnAttachProcess, and run the application.
Returning to the browser, clicking on an item will send a request that will hit the breakpoint. The DataFlex Studio will show as paused and will now be in debug mode.
The right side shows the ‘Locals,’ and the Get ServerVariable queries the server name now shown in Locals as “tenant1.chinookmc.com.”
Moving down the code it shows that it is being reduced to just “tenant1” as the subdomain.
‘SwitchTenant’ is then called to do some find operations, such as on the Tenant table. The subdomain is entered, and if a subdomain is found it will continue by switching to the right database and pass in the right database name of the specific tenant.
Letting the program to run, it will handle the request on the right database.