Multi Tenancy
Lesson 3: Multi Tenancy in WebApp on login
With web applications, the DataFlex WebApp server starts multiple processes on the server, and each process is waiting for requests to come in.
Requests can come from many different sessions/users. The application needs to switch to the right dataset and apply the proper constraints for each request. Performance is major factor – the faster the switching takes places the faster the application runs.
There are two ways of separating tenants (identifying which user is using the application) in a WebApp:
- Switch based on login
- Shared user table that has a Tenant ID column, and shows which tenant to the user belongs to
- This is done in the Session Manager. It has a event called ‘OnSessionPropertiesSet’ that applies the constraints.
- Switch based on URL
- Example: a unique subdomain for each tenant
- This would be executed on ‘OnAttachProcess’
Demonstration
- This lesson will use the same database that was used in the previous lesson, the ChinookMultiTenantSingleDB.
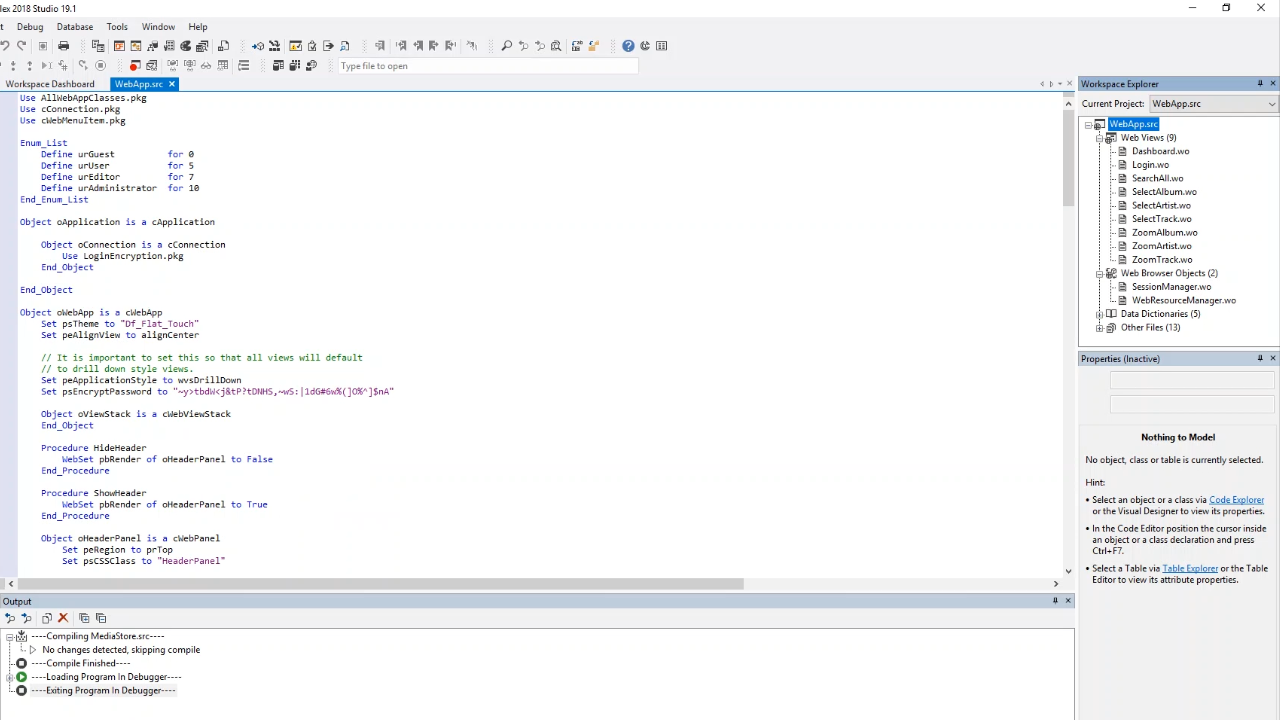
- Open ‘WebApp.src’ from the Workspace Explorer on the right. The code shows that in the application data is going to be constrained based on which user logs in.
- Open the ‘WebAppUser’ from the Table Explorer on the left. A ‘TenantId’ has been applied to each user, ‘LoginName.’ On login, the data shown will be constrained to each user based on this ID. This is done in the SessionManager.wo.
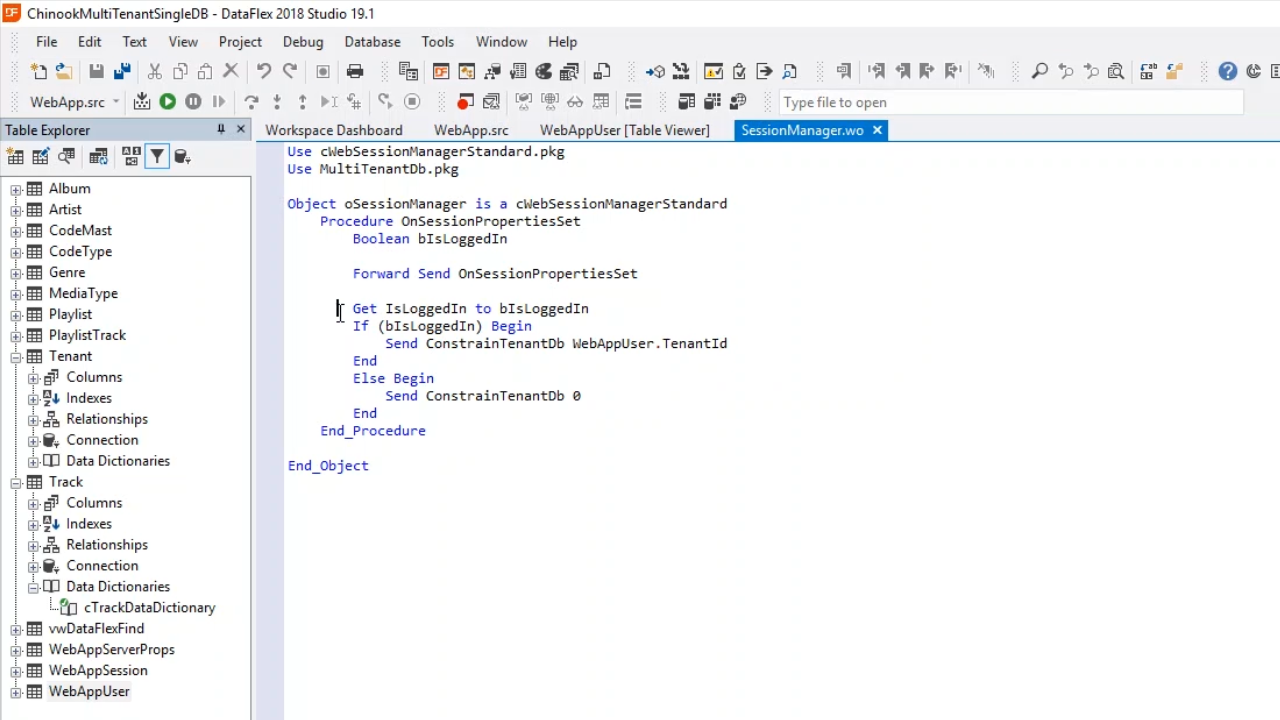
- Open ‘SessionManager.wo’ from the Workspace Explorer on the right. The OnSessionPropertiesSet function is implemented. It first checks if the user is logged in. If logged in, the ConstrainTenantDb is called, and the WebAppUser.TenantId is passed. This function is called for each request that comes in. If the user is not logged in, it is constrained on TenantId 0, which does not exist. The user will not be able to see any data.
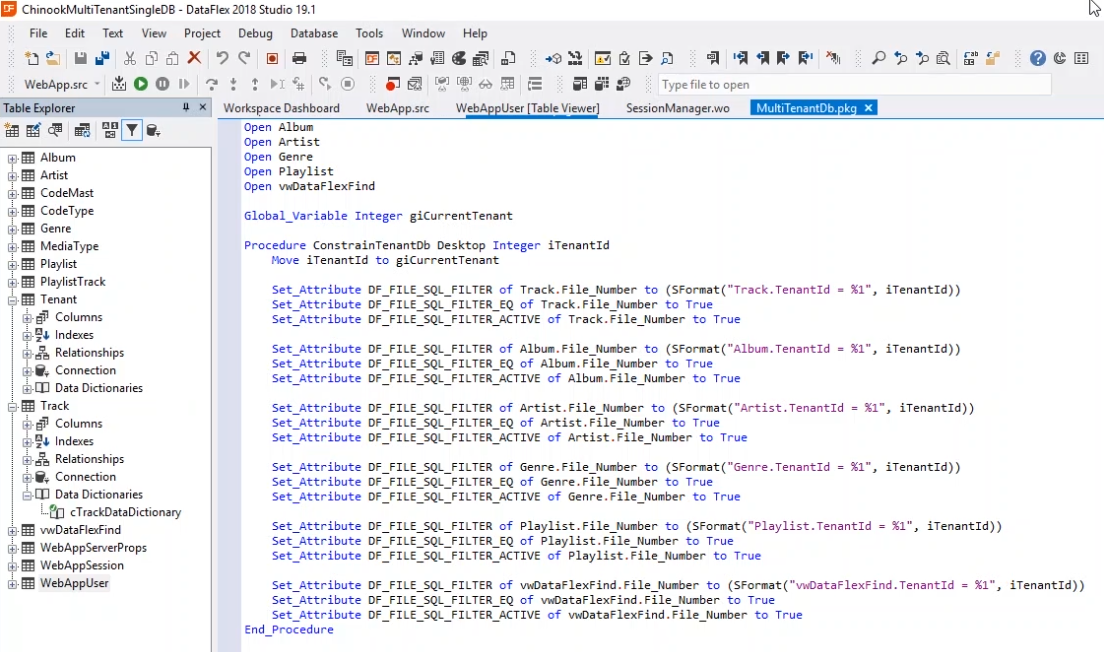
- Right click on ‘ConstrainTenantDb,’ and select ‘Go To Definition’ to view its code.

- This is exactly the same function that was used in the previous lesson when discussing Windows applications. The SQL filters are being set for all the different tables, and the global giCurrent Tenant.
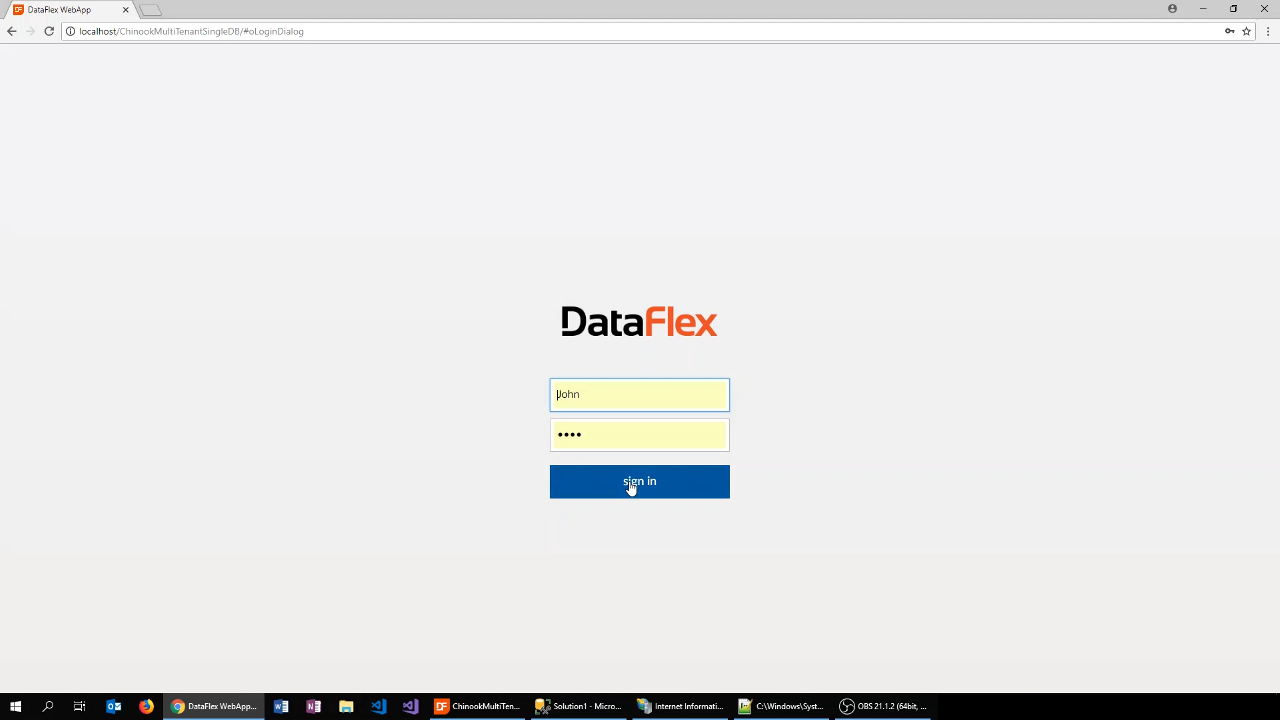
- When the example is run, a login screen will appear. What is shown will be based on who logs in. If John logs in, John will only see Albums that are part of his data set. Logging in as Harm, will show different albums.