Migrating to MySQL Environment
Lesson 4: Setting up the MySQL Environment
The necessary software needs to be obtained before setting up the environment. Installation programs can be downloaded the dev.mysql.com website.
Demonstration – Server-side
- Download the product here
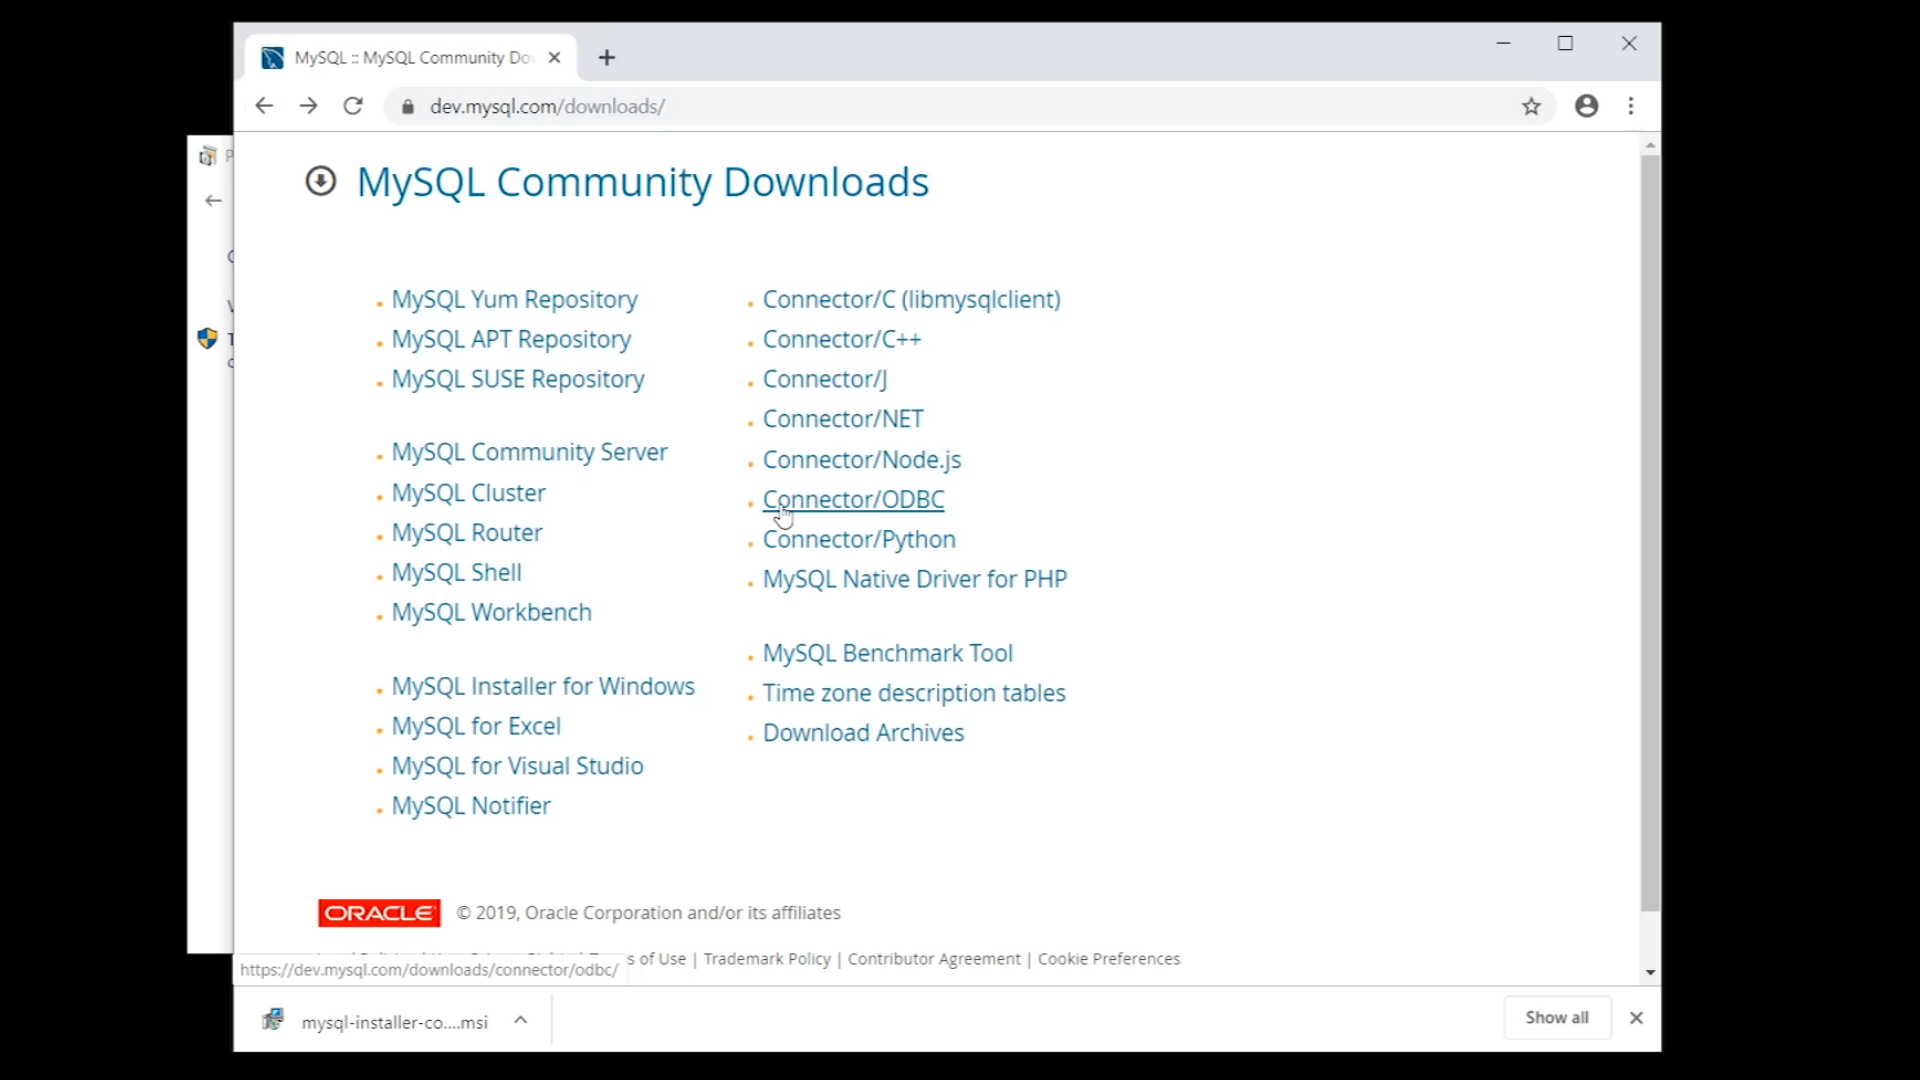
- From MySQL Community Downloads, select ‘MySQL Installer for Windows’
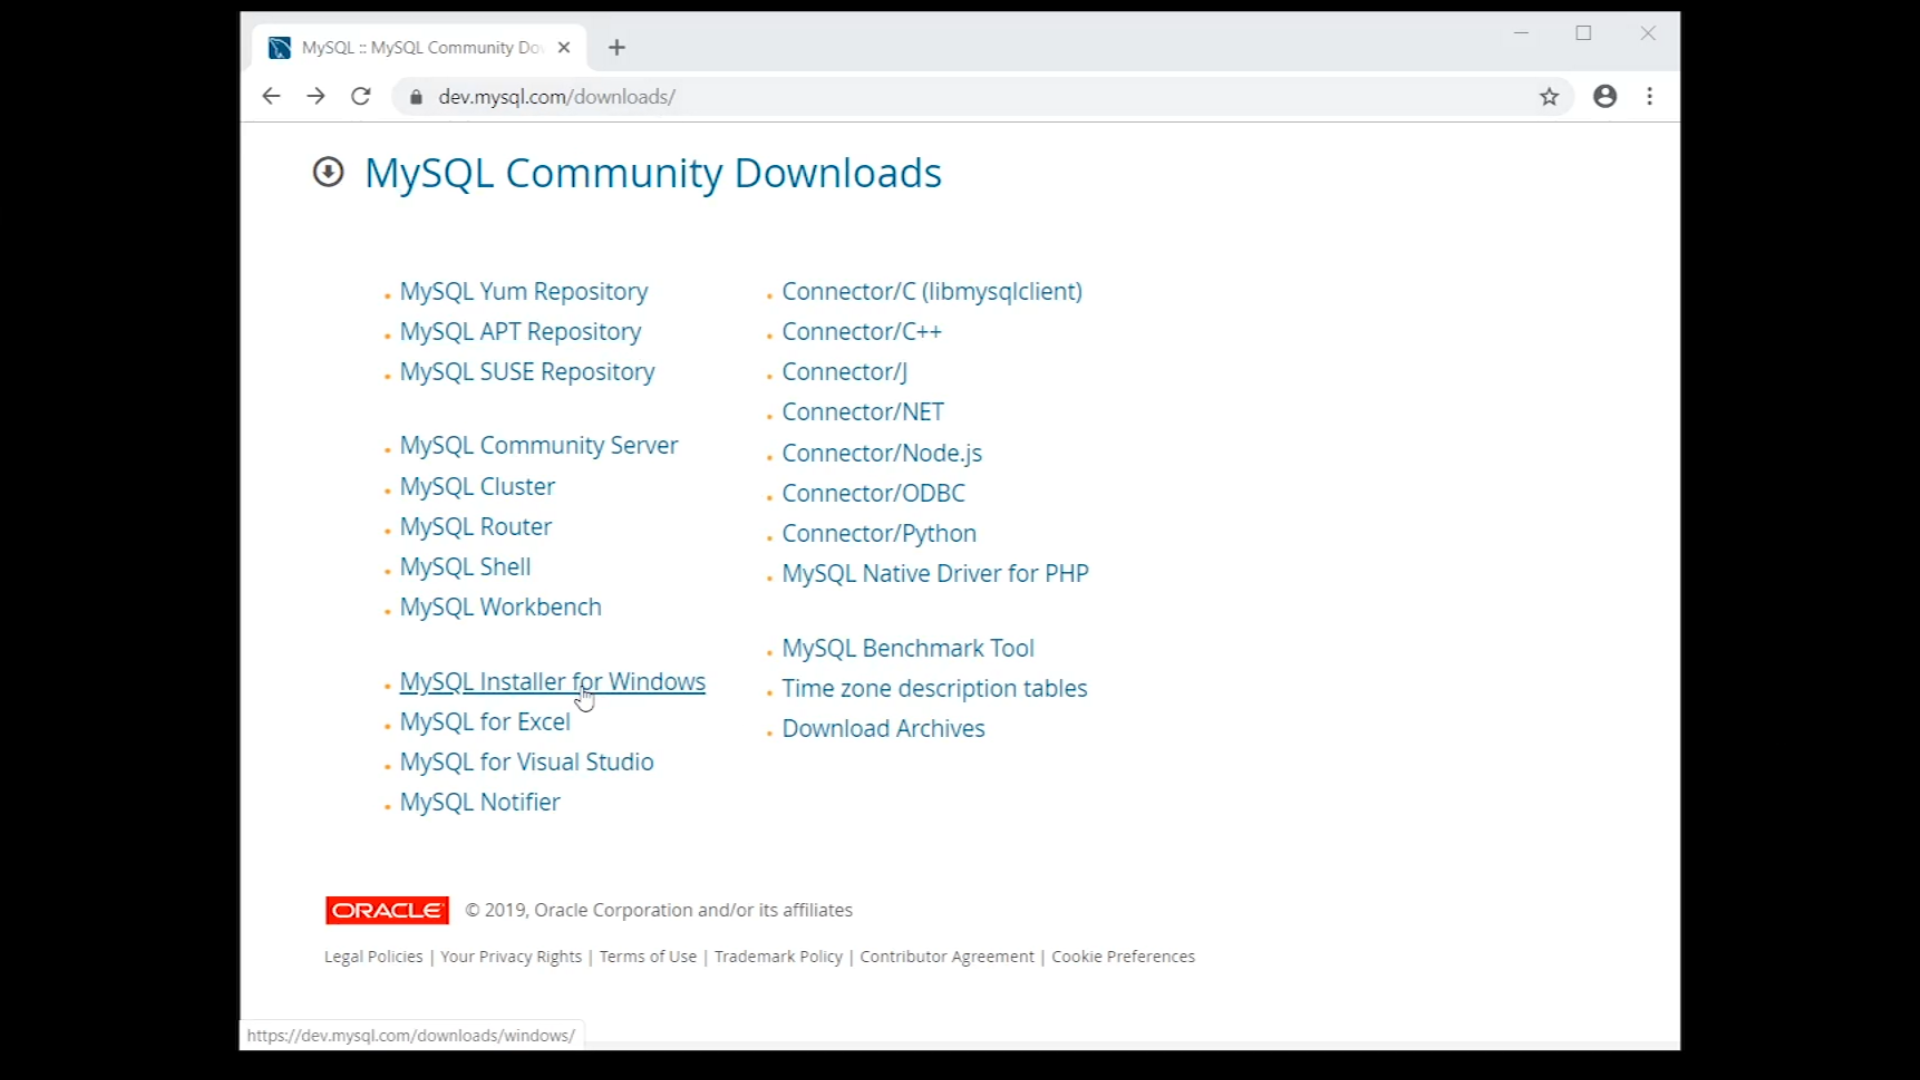
- Select the ‘mysql-installer-community’ version that will download all needed components for installation.
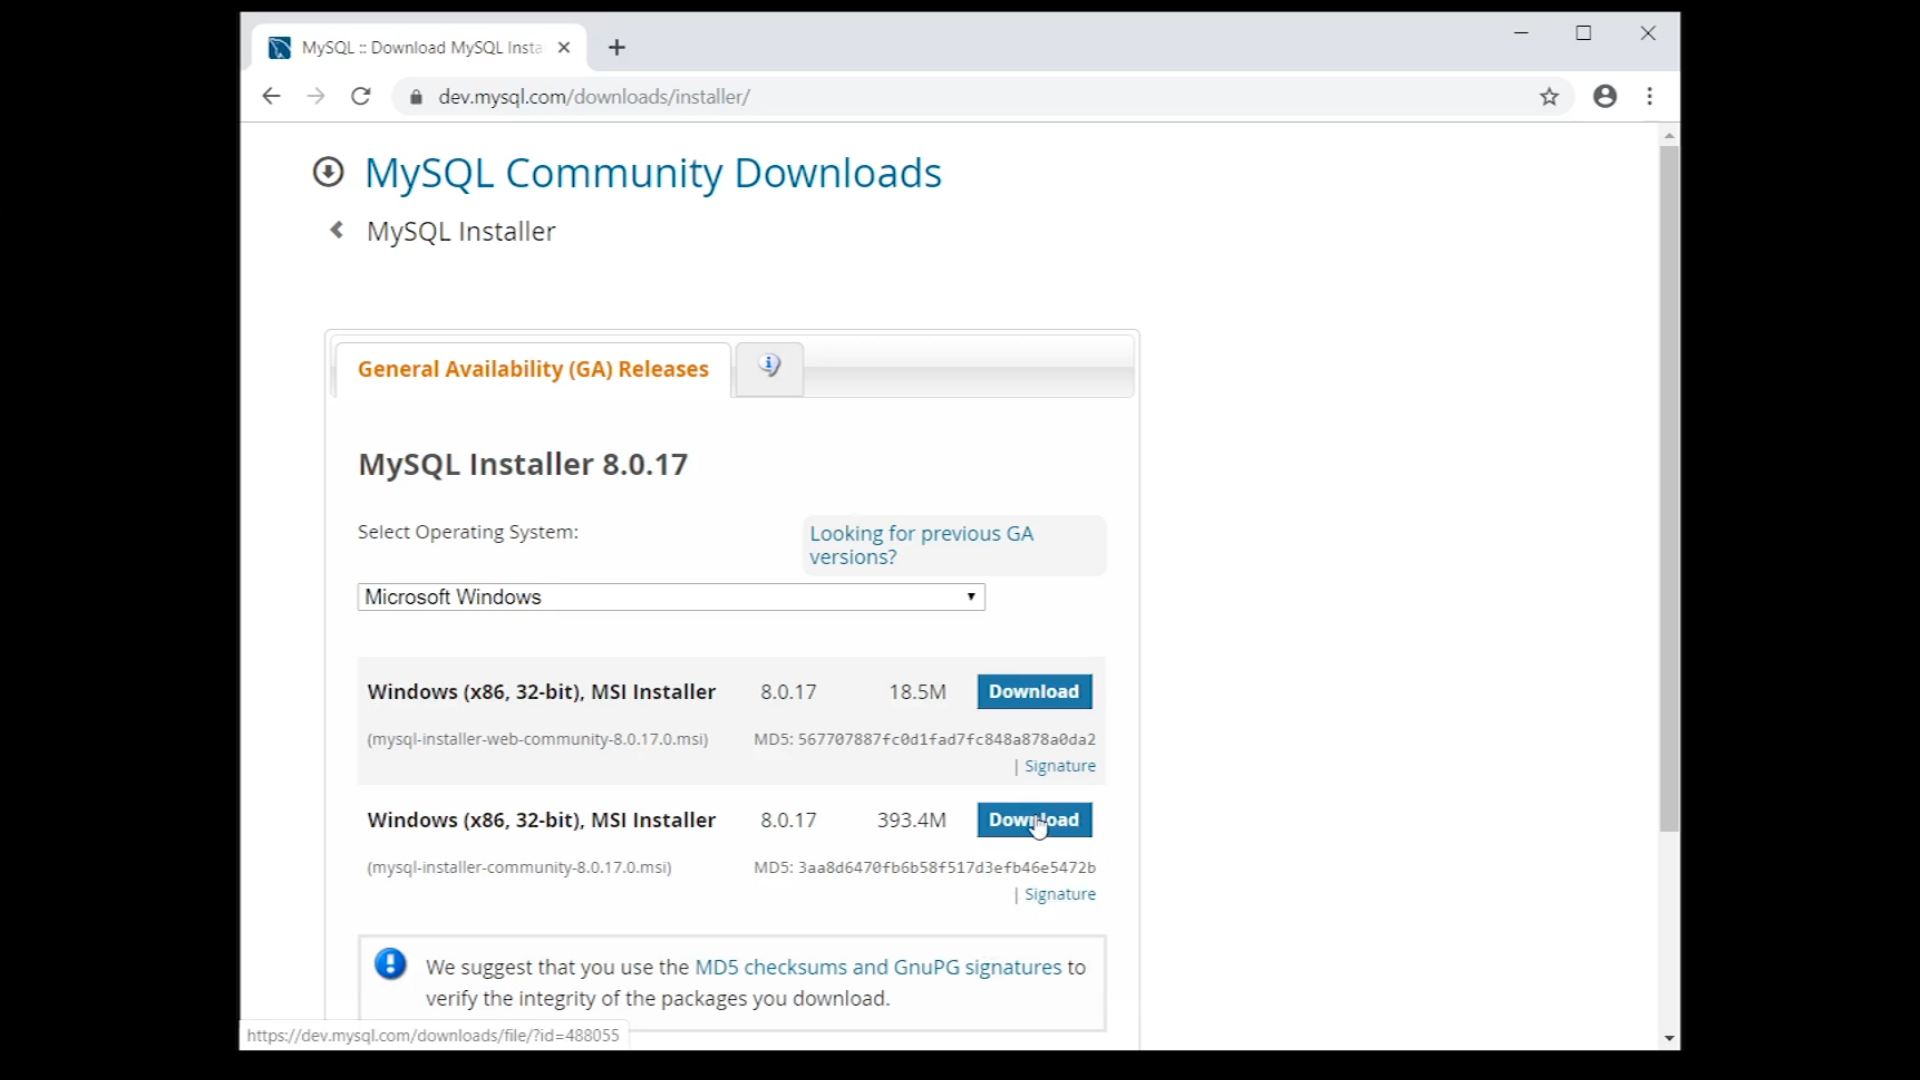
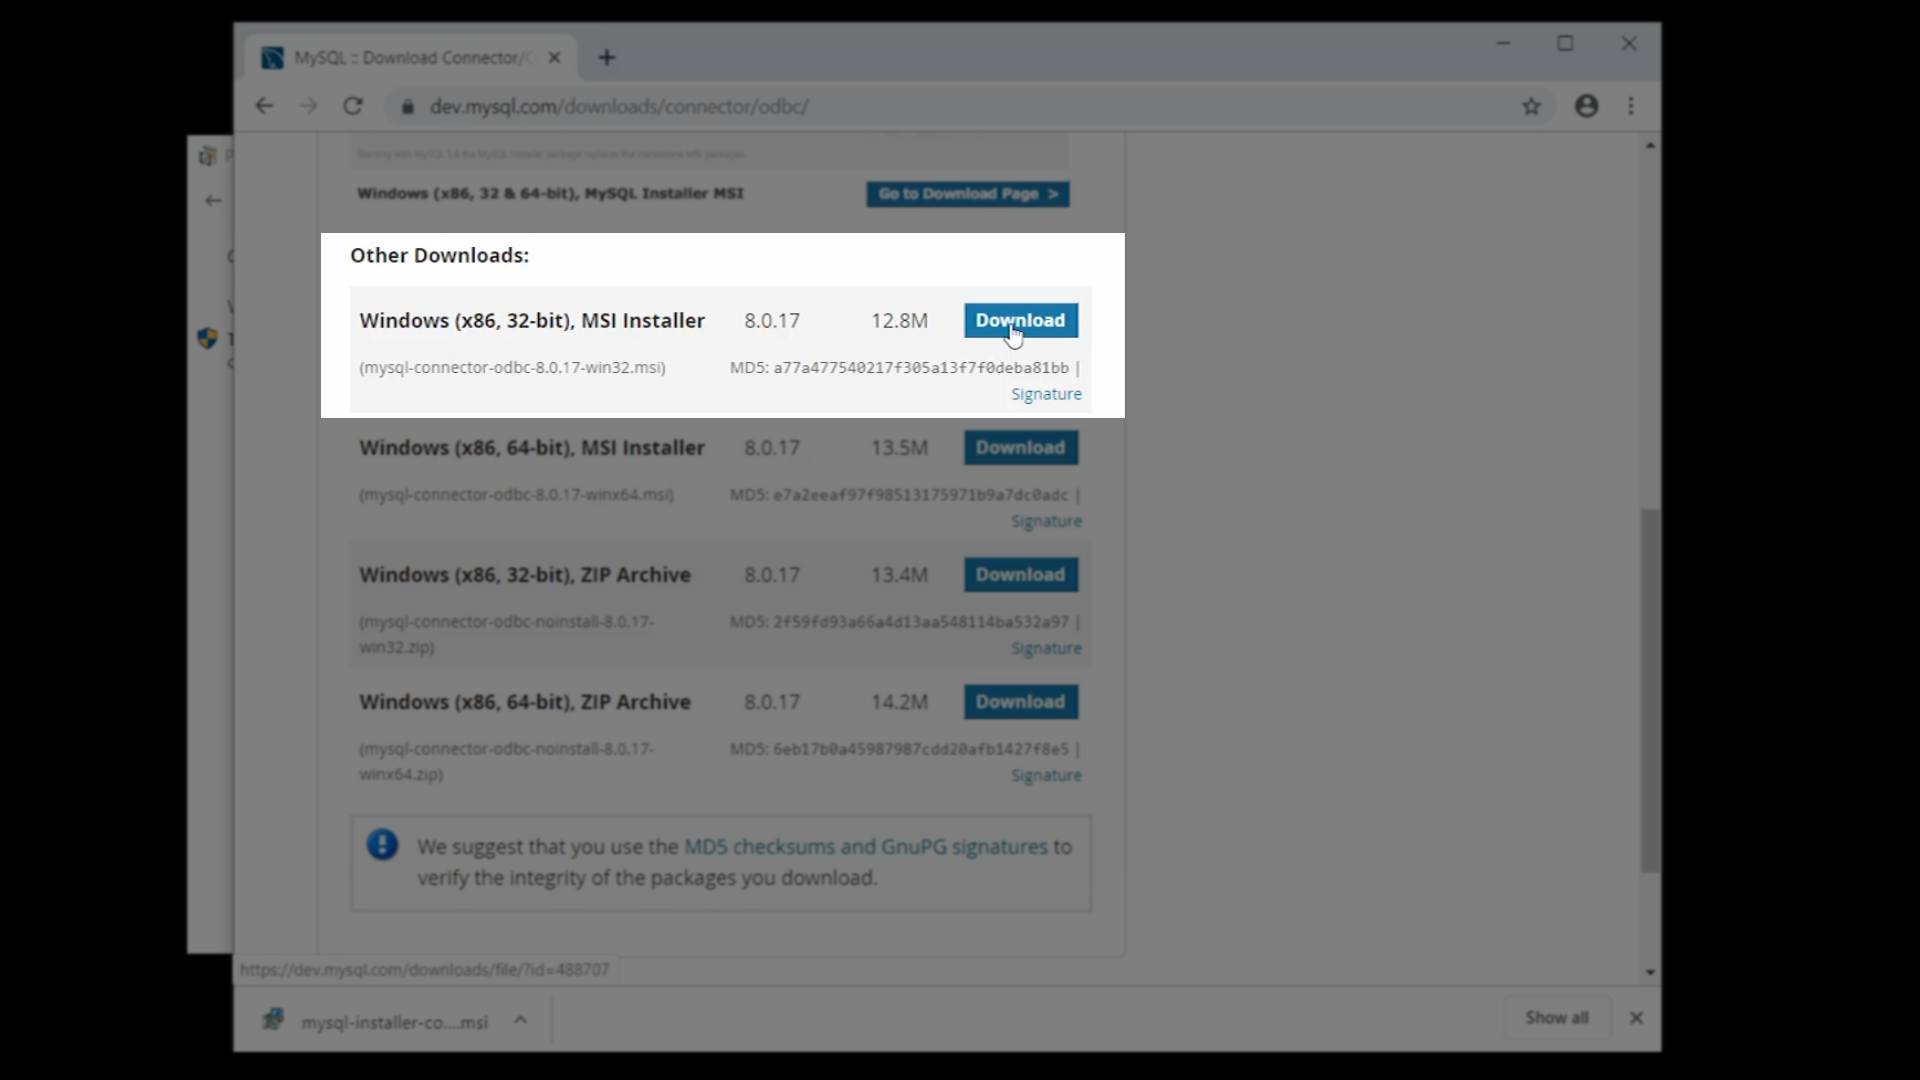
- Click on the download link on the following page
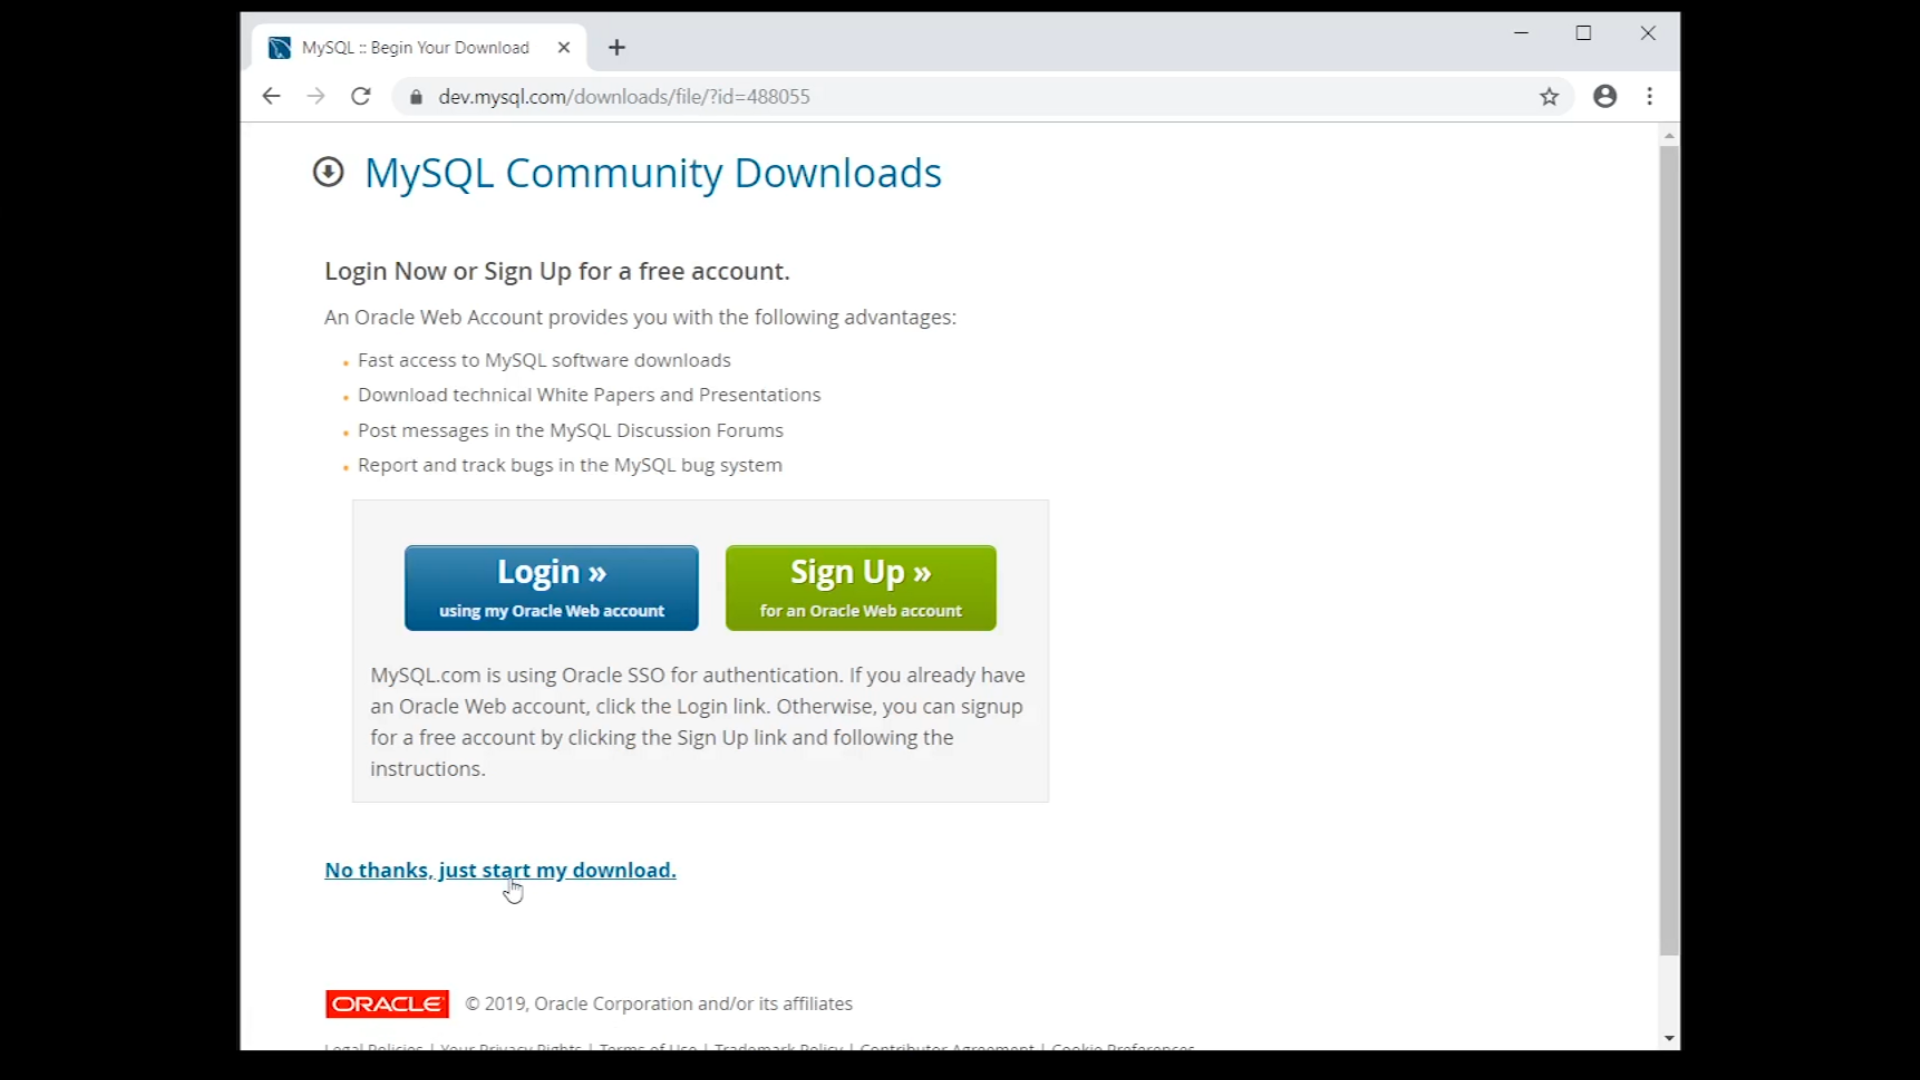
- Once downloaded, click on the .msi file in the computer’s ‘Downloads’ directory to launch the installation wizard

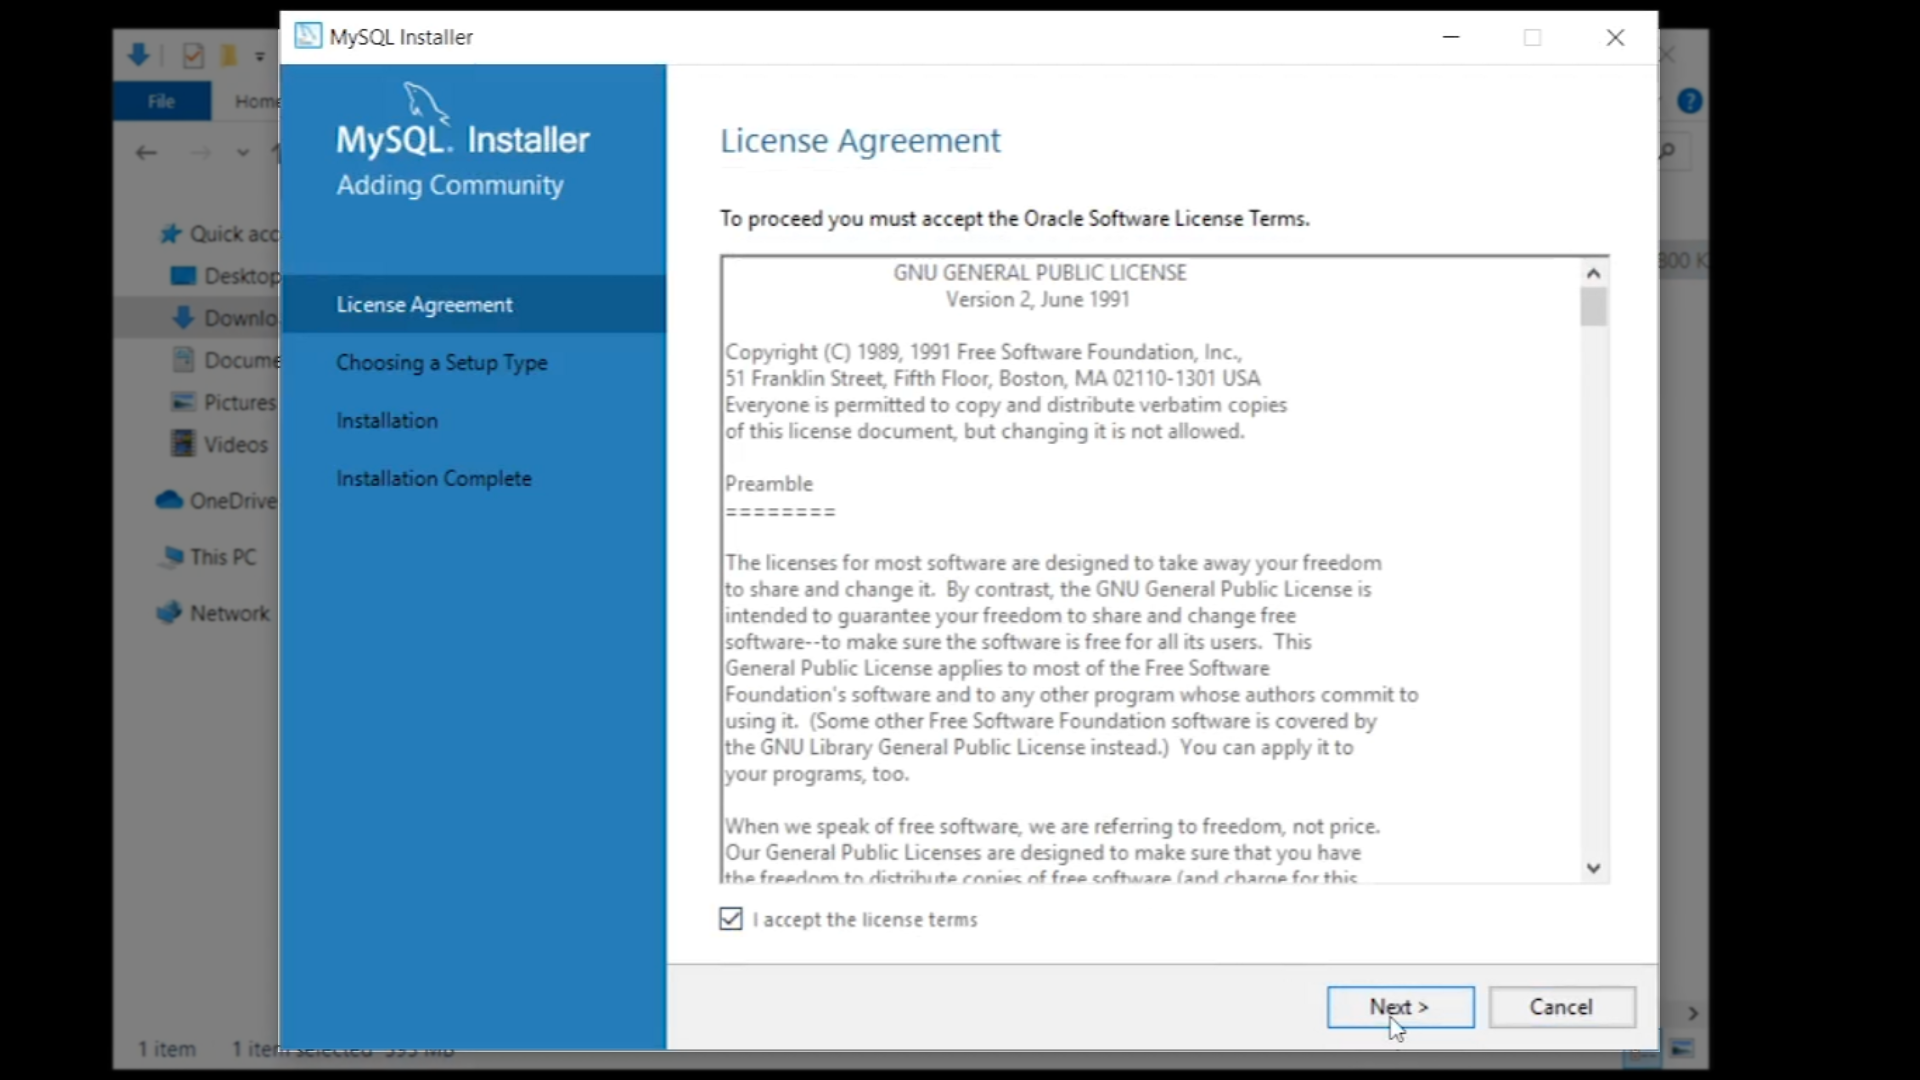
- In the installation wizard…
- Agree to the license agreement, and click ‘Next’
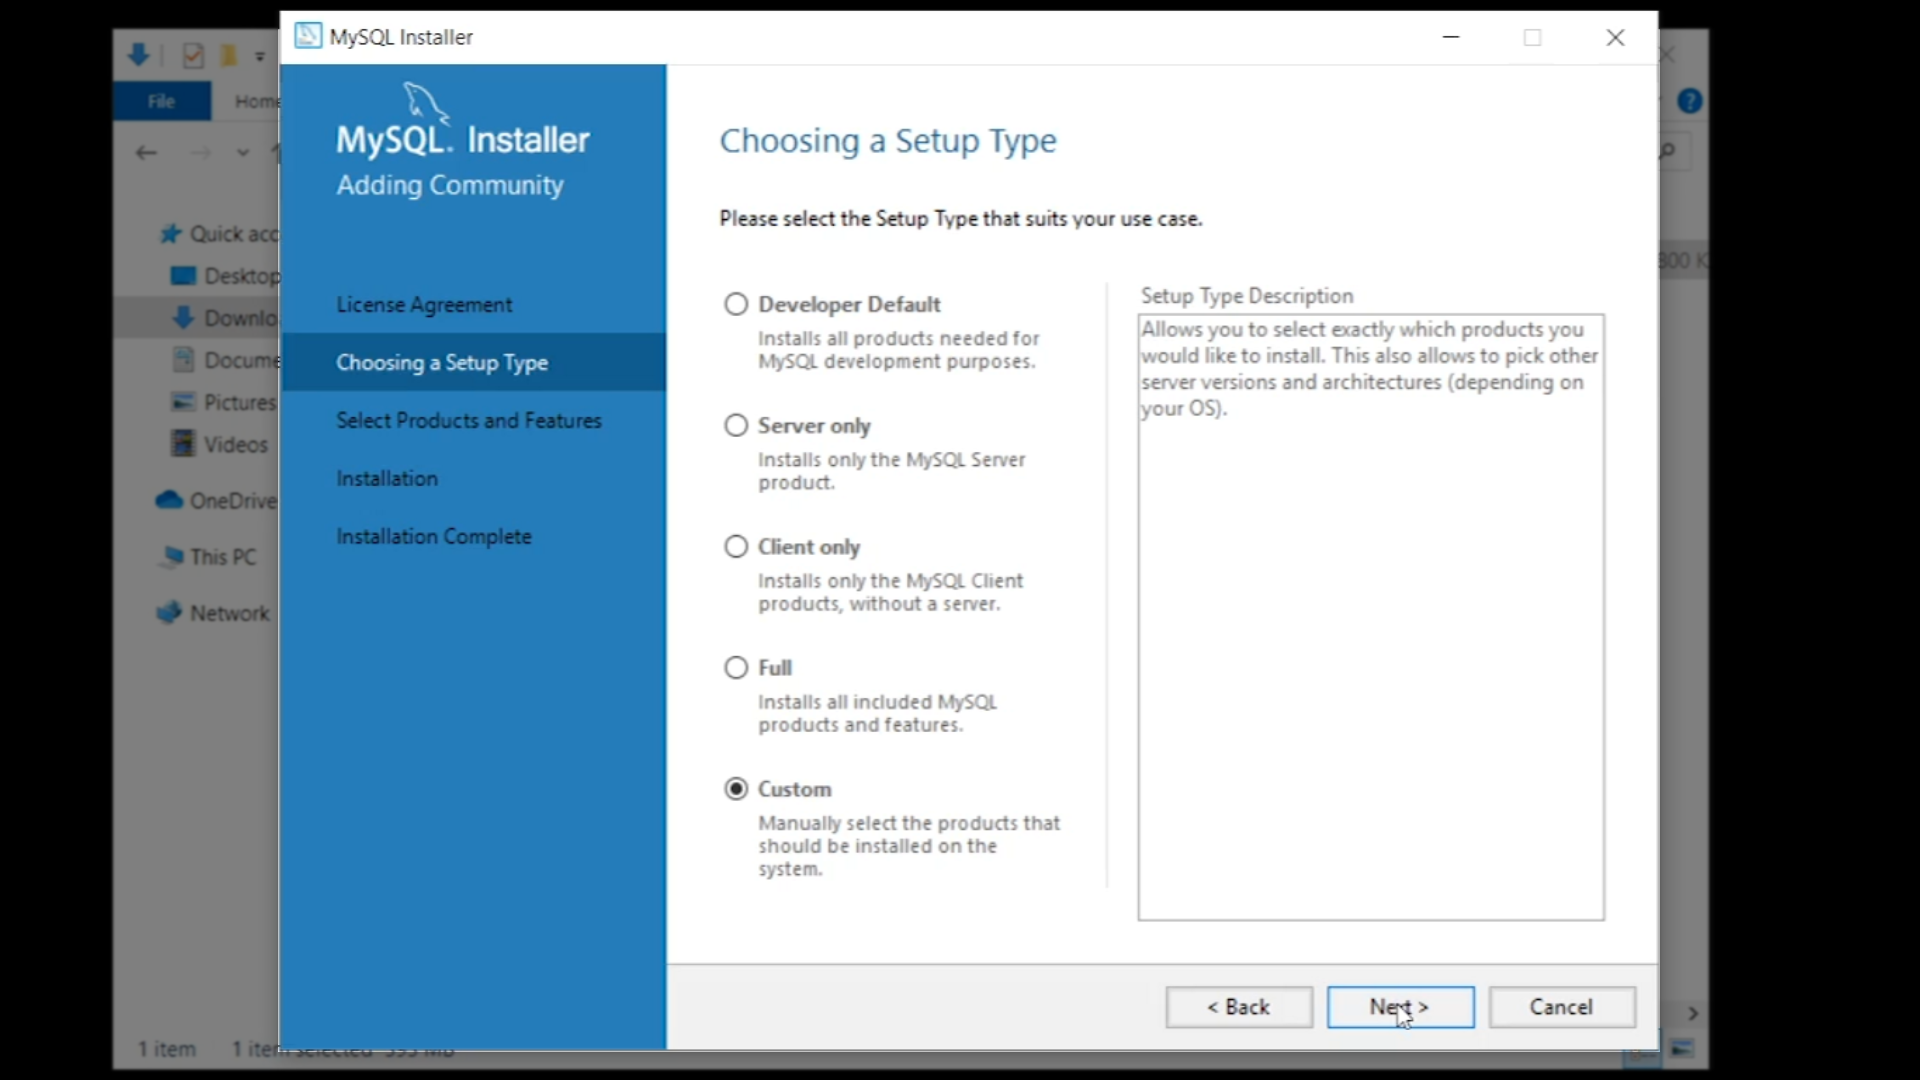
- Select ‘Custom’ so that the desired components can be chosen, and click ‘Next’
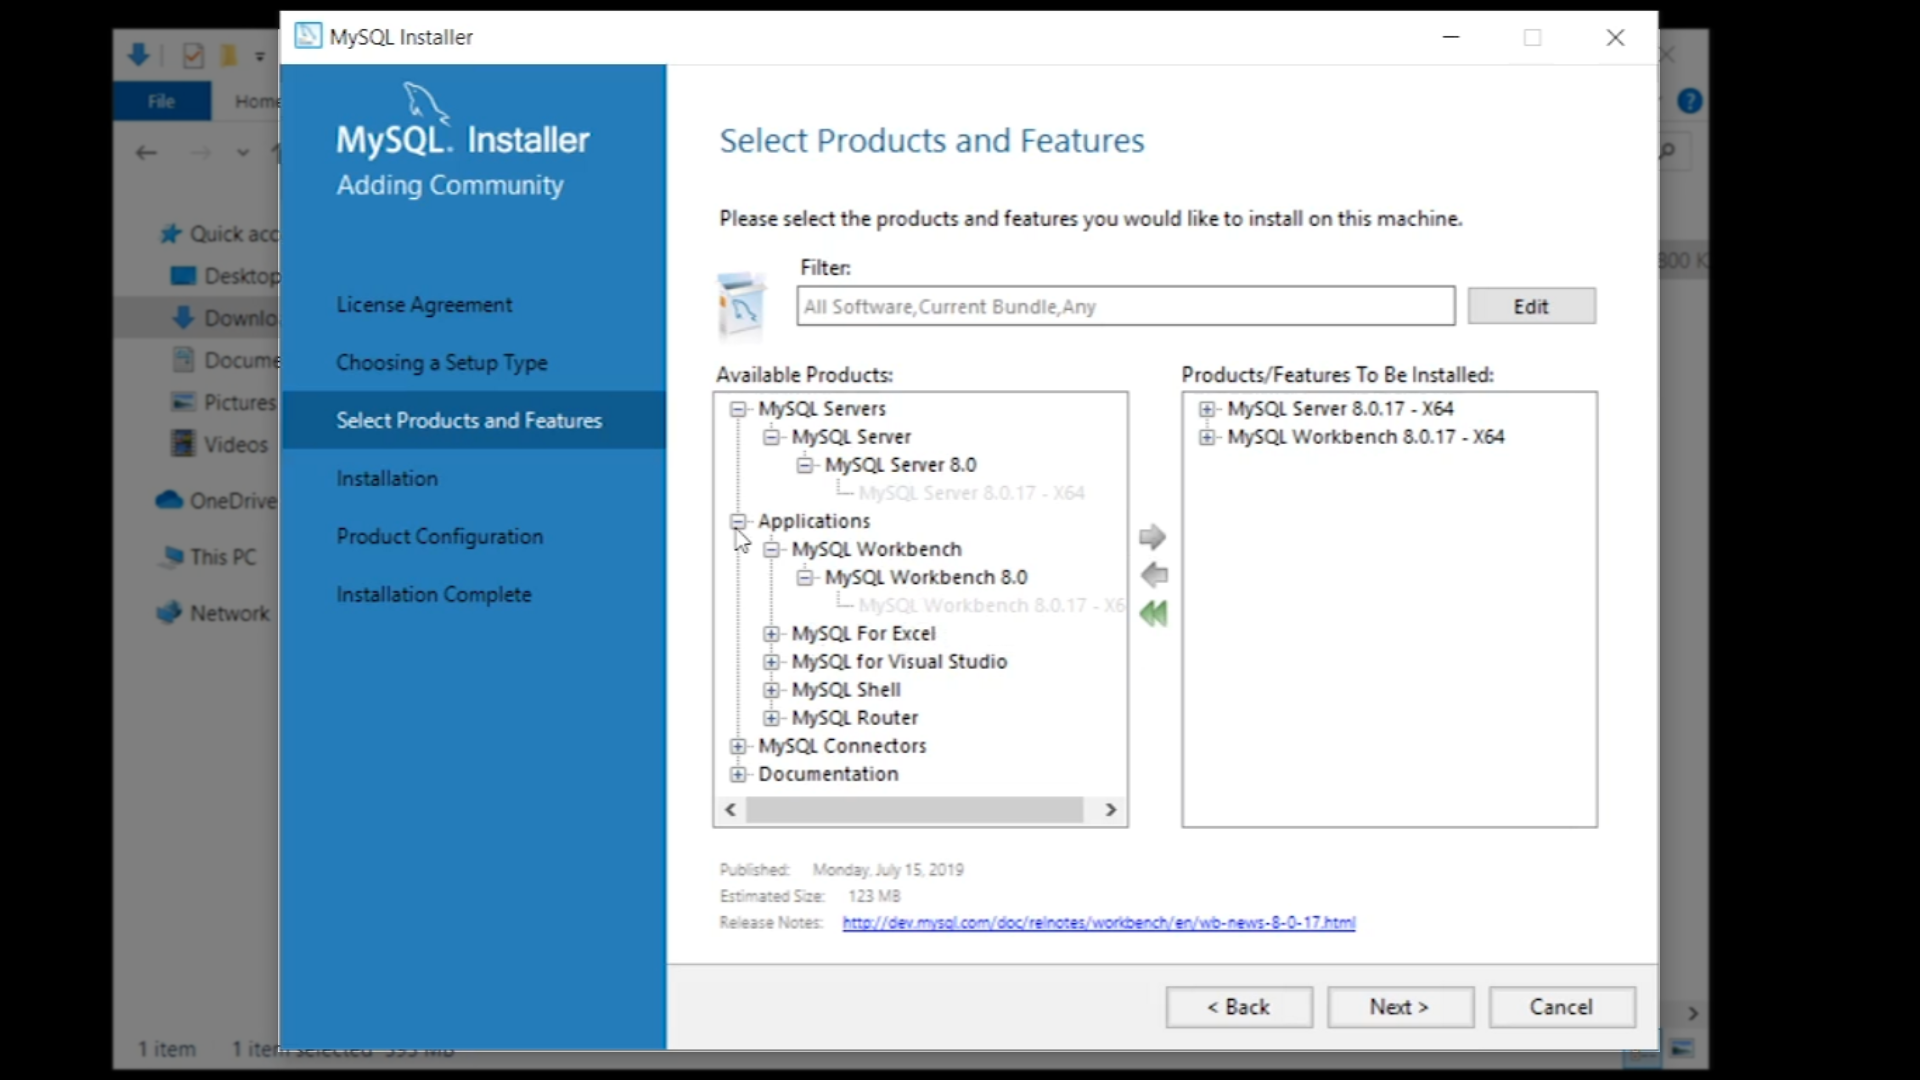
- Fully expand the ‘MySQL Servers’ branch, select ‘MySQL Server 8.0.17 -X64,’ and click the right arrow to move it into the ‘Products/Features To Be Installed’ panel
- Expand ‘Applications > MySQL Workbench > MySQL Workbench 8.0,’ select ‘MySQL Workbench 8.0.17 – X64,’ and click the right arrow to move it into the ‘Products/Features To Be Installed’ panel
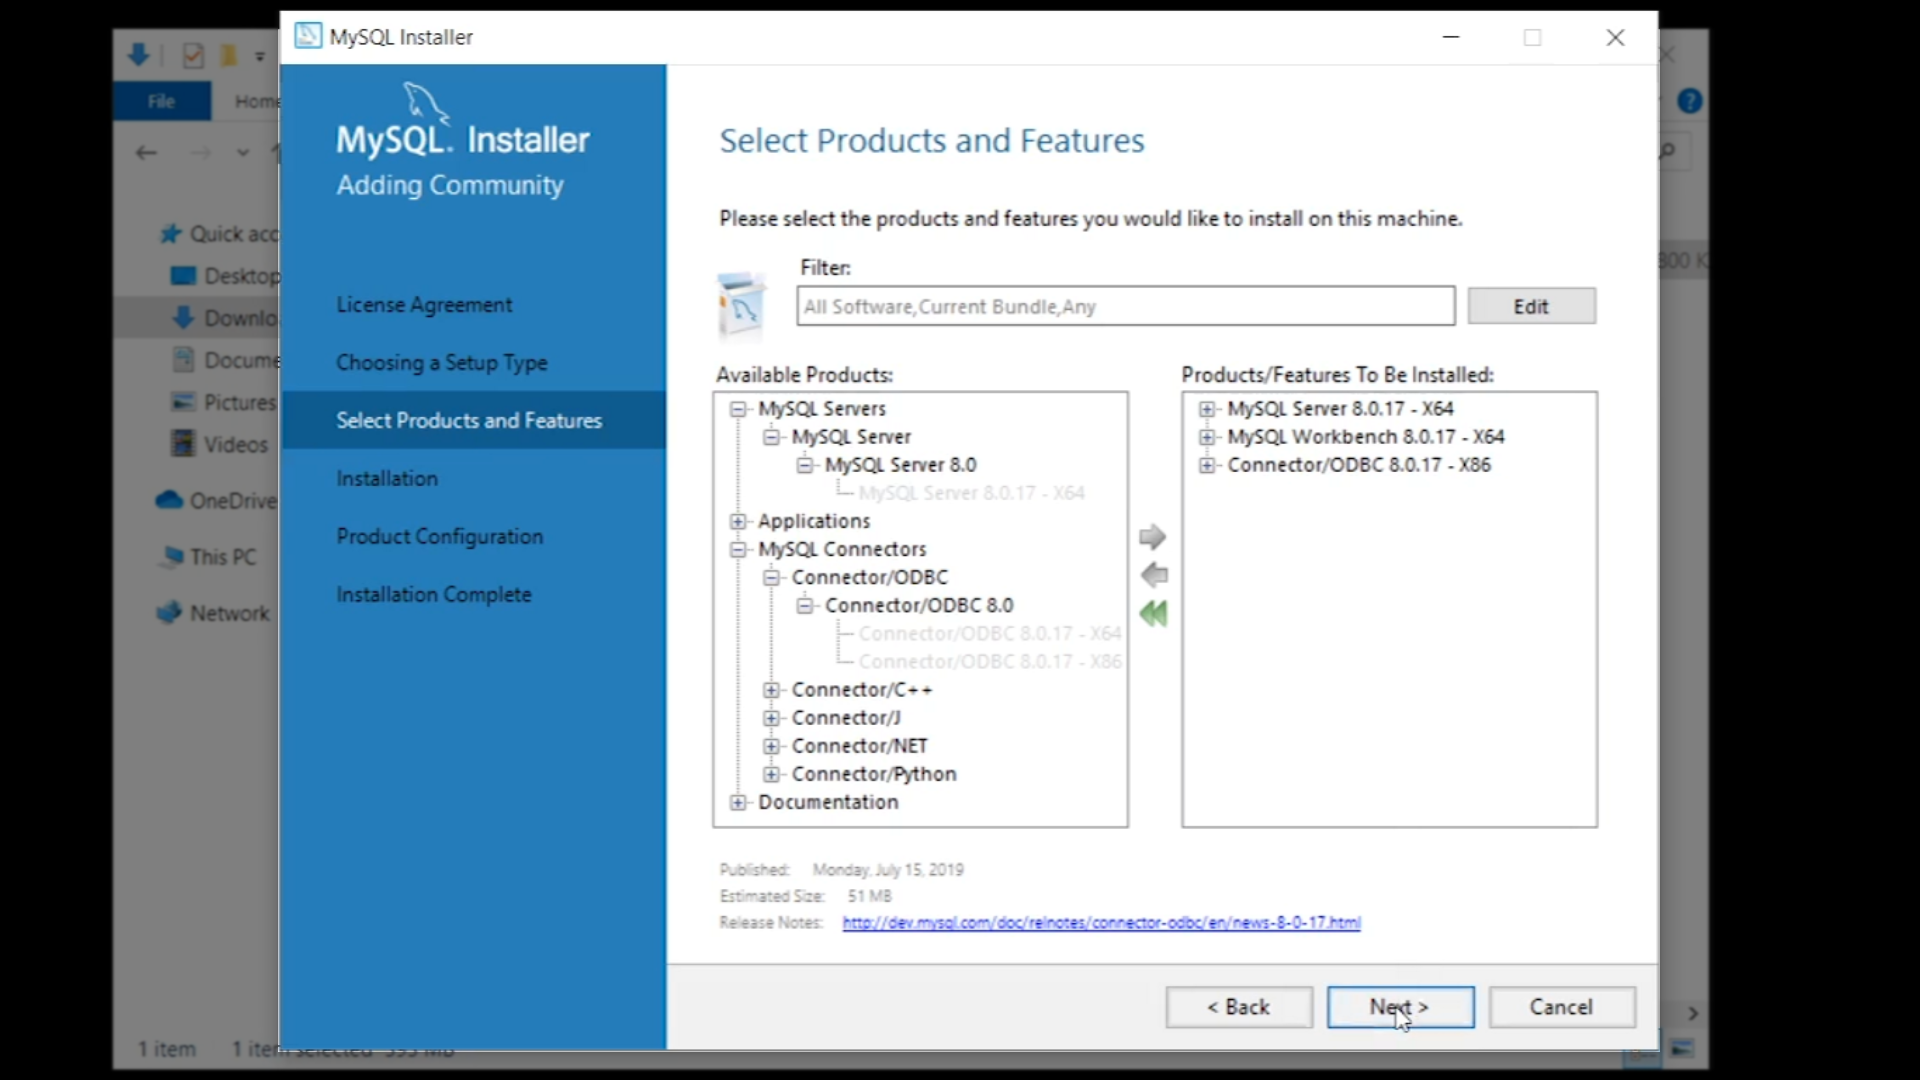
- Expand ‘MySQL Connectors > Connector/ODBC > Connector/ODBC 8.0,’ select the 32-bit connector ‘Connector/ODBC 8.0.17 – X86,’ and click the right arrow to move it into the ‘Products/Features To Be Installed’ panel
- Click ‘Next,’ review the components list, click ‘Execute’ to install, and click ‘Next’ to configure the server
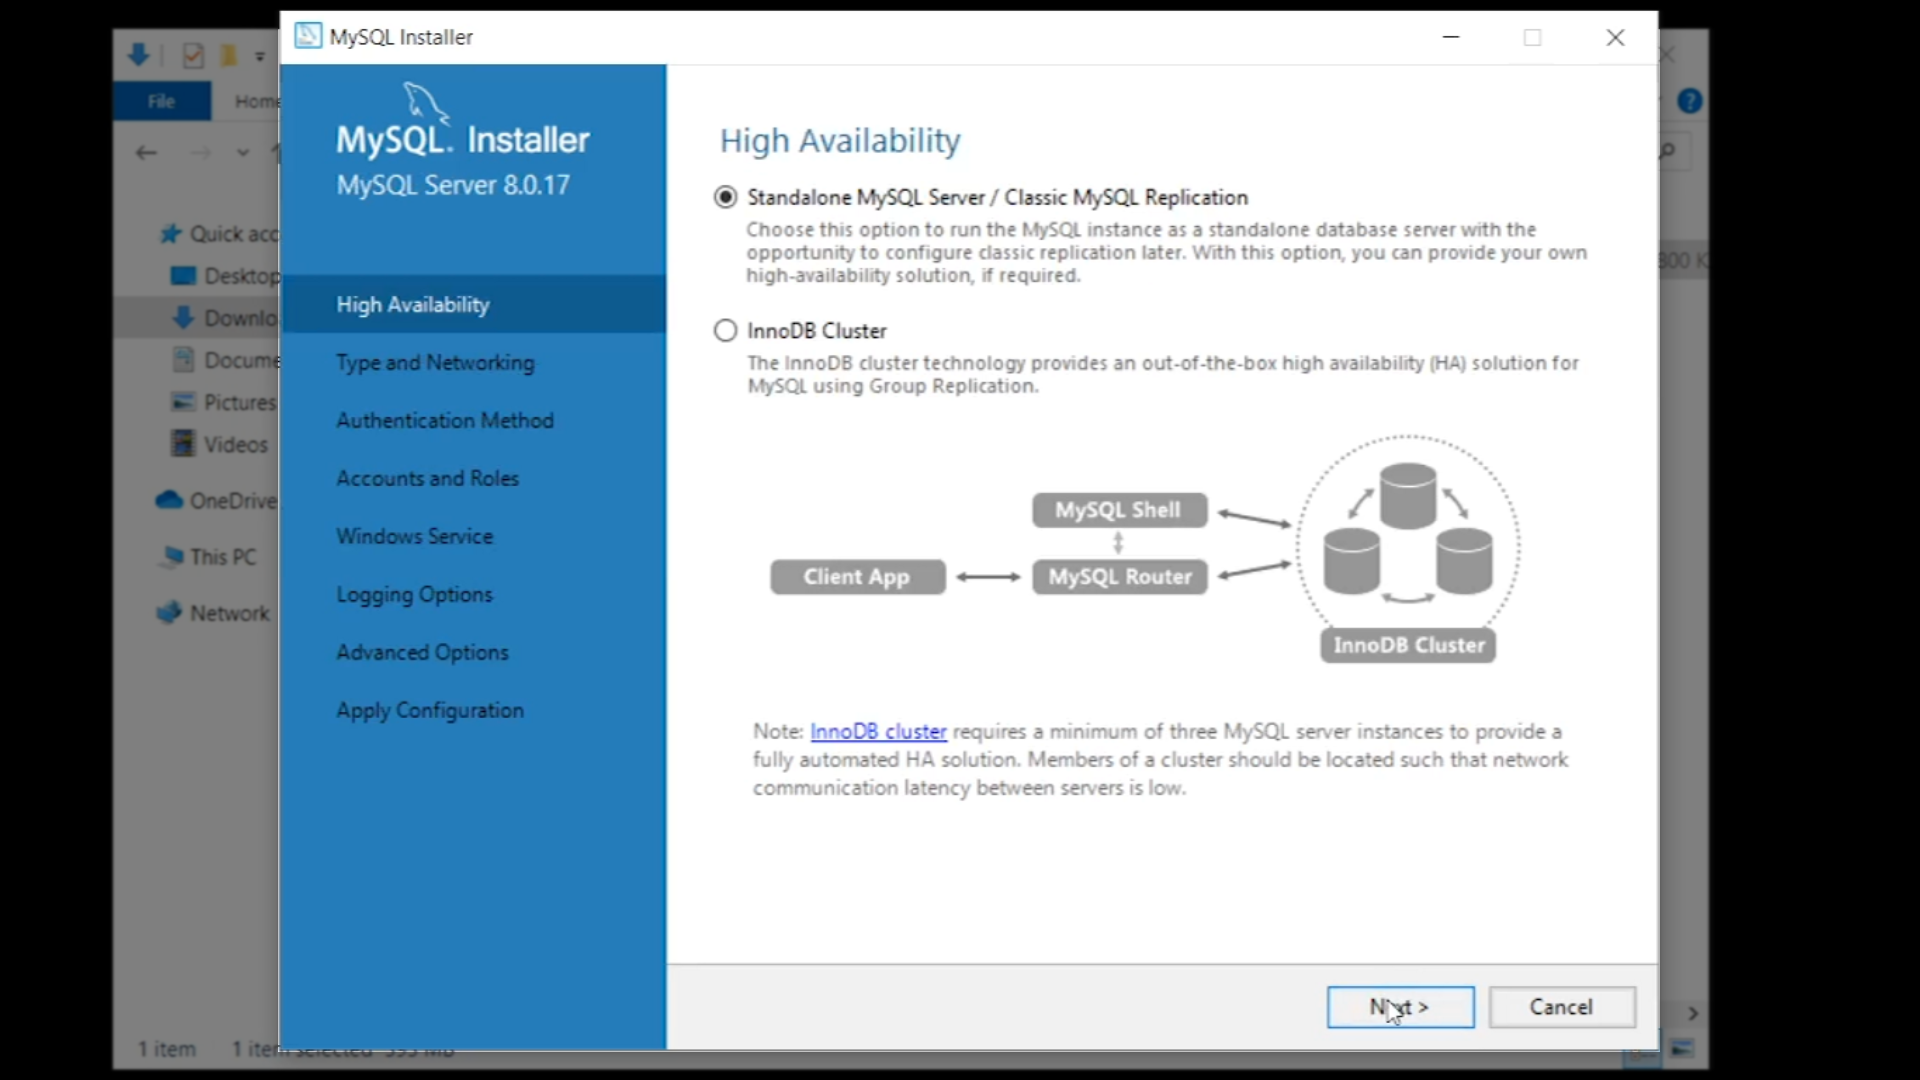
- Choose ‘Standalone MySQL Server / Classics MySQL Replication’ and click ‘Next’
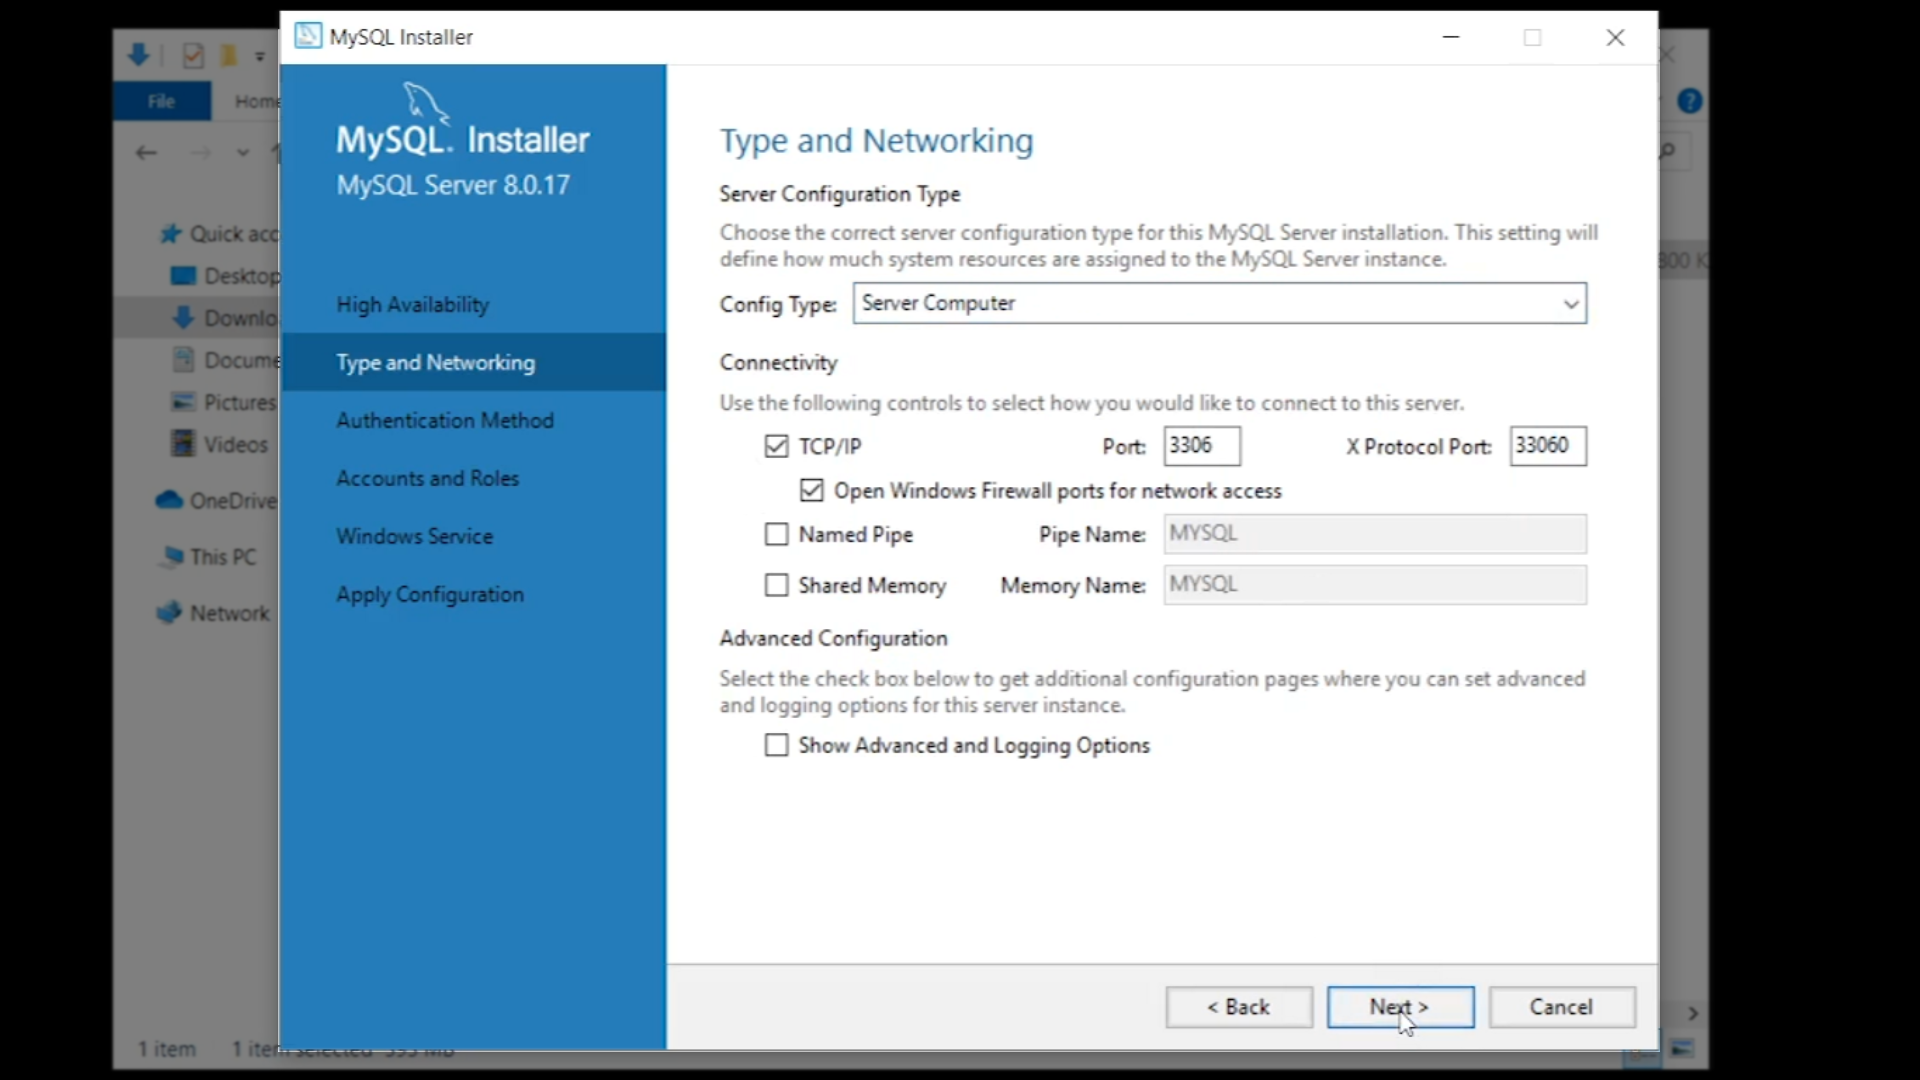
- From the ‘Config Type:’ drop down menu, choose ‘Server Computer,’ leave all other default options in place, and click ‘Next’
- Choose ‘Use Strong Password Encryption for Authentication (RECOMMENDED)’ and click ‘Next’

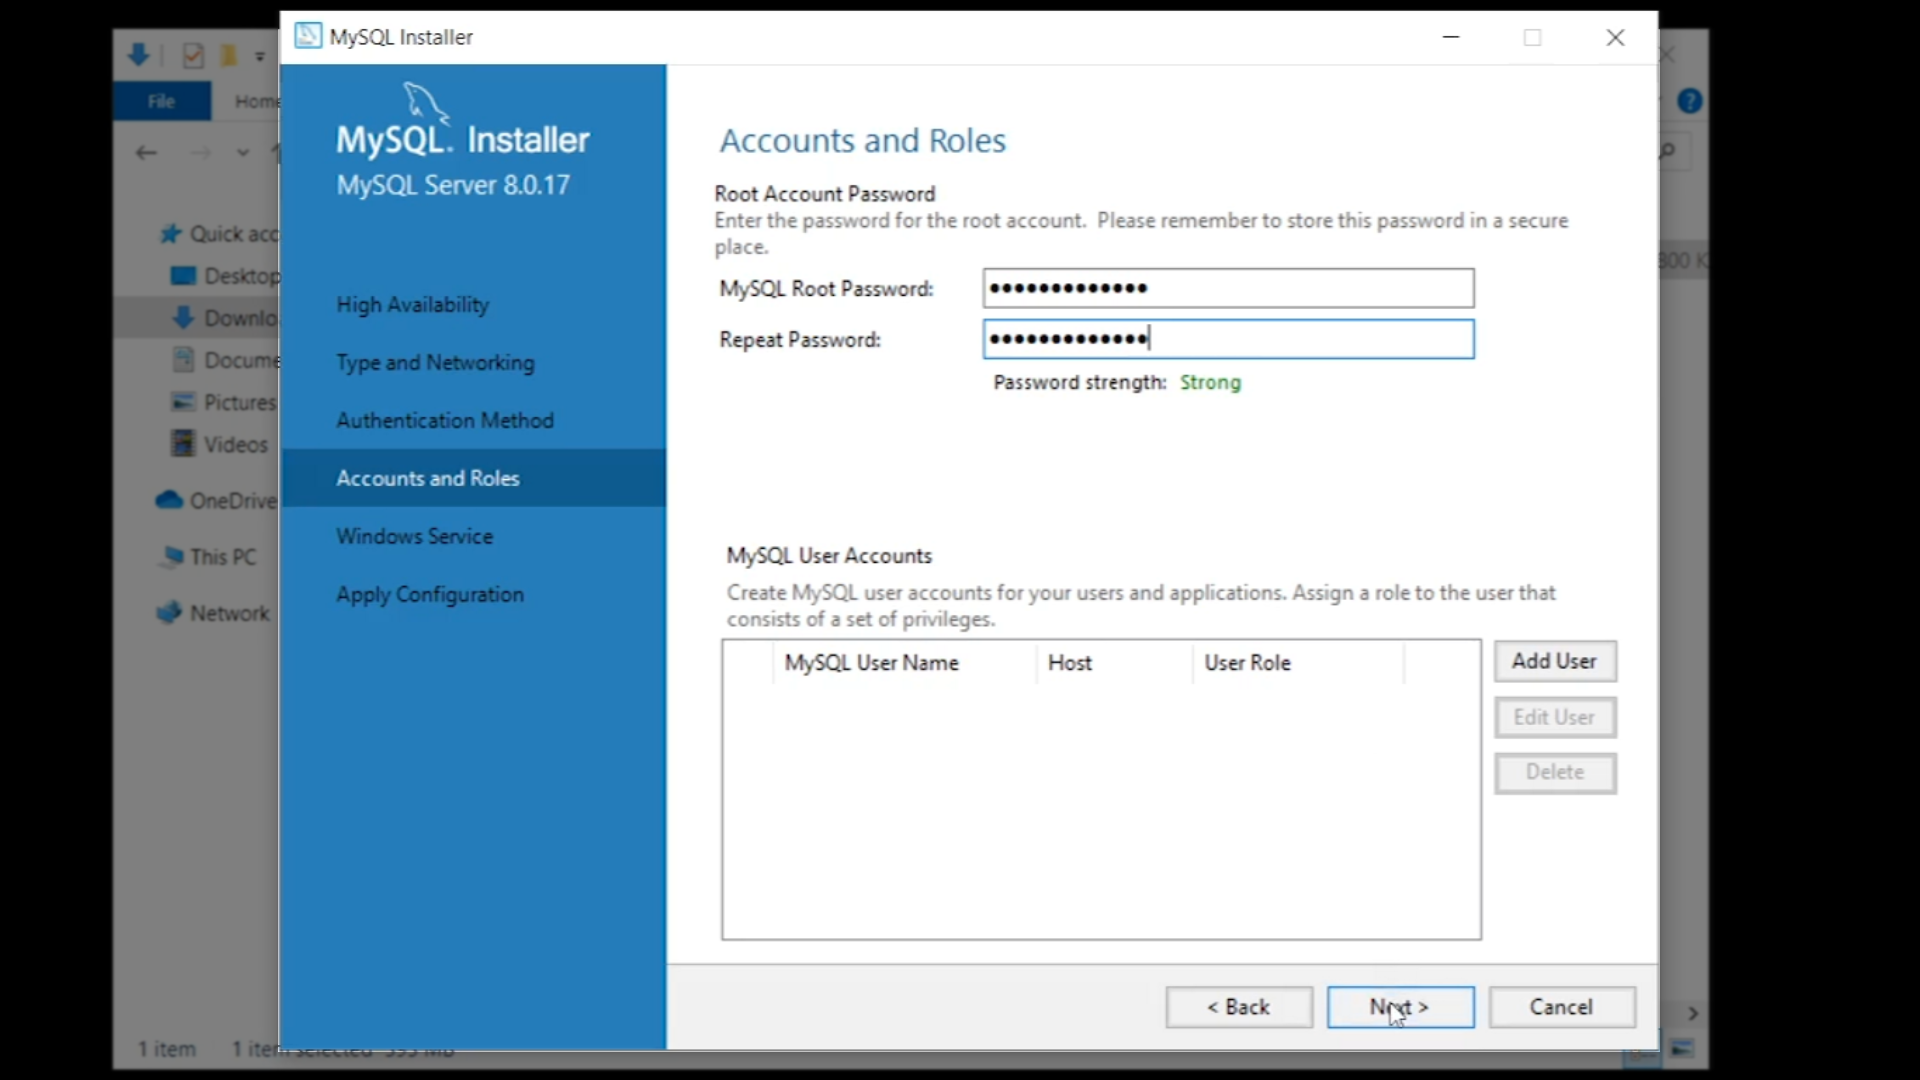
- Enter a password into the two password fields and click ‘Next’
- Leave all default setting in place for the ‘Windows Service’ screen and click ‘Next’
- The configuration is ready. Click ‘Execute’ and then ‘Finish’ once the configuration is successful.
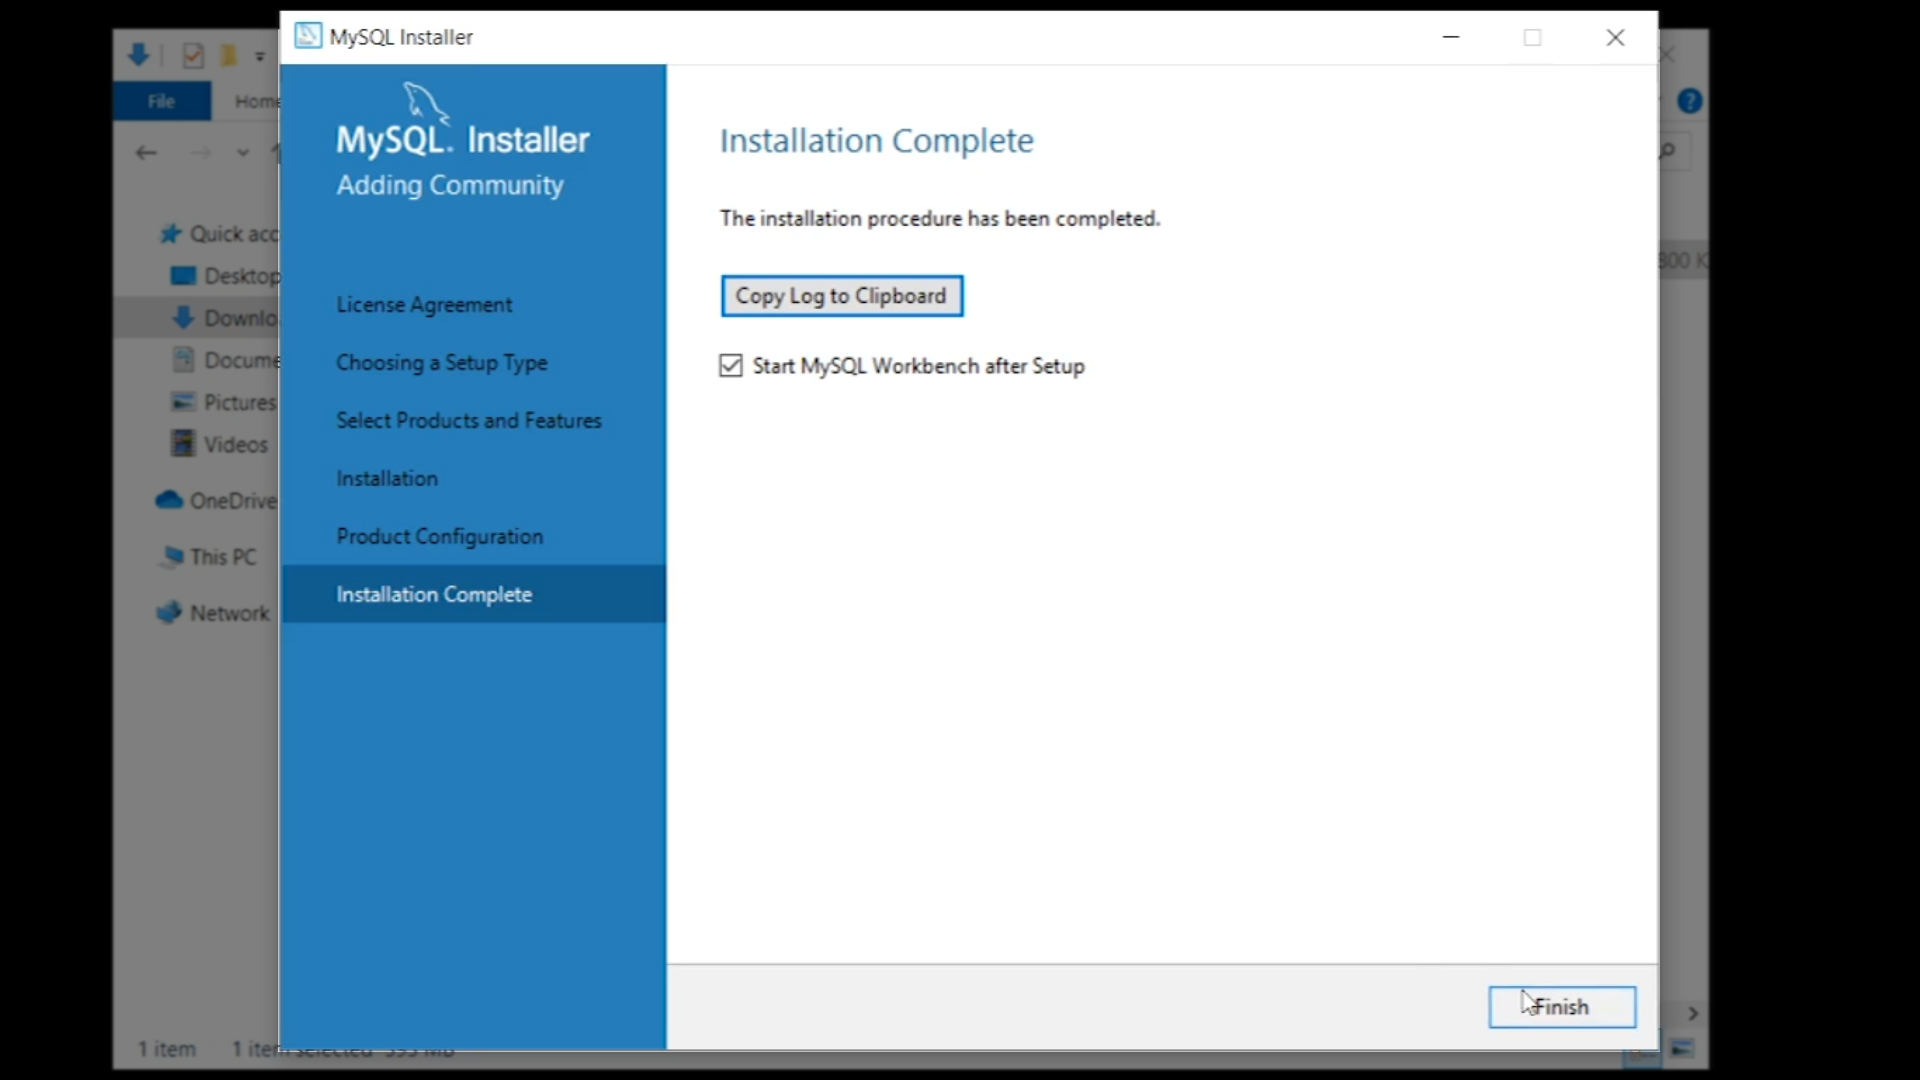
- Click ‘Next’ when the configuration is shown as complete
- Confirm ‘Start MySQL Workbench after Setup’ is selected and click ‘Finish’ to complete the wizard and launch the Workbench
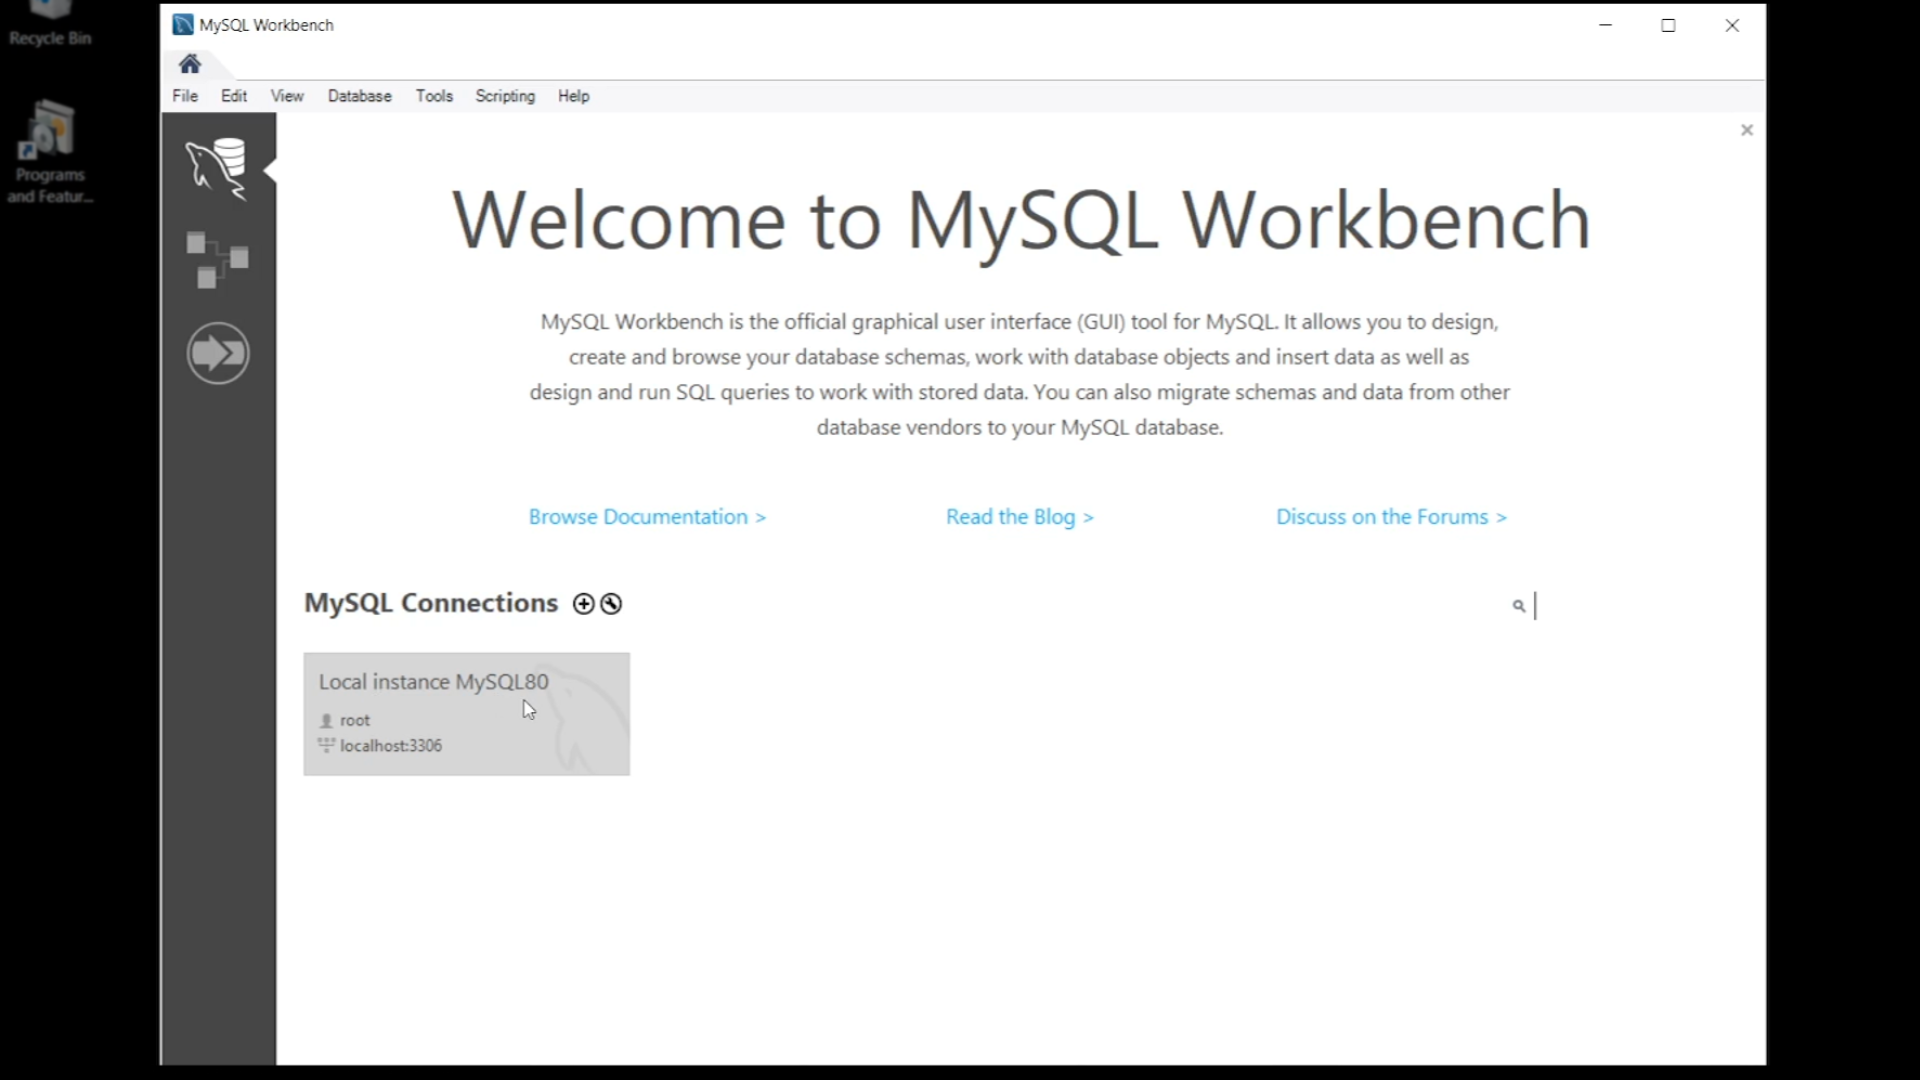
- In the MySQL Workbench…
- The Workbench shows the connection to the local host that was just configured
- Click on the connection to access the server to configure
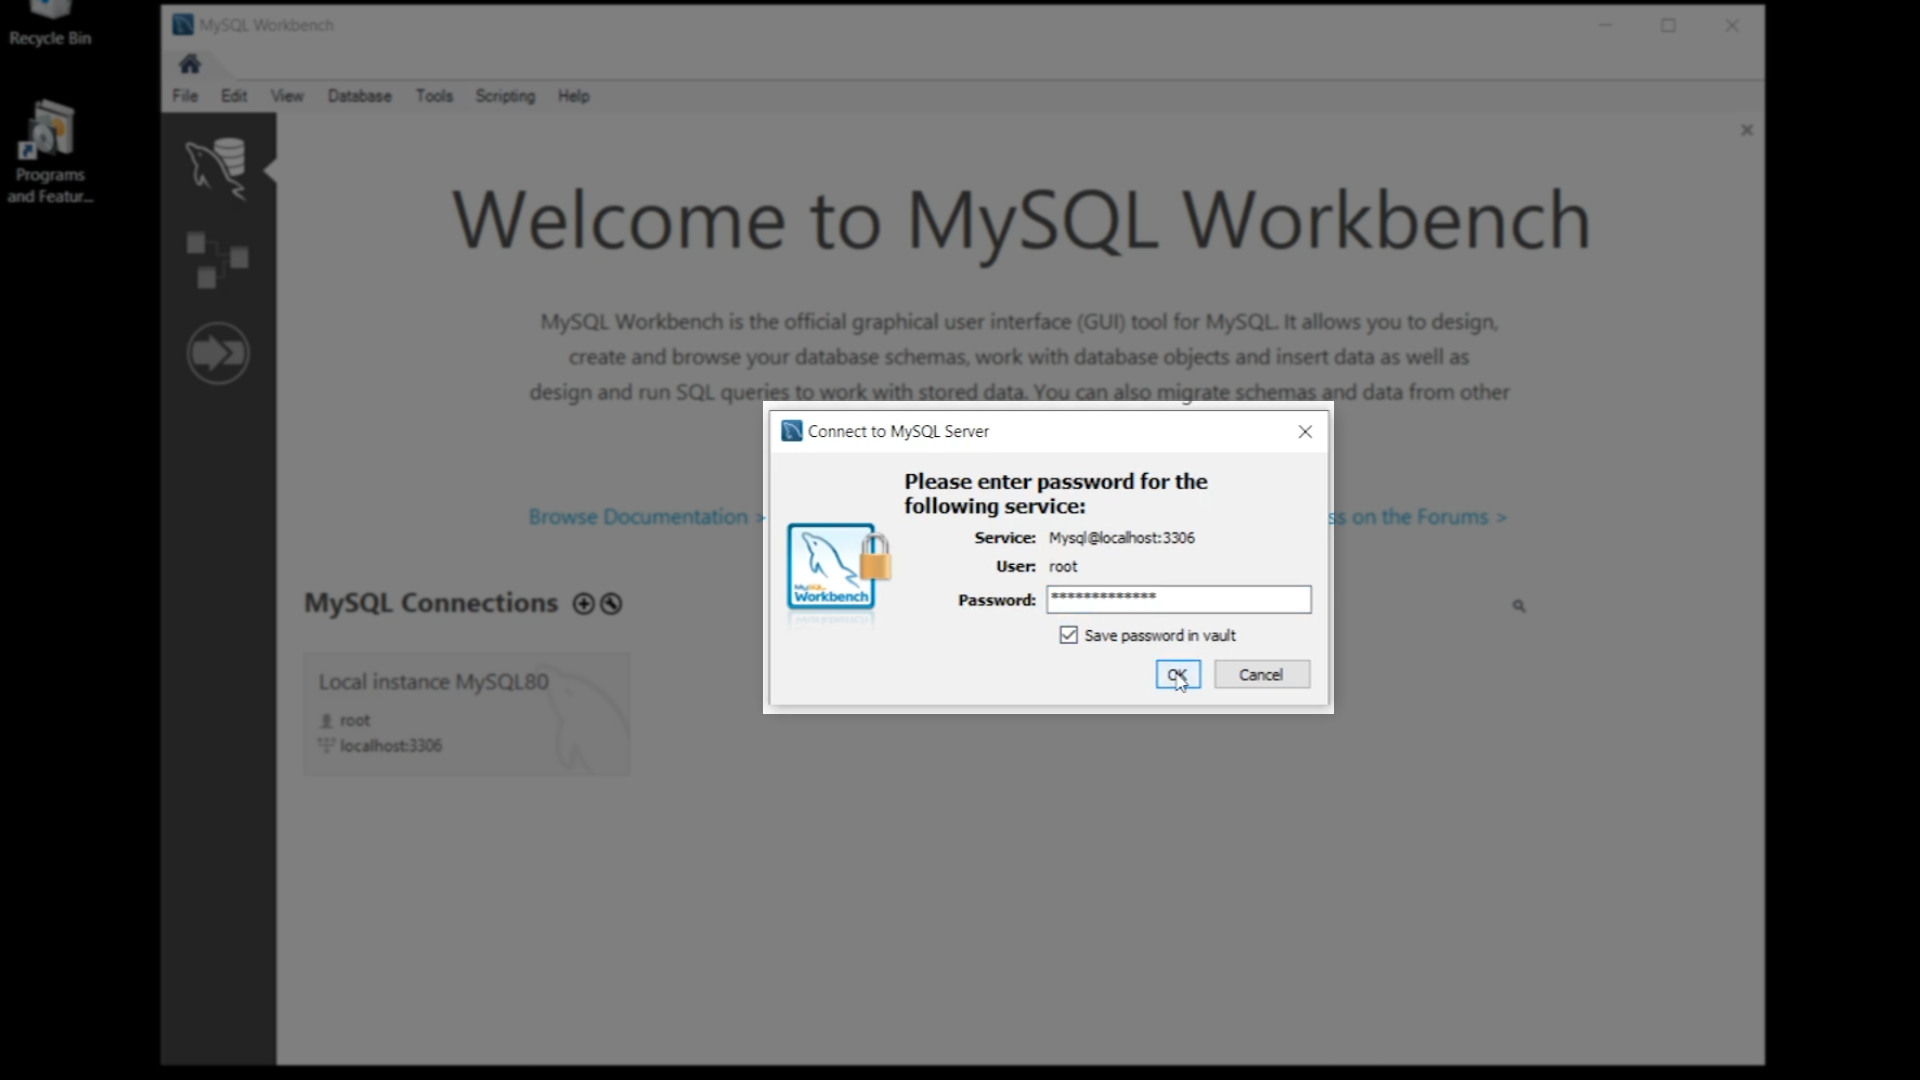
- Enter the password that created during the server configuration, check ‘Save password in vault’ and click ‘OK’
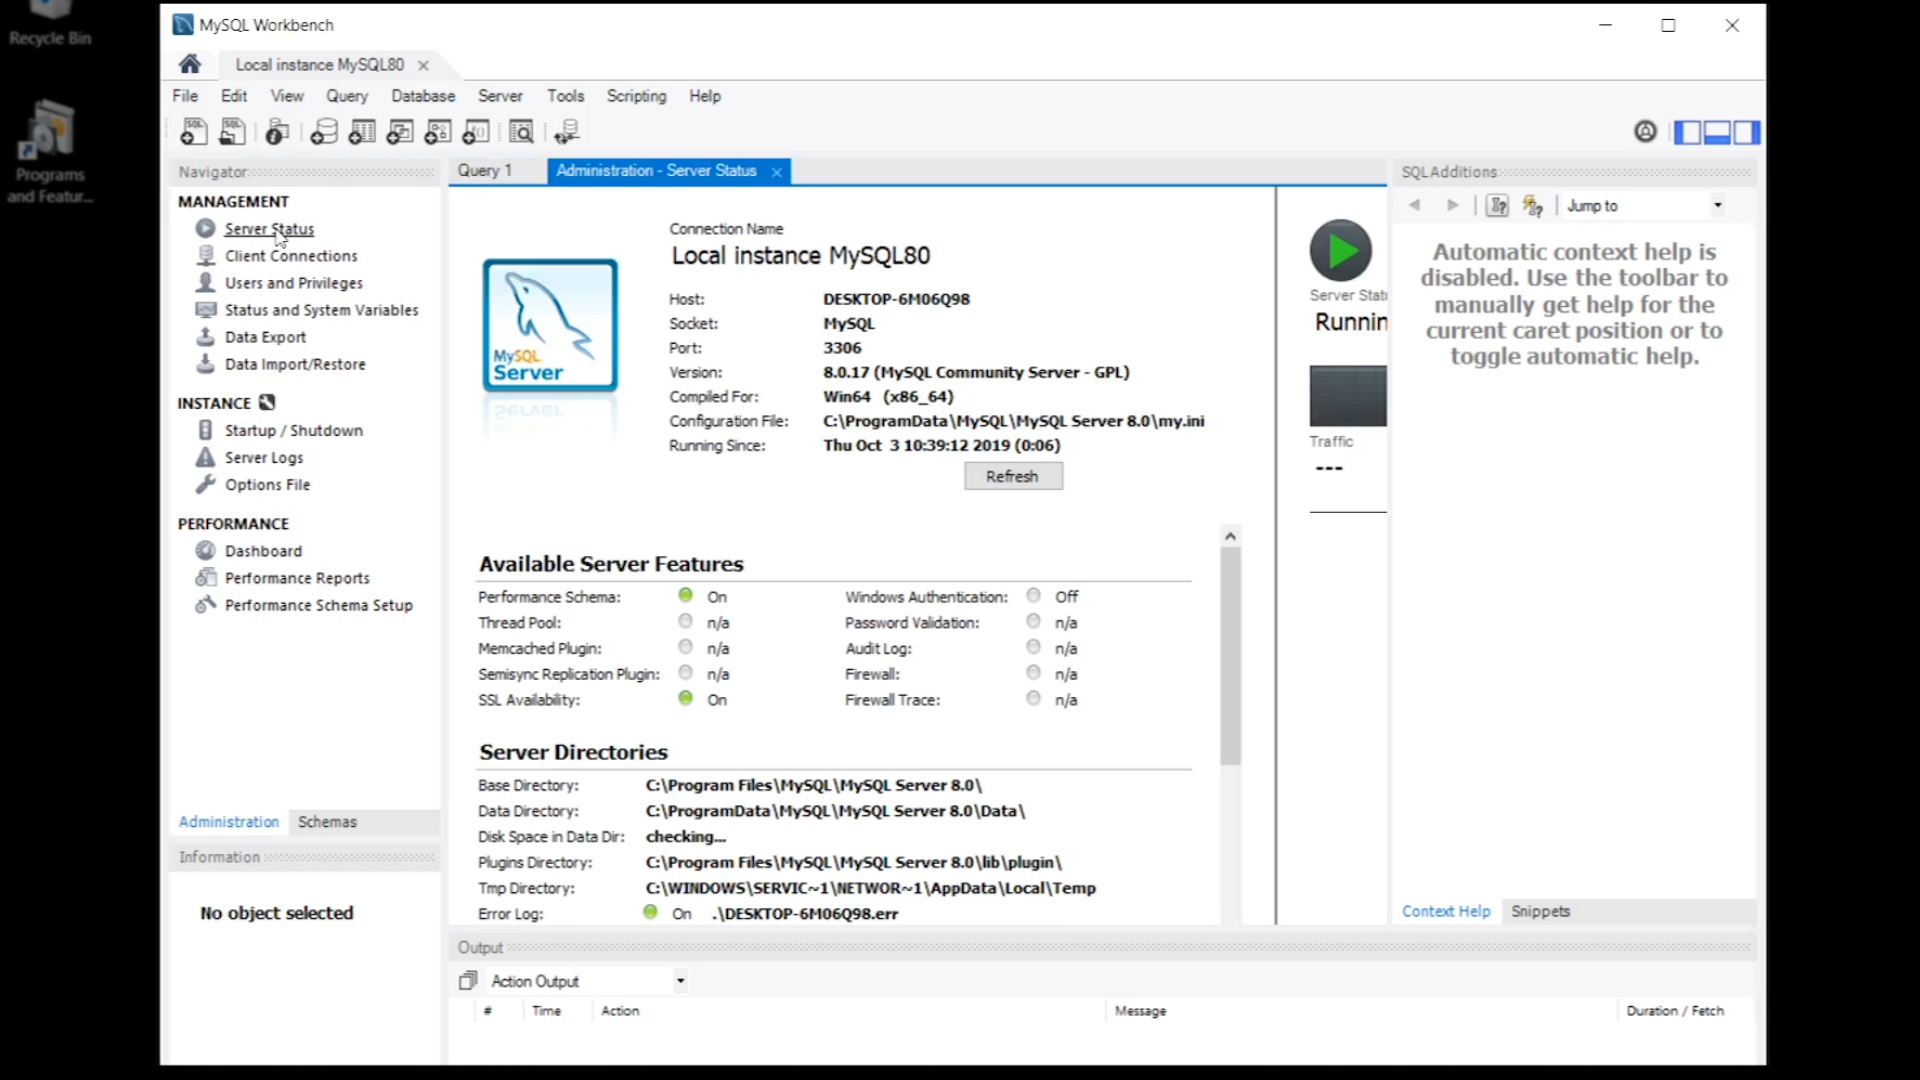
- Click ‘Server Status’ from the ‘Administration’ tab in the ‘Navigator’ panel on the left to show the current server configuration settings and the locations of the pertinent files
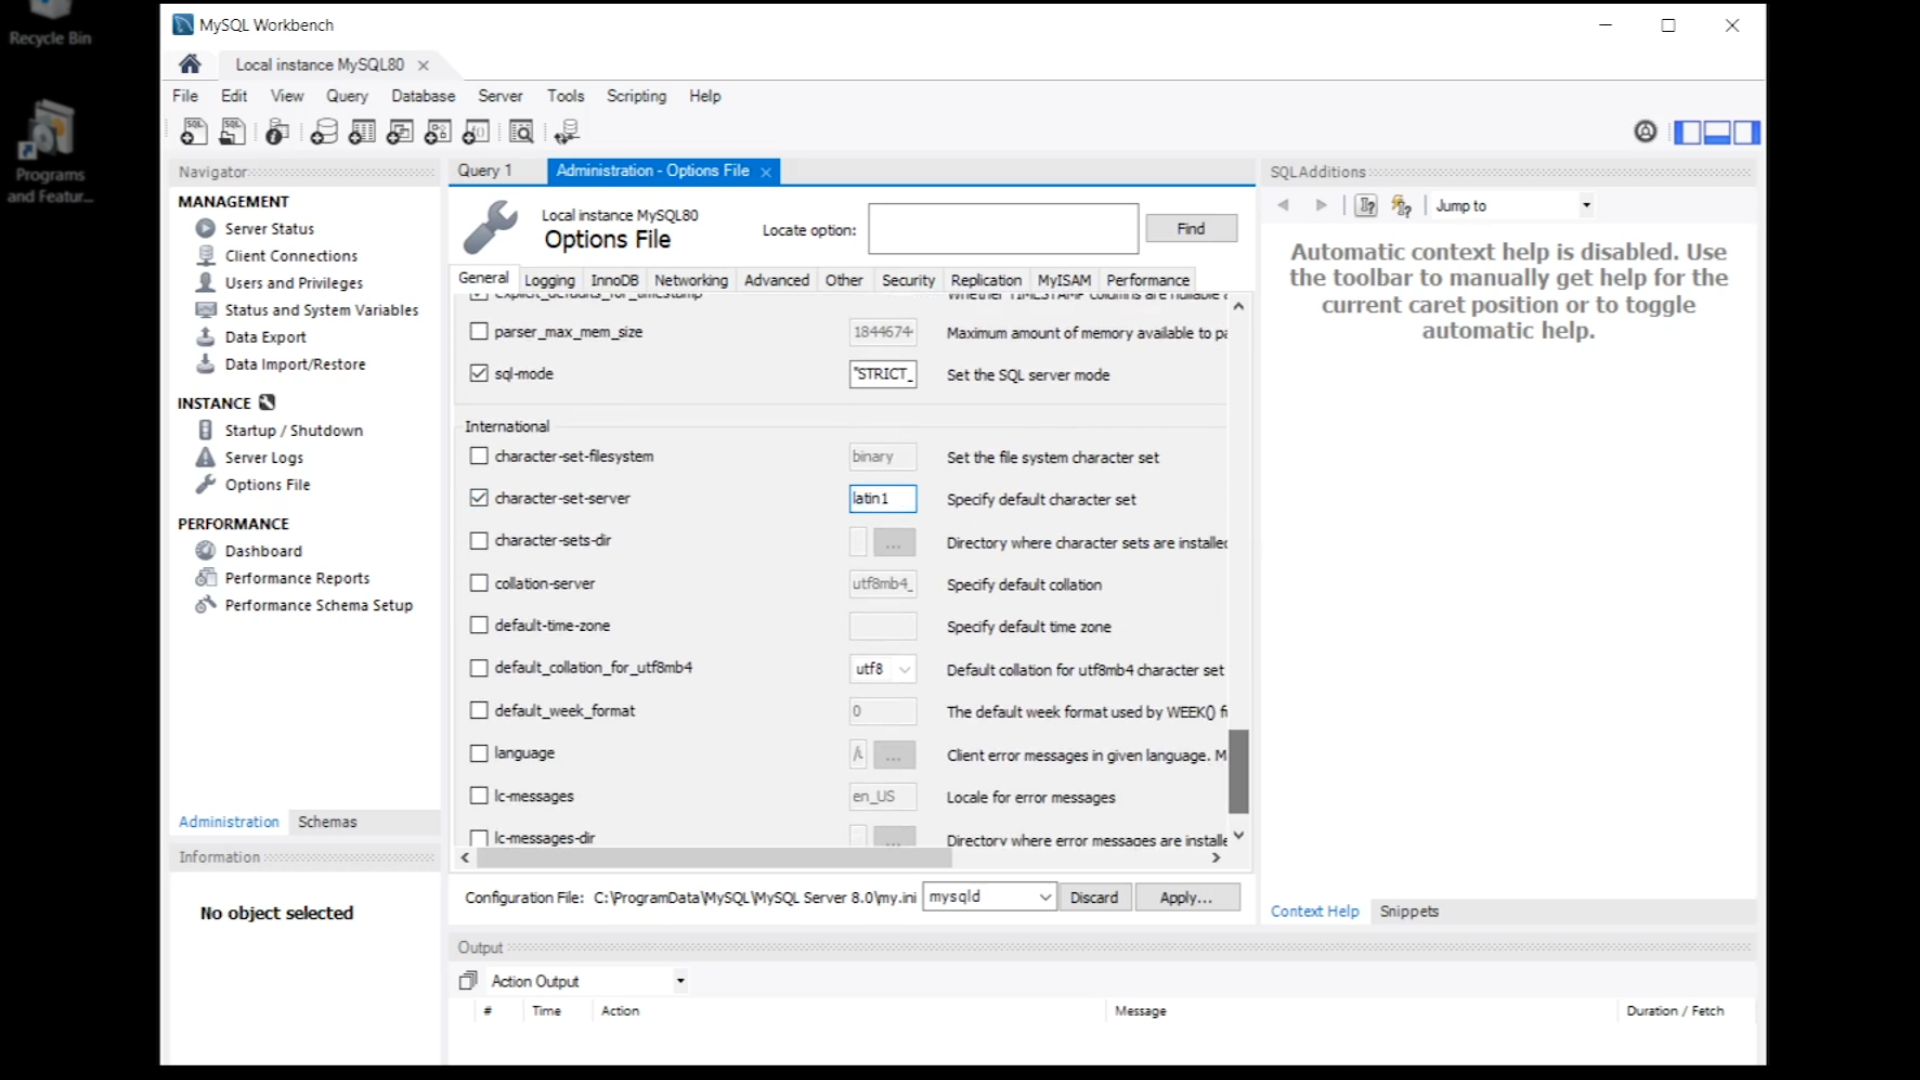
- Click on ‘Options File’ in the same panel
- Locate and check the ‘character-set-server’ box in the ‘International’ section
- Enter “latin1” in the ‘Specify default character set’ field
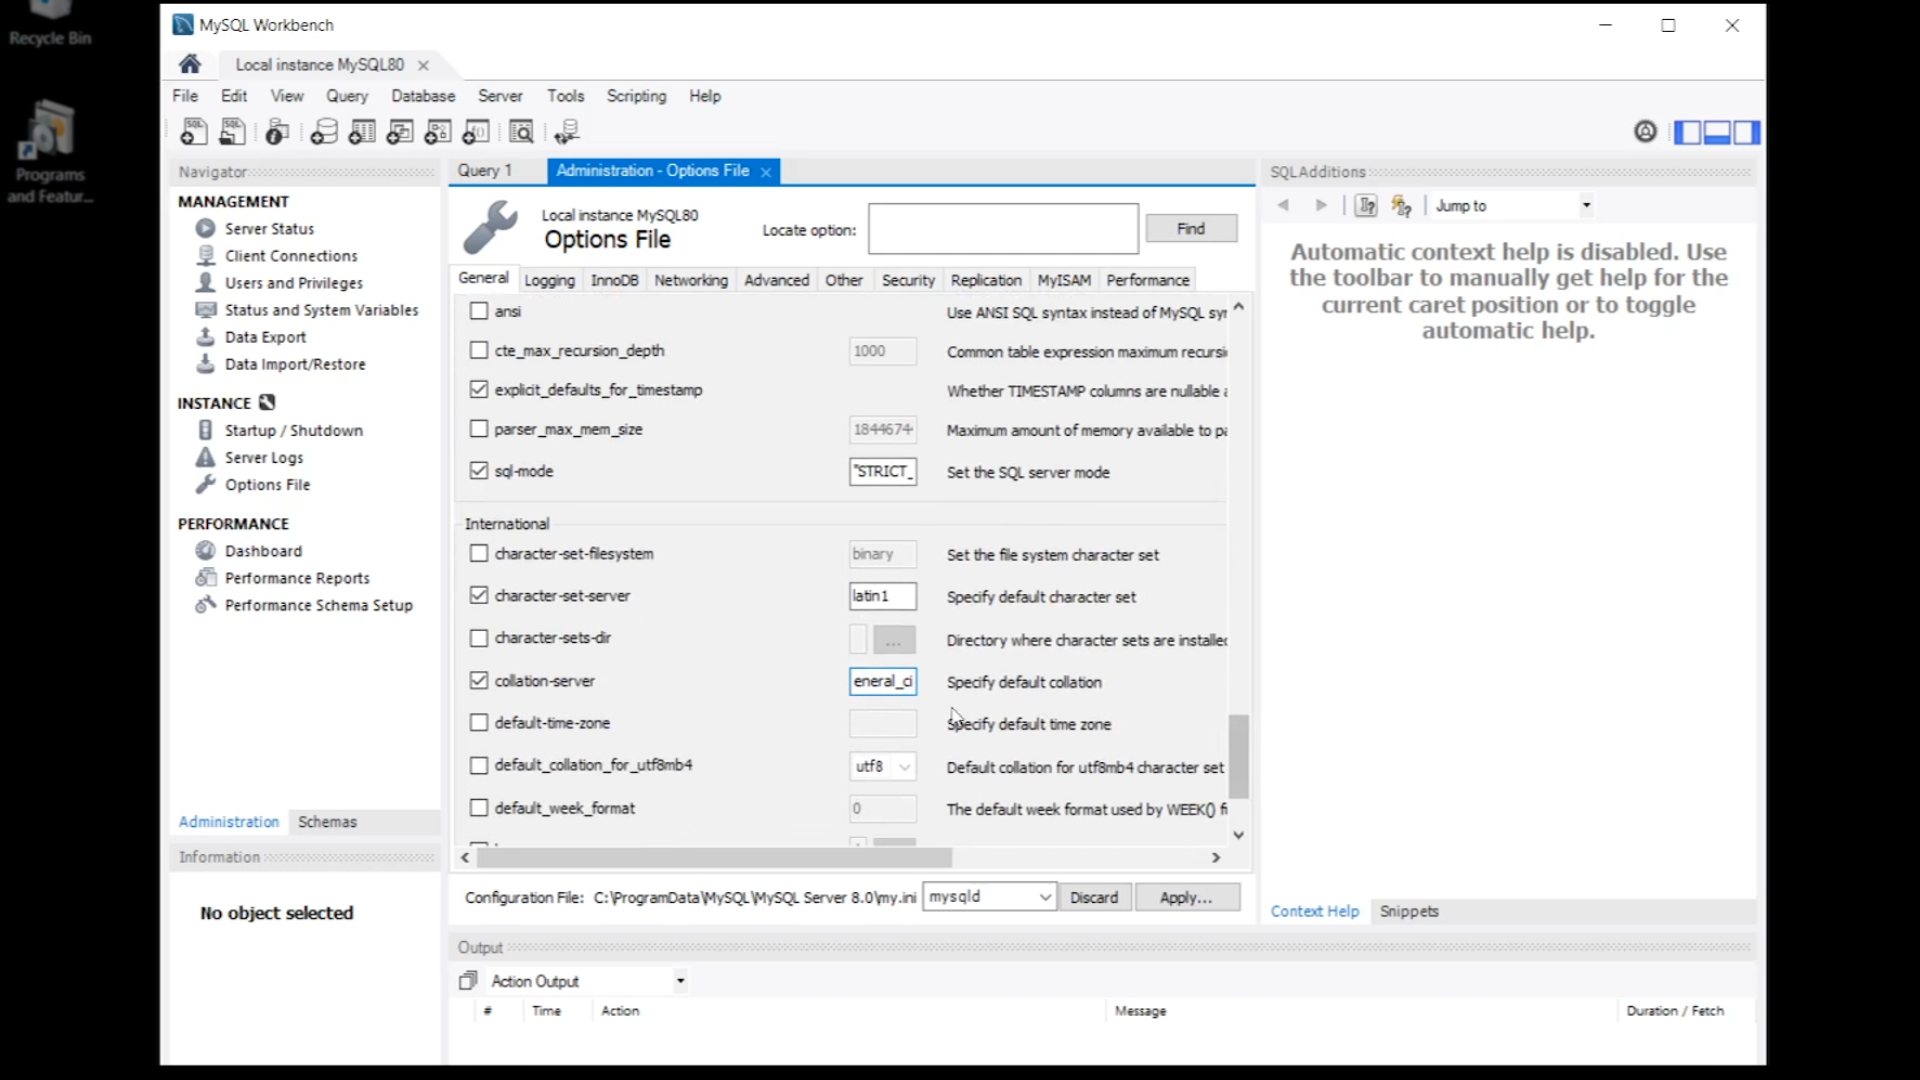
- Locate and check the ‘collation-server’ box in the ‘International’ section
- Enter “latin1_general_ci” in the ‘Specify default collation’ field
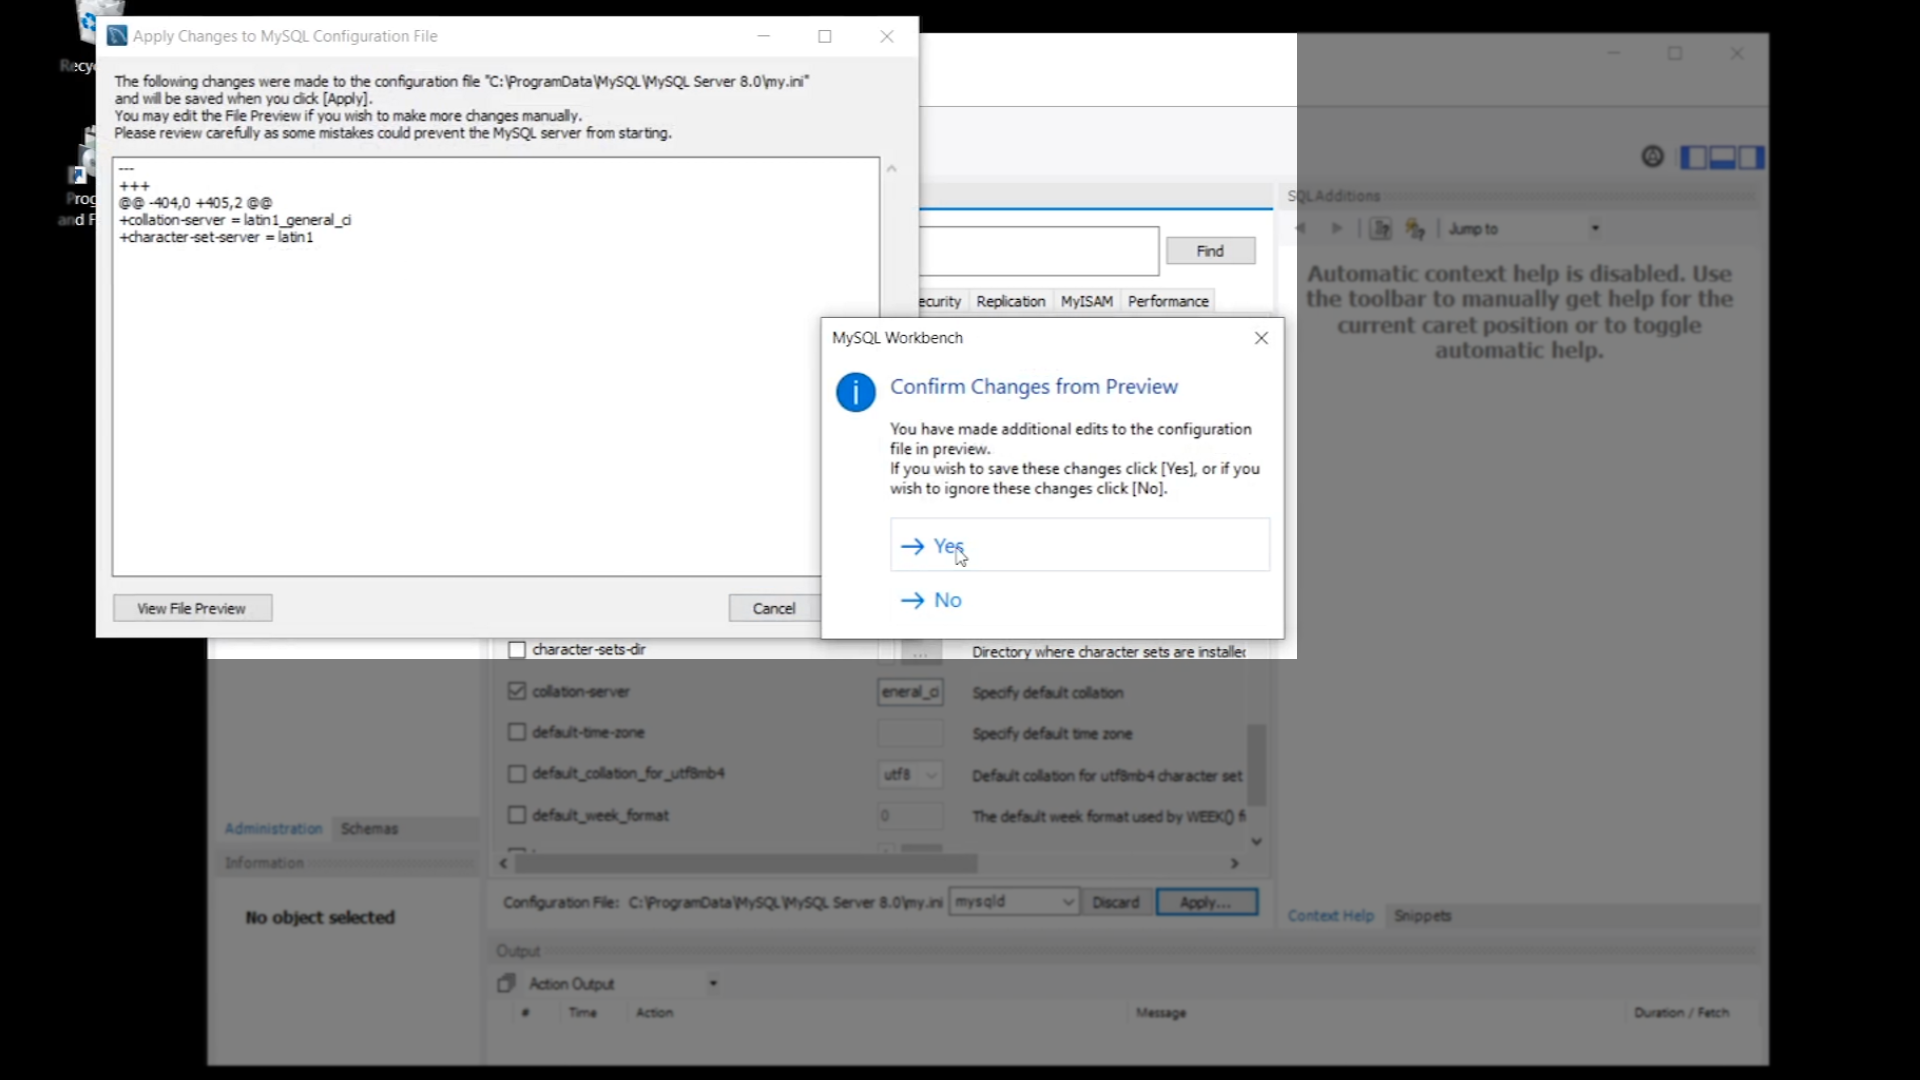
- Click ‘Apply’ twice and then ‘Yes’ to confirm the changes
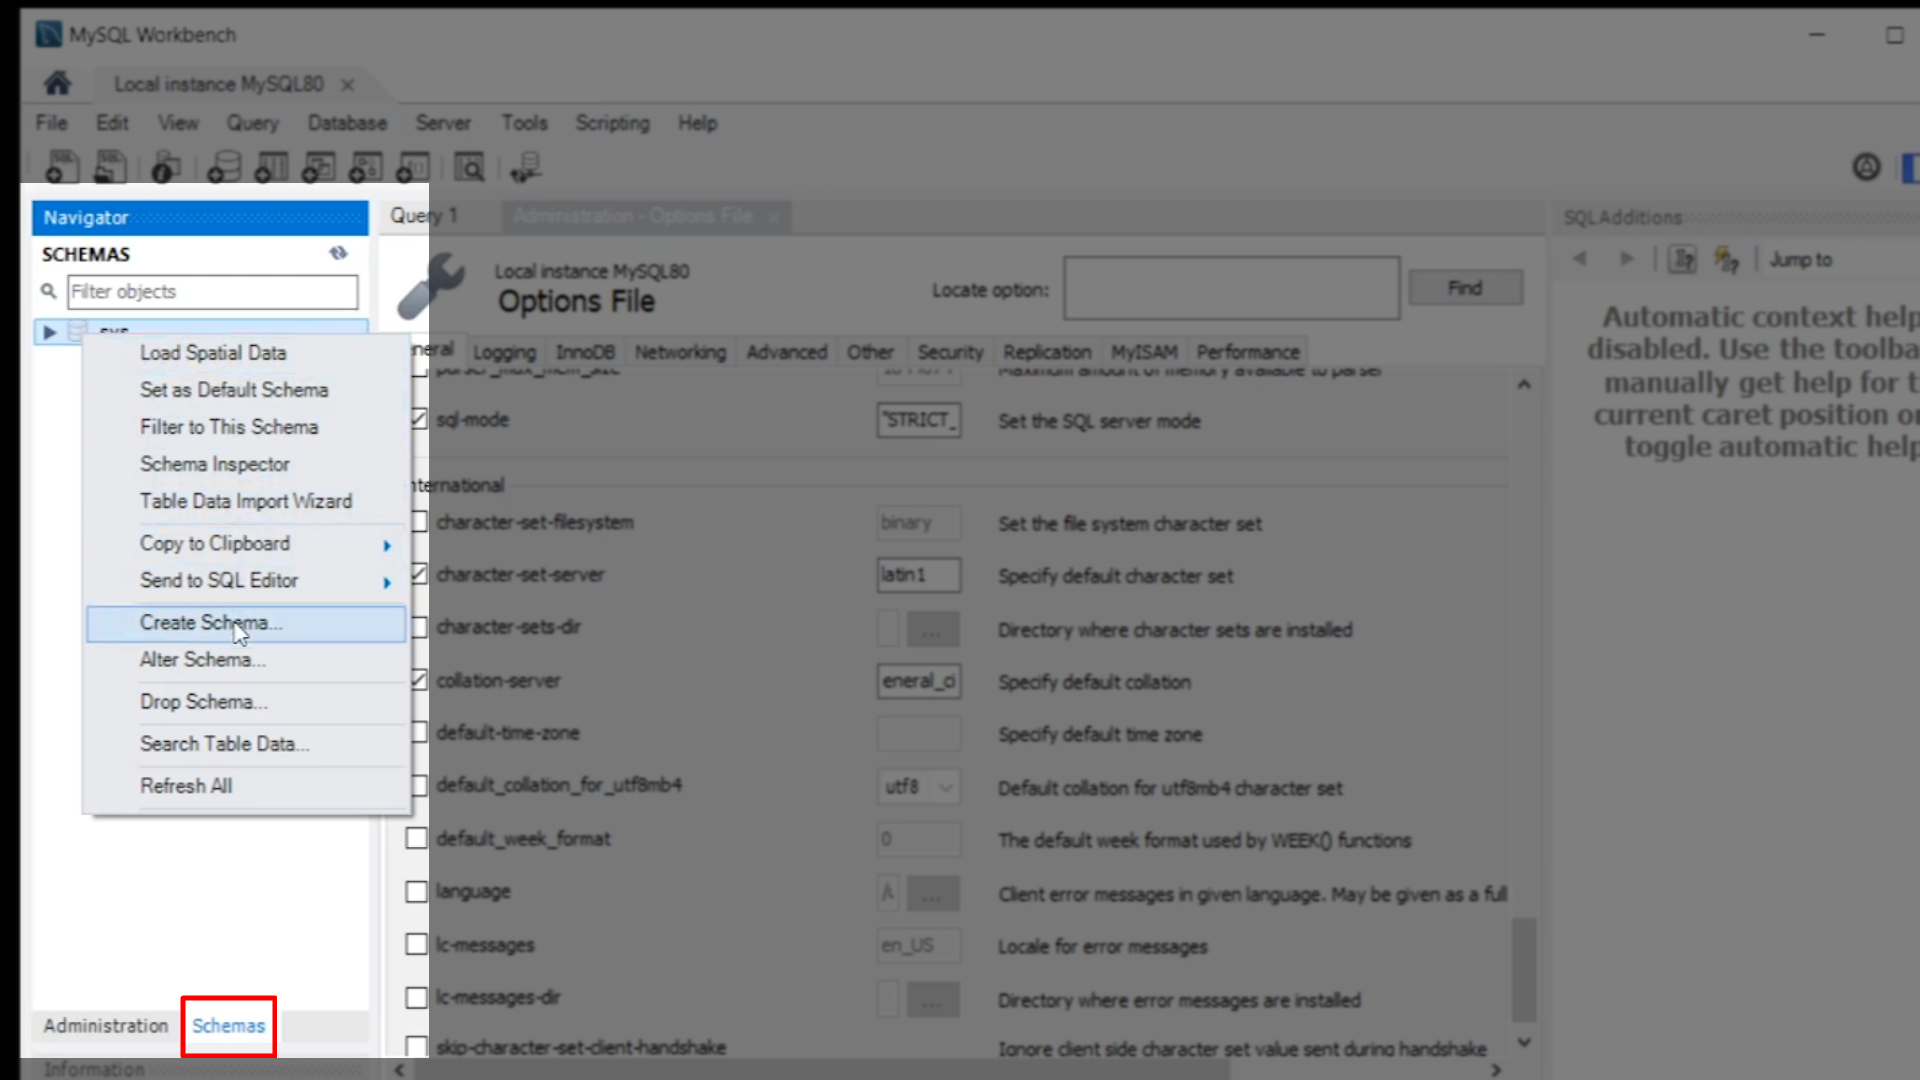
- Select the ‘Schemas’ tab in the ‘Navigator’ panel on the left to create the new database
- Note: in MySQL the terms “schema” and “database” mean the same thing
- Right click in the panel, and select ‘Create Schema’
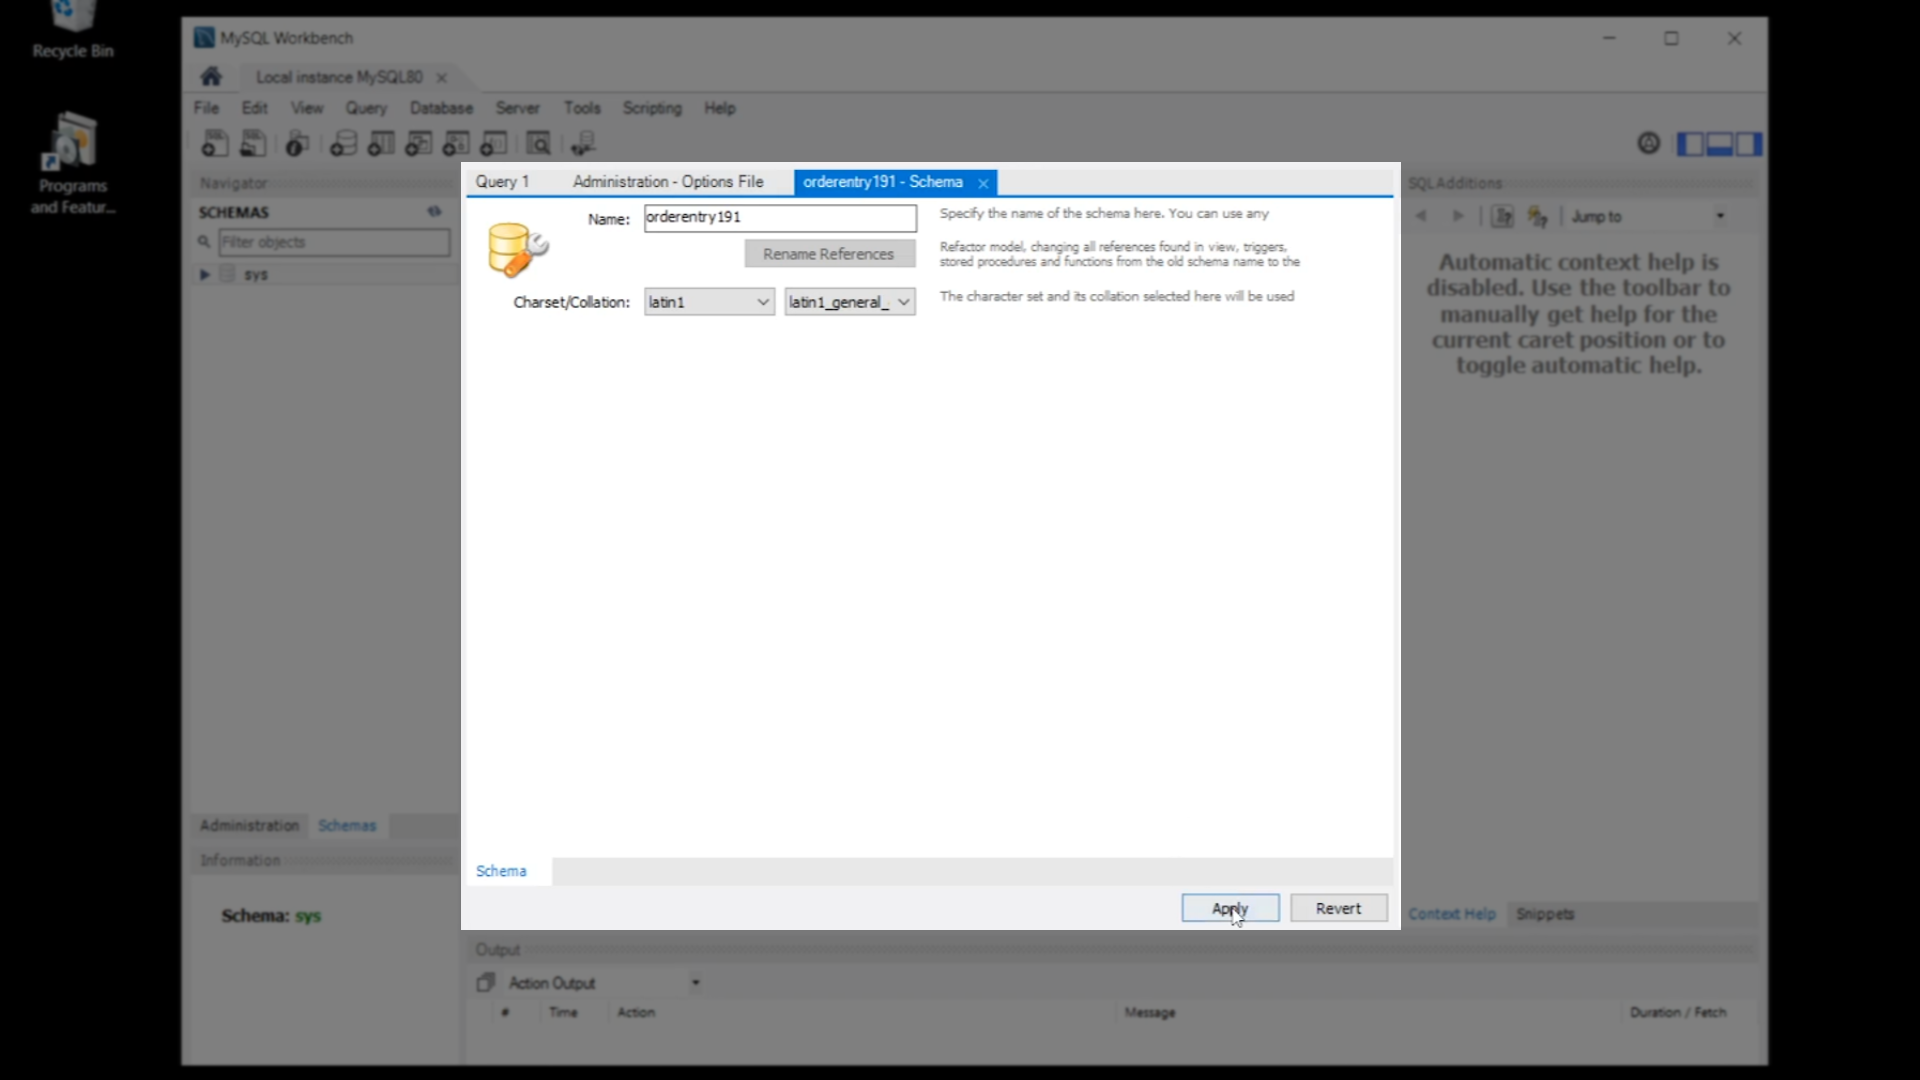
- Enter the name of the new database/schema into the ‘Name’ field – “orderentry191”
- Select ‘latin1’ and ‘latin1_general-ci’ from the ‘Charset/Collation’ dropdown menus, so the match the settings made for the server
- Click ‘Apply’
- The SQL script that will be executed is shown. Click ‘Apply’ and then ‘Finish’
- The new database now appears in the ‘Navigator’ panel on the left
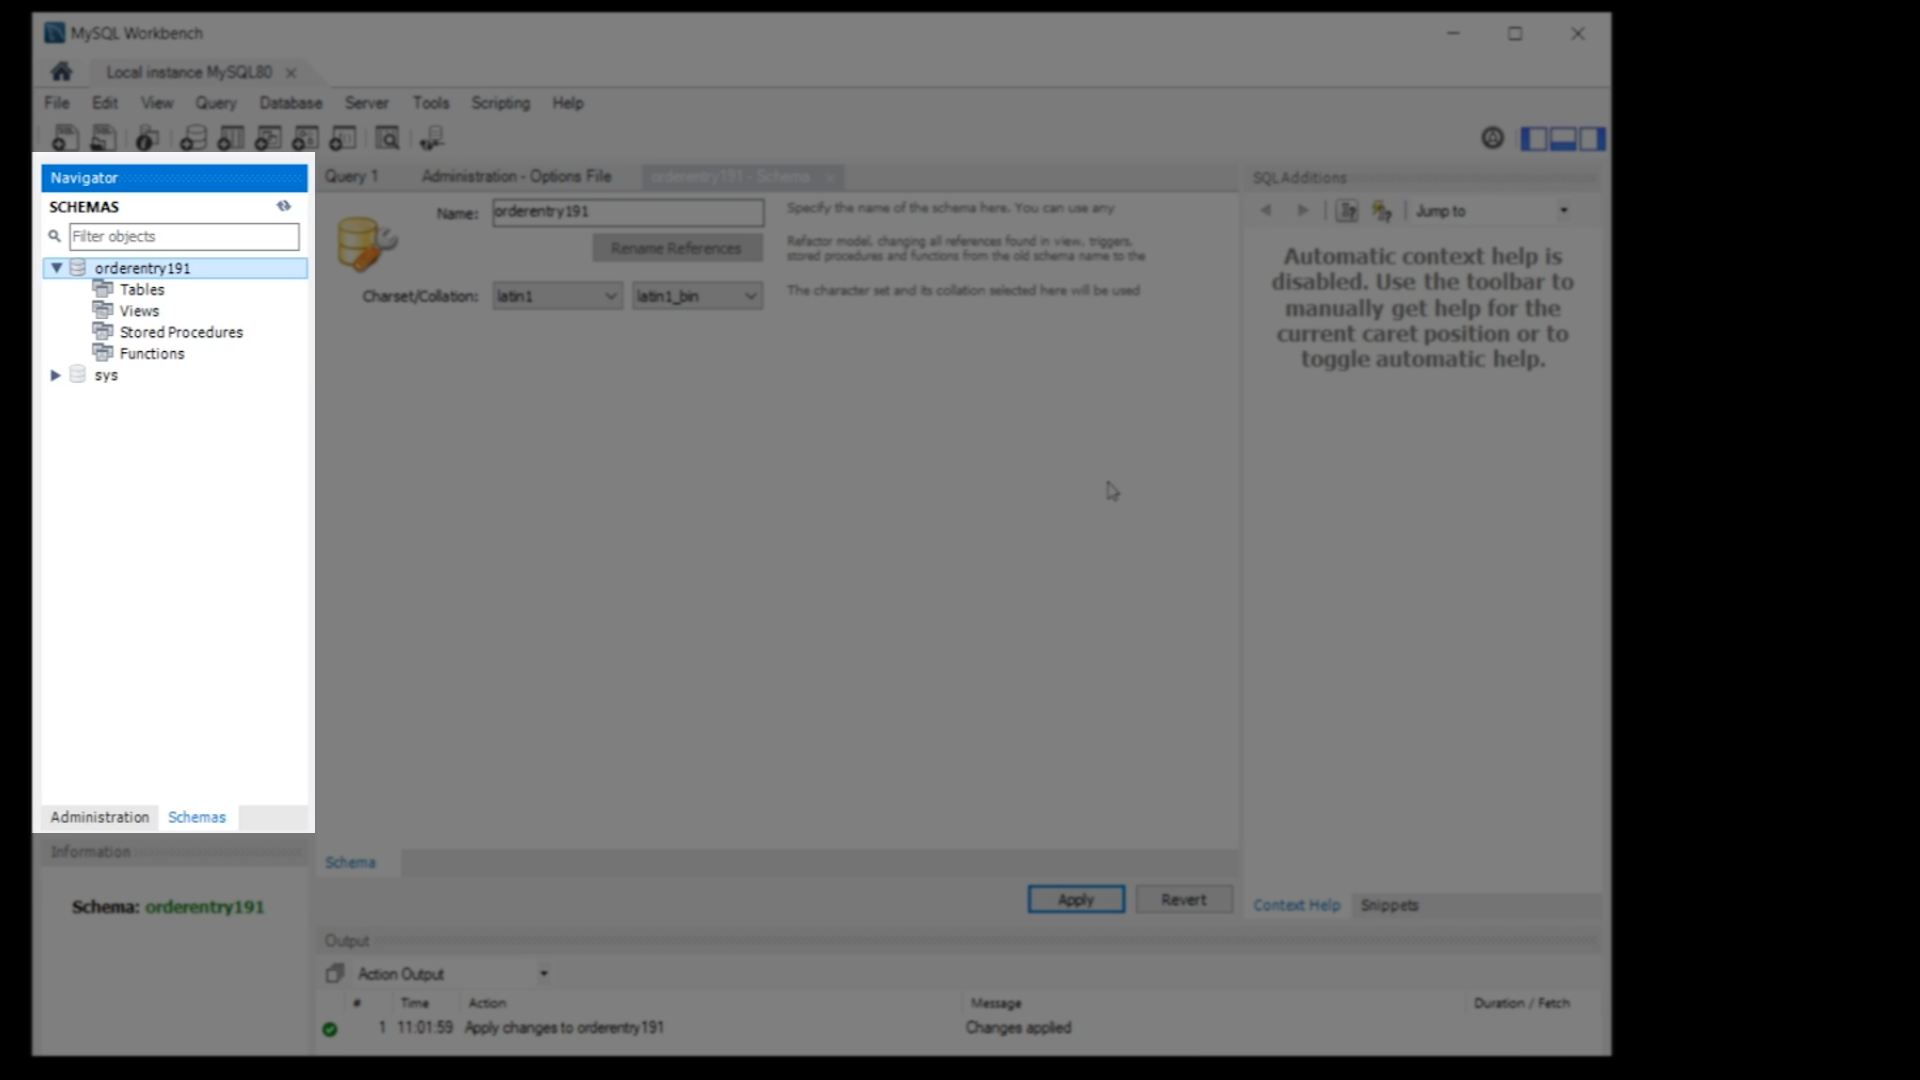
- Expanding the new database shows the default structure for any database that will be created.
Demonstration – Client-side
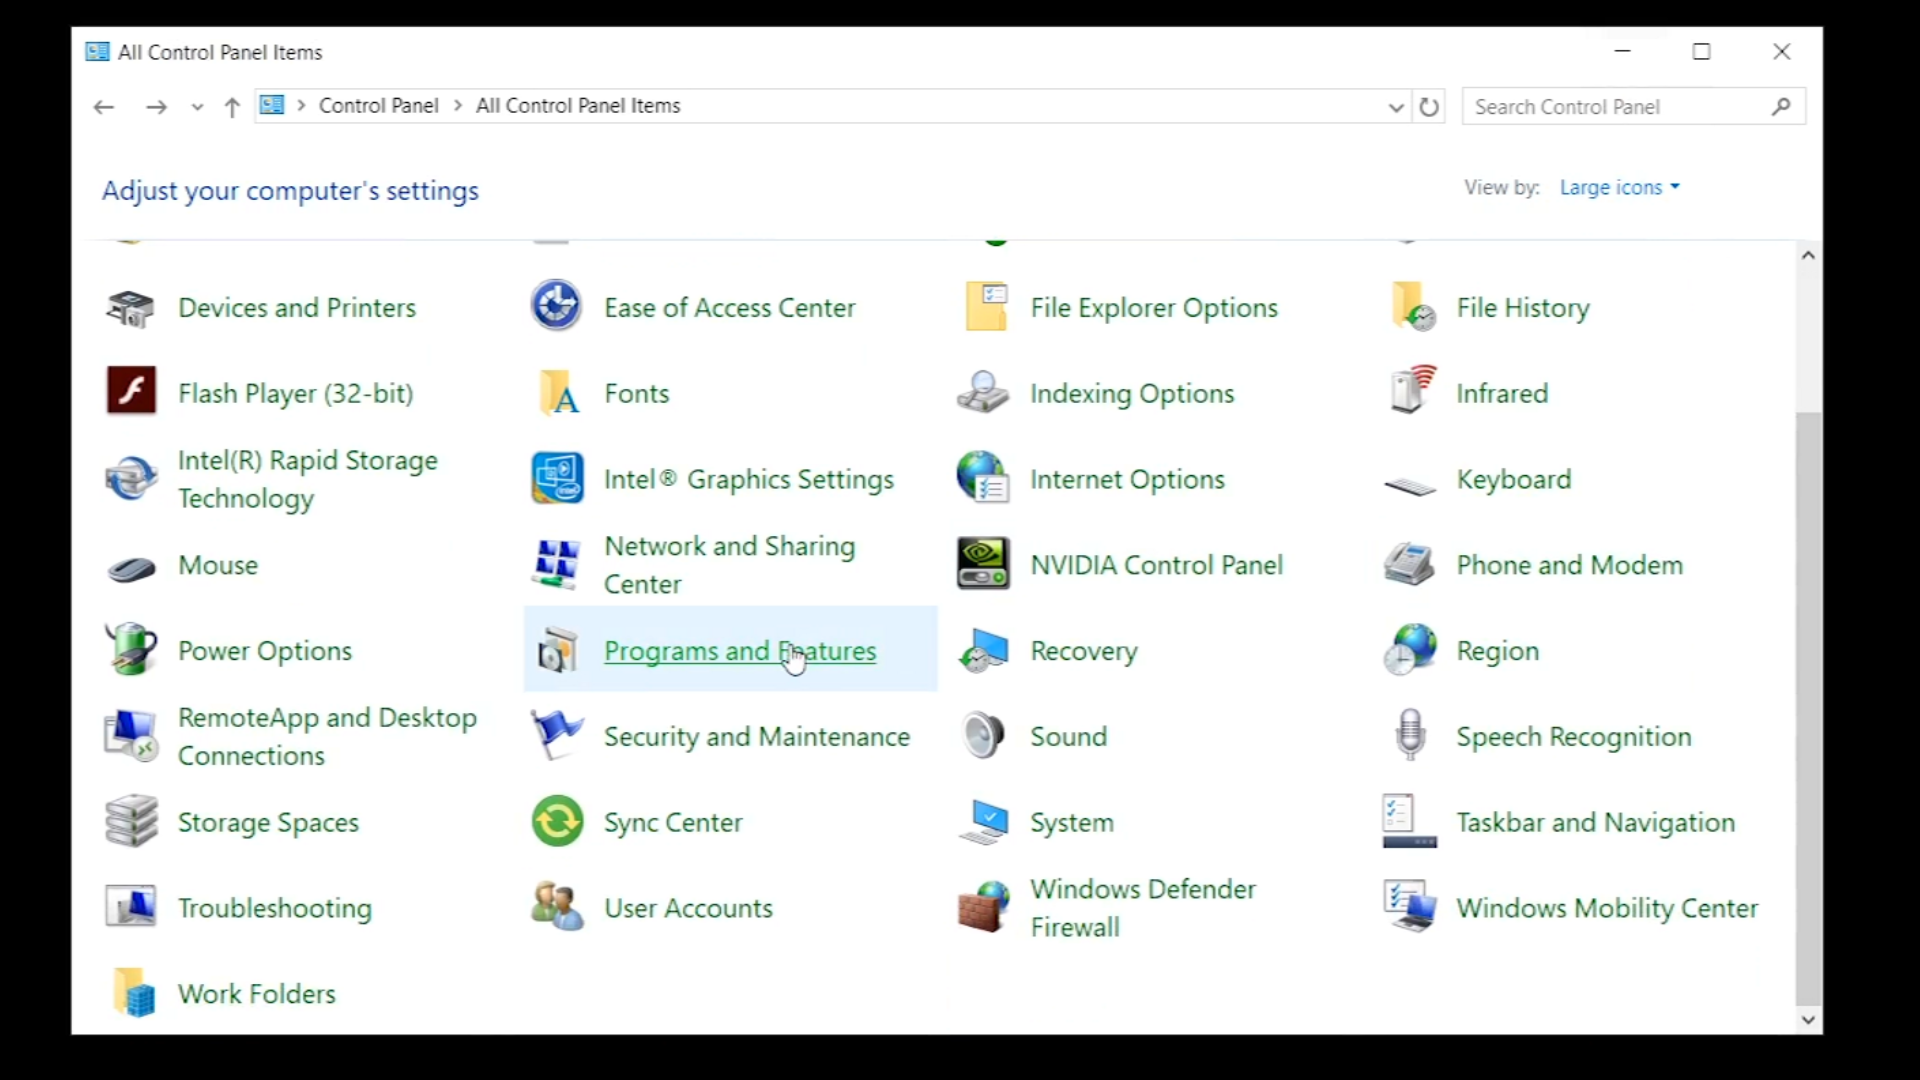
- To install the client, first open the Control Panel and click on ‘Programs and Features’
- The needed connector, ‘MySQL Connector/ODBC 8.0’ is shown because it was part of the original package that was downloaded.
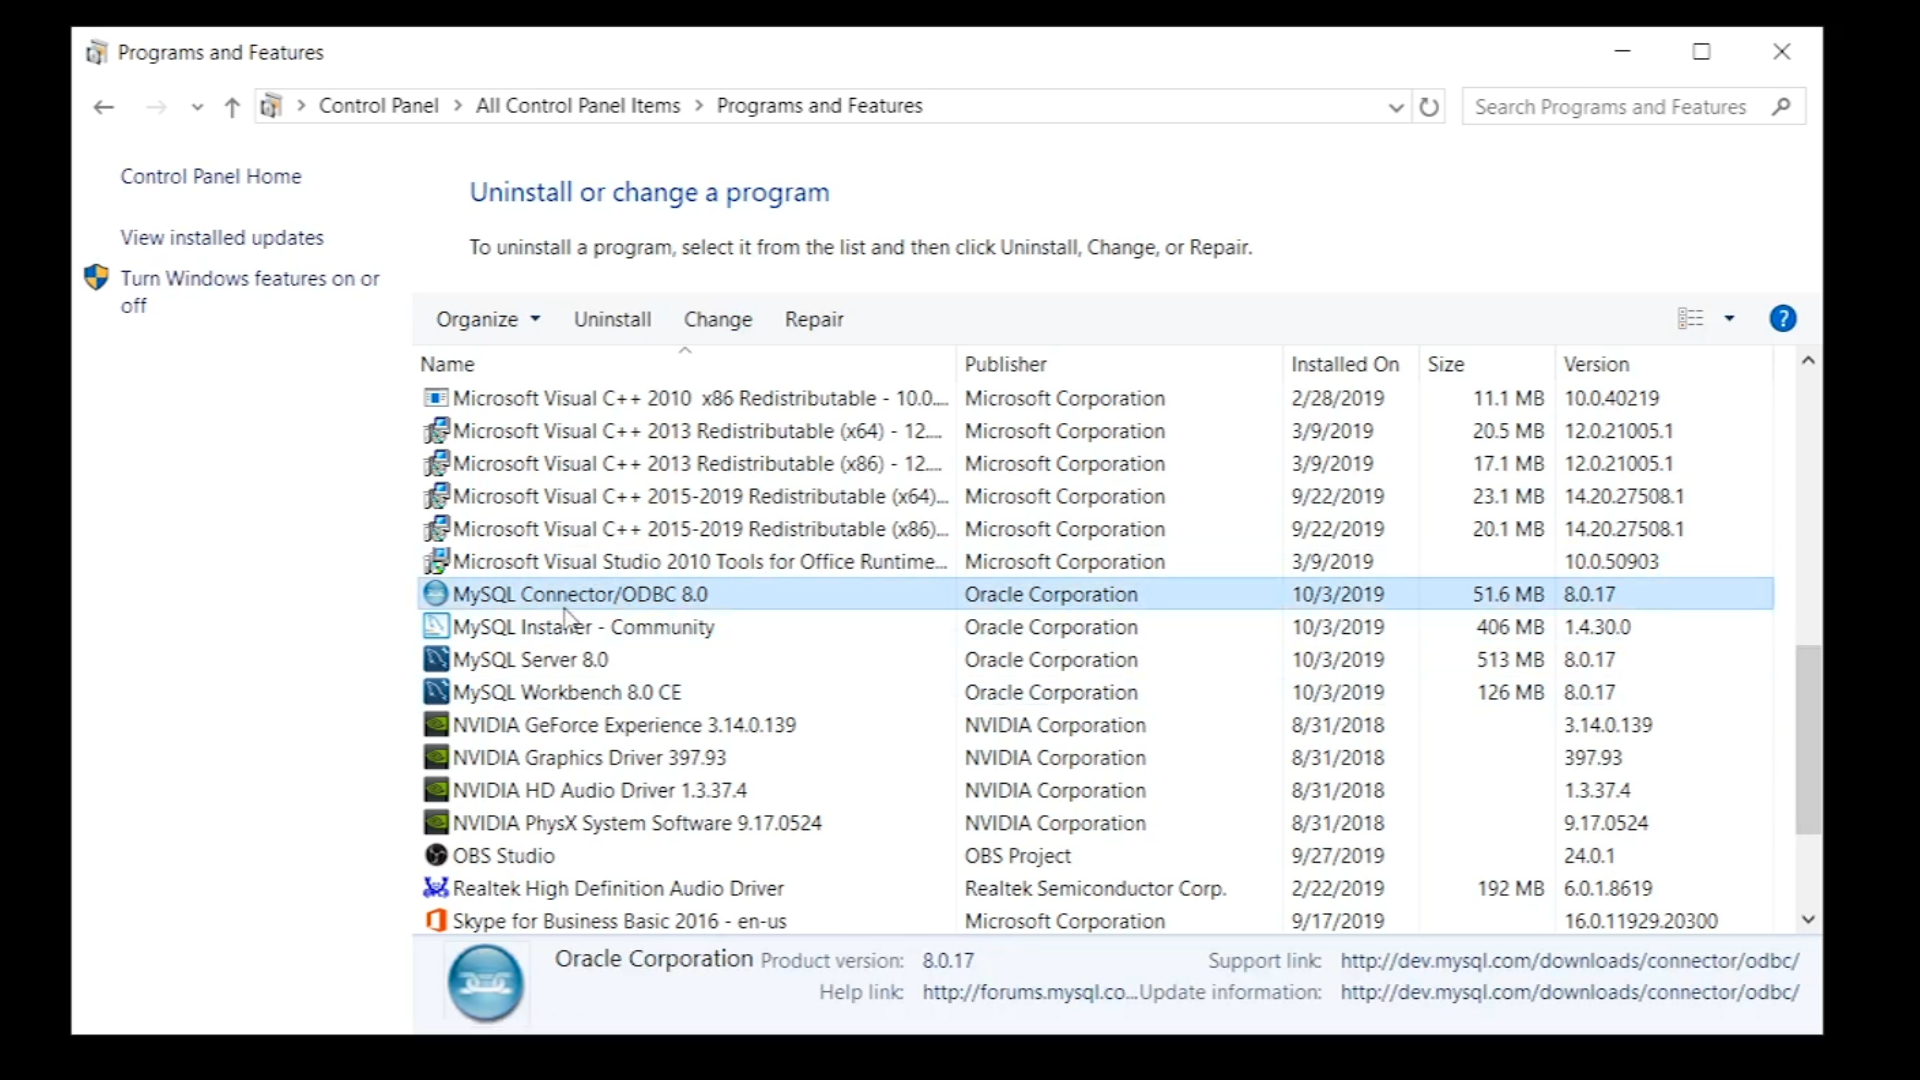
- If it needs to be downloaded for installation at another location, return to this page and select ‘Connector/ODBC, and choose to download the 32-bit Windows version
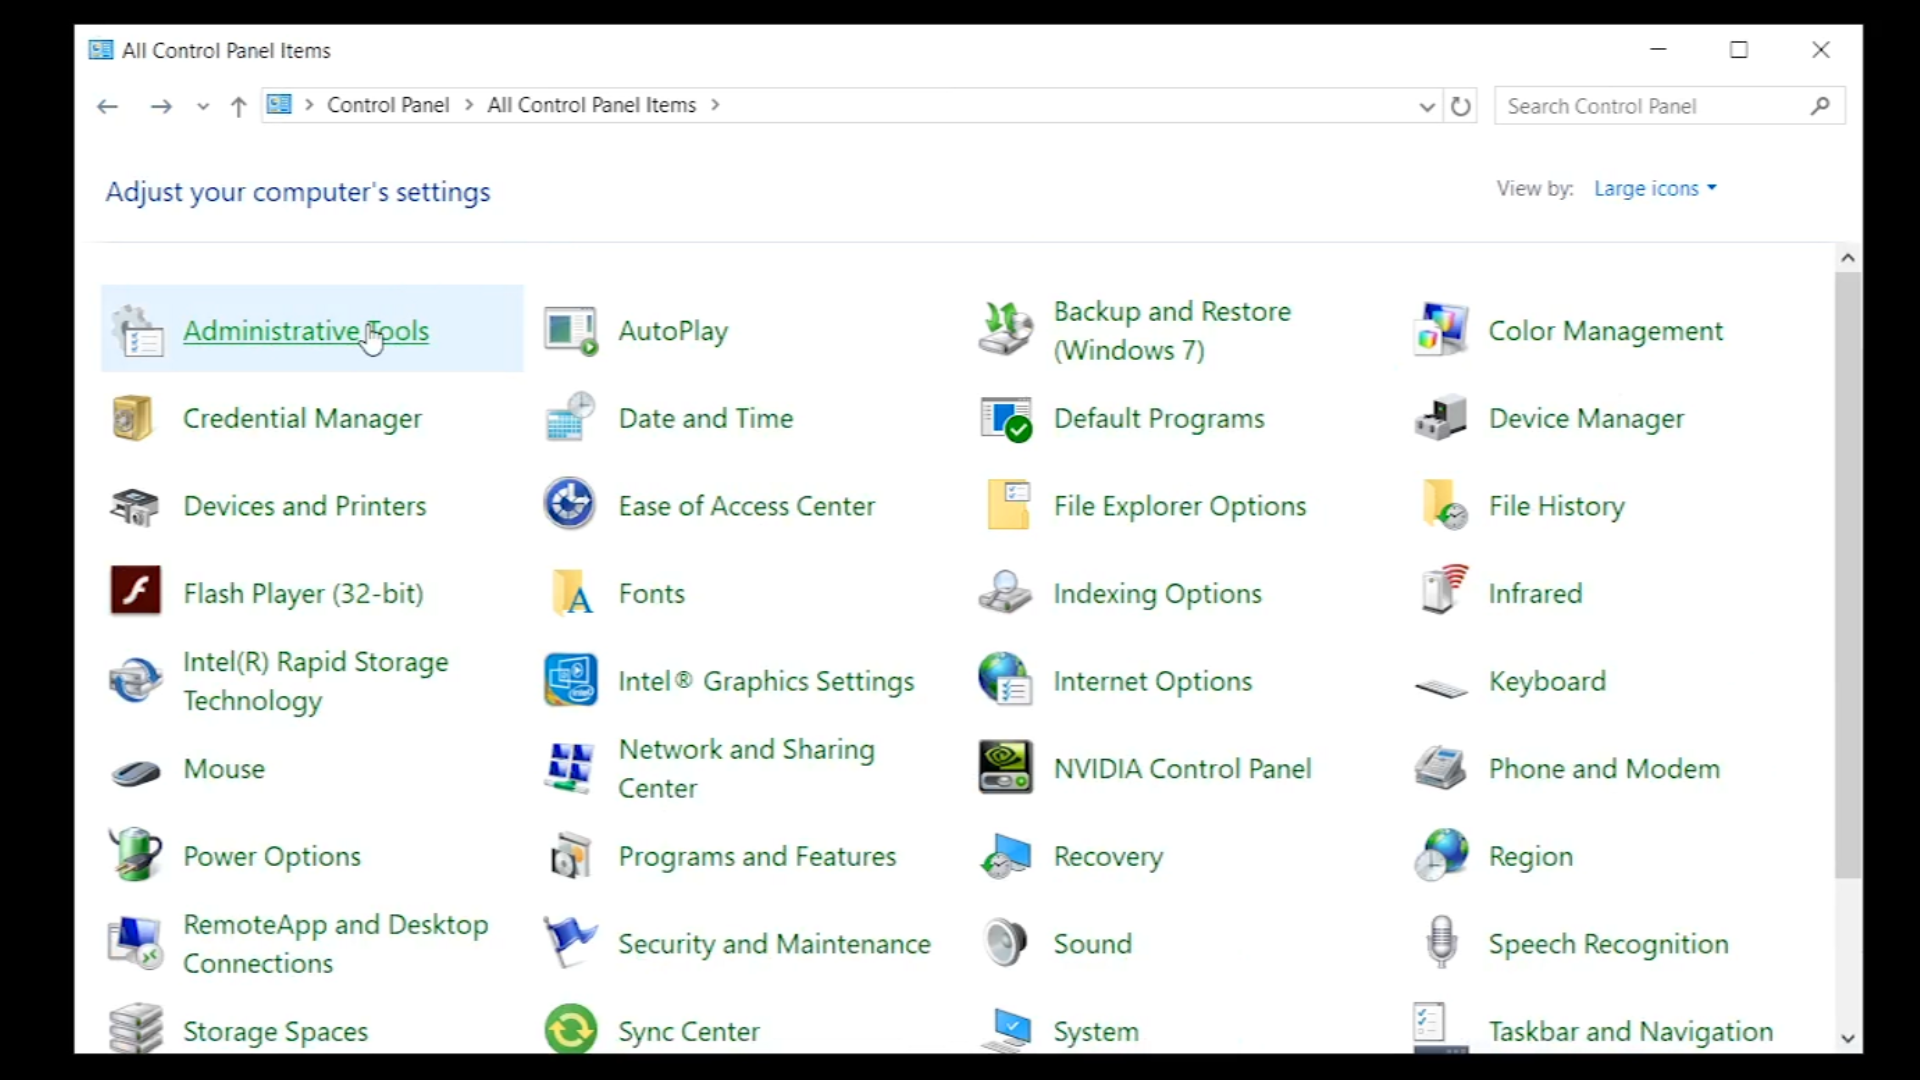
- Return to the Control Panel, and select ‘Administrative Tools’
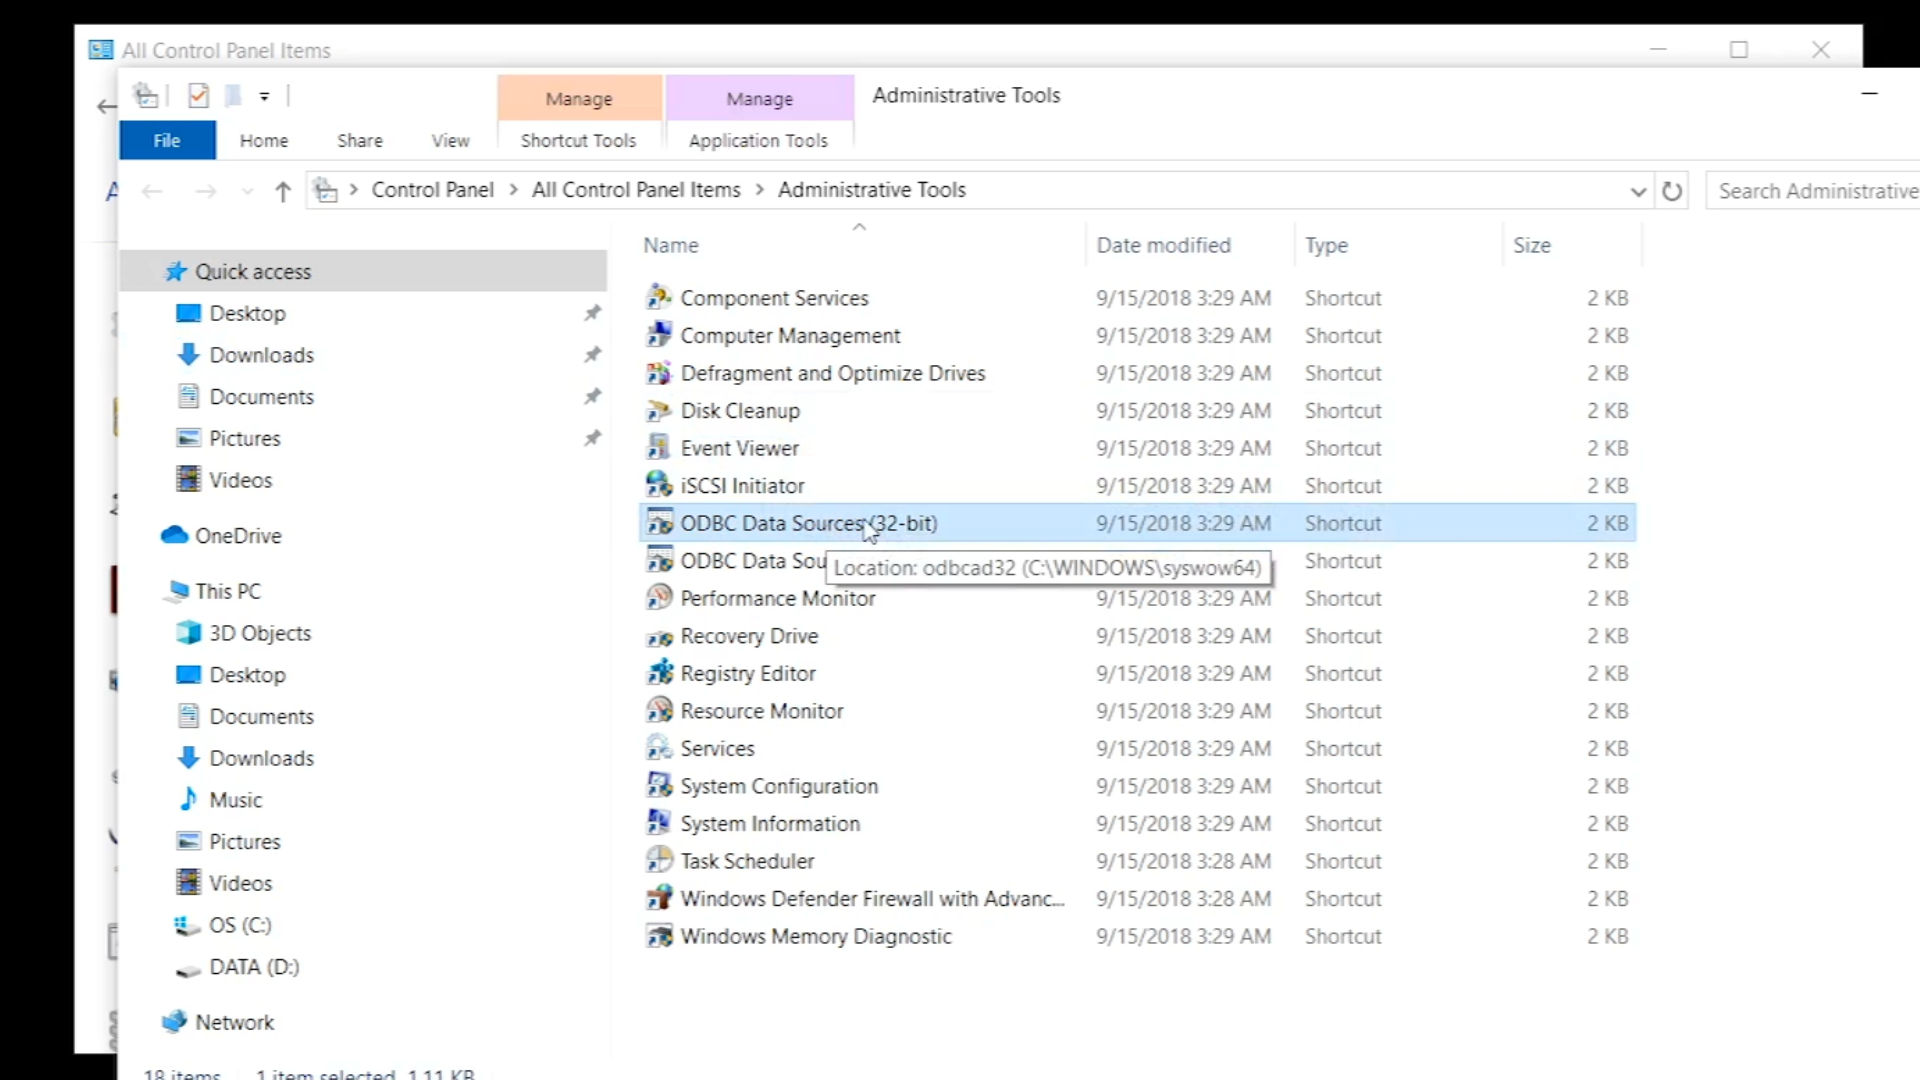
- Double-click on ‘ODBC Data Sources (32-bit)’
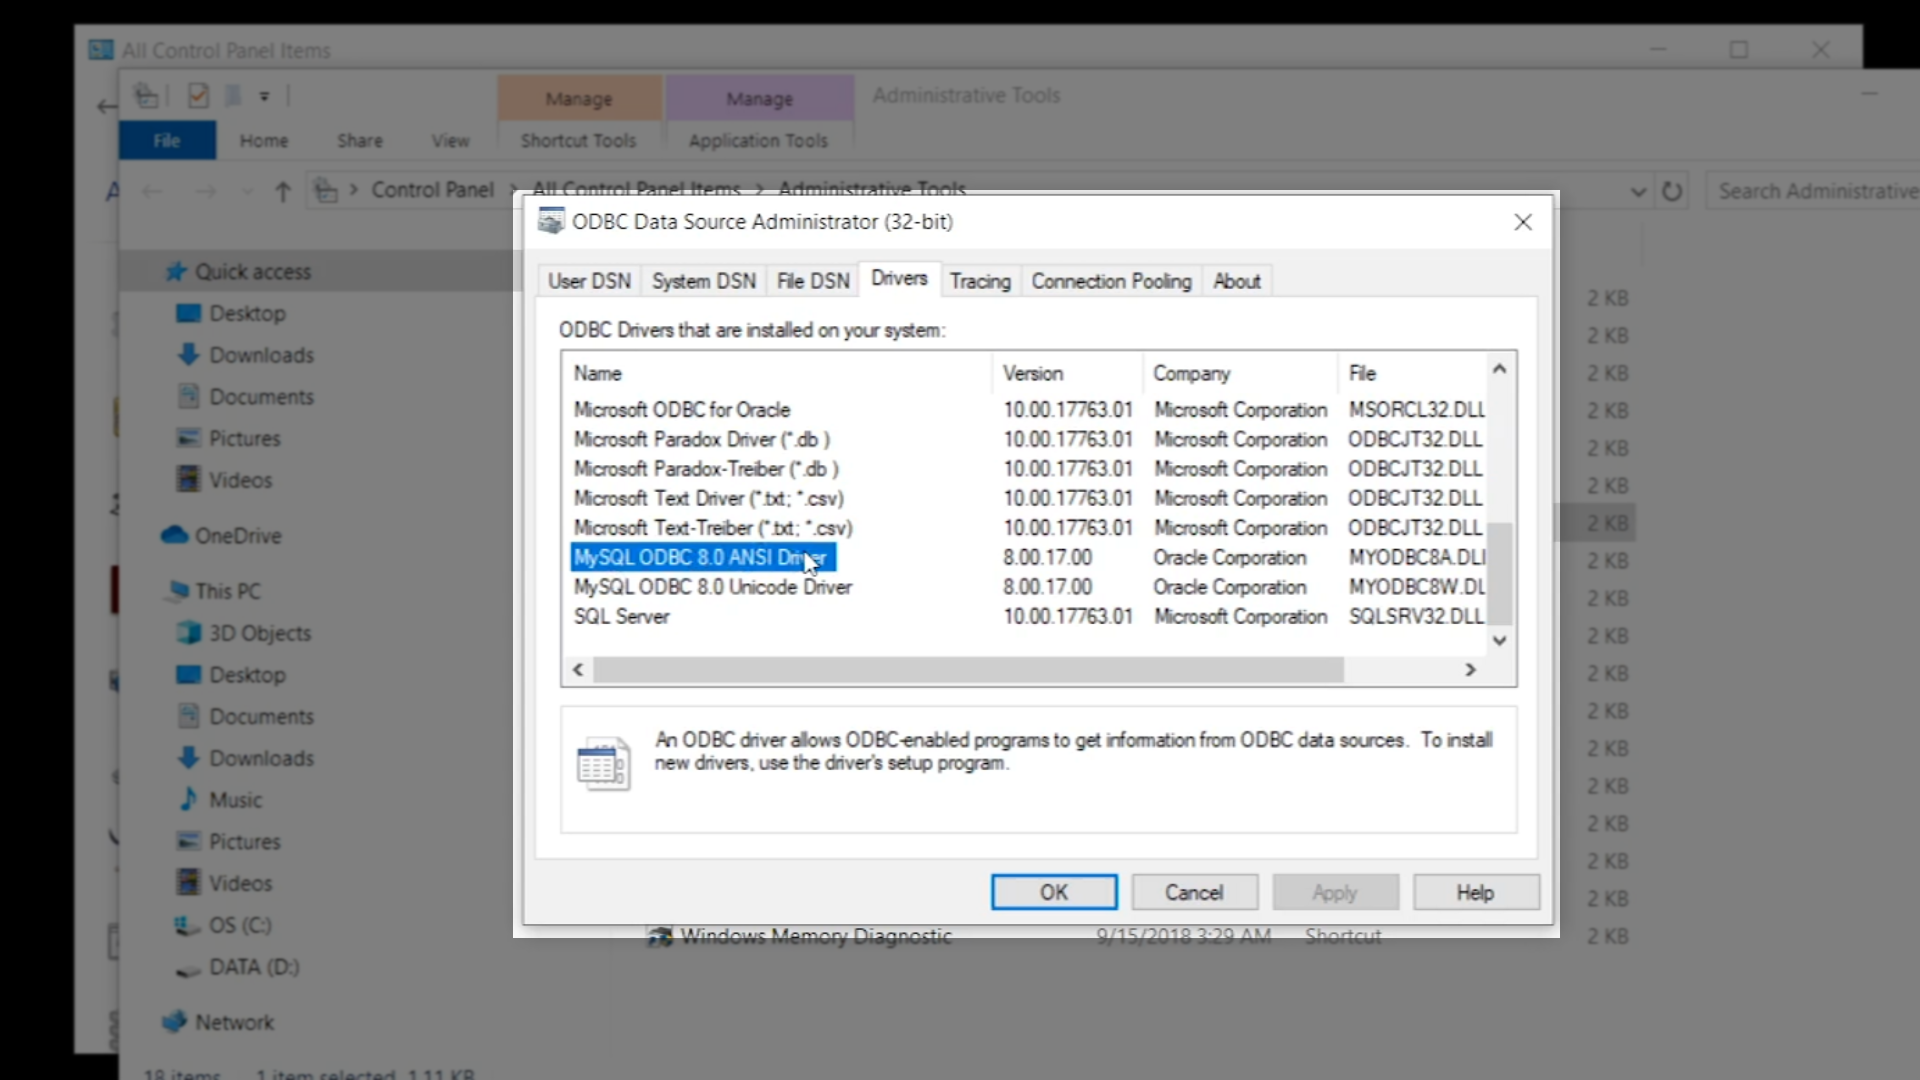
- Click on the ‘Drivers’ tab, and select ‘MySQL ODBC 8.0 ANSI Driver’
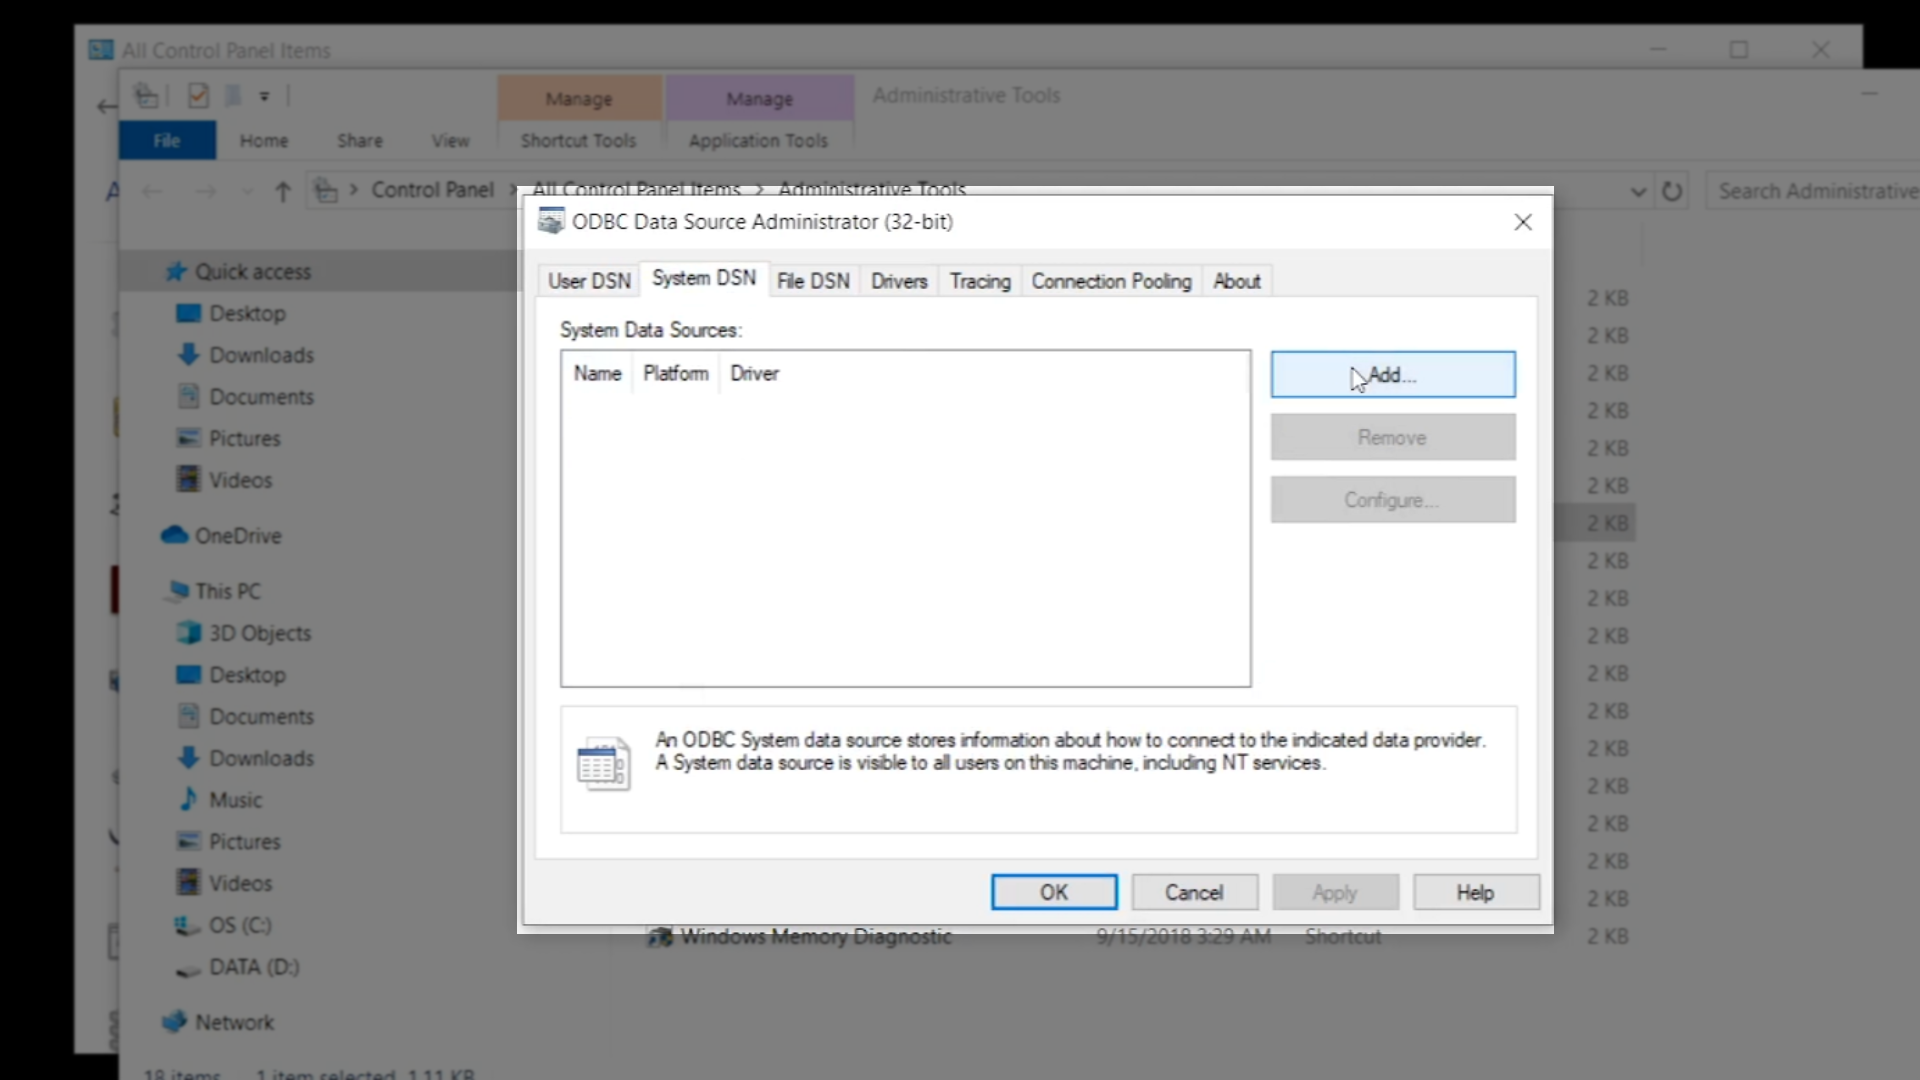
- Click on the ‘System DSN’ tab, and click on the ‘Add’ button
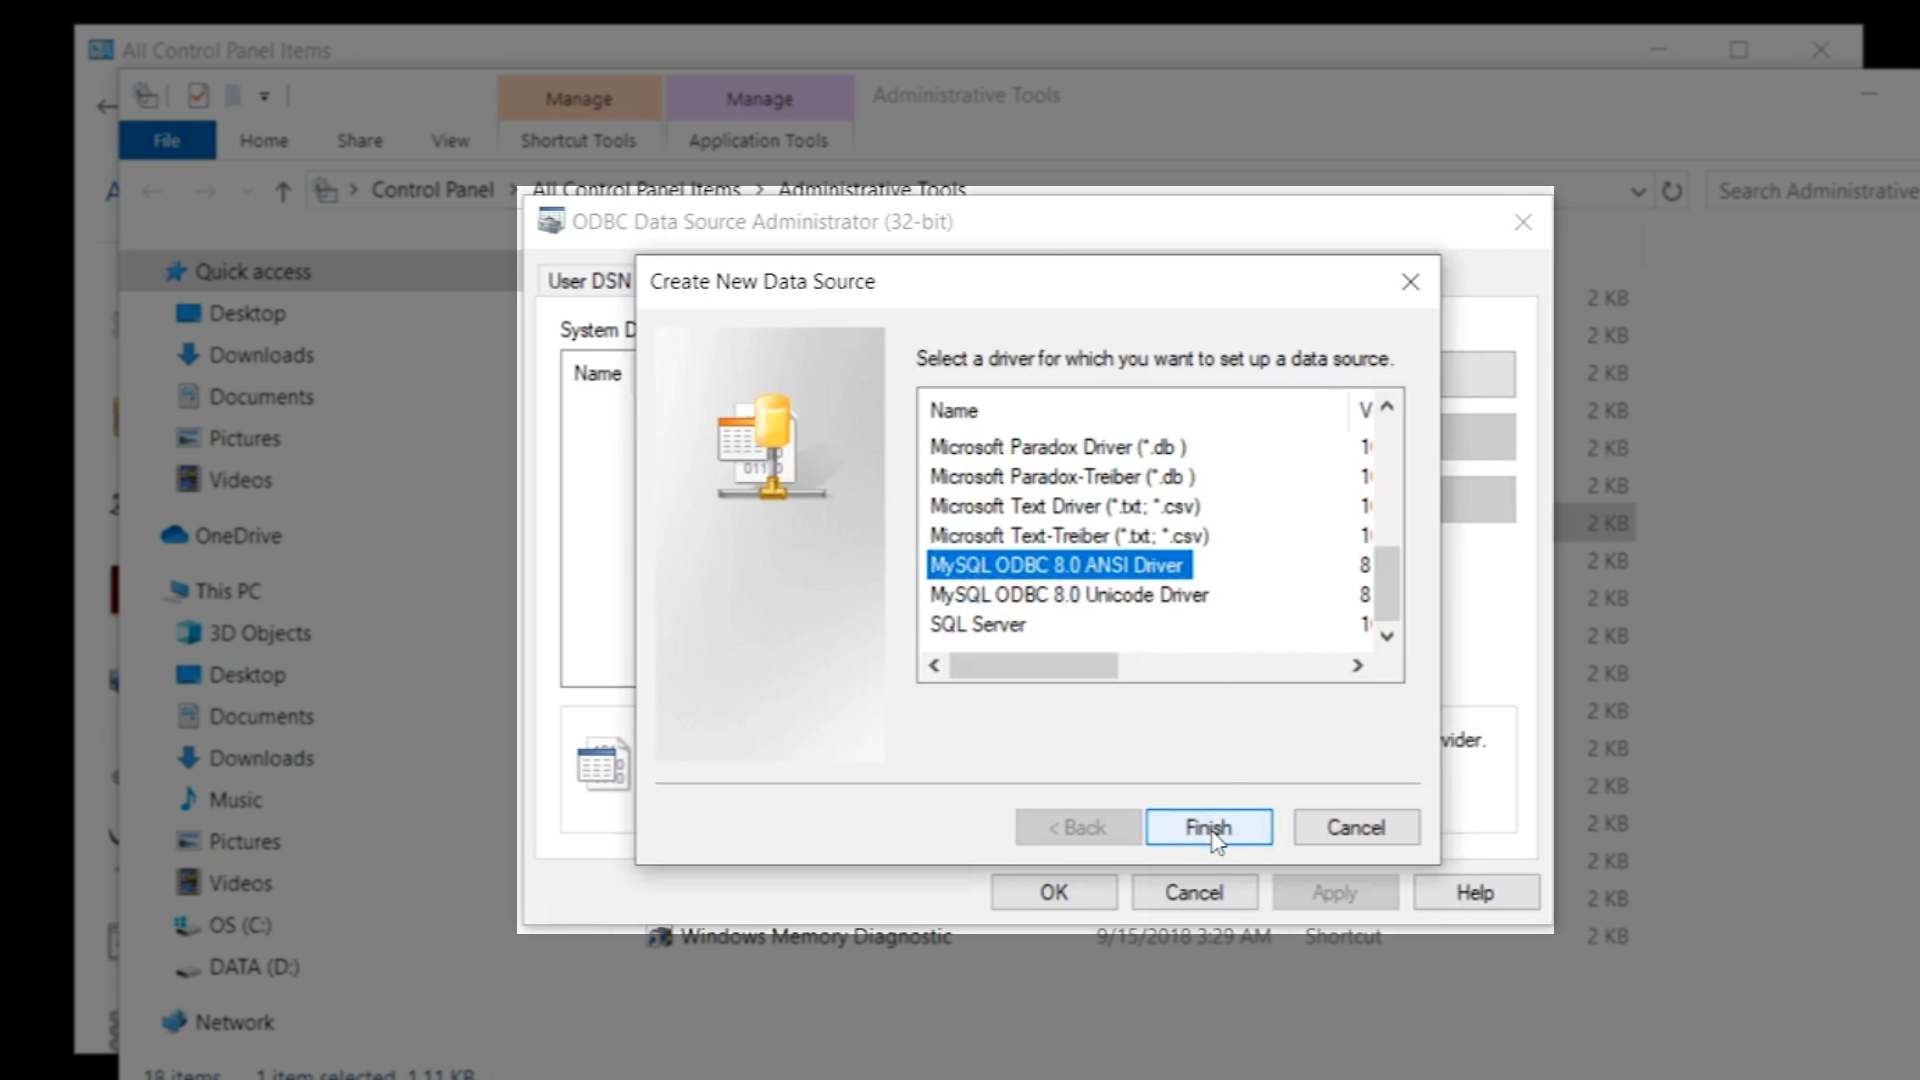
- Select ‘MySQL ODBC 8.0 ANSI Driver’ and click ‘Finish’
- Enter the details of the DSN in the following pop-up being sure to select the ‘orderentry191’ database that was created and click ‘Ok’

- The new DSN is now shown. Click ‘Ok.’


