Migrating to MySQL Environment
Lesson 6: Setting up MySQL to work with DataFlex
The DataFlex 19.1 Studio is needed to setup MySQL to work with DataFlex. Download DataFlex 19.1 Studio here.
Demonstration – Setting up the workspace to use MySQL
- To setup a MySQL version of the workspace…
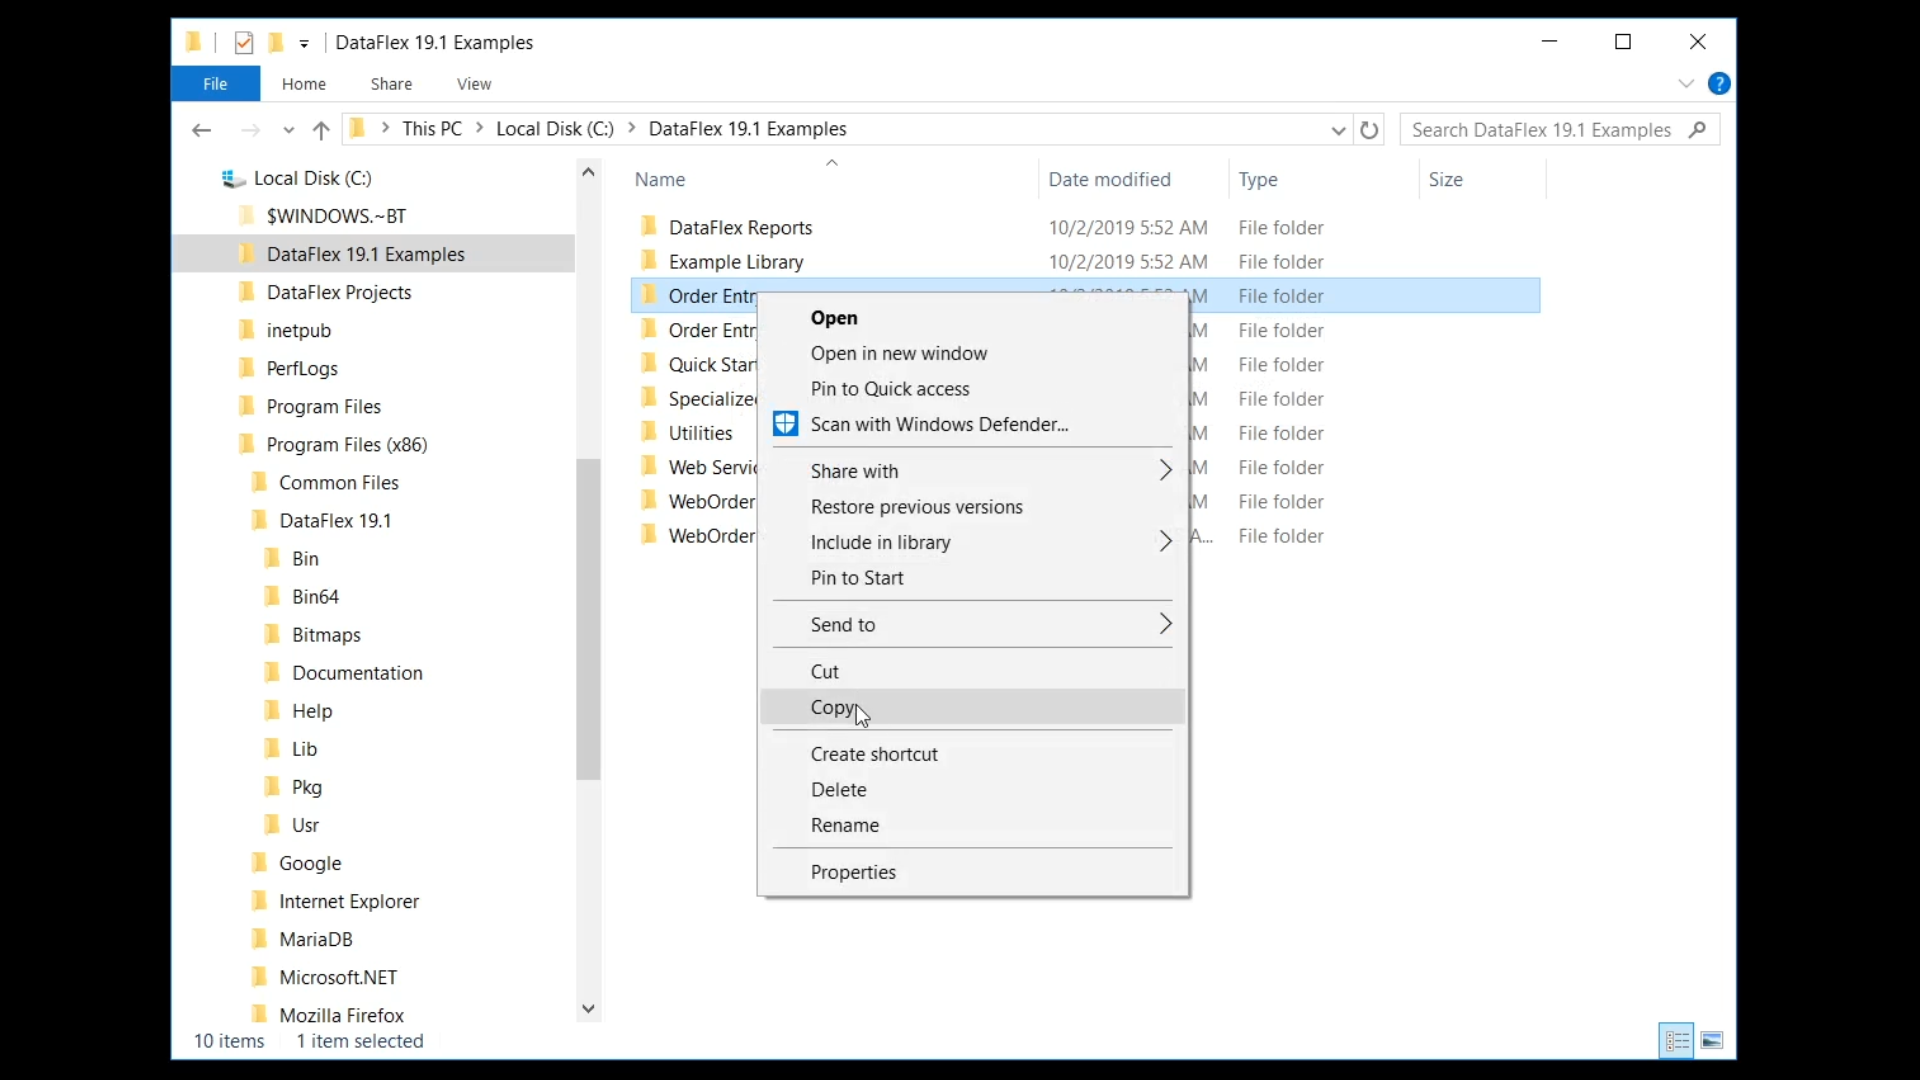
- From This PC > Local Disk (C:) > DataFlex 19.1 Examples right click on the ‘Order Entry’ folder, and select ‘Copy’
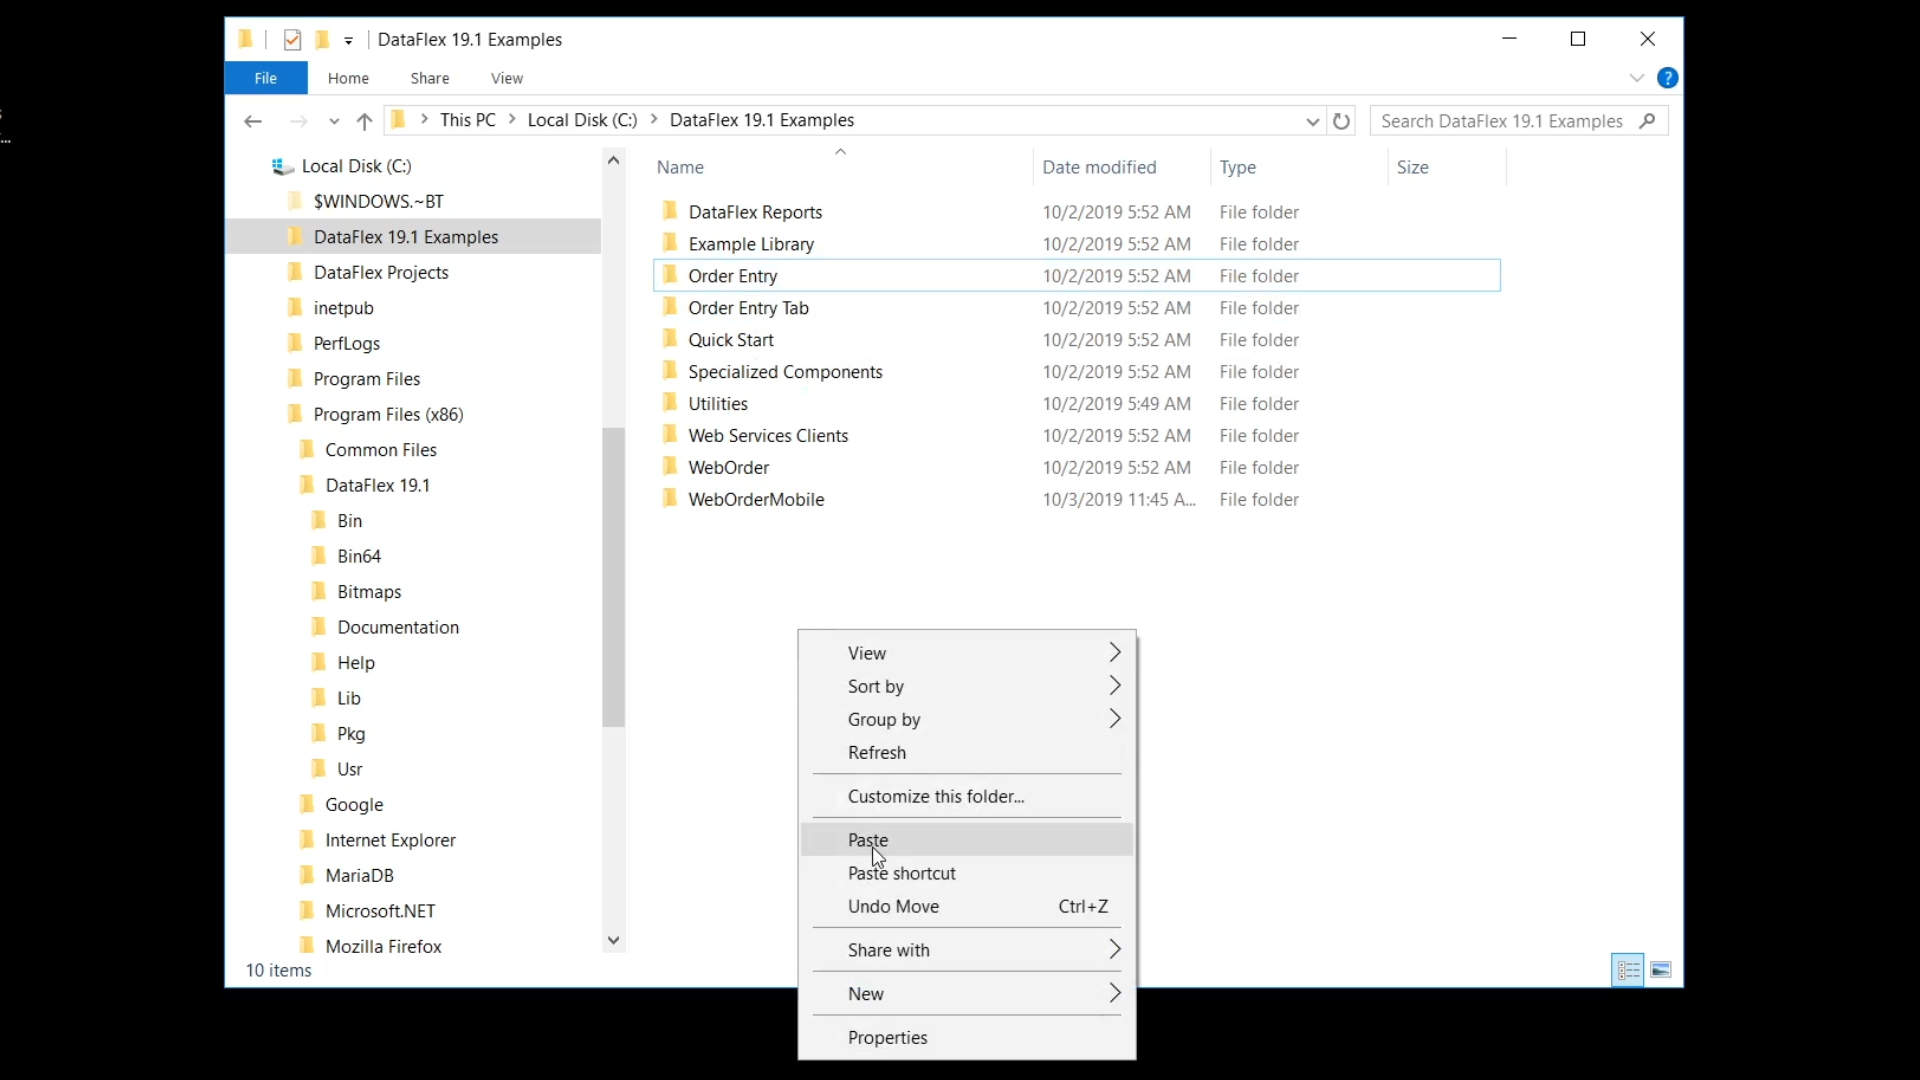
- Right click within the same directory and select ‘Paste’
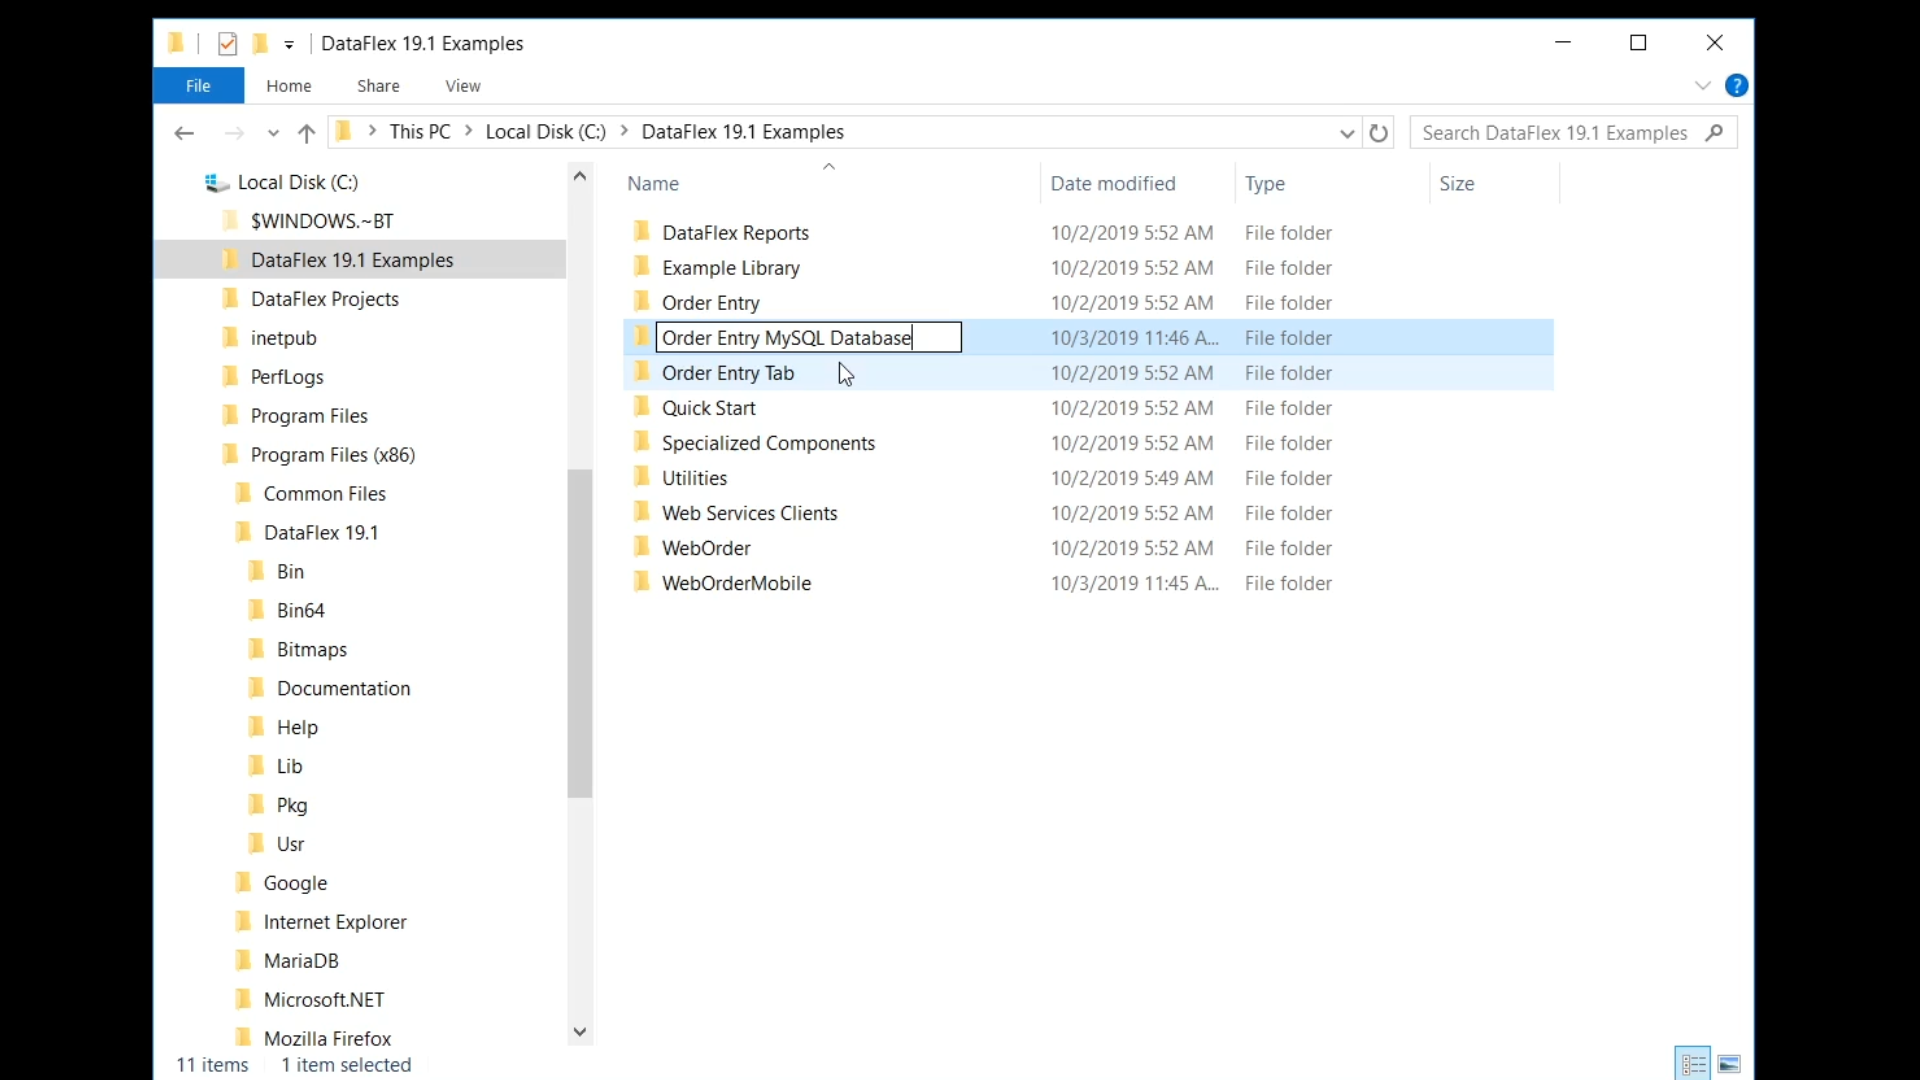
- Select ‘Order Entry – Copy’ to rename it to ‘Order Entry MySQL Database’
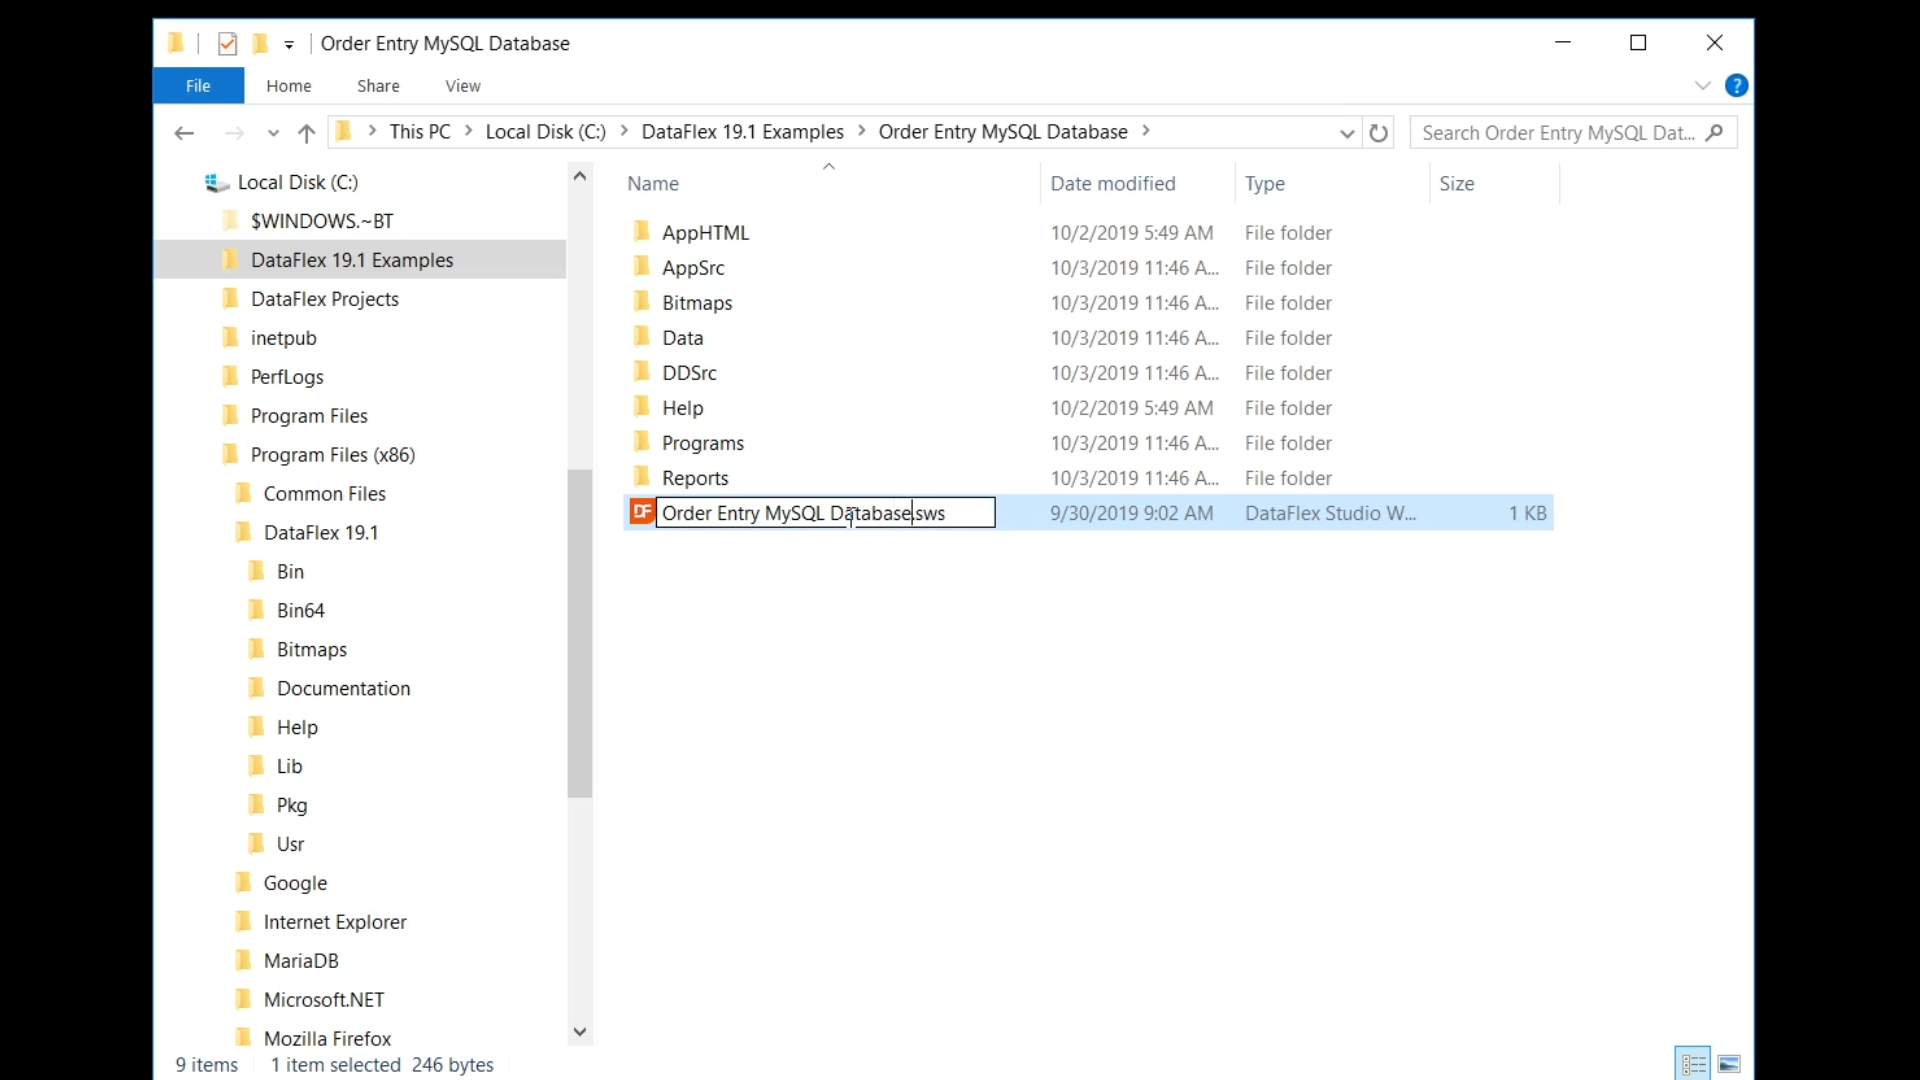
- Double click the renamed folder
- Select ‘Order Entry.sws’ file to rename it to ‘Order Entry MySQL Database.sws’
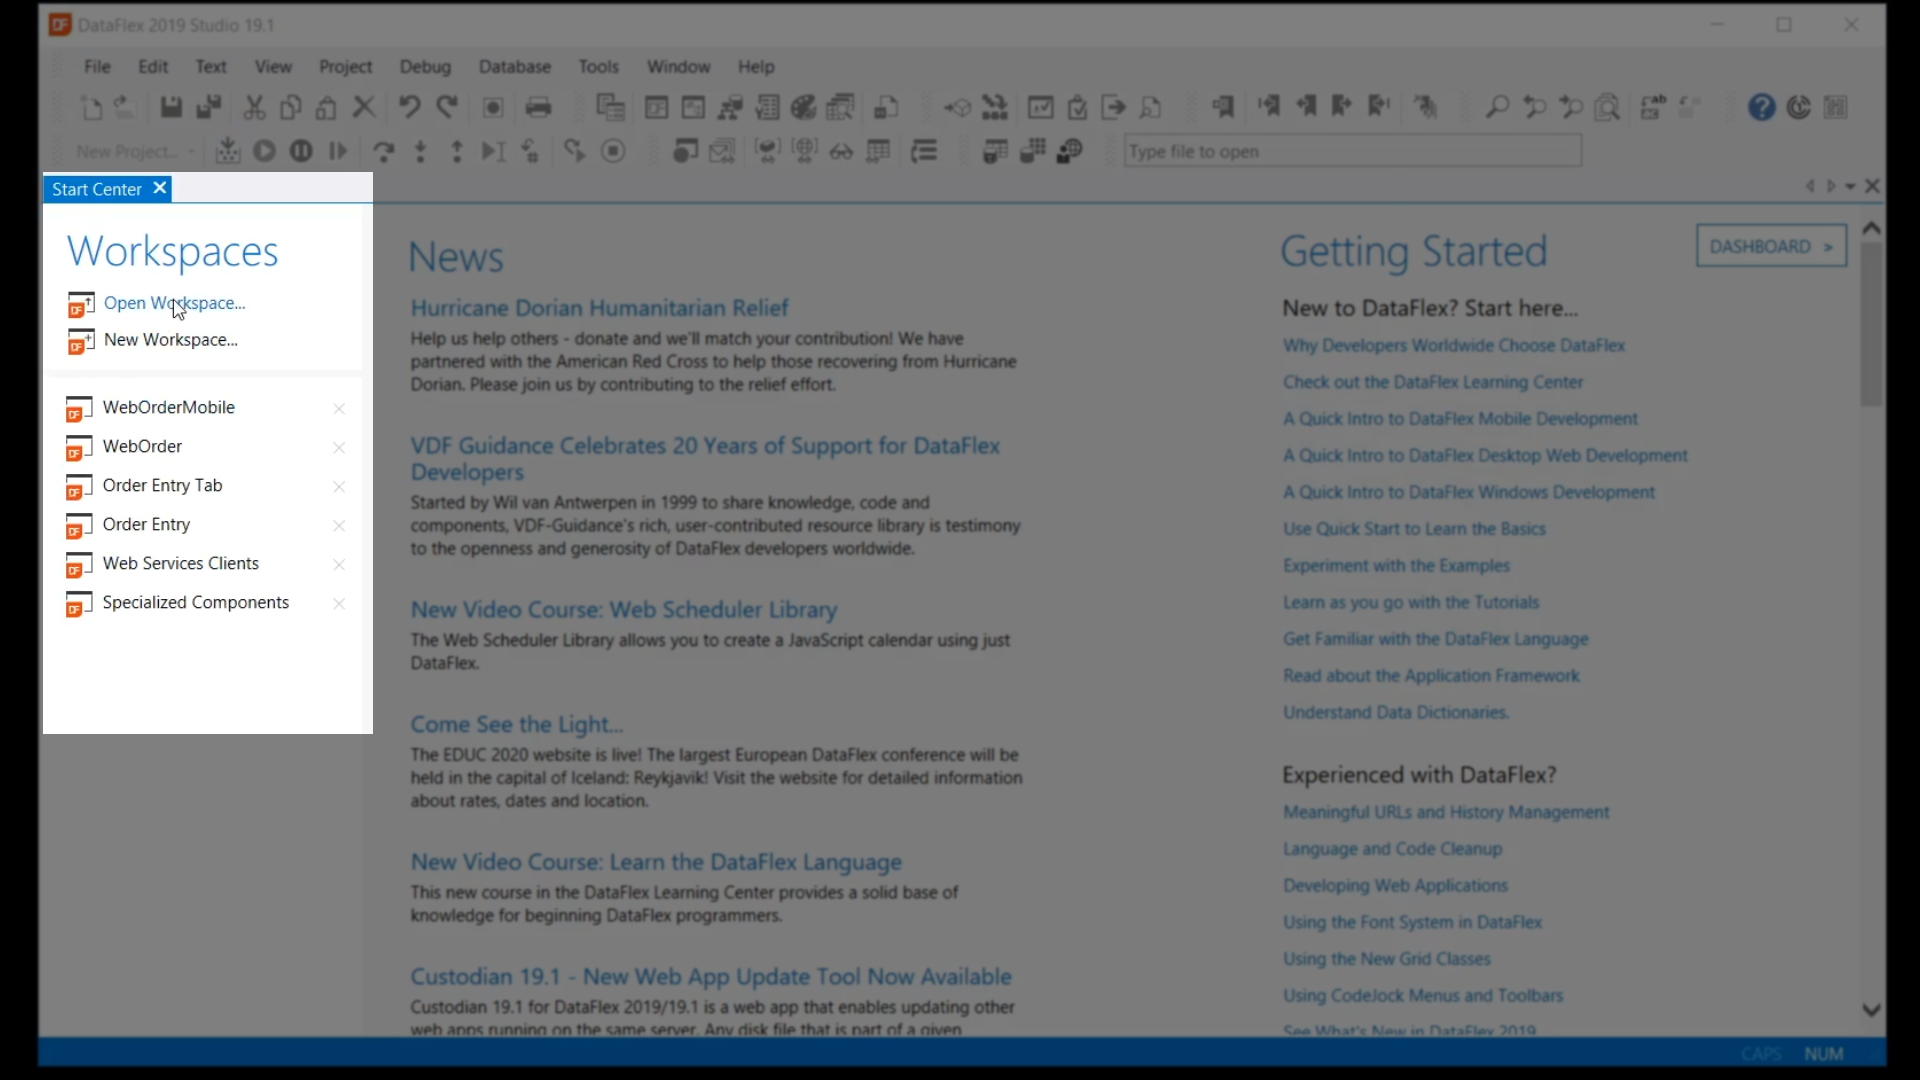
- Launch the DataFlex Studio
- Select ‘Open Workspace’ from the ‘Workspaces’ menu on the left
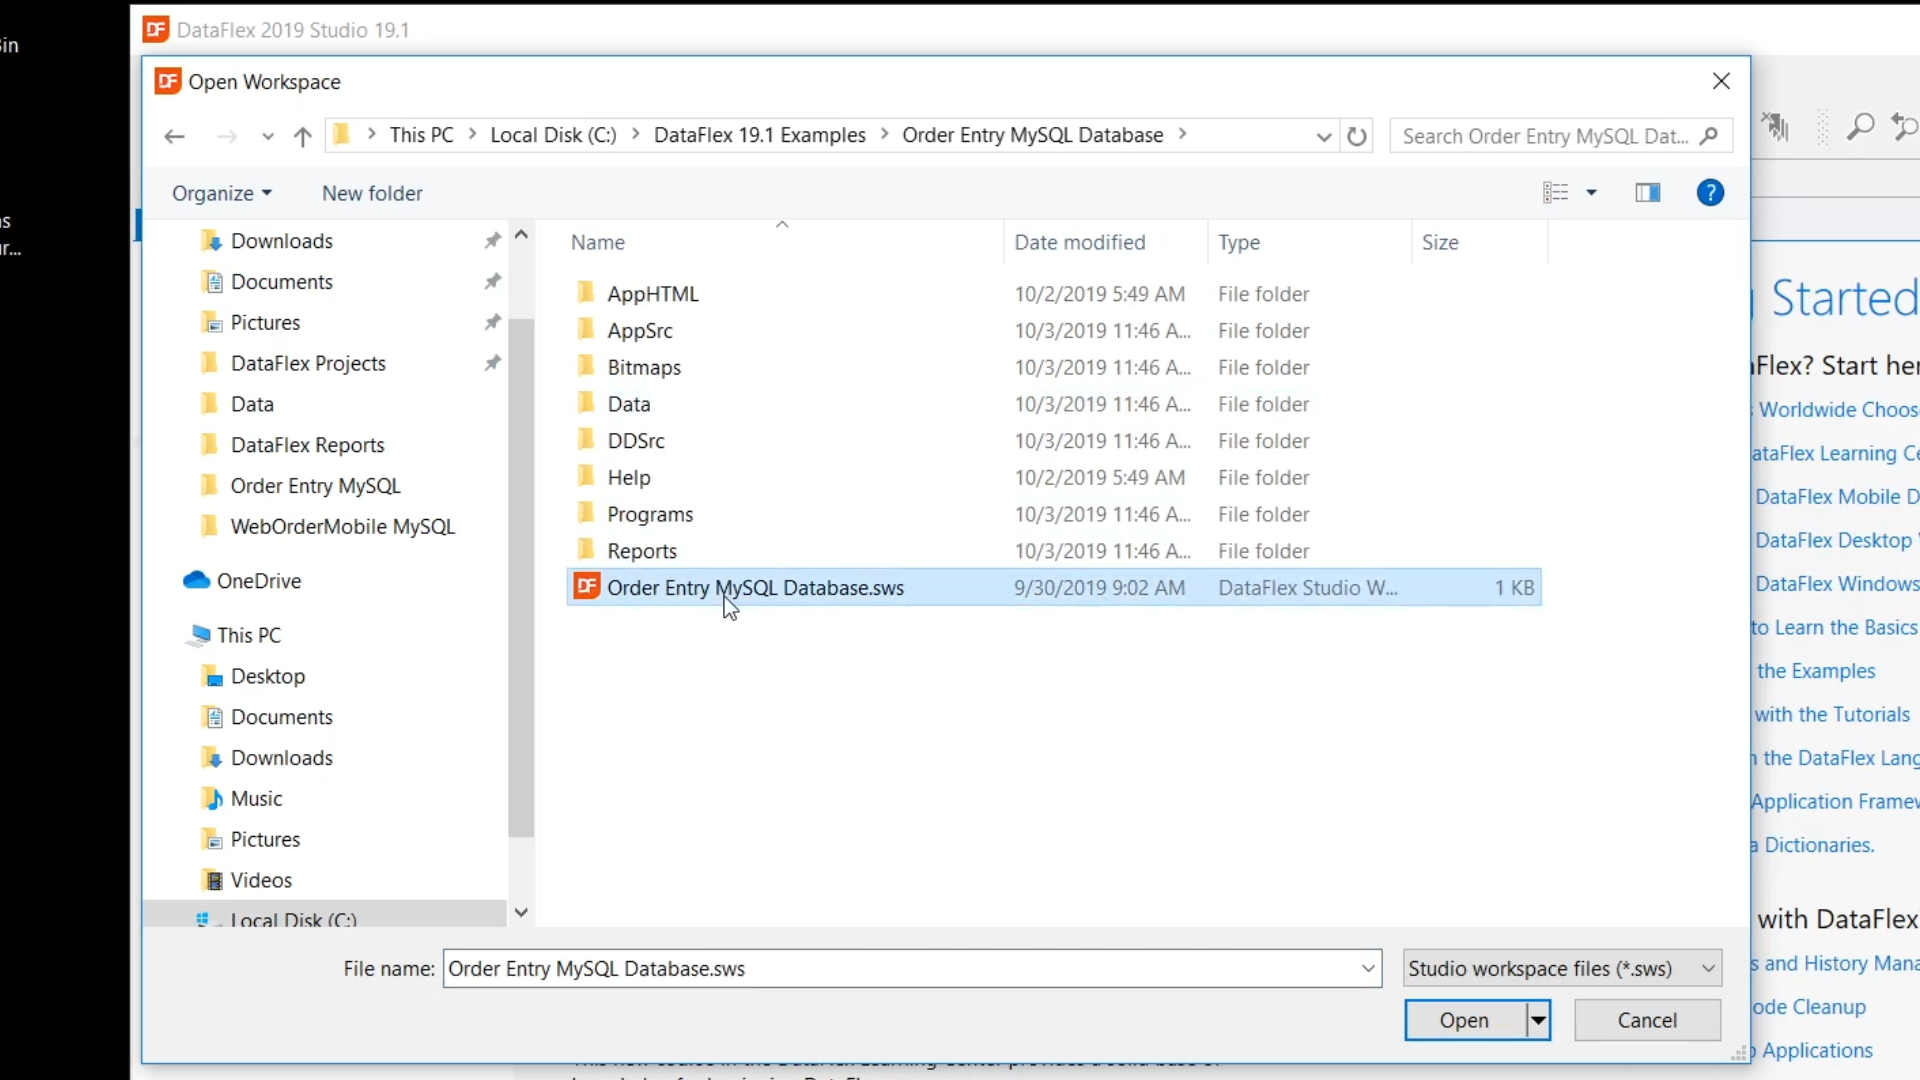
- Select ‘Order Entry MySQL Database’
- Select ‘Order Entry MySQL Database.sws,’ and click ‘Open.’
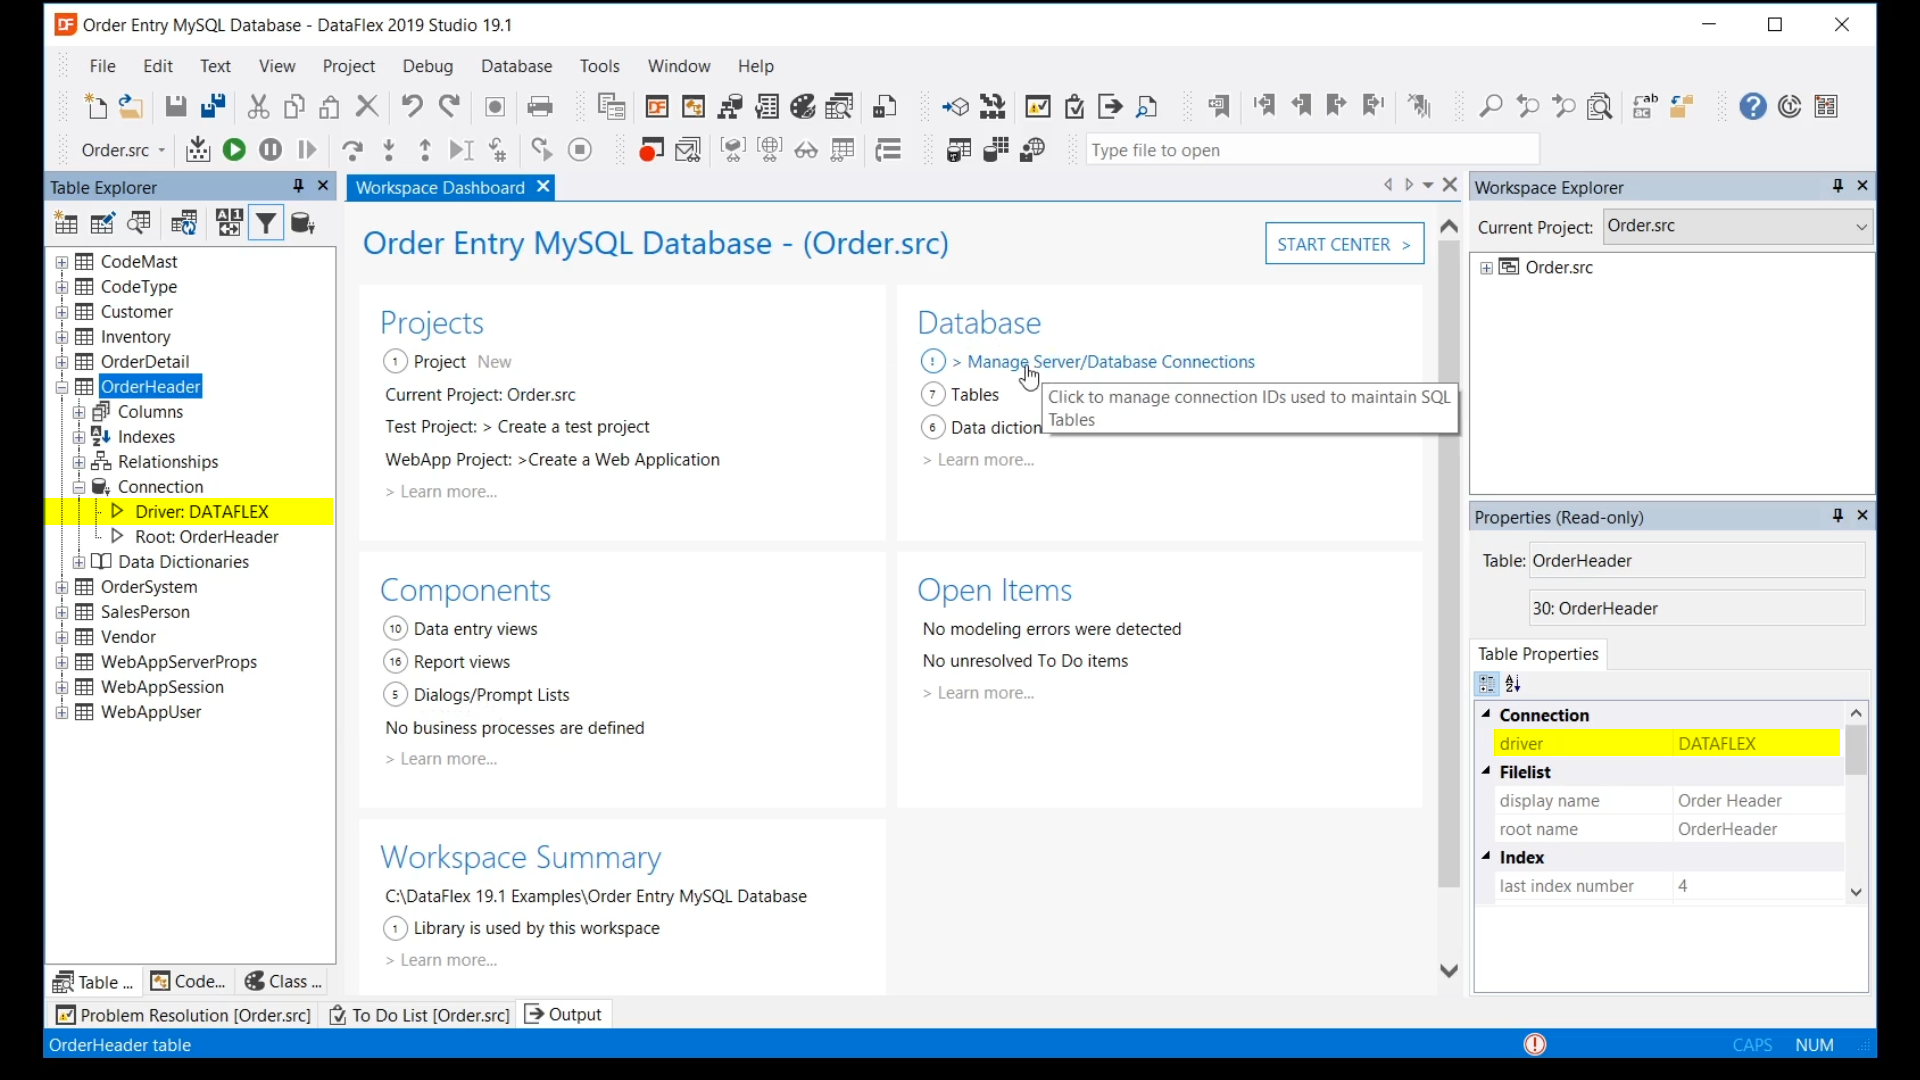
- Both in the Table Explorer and the Properties panel the connections are shown as DataFlex
- To configure the connection…
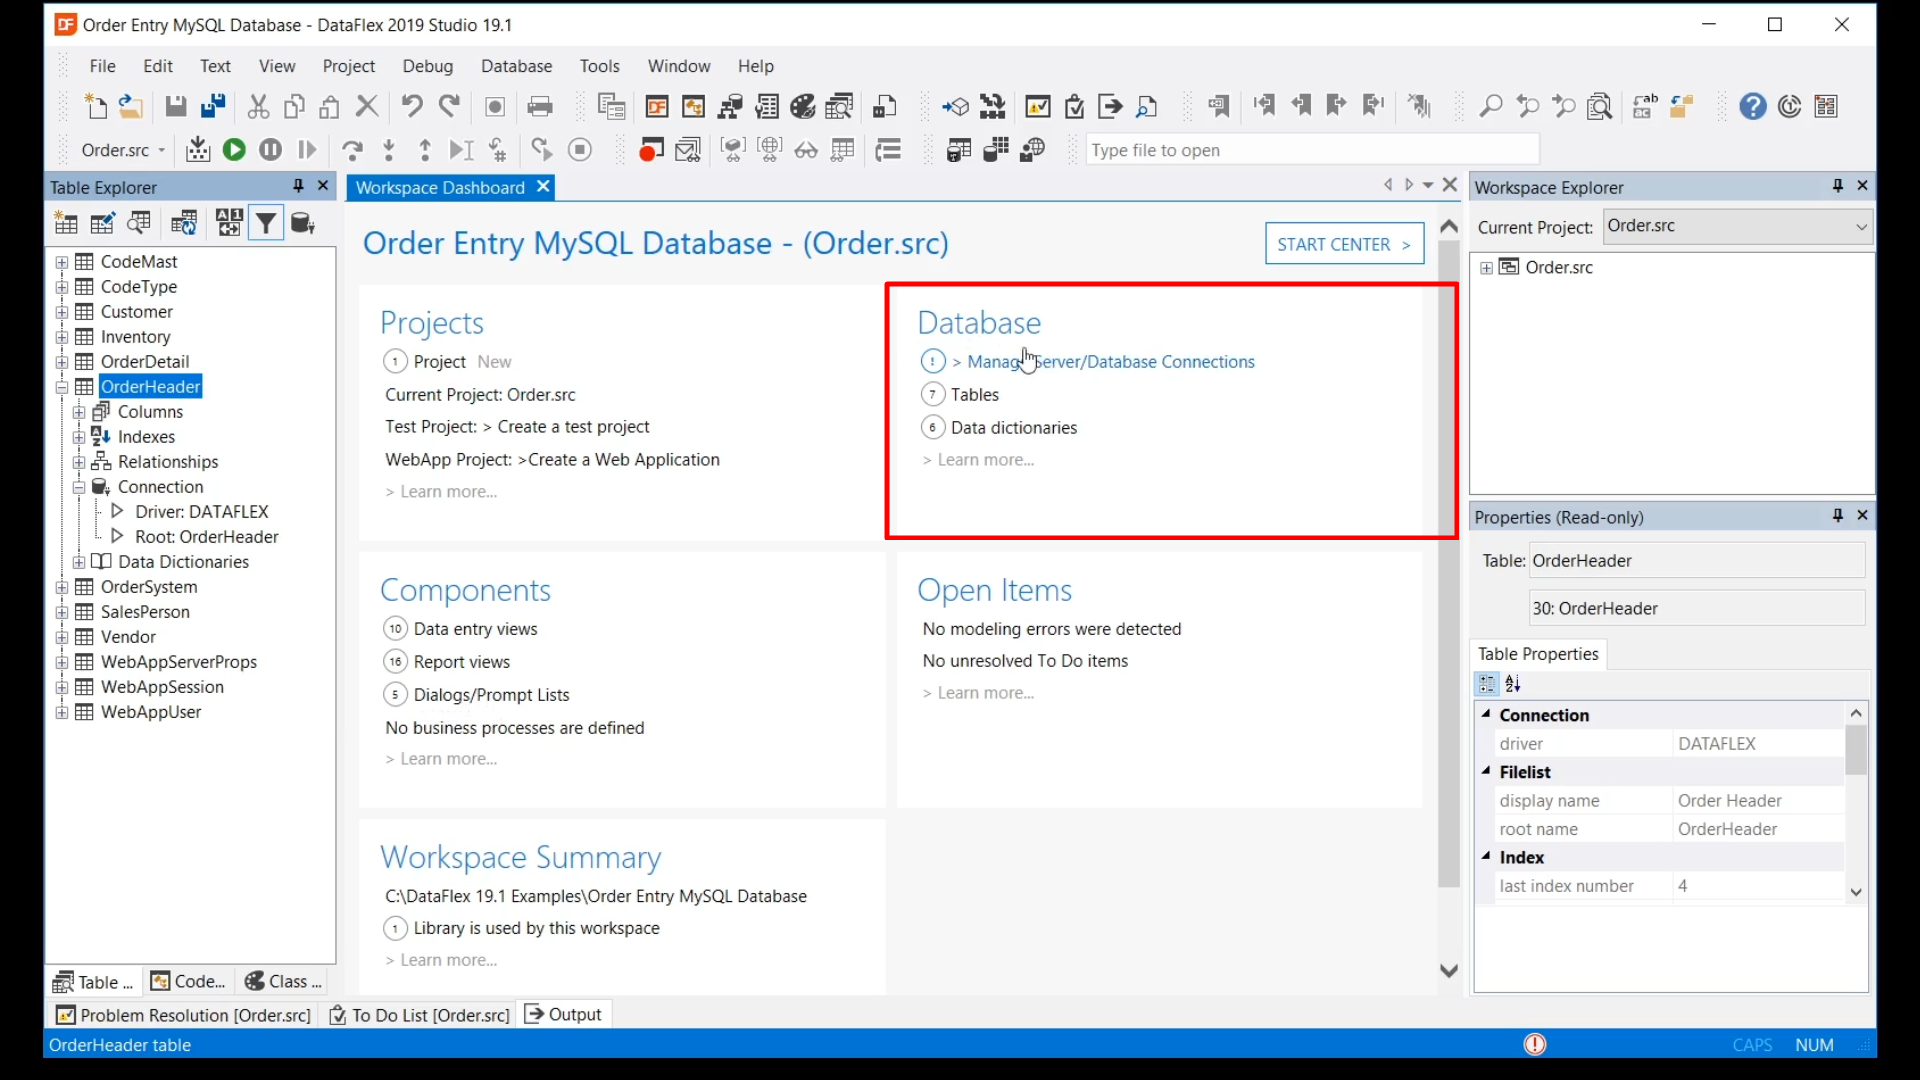
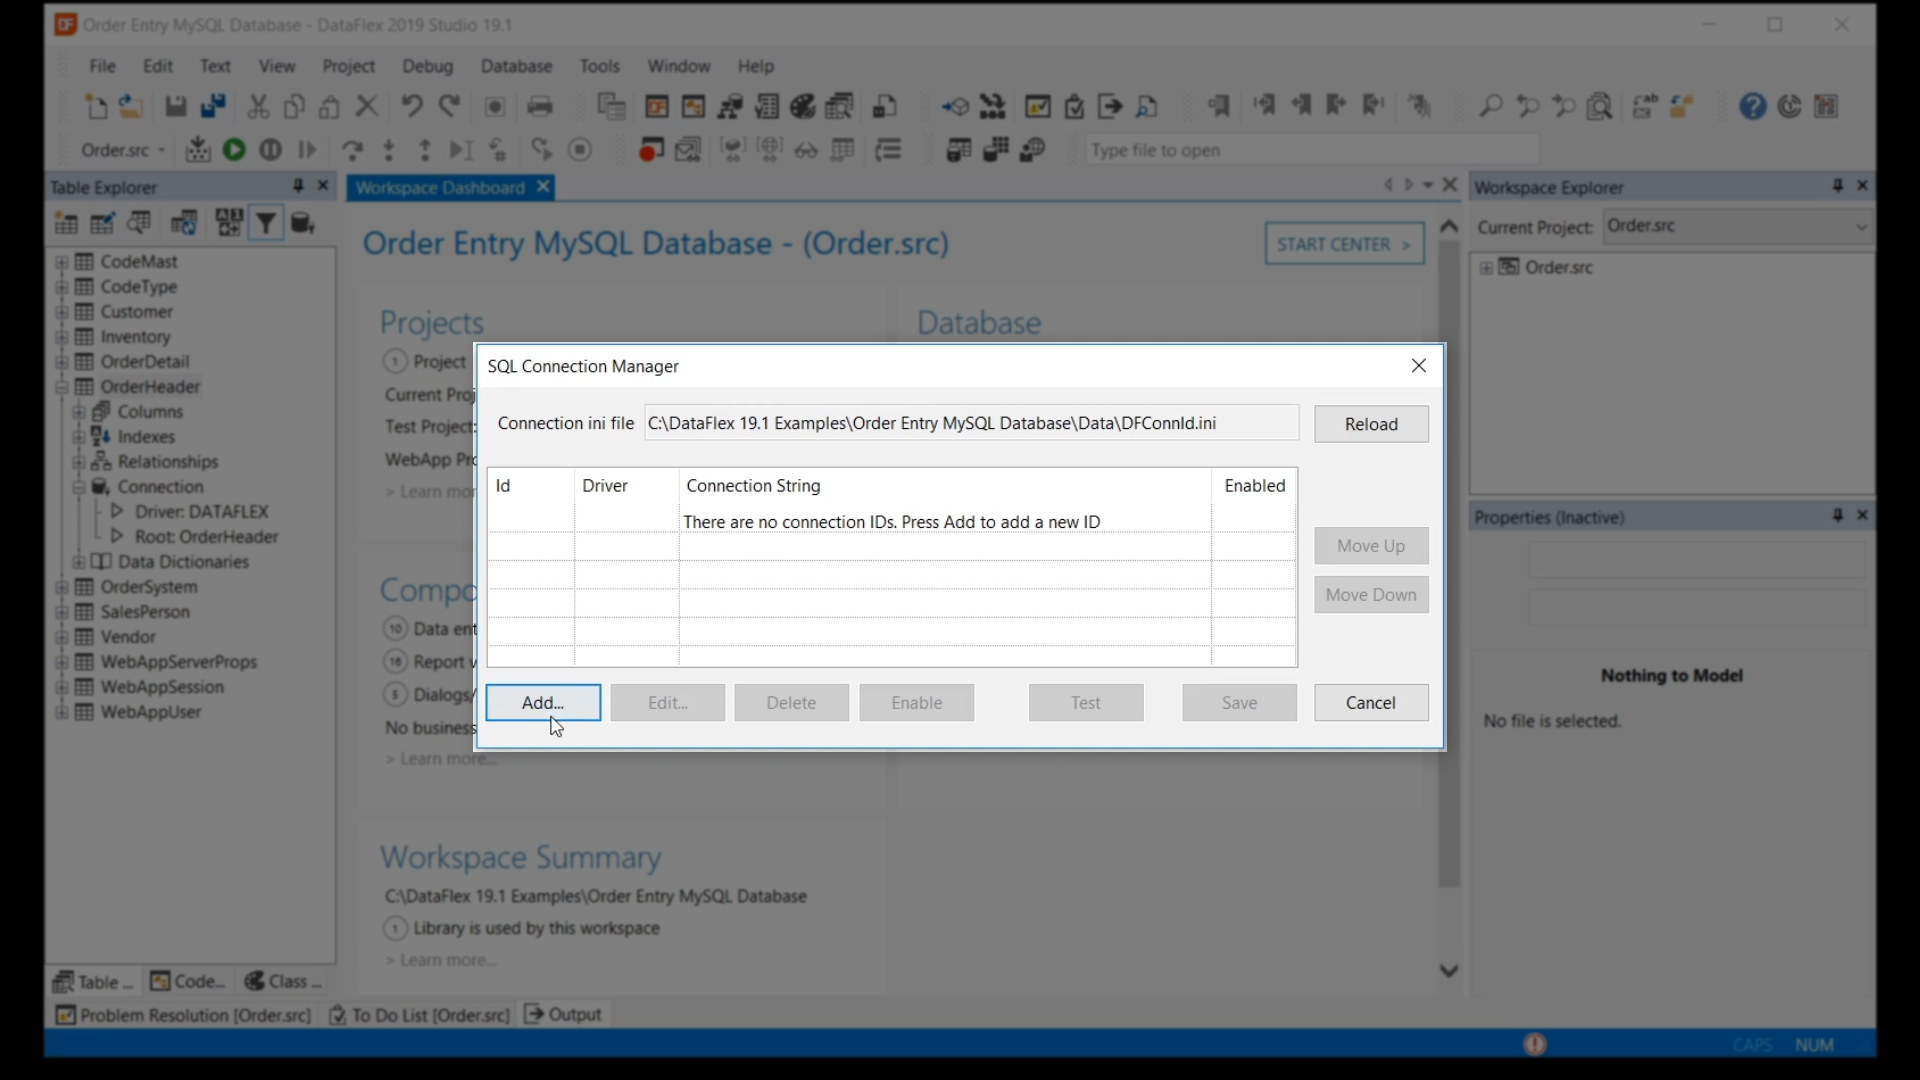
- Click on the first item in the Database section of the dashboard, ‘> Manage Server/Database Connections’
- Click on ‘Add’
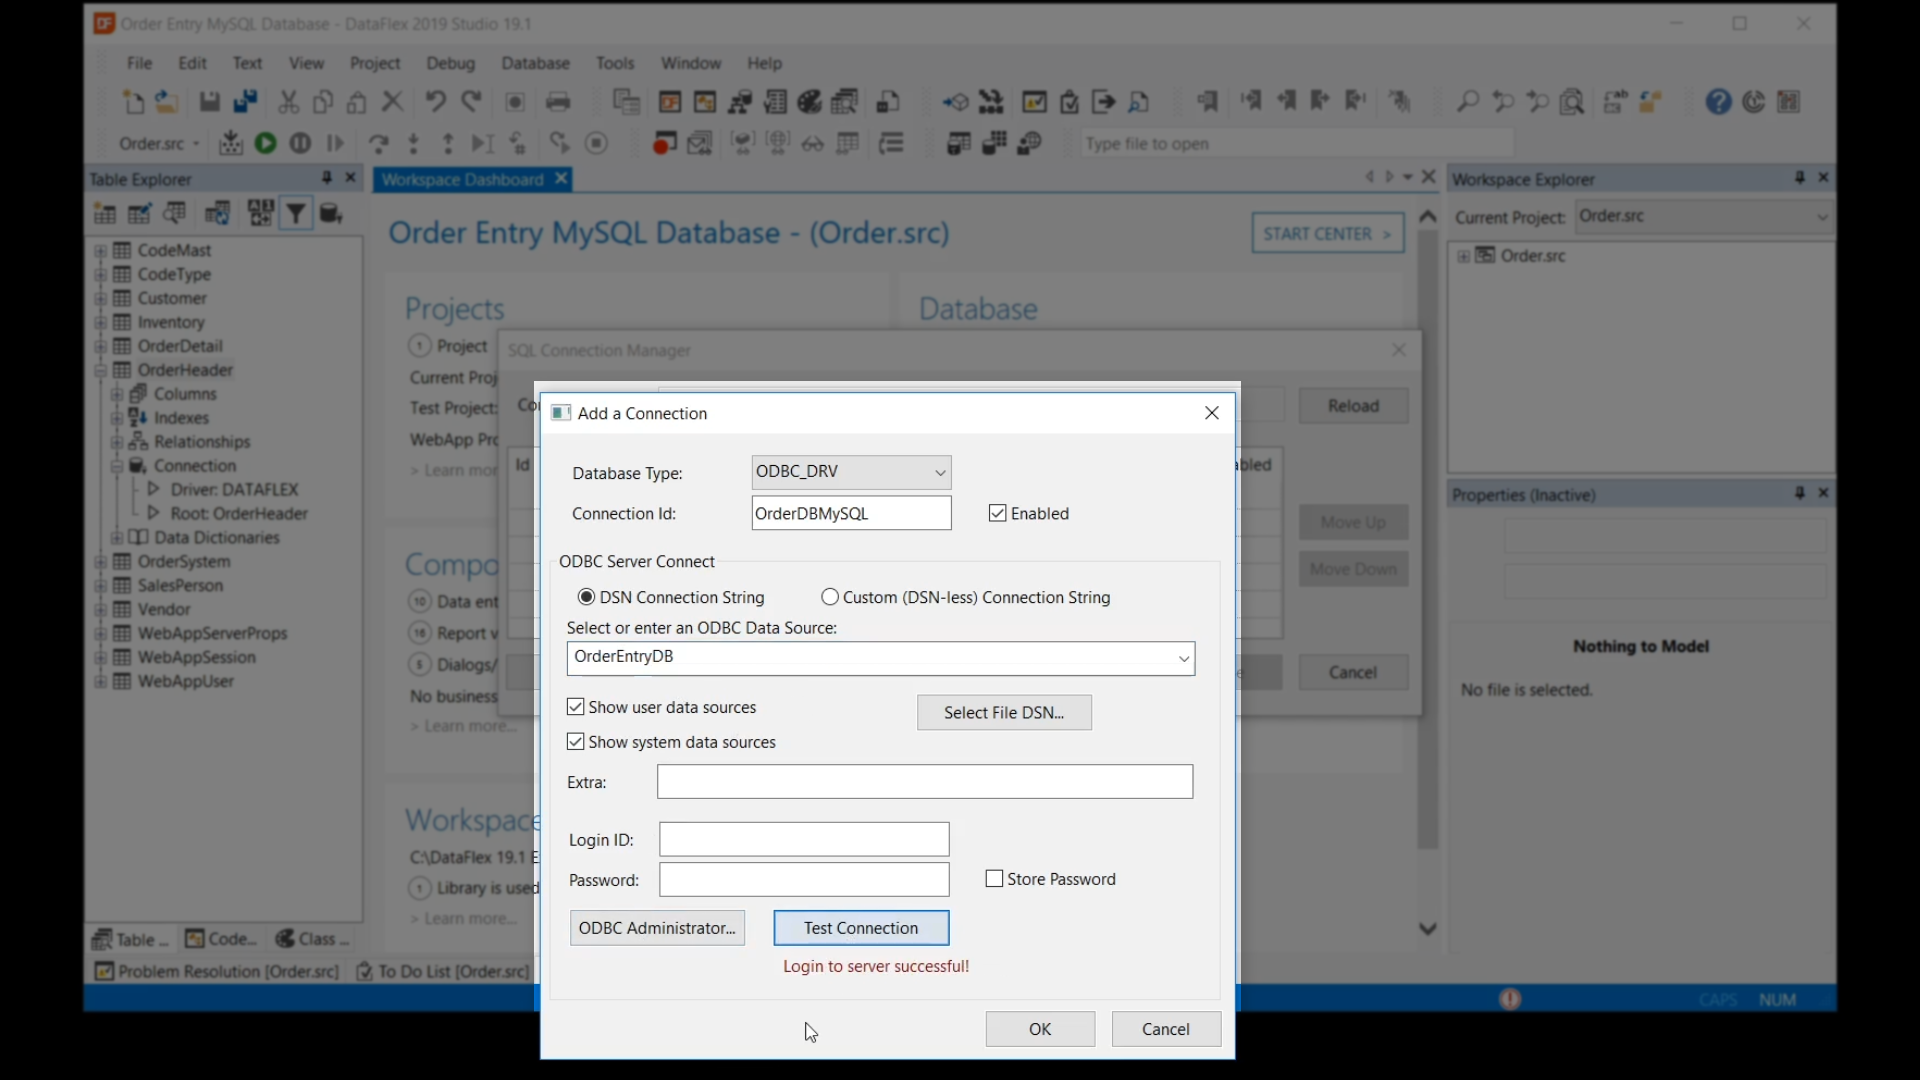
- Select ‘ODBC_DRV’ from the ‘Database Type’ pulldown menu
- Enter and ID name into ‘Connection ID,’ “OrderDBMySQL”
- Click ‘ODBC Administrator’ to view that the DSN is listed, ‘OrderEntryDB’
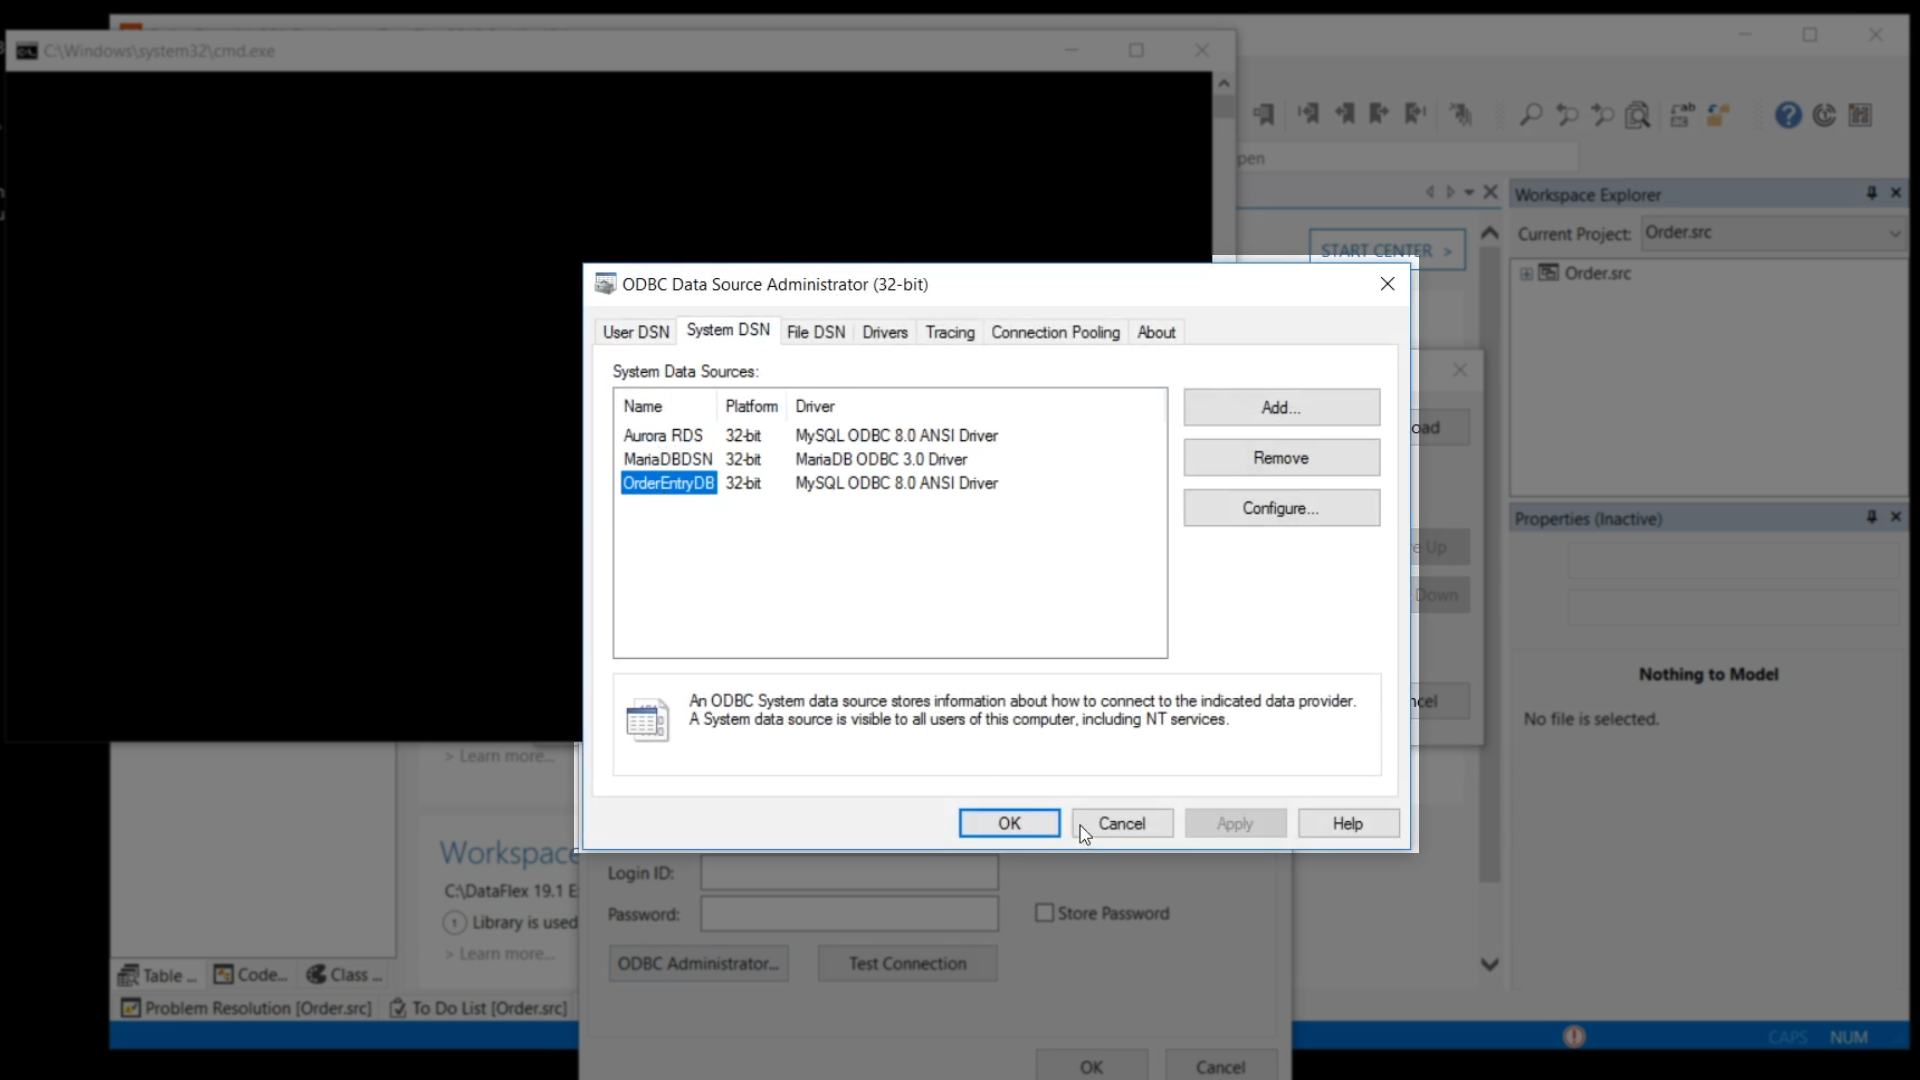
- Check the box for ‘Show system data sources’
- Select ‘OrderEntryDB,MySAL ODBC 8.0 ANSI Driver’ from the ‘Select or enter and ODBC Data Source’ pull down menu
- Click ‘Test Connection’ to confirm the setup and click ‘Ok’
- The connection is ready. Click ‘Save.’ The workspace is now configured.
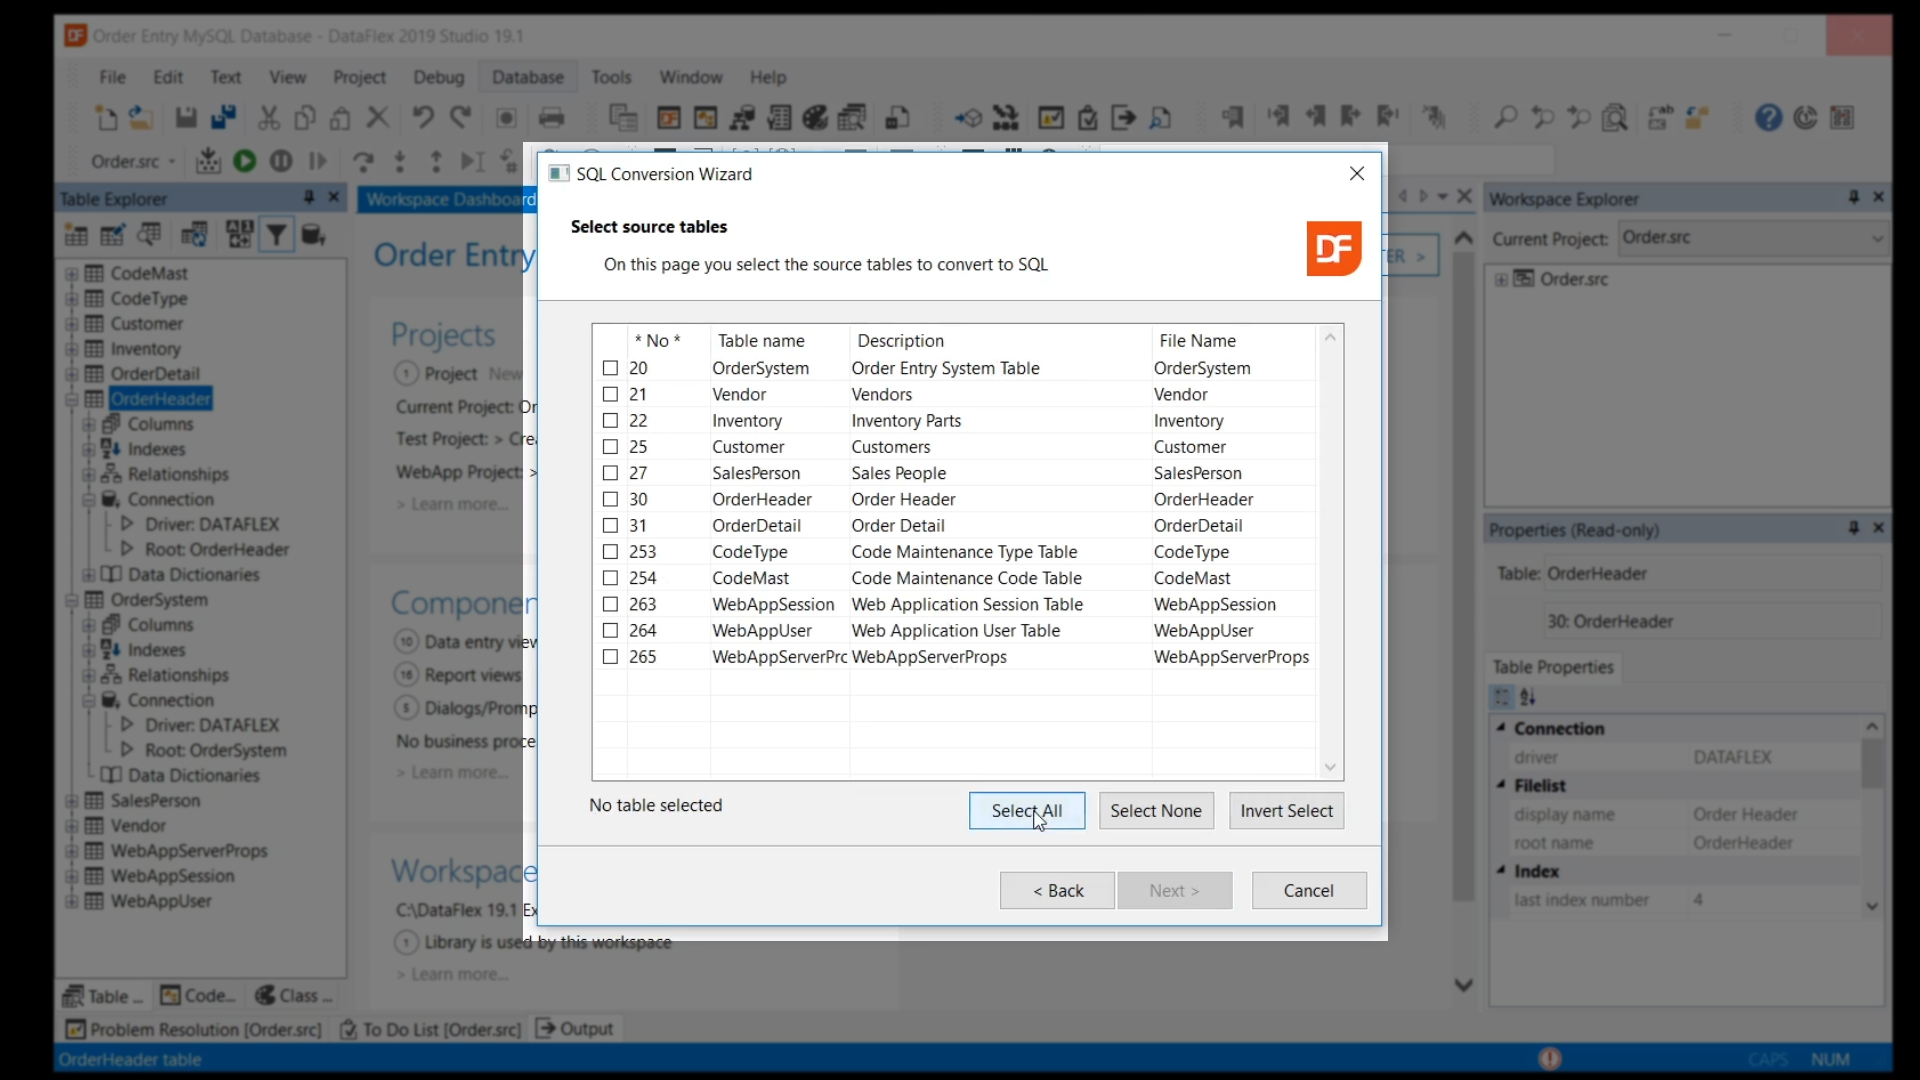
- To convert the DataFlex table files that are still in the workspace to MySQL…
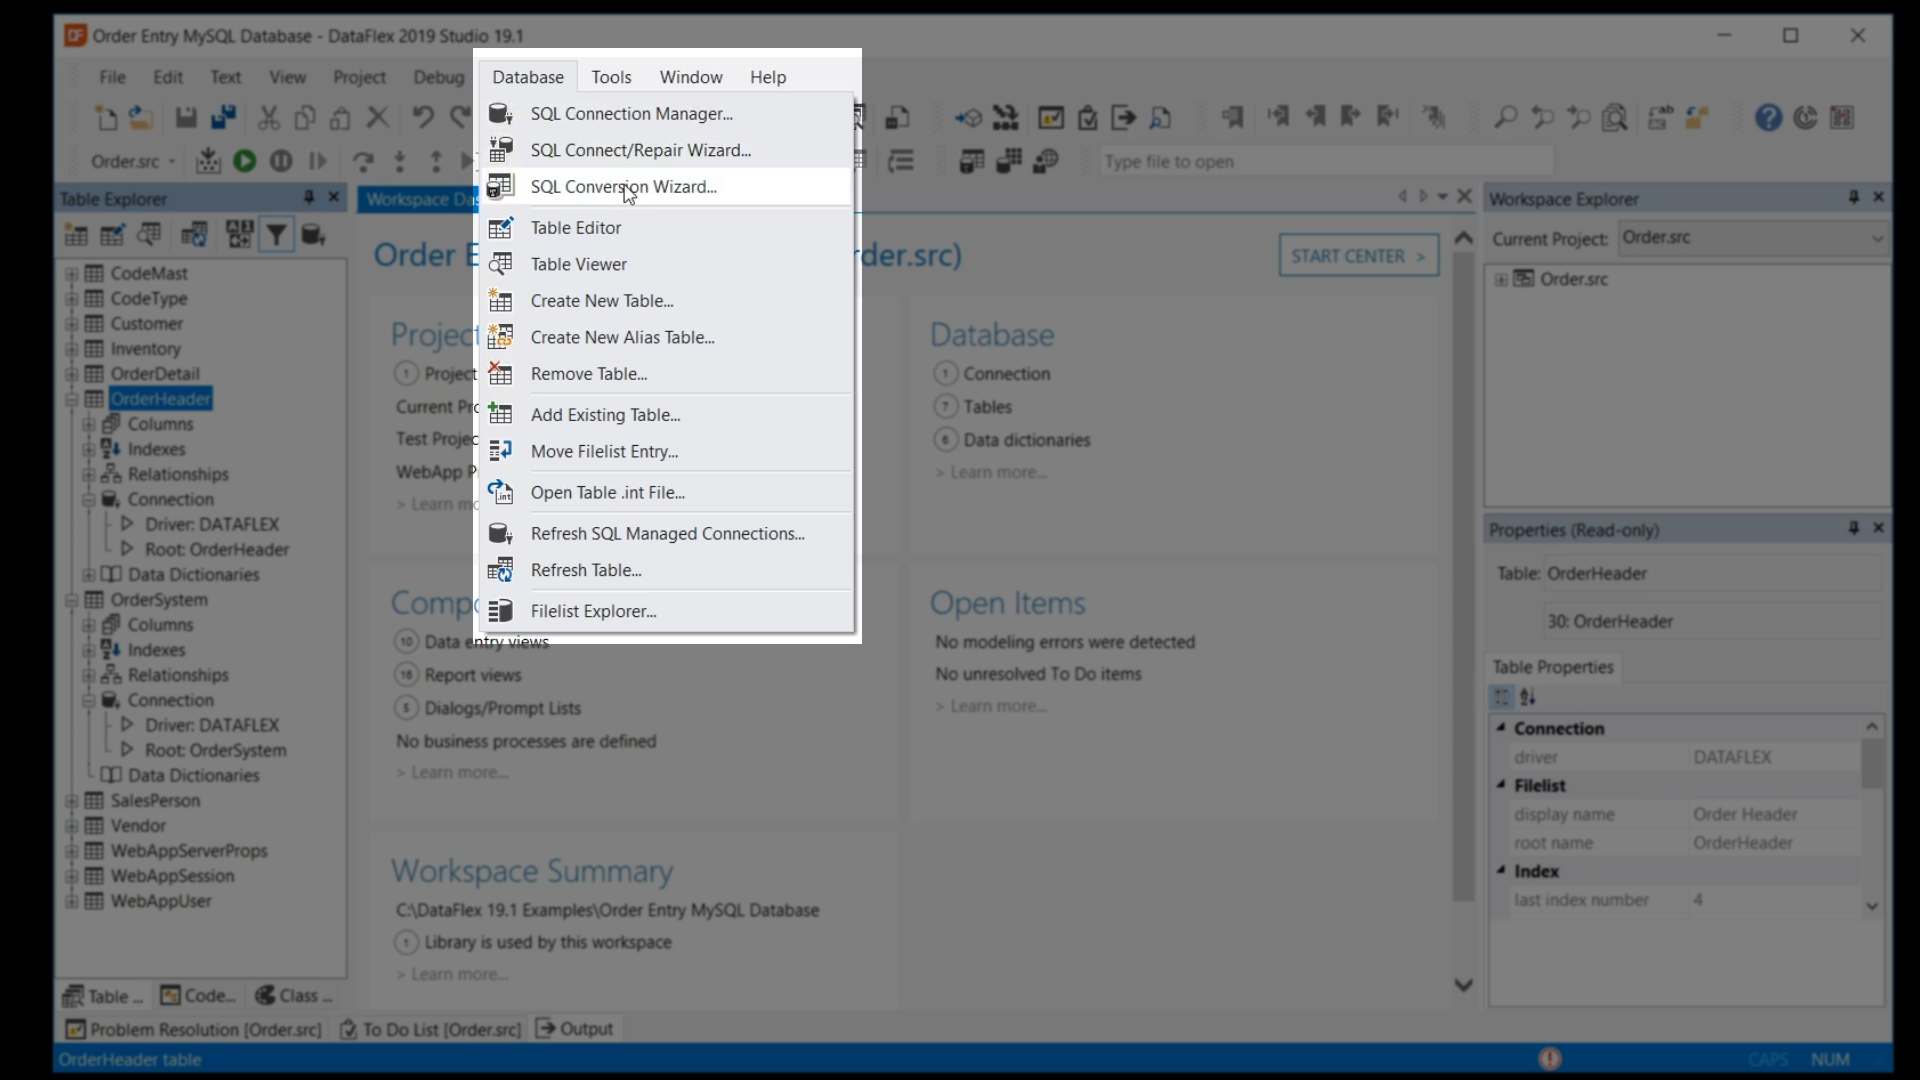
- Select ‘Database’ from the top menu and click on ‘SQL Conversion Wizard’
- Click ‘Next’ three times in the wizard to keep the defaults for those screens
- All of the tables shown for the workspace need to be converted, so click ‘Select All’ and then ‘Next’ to start the conversion
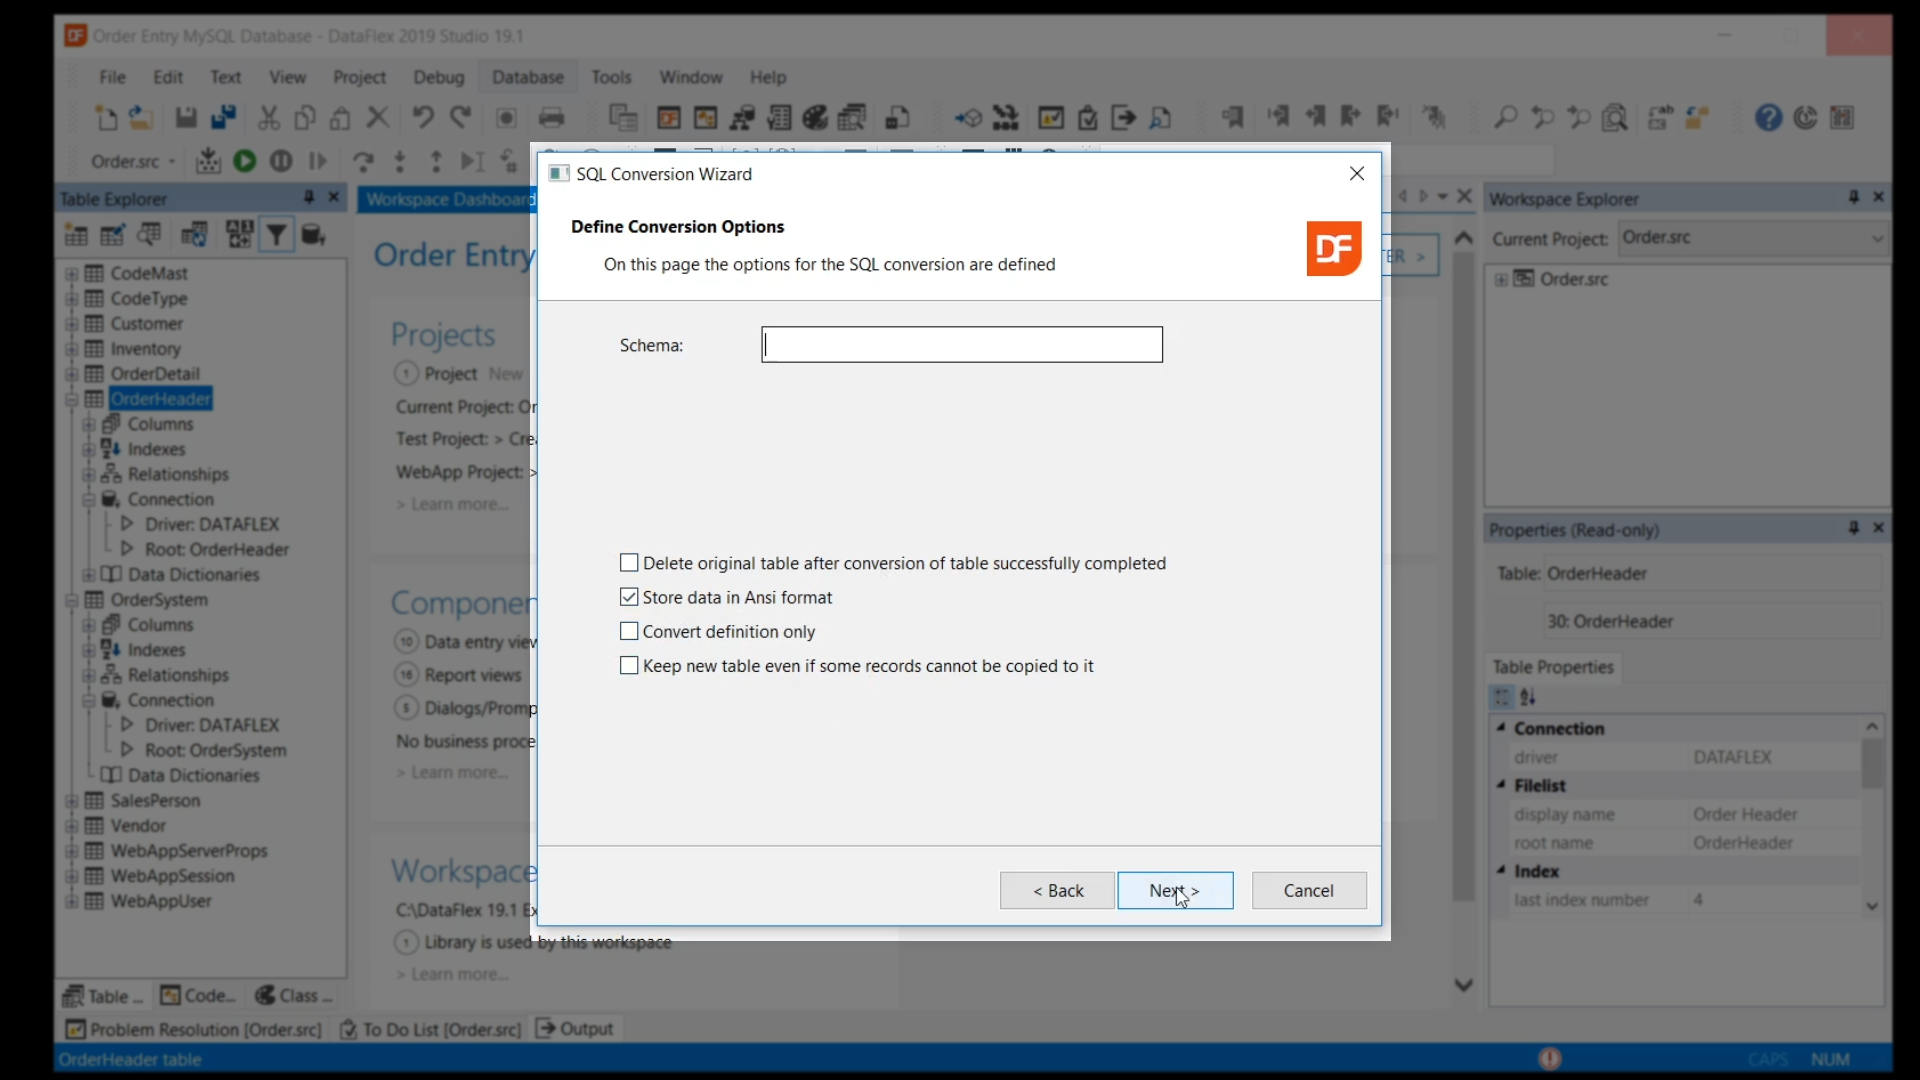
- Keep the default to ‘Detect and Assign primary keys (recommended)’ and click ‘Next’
- Schema does not apply for converting to MySQL, so the ‘Schema’ field is to be left blank, click ‘Next’ three times and then ‘Finish’ after the Wizard has completed
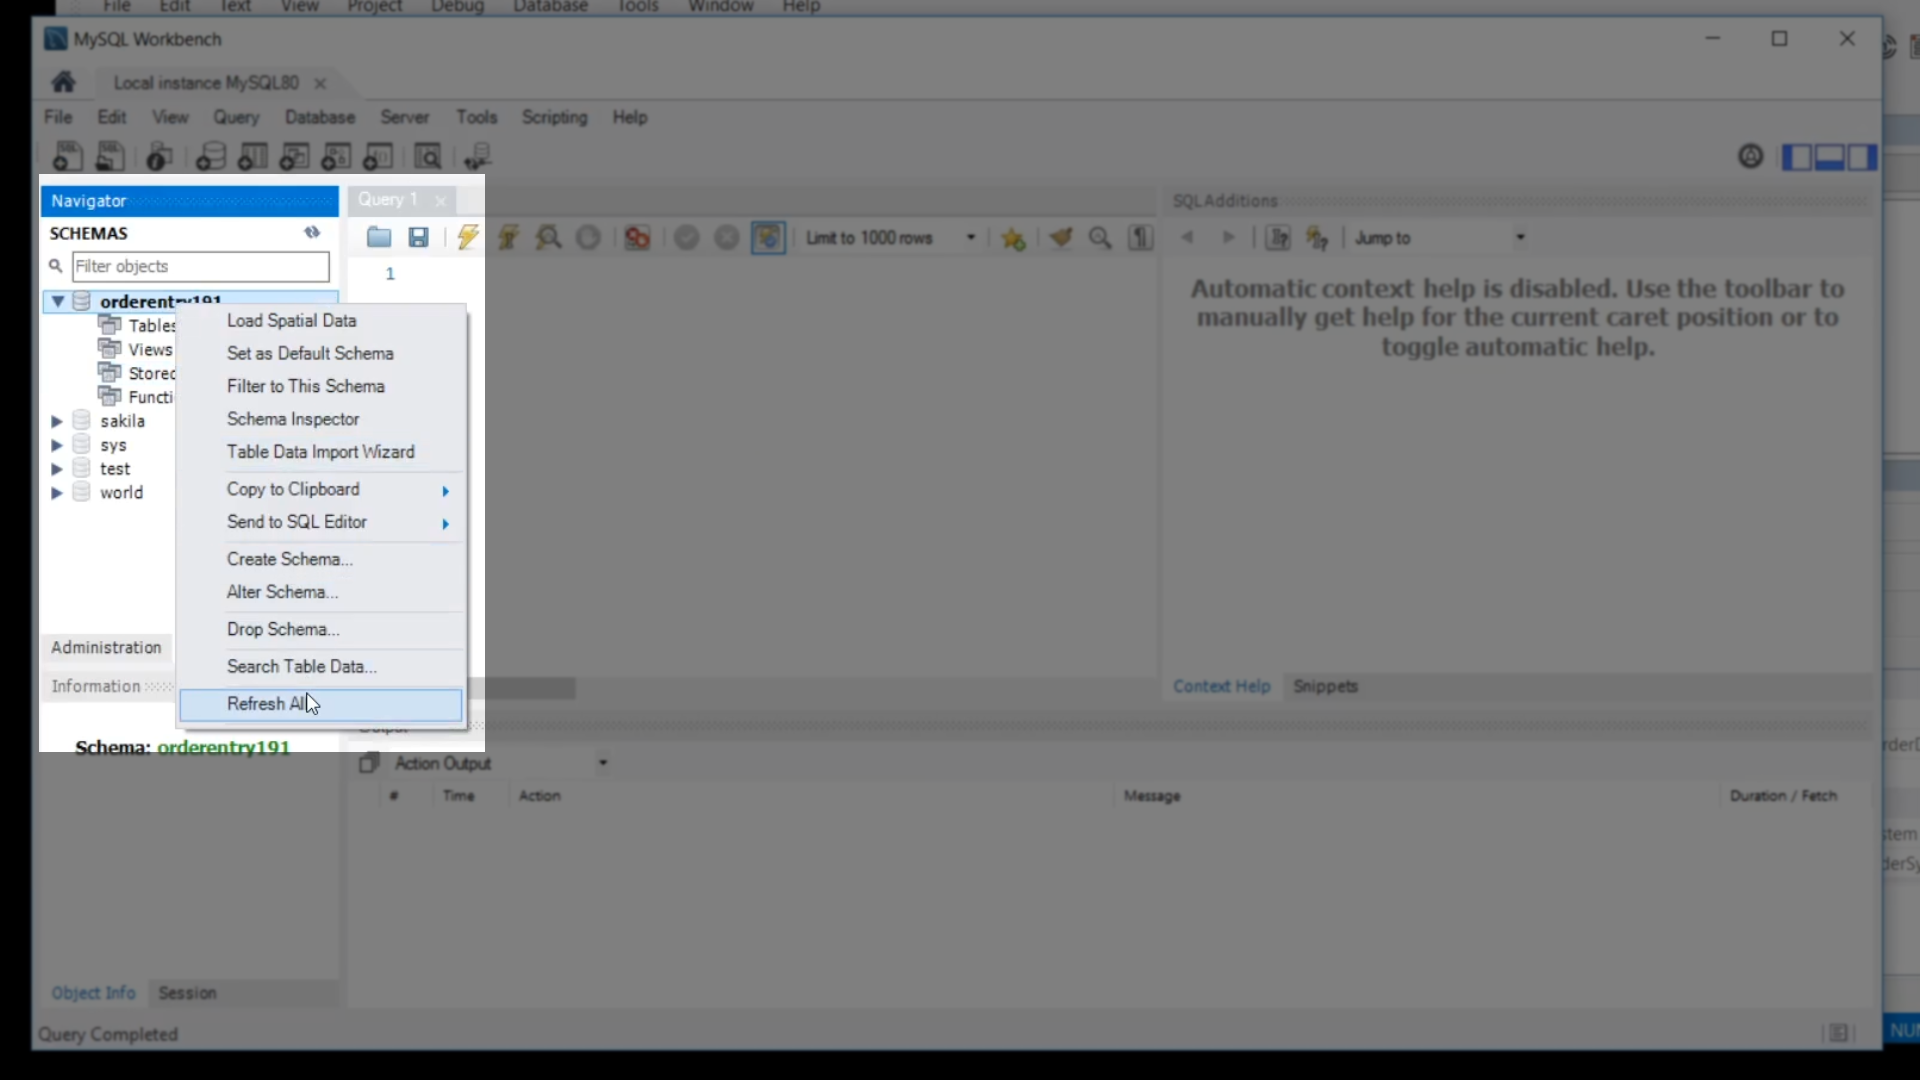
- From the MySQL Workbench, right click on ‘orderentry191,’ and select ‘Refresh All’ to do a refresh to show that all the tables are now stored in MySQL
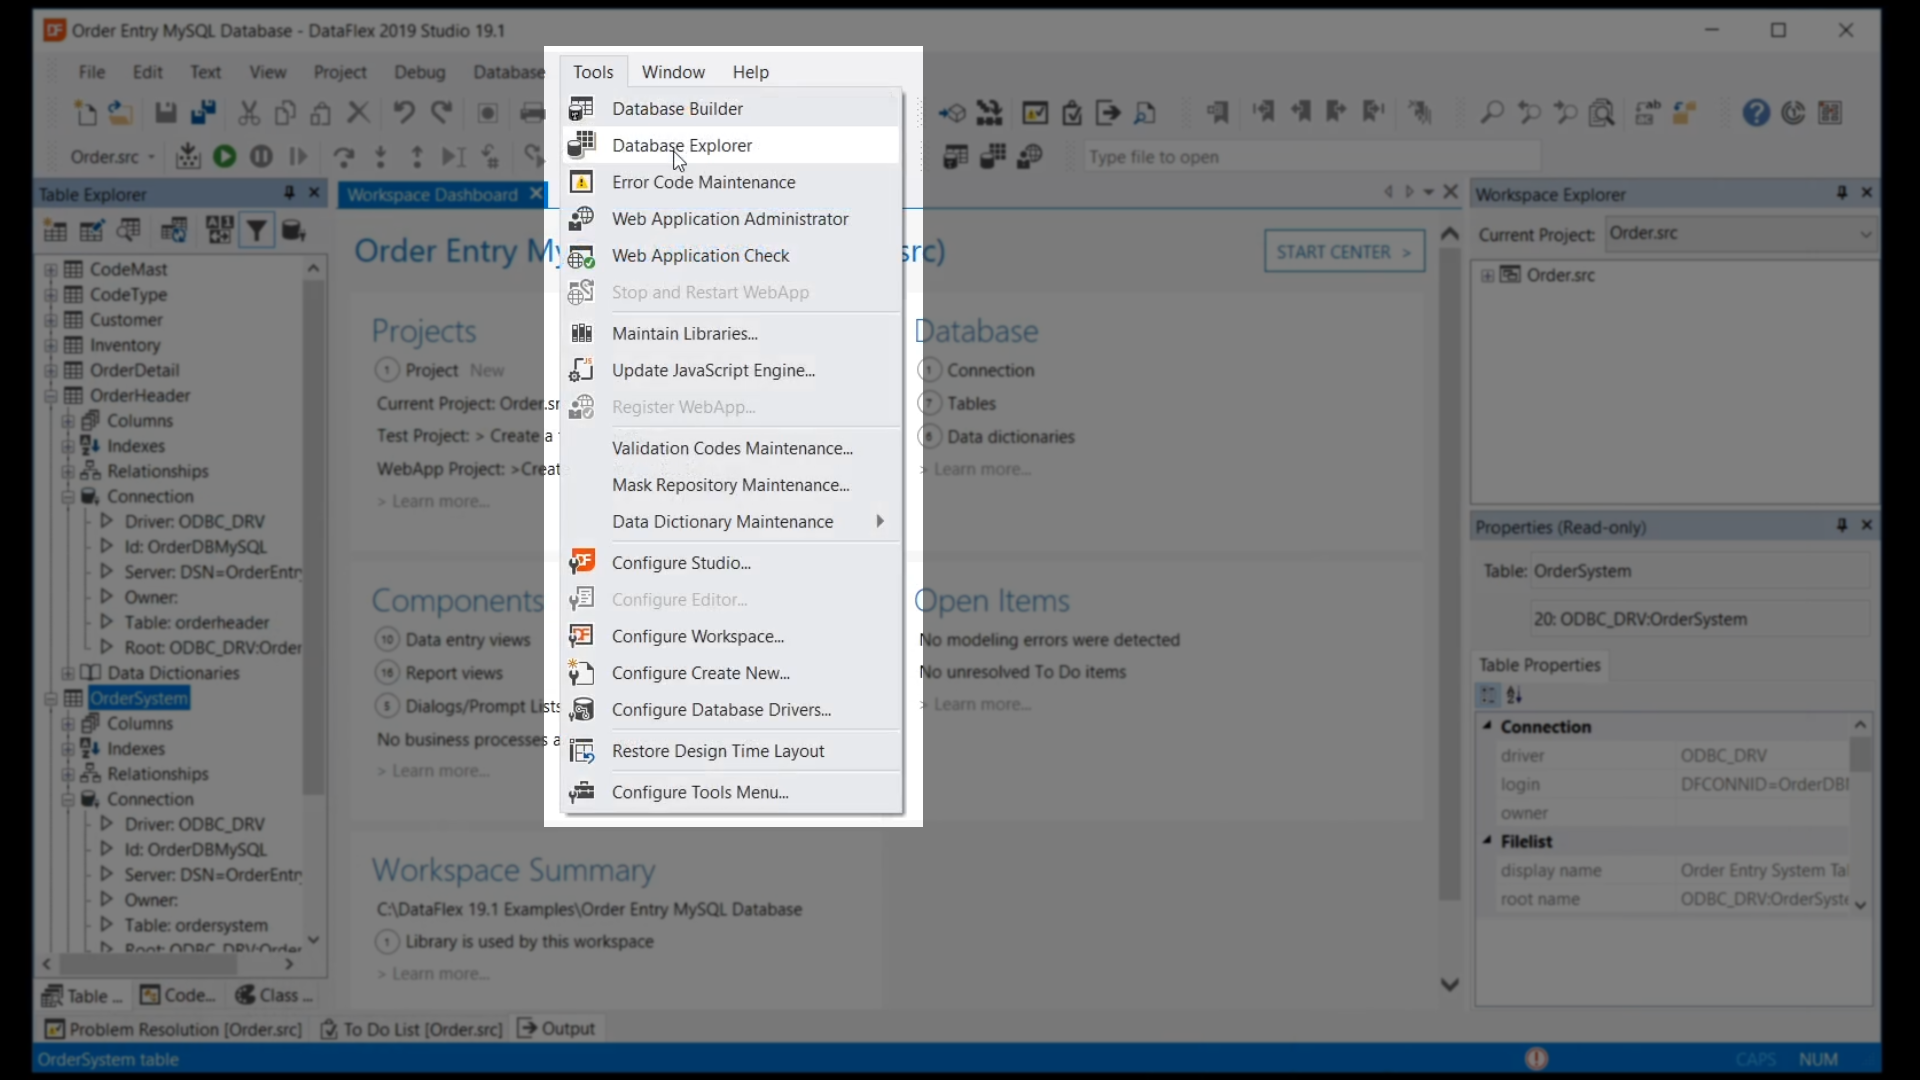
- From the DataFlex Studio, select ‘Tools’ from the top menu and then ‘Database Explorer’
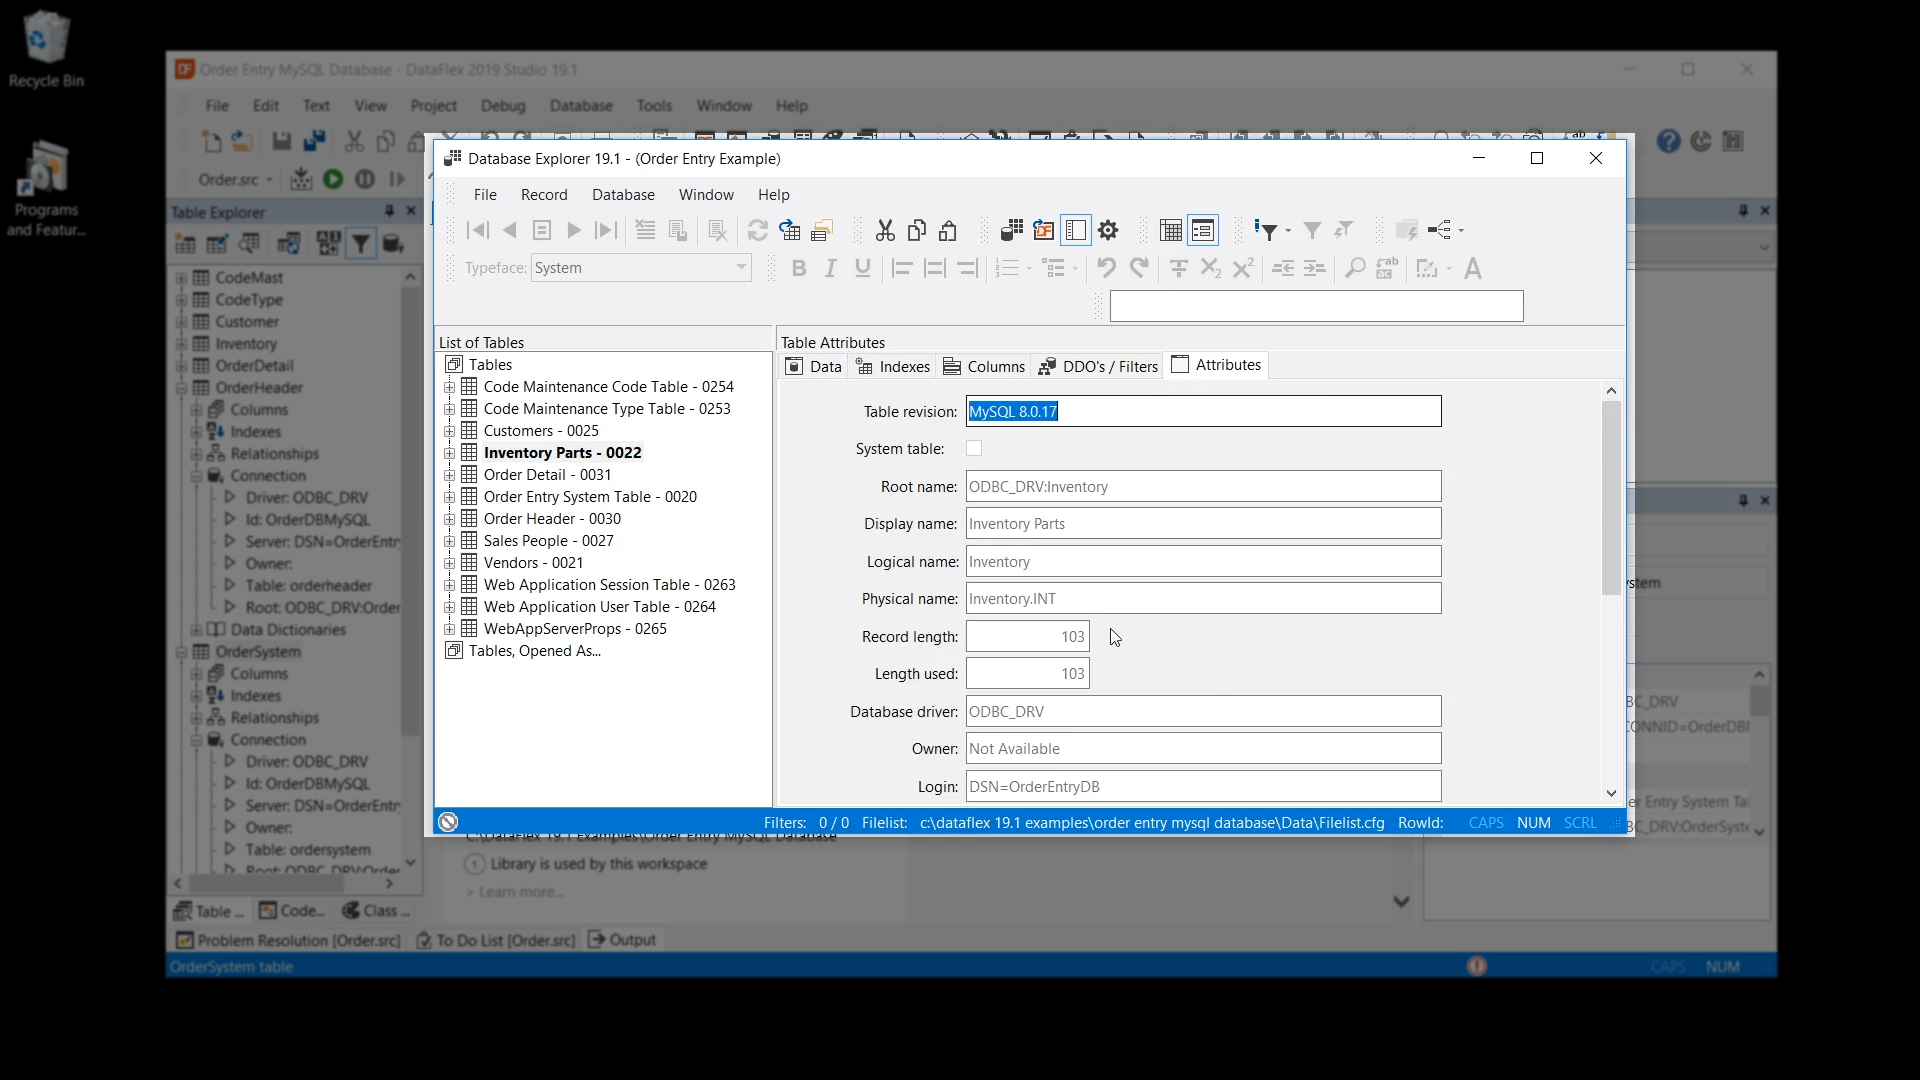
- Select a table from the left and click on the ‘Attributes’ tab to also confirm the MySQL conversion took place and to see additional .int information
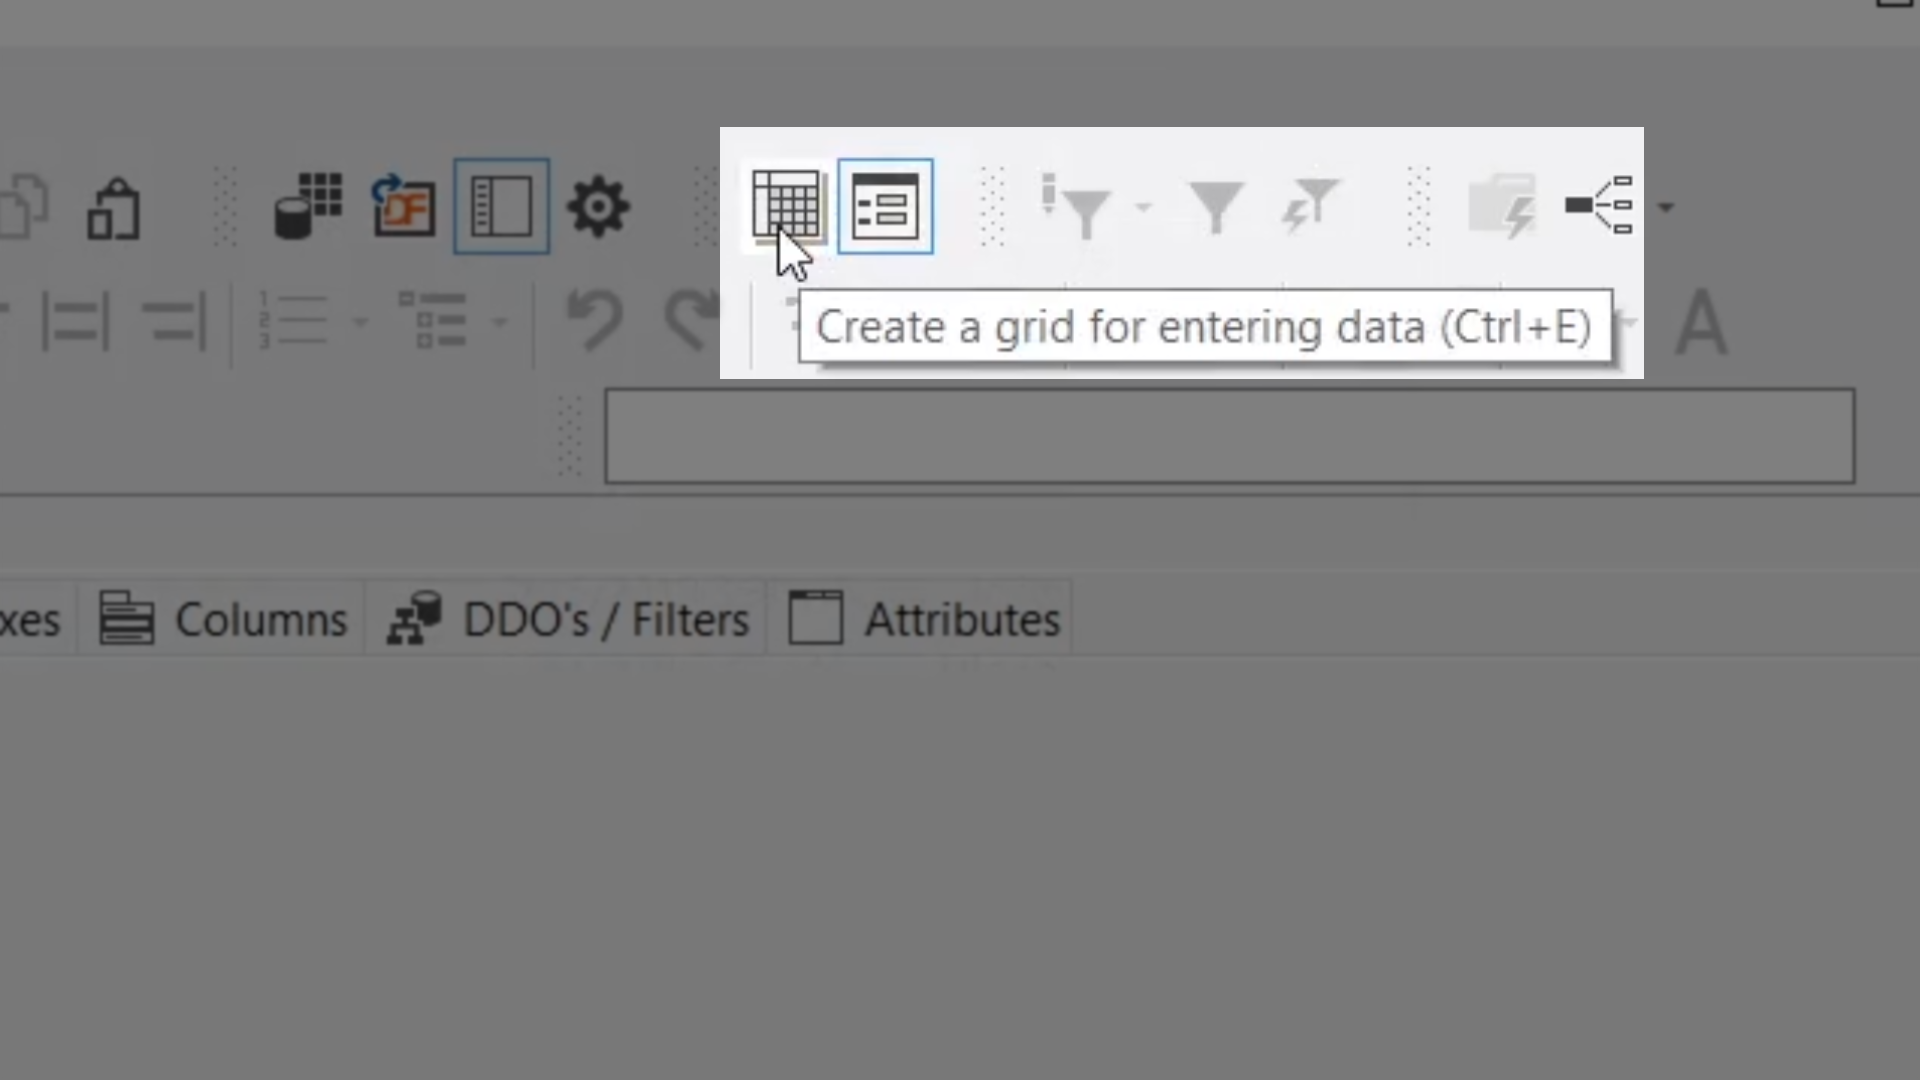
- Select the ‘Create a grid’ icon from the top toolbar, select a table from the left and view the information in the Data tab. There is no difference between the current data and when it was the native DataFlex.

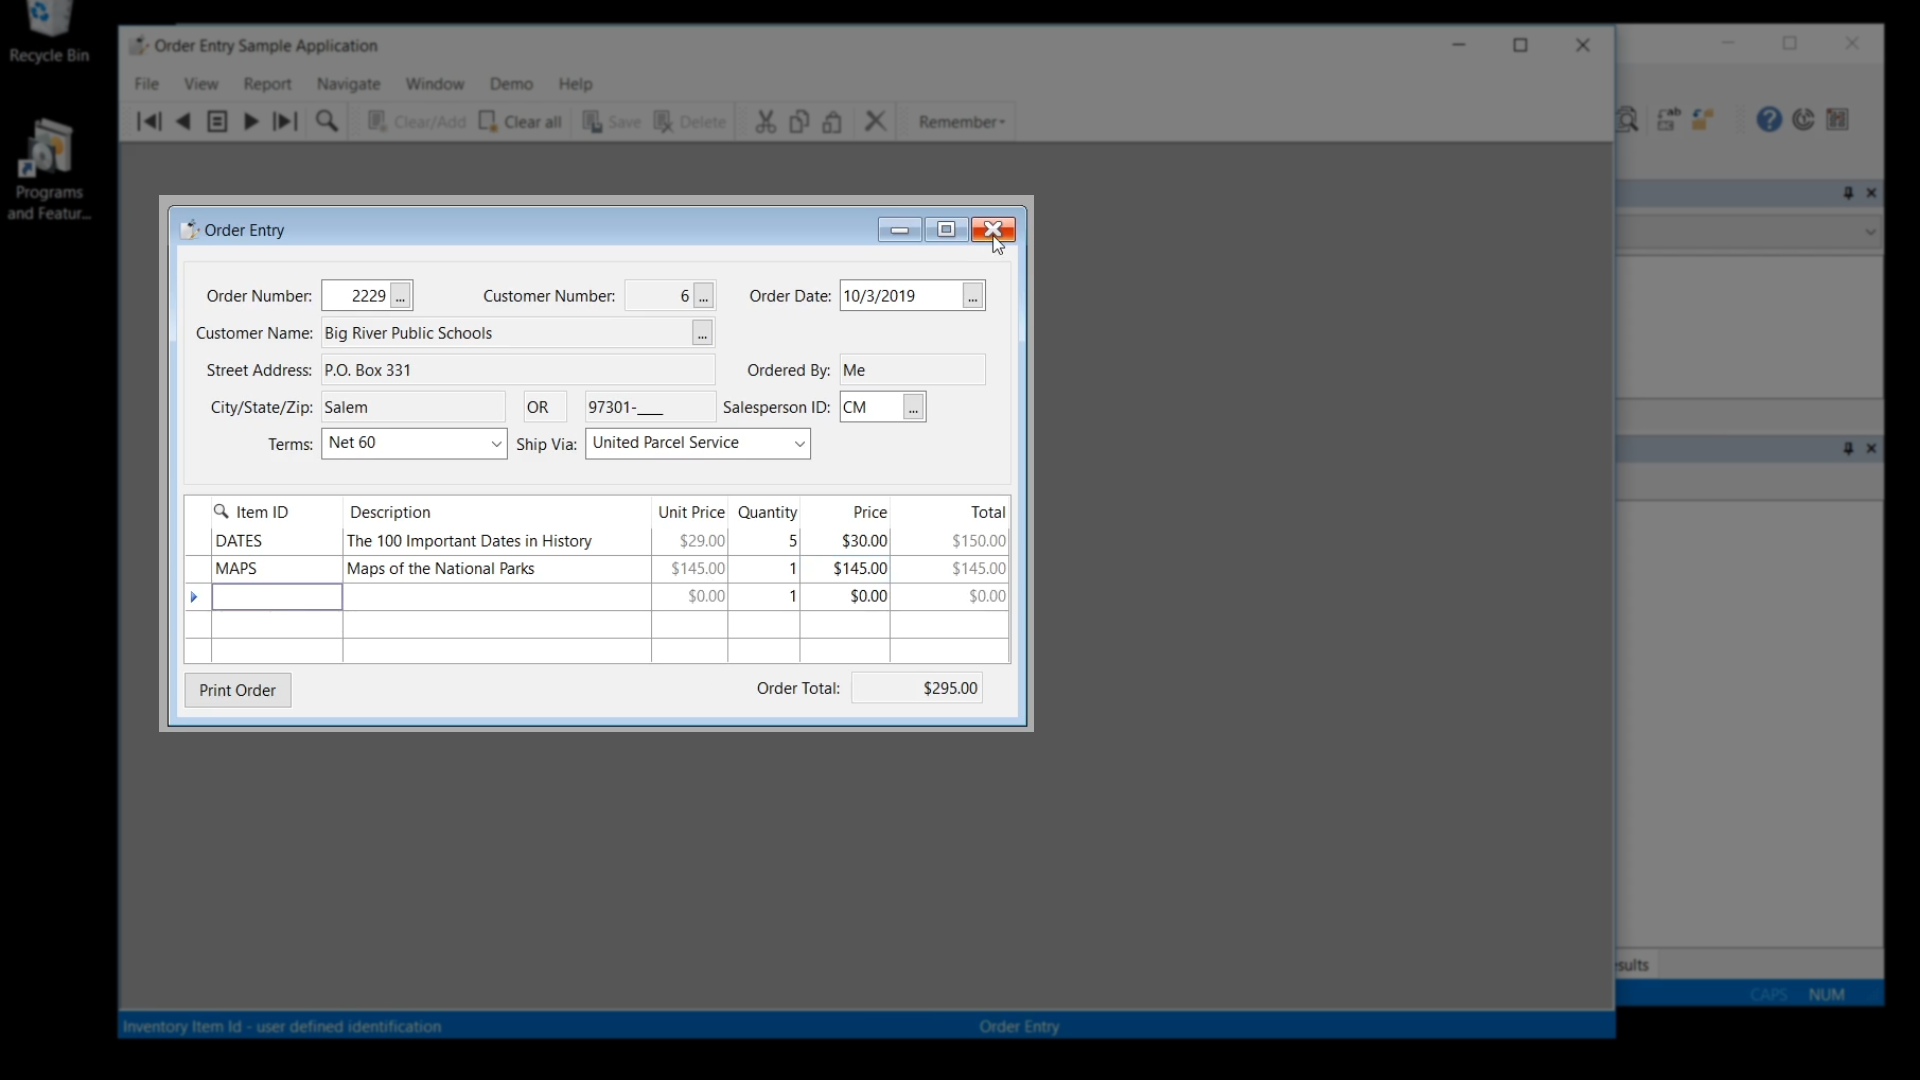
- Select the ‘Run’ icon from the top toolbar to view Order Entry now running on MySQL. Performance is unchanged.
- Create a new order by filling out the various fields.
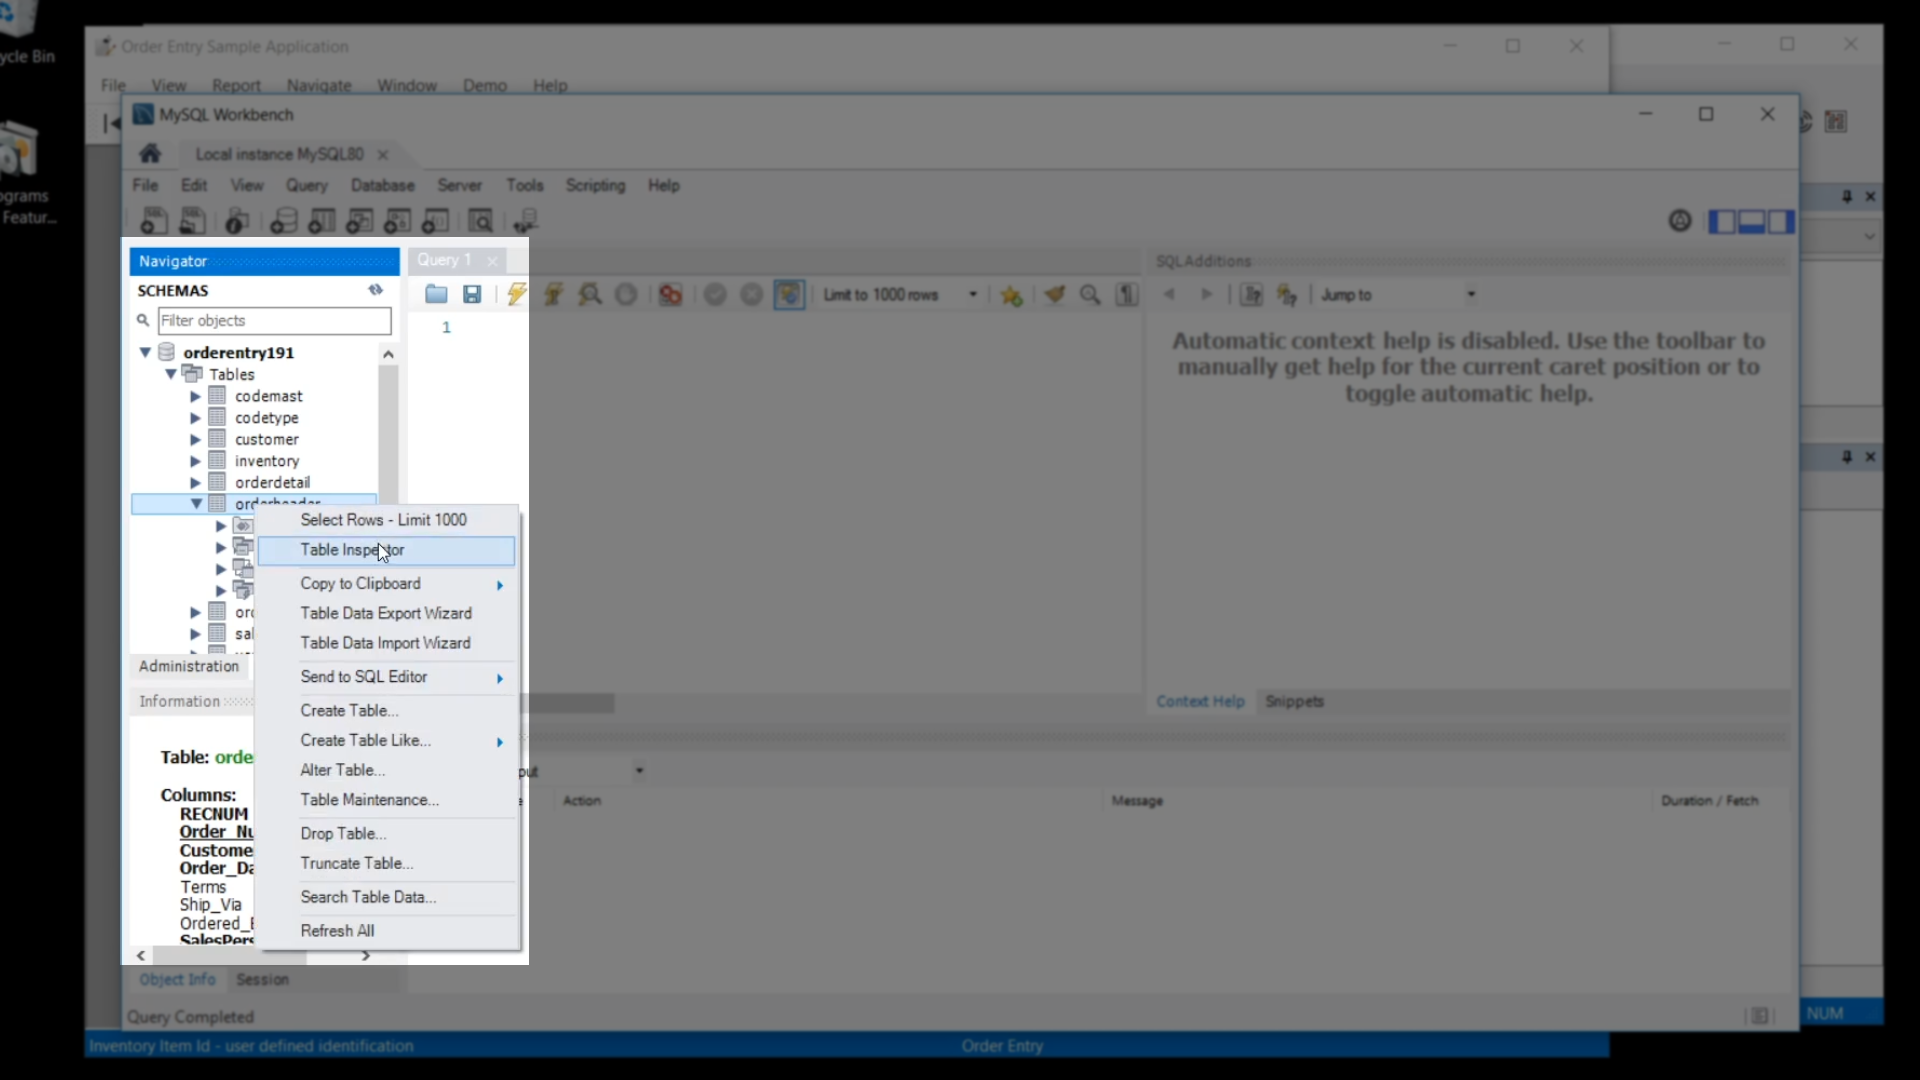
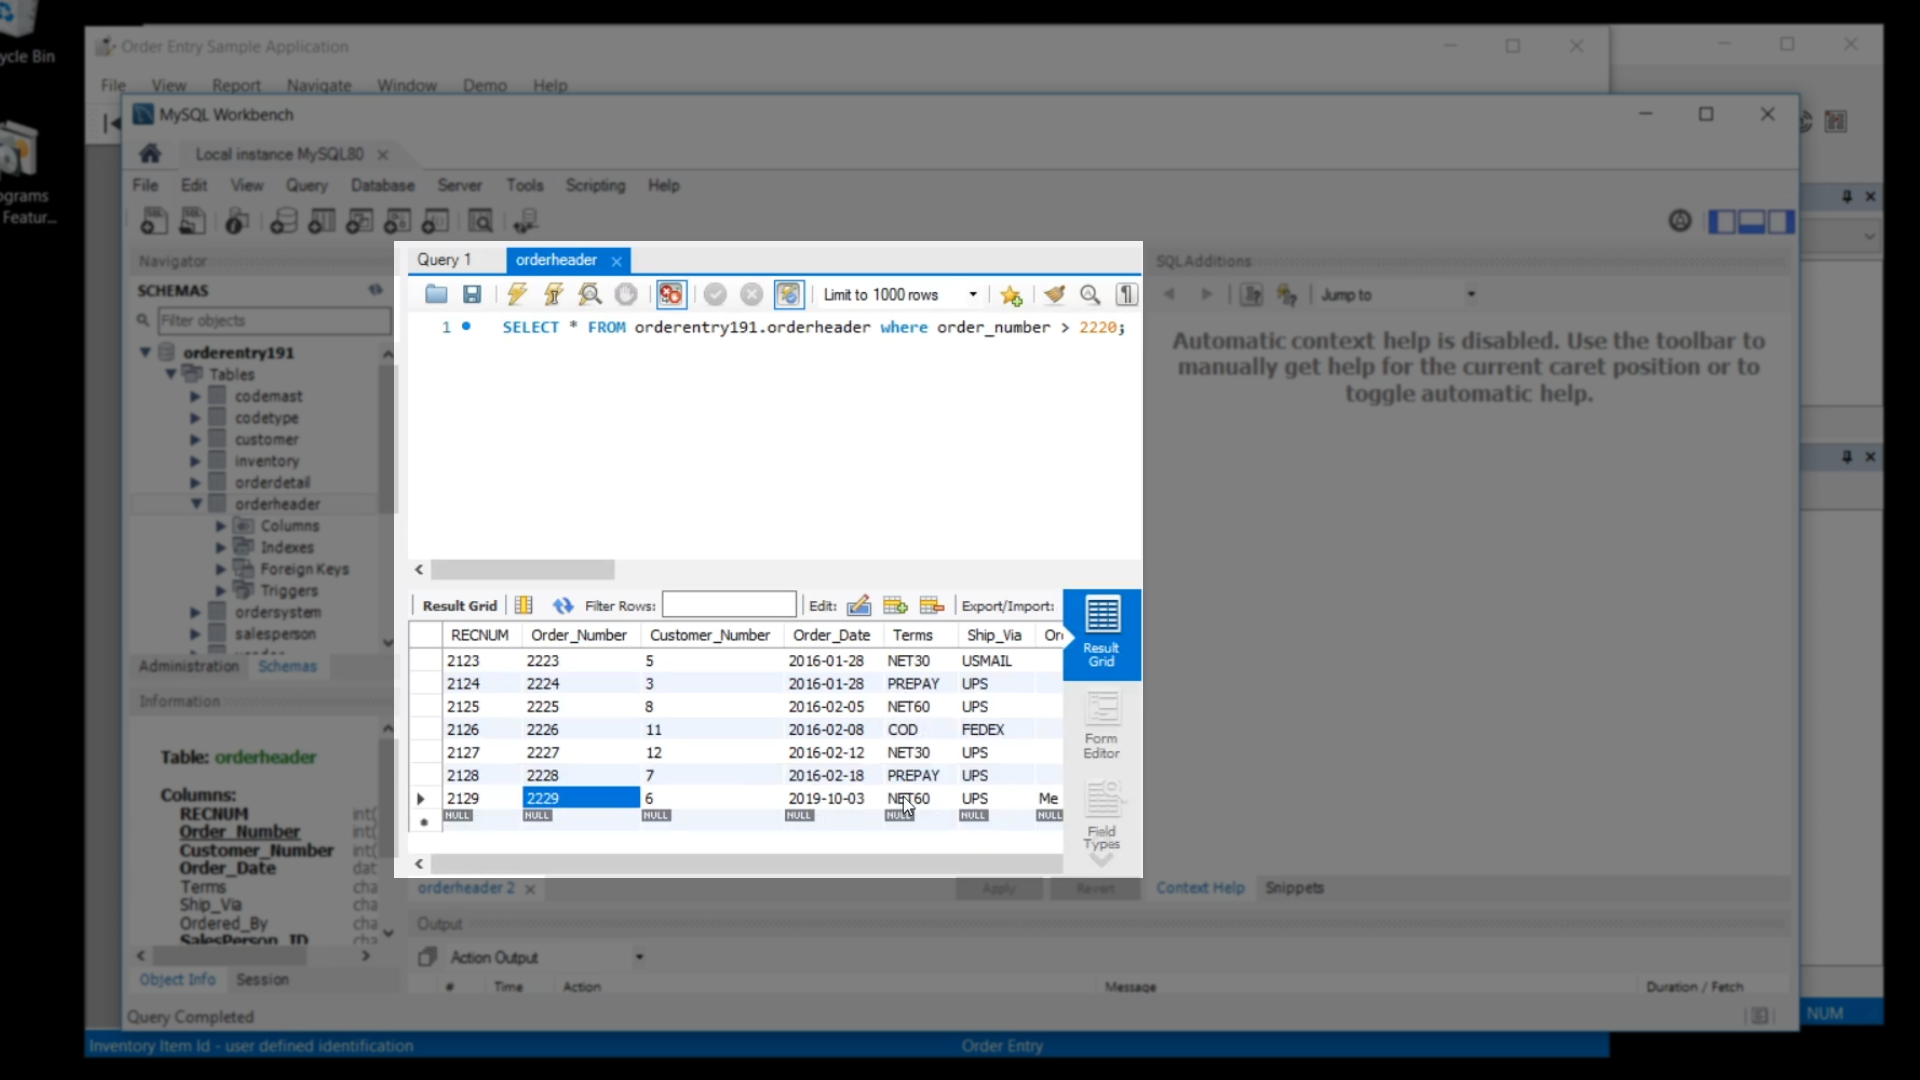
- From the MySQL Workbench, and from the ‘Navigator’ panel expand ‘orderentry191 > Tables > orderheader’
- Right click on ‘orderheader,’ and select ‘Select Rows – Limit 1000’ to display the table
- Add and run a query to select the order that was just created – SELECT * FROM orderentry191.orderhearder where order_number > 2220;
Conclusion
This course covered:
- What is MySQL?
- Why migrate to MySQL?
- MySQL Environment
- Setting up the MySQL Environment
- DataFlex Environment
- Setting up MySQL to work with DataFlex
This should give you the base to start using MySQL with your DataFlex applications. Now you can put into practice what you’ve learned here and build your test environment to get a MySQL version of your applications ready.


