Let’s take a closer look at the DataFlex language.
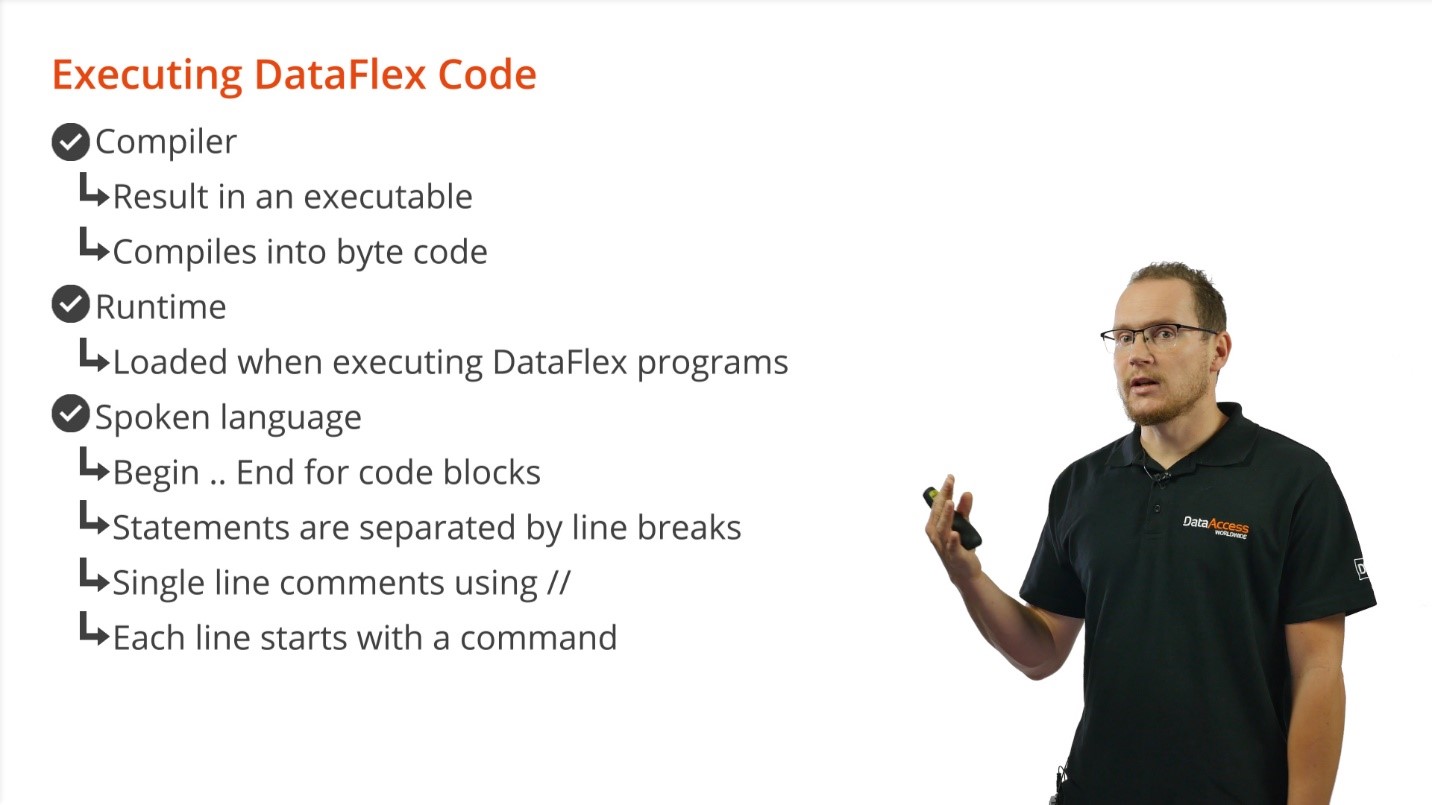
The DataFlex language is:
Let’s take a look at creating our first application.
Demonstration
In this demo we will create a new workspace with a basic ‘Hello World’ application. This will introduce you to the DataFlex Studio, the workspace, project concepts and you will learn how to compile your first application.

3. Select NEXT > NEXT > FINISH. It now generates a workspace on your hard drive and it opens up the dashboard.
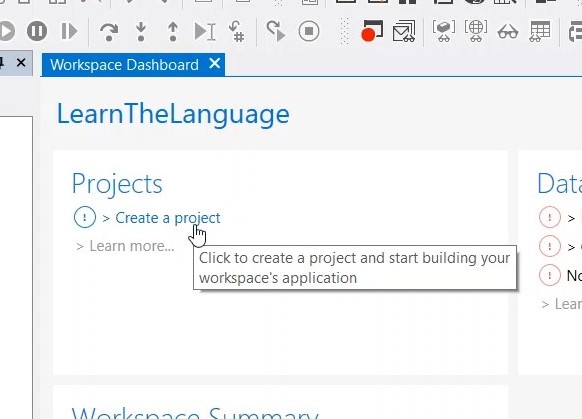
4. In the dashboard select CREATE NEW PROJECT
5. Select BASIC PROJECT > OK
6. Name your project ‘HelloWorld’ > OK
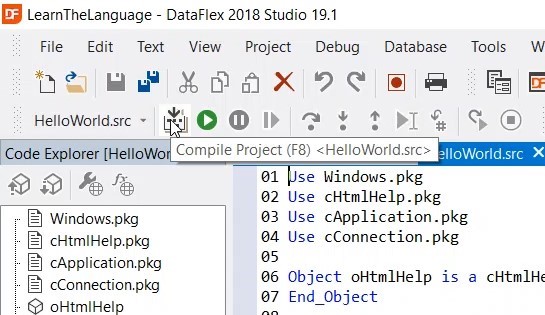
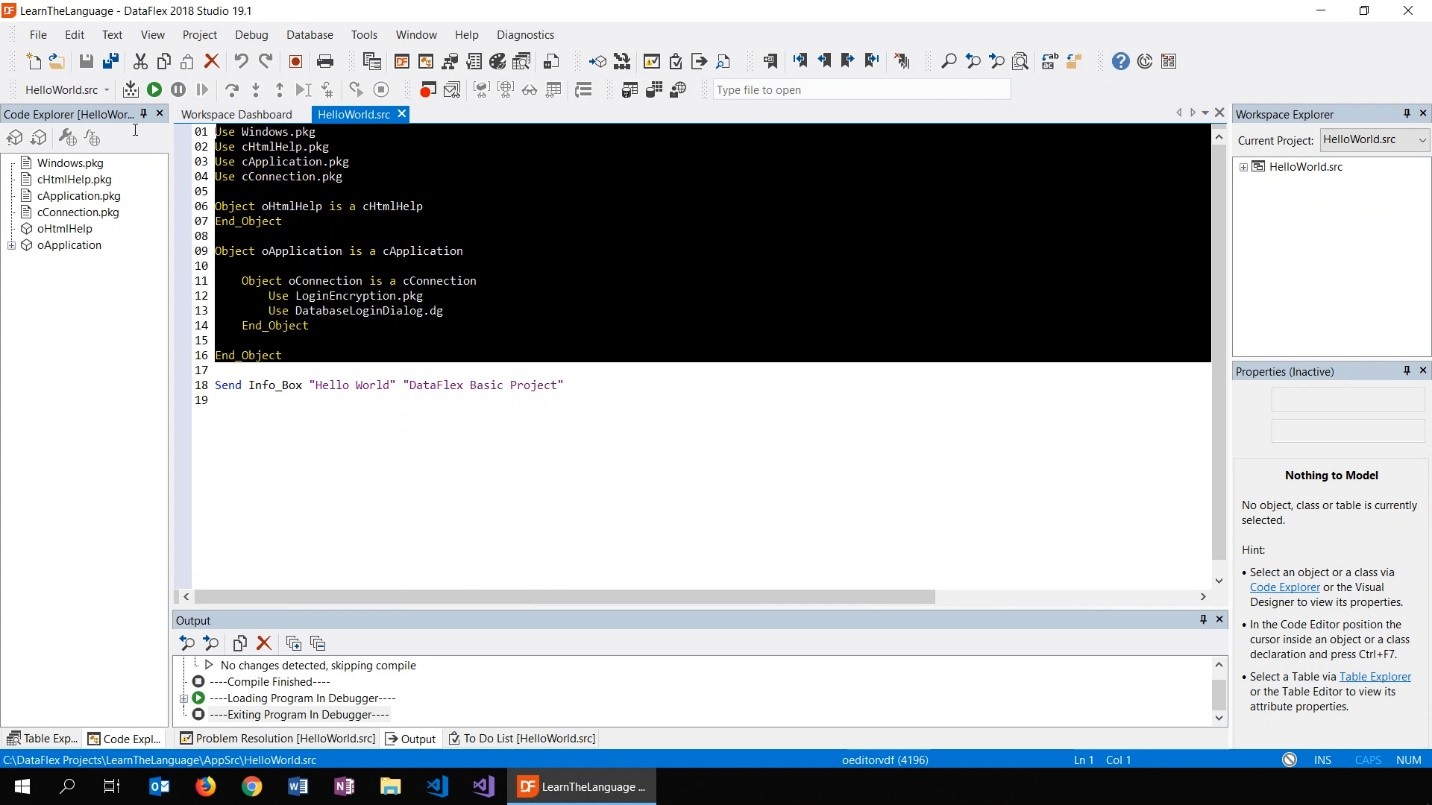
7. DataFlex generated the Hello World example for us. Press COMPILE PROJECT,
8. Wait for it to finish and press RUN.
9. The studio goes into debug mode and you should see the ‘Hello World’ info box pop-up. Press OK to close the dialogue box.
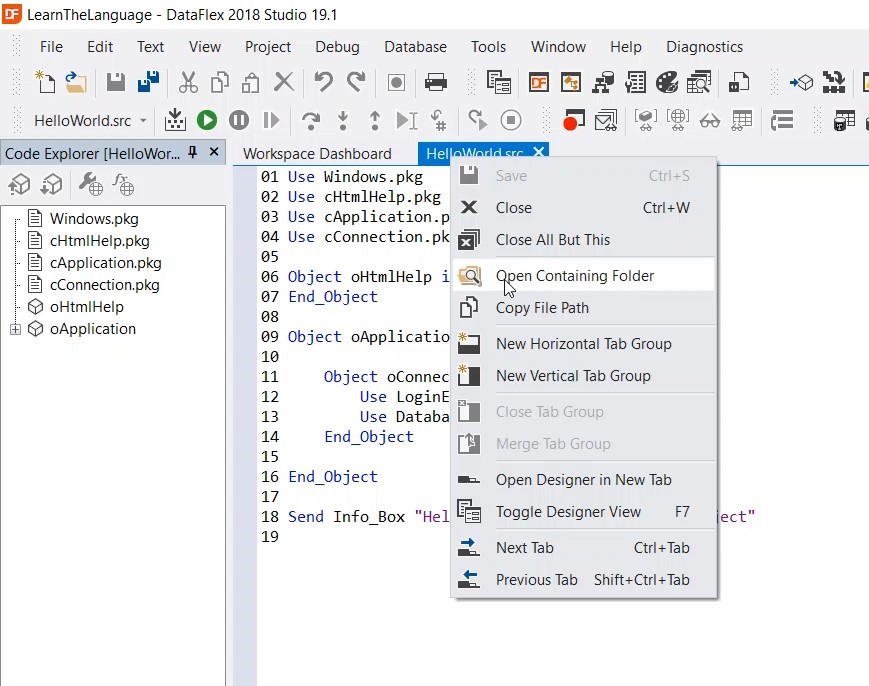
10. To see what the studio has generated on your hard drive, right-click on the ‘Hello World’ tab > OPEN CONTAINING FOLDER. In the program folder you can find your compiled program as a .exe file.
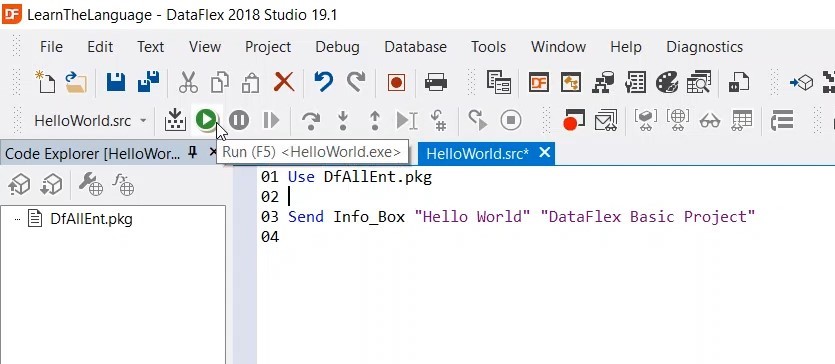
11. All of the code in the top can be replaced by a single package.
12. This is enough to run most applications.
13. Press RUN to check if your program still works.
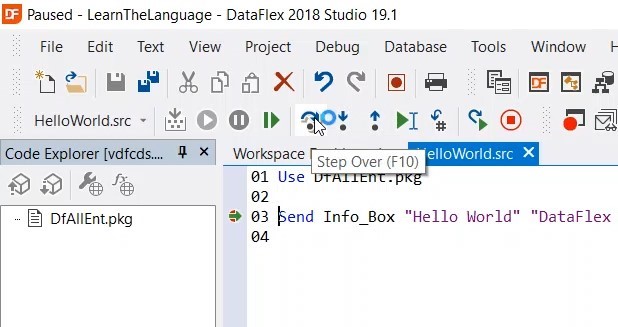
14. You can place a breakpoint by clicking left of a line of code, this will make the Studio stop at that specific moment. It can be a helpful tool to debug your application.
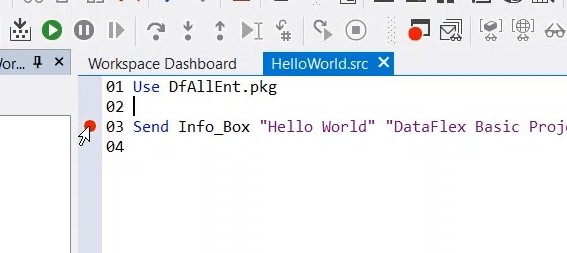
15. By clicking the STEP OVER icon, you can move past a breakpoint and run the rest of the application.