


Let’s look at the structure of a windows program
Demonstration
NOTE: The DataFlex Studio generates a new project and in this project it already generates several objects i.e. menu bars and tool bars.
3. If you click on an item in the designer, you see that is also selects the item in the code explorer. This shows us the object structure of your program.
4. Double click on one of these objects. You see that all of these objects are based on classes and these classes are based on UI classes
5. Create New > Tabbed View > OK
6. Name the object: TabbedDemo
7. OK > YES
8. Let’s take a look at the object structure. Select a label in the designer window and have a look at the Code Explorer. Here you can see that this view is basically a tree structure of nested objects.
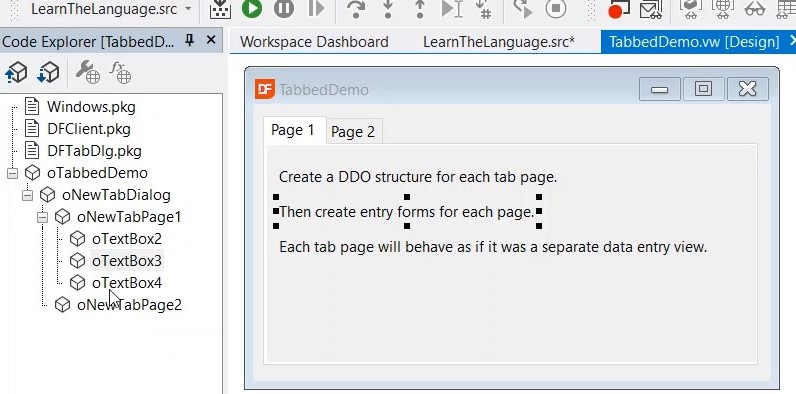
9. Double click on the object to switch back to the source view.
10. In the source view you see that there are several nested objects. oTextBox is based on the text box class and it configures the UI object by setting properties like label, location and size.
11. Go back to the designer panel.
12. Make some space for a new object that we are going to create.
13. View > Class Palette
14. Click and drag “Button” from the class palette into the designer panel.
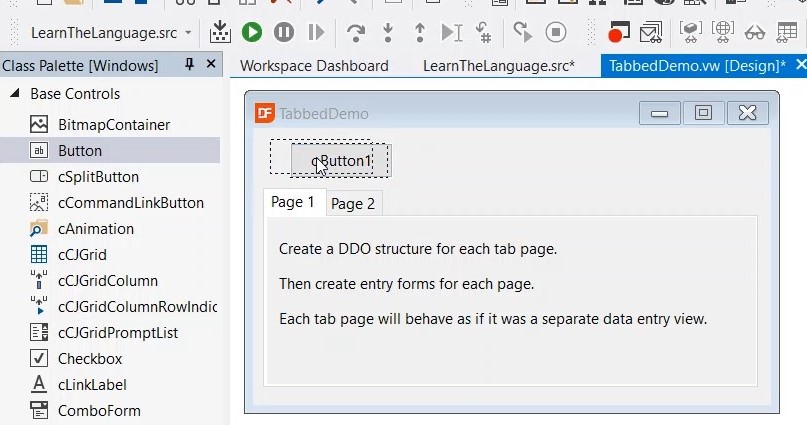
15. Change the label of “oButton1” into ‘say Hello’, in the properties panel.
16. Click on the ‘events’ tab in the properties panel.
17. Double click on “OnClick”.
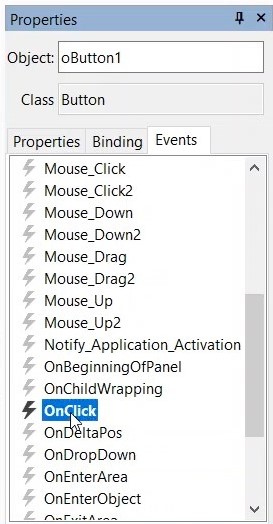
18. It has generated the procedure OnClick
19. Add the following line to your code
20. RUN (F5)
NOTE: The outermost panel comes up, it has added our TabbedDemo under view
21. Click the “Say Hello” button and you should see an infobox pop-up that says: Hello World
This showed how windows user interfaces are build up and how you can handle events of the user interface. That’s basically how you build your application in DataFlex.
