


Basics of Arrays
Basics of Structs
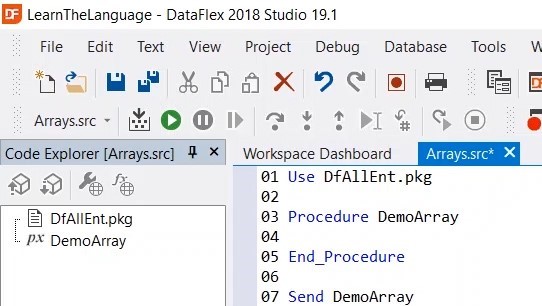
Demonstration
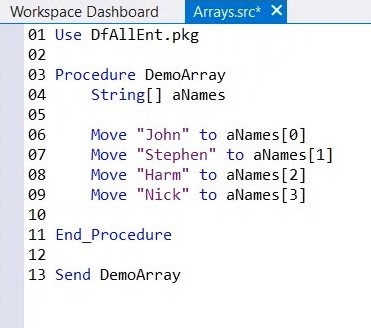
5. Define Array, in this case we are going to make an array of strings. We are going to fill the array with values, names in this case.
6. Loop over these items, by declaring an integer.
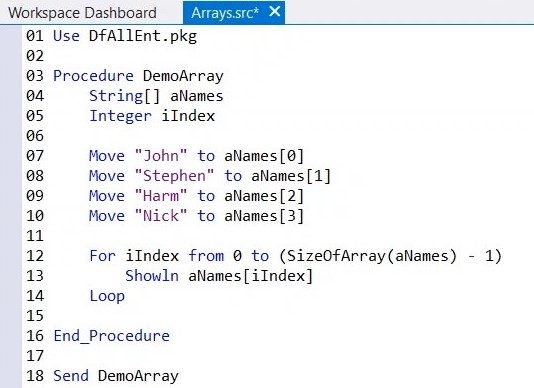
7. Note: At line 12 the expression SizeOfArray is used to retrieve the size of a dynamic array, so in this case 4. But because arrays are 0 based, we have to subtract 1, so it will only run till number 3.
8. To make sure that you can see a result, add an info box at the end.
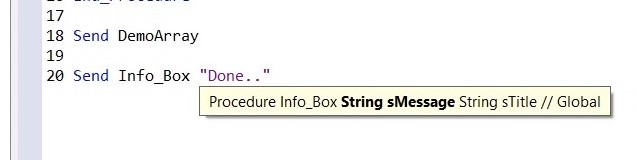
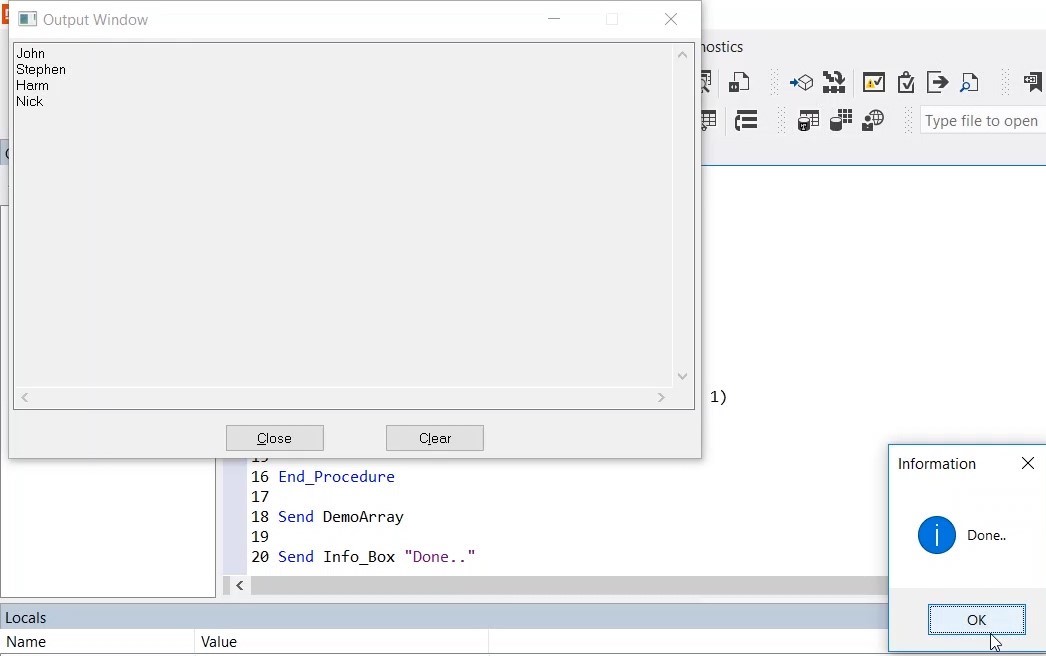
9. Click RUN (F5), now you can see it ran through all the names and it shows and shows an info box that says “Done..”.
10. Place a breakpoint > click RUN (F5)

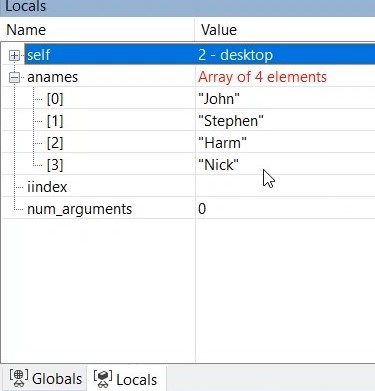
11. In the Locals window you can now see that “aNames” has an array with 0 elements.

12. As soon as we execute this line, we get an array of 1 element. If we execute the next, 2 elements. Etc. You can also expand the “anames” tree in Locals to see all the separate elements listed.
13. Continue to step through the program until the final info box comes up.
14. Add the following line of code to your application:

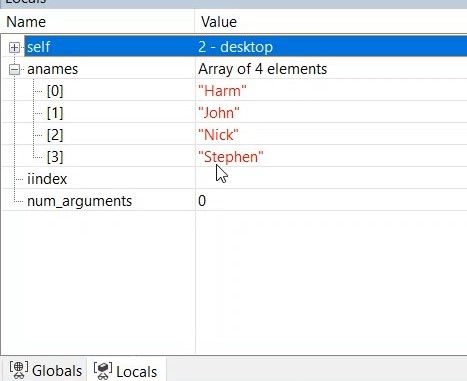
15. (SortArray(aNames)) Returns the sorted array.
16. Place a breakpoint at line 12
17. Click RUN (F5)
18. Take a look at aNames in the locals panel, if you press F10 (Step Over) you see that the order of the array has now changed, it’s now alphabetical order.
19. Click RUN (F5) to run the rest of the program, the output in the output window will also be displayed in alphabetical order.
20. Click OK to close
21. Another function used with arrays is the search function. Add the following code to your application.

22. Click RUN (F5)
23. Note: The output window shows it has found Nick at position 2. He is the third item on the list, but because arrays are zero based, he becomes number 2.
