


So far we only looked at procedural DataFlex code, but DataFlex is an object orientated language that supports classes, inheritance and objects.
Classes
Objects
Demonstration
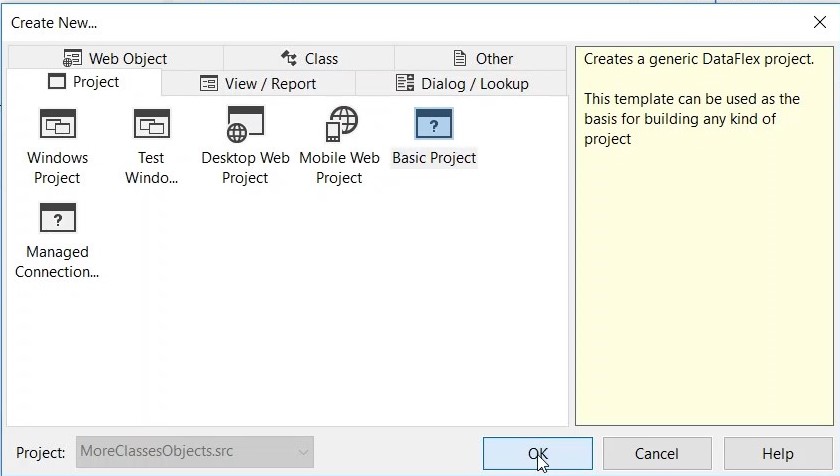
2. Name your project, in this case ClassesAndObjects > OK
3. Clean out the existing code and replace with DfAllEnt.pkg
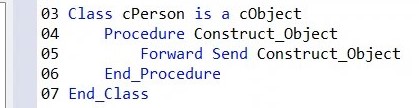
4. Now we are going to define the class, add the following line of code:
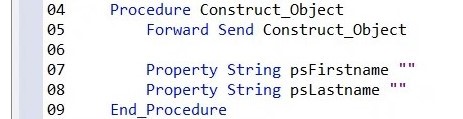
5. The class needs data, so let's define some properties
6. Now define the function

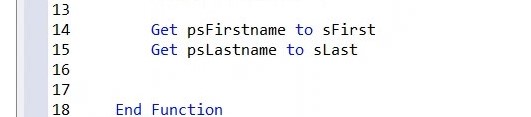
7. In this function we are going to use the properties that have been defined in the constructor, we are going to put them in local variables first.
8. Now we are going to assemble our "Hello" message.

9. And we are going to add a procedure, we call "SayHello"
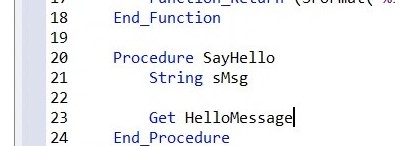
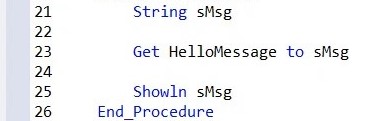
10. In this procedure we're going to call :Get HelloMessage" and display the result, we do this by using the "Showln" command.
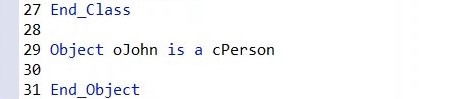
11. If we want to use this class, we have to make an object. In DataFlex you do that by using the object syntax.
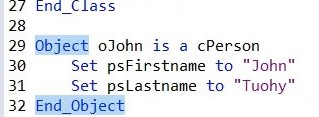
12. Now you can set the properties.
13. On this object we can now call procedures, so we can execute the "SayHello" procedure on this object.
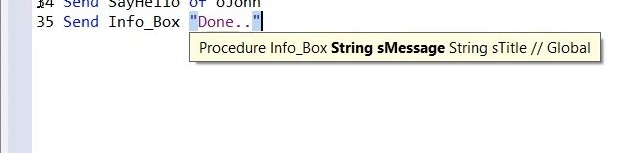
14. Add an info box to display the end result.
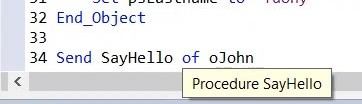
15. Place a breakpoint at line 34 and RUN (F5) the program. In the locals panel we see that "SayHello" is executed on oJohn.
16. If you step into "HelloMessage" we see that it gets psFirstName and psLastName, with their values being John and Tuohy.
17. Click RUN (F5), the rest of the program will continue running and we see in the output window that John Tuohy says hi.
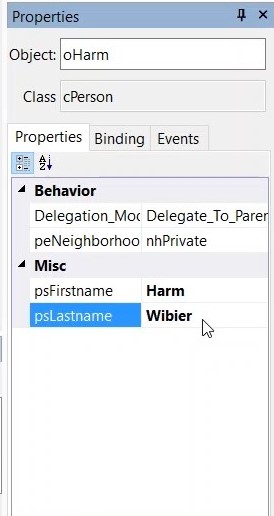
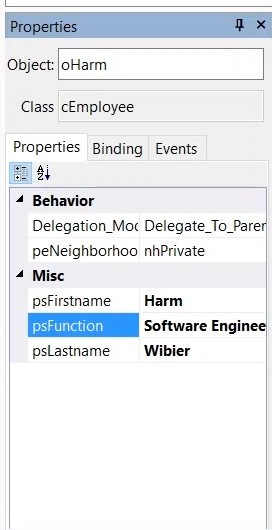
18. In the code explorer, click on oHarm and og to the properties panel. You see that oHarm is now the current object for the properties panel. You can fill out psFirstName and psLastName here.
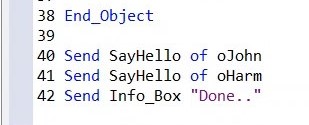
19. Call "SayHello" on the oHarm object.
20. Click RUN (F5).
21. In the output window, both John and Harm say hi.
22. This shows you, you can have multiple instances of the class. You can also create a subclass based on the cPersonClass.
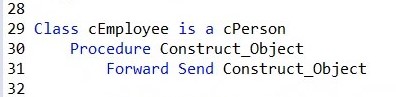
23. Create another class (at line 29 of the code).
24. Create a construct object (line 30).
25. By forward sending it, we are calling the construct object of cPerson.
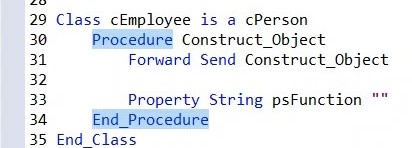
26. Create a new property (33).
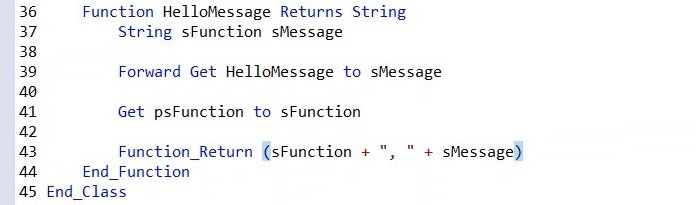
27. Now we will augment the Hello message.
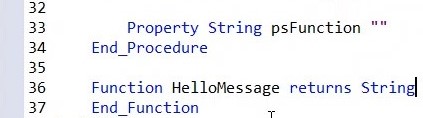
28. Add a function to Hello message (36).
29. Get the function (41).
30. Combine both strings into a single string.
31. Make oHarm an employee.

32. With the mouse over oHarm in the code, press Ctrl + F2. The object will be selected and shows up in the properties panel.
33. Change the psFunction of oHarm in the properties panel into "Software Engineer".
34. Place a breakpoint at line 60.
35. Click RUN (F5).
NOTE: you step into "SayHello", which is defined on cPerson but "Say Hello" calls "Get hello message". Get hello message is augmented in the subclass, in cEmployee. Here is where we are going to do a "forward get". This "forward get" is going to execute the original "Hello message".
36. Click STEP OVER (F10) to continue into the next step of your application and we can see what is happening exactly in the locals panel.
37. Continue through the program until you reach the final output window, here you can see the changes made to the output.
For the next example load the new project.
38. Workspace explorer > current project > MoreclassesAndObjects
39. Double click on the projects in the workspace explorer to open it up.
40. Here you find some examples of nesting objects. By placing a breakpoint, you can explore the application step by step.
