How to setup a livestream event
Lesson 2: How to setup
We've just talked about the equipment you need for livestreaming an event. Let's go a little bit more into depth about the equipment and how to set everything up.
Hardware
- What kind of camera do you need?
- For a lot of cases a simple HD webcam wil suffice
- For more quality/ professional looking stream use a higher quality camera (DSLR/system camera)
- Files from the higher quality camera's are large files. To handle these files you need a capture card.
- This capture card is connected through a HDMI and mini HDMI (depends from your camera) to your camera
- And from HDMI to USB 3 to your computer
- Sound is a very important asset. That's why we recommend to use a good microphone. We've used Sennheiser wireless microphones
- One part is connected to the camera (with cable that comes with the microphone set)
- The microphone will be added to the presenter
- The audio will run through the camera, through the capture card into the computer and your stream
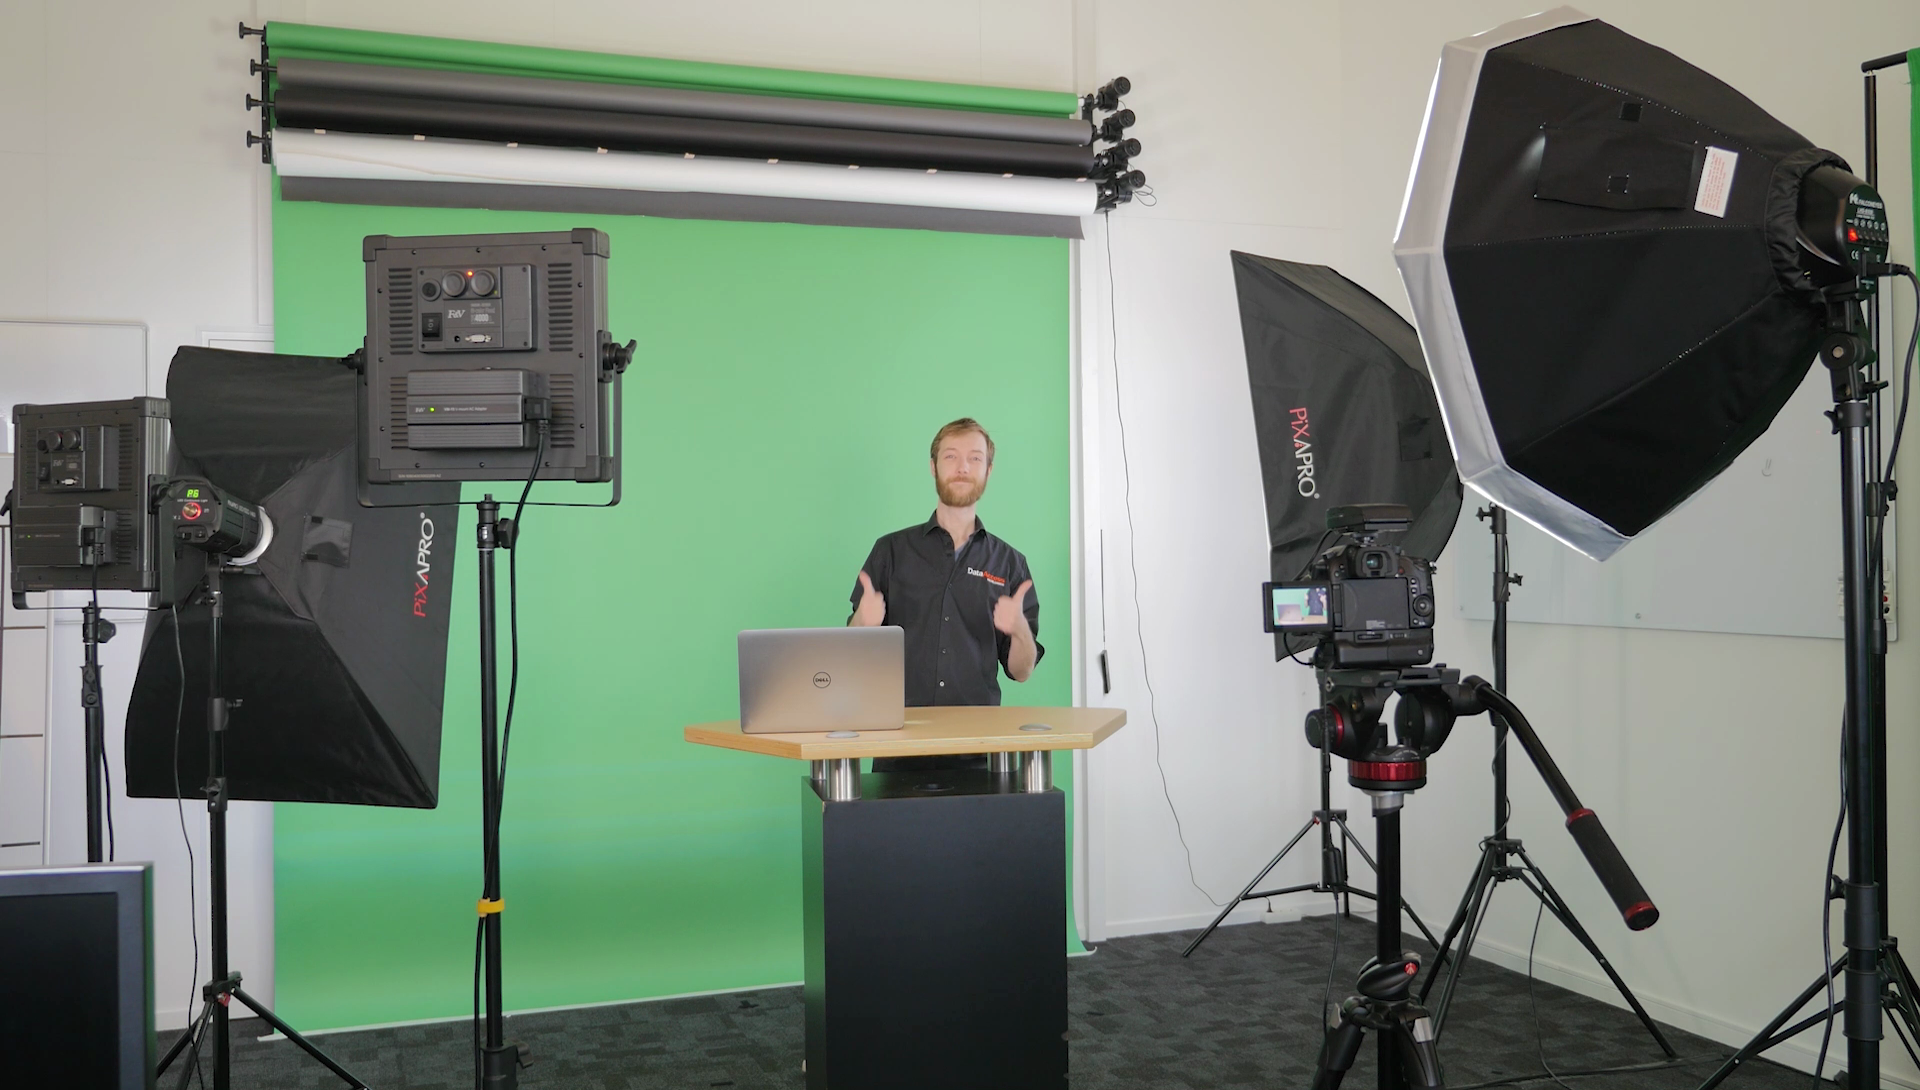
- Any background you want will do. You can choose a white wall, your office or even at home. If you want to change the background and make it more professional you can use a green screen. That's also what we have done for the EDUC livestream.
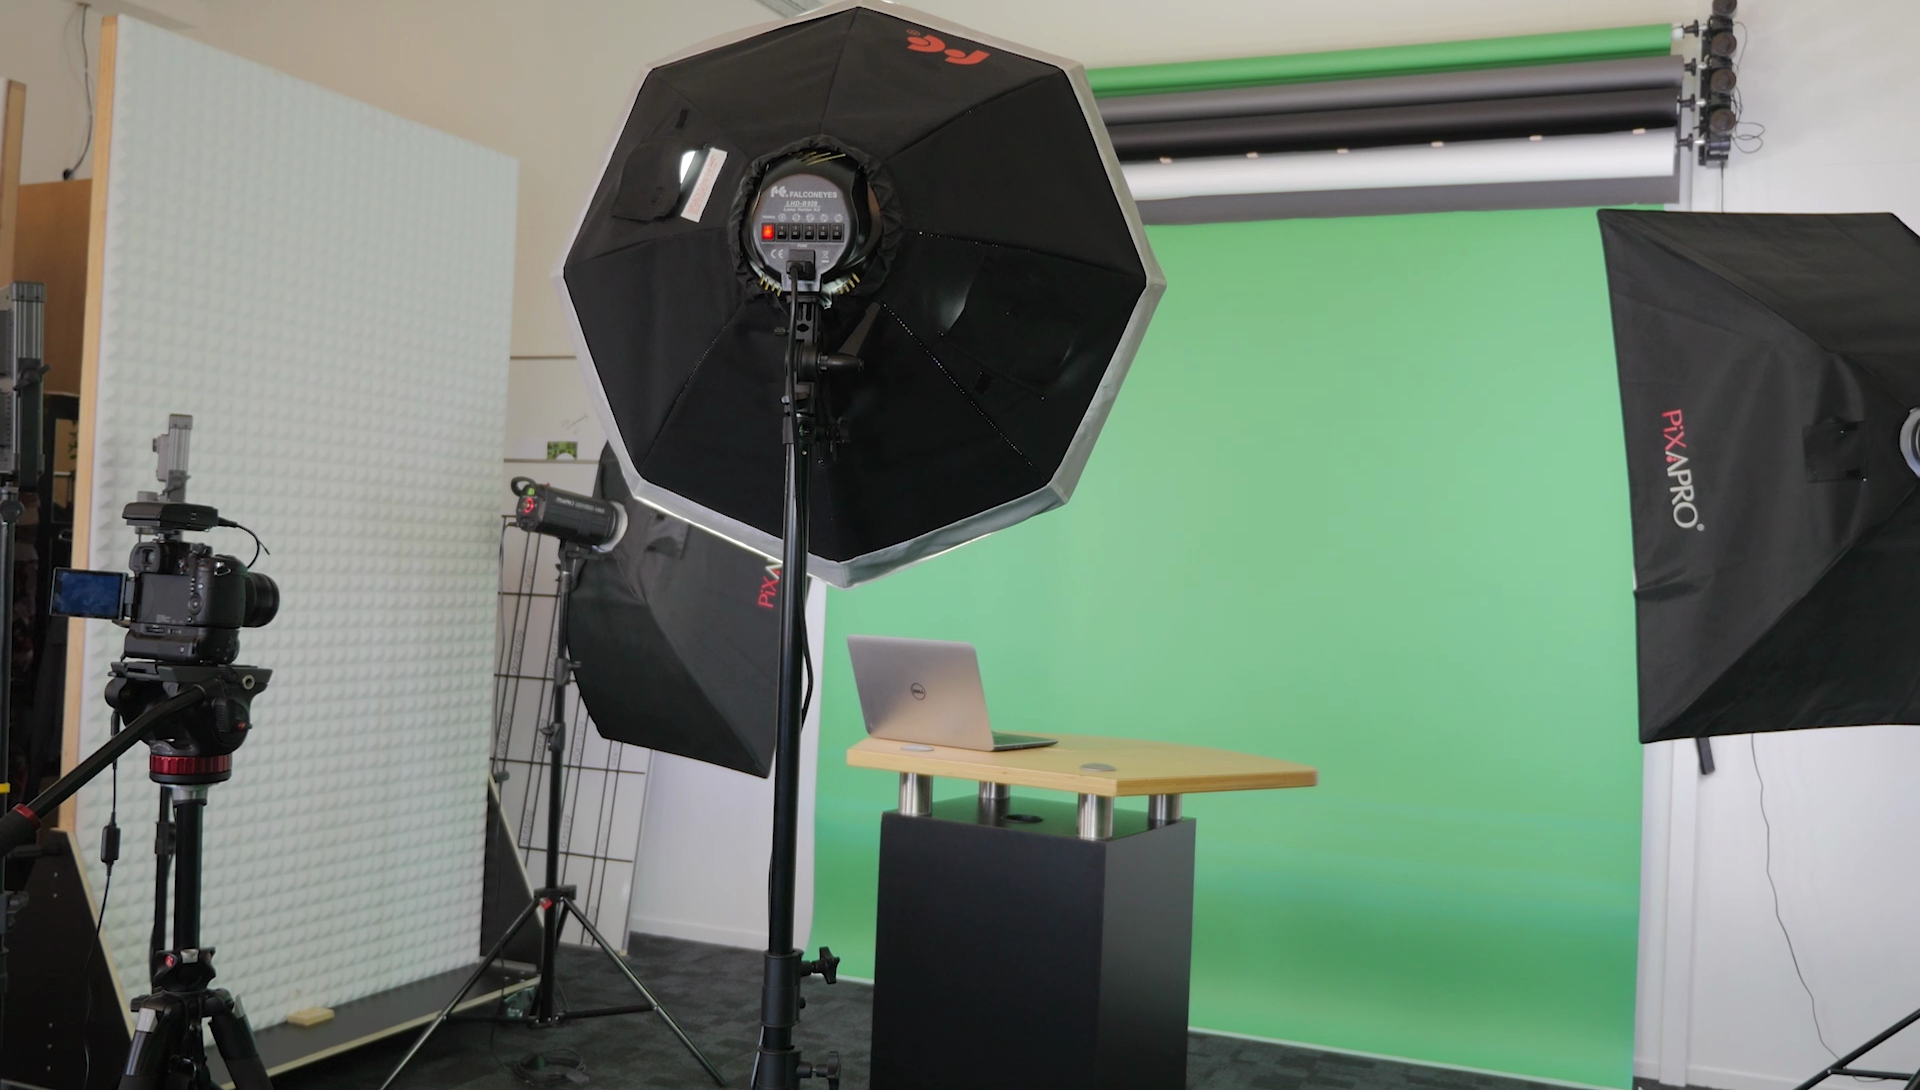
- Just as important as everything above is the light setup. When you work with a 'normal' background make sure the presenter is lit properly. If you use a green screen you also have to make sure that the green screen is evenly lit.
List of (similar) equipment we've used:
Software
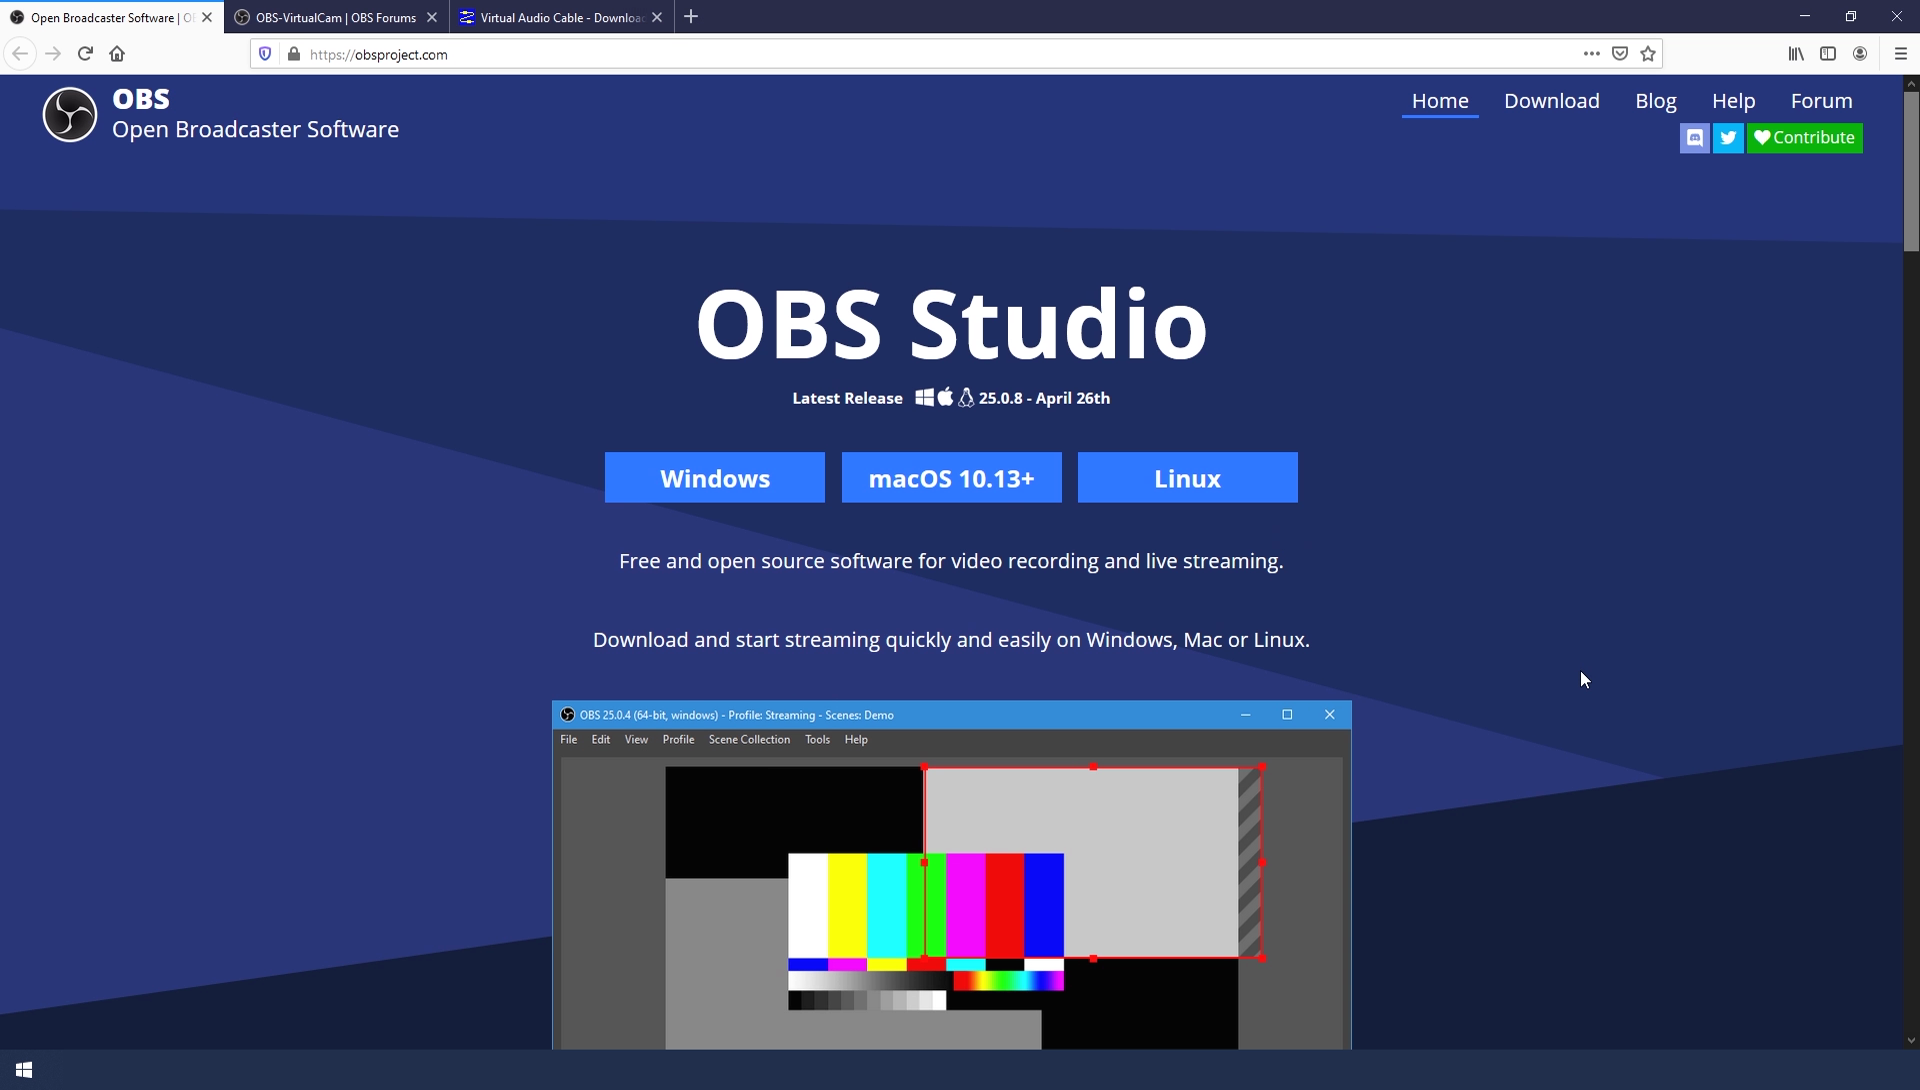
- Most important thing is the streaming software: OBS Studio. You can download it for free on their website. Make sure you download the version that matches your operating system.
- If you stream on a platform supported by OBS this is all you need
- If you choose to stream on a platform not supported by OBS you need two extra plugins. We've used:
- GoToMeeting as our streaming platform
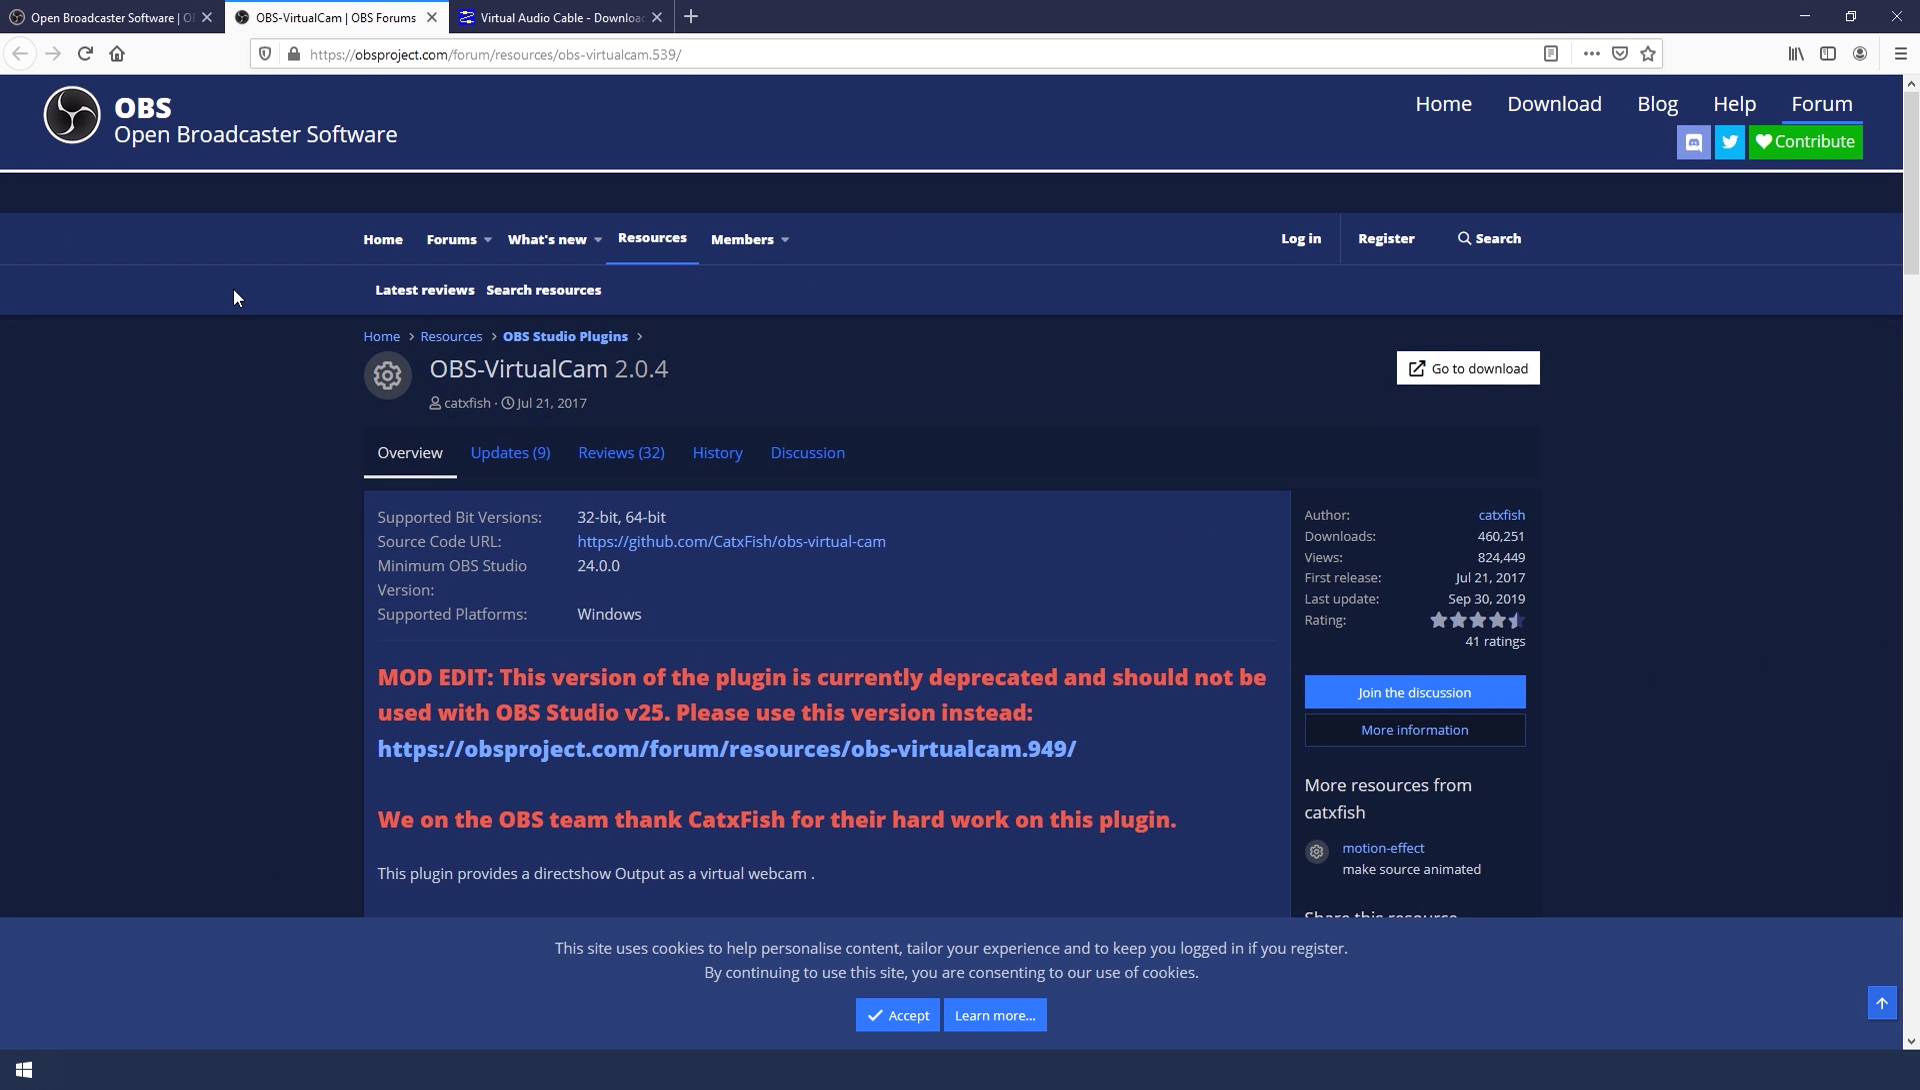
- OBS Virtual Cam. This turns the OBS output into a virtual webcam, so GoToMeeting could recognize it. You can find this on the OBS website as well. Follow the installation instructions on the site.
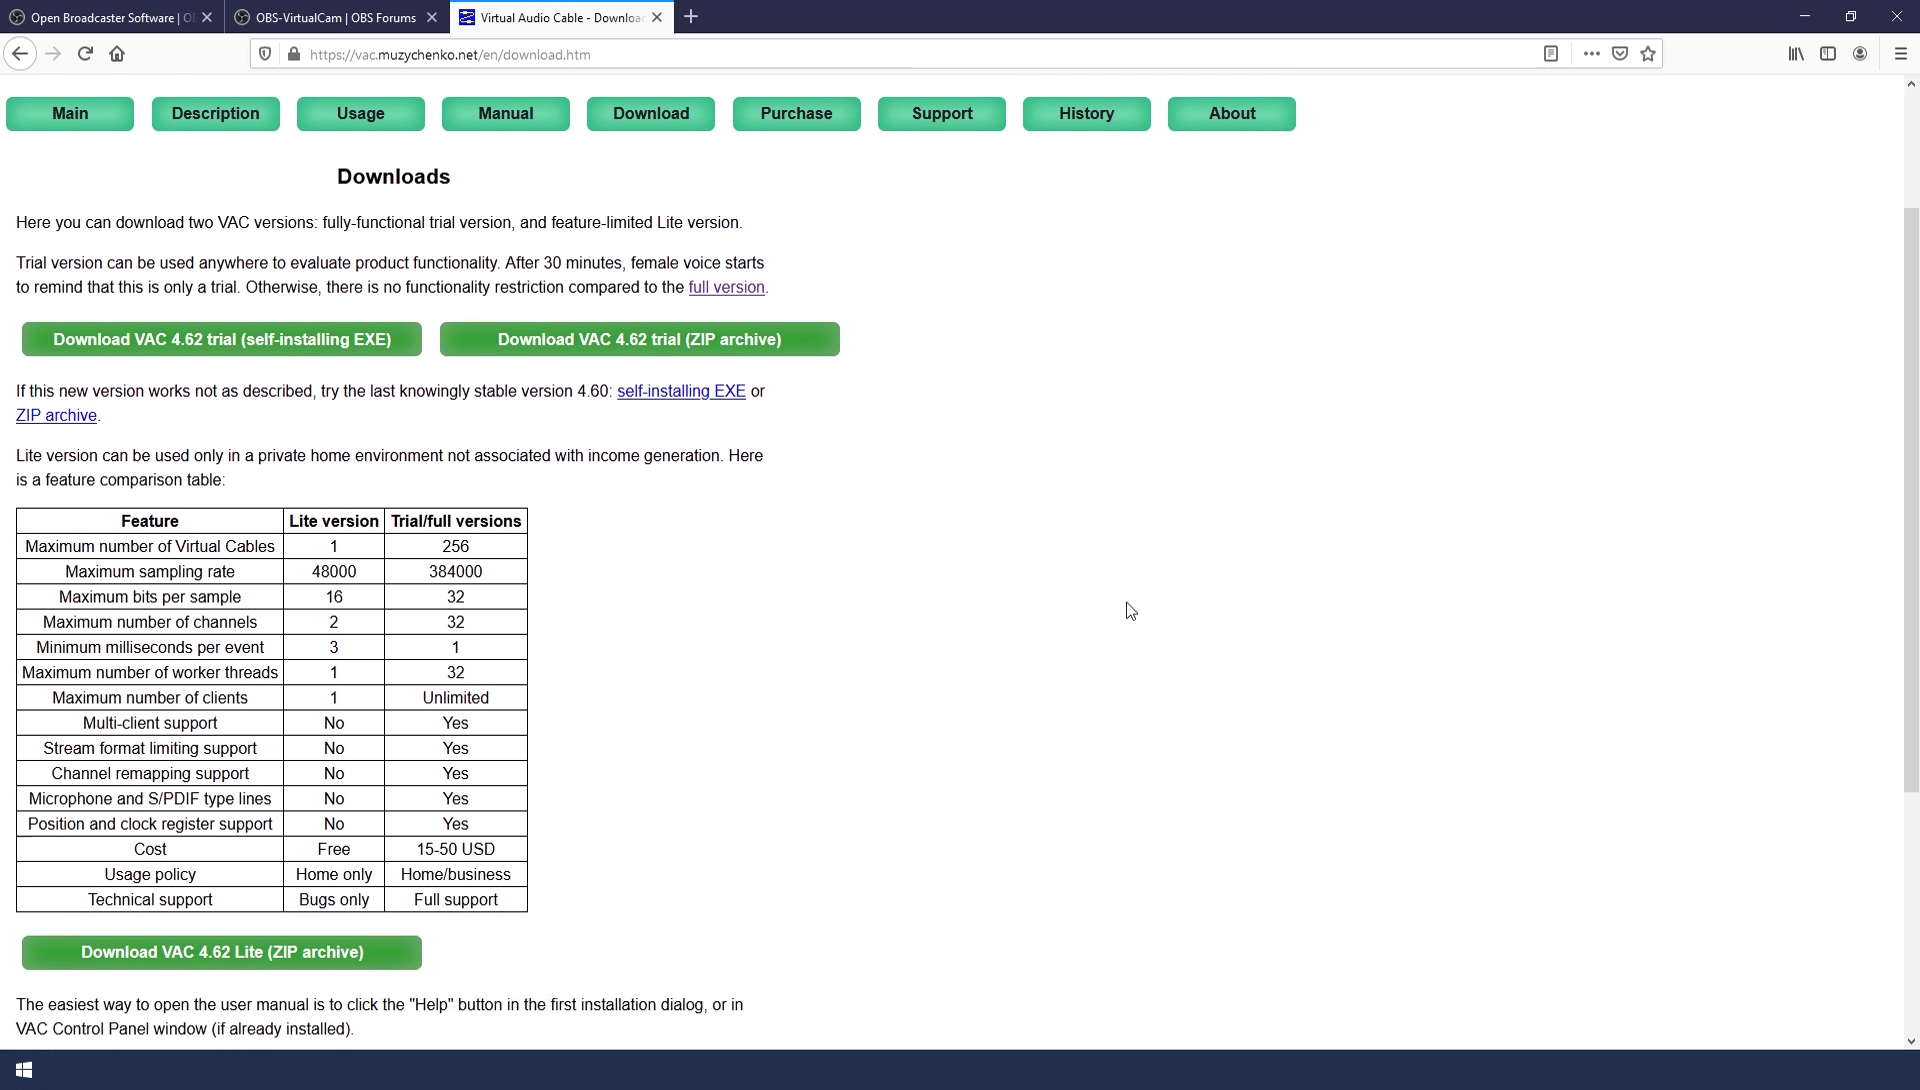
- Virtual Audio Cable. This turns the OBS sound output into a source that GoToMeeting could recognize. You can find everything you need under the Downloads tab. It might be that there is something similar out there for free, but this is what we've used for the EDUC livestream.
That's everything you need. In the next lesson we will look at how to setup and control the stream in OBS.


