How to setup a livestream event
Lesson 3: How it works
Let's take a look at what streaming in OBS looks like!
- This is what OBS Studio looks like
.png)
- In the top you see your Display Window. In here you will see what you are streaming
- On the bottom is where you create and control the content of your stream
- Most important panel is the Scenes panel. In here you can create new scenes and you can switch between the different scenes live
- Let's create a scene and add our camera feed to it
- Click on the plus icon in the bottom of the Scenes Panel and create a new scene
.png)
- Select the scene and click on the plus icon in the Source Panel. Because we want to add the feed of our camera we choose 'Video Capture Device'
.png)
- Click OK
- And the camera feed shows up
.png)
- You can change properties as the resolution and the frame rate, but we leave it as is
- Click OK
- Now the feed shows in the stream on your Display Window
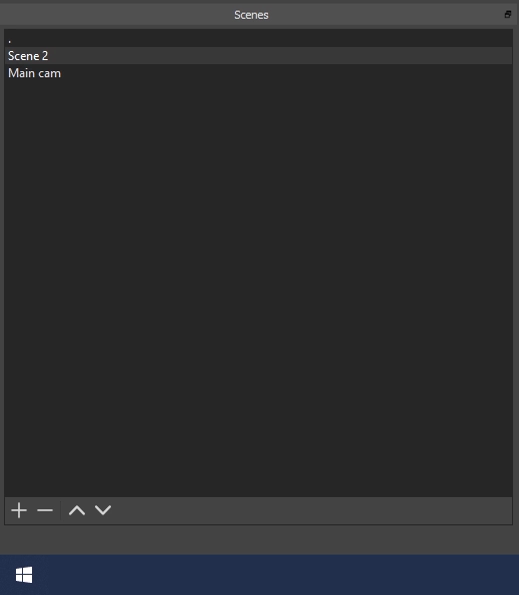
- Good practice is to give all your scenes a clear name, so you know what the scene shows. Right click on you scene and rename. We call this scene our 'Main cam'
.png)
- Let's create a green screen effect to the camera feed
- Select the scene
- Right click on the source in the Source Panel
- Click on Filters
.png)
- This screen opens
.png)
- Click on the plus icon under Effect Filters
- Select Chroma Key
- Click OK
- Most of the work will be done for you, you can play around with the different settings
.png)
- Click close when you're done
- Now let's choose a background to show behind the desk
- Select the main scene
- Go to the Source Panel and click the plus icon again
- You can select any source you like: a video, photo, graphic etc. We choose a video that we've used for the EDUC livestream. So here we select Media Source
- Select the file
.png)
- Press OK
- Now it shows on your Display Panel. And as you will see in the Source Panel it's on top of the previous feed we added. Just drag it down, and it will show up as background
.png)
.png)
- Now the camera is set, let's add a different scene with some graphics to make the stream look more professional
- Click on the plus icon in the Scenes Panel
- Click OK
- Select the scene and go to the Source Panel. Click the plus icon to add a new source
- In our case we choose the Media Source again to upload a video
- Upload the file and click OK
.png)
- As you will see there's a new scene in the scenes tab
- The video in the new scene that we've created is only 5 seconds long. So after 5 seconds it will turn to black
- To prevent this go back to the settings of the Media Source in the Source Panel by double clicking on the Source
- Make sure that Loop is enabled
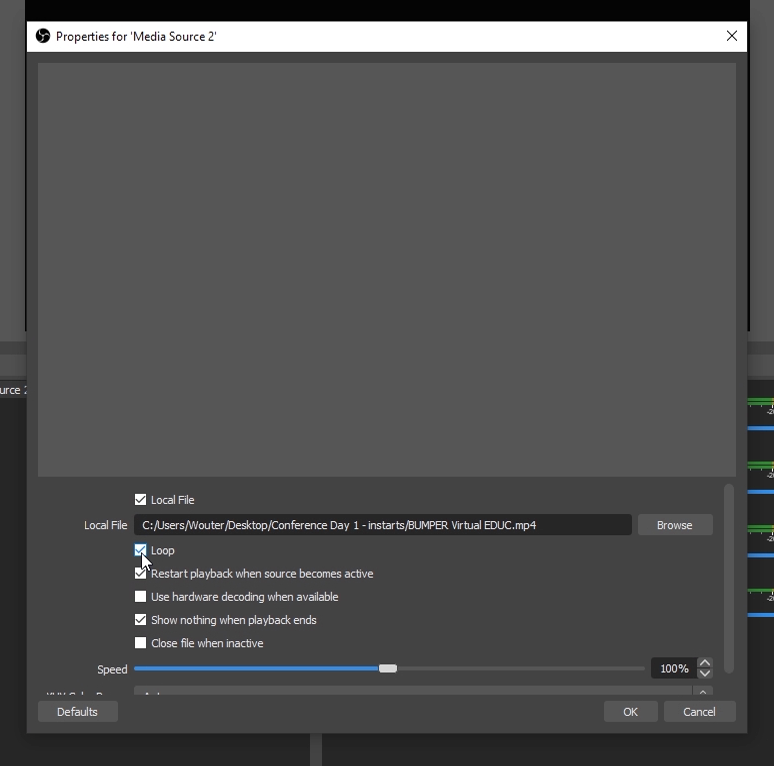
- Now it will show the graphic until we click away
- Switching to the different scenes is as easy as clicking on them. If you click on Main cam it will stream Main cam, if you click on Scene 2 it will stream Scene 2
- If you want to switch between the different green screen background upload different sources. Click on the eye icon to switch the sources on or off
.png)
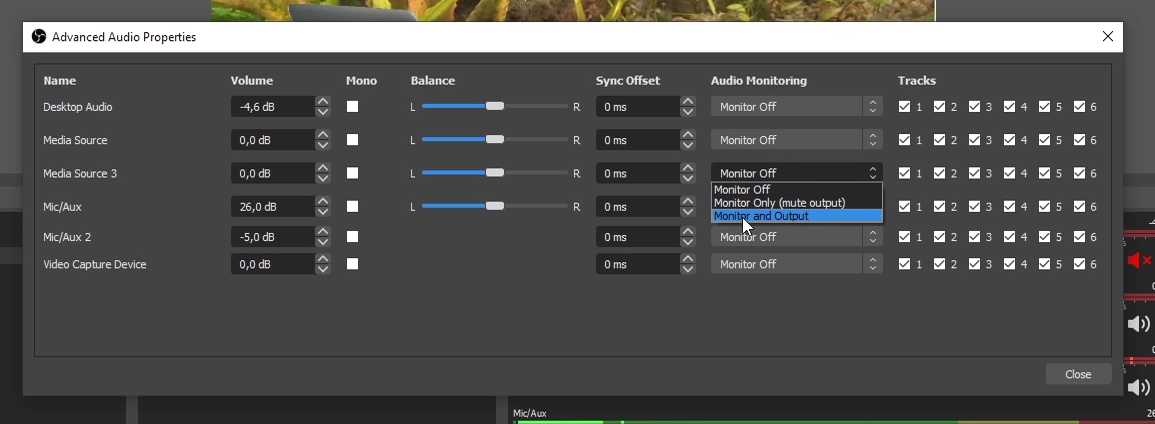
- If you add a new source a new audio track will be created as well, if you want the audio to play back on the stream:
- Click on the gear icon of that specific audio track
.png)
- Choose advanced Audio Properties
- Make sure the audio is set under Monitor and Output
- Now you are ready to start streaming
- If you want to stream on a platform supported by OBS follow these steps:
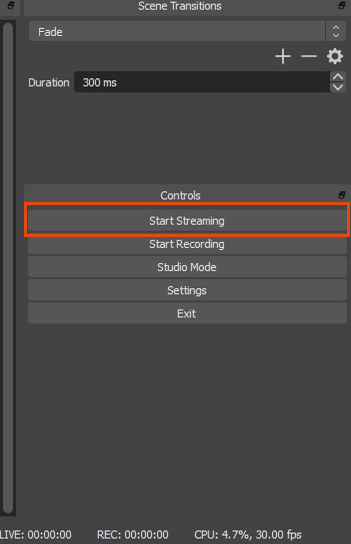
- Click on Settings
.png)
- Go to Stream
- Choose your Service
.png)
- Click on Start Streaming
- Control your stream by switching between the different scenes and sources
- If you want to stream on a platform not supported by OBS follow these steps:
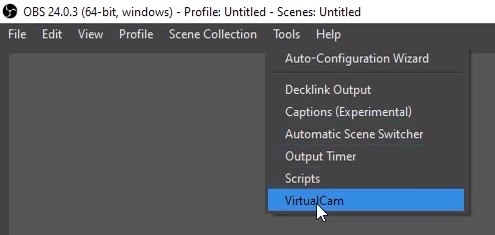
- Go to Tools
- Select Virtual Cam
- Select AutoStart, so the Virtal Cam is started every time you start OBS
.png)
- Click Start
- Control your stream by switching between the different scenes and sources


