To continue with this content, please log in with your Data Access ID or create a new account.
Cancel Data Access ID
You may not be authorized to see this content. Please contact Data Access Europe for more information.
Cancel Data Access Europe
You are not authorized to see this content.
Cancel Data Access Europe
Next lesson:
Automating the installation process
Cancel

How to deploy your WebApp

Lesson 3: Basic website deployment

The previous lessons in this course were to introduce the components and structure of a WebApp, and to show how the Studio, Microsoft IIS and the WebApp Administrator could be used to gain insight into how the system works together. An easy method for getting a WebApp to run in a development environment was also shown by cloning an existing application. This lesson will show a complete installation using a single server to host all the components; IIS, WebApp Server, the application and it’s database.

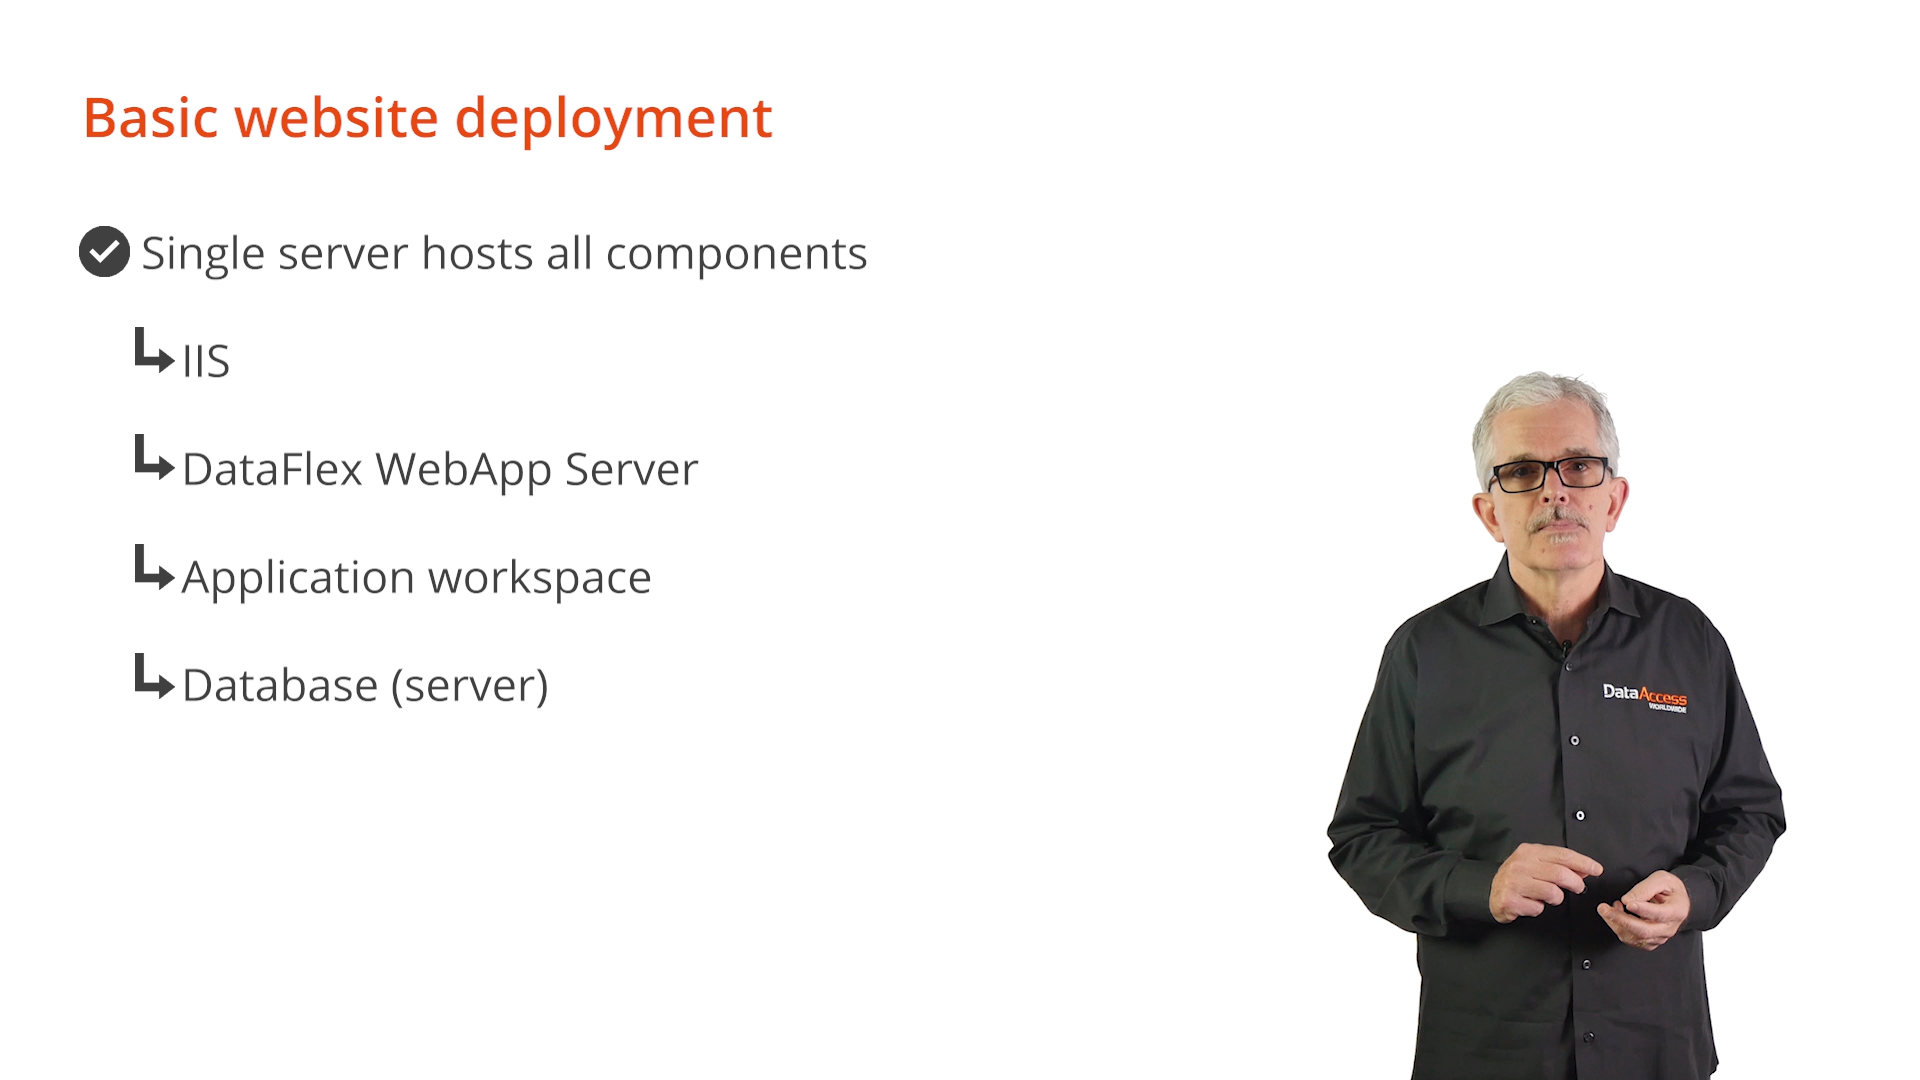
This type of basic configuration can be public (internet) or private (intranet) and are very easy to configure. The lack of robust security, when compared to other options, is a limiting factor in selecting such a simple configuration, but it does have its uses.

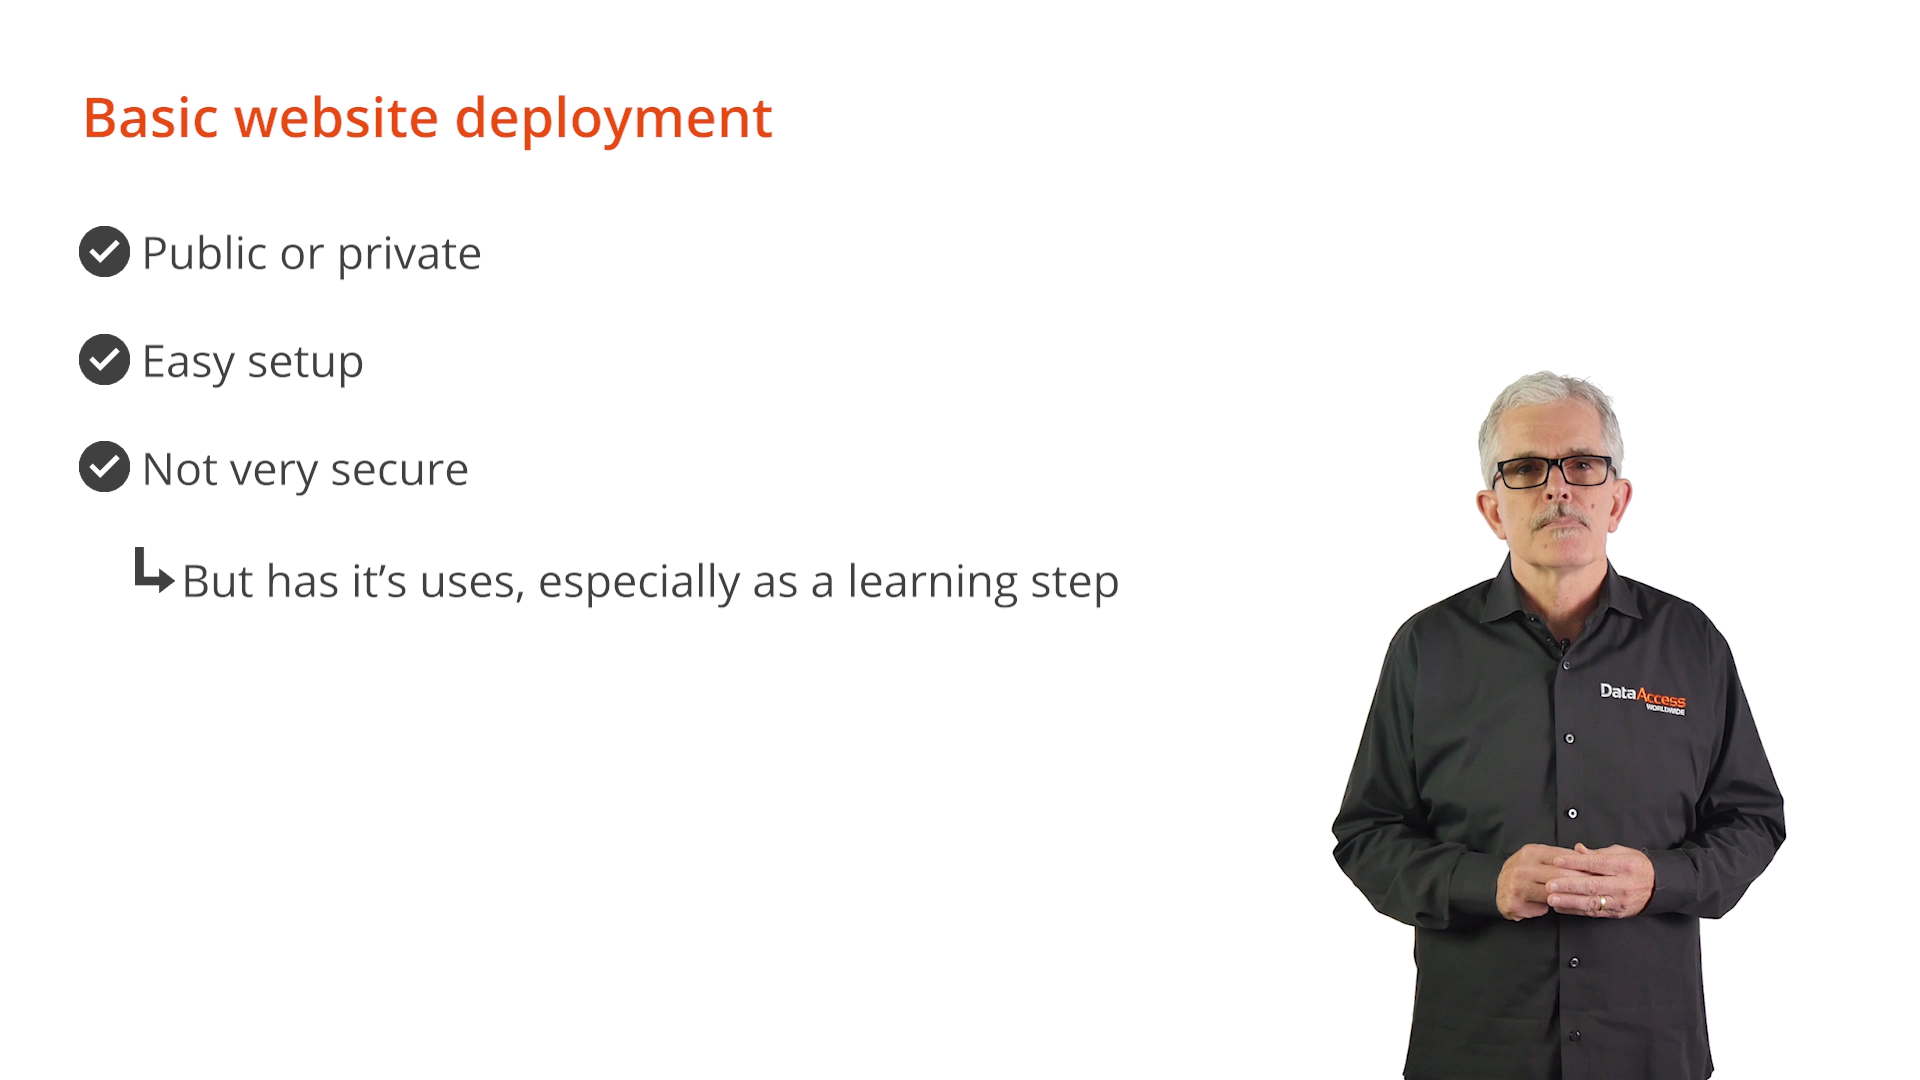
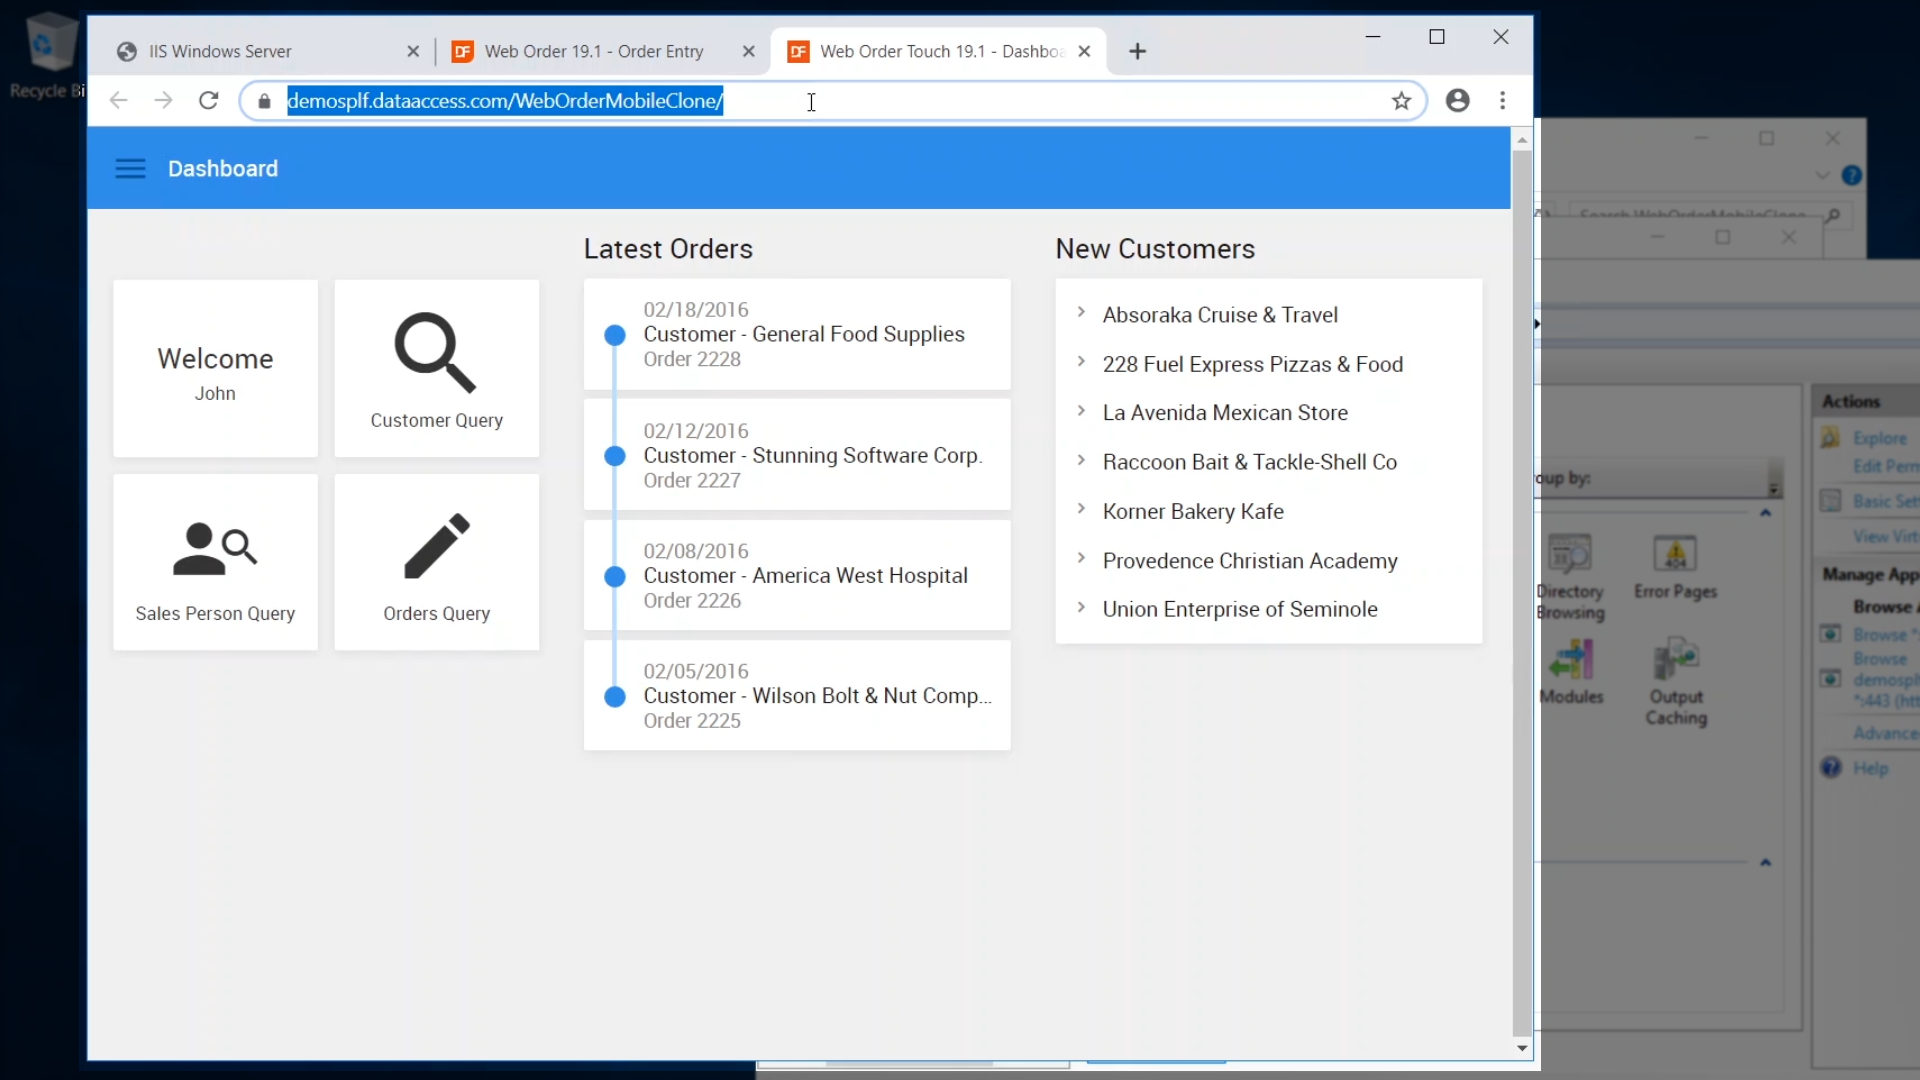
A single machine is accessible by the user’s browsers (always use HTTPS!), and the data is accessed directly by the processes on the web server.

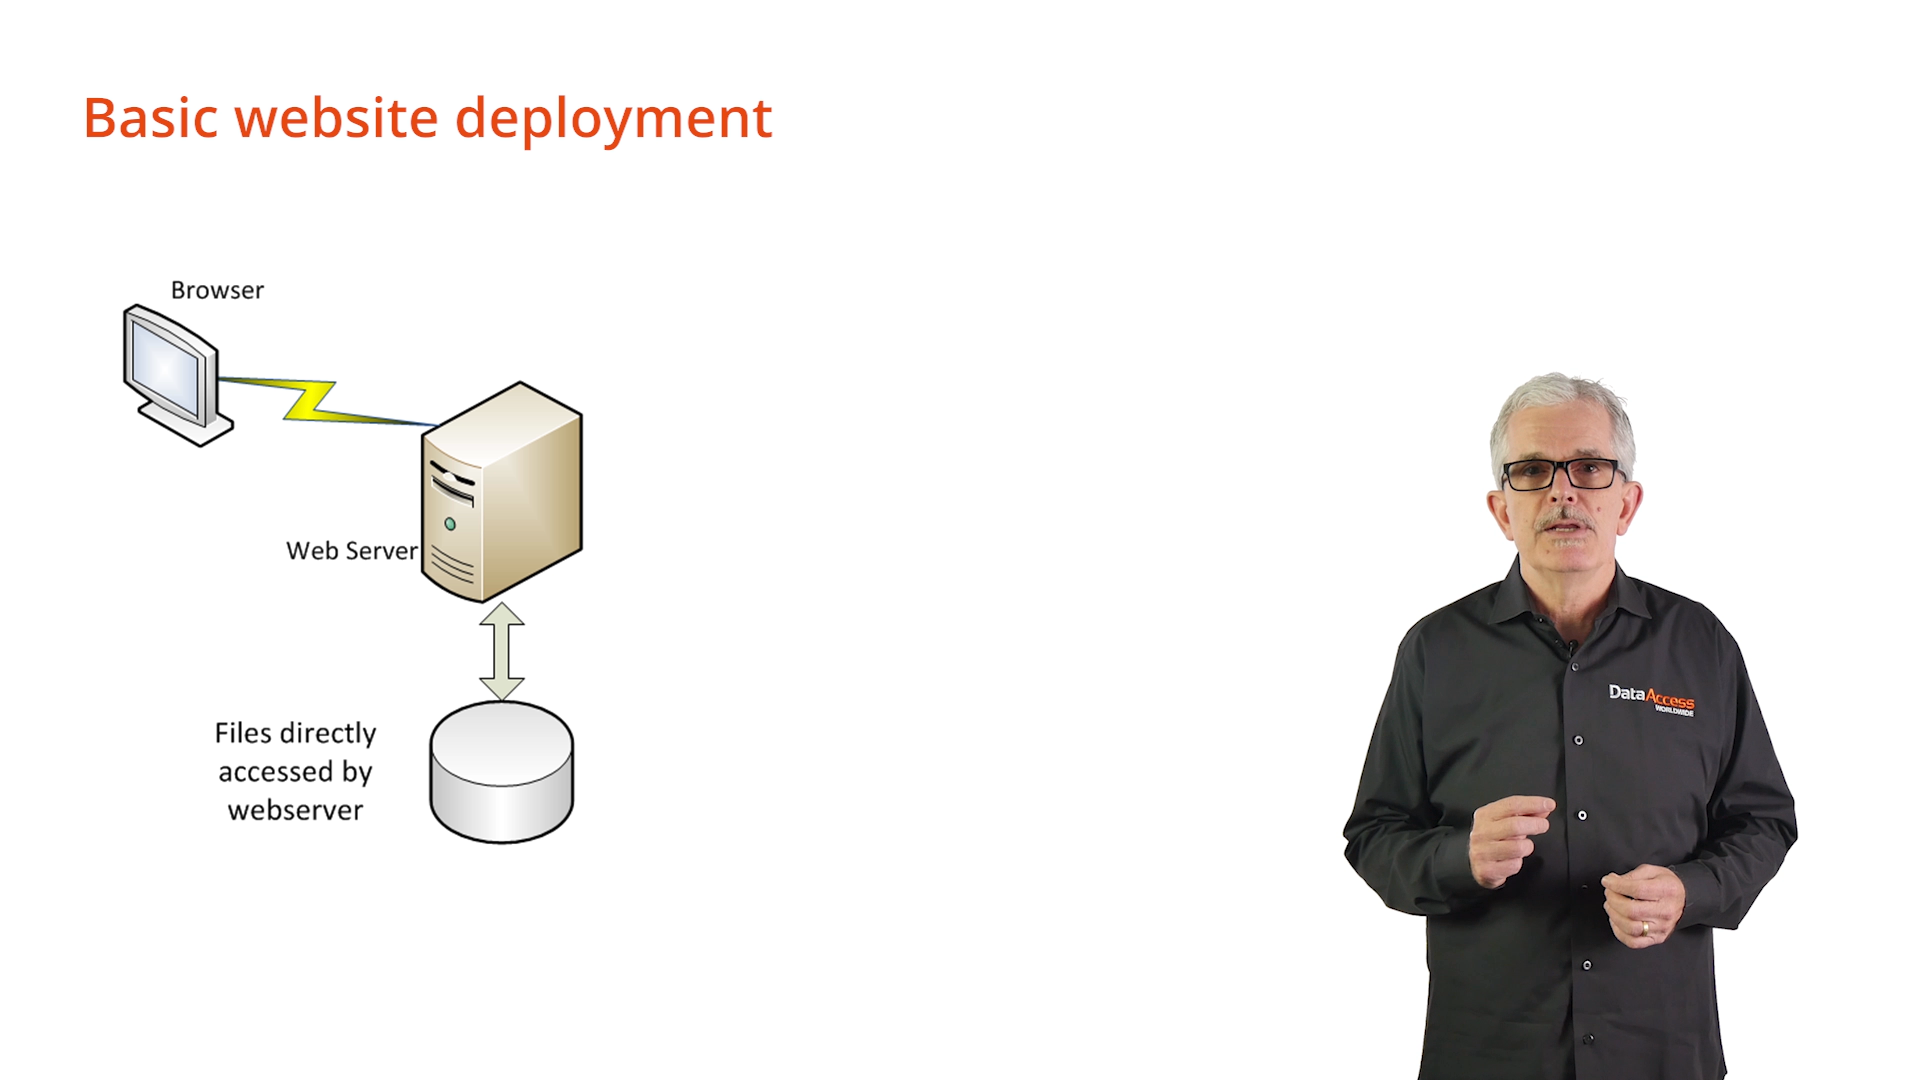
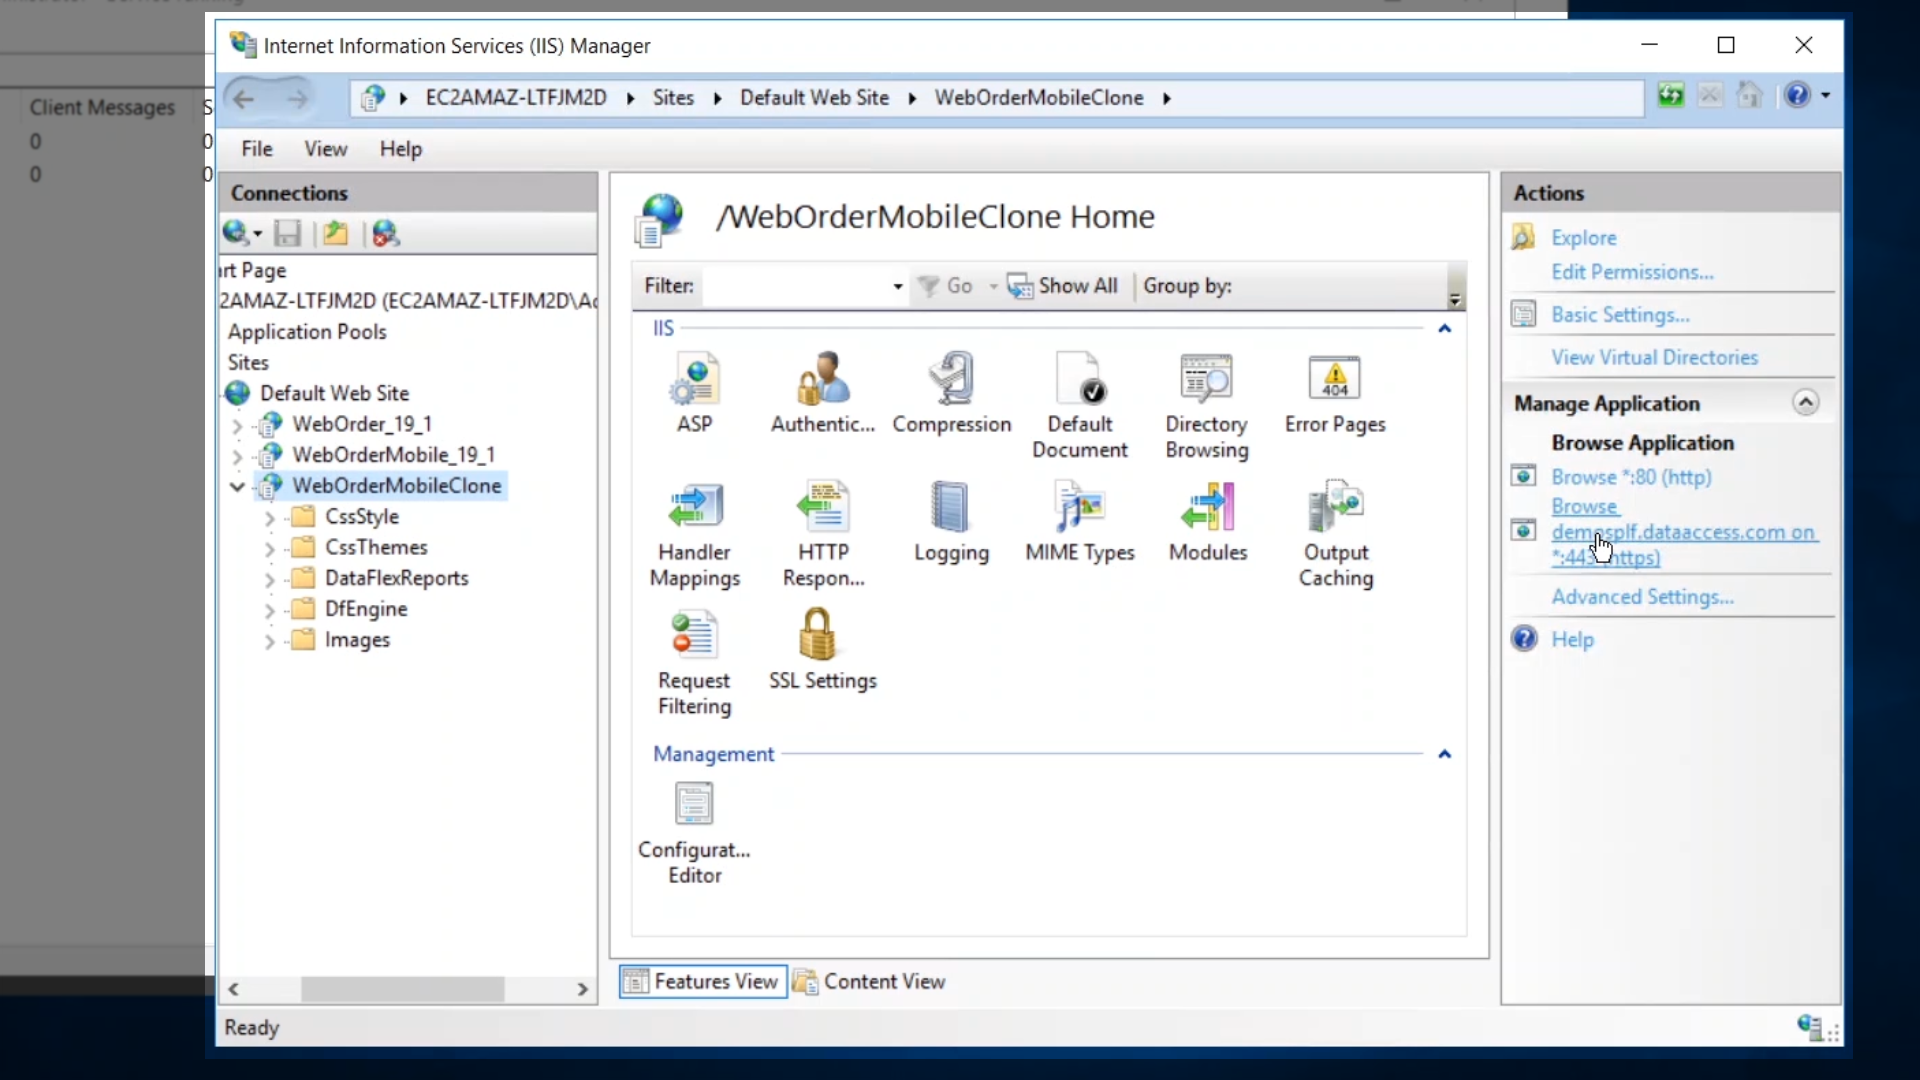
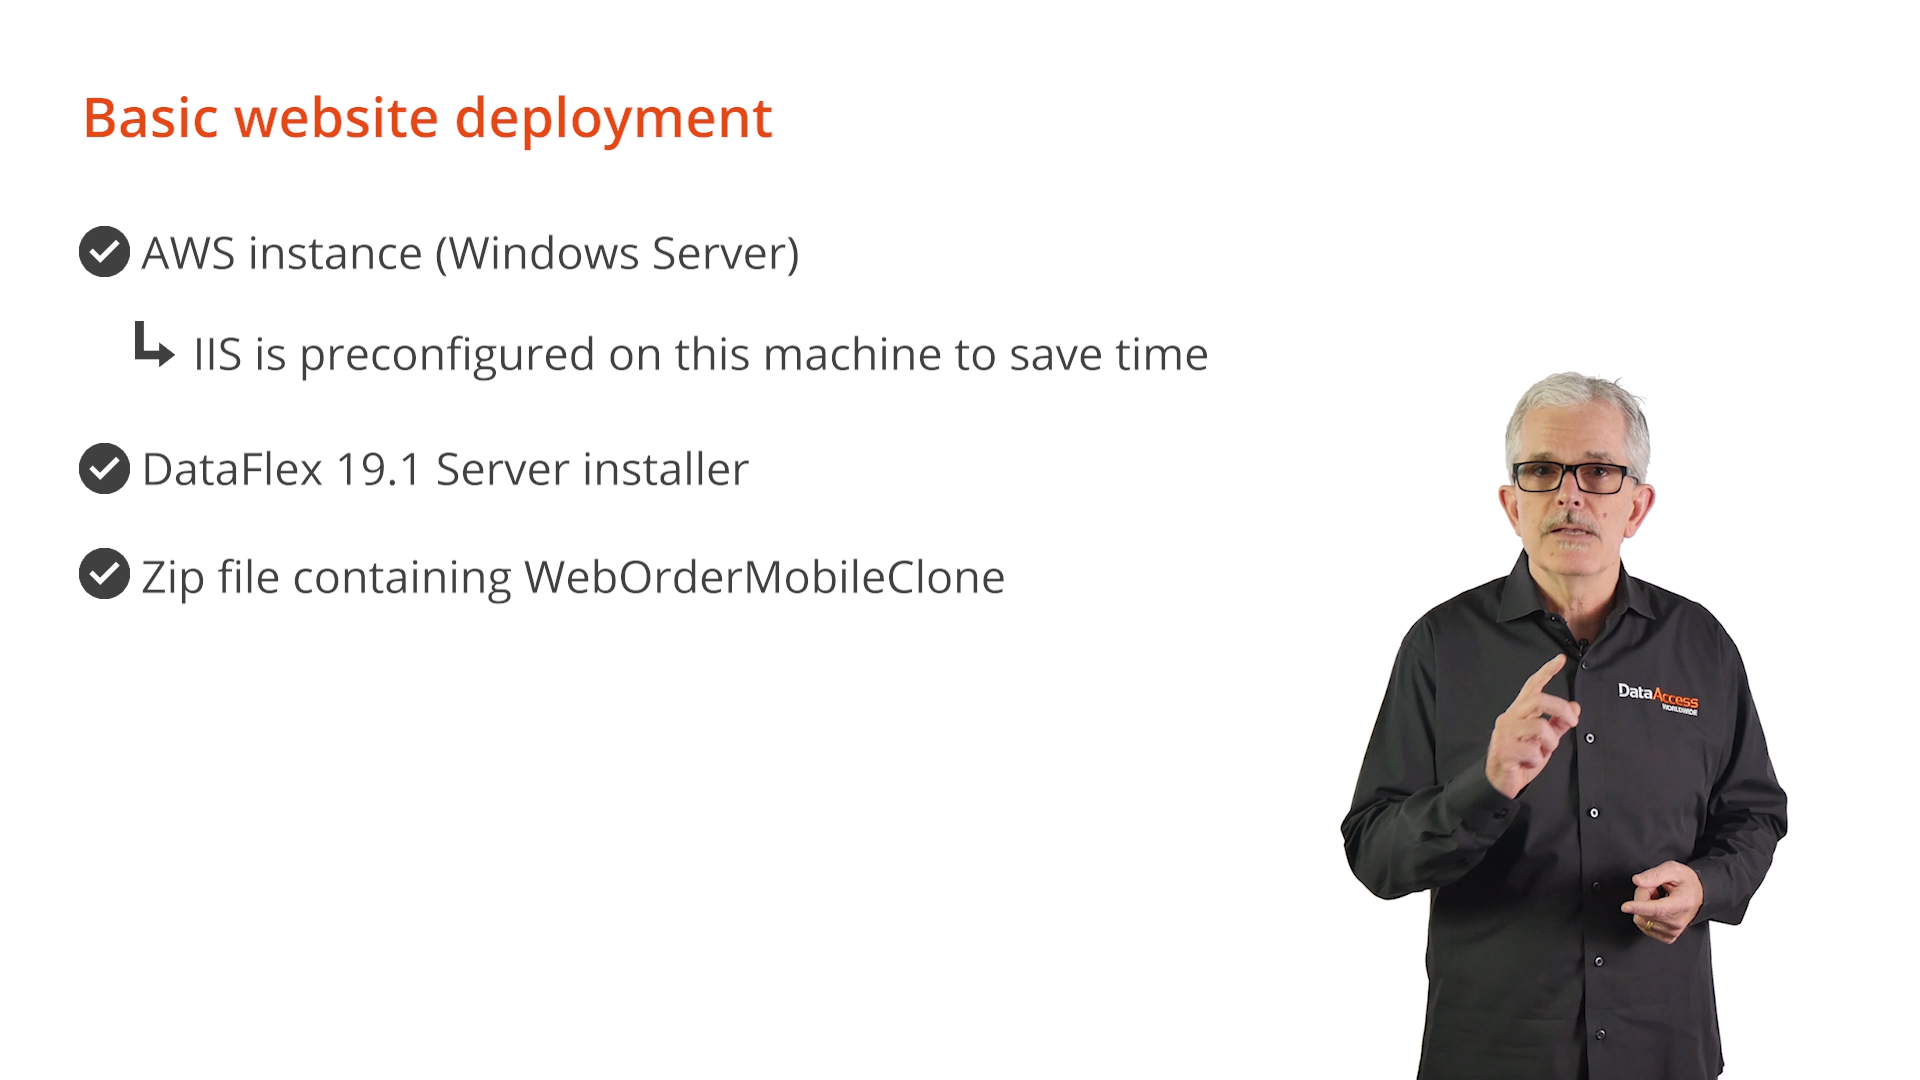
An AWS Windows Server instance will be used to demonstrate this basic website configuration. IIS is already set up as a server role, and the DataFlex WebApp Server installer and a zip file with WebOrderMobileClone have been copied to its drive.


Demonstration

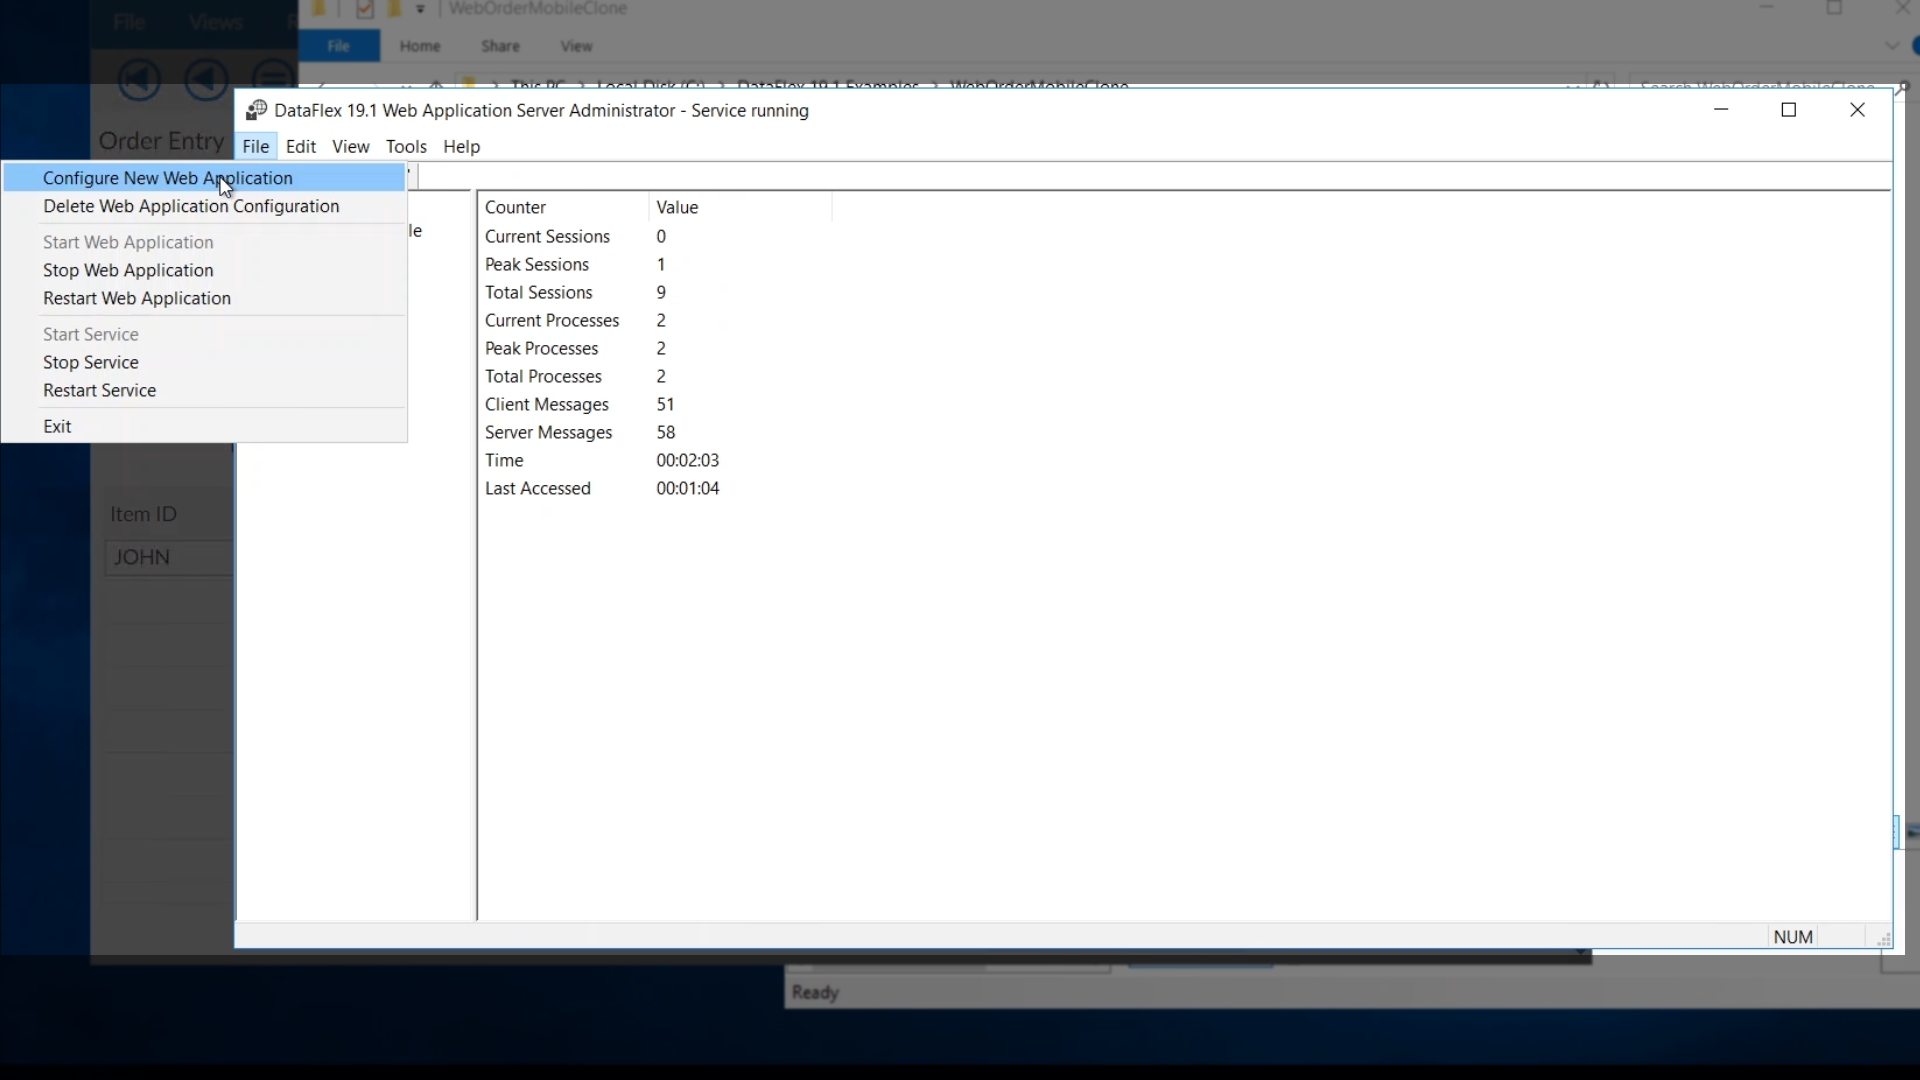
IIS Manager and a browser will be used to show that IIS is installed and functioning on the system. A domain has been setup on the webserver, so IP addresses don’t have to be dealt with and to implement a basic level of security.

  • The WebApp Server installer and a zip file for the application can be found in the ‘Downloads’ folder
  • Double click on the .exe file to start the server installation, and accept the defaults for configuring IIS, the English language, the locations for the server components and the examples to complete the installation

  • Two standard WebApp examples are now installed and can be seen in IIS
  • They can be accessed from a browser both locally and across the web

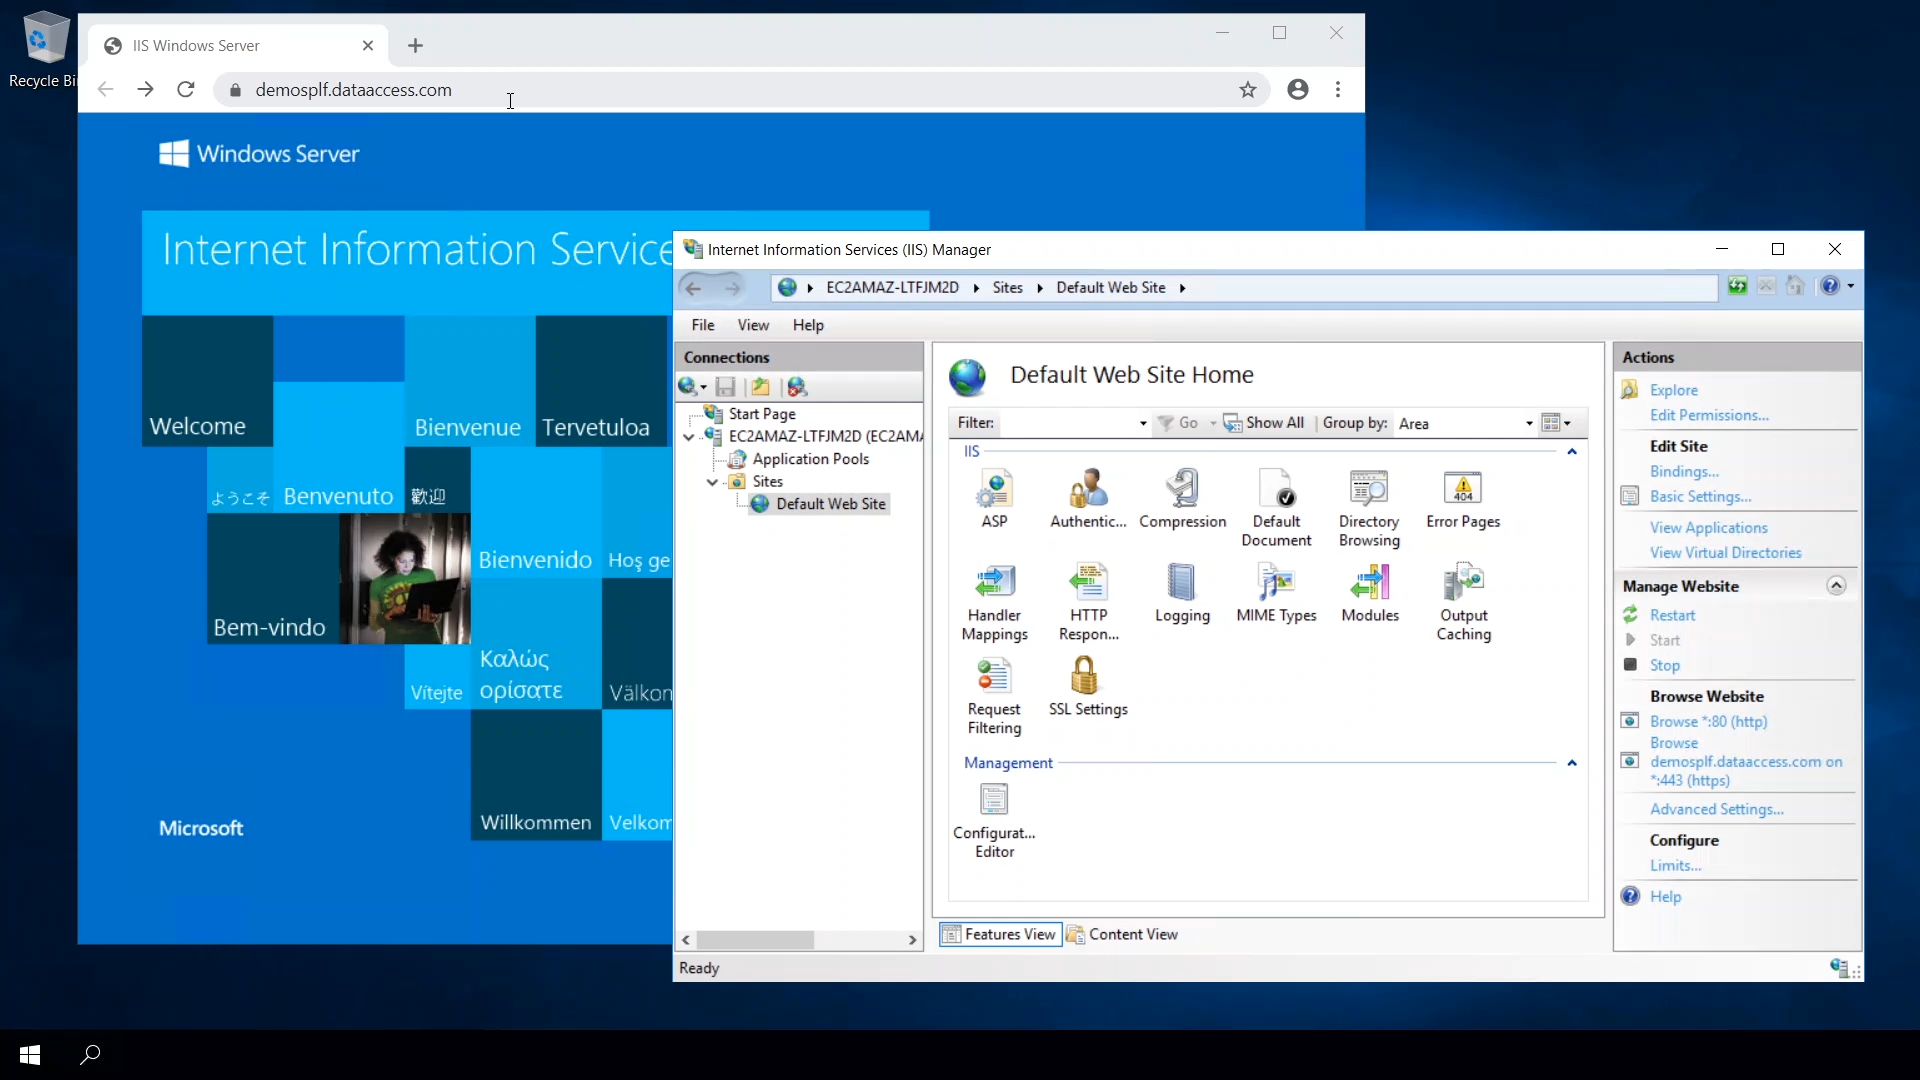
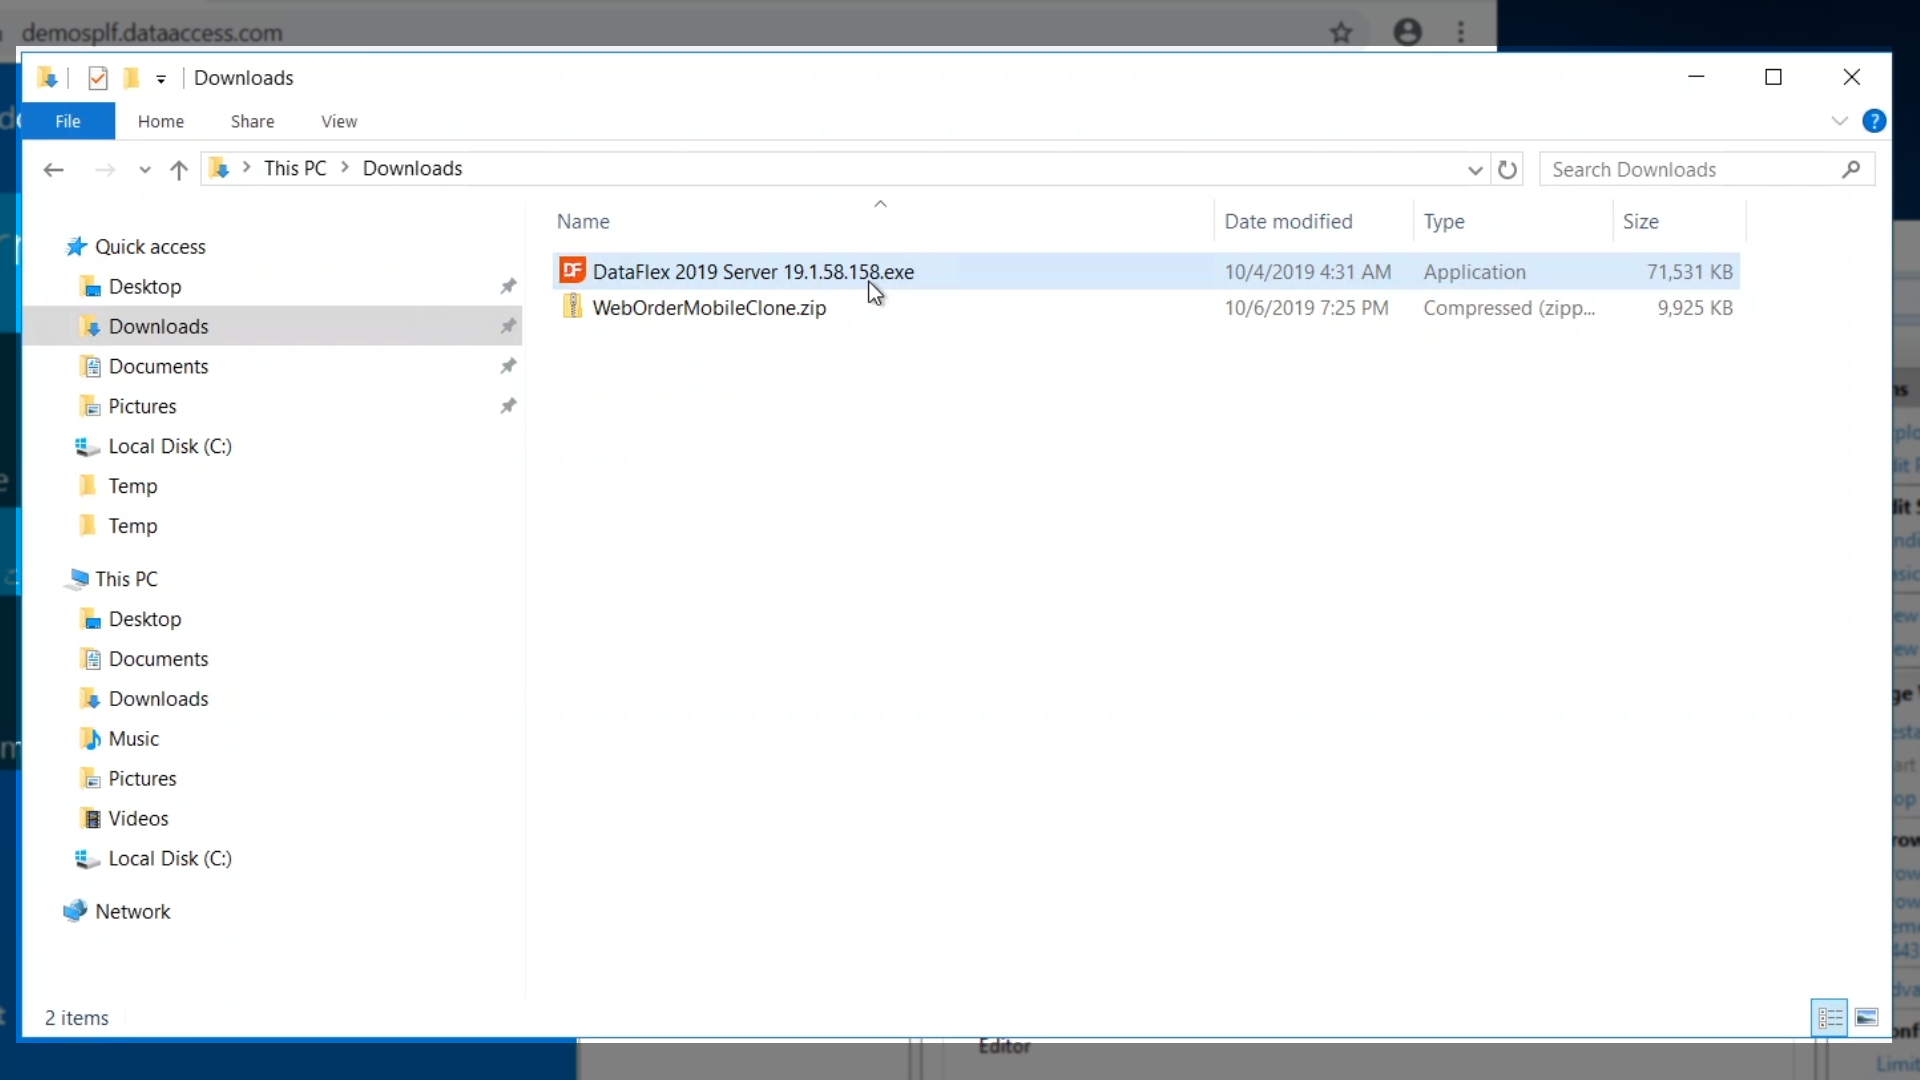
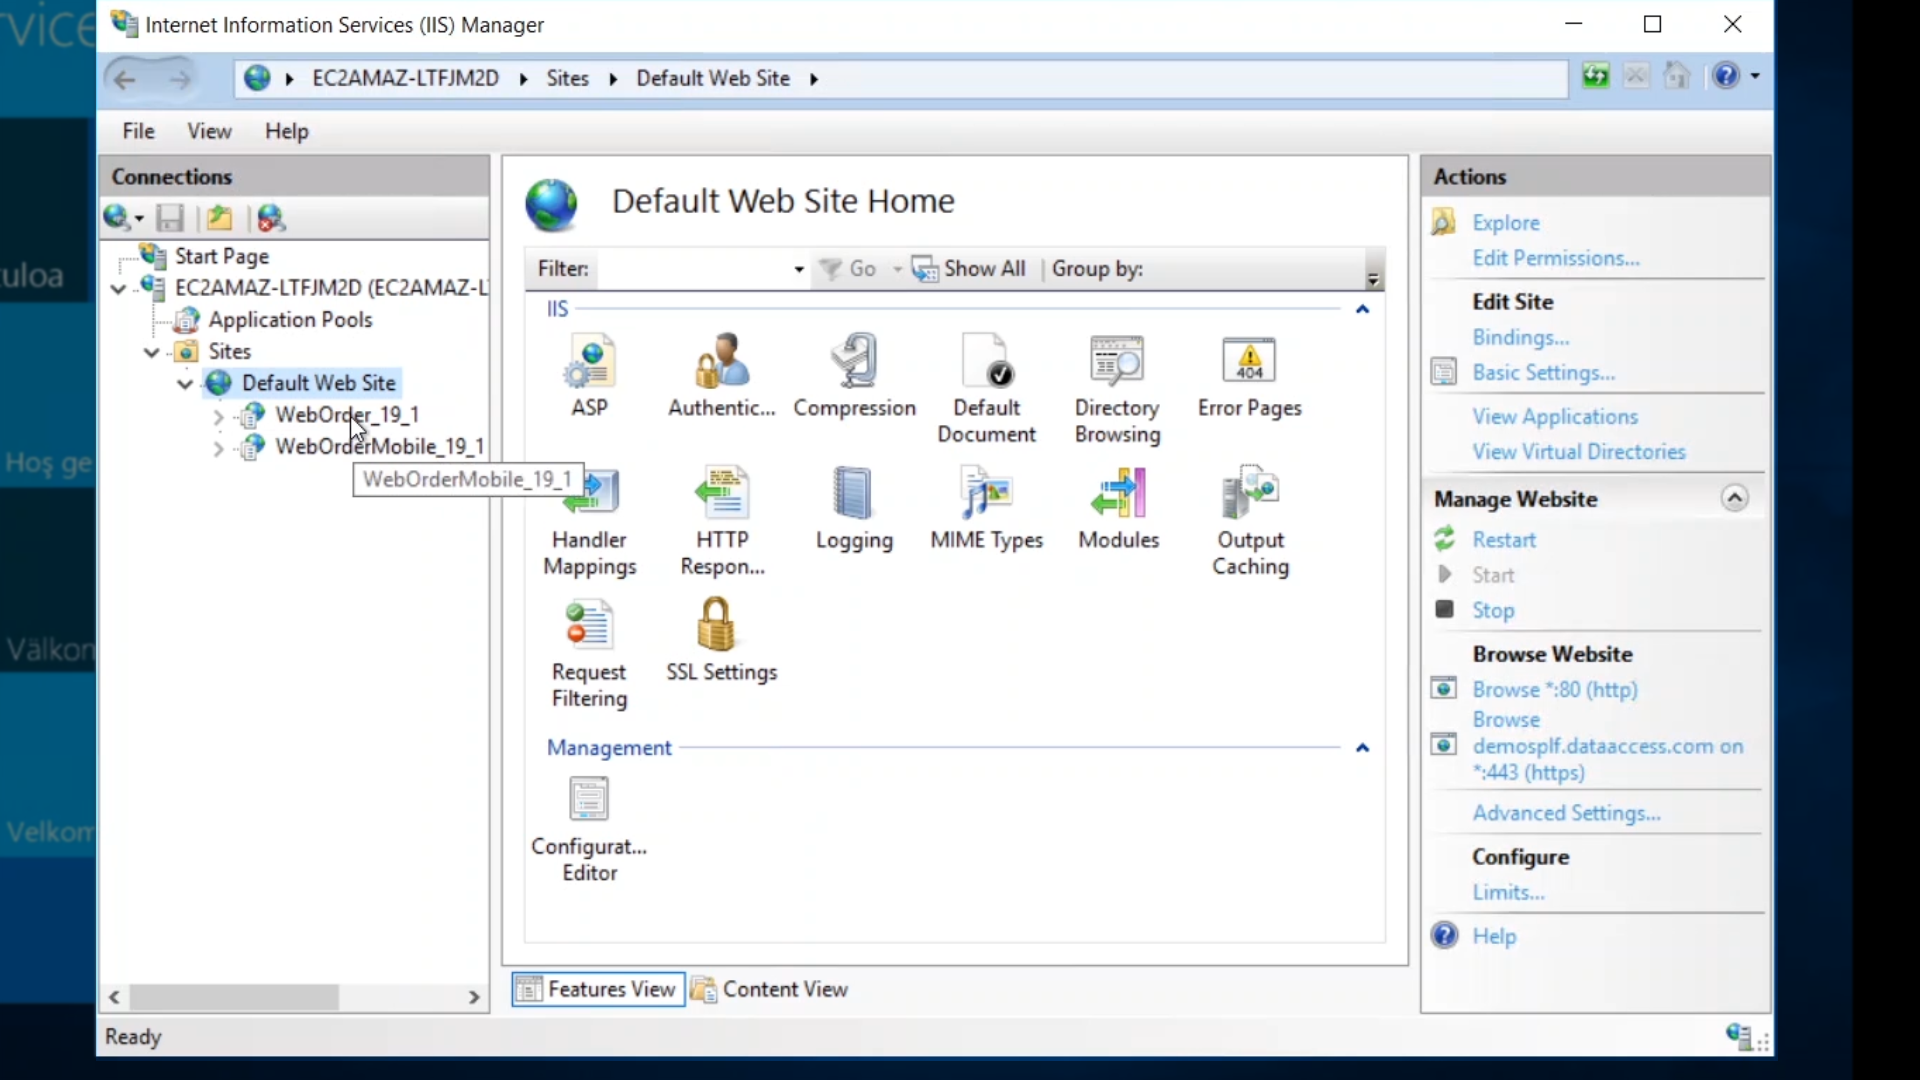
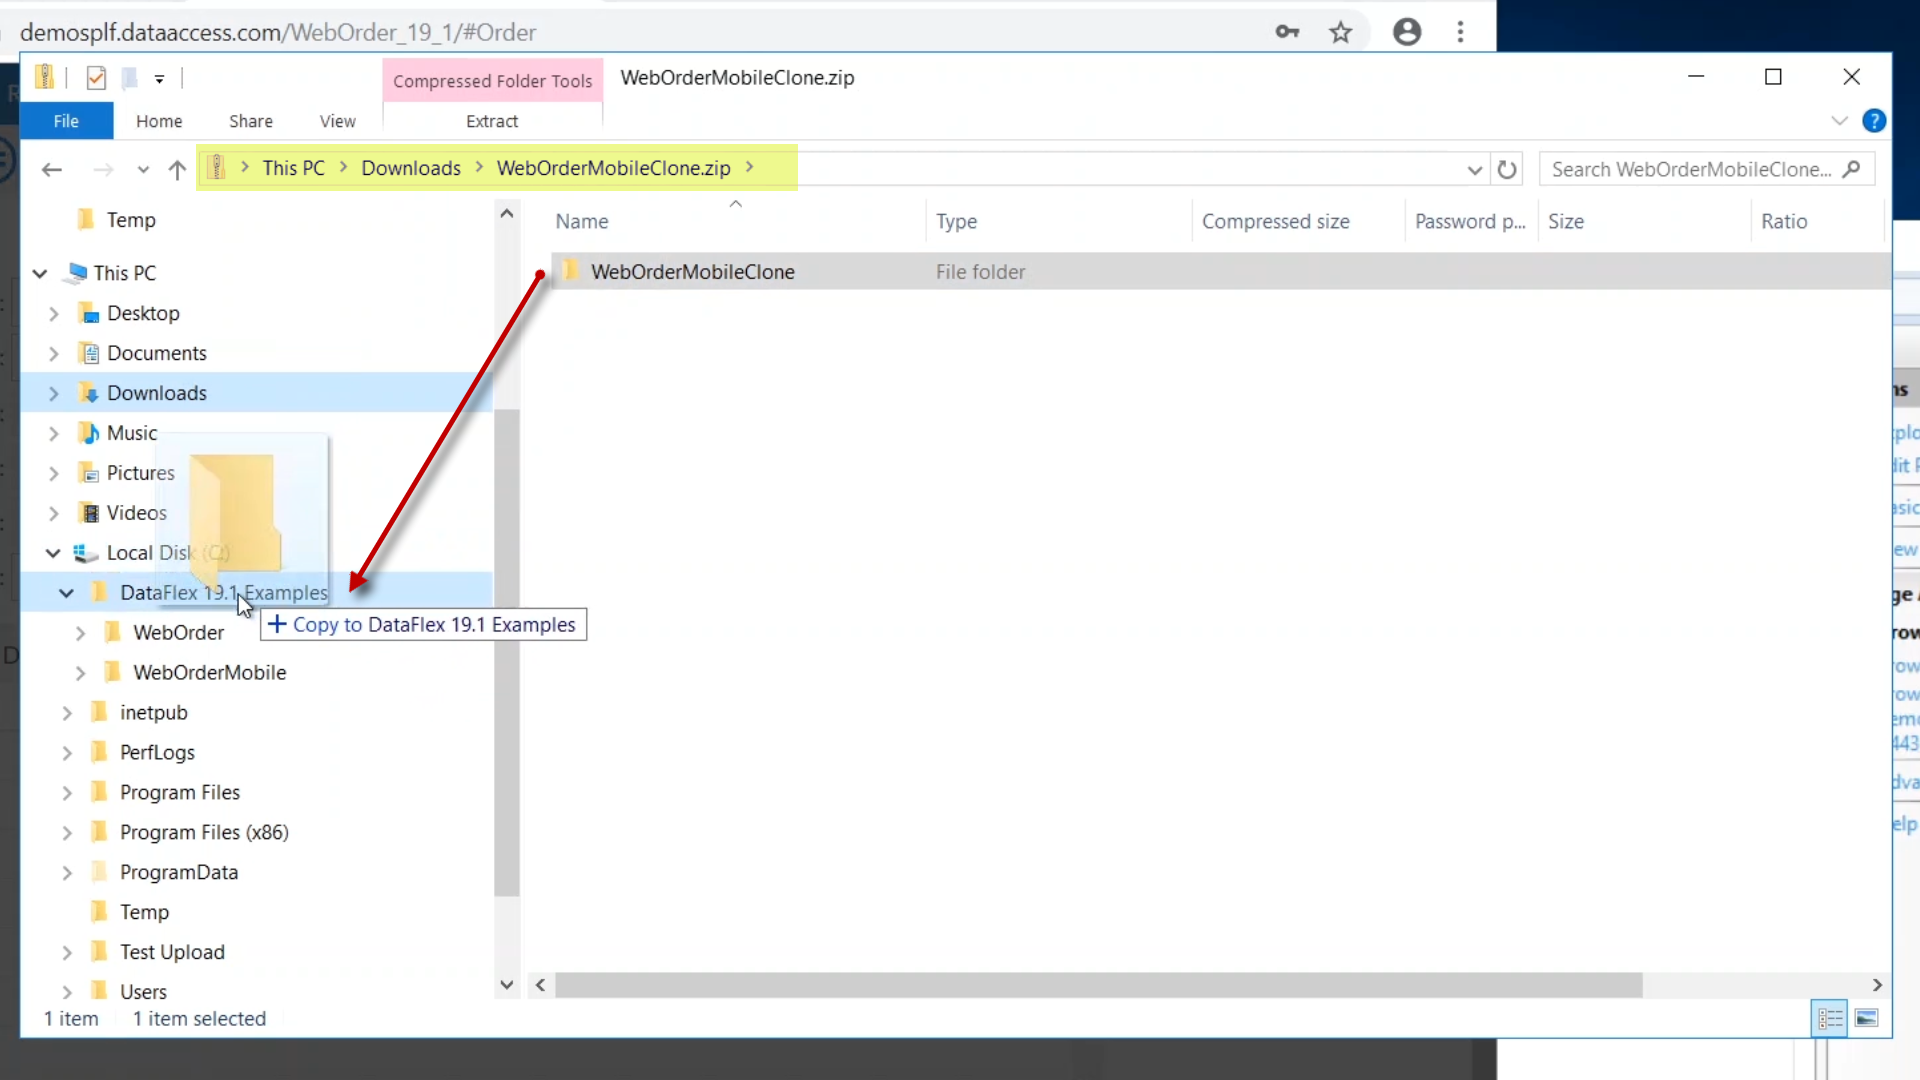
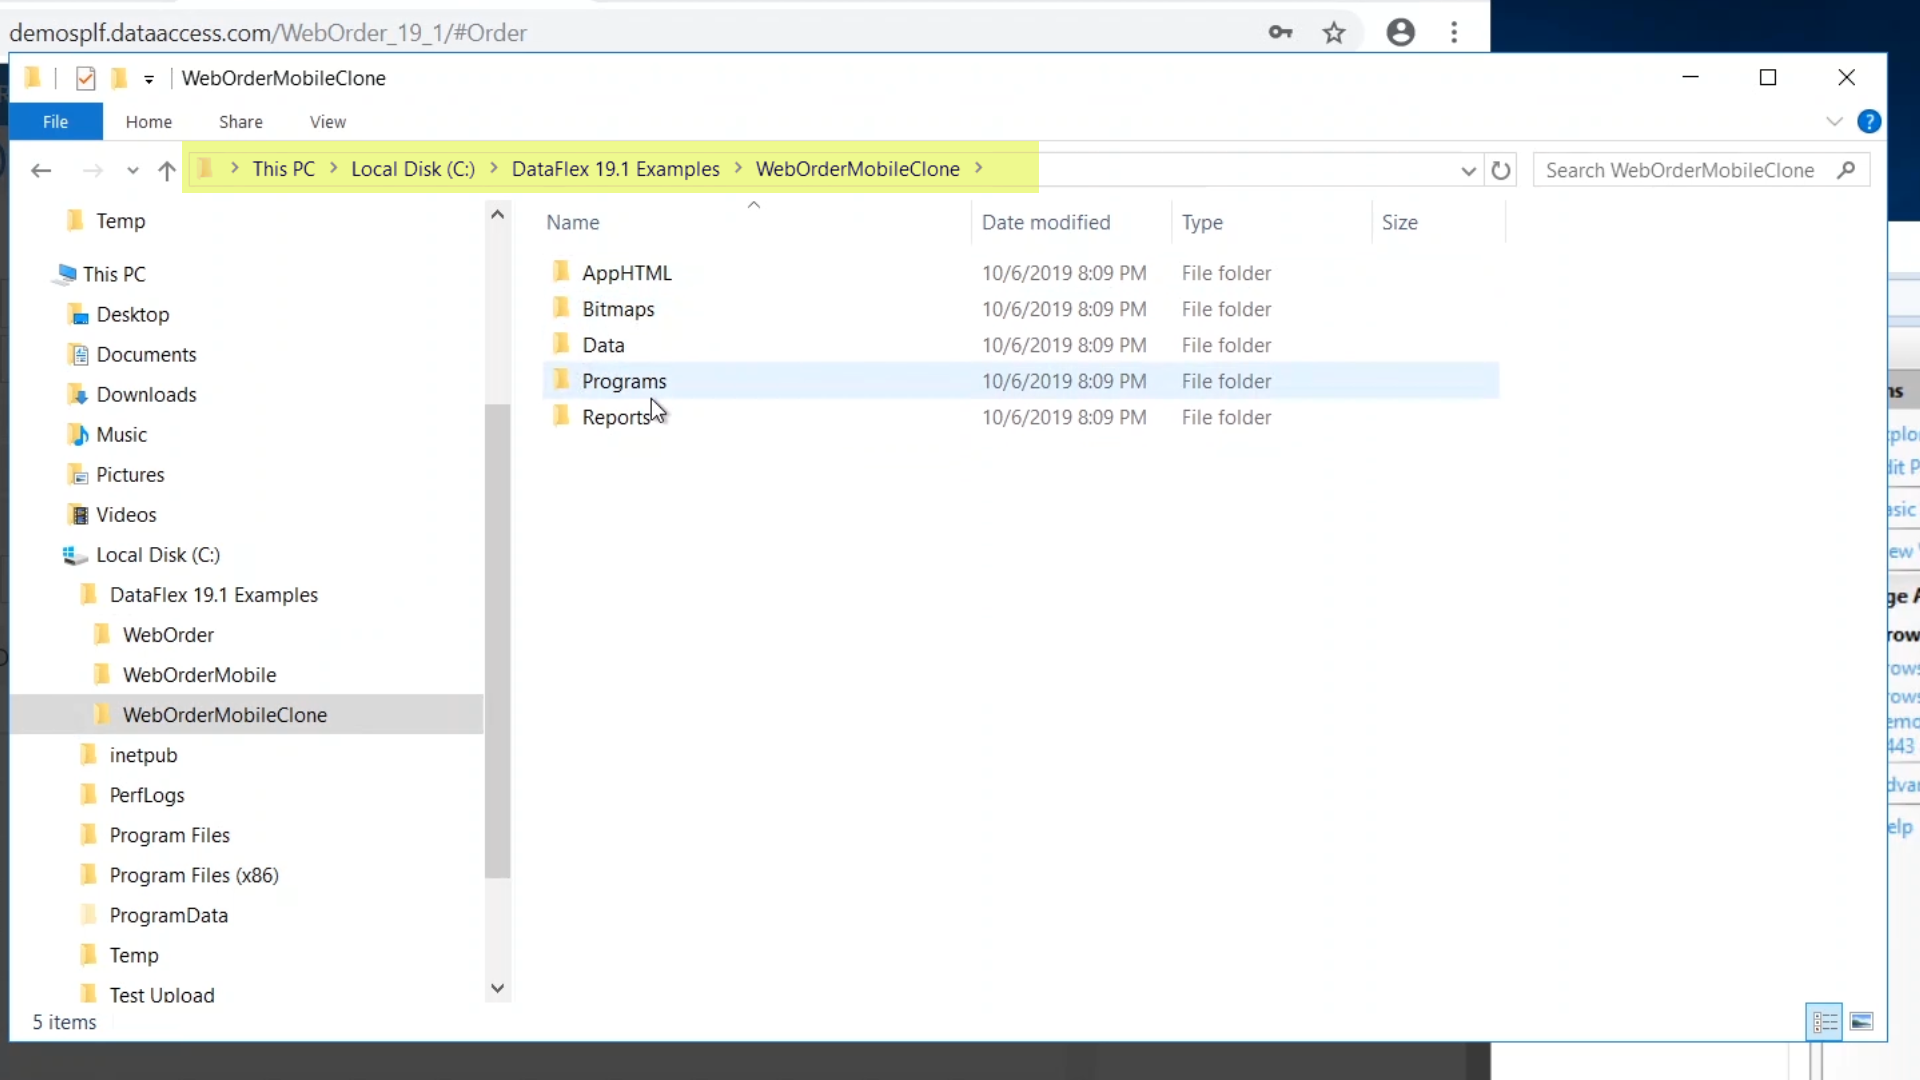
The next step is to unzip the WebApp into the examples folder because the server installer has already set the necessary permissions for the WebApp Server and IIS to access the application. 

  • Double click on the zip file from the ‘Downloads’ folder
  • In the left panel of Windows Explorer, expand ‘Local Disk (:C) > DataFlex 19.1 Examples’ 
  • Drag and drop the ‘WebOrderMobileClone’ folder into the ‘DataFlex 19.1 Examples’ folder in the left panel
  • Double click on the new directory to see that the workspace has been reduced to only include the folders necessary for deployment
  • From the Web Application Server Administrator, select ‘File’ from the top menu and select ‘Configure New Web Application’

  • Select ‘Next’ since the app is local to the machine
  • Browse to find the ‘webapp.exe’ in the ‘Programs’ folder of the workspace
  • Set logging and process pooling as desired

  • All the rest of the responses have been determined by the application workspace, there is no need to change them
  • The WebApp is automatically started and is available to IIS and accessible through the browser by clicking the URL for app under ‘Browse Application’ in the right panel of IIS