Getting to know the Web Controls
Lesson 19 - cWebFileUploadButton
In this lesson we will take a look at the WebFileUploadButton control. The WebFileUploadButton is a button that opens a file selection window, enabling the user to upload files to the server and utilize them at a later time. This is particularly useful for tasks such as adding pictures.
DEMONSTRATION
- We have made a new view in the WebOrderMobile Example.
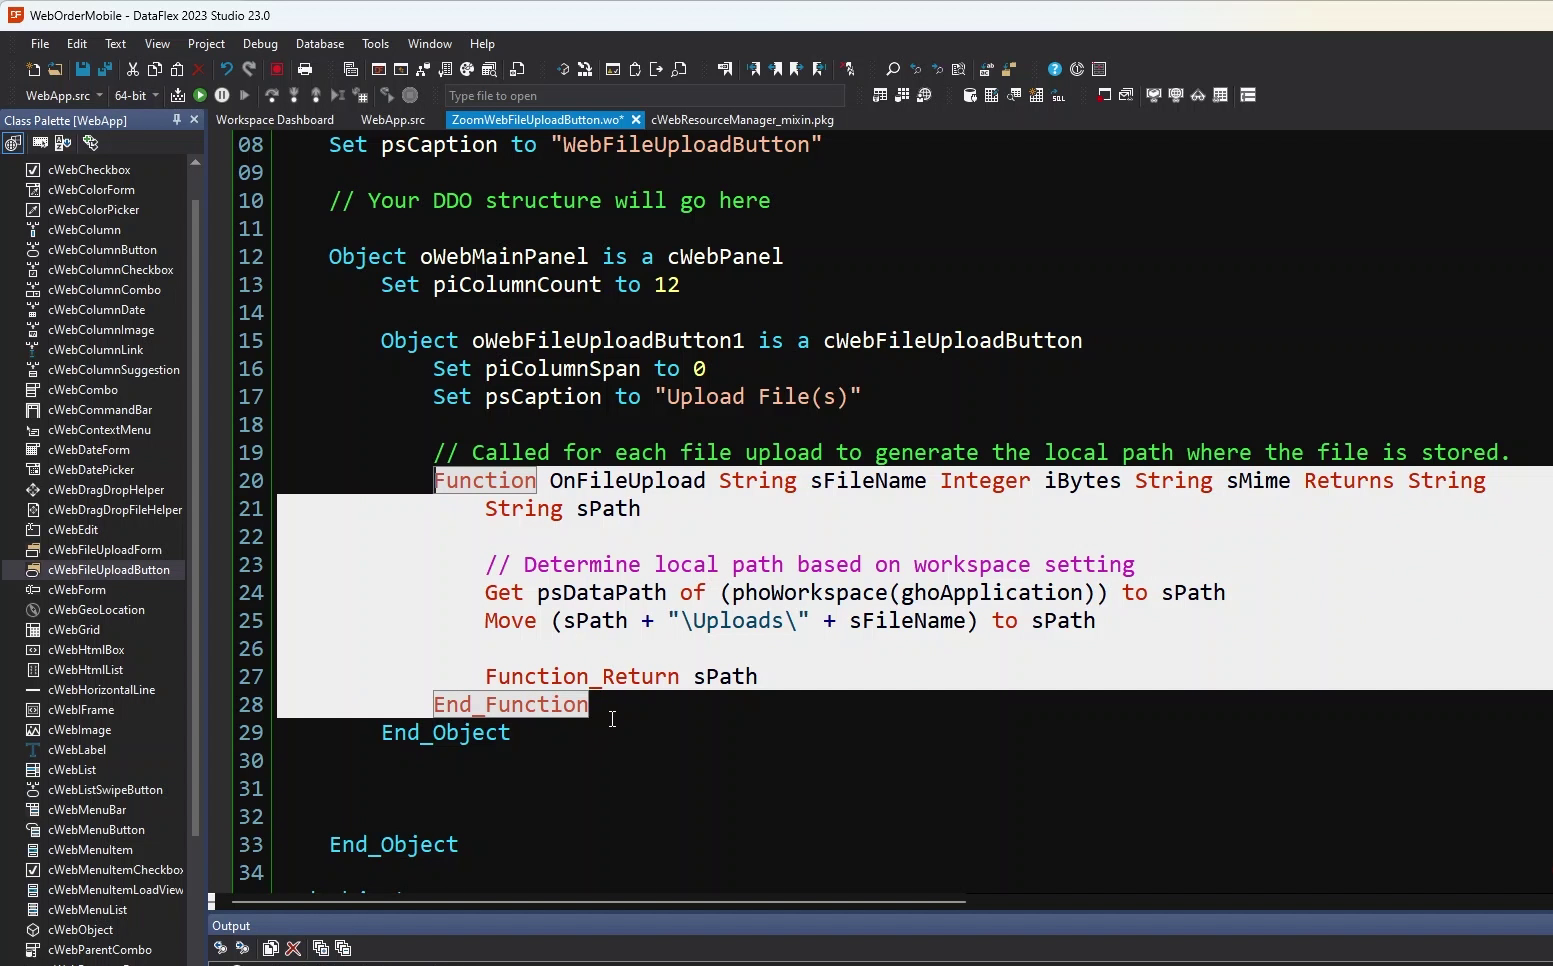
- When you want to implement the WebFileUploadButton, you can drag it from the class palette or code it yourself.
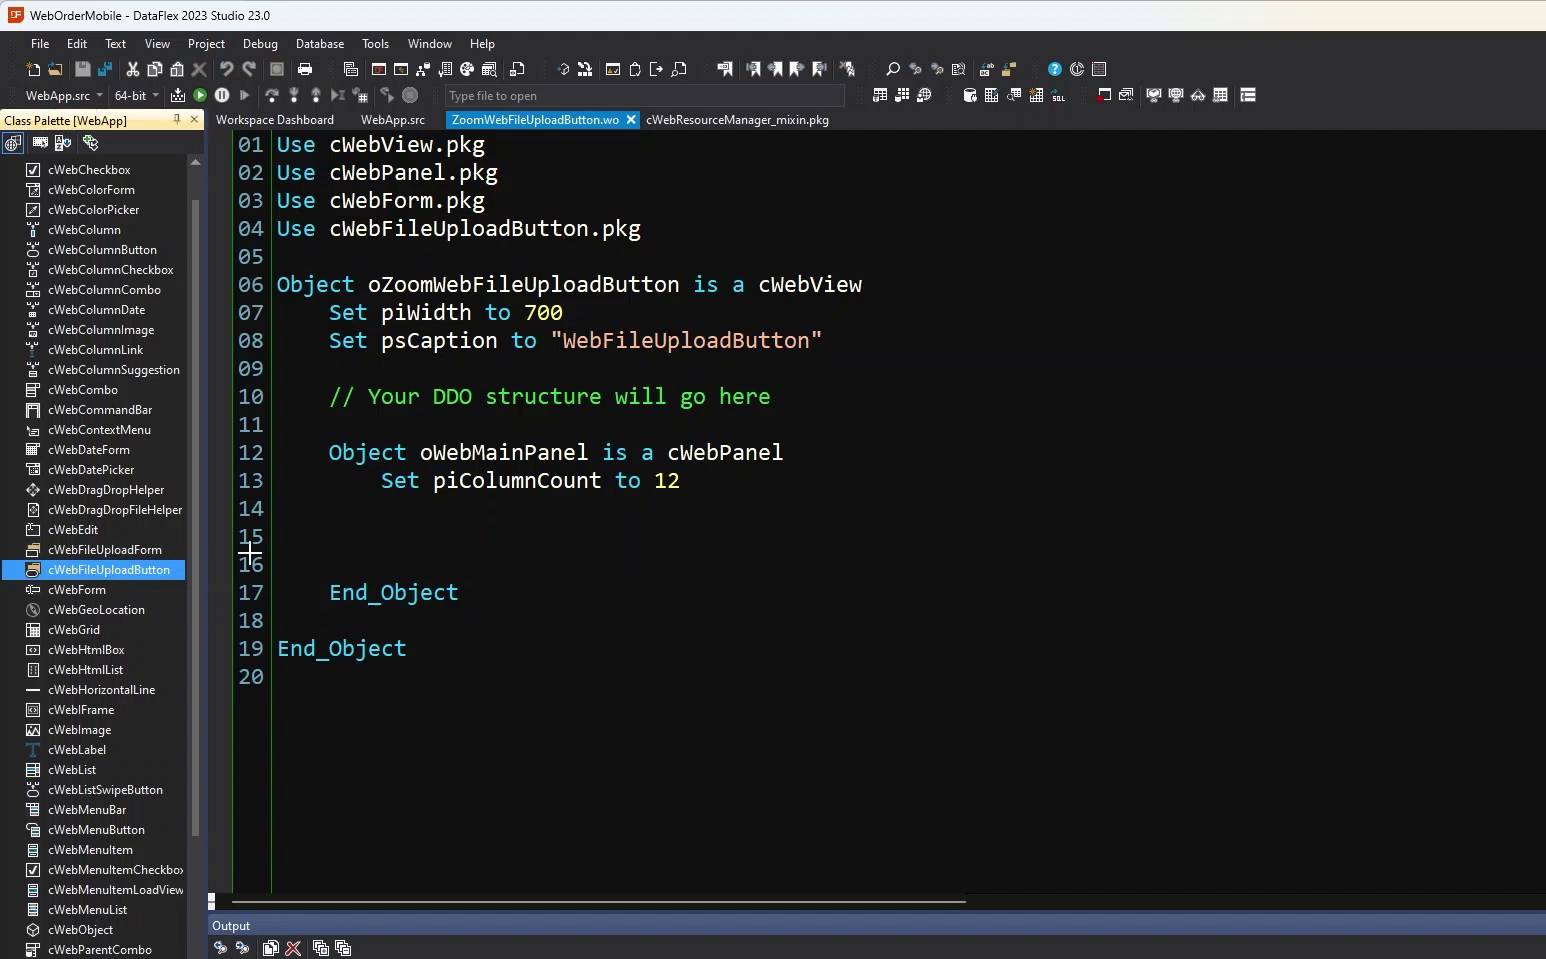
- As you can see, the "OnFileUpload" function is automatically generated.
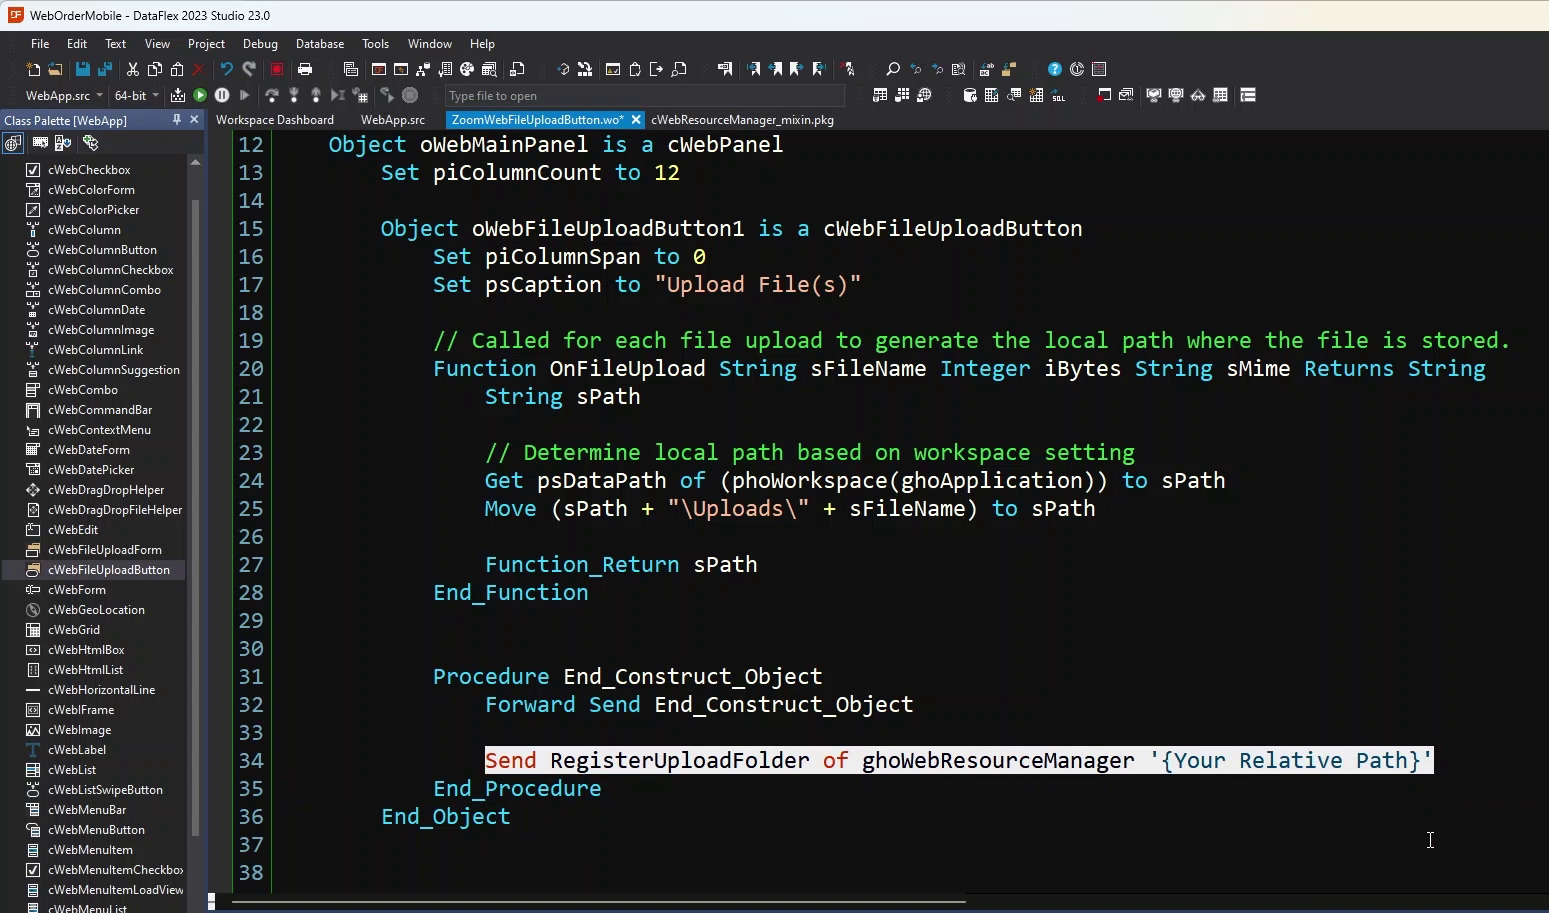
- Keep in mind that you need to register the upload folder.
- By default, the "Uploads" folder in the "Data" directory is registered, but if you want to use a different folder, you need to register it.
- Now, let's look at the button. As you can see, there is now a button in the view.
- If we click it, you'll notice that the file explorer opens.
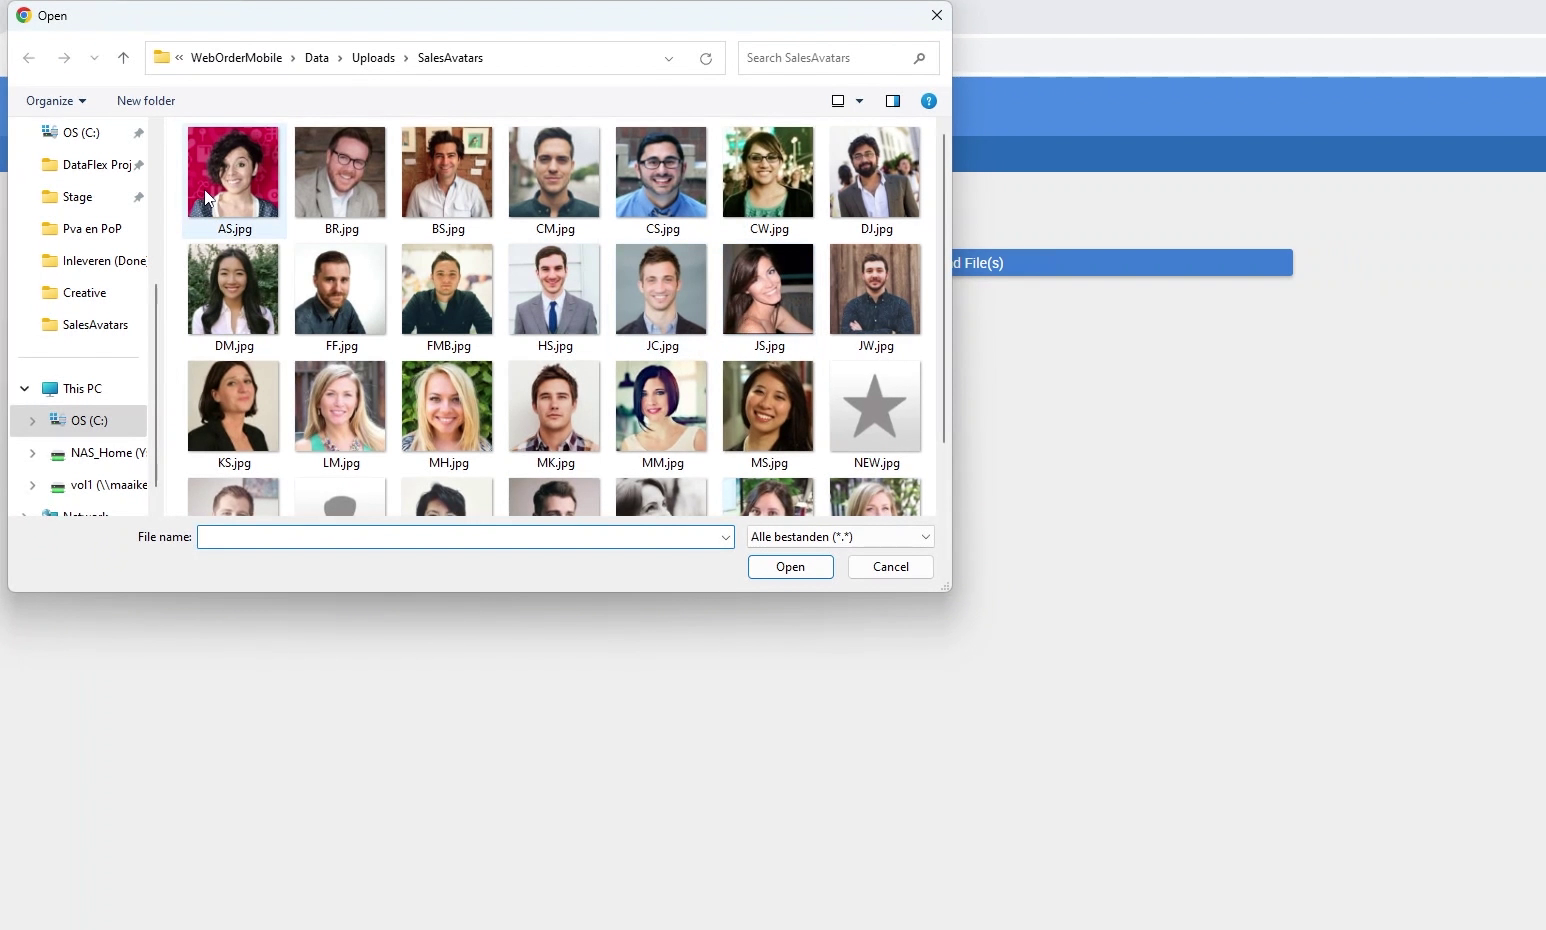
- You can select any file you want, and it will be uploaded to the "Upload" directory.