Efficient version control with Git in DataFlex
Lesson 2 - Git basics
In this lesson, we will cover essential commands for setting up your repository.
If you prefer using a graphical user interface (GUI) rather than terminal commands, tools like Fork, Sourcetree, Tower, or GitHub Desktop are available. These tools allow you to execute these commands in a user-friendly interface. However, let's start with the basics and delve into some fundamental concepts.
- To initiate a repository, you can either create one on a Git hosting service like GitHub or GitLab or establish a local repository on your machine using the 'git init' command.
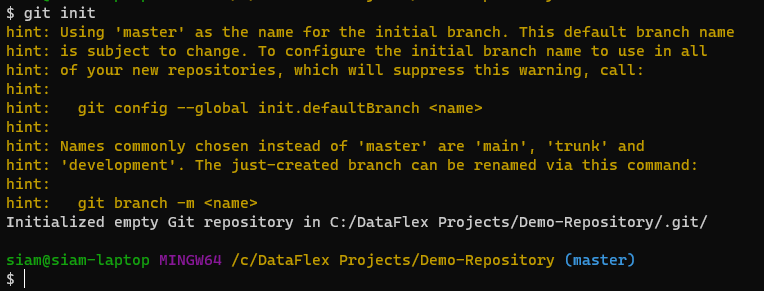
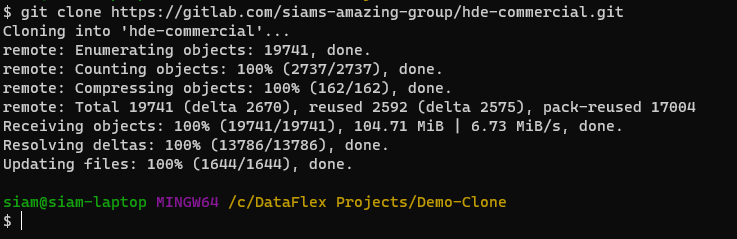
- This command initializes a local repository. If you've already created a repository on a hosting service, you can employ the 'git clone' command, followed by the clone URL provided by the service.
- For creating branches, you can use the 'git branch' command with the branch name...
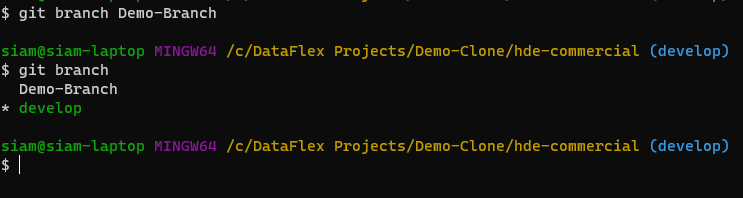
- or employ 'git checkout -b' followed by the branch name to create and switch to the branch simultaneously. 'Git checkout' without the '-b' argument can also be used, followed by the branch name, to switch to an existing branch.


- After modifying your code and preparing to commit changes, add your code to the staging area using the 'git add' command, specifying the file paths you wish to commit. If uncertain about the file paths, add a "." to 'git add' to include all changed files.
.png)
- Alternatively, use 'git status' to identify changed files and copy the paths from the output.

- Once files are in the staging area, commit changes with 'git commit -m' followed by your commit message enclosed in double quotes.

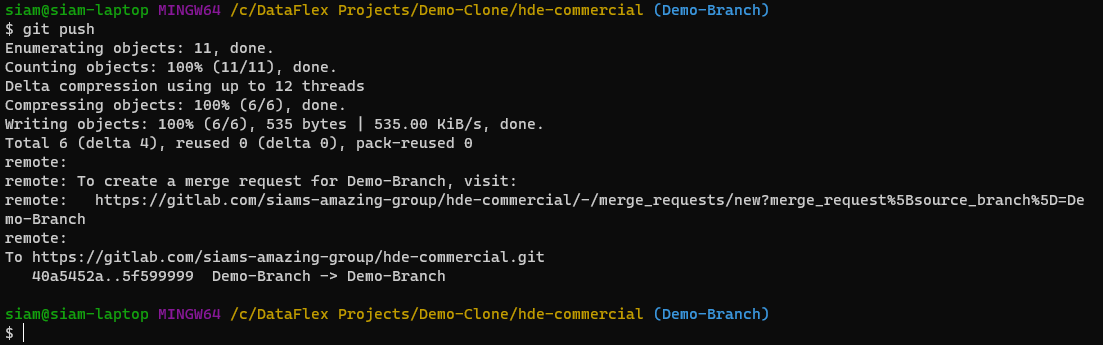
- Note that at this point, your commit is only visible to you. To share it, use 'git push'.
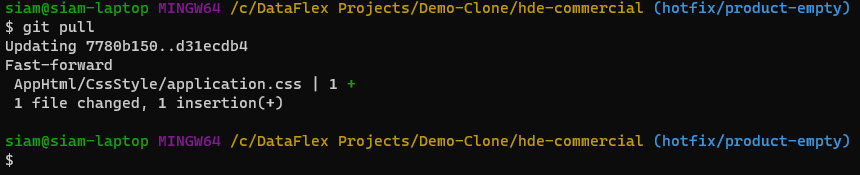
- Your local repository does not automatically update with the remote repository. To sync them, use 'git pull' to fetch and merge changes from the remote repository.
- Merges may result in conflicts, indicating Git couldn't automatically merge changes. Resolve conflicts manually by modifying files and committing changes. Tools like WinMerge and Beyond Compare provide GUIs to assist in conflict resolution.
In the next lesson, I will discuss tips and tricks for using Git with DataFlex.


