In this lesson we will take a look at a simple web application that utilizes dynamic objects.
First, let’s install the library, by executing the installer executable.
Here we also have the option to install a demo workspace that uses dynamic objects. For this demo, we do not need that, so I will uncheck it.
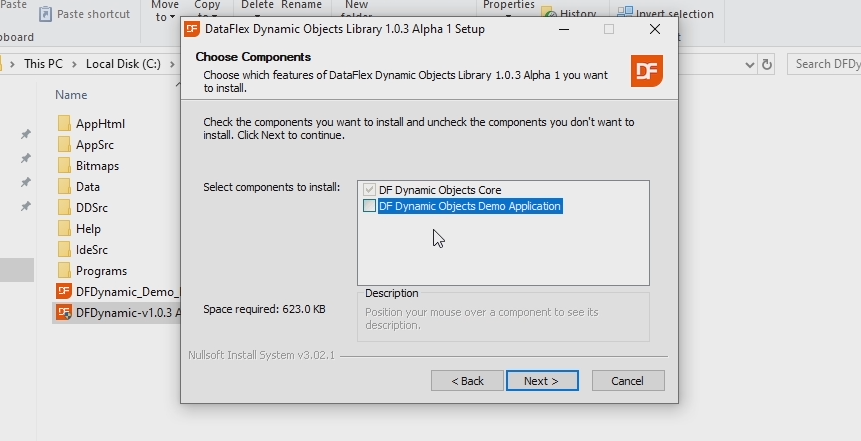
The default location is fine for now. The installer now copies all the necessary files to your computer. That’s it. The library is now installed on my computer and I can start using it in my applications. So, let’s just do that.
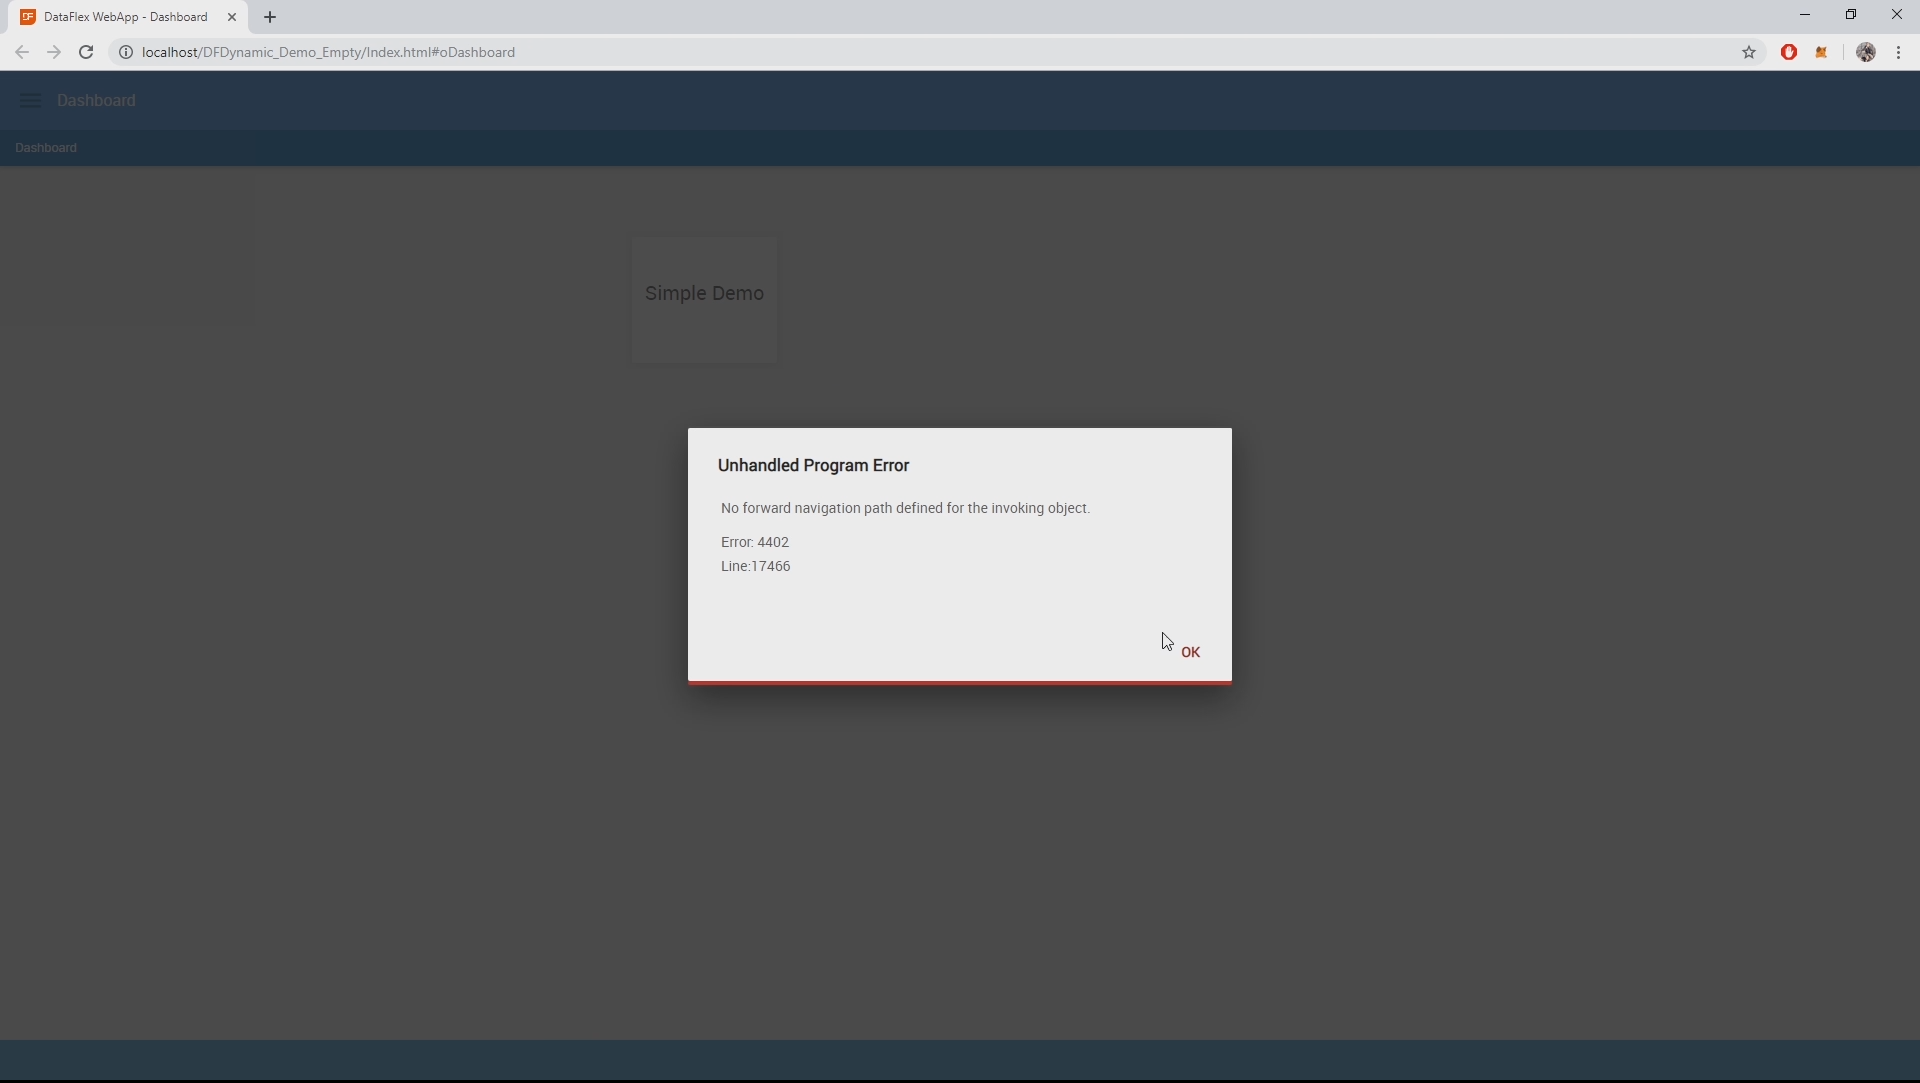
I will first demonstrate how to integrate the library in an application. I have prepared a workspace with an empty project.
As you can see the application currently does nothing, the navigation doesn’t even work.
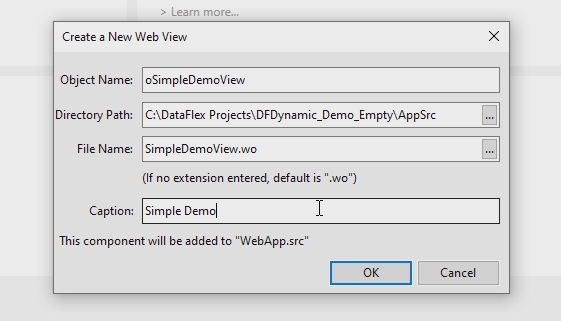
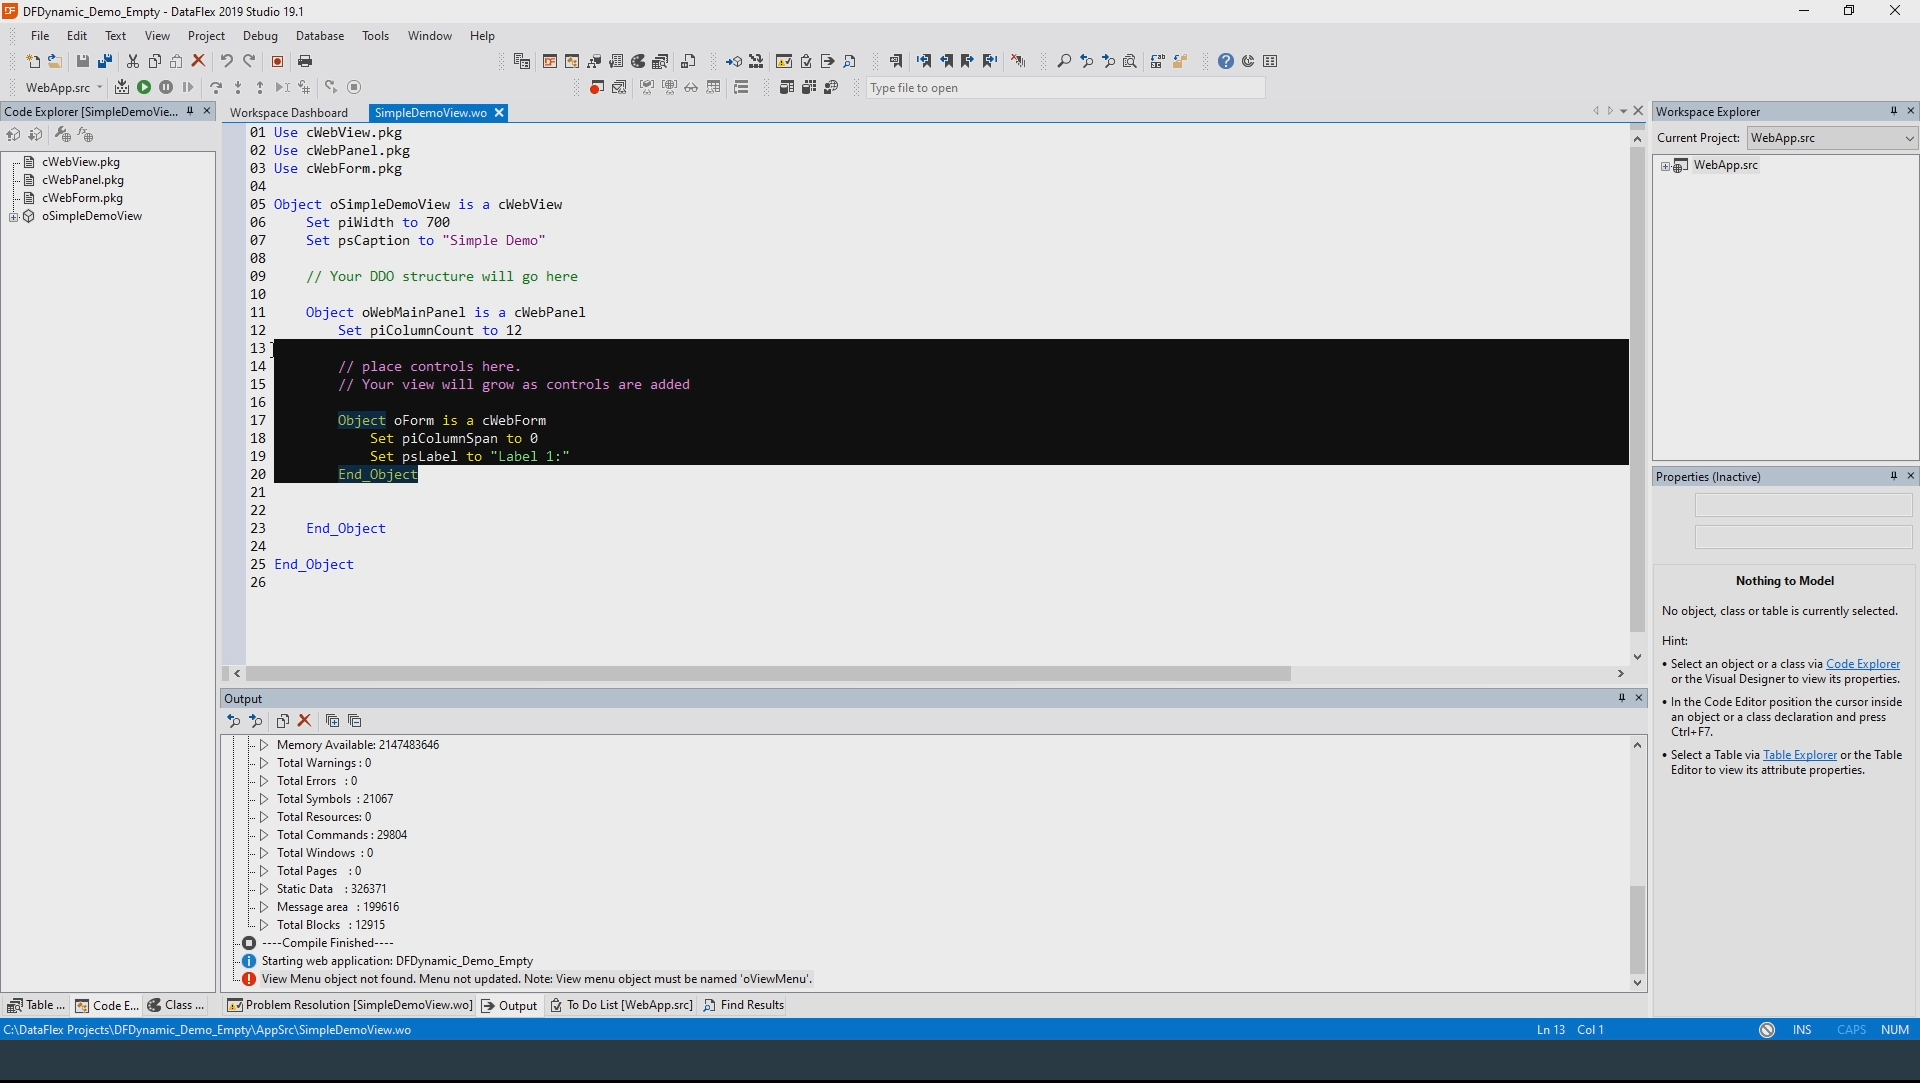
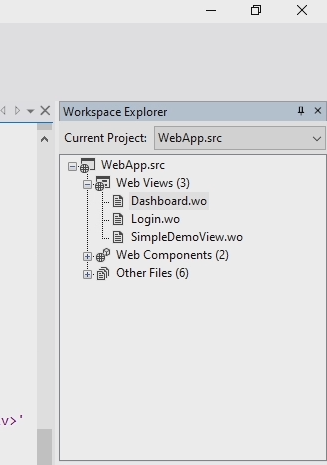
Let’s change that by creating a new view. I’ll call it “simple demo view”.
Now we remove what is already in here and change the navigation.
We do that in Dashboard.wo.

If we now compile the project again, we can see that the application now works. But it is still empty.
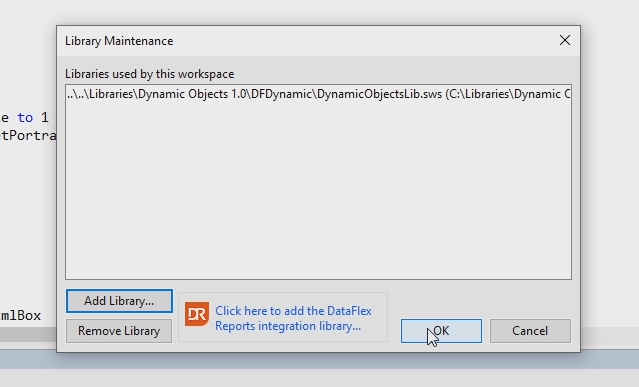
We are now ready to start using dynamic objects. The first step is to actually include the library in the project.
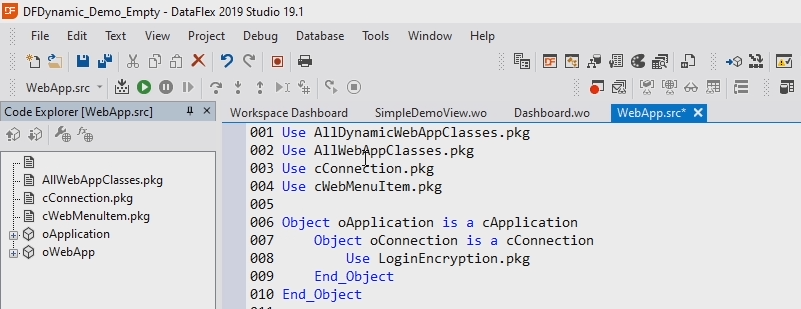
The second step is to go to WebApp.src and include the AllDynamicWebAppClasses.pkg file. The reason we do this is the library overwrite some default webframework files that we need to use in this case. We don’t want to use the regular unchanged files.
The third step is to go to the location of the library and copy the file WebDynamicObjectContainer.js located in the AppHtml folder.
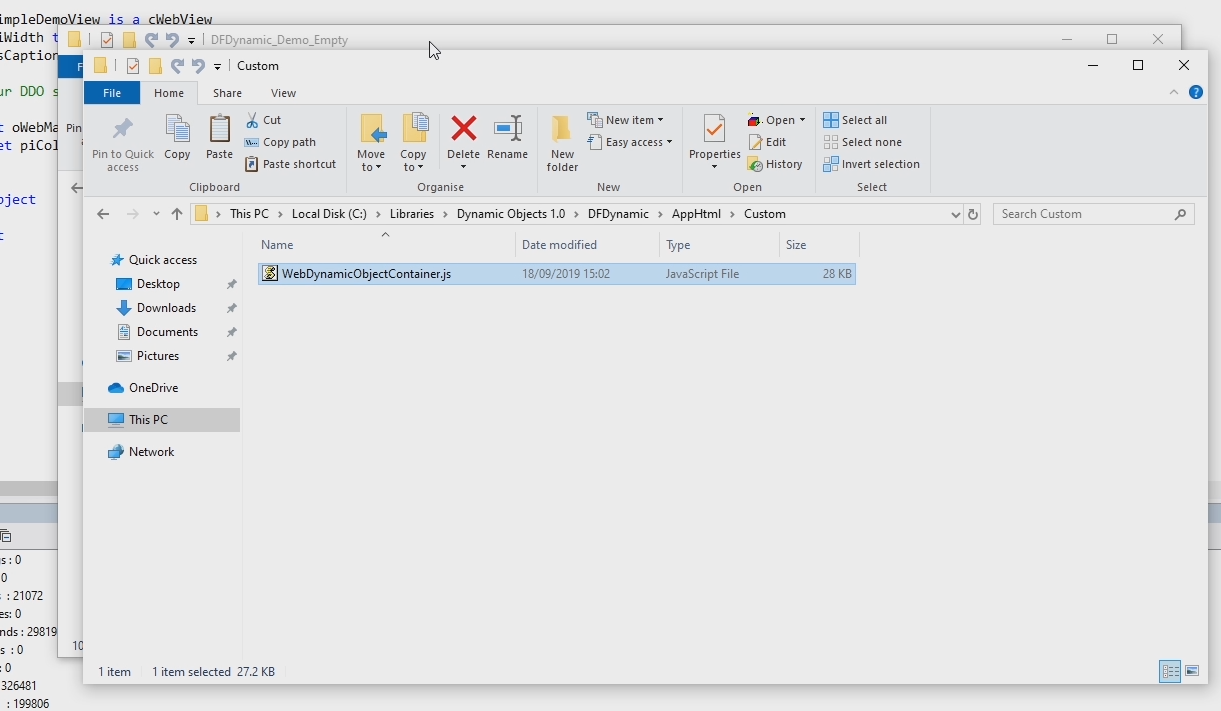
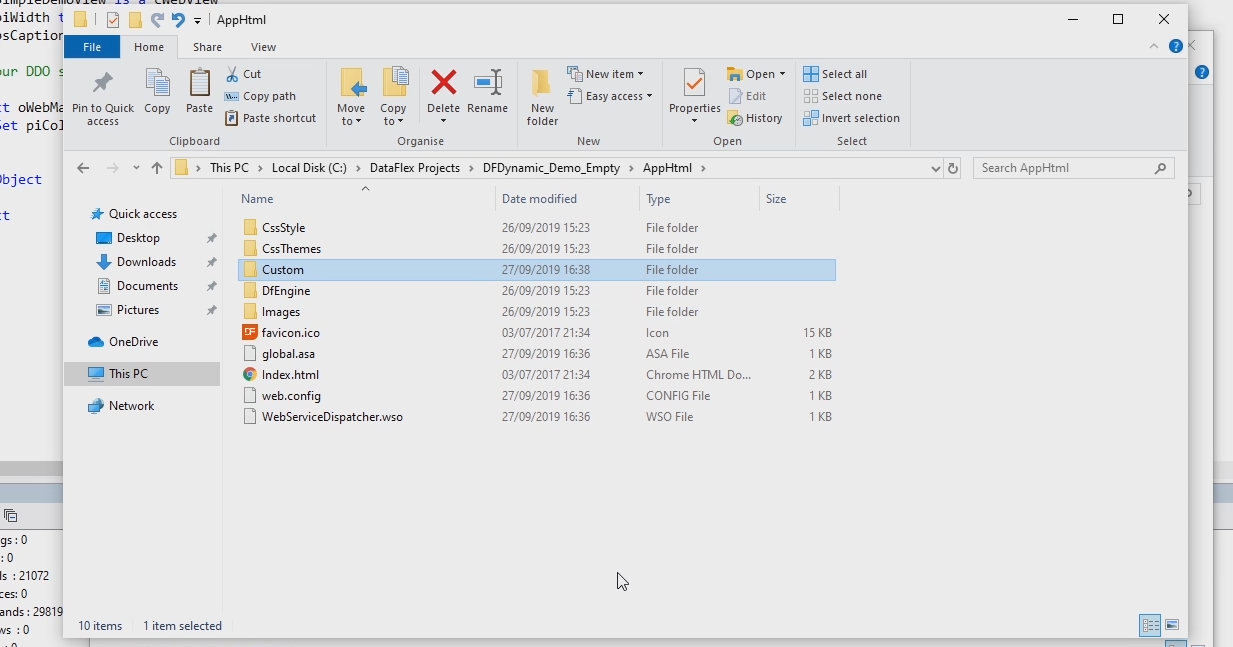
And paste in a new folder in your projects AppHtml folder, in this case we will call the folder “Custom”.
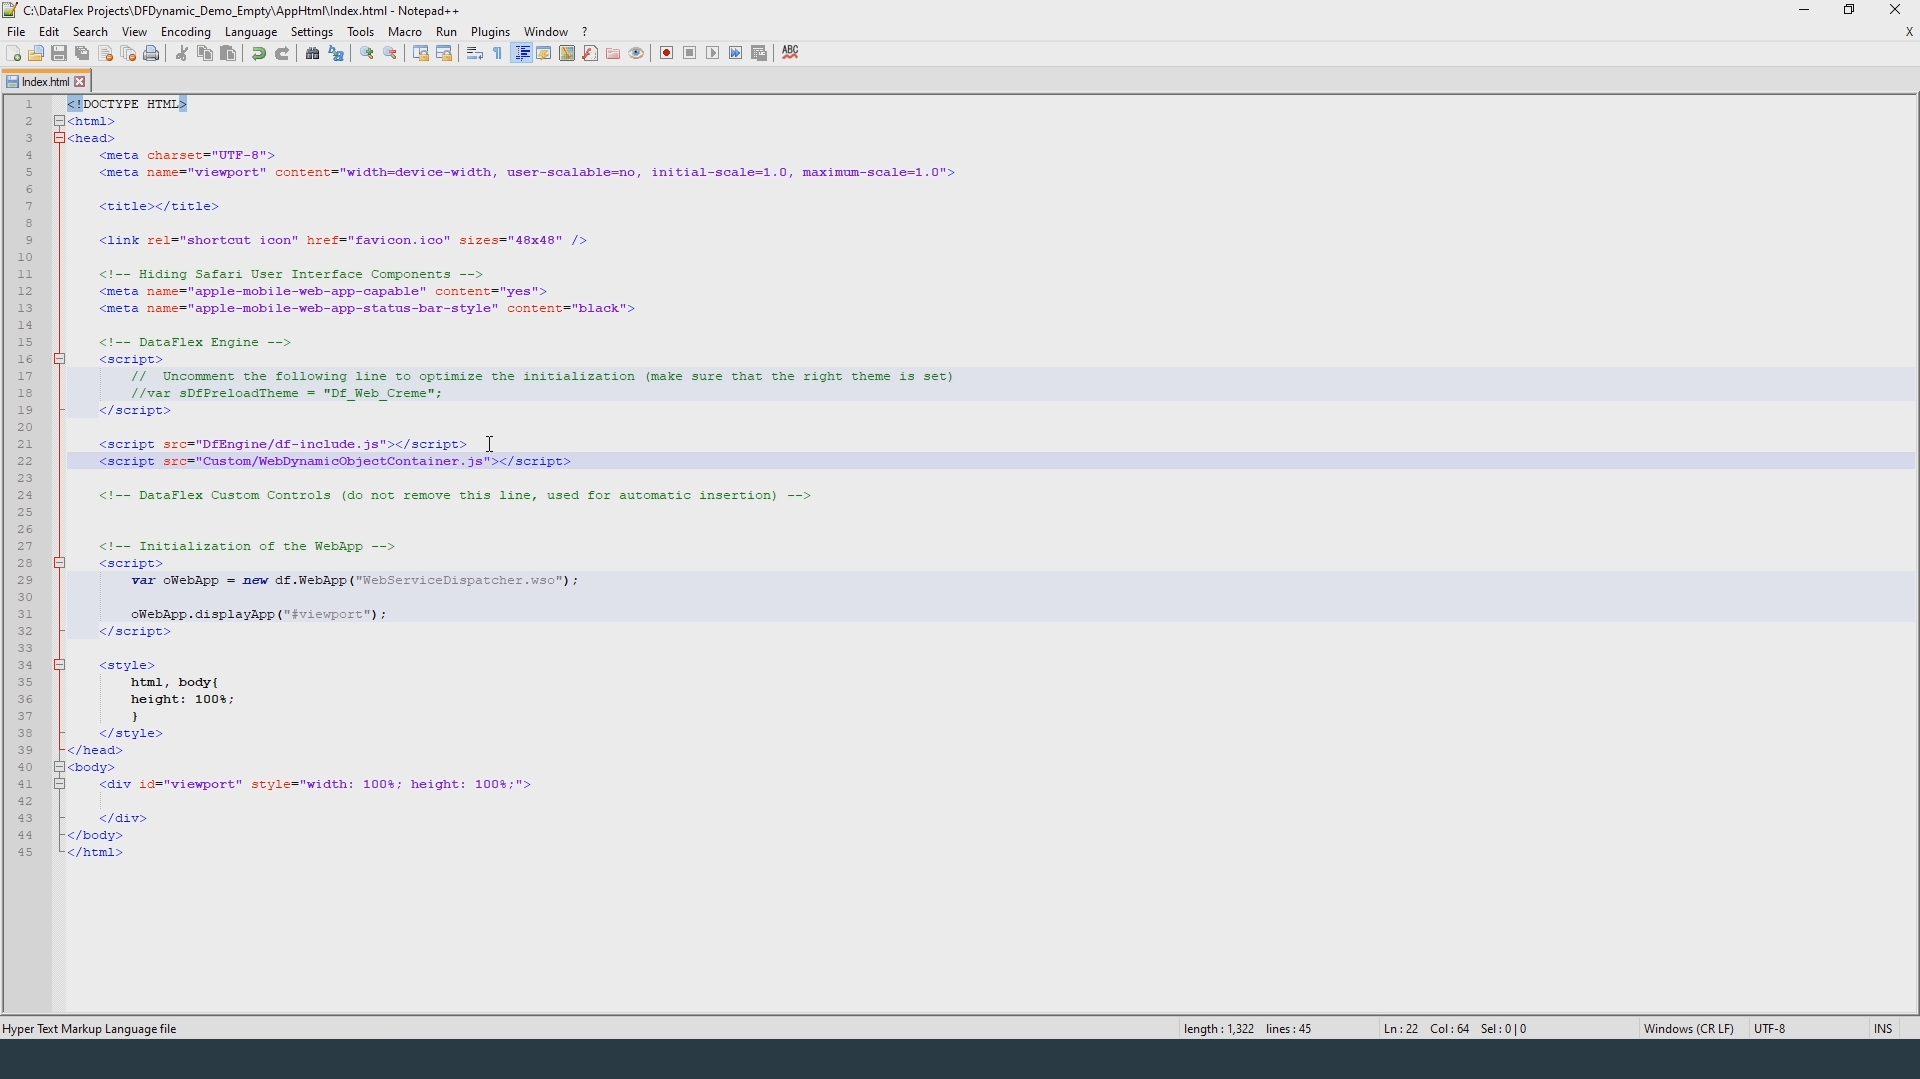
Finally we open index.html in the same folder and actually include the script that we just copied. That’s all there is to it.
So now let’s start using the library. Inside the simple demo view we first create a button with some properties to make it look good.
In this demo the button will be used to dynamically create a new web form object this means we have to overwrite the OnClick method of the button. I will write this function “InsertForm” in a second.
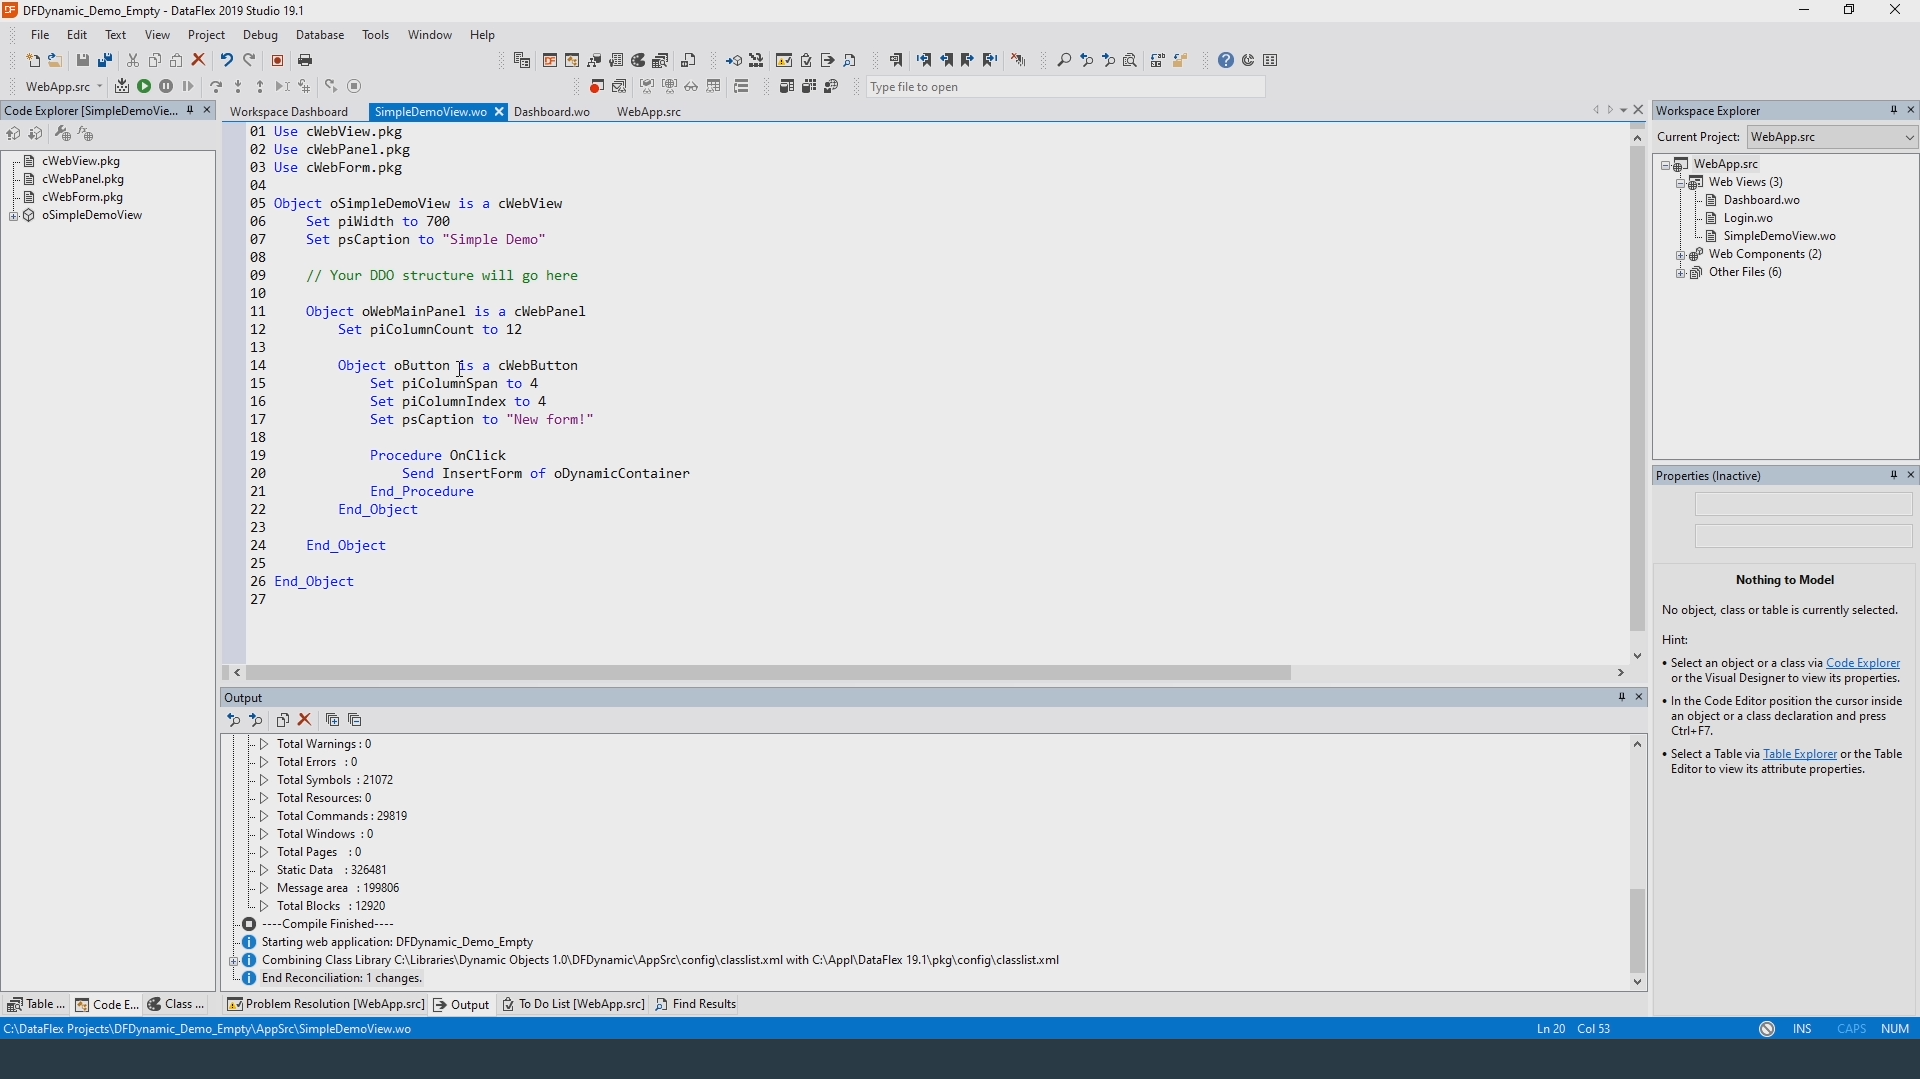
Now the dynamic part begins, all dynamic objects in DataFlex are located inside what is called a dynamic container. This container handles everything related to the registration of these objects as well as their communication with the client.
The class of this dynamic container is called “cWebDynamicObjectContainer”. Before we can use it we first need to include it in our application.
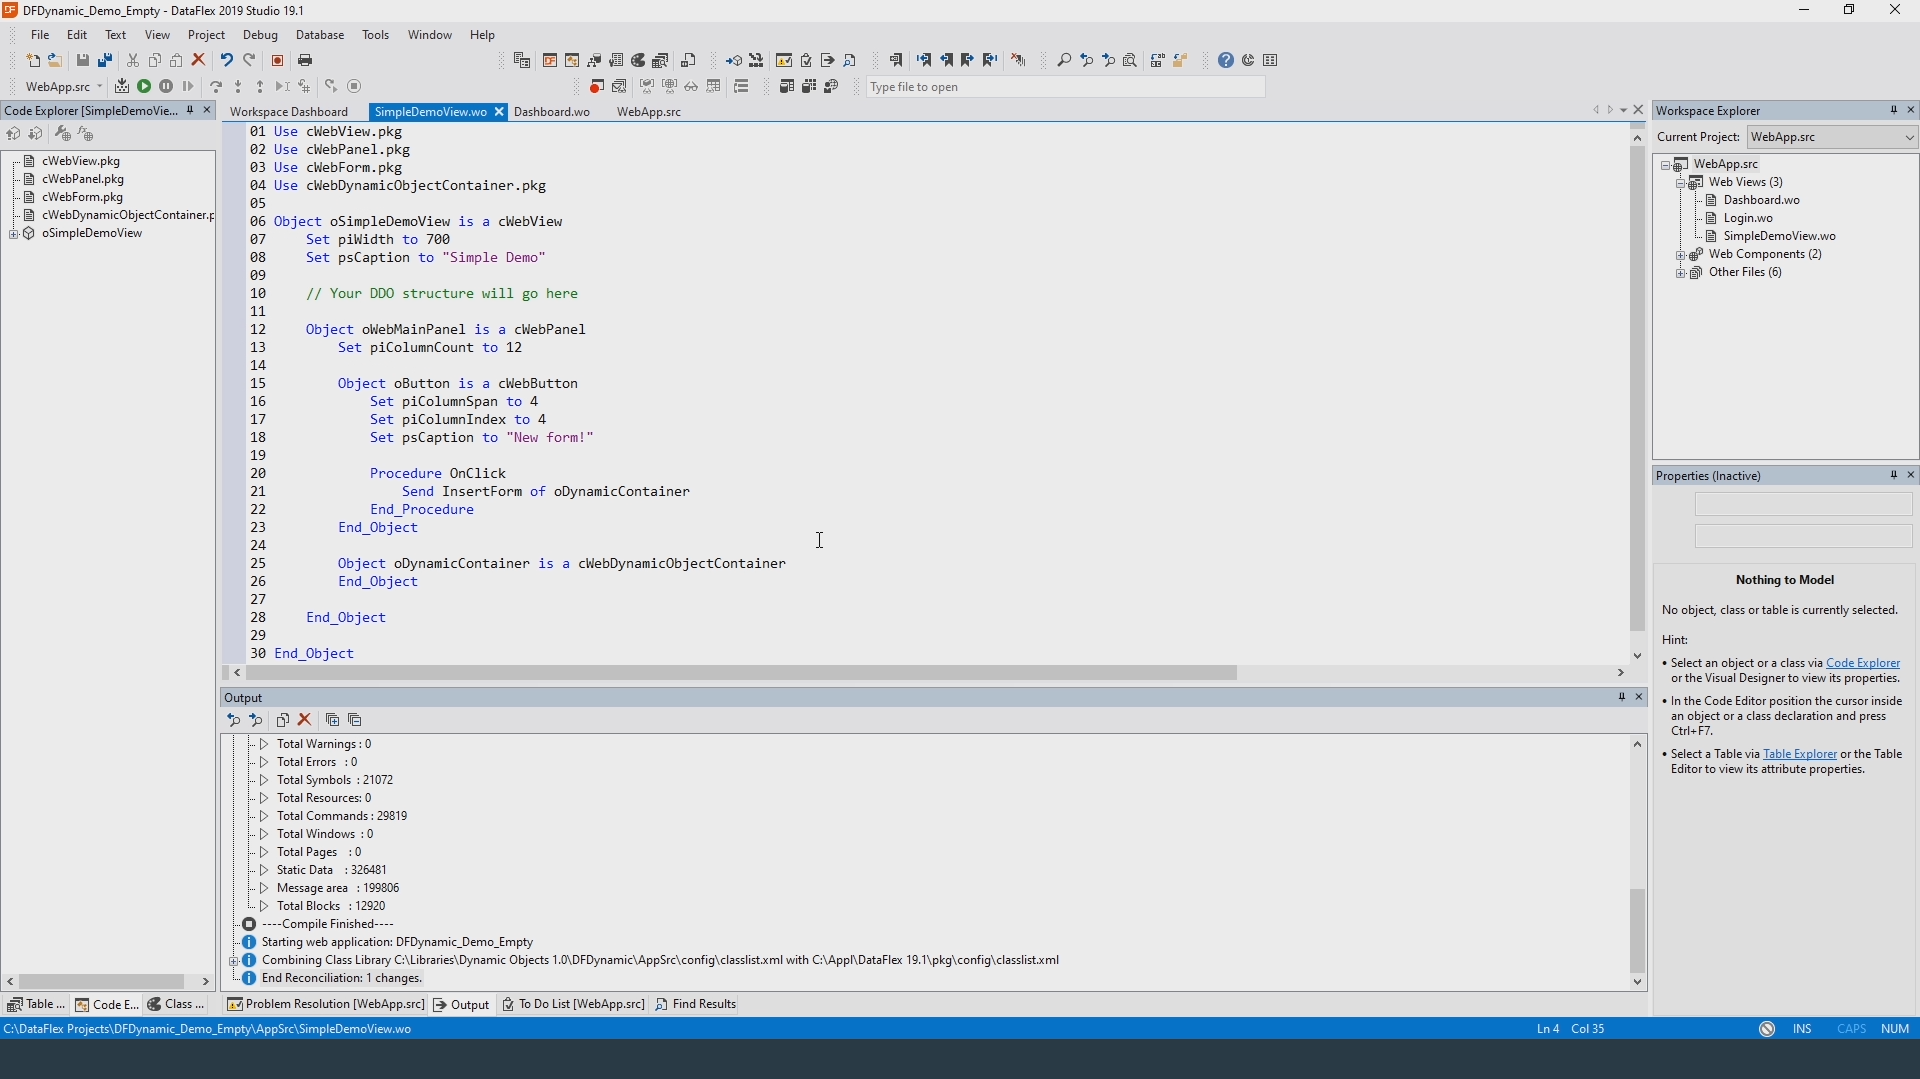
The dynamic object container behaves similar to a WebGroup so we start by setting the column count property. The next step is the implement the function InsertForm that will add a new WebForm to the container. Let me write out the first line and then explain it to you.
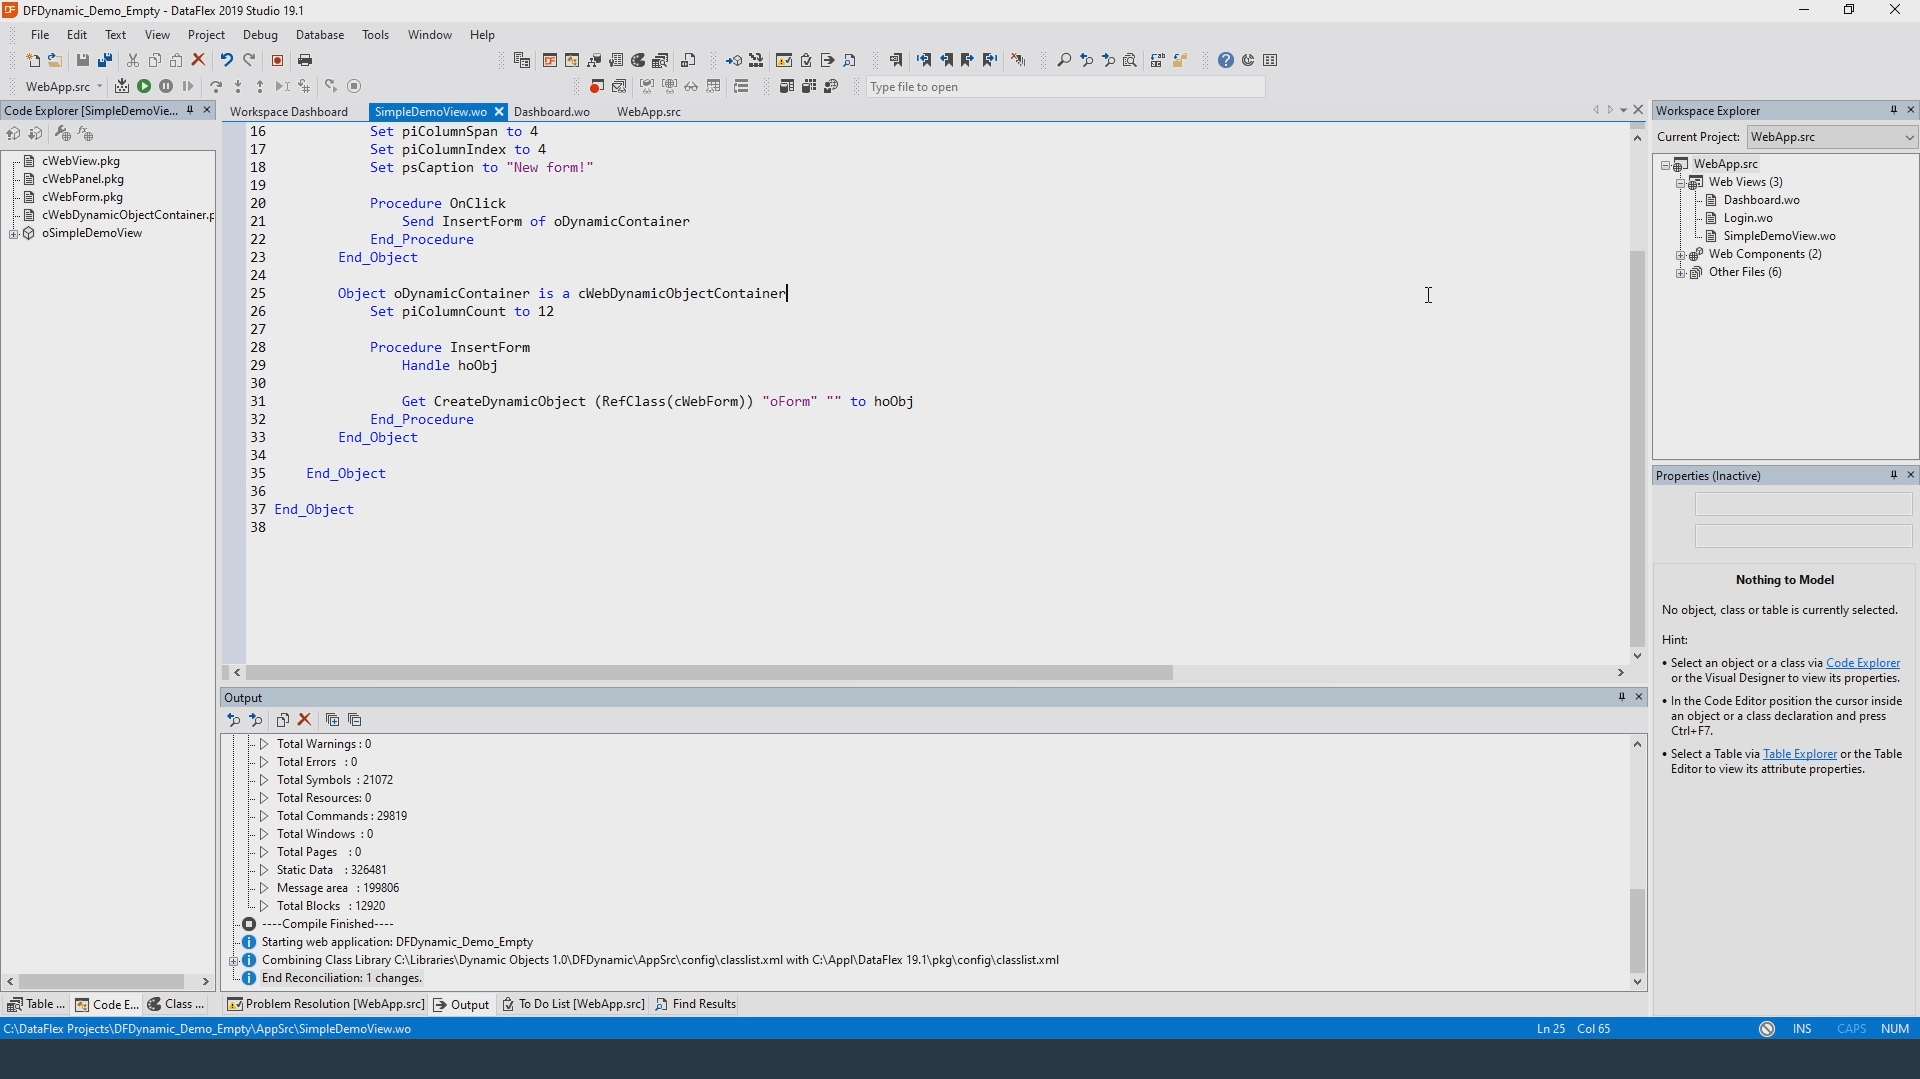
This is one of the most important new function this library introduces. This function creates a dynamic object. The first parameter indicates what the type of the object will be. You can simply use the refClass function here as I did. The second parameter is the unique ID of the dynamic object. Each dynamic object needs a unique ID just like regular Dataflex objects need unique names.
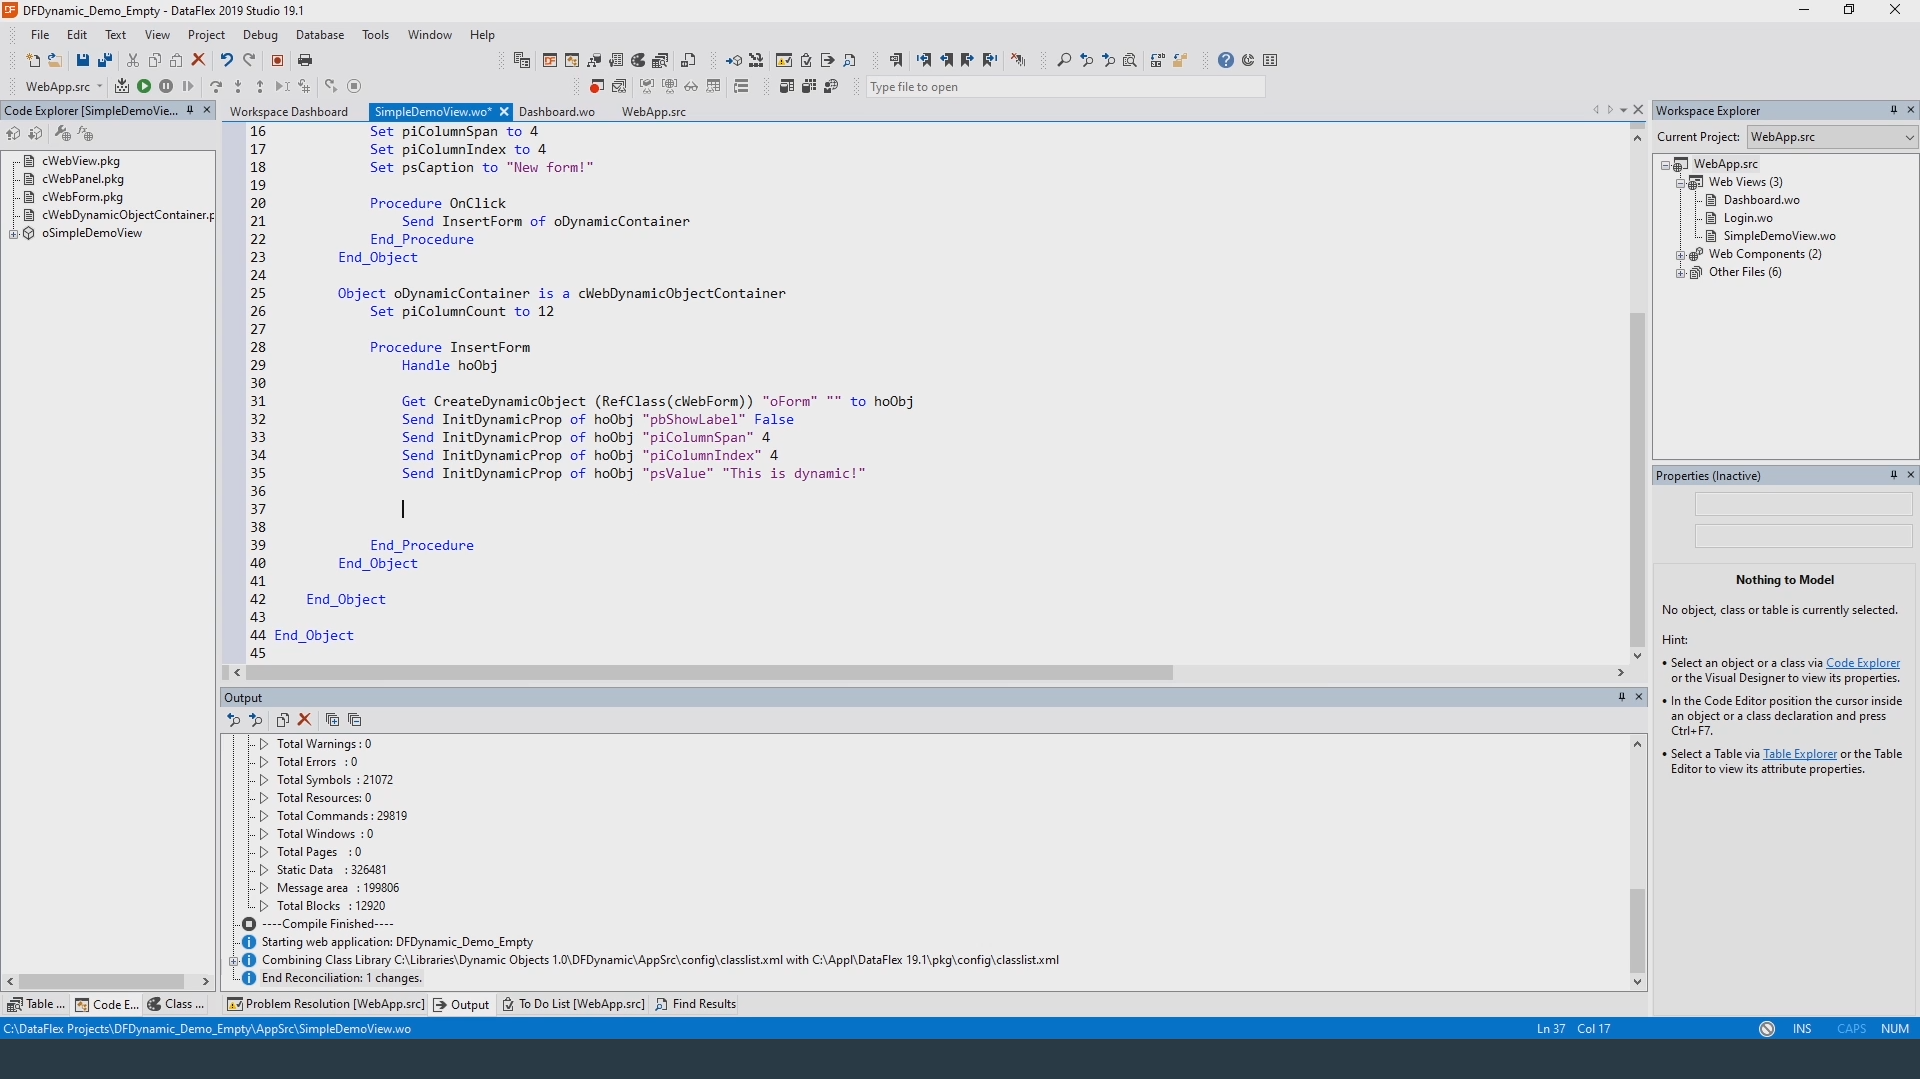
The third and final parameter is the id of the parent of this new object. This can either be another dynamic object or the dynamic container itself. In the latter case, pass an empty string here. This is the case in this demo. The container now creates this new dynamic object and returns it handle. You can now use that handle to set initial properties. We call these initial properties the dynamic properties. In the case of this web form we might want to change a few. This can be done by using the procedure “InitDynamicProp” which can be called on the handle that was just returned. Let’s change a few properties.
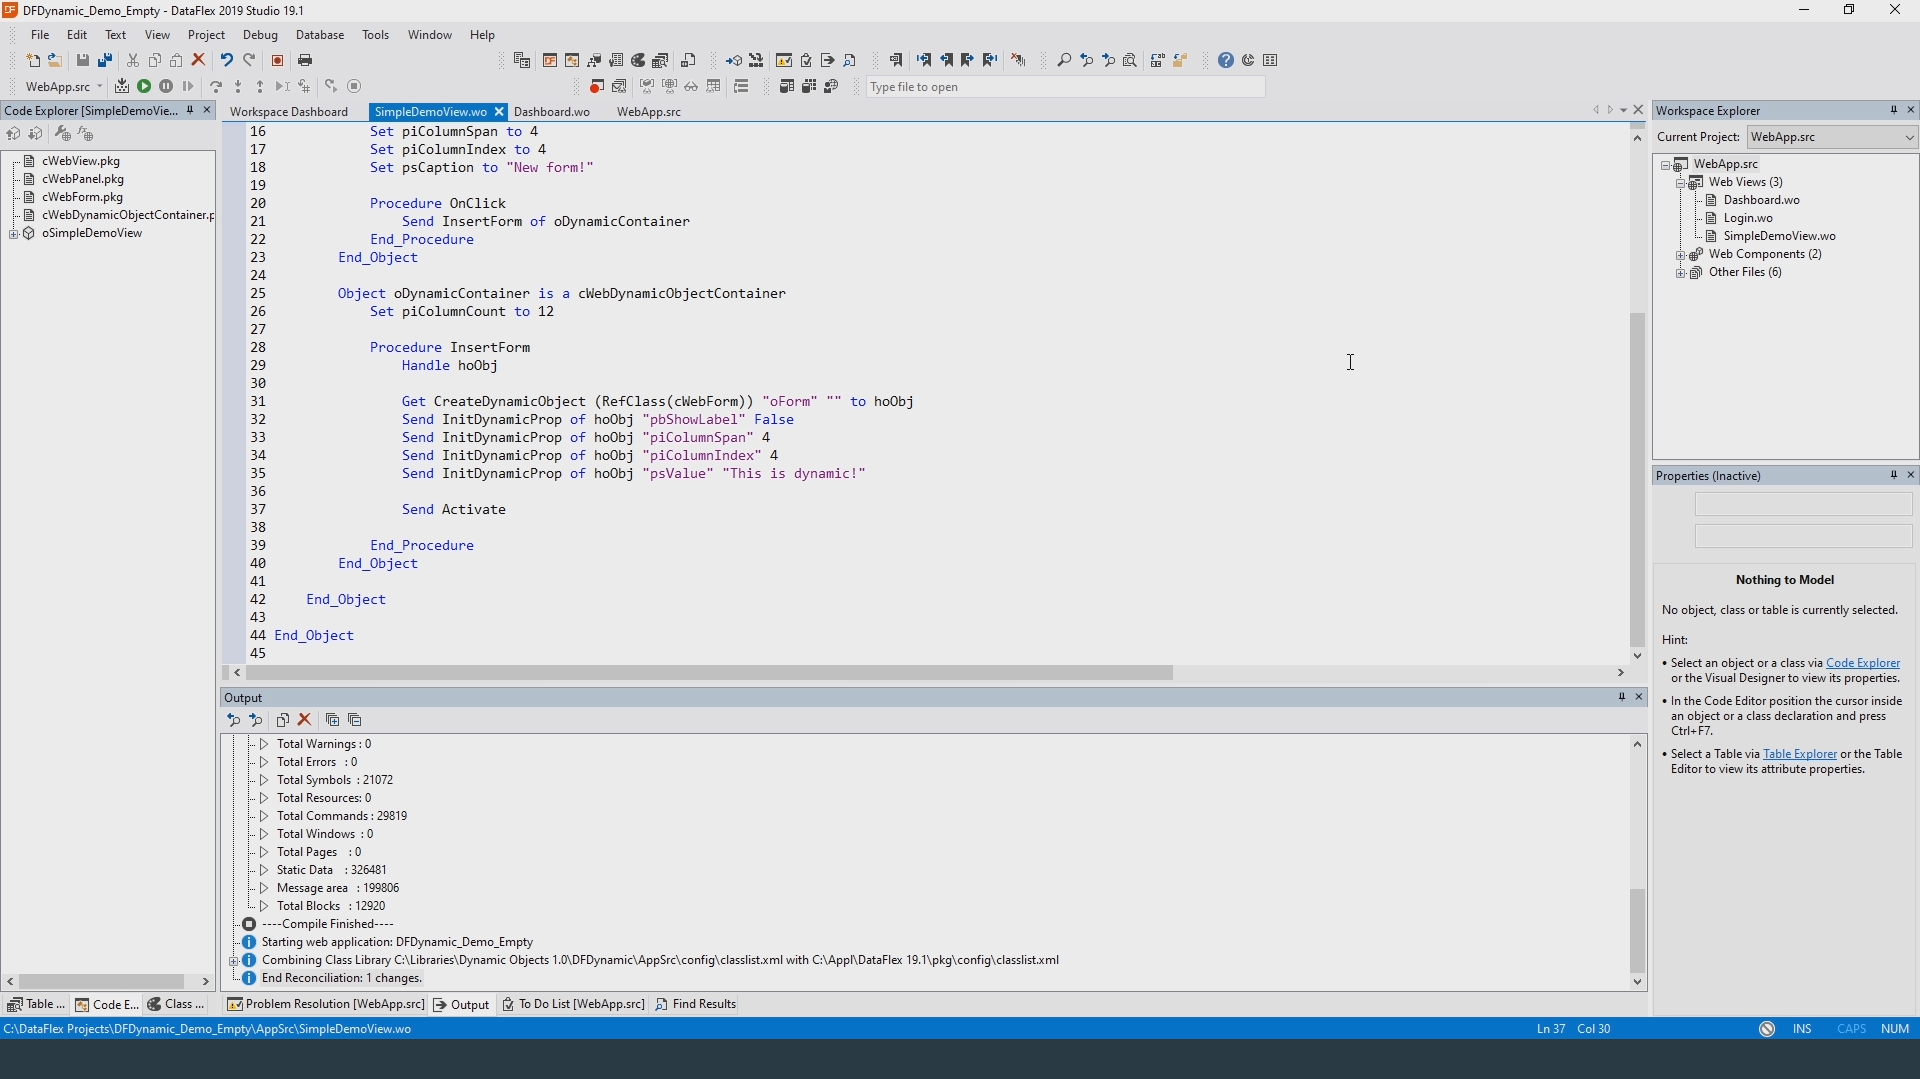
The final step is to signal to the container that the objects we have registered so far are ready to be rendered. For this we simply call the “Activate” procedure.
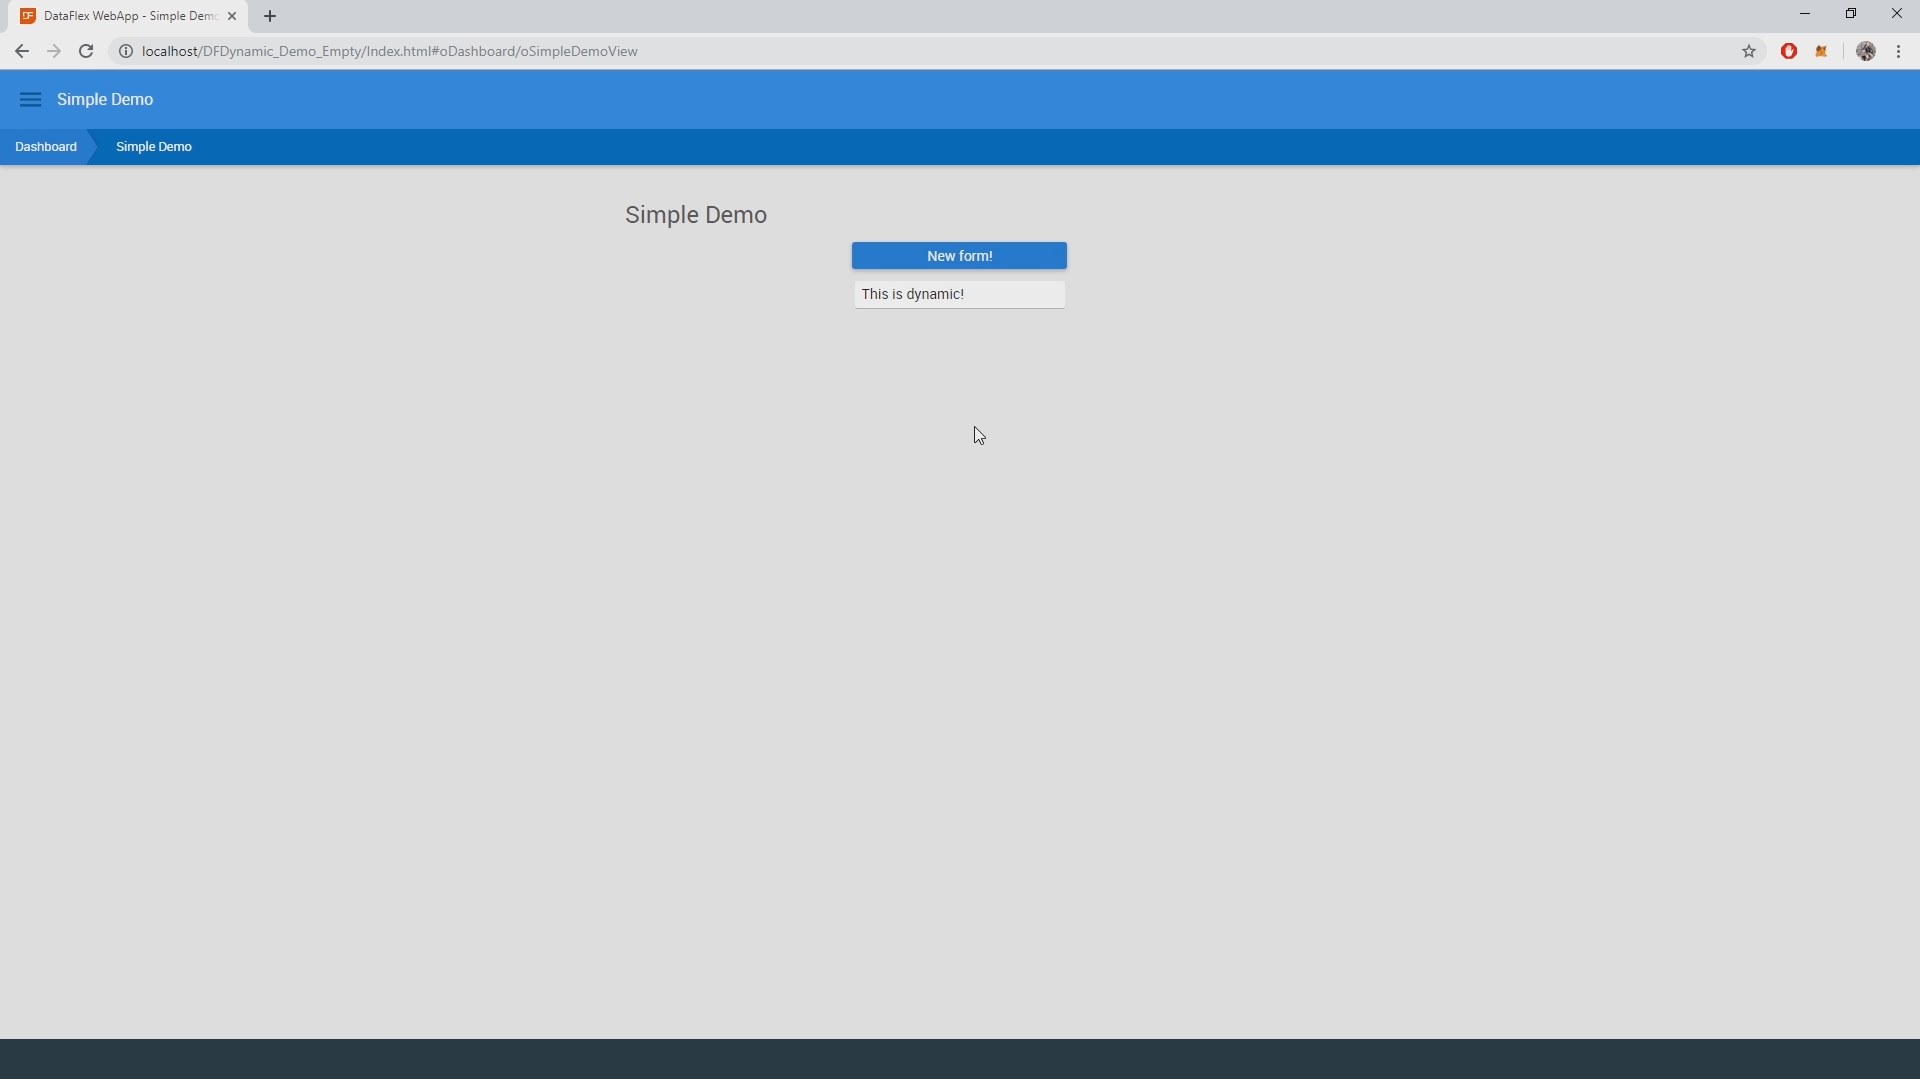
So if I did everything correctly here, we should now have a very simple dynamic application. Let’s recompile the application and test it.
Reload the page, there is our button. And now if we click it, we should see a new dynamic object.
And it works! This simple demo application is now capable of dynamically creating and displaying web objects.
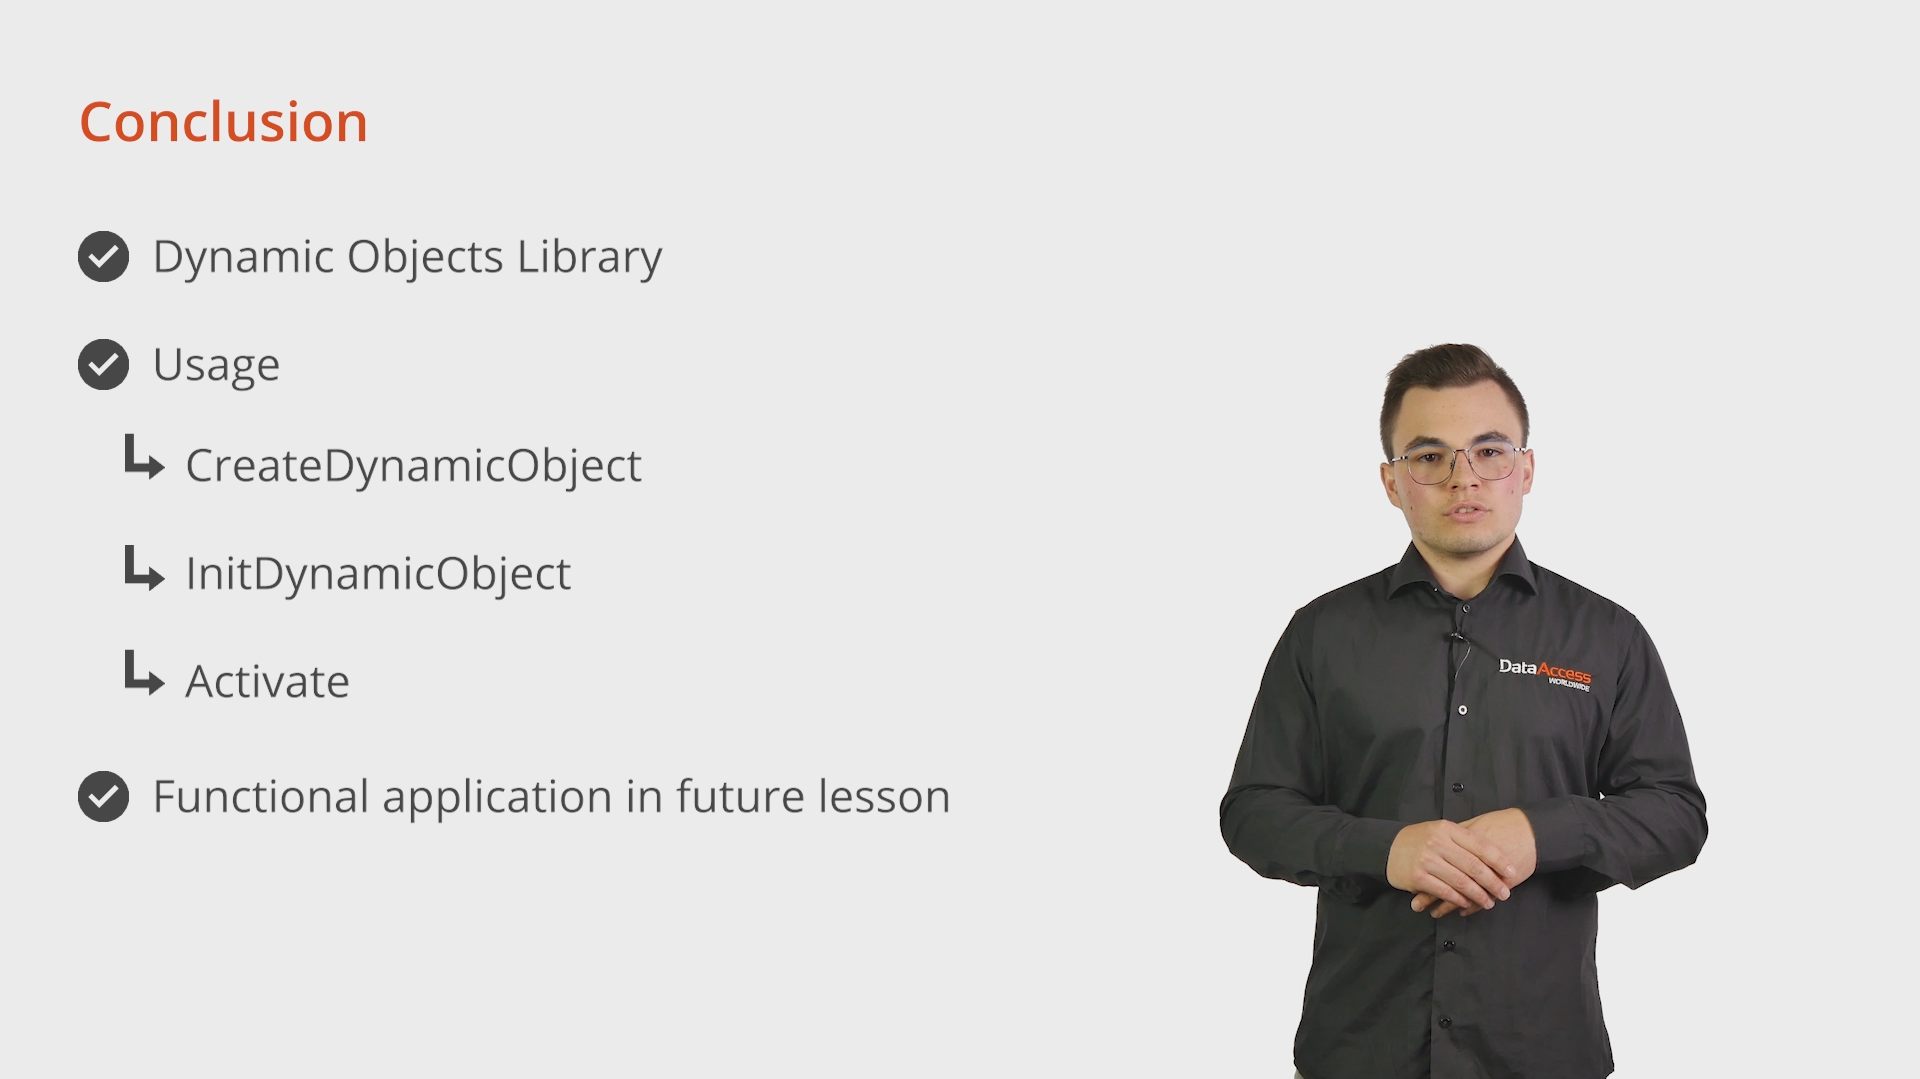
Conclusion
As you have seen, the Dynamic Objects Library opens up a whole new world of possibilities for your applications.
Whether you want to build customizable dashboards, applications that can change their structure or just no longer want to be bound to static objects: the Dynamic Objects Library presents the tools you need.
In these lessons I have shown you how to create dynamic objects, how to set initial properties which we call dynamic properties and how to render the dynamic object. In a future DataFlex Learning Center course I will show you how to write a simple but functional application using the dynamic objects library. For now please refer to the manual included with the installer. If you have any questions, please visit the Web Application section on the Data Access forum.
Thanks for watching.