DataFlex Library for LibXL
Lesson 4 - WebApp Integration and Conclusion
In this lesson, we are going to look at a sample implementation of the LibXL library inside a Web Application. One key thing to keep in mind beforehand, is that the LibXL code will be executed on the server. As of such, any files you generate with it will also be stored on the server.
The WebApp sample we’re about to explore will takes some user input and read data from a table. It will take this data and insert it into an Excel file, which we’ll save on the server. Then finally, we are going to present the user with a URL where he can download the file we just created.
DEMONSTRATION
- Alright so here we are in our workspace, which is a copy of the WebOrderMobile sample workspace.
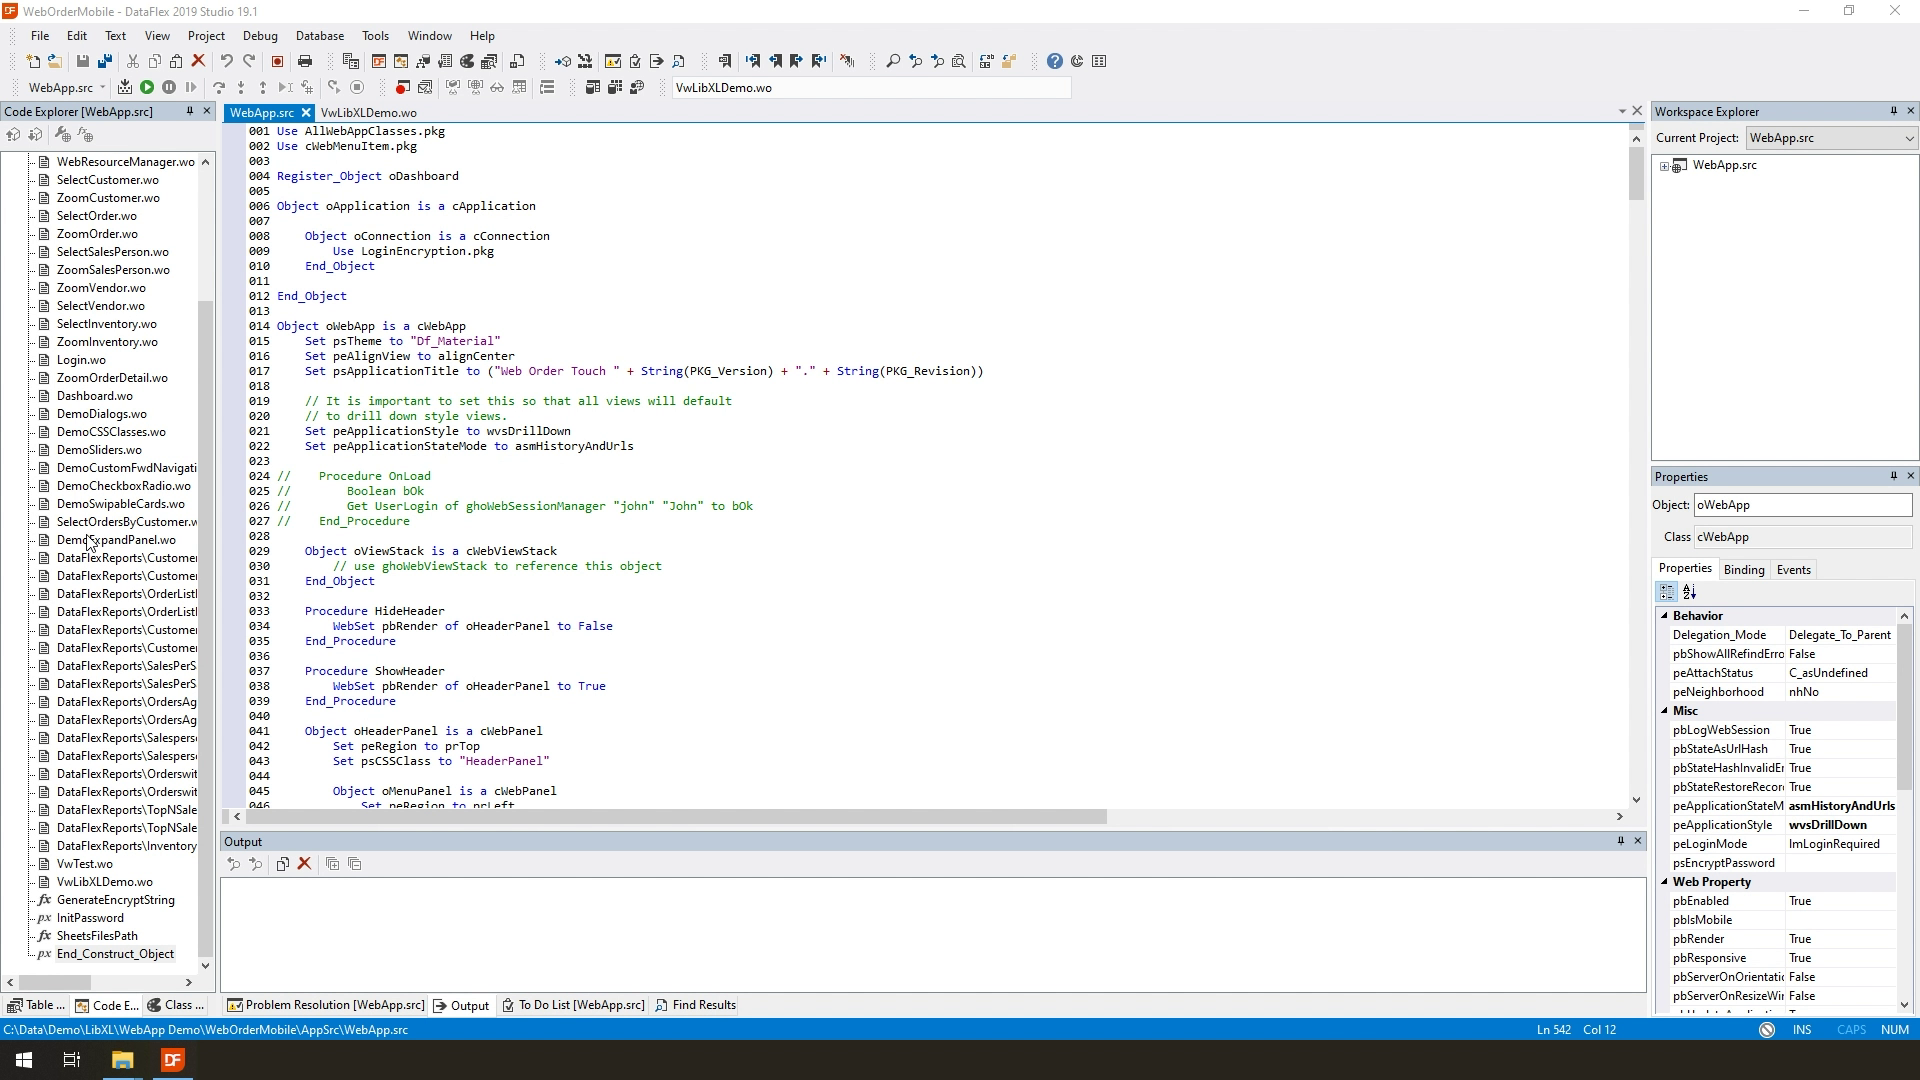
- The first thing I’ve done here is make an addition to the WebApp source.
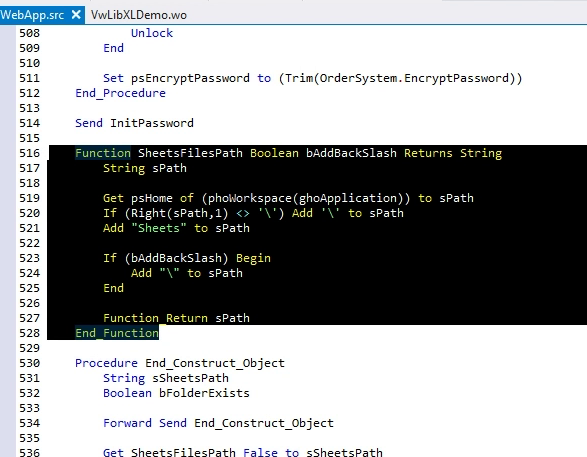
- Here I’m giving the WebApp access to the Sheets folder – which is a folder in our workspace.
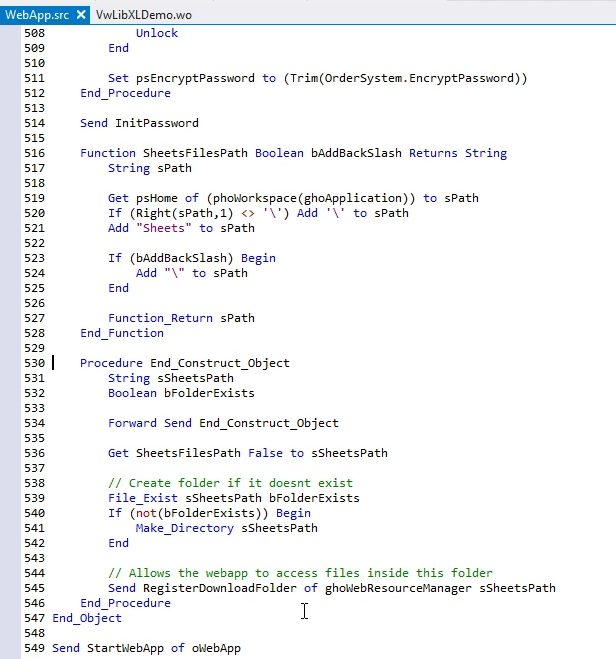
- This is done simply by calling on RegisterDownloadFolder of the WebResourceManager and passing the path to the folder, which we’re getting via this function. It will also create the folder if it does not yet exist.
- From here let’s head into the LibXLDemo view where the rest of the magic happens.
- In this view we have a couple of Data Dictionaries, most notably the OrderHeader one which is the table we’ll pull our data from.
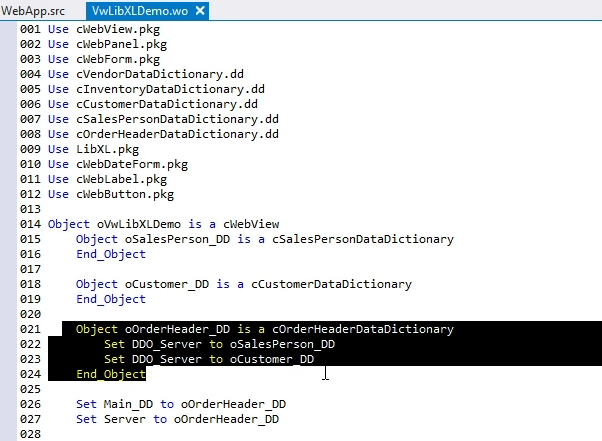
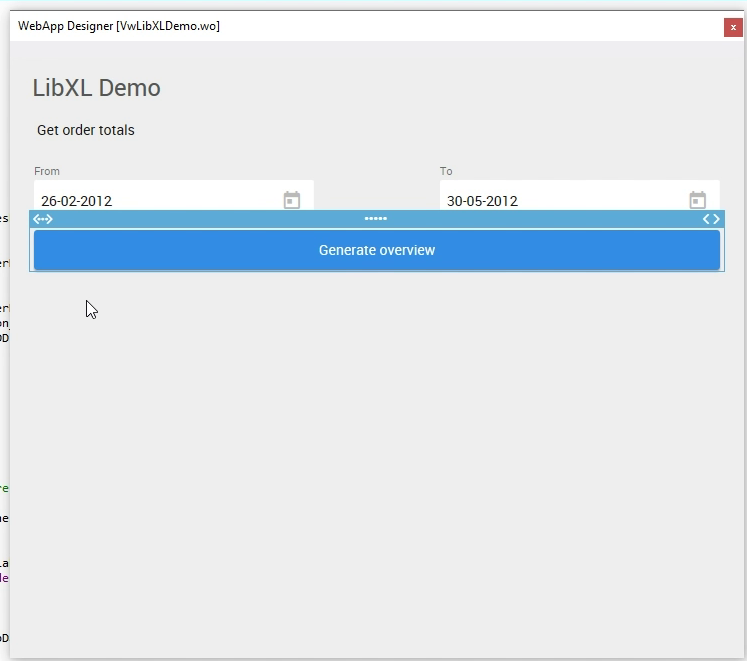
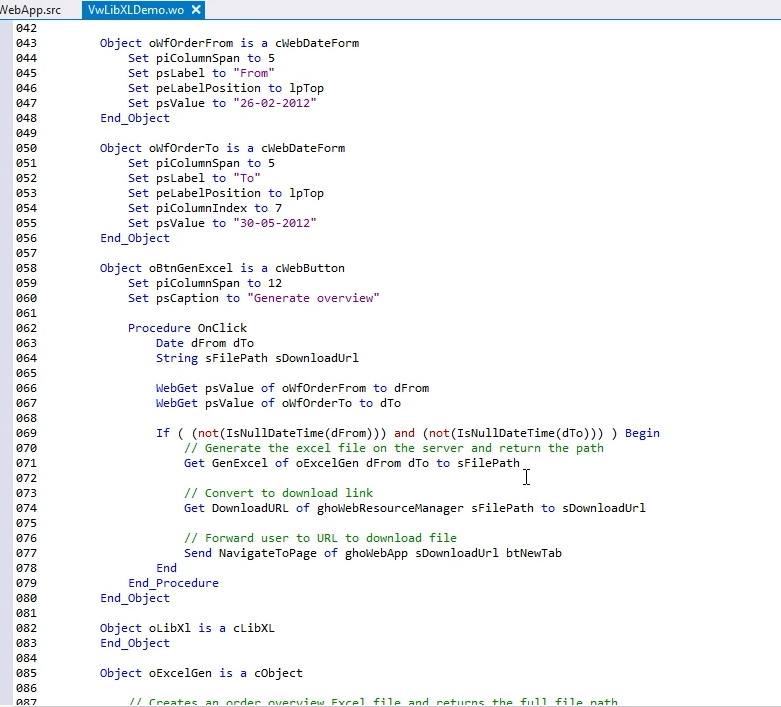
- The view itself is very simple, containing 2 Date forms and a button.
- The 2 date forms are where we input the from and to dates for the orders we want to have the data from
- The button starts the process to create and download our Excel file using LibXL.
- What this button does is simply get the from and to dates from the forms, and then call on GenExcel of oExcelGen using these 2 dates.
- Let’s look at this method.
- Now oExcelGen is just a simple cObject. Inside is the function GenExcel which uses the oLibXL object which we’ve created just above.
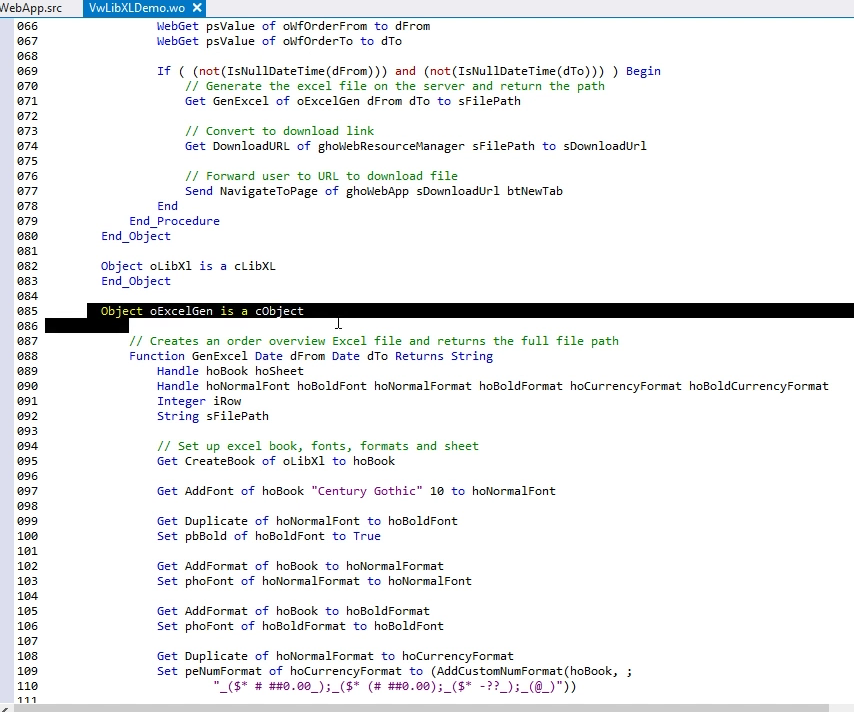
- Inside GenExcel we’re performing actions similar to the windows demo.
- So we’re creating a book, setting up our fonts and formats and creating a Sheet.
- From here we’re again going to fill this sheet with data.
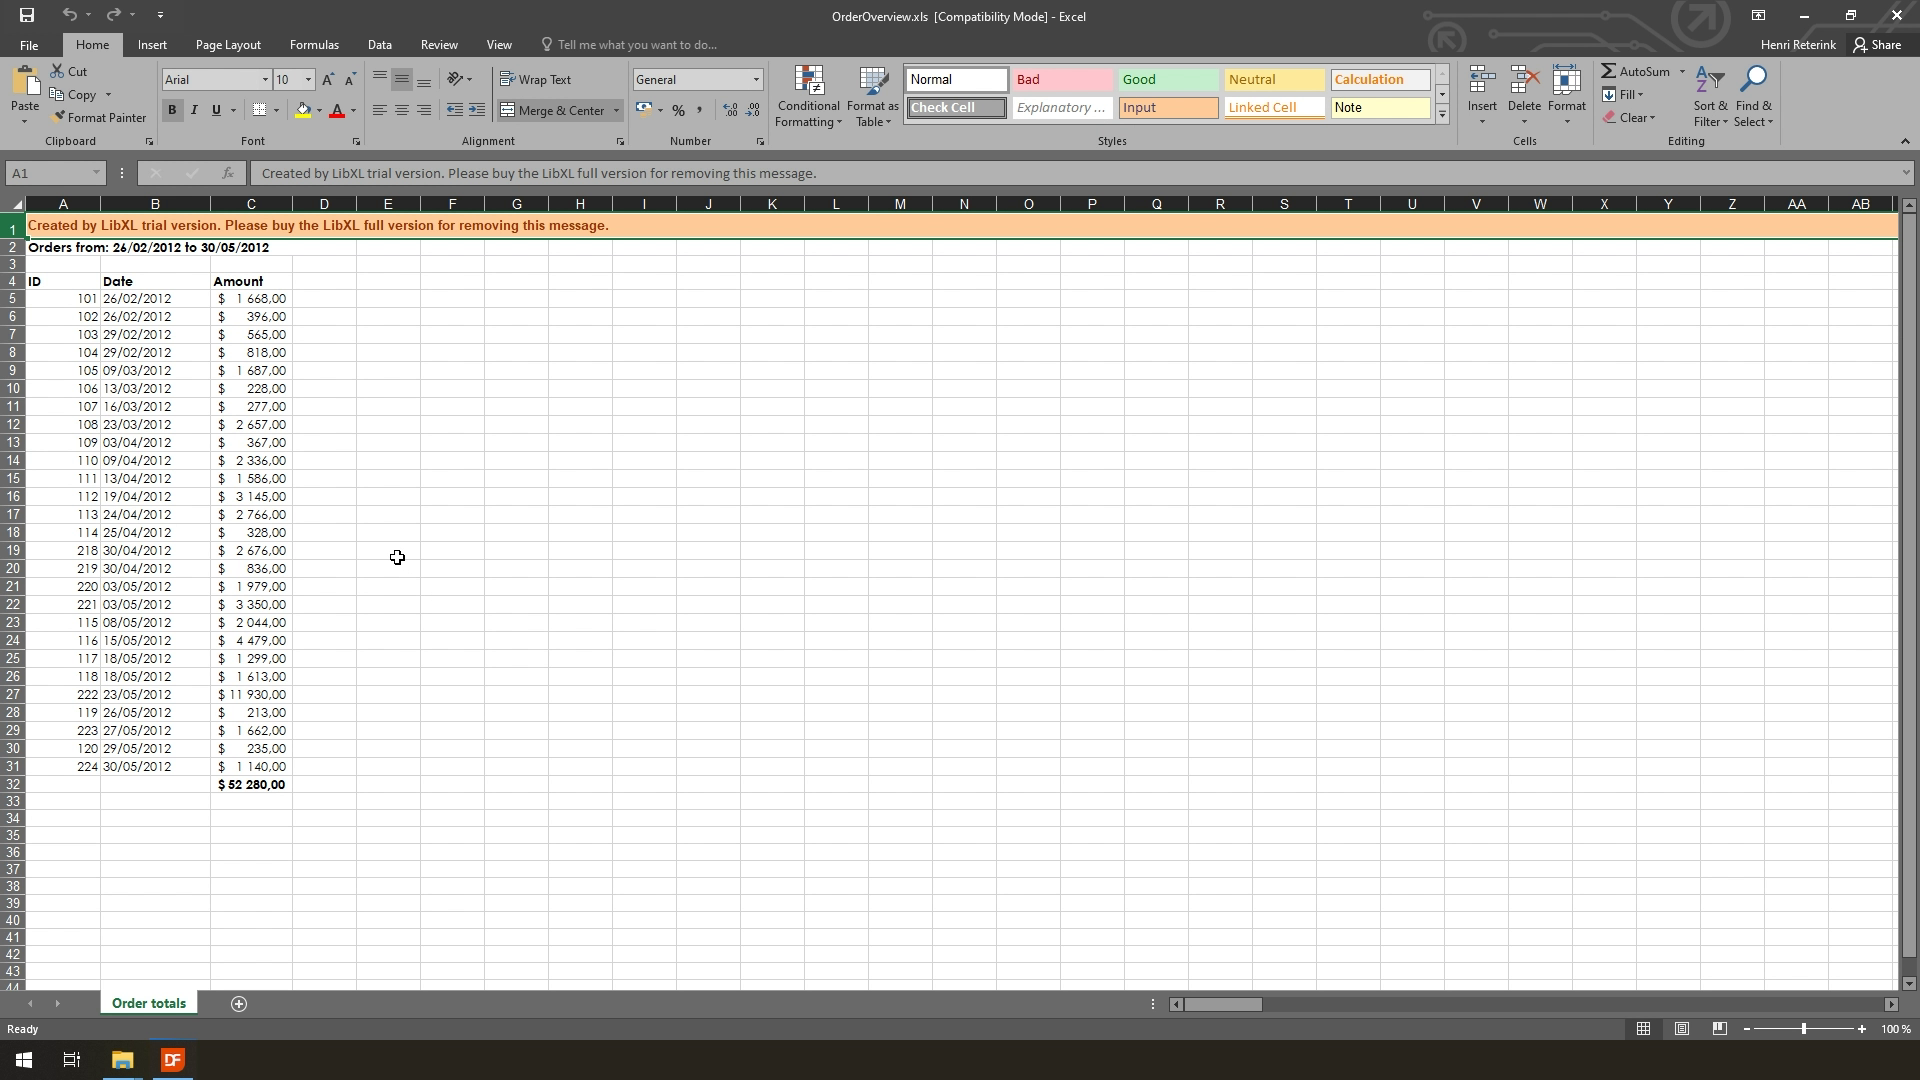
- Now we start off with a small title saying what orders we’re viewing, as well as some column headers.
- Then we’re actually going to use the Data Dictionary to loop through all orders within our given date range.
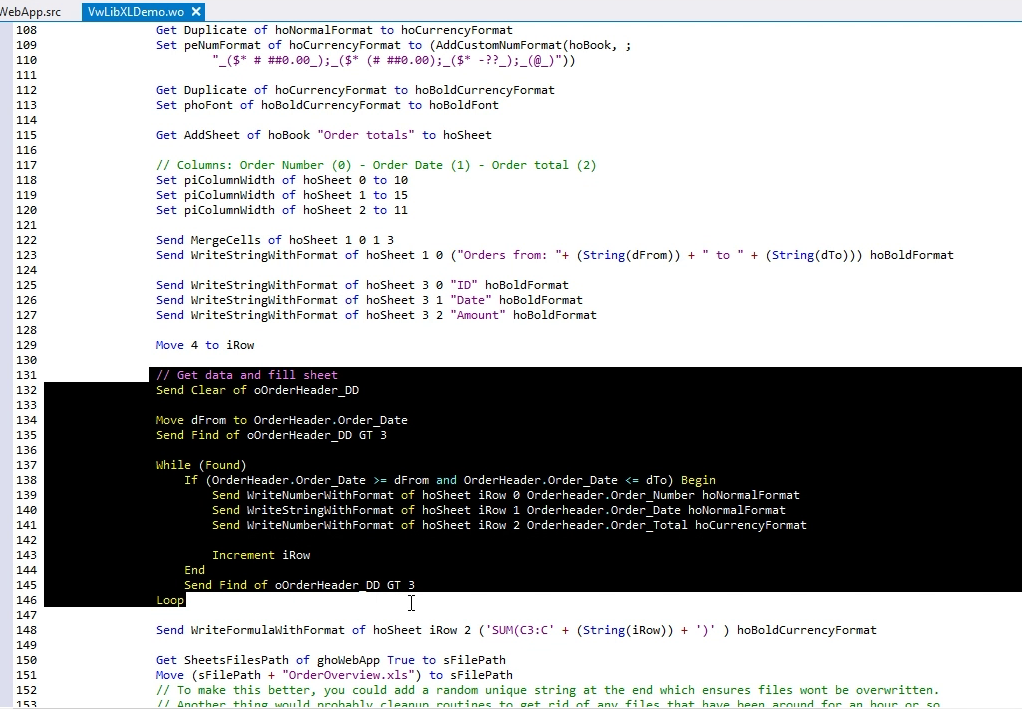
- For every order, we’re going to insert the Order ID, the Order Date and the Order Total into our sheet.
- Then we’re finishing off with a total using the SUM formula.
- After filling our sheet with data, it’s time to save it to a file.
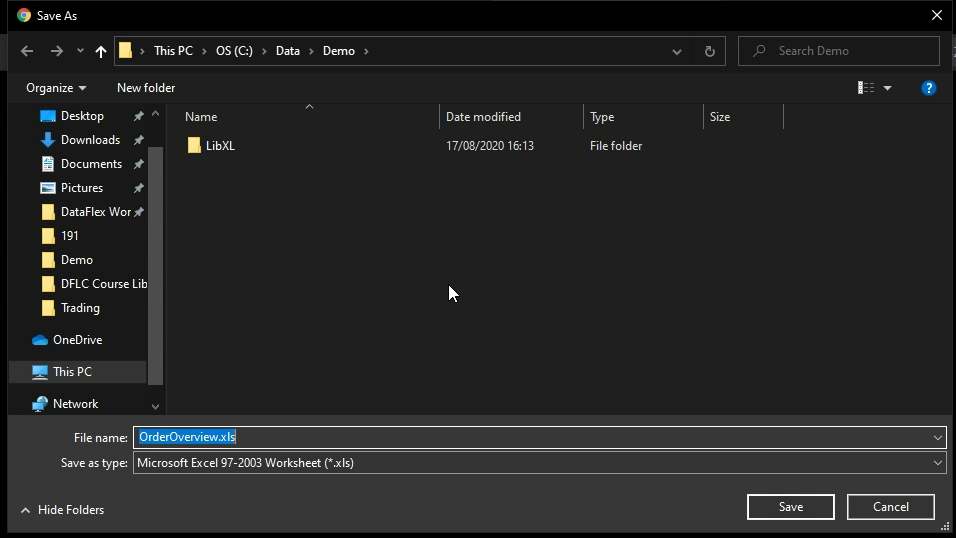
- We’re getting the path to the Sheets folder that we registered earlier, and saving our sheet as “OrderOverview.xls”.
- Note the comment that says that in a more fleshed out version, you would probably create a unique file name every time as well as have some cleanup routines to get rid of any older files. For demo purposes, this has been left out.
- After saving, we’re doing some memory cleanup and then returning the path to where the file is stored.
- Back inside our button, we use this file path and convert it to a download URL.
- Remember, the libXL logic is executed on the server and the file is saved there as well.
- Through the downloadURL we give the client access to the file we just created.
- Finally, we can simply use NavigateToPage with the parameter btNewTab to send the client directly to the file after clicking, which will prompt a download.
- Now generating this excel file is pretty fast, but if it were to take longer, we might want to display a Loading indicator of sorts to indicate that stuff is actually being done in the background.
- Let’s run the code and see everything in action.
- Let’s navigate to the LibXlDemo view.
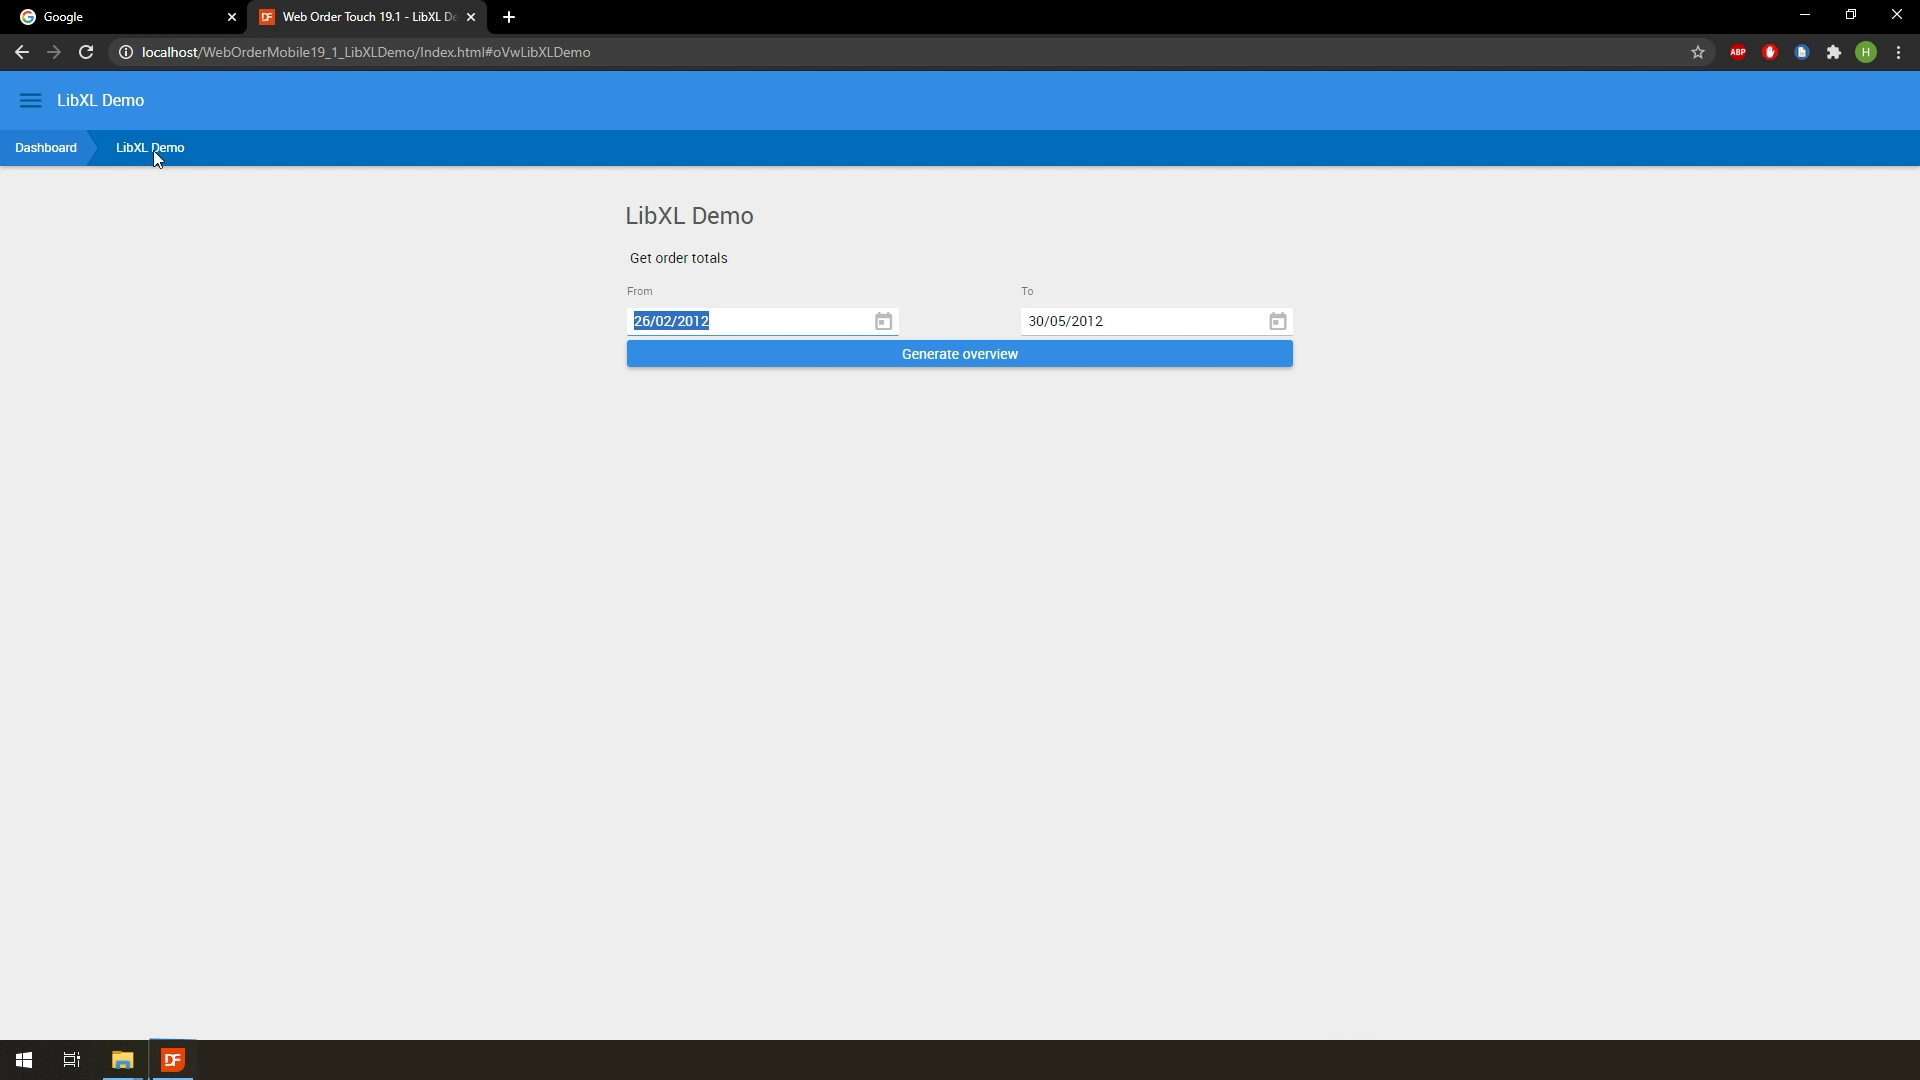
- Our dates are already preset, so we can just click the button.
- After clicking, we can see that we’ll be asked to download the OrderOverview.xls file.
- When we open this file, we can see that we indeed get a spreadsheet containing the order data for the date range we entered, with the total at the bottom.
And that is how you can use LibXL in a WebApp. Note that this was a fairly simple example where all we did was pull information from the database, insert it in an Excel file and present it to the user via a Download.
LibXL can do much more than just create spreadsheets, but the general idea remains the same no matter what. Your LibXL logic will run on the server and do its actions there. Once it is done, you’ll have to present it to the client in some shape or form.
Conclusion
In this course we have taken a look at LibXL. A Library that allows you to work with Excel straight from DataFlex code. We have explored the package, as well as looked at how to install and add it to your workspace.
From there we looked at a sample windows implementation and highlighted a number of key steps in the process of creating an Excel file from scratch.
Finally, we looked at how you can use LibXL in a web environment by creating a simple Excel file and presenting it to the user via a Download URL.
I hope you enjoyed this tour of the LibXL Library. If you’re interested in using the library in your own projects, you can find more info here.
As always, thank you for watching and see you in the next one!


