DataFlex Library for LibXL
Lesson 3 - Sample implementation
In this lesson we are going to take a look at an example implementation and usage of the LibXL library. For this we’re going to be walking through one of the demo’s included in the library and elaborating on key steps and instructions.
DEMONSTRATION
- So let’s dive inside the demo workspace and look at the DemoGenerateReceipt.
- This demo starts with a blank excel book and fills this with neatly formatted data to create an invoice style result at the end, complete with logo and running total.
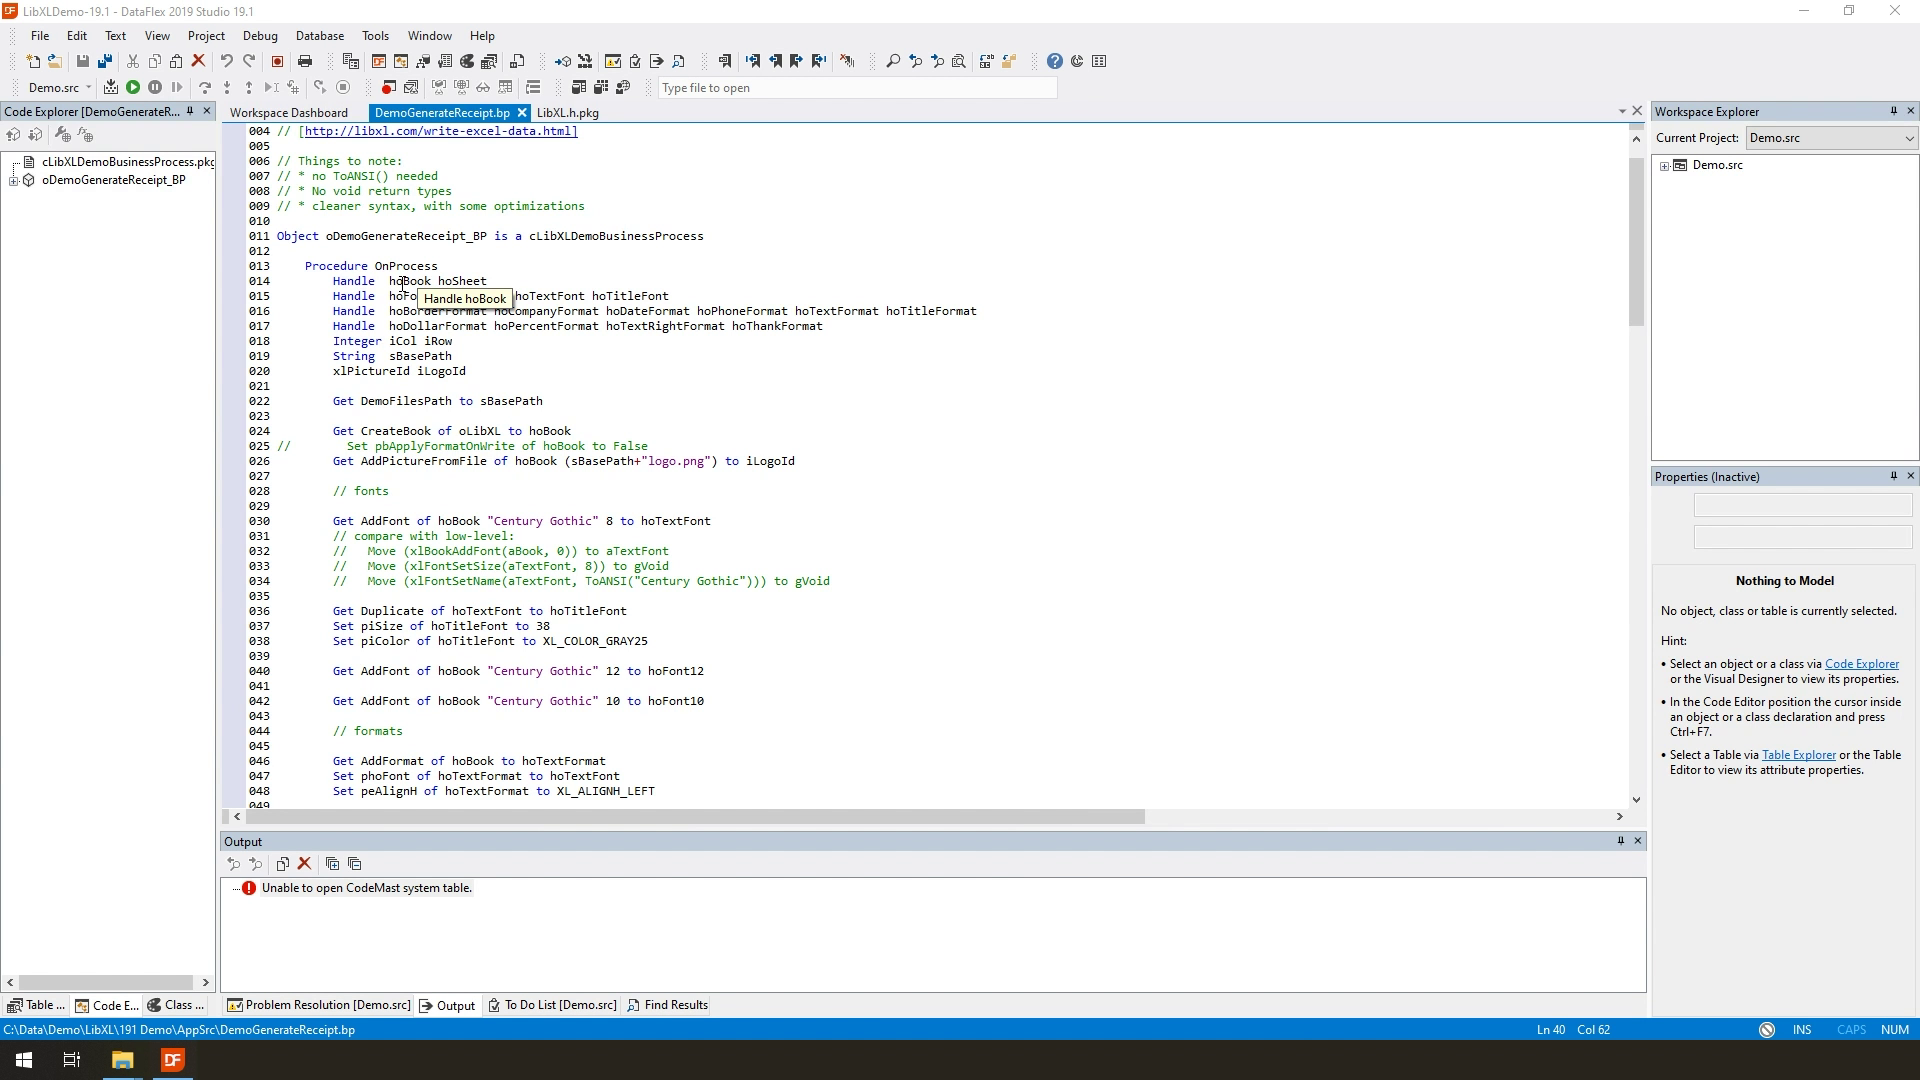
- Let’s get started and look at the first set of instructions, which mostly involve getting things ready.
- We’re starting off with a bunch of handles that we can use and reuse later in our code.

- One thing to note is that most of these handles involve either a font or a format. Something we will dive into in just a moment, but if you’re creating a simpler, less stylized sheet, you probably won’t need this many handles.
- The first important instruction is
Get CreateBook of oLibXL to hoBook
- This creates a new Excel book for us to work with.
- The next instruction is
Get AddPictureFromFile of hoBook (sBasePath+"logo.png") to iLogoId
- This stores a reference to an image that we can later use in our sheets.
- Next we’re going to create a couple of Fonts using a few instructions.
Get AddFont of hoBook "Century Gothic" 8 to hoTextFont
- Creates a new font using Century Gothic size 8 and stores it in a handle.
Get Duplicate of hoTextFont to hoTitleFont
- Duplicates the existing font to a new handle. From there we can set various attributes of this font using a couple of setters like Set piSize or set piColor.
- After we’ve set up the fonts we want to use, we’re going to prepare a couple of formats.
- This is done by using Get AddFormat of hoBook to a handle.
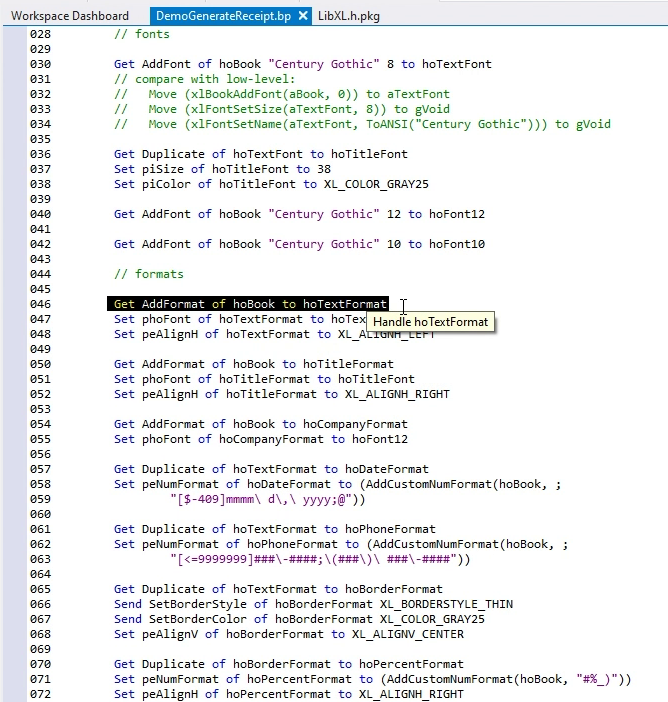
- From here we can again set various properties, like the alignment and the font we created earlier.

- Formats can also be duplicated to a new handle using the Duplicate instruction.
- Formats have quite a few niches and uses to them. For example, here we are creating a format that acts as a mark for a date… or a phone number.
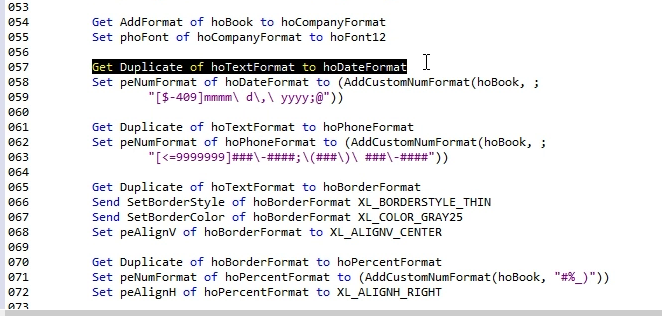
- Another use for formats is to add border styles. This is done using instructions like SetBorderStyle and SetBorderColor for that format.
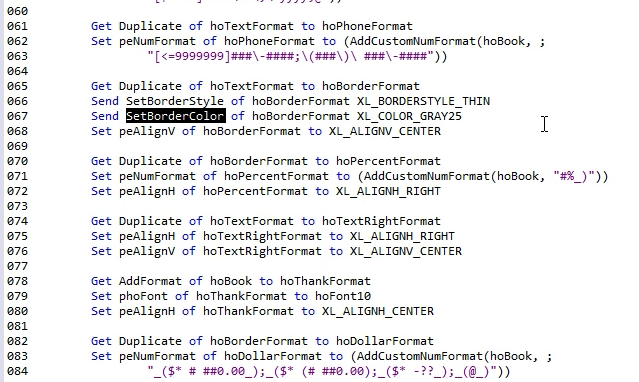
- Notice the use of XL underscore constants all throughout.
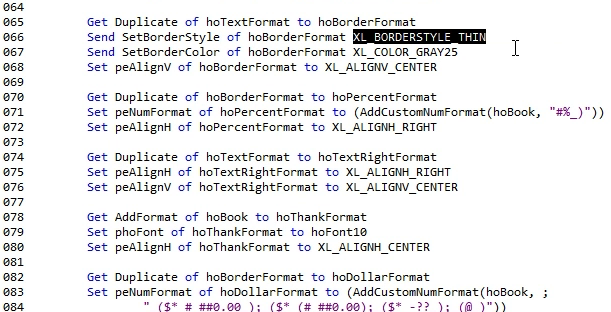
- It is recommended to use these constants, which you can find in the LibXL header package.
- After we’ve created the formats we’re going to use, we can move on to creating and filling our sheet.
- The instruction
Get AddSheet of hoBook "Sales Receipt" to hoSheet
- Creates a new sheet in our book called “Sales Receipt” and stores it in a handle.
- Next we’re configuring the width of our columns.
- We do this by calling on Set piColumnWidth of hoSheet to the width that we want in pixels.
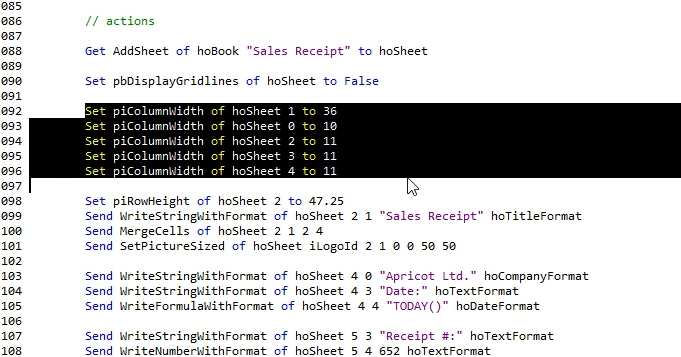
- We also need to pass the column we want to set, which is 0 based – so 0, 1, 2, 3, etc.
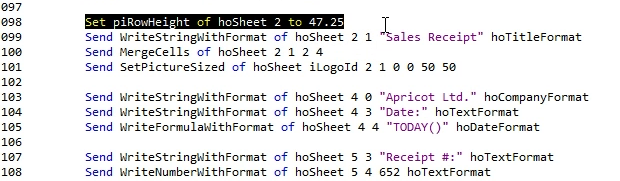
- The same logic applies to setting row heights, we use Set piRowHeight of hoSheet and pass the height we want in pixels, also passing the row we want to set.
- Now that we’ve set up everything we want to work with, we can start filling our sheet with data.
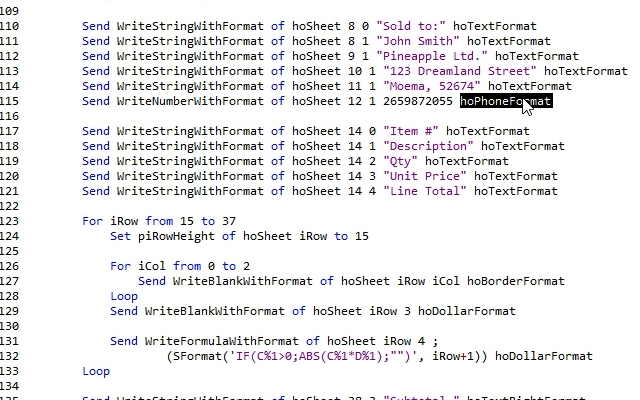
- We do this by filling individual cells. For this we can use instructions like
WriteStringWithFormat
- Which takes a row and a column as parameters, indicating the cell we want to fill.
- We also pass the format we created earlier, as well as the string value we want to insert in this cell.
- Here we are inserting the image we loaded earlier using
SetPictureSized
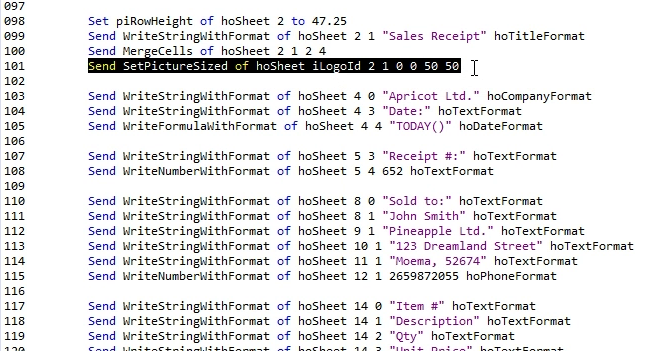
- Other than strings, we can also write numbers using:
WriteNumberWithFormat
- This takes the same parameters as the WriteString, but takes a number instead. Notice that in this specific case we are passing the format, which will display this number nicely as a phone number.
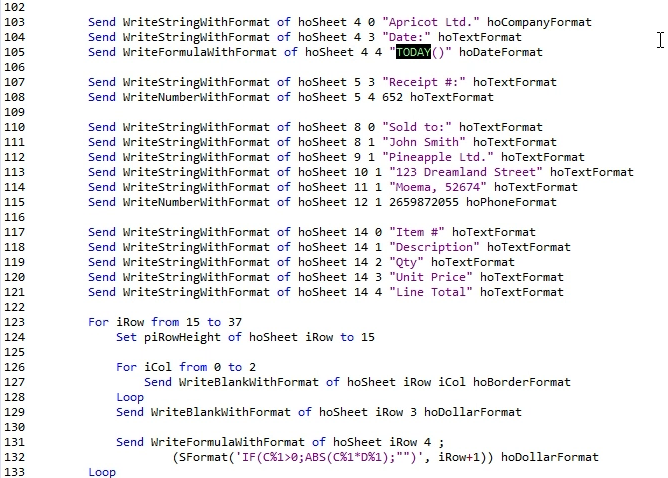
- Furthermore, we can also use formula’s by using:
WriteFormulaWithFormat
- With this function we can use excel functions and calculation by passing them along as a String.
- As an example we are using the TODAY() function here which displays the current date.
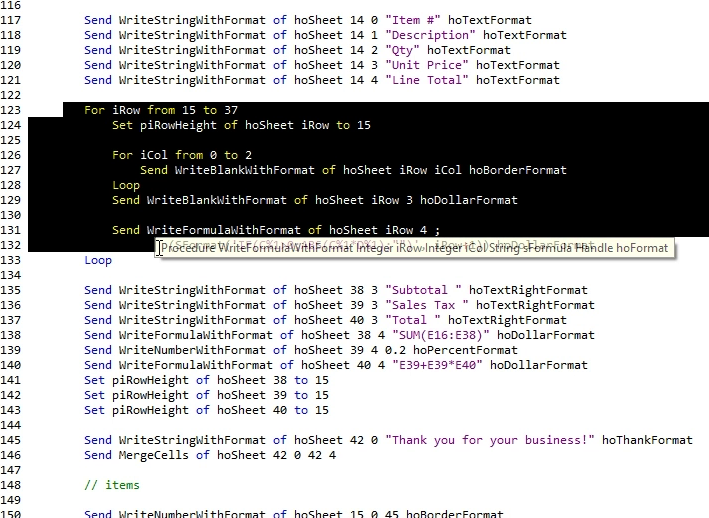
- Notice that while we are inserting values into individual cells, we can use things like For and While loops to speed up this process where possible.
- You might have also noticed the instruction
MergeCells
- This instruction merges several cells together, removing any borders and displaying them as one large cell.
- The instruction takes 4 parameters being the first row and column and the last row and column, which indicates the top left and top right cell to merge from and to.
- Once we have filled everything in our sheets, we can save the book using
Send SaveAs of hoBook
- Passing along the exact file path we to save to.
- Finally, to clean everything up, we call on
Send Destroy of hoBook
- Which also gets rid of everything else we created in the process.
- So let’s run the demo And click “Create Receipt”.
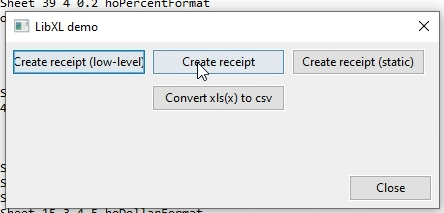
- While it may look like nothing happened, it actually performed all the instructions we just went through in the background.
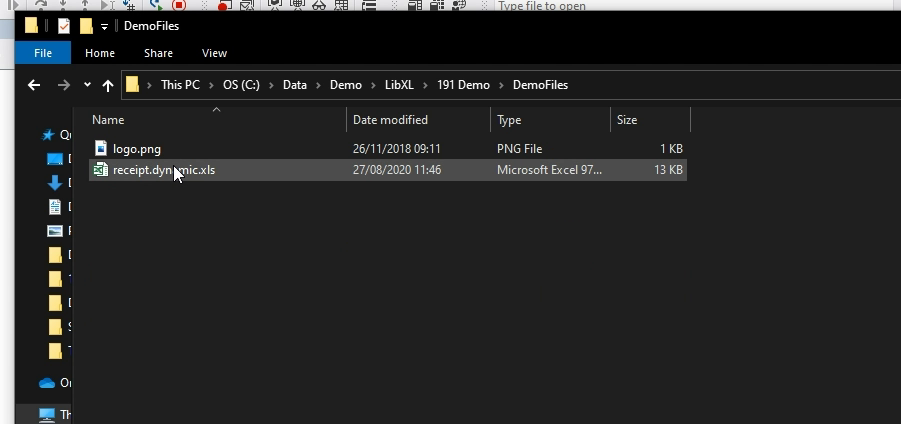
- Now let’s hop into our file system and see what it has created for us.
- So here’s our excel file.
- When we open this we can see that it has created a sheet for us called “Sales Receipt”.
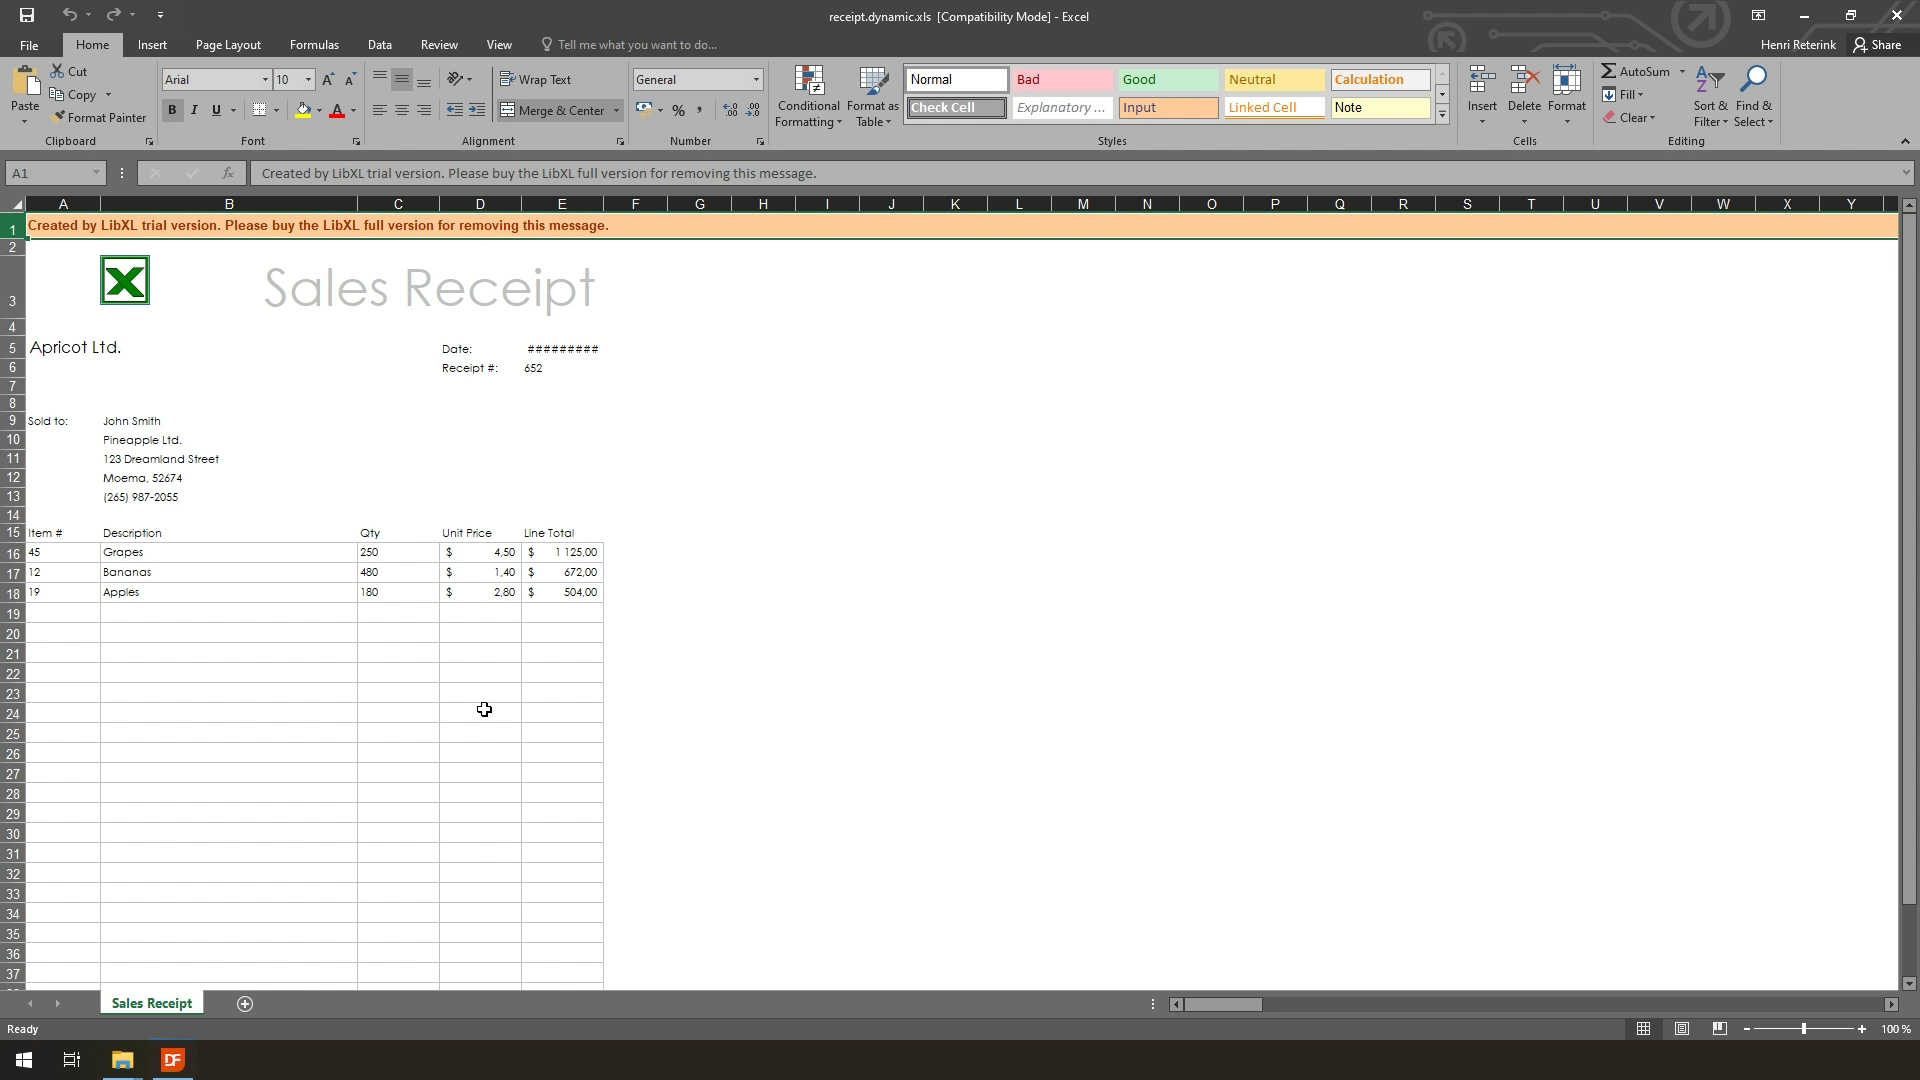
- Inside we can find the image we inserted, as well as all the data that we injected using various formats.
- Like the Title , the phone number or the running total at the bottom.
So that was a thorough rundown of how you would go about creating an excel file and filling it with data using various fonts and formats. This example was a Windows one, but you can just as easily use similar logic in a Web Application. In the next lesson we’ll look at how you can use LibXL in your WebApp.


